Did You Know? October 2025 Edition: Custom Watercolor Pens

Hello crafters, it’s Shari Carroll here with you! I have a new edition of our popular Did You Know series today!
I thought I’d try something a little different. Did you know you can make your own watercolor aqua pens using Tim Holtz Distress Spray Stains and Distress re-inkers?
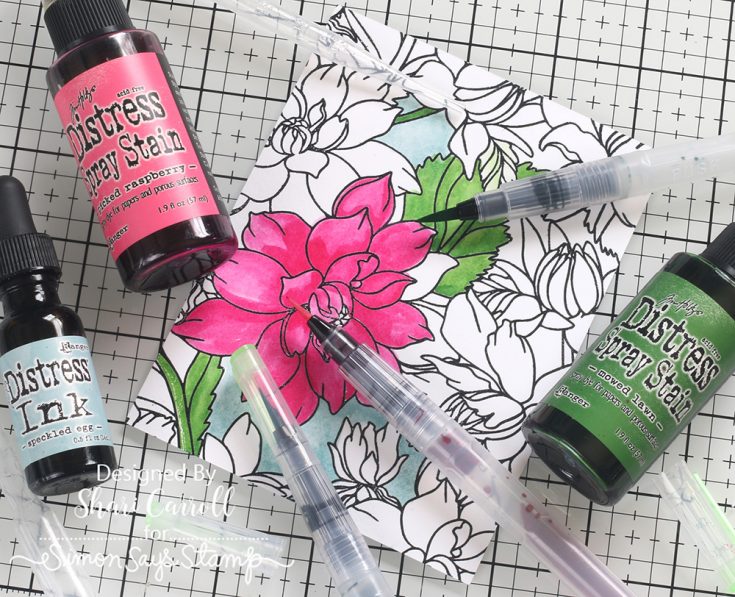
Not only will they match your Distress ink pads, but they’re perfect for times where it’s impossible to paint a whole piece in one sitting. They’re always ready to go!
I’ve created a video to show how easy it is to customize your water brush pens below. Enjoy!
WATCH THE VIDEO:

SUPPLIES:
|


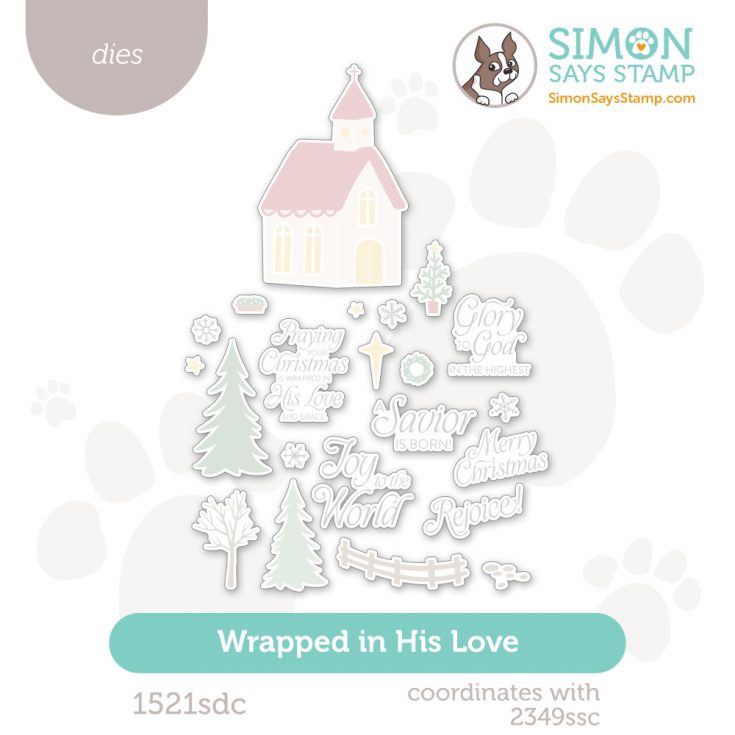
Wrapped in His Love: A NEW Religious Kit for the 2025 Holiday Season is HERE!
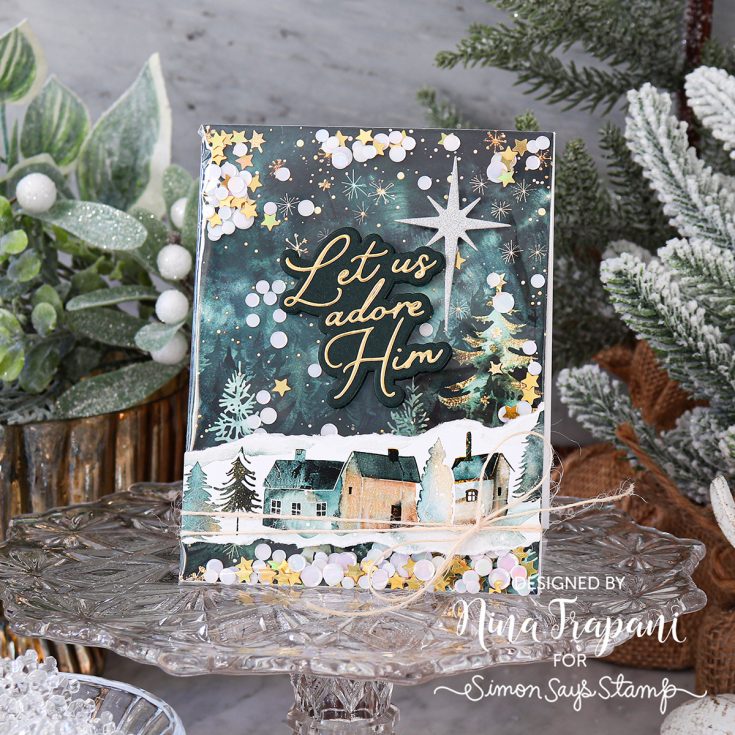
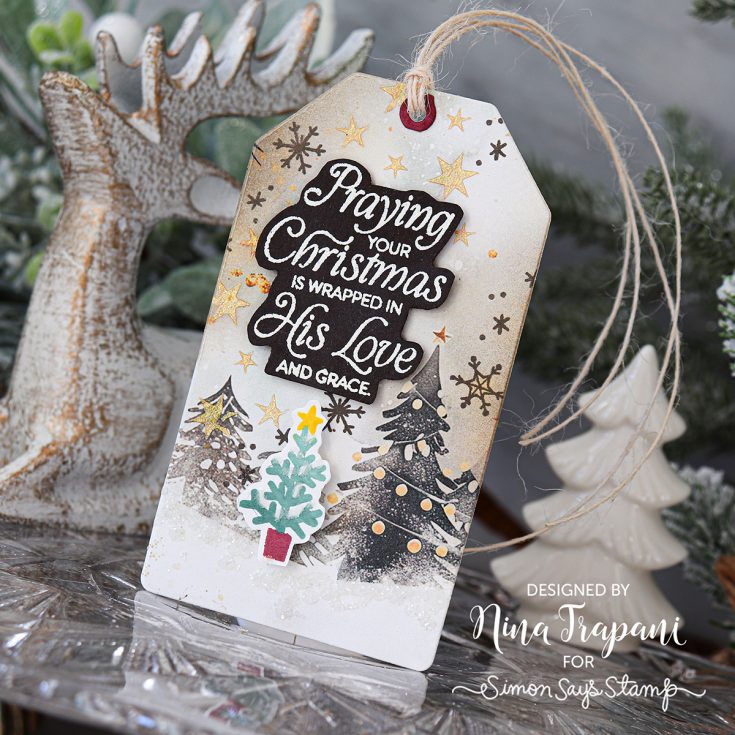
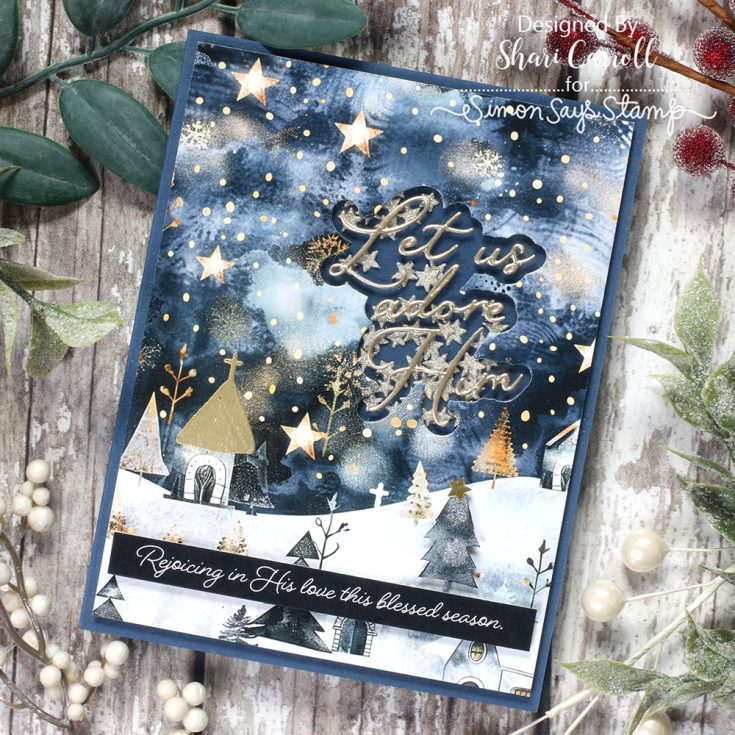
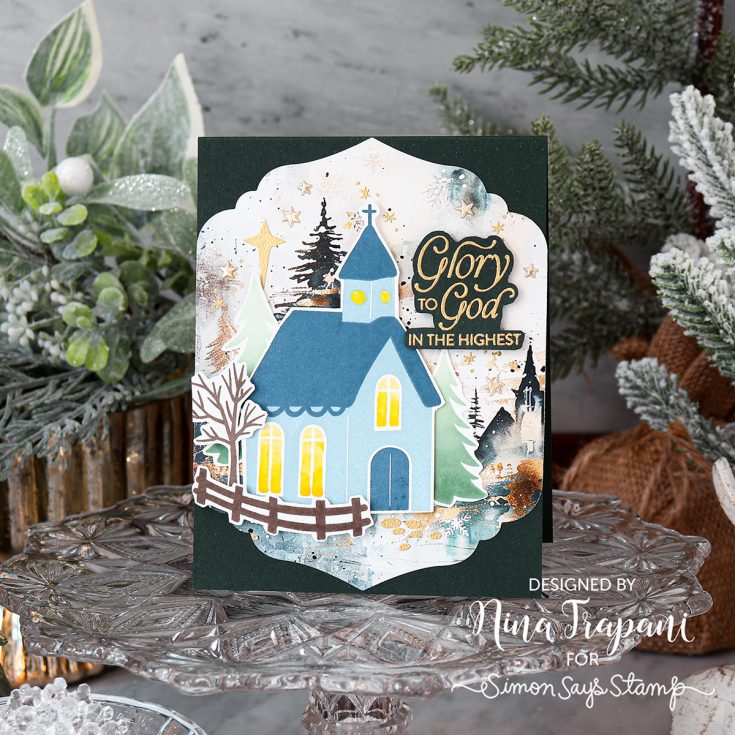
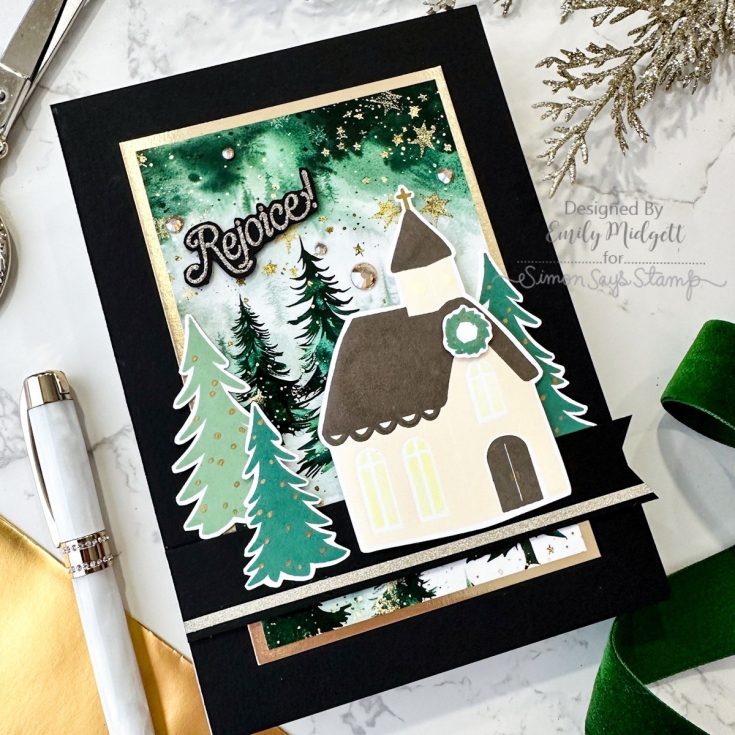
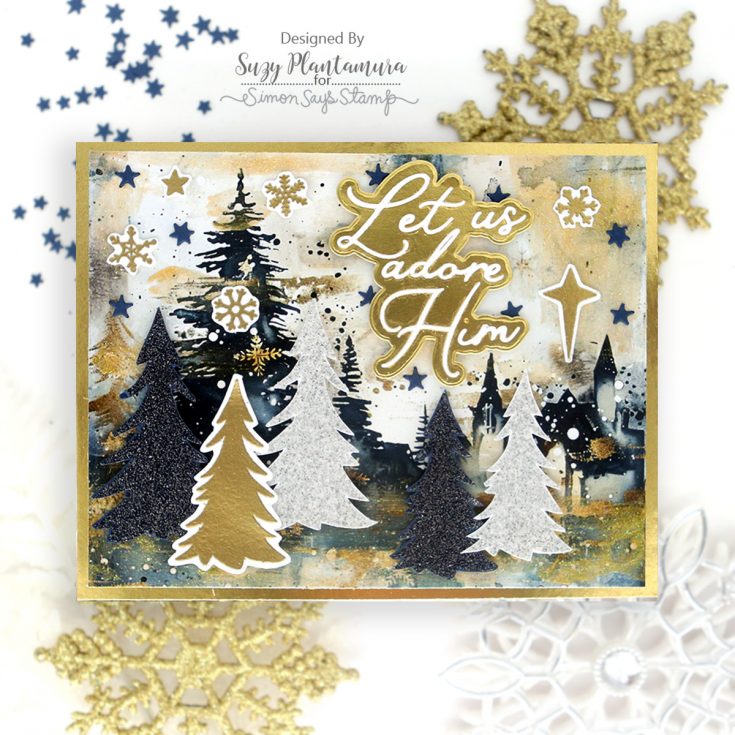
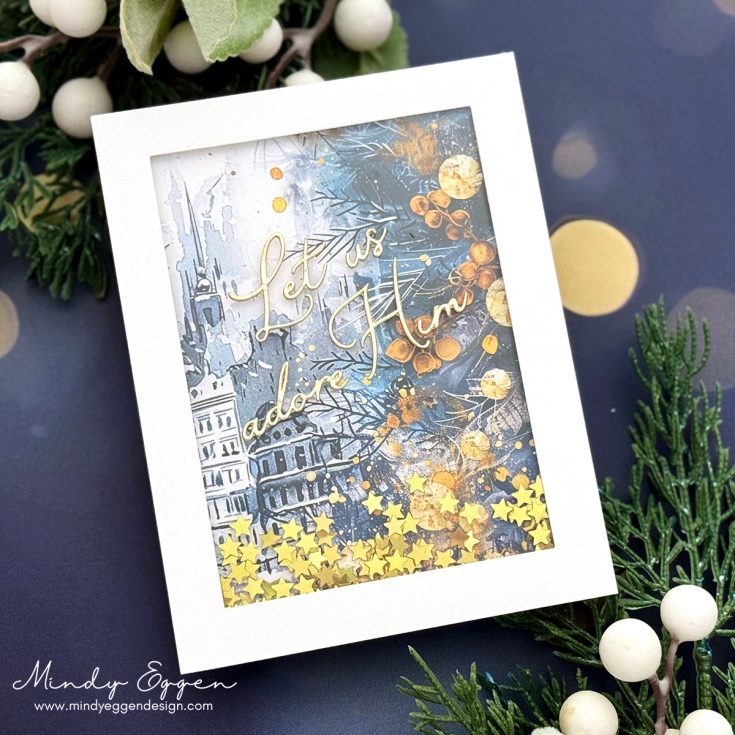
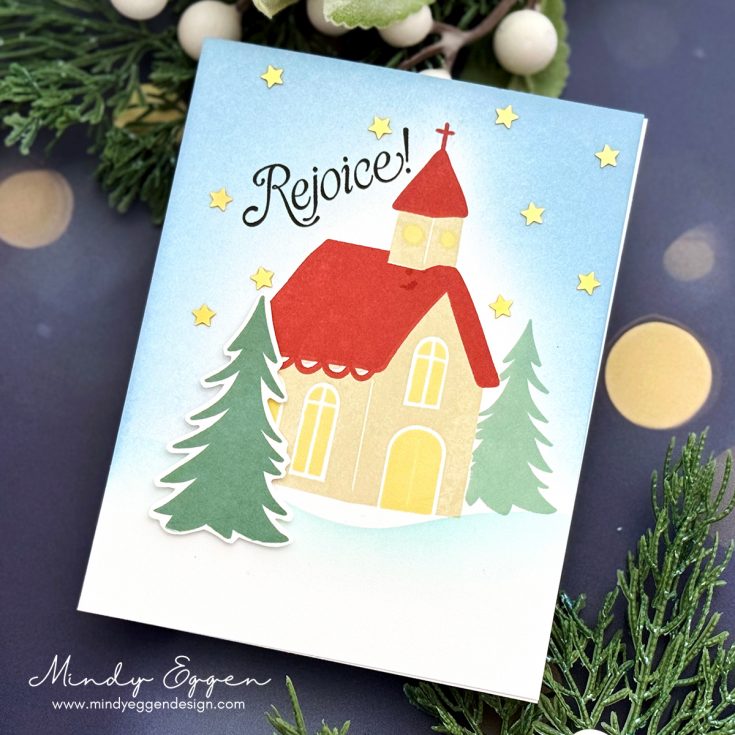
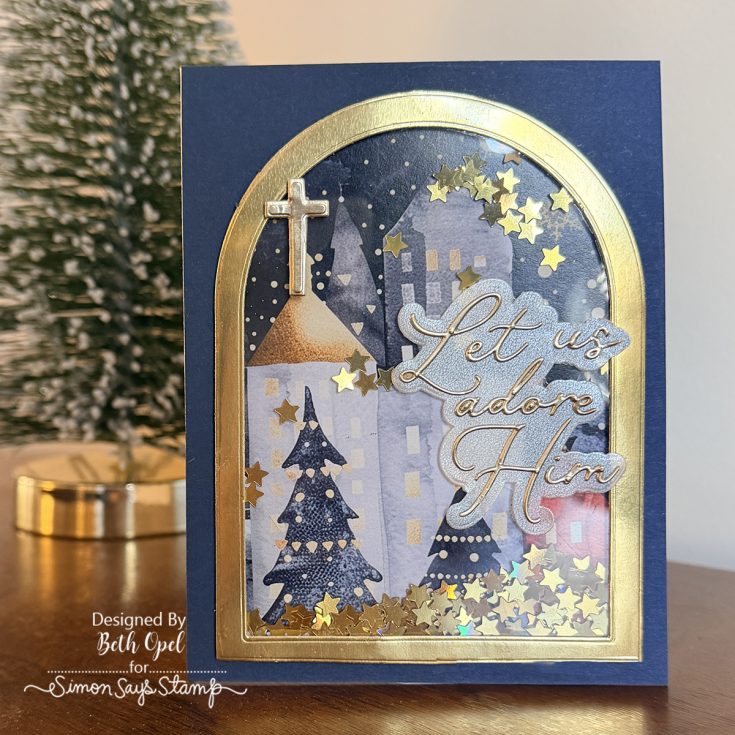
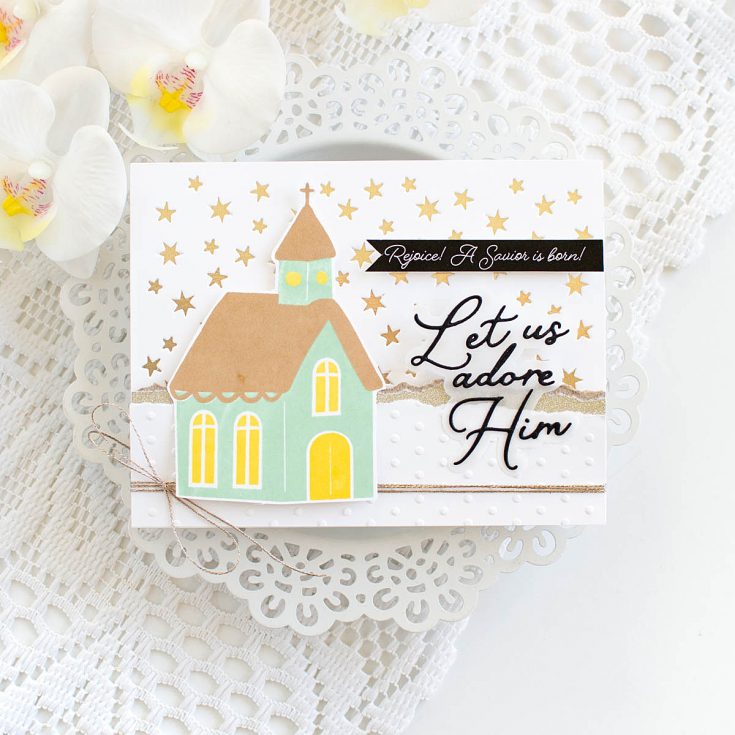
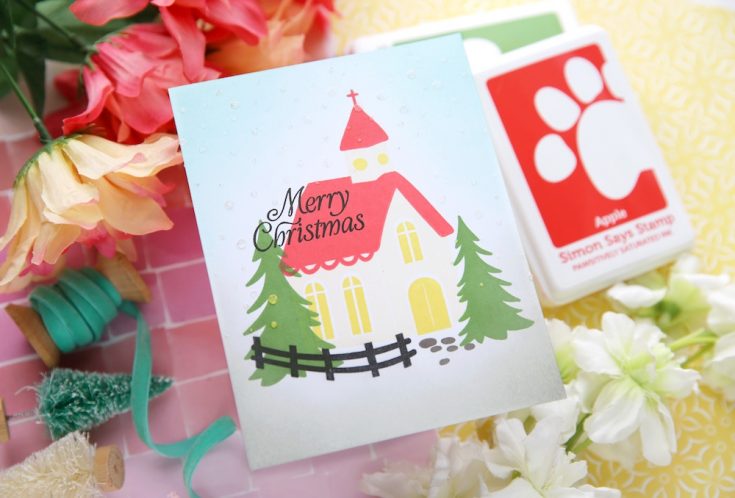
Hi friend! We are SO excited to share — back by popular demand! — a special religious edition of our Limited Edition holiday card kits: Wrapped in His Love.
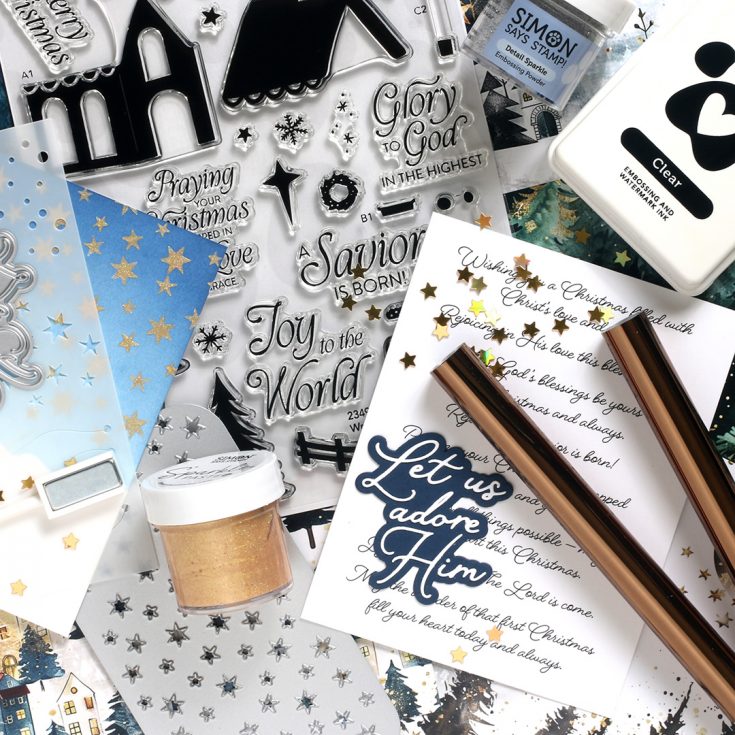
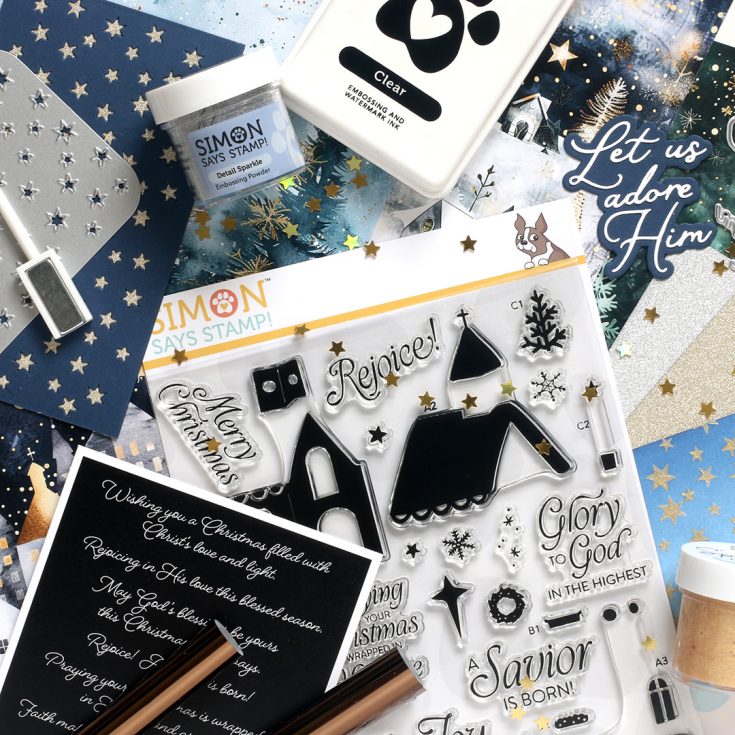
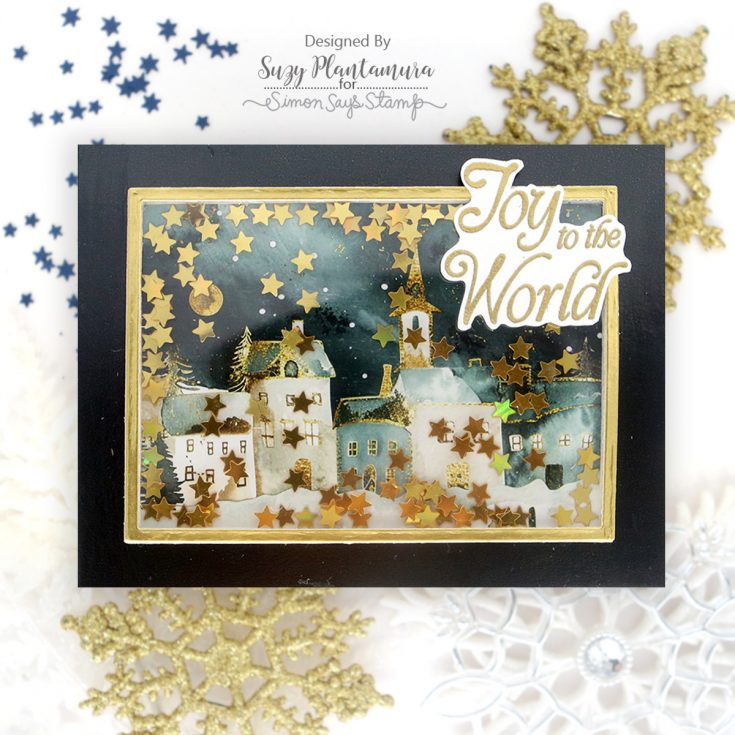
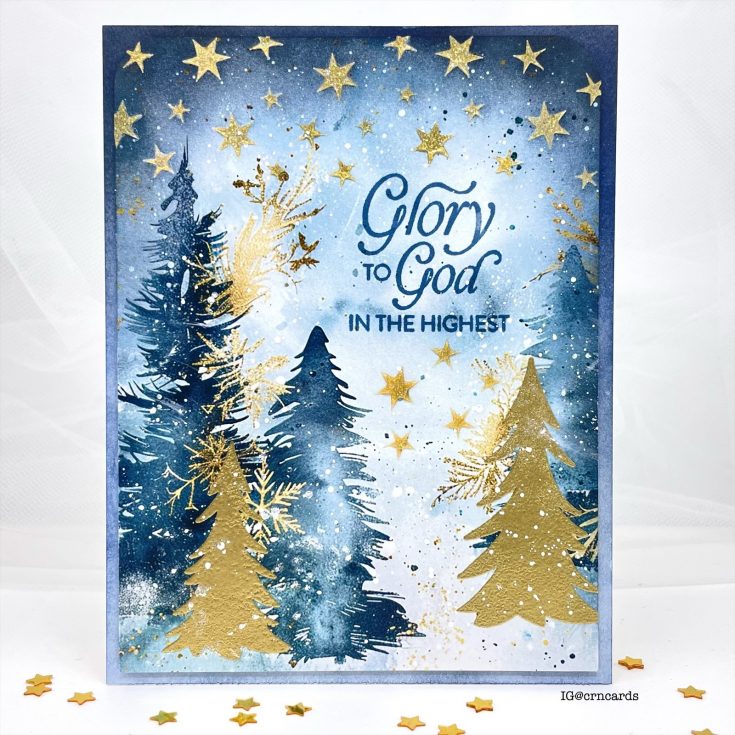
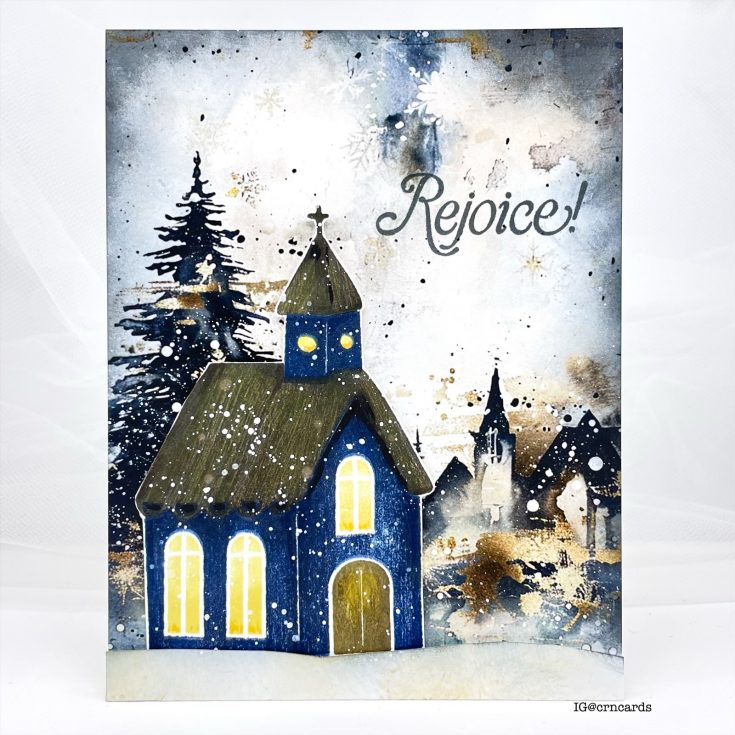
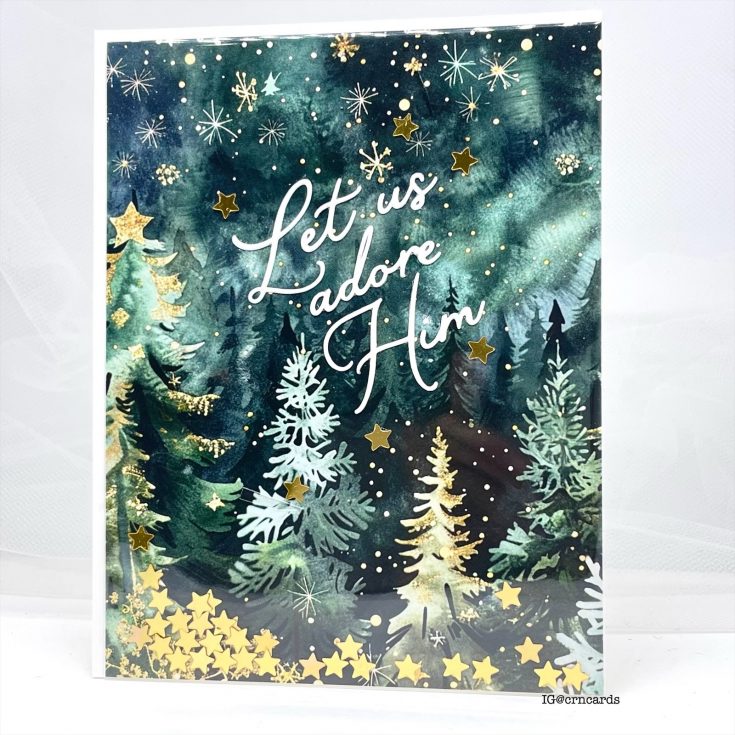
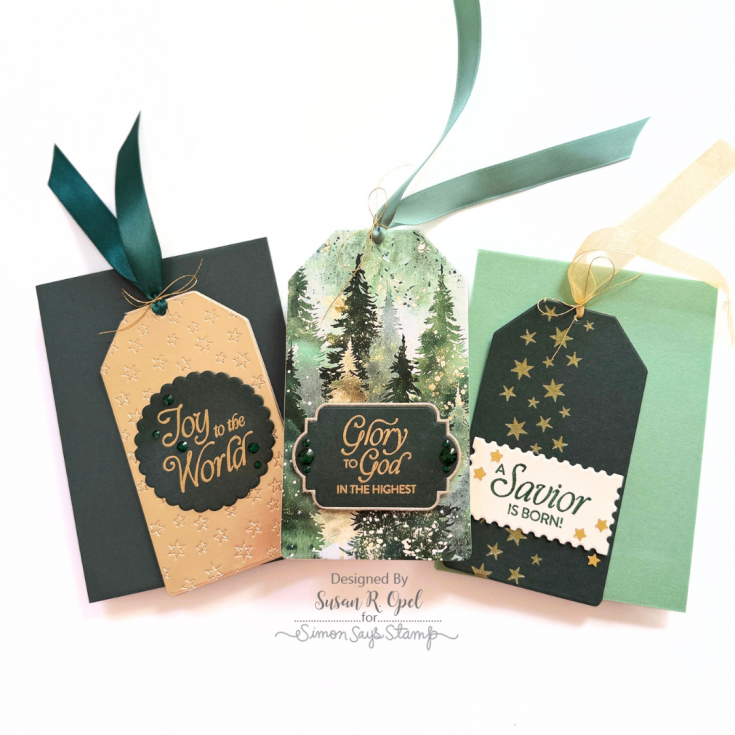
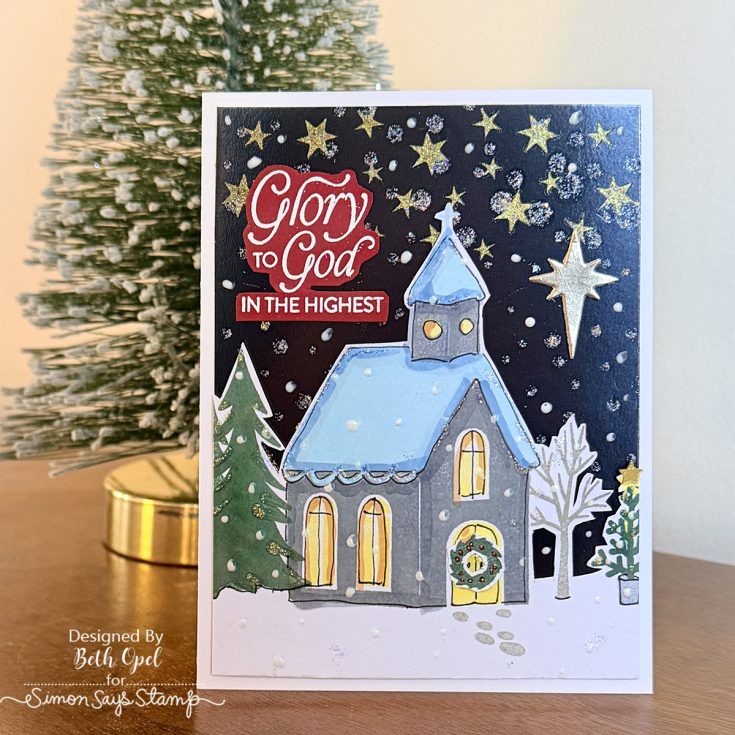
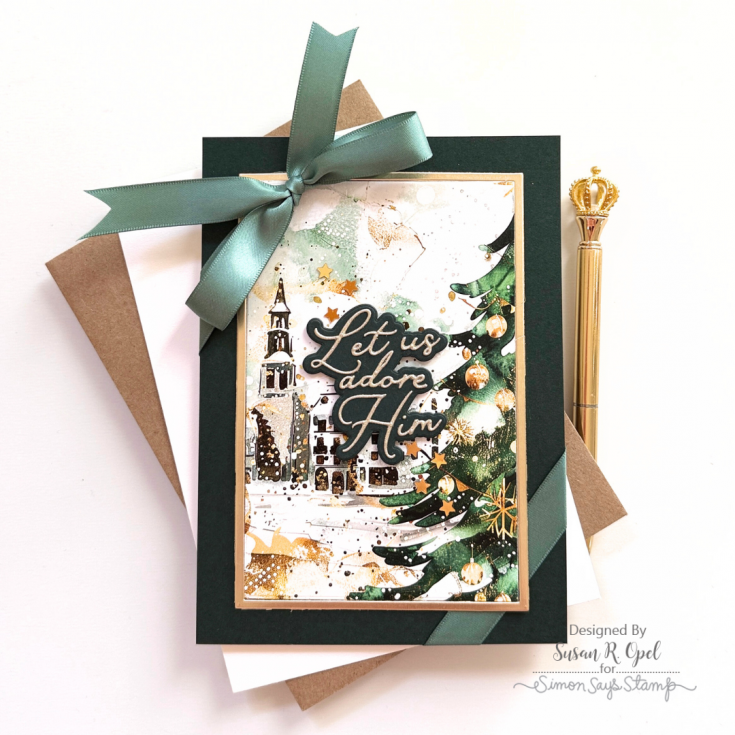
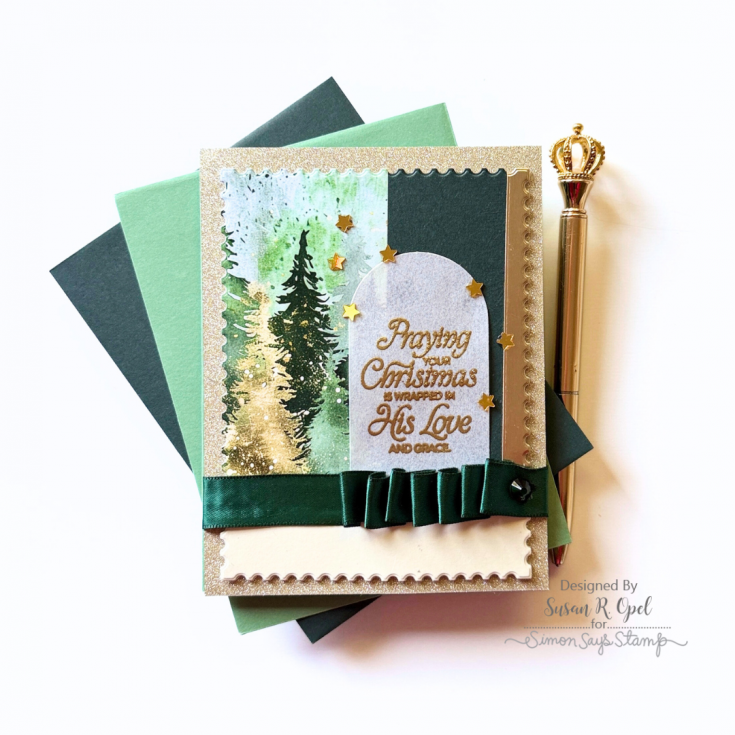
Inspired by the true meaning of Christmas, this heartfelt kit includes SEVEN brand-new exclusive products made to help you create cards that reflect faith, peace, and reverence. Build a snowy church scene and accent it with the beautiful patterned papers from La-La Land Crafts, craft a starry night or shaker card to echo that first holy night, or let the large statement sentiments take center stage for a message of hope and love. However you choose to create, we hope this kit helps you pause and cherish the season.
Please note: This is a special Limited Edition Card Kit and is not part of our Monthly Card Kit subscription program. Available for a limited time, while supplies last. Total kit value is just under $100!
WATCH THE VIDEO:

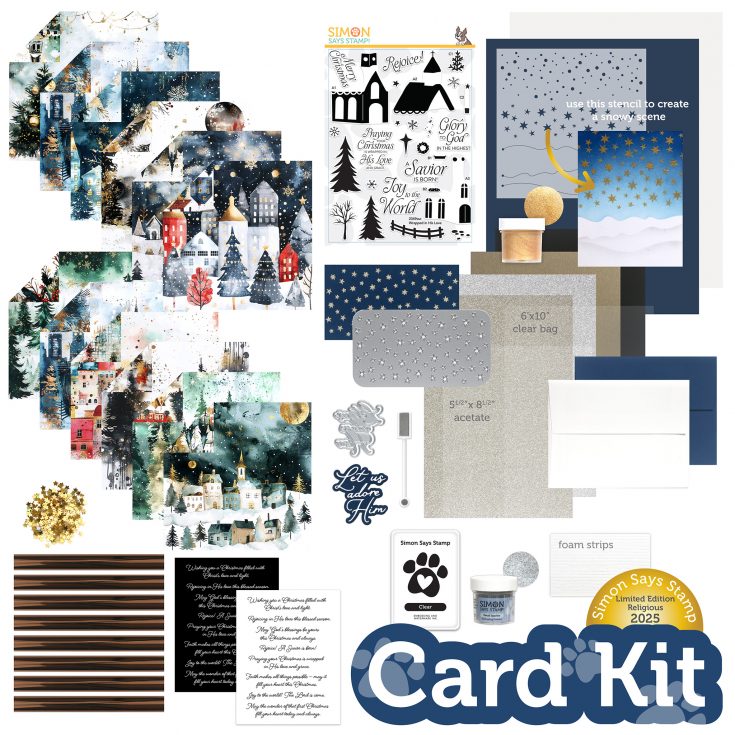
The contents of this kit include:
- NEW and EXCLUSIVE Simon Says Stamp Wrapped in His Love clear stamp set
- NEW and EXCLUSIVE Simon Says Stamp A Starry Night die
- NEW and EXCLUSIVE Simon Says Stamp Let Us Adore Him die
- NEW and EXCLUSIVE Simon Says Stamp Snowy Hills Stencil
- NEW and EXCLUSIVE Simon Says Stamp Gold Sparkle Paste
- NEW and EXCLUSIVE Joy to the World Sentiment Strip Sheet
- NEW and EXCLUSIVE Joy to the World Reverse Sentiment Strip Sheet
- 1 sheet of each design of La-La Land Crafts Christmas Eve 6×6 Inch Papers
- 1 sheet of Tim Holtz idea-ology Kraft Stock Sparkle Cardstock in Gold
- 1 sheet of Tim Holtz idea-ology Kraft Stock Sparkle Cardstock in Silver
- 1 Sheet of Tim Holtz idea-ology Kraft Stock Metallic in Black
- 1 Sheet of Tim Holtz idea-ology Kraft Stock Metallic in Light Gold
- 1 6×10 inch No Flap Clear Bag (great for shaker cards!)
- Simon Says Stamp Mini Stars Embellishments
- 1 Simon Says Stamp Magnetic Wand
- 1 Simon Says Stamp Clear Ink Pad
- 1 container of Simon Says Stamp Sparkle Embossing Powder
- 1 half sheet of Simon Says Stamp Acetate
- ½ sheet of Simon Says Stamp Adhesive Foam Strips
- 1 package of 8 sheets of Simon Says Stamp Bronze Foil Transfer Sheets
- 1 sheet of Simon Says Stamp 8.5 x 11 inch Heavyweight Cardstock in Softy Navy
- 1 sheet of Simon Says Stamp 8.5 x 11 inch Heavyweight Cardstock in Ivory
- 1 Simon Says Stamp Soft Navy A2 Envelope
- 1 Simon Says Stamp Ivory A2 Envelope
Enhance your kit!
Did you know? The coordinating dies with the stamp set featured in the card kit are available for separate purchase!
GET INSPIRED!

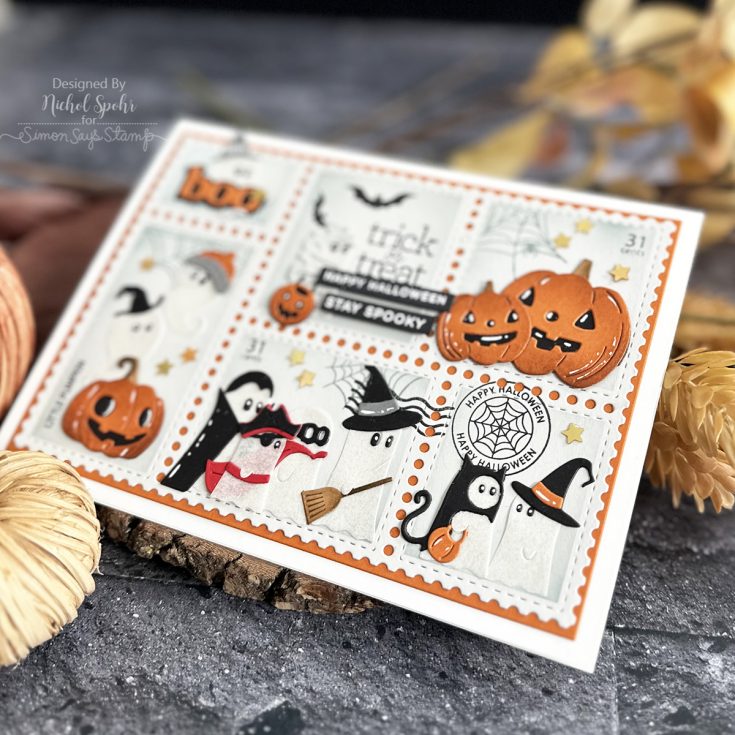
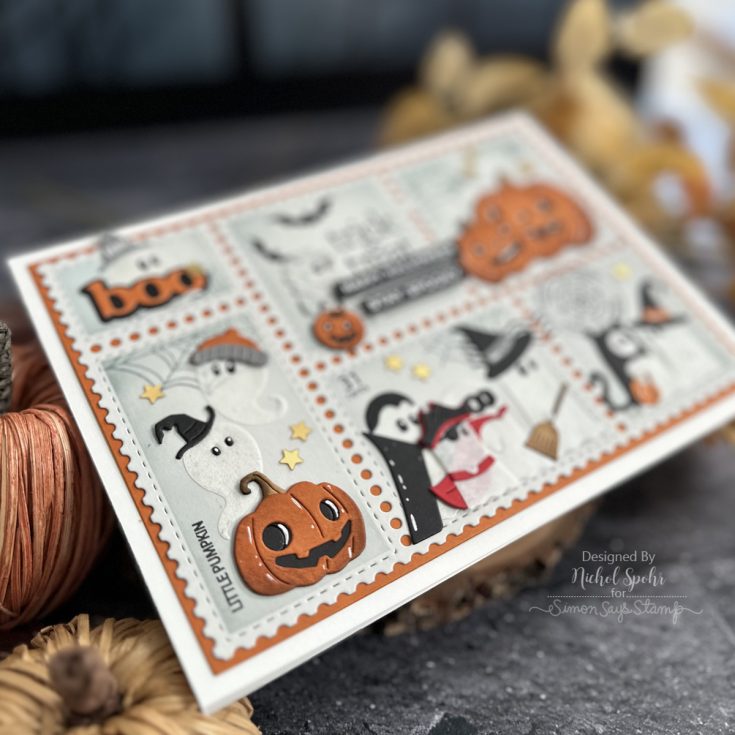
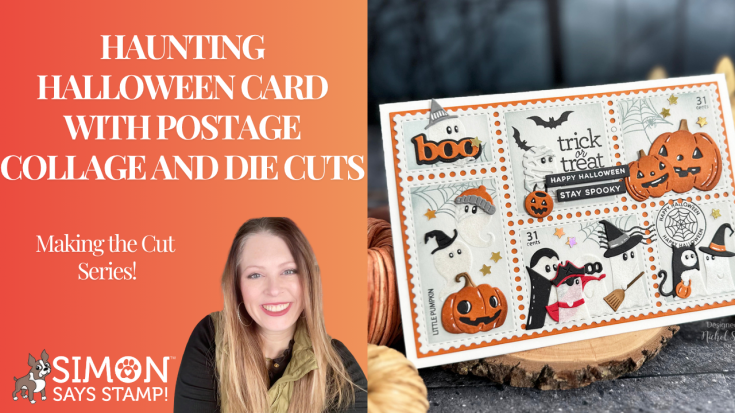
Haunting Halloween Card with Postage Collage and Die Cuts: Making the Cut

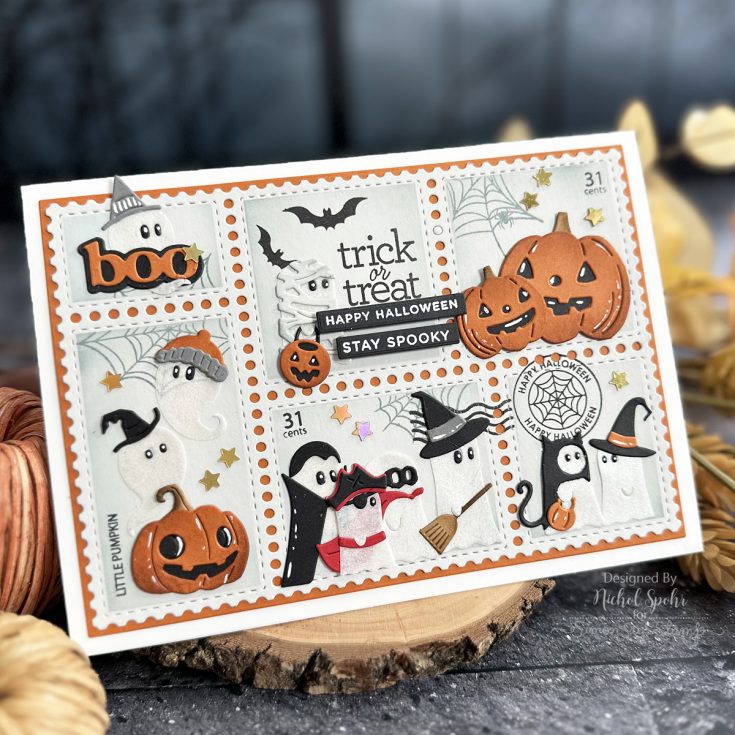
Hi friends! Happy Wednesday! Please join me in welcoming special guest Nichol Spohr to our blog back in our monthly installment of Making the Cut – our monthly blog series that celebrates the love of all things die cutting! Nichol is showcasing some fun Halloween products to make the cutest Halloween collage card including our Haunted Pumpkin, Trick or Treat Ghosts, Costume Ghost Parade, Jolly Pumpkins, Little Boo, and Halloween Basics! Be sure to watch the video for all of the details, and enjoy!
WATCH THE VIDEO:
SUPPLIES:
|


A big thank you to YOU, our reader — and to Nichol for being our guest!


