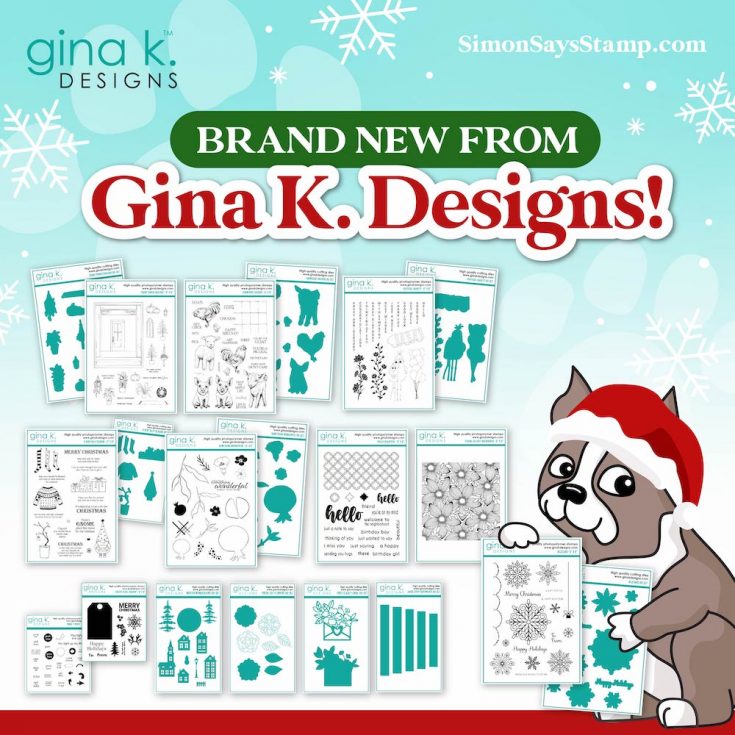
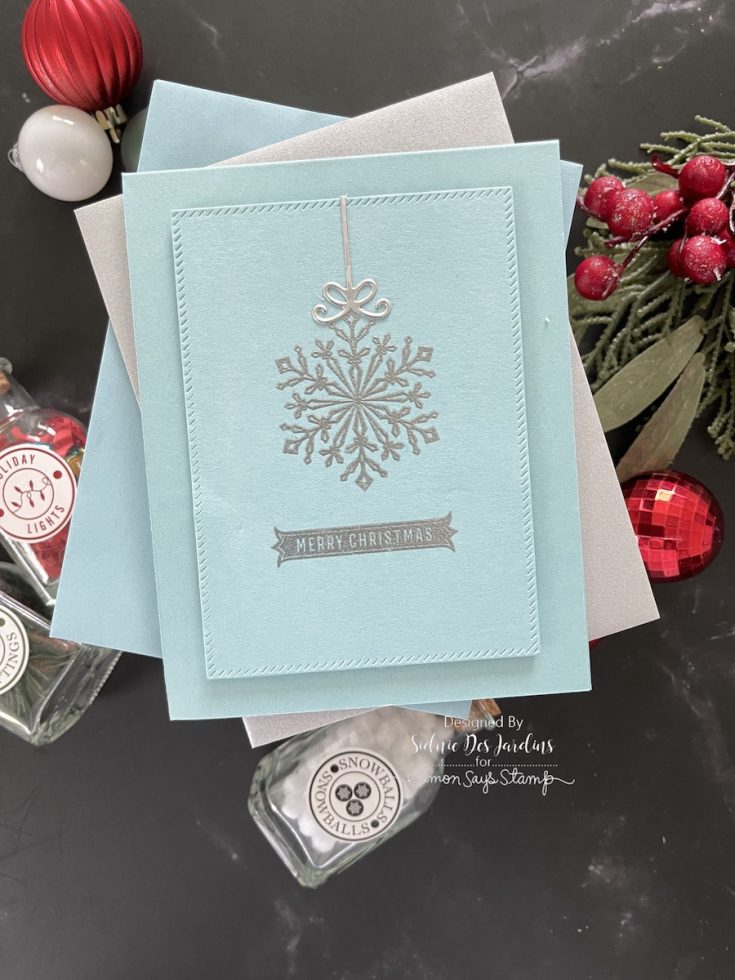
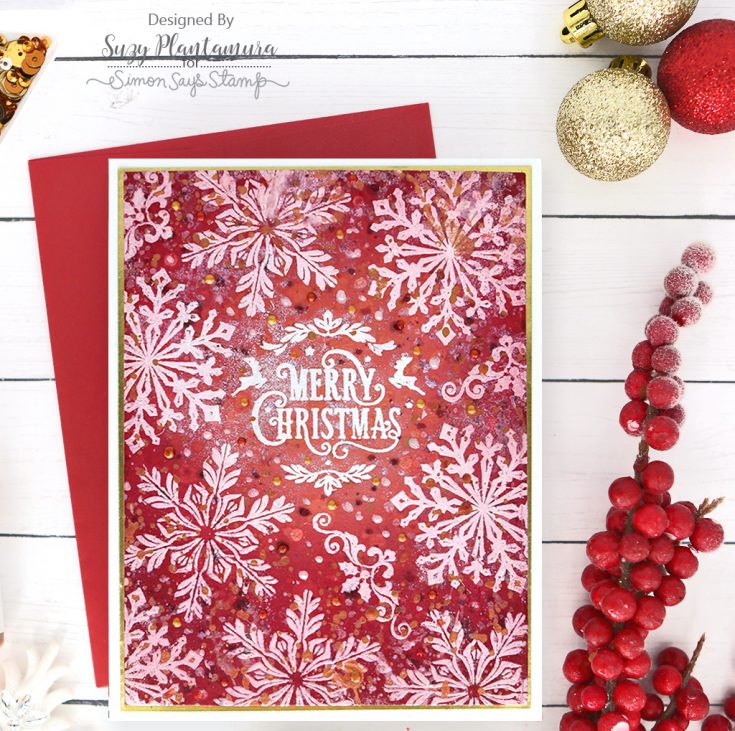
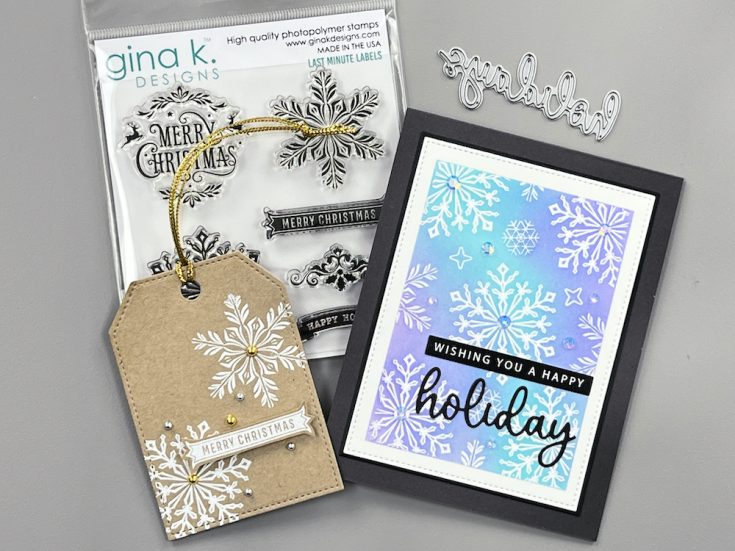
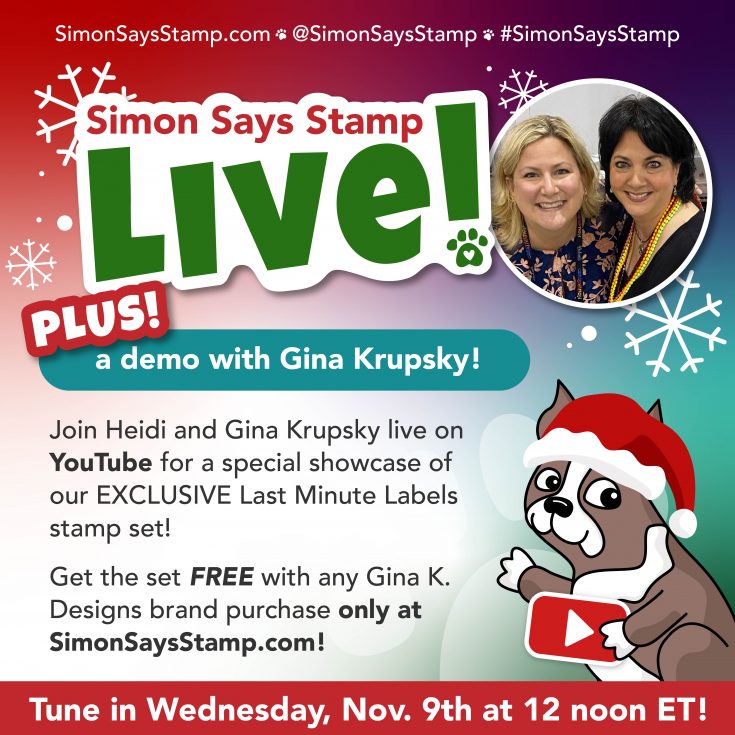
SURPRISE! Exclusive Free Gift from Gina K Designs!
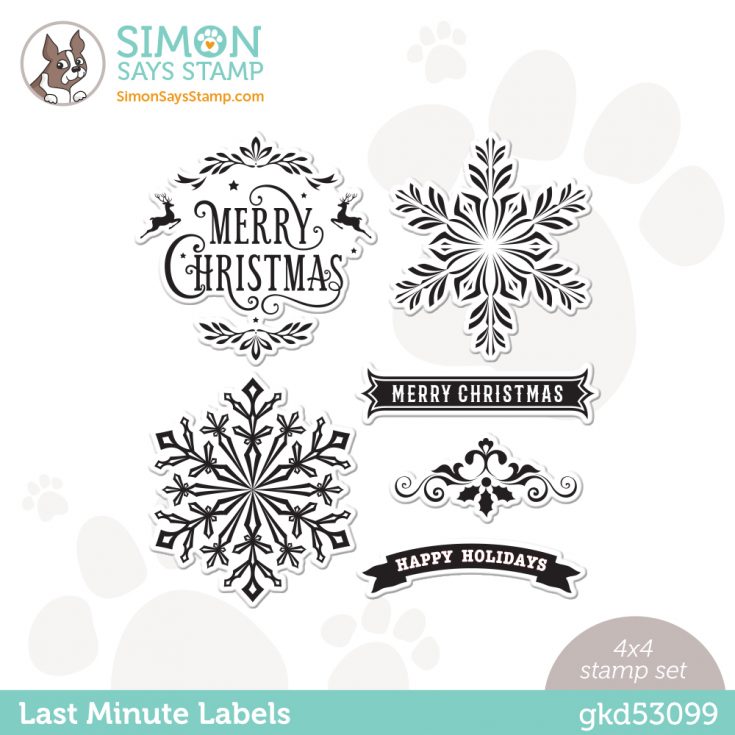
Hi friends! ‘Tis the season for FUN holiday surprises!! We are SO excited to share this super fun and cute 4×4 inch exclusive limited edition clear stamp set from Gina K Designs that is FREE to you with any Gina K Designs branded purchase of $25 or more— no code required!
NEW RELEASE ALERT! Shipping NOW!
GET INSPIRED!!

Have you tried hot foiling? + New Hero Arts!
Hi friends! Happy Tuesday! Please join me in welcoming back special guest Mindy Eggen to our blog today! Read on to learn more about this pretty card design and enjoy!!
Hello crafty friends! This is Mindy Eggen and I’m so excited to be on the Simon Says Stamp
blog sharing inspiration with you from the Hero Arts November 2022 release. I’m going to be
doing some hot foiling with a gorgeous new hot foil plate. Hot foiling is a great way to step up
your holiday cards and add shine.
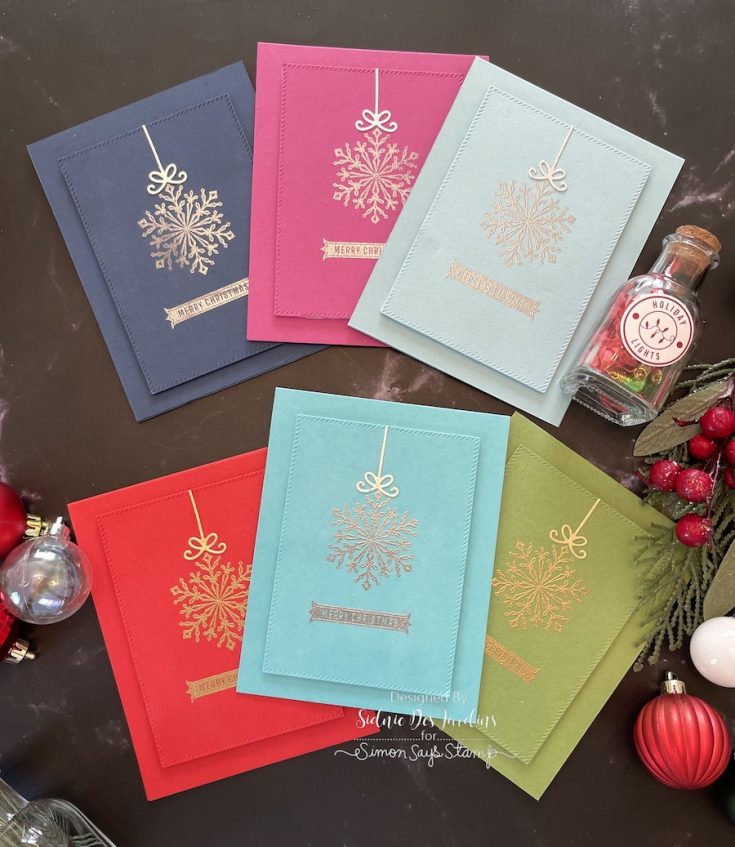
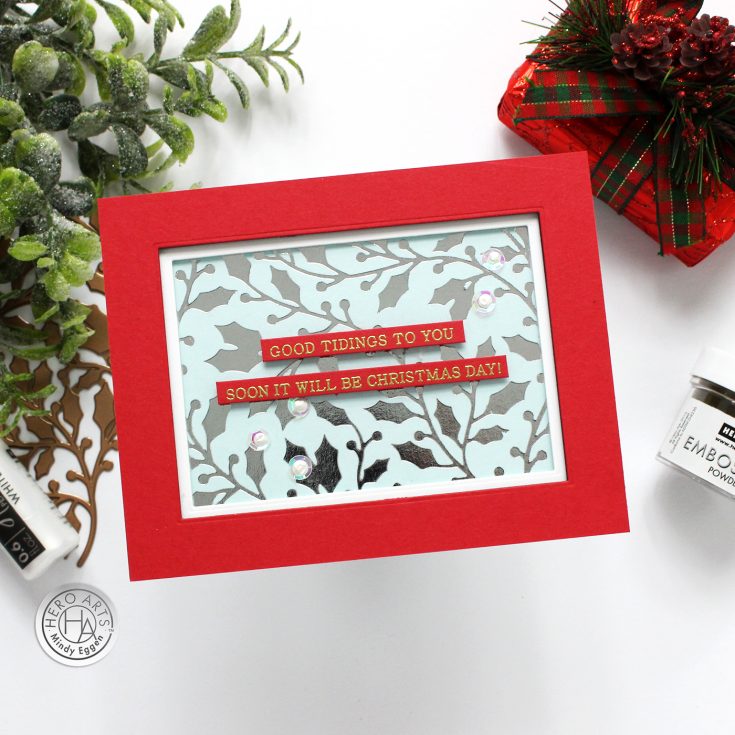
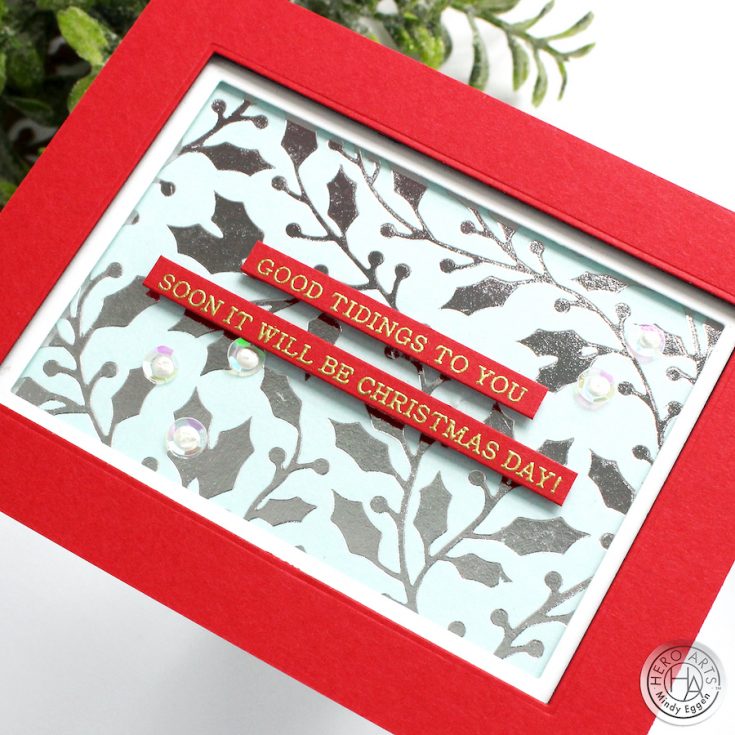
I started by hot foiling the Holly Hot Foil Plate onto some Mist cardstock using my Spellbinders
Glimmer Machine and Silver foil.
Next, I created a couple frames for my card front using Deluxe White cardstock, Cherry
cardstock and the Nesting Rectangle die. I layered these on top of my foiled panel using foam
tape to add dimension.
I didn’t want to take up too much space in the center of the card with a large sentiment so I am
using the Holiday Sentiment Strips stamp set. By using this smaller sentiment, I am able to still
show off the gorgeous foiling in the background.
I stamped the sentiment onto Cherry cardstock using the Hero Arts Embossing ink and heat
embossed with gold embossing powder. While there is a die that will help cut out these
sentiments, I just used a paper trimmer.
I added the sentiments to the center of the card front using foam strips. Then I embellished with
the Icicle Sequins Mix and added a dot of Hero Hues White Pearls to the center.
This is such an elegant card that you can send to your friends and family this year and doesn’t
take a long to make! I think a light pink cardstock would look lovely foiled in silver too!
Hope you enjoyed today’s inspiration from Hero Arts! Thanks so much for stopping by!
SUPPLIES:
|


Thanks so much for stopping by, and thanks to Mindy for being our guest!
Shrink Embellishments with Tim Holtz Stamps! Studio Monday with Nina-Marie

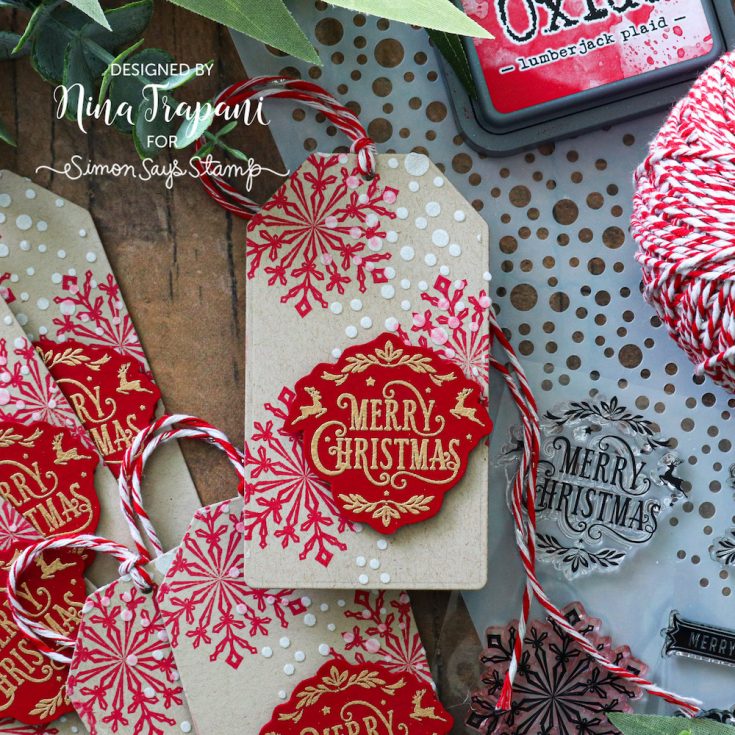
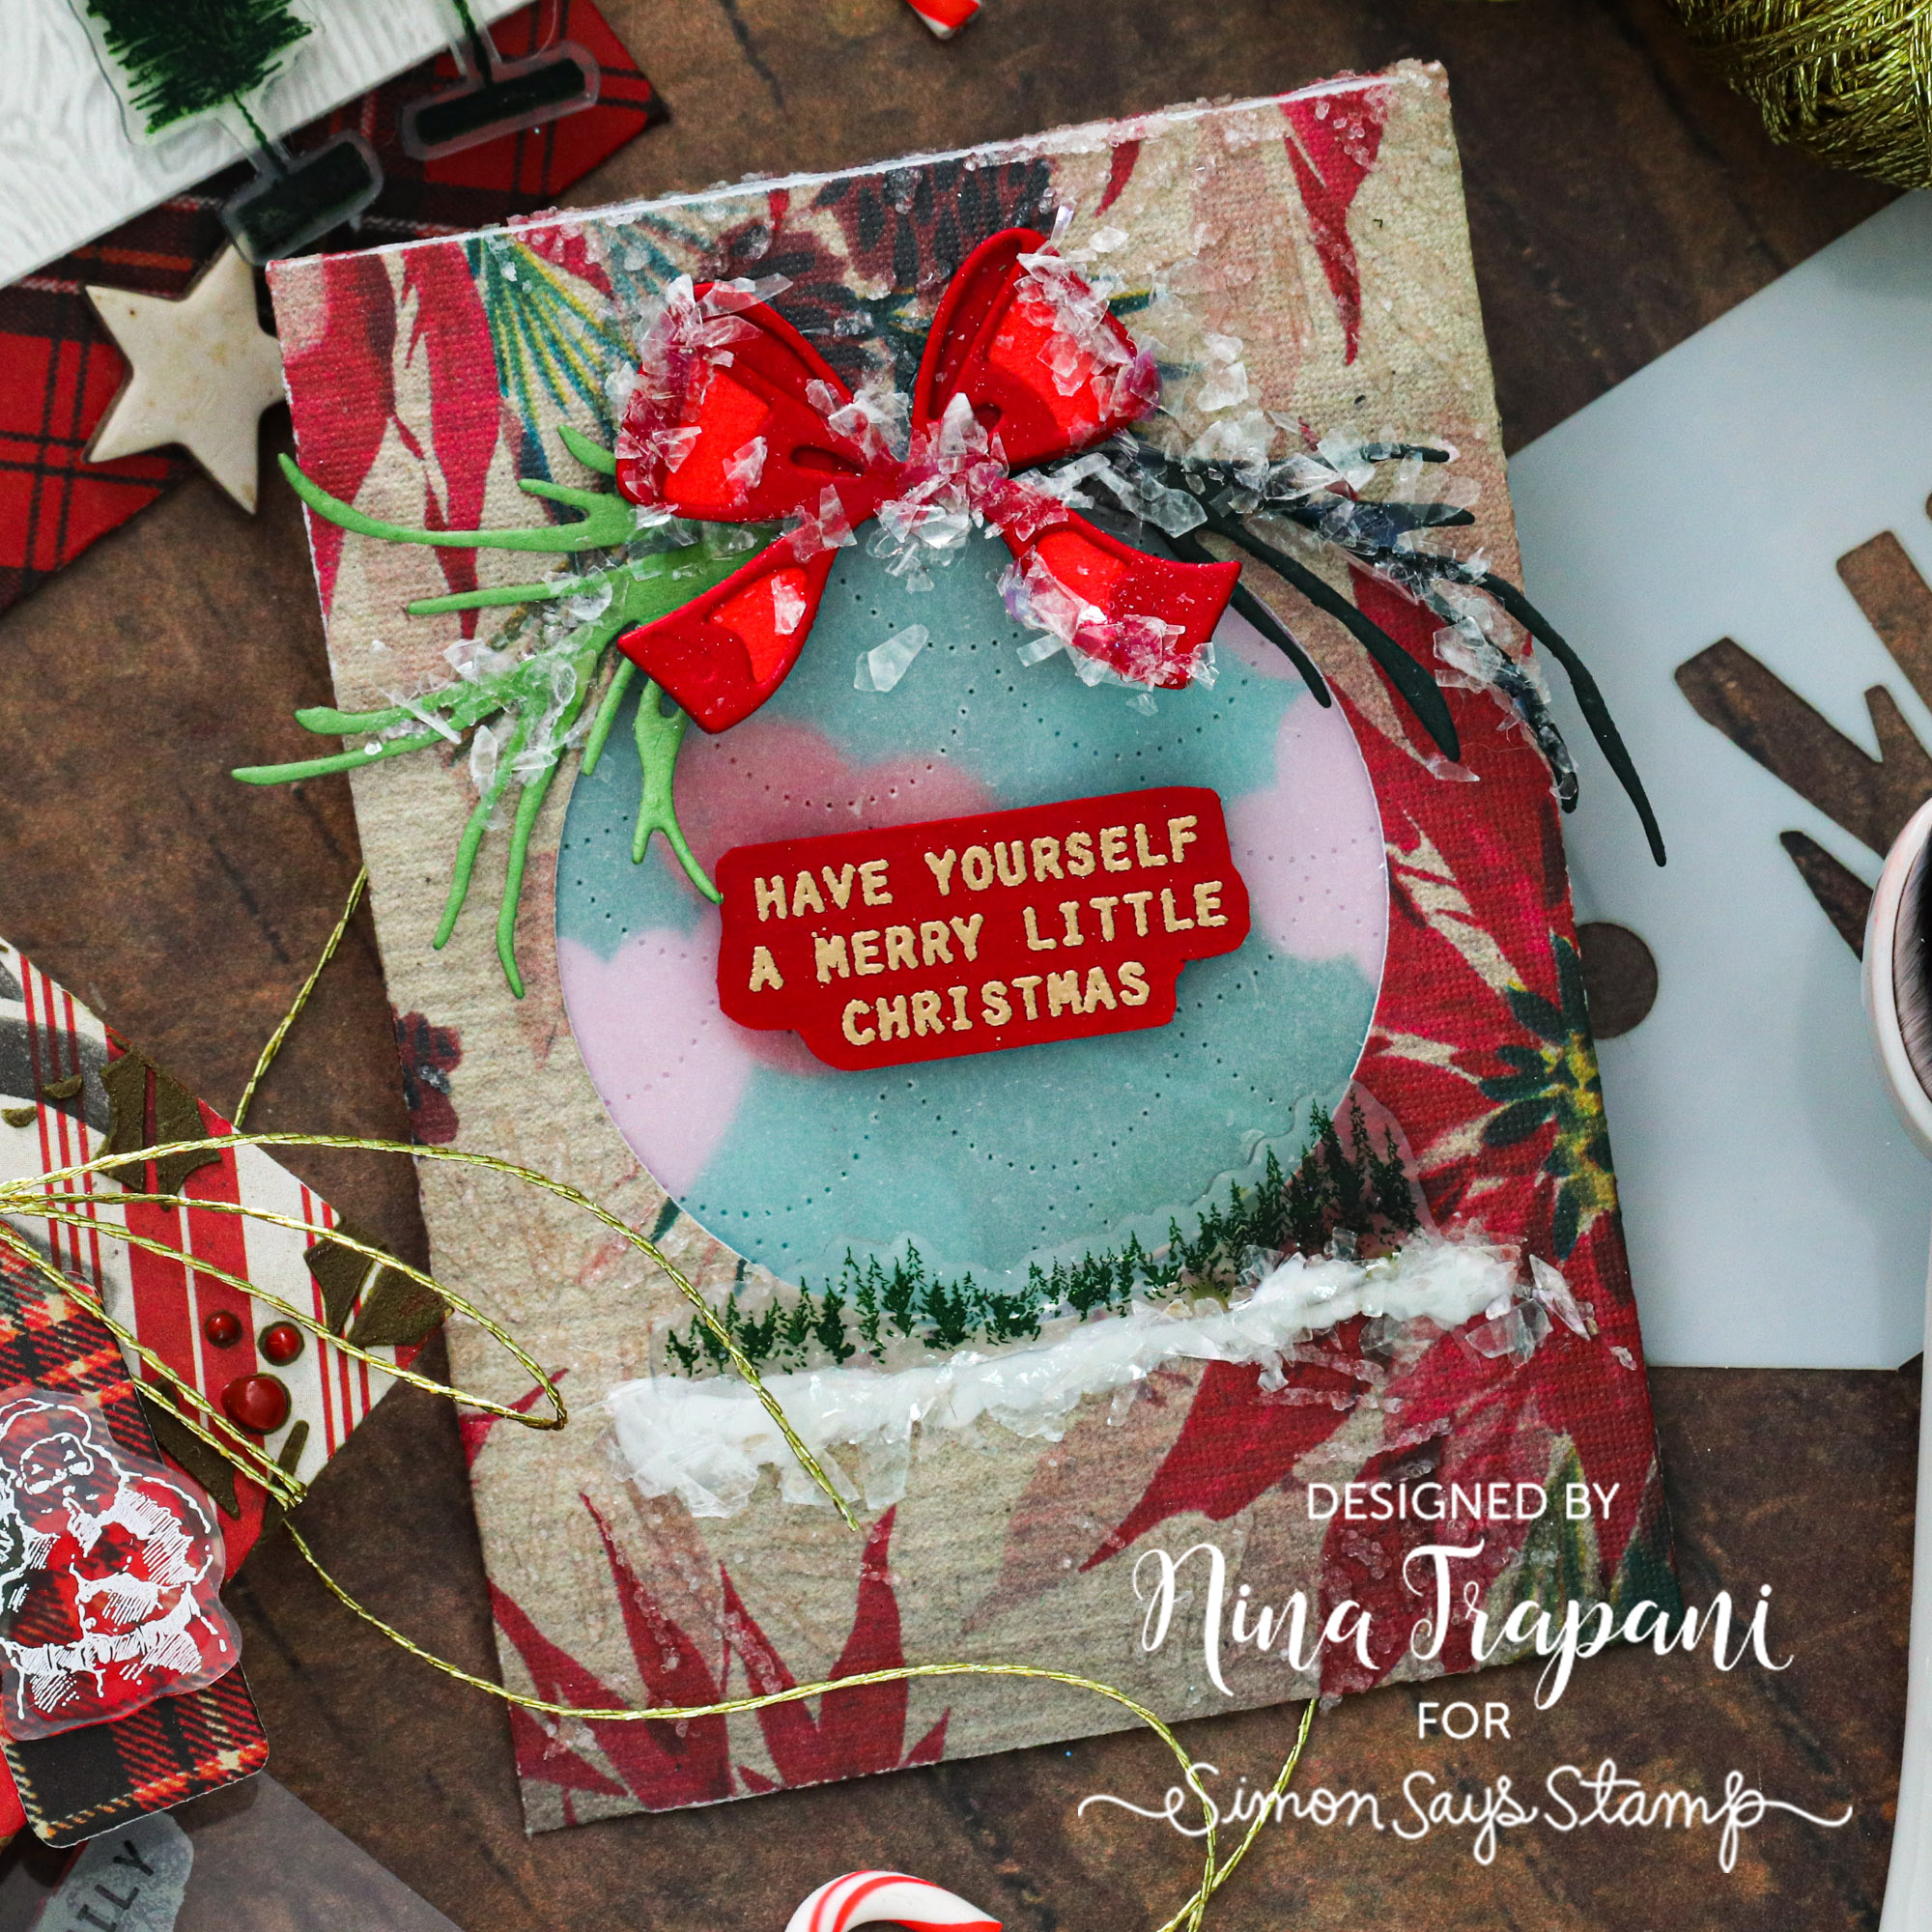
Hello there friends, it’s Nina-Marie Trapani here with a very fun project to share! I’m using new Tim Holtz stamps to create DIY embellishments for my gift card holders. These cute envelopes were made with the Collector die set, which I decorated with a variety of Tim Holtz products. The main focal point of today’s video is going to be showing how to make the shrink embellishments that I stamped with the new Tim Holtz Bottle Brush Trees and Darling Christmas stamp sets!
This vintage tag showcases the tree border from Darling Christmas, which I stamped with StazOn Olive ink. I also added accents with Tim’s Mini Stencil Set #54, Christmas Worn Wallpaper, Yuletide Colorize, Holiday Brushstrokes 3, and Mica Flakes.

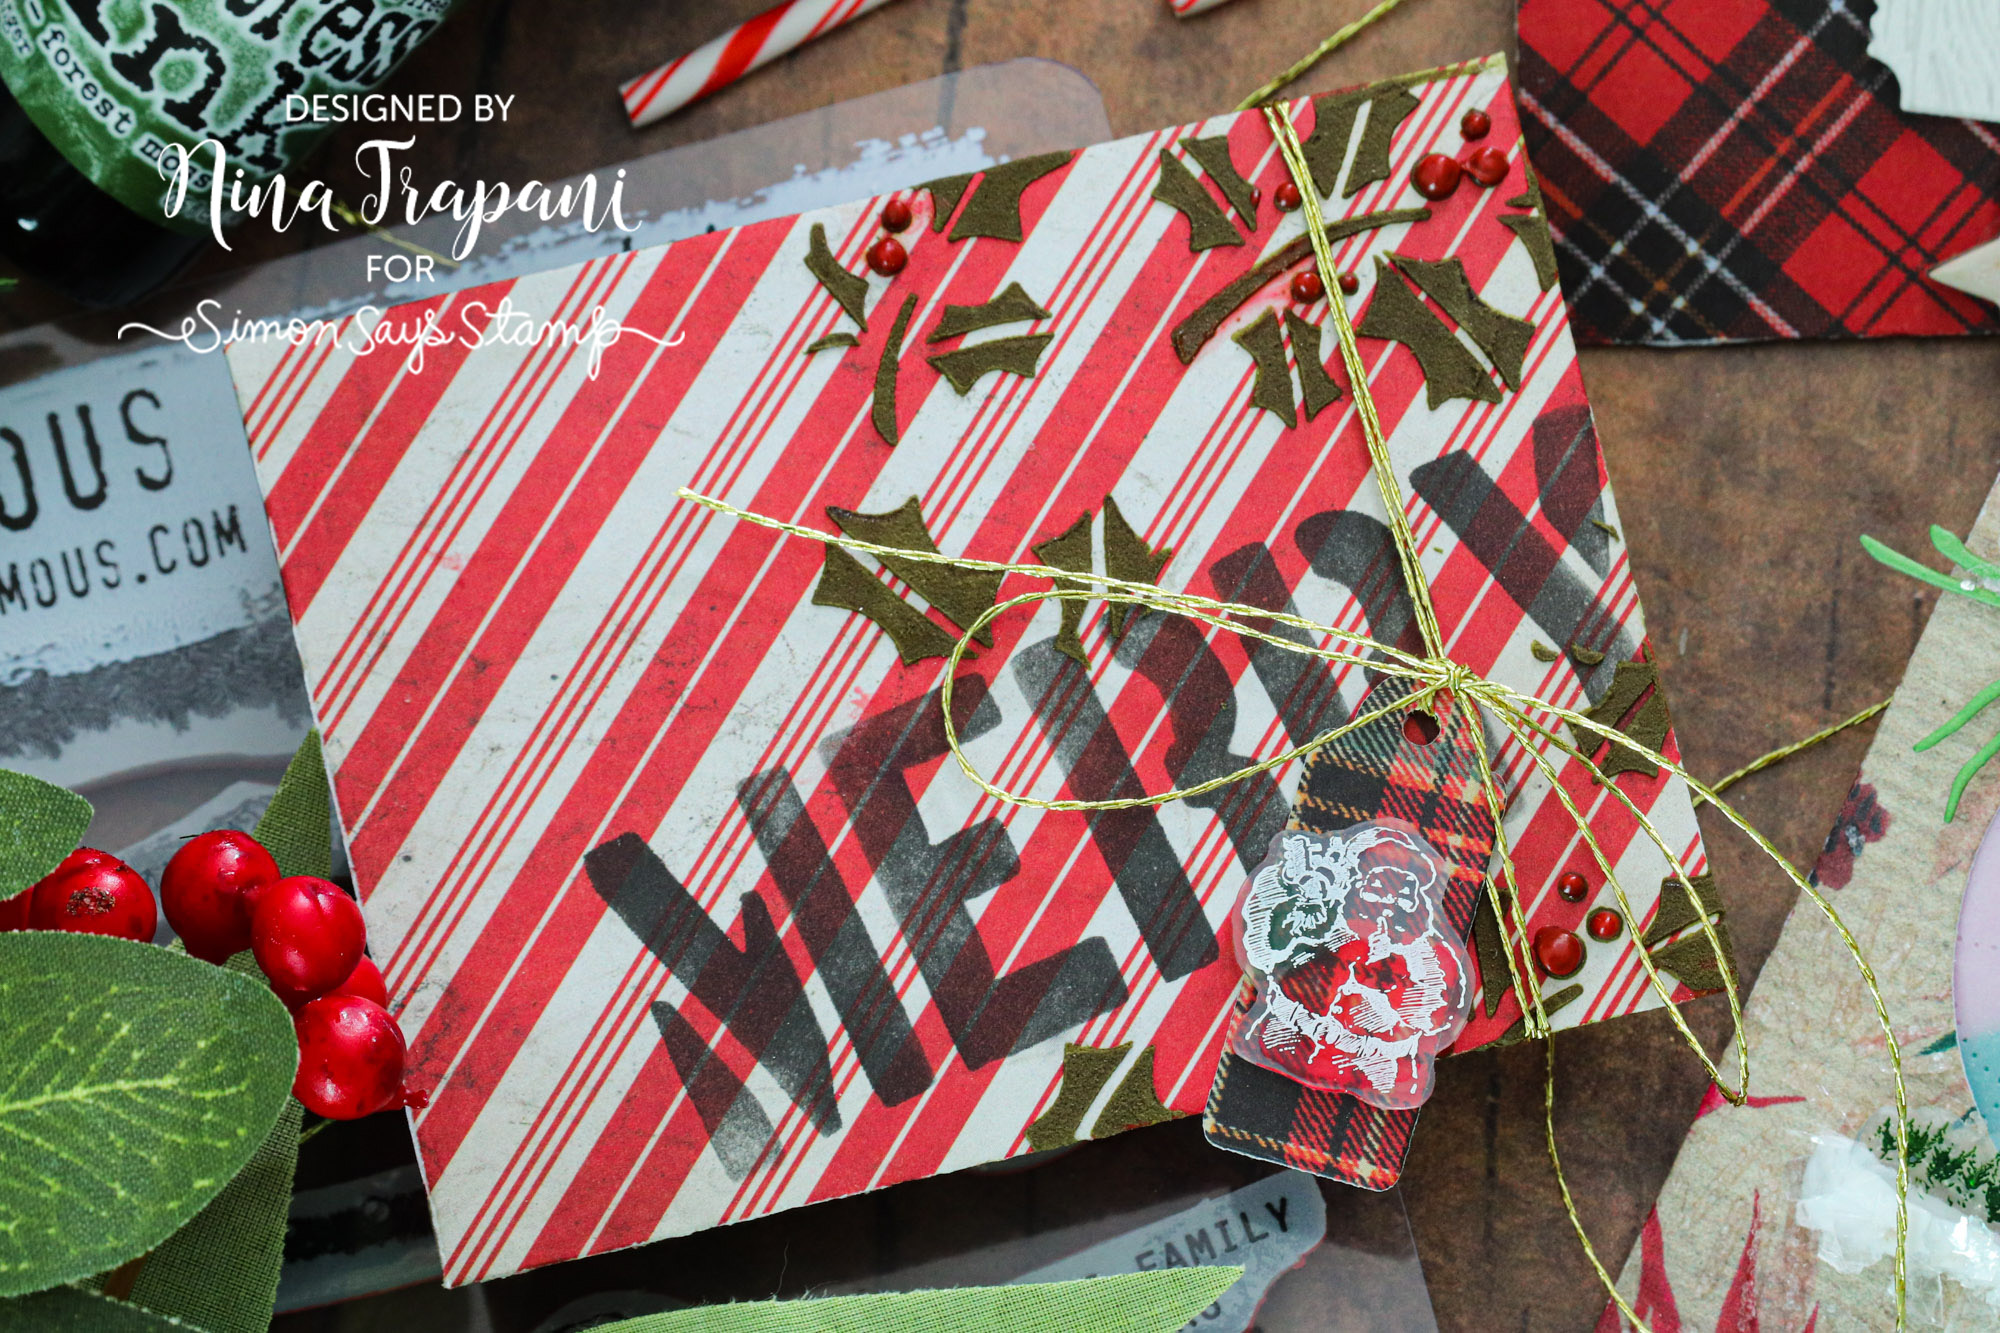
The plaid gift card holder uses the Bottle Brush Trees stamp set to make these darling evergreen embellishments. I incorporated pieces from the Christmas Baseboards pack to accent the envelope made from the Collector die set.
Finally, we have the festive envelope decorated with Christmas Wallpaper and stenciling with the Christmas Elements and Set #54 stencils. I added a sweet, mini Santa tag that I created with an image from the Darling Christmas stamp set and some shrink sheets.
Want to learn more about making these shrink sheet embellishments? Watch the video below for all the details!
WATCH THE VIDEO
SUPPLIES
|


