How To: Dimensional Heart Flowers Tag
Happy Wednesday, friend! Please join me in welcoming back special guest Anna-Karin Evaldson with this gorgeous bright and happy tag tutorial! Read on and enjoy!


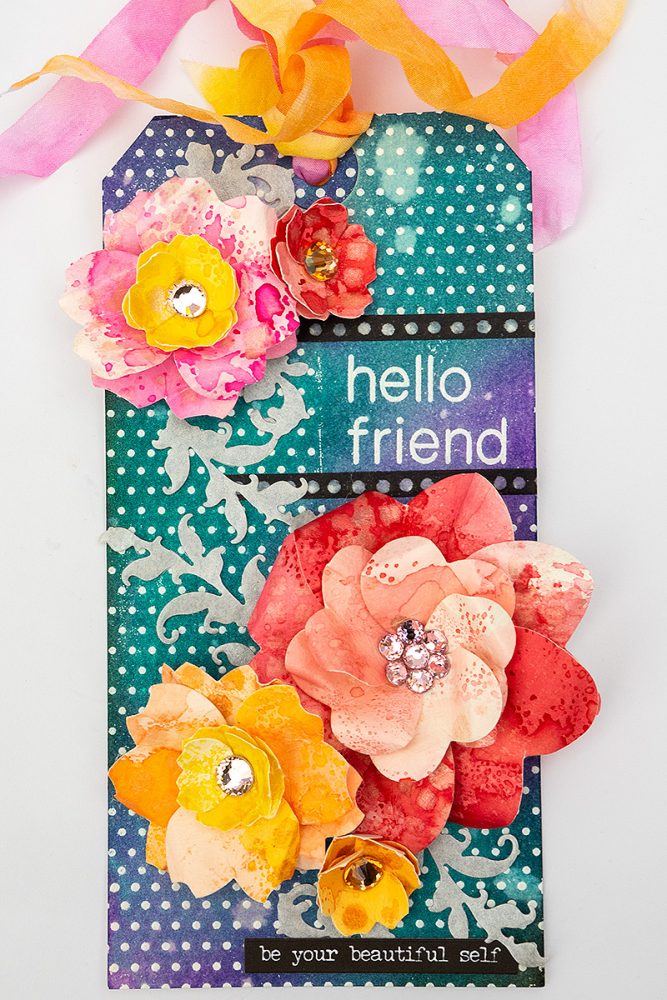
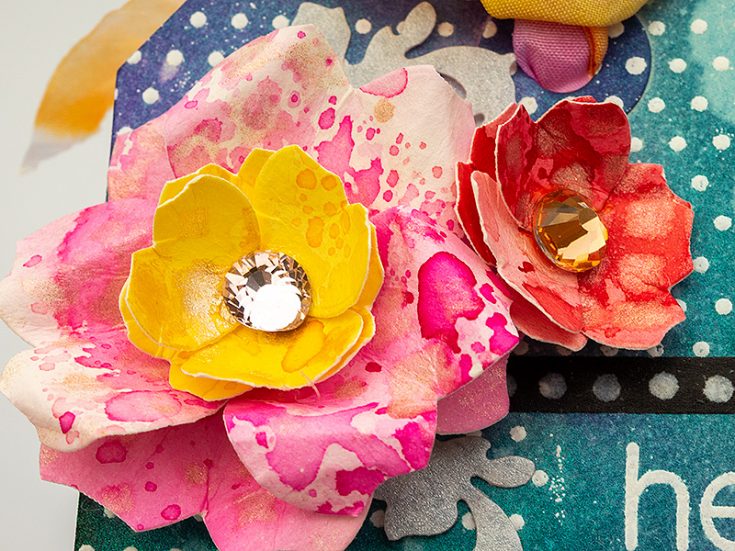
Hi everyone! I am happy to be here on the blog with a fun floral project. I made two kinds of dimensional paper flowers using the same heart die set. You might not be able to see that all these flowers were made with heart dies, unless you look very closely.
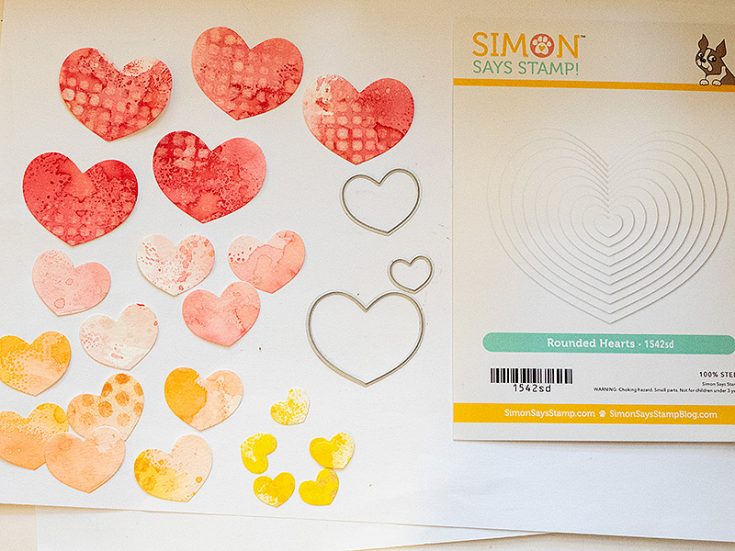
I enjoy thinking of different ways to use dies and here I combined that with another favorite, namely, to make dimensional flowers. The flowers were made with the Simon Says Stamp Rounded Hearts set. Since the set comes with ten heart dies, you can make these flowers in many sizes. Let’s start.
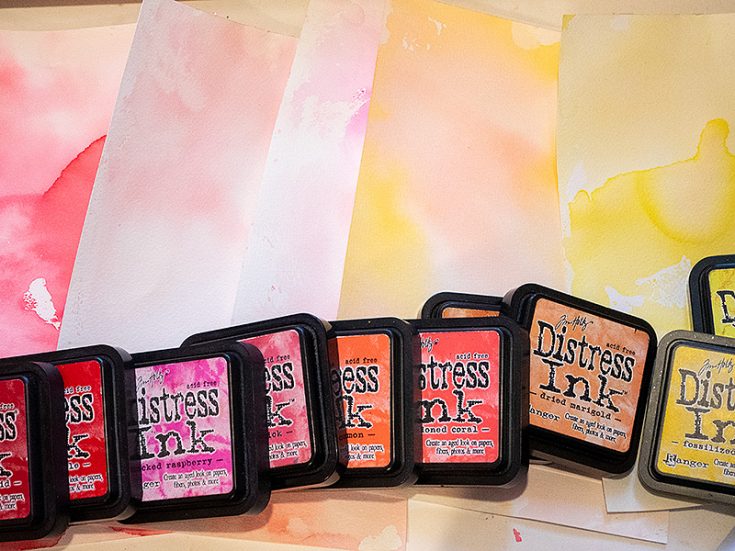
Smear Distress Inks on a non-stick craft sheet, mist with water and press watercolor paper into the ink.
I wanted more color, so when the first layer was dry, I repeated the process, this time also use a little Distress Oxide Ink.
For subtle patterns and shimmer, I misted through various stencils with Distress Spritz Saltwater Taffy, Spiced Marmalade and Antique Linen.
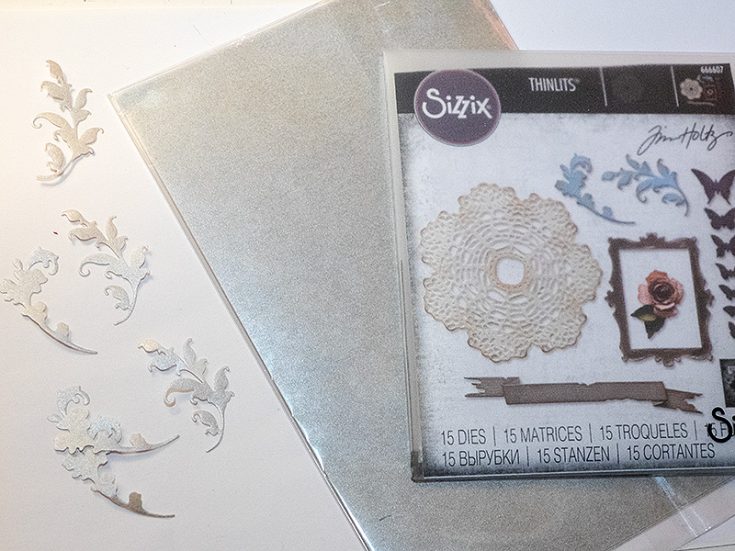
Die cut hearts from the prepared papers. I used five hearts for one of the flower designs and six hearts for the other. I used the three smallest heart dies from Simon Says Stamp Rounded Hearts.
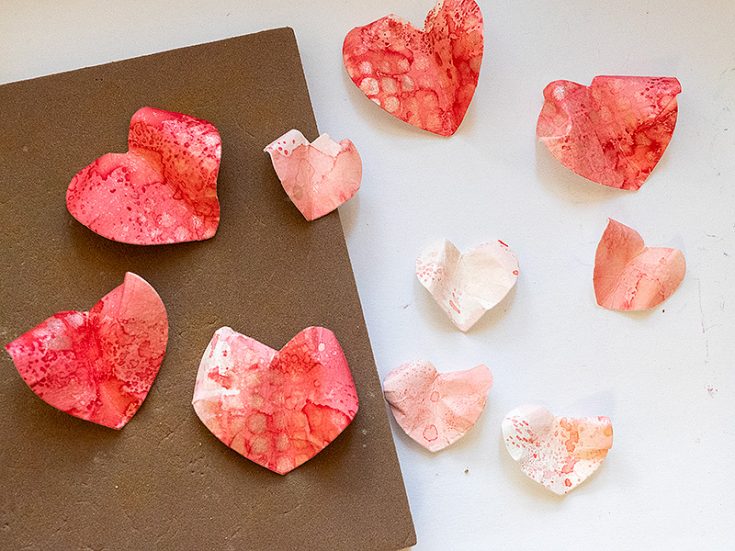
Use Tim Holtz Shaping Kit to add shape to the flowers. Fold, roll and pinch the petals/hearts. They start looking less like hearts and more like petals.
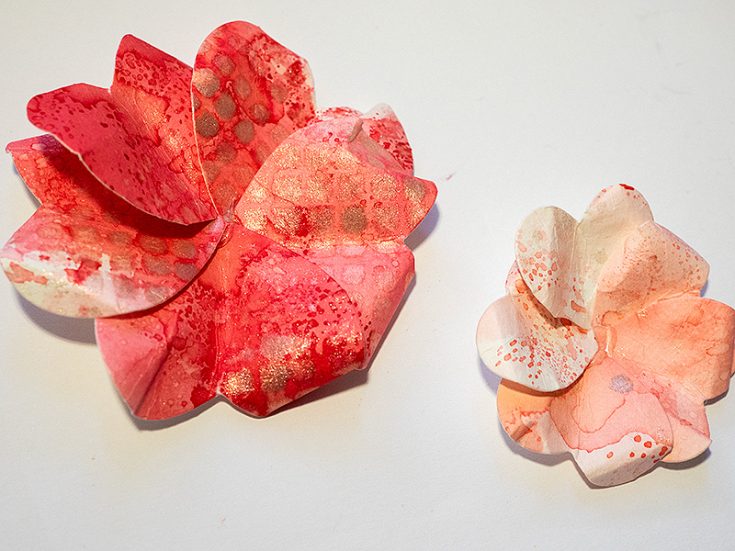
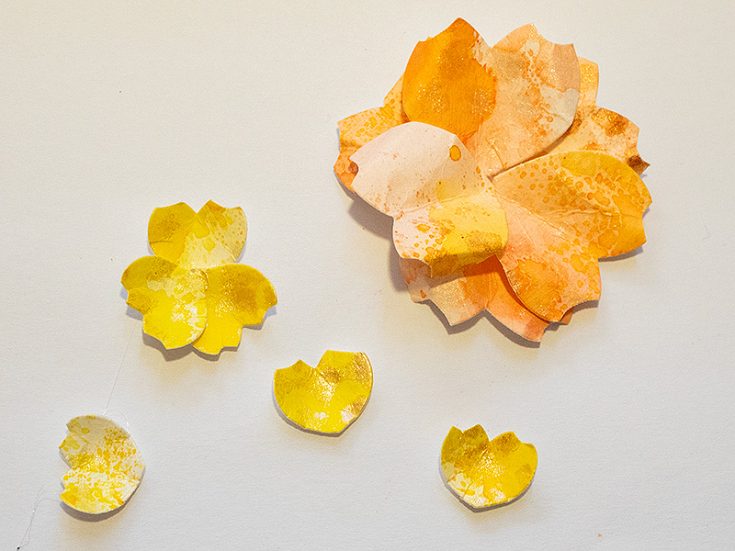
Glue the five hearts together as shown, overlapping on the same side all around the circle.
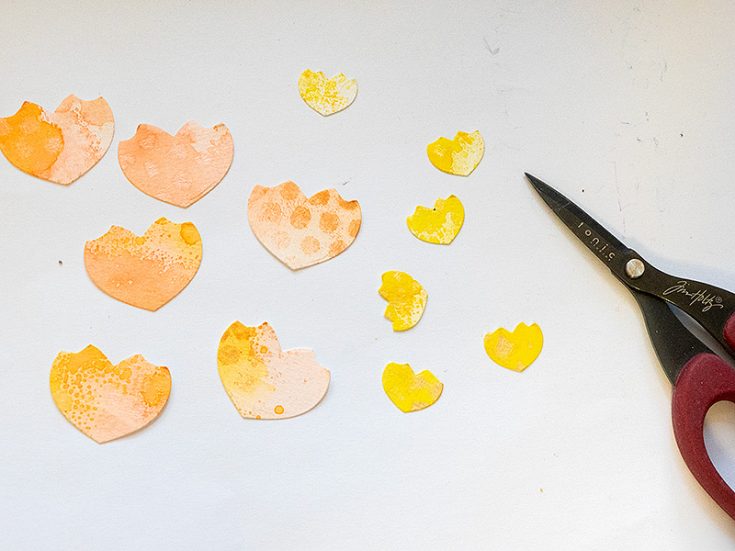
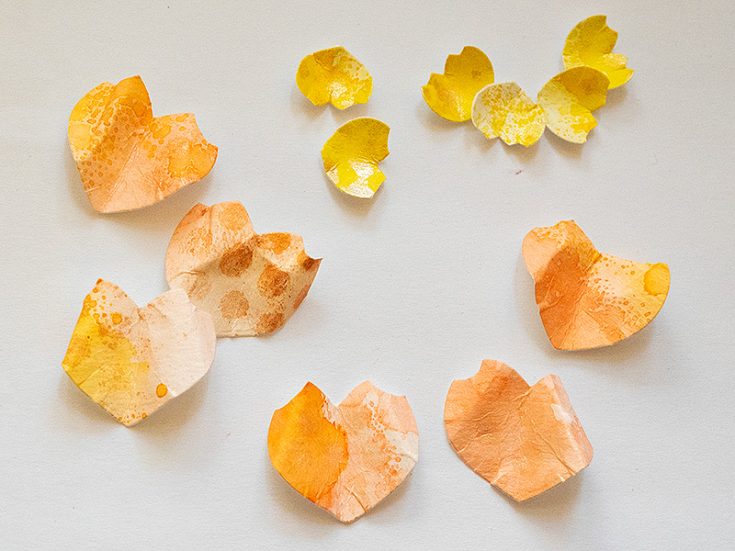
For the second type of flower, I cut two small half-circles from the petals.
Add shape to the petals as before.
Glue three petals together and then add another three on top, making sure to vary the placement so that the petals do not line up.
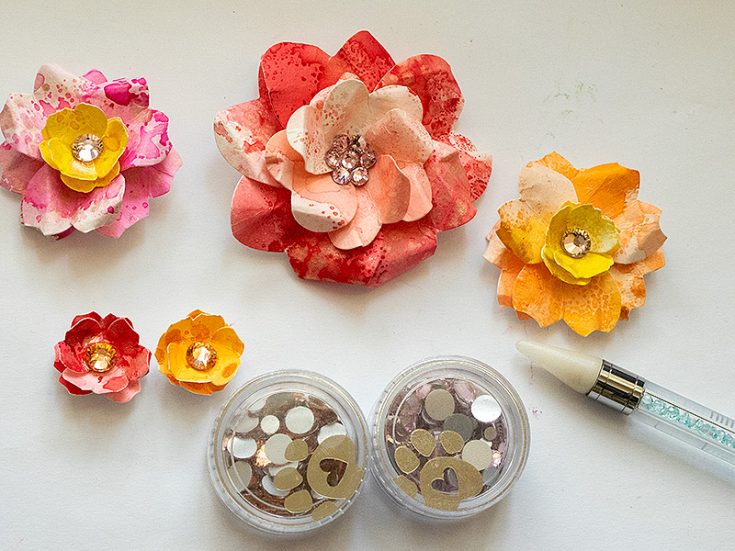
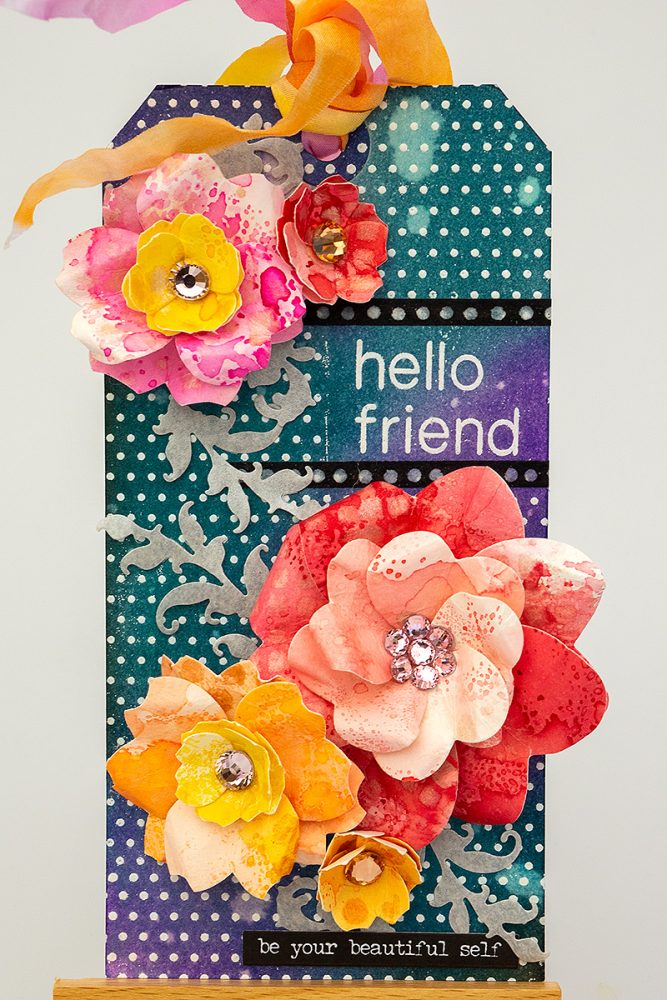
For the flower centres, I used Simon Says Stamp Pawsitively Dazzling Gems: Bubblegum and Peachy. Glue with Simon Says Stamp Pawsitively Perfect Craft Glue and use a Place and Score Embellishment Wand for easy placement.
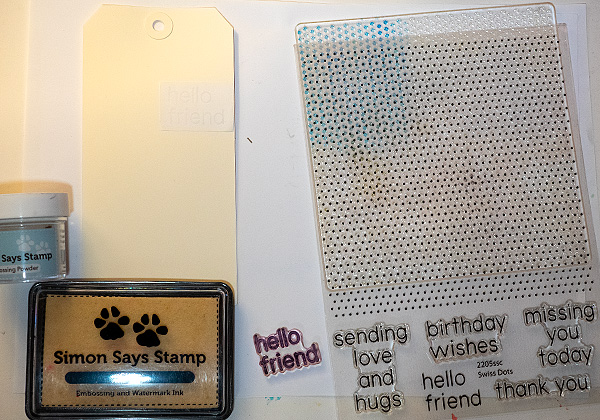
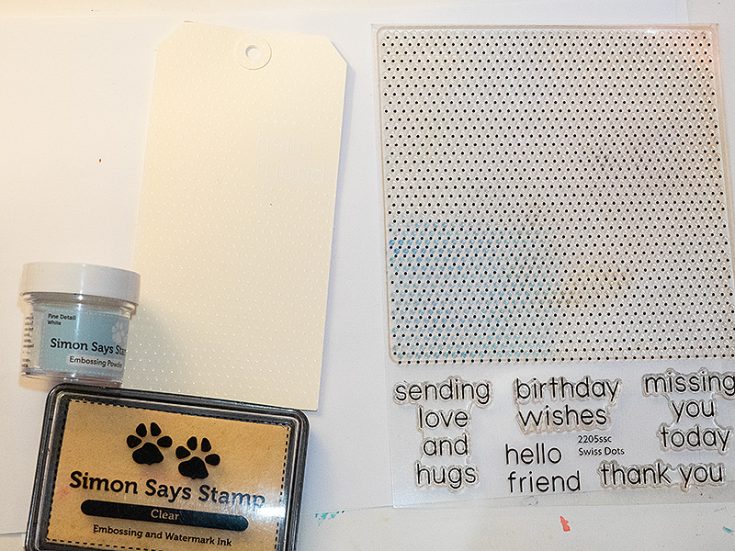
The background is embossed resist. Start by white embossing the sentiment from Simon Says Stamp Swiss Dots and repeat on Simon Says Stamp Masking Paper. Cut the masking paper into a rectangle and adhere over the stamped sentiment.
Stamp and white emboss the Swiss Dots background. Remove the masking paper. My stamping right above the masking paper wasn’t perfect, but I later fixed that with Design Tape.
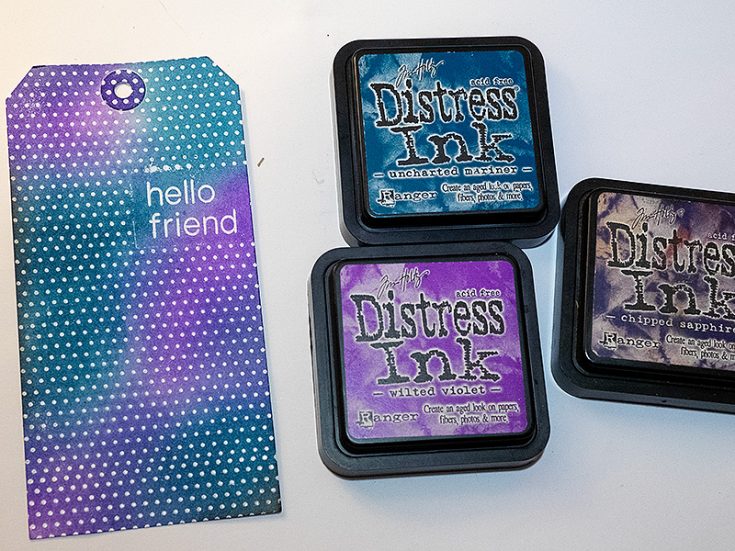
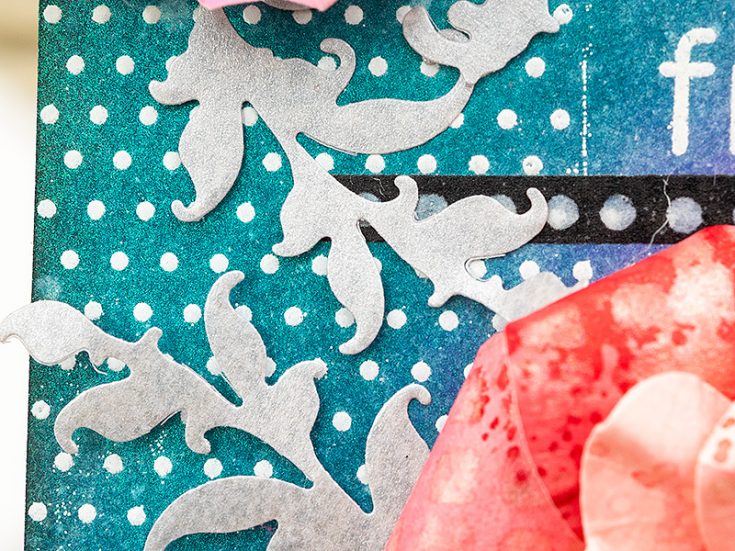
Ink the background with Wilted Violet, Uncharted Mariner and a little Chipped Sapphire.
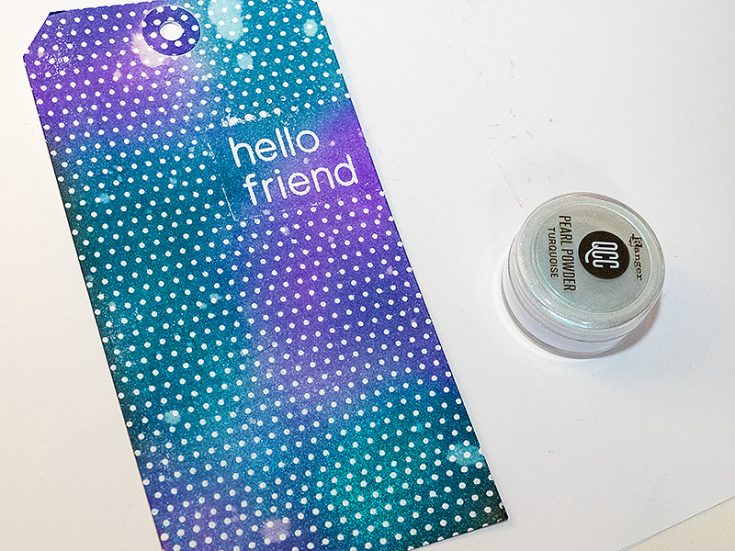
I dusted the entire background with Turquoise Pearl Powder and misted with water, letting some of the water turn into droplets. Dabb off the water droplets.
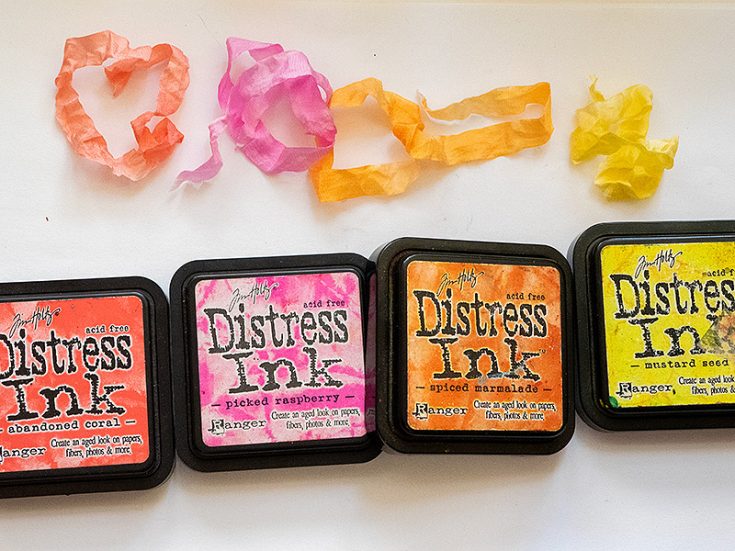
I dyed May Arts White Wrinkled Faux Silk Ribbon with some of the Distress Inks used for the flowers.
Finally, I die cut flourishes with Tim Holtz Vault Boutique set from Simon Says Stamp Silver Vellum paper.
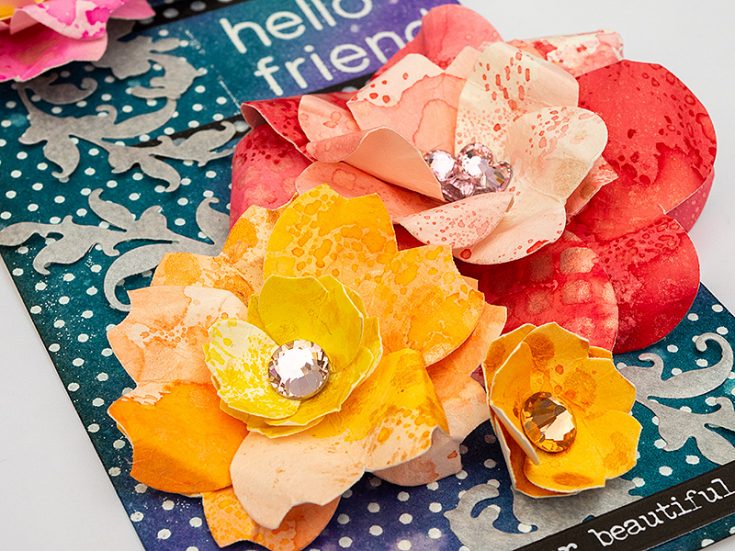
Glue the flowers to the background, letting them overlap slightly.
When you see these flowers, you will probably not think that they were made from hearts, unless you look closely.
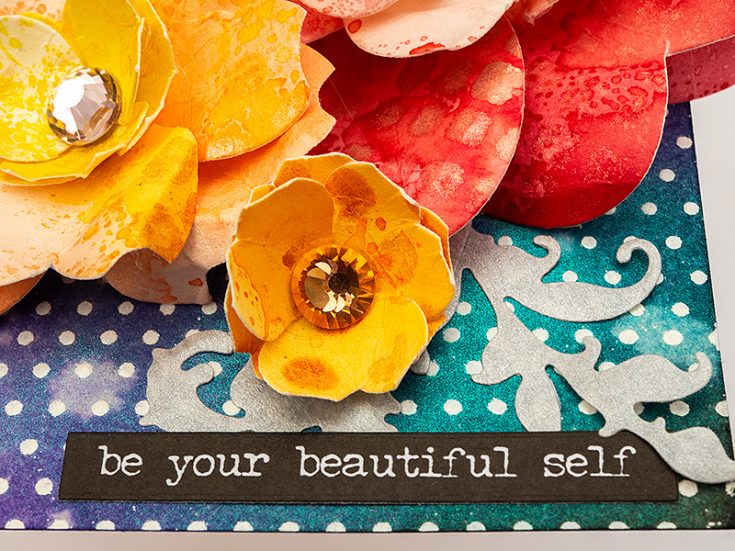
I added a Tim Holtz Small Talk sticker as a second sentiment.
Here you can see the lovely shimmer of the pearl powder and Simon Says Stamp Silver Vellum.
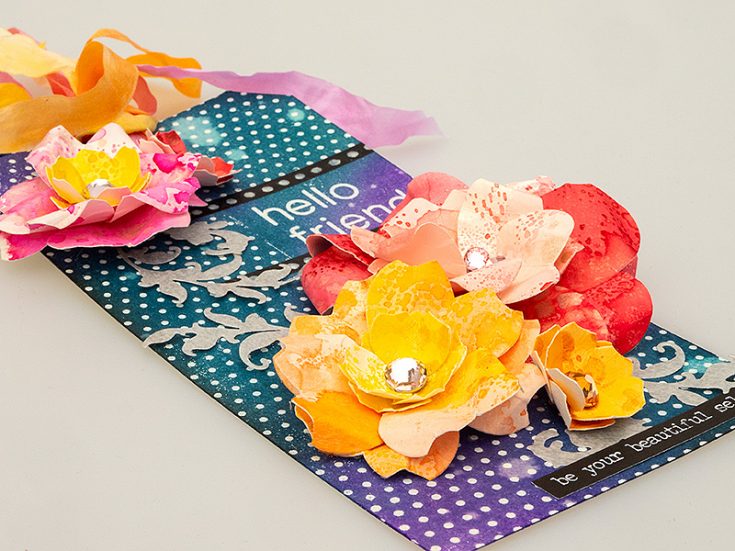
Tuck the flourishes in here and there. As you can see here, the flowers have quite a bit of dimension. If you use the larger flower dies, you can make really big flowers. For another way of using the Simon Says Stamp Rounded Hearts die, check out my Fun with Shrink Sheets tutorial.
I hope this tutorial inspired you to make dimensional flowers and to look at your dies in new ways. Happy crafting! –Anna-Karin
SUPPLIES:
|


A big thank you to YOU our reader, and to Anna-Karin for being our guest today!
The Hemingway Pouch: Your Next Sewing Adventure with Richele Christensen
Hi friend! Happy Wednesday! I’m delighted to welcome back special guest Richele Christensen with this super fun storage pouch idea! Read on for all the details and enjoy!
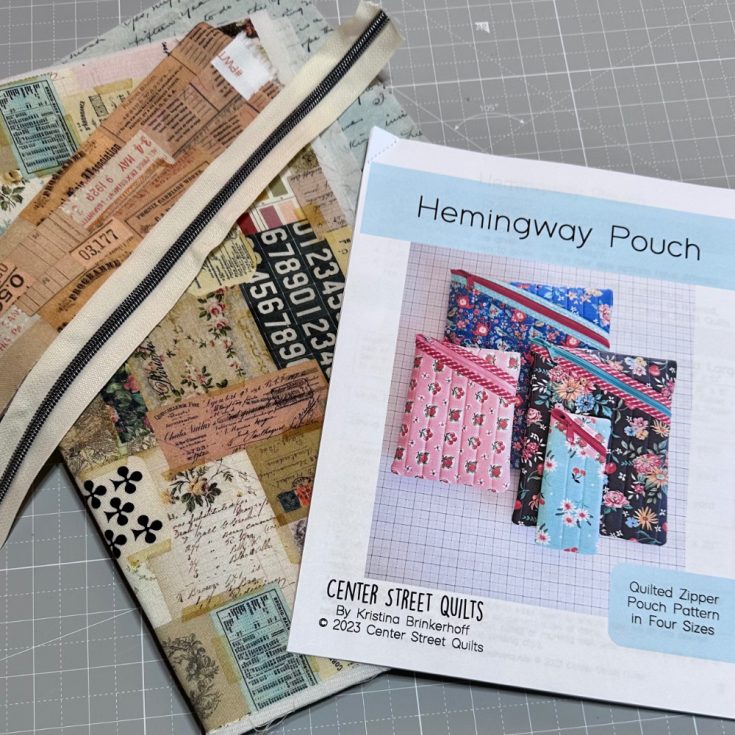
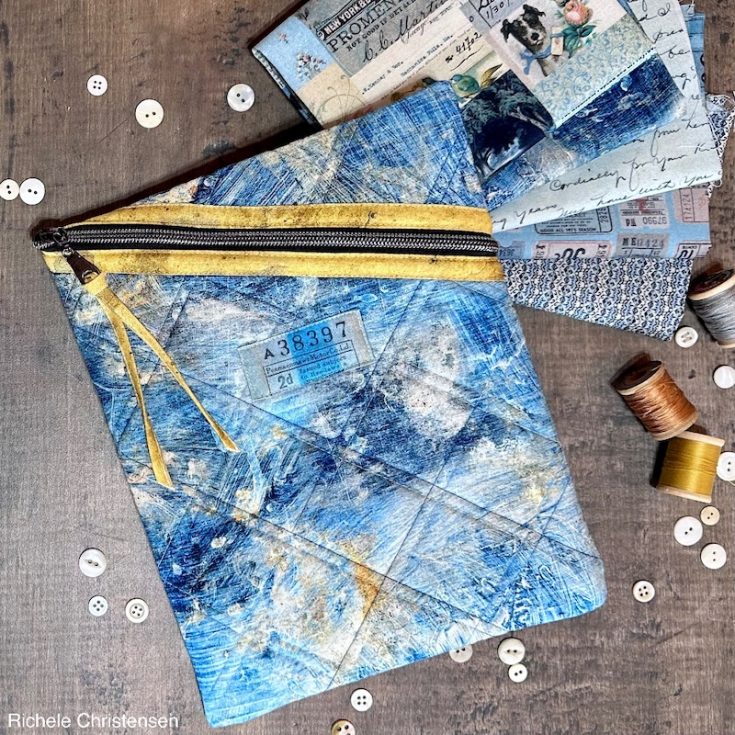
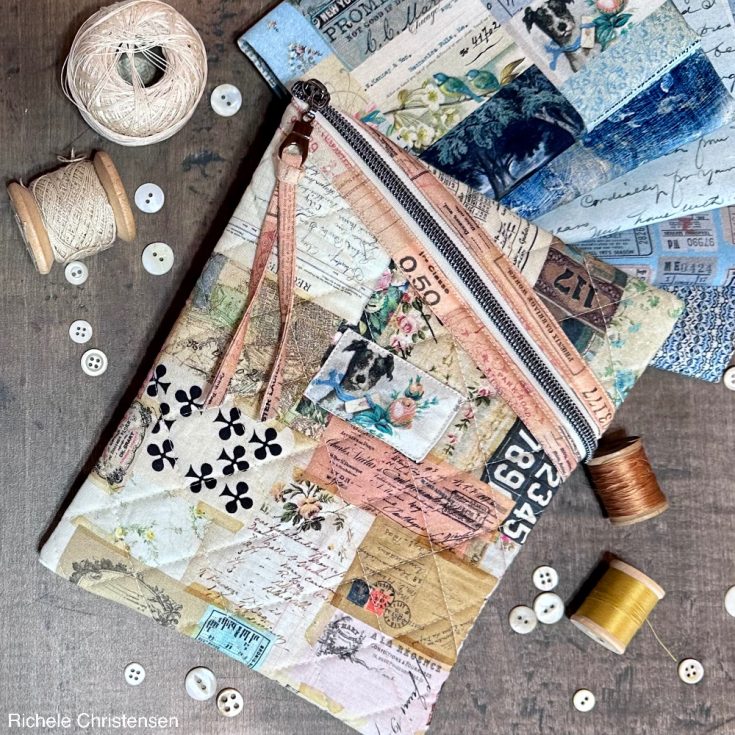
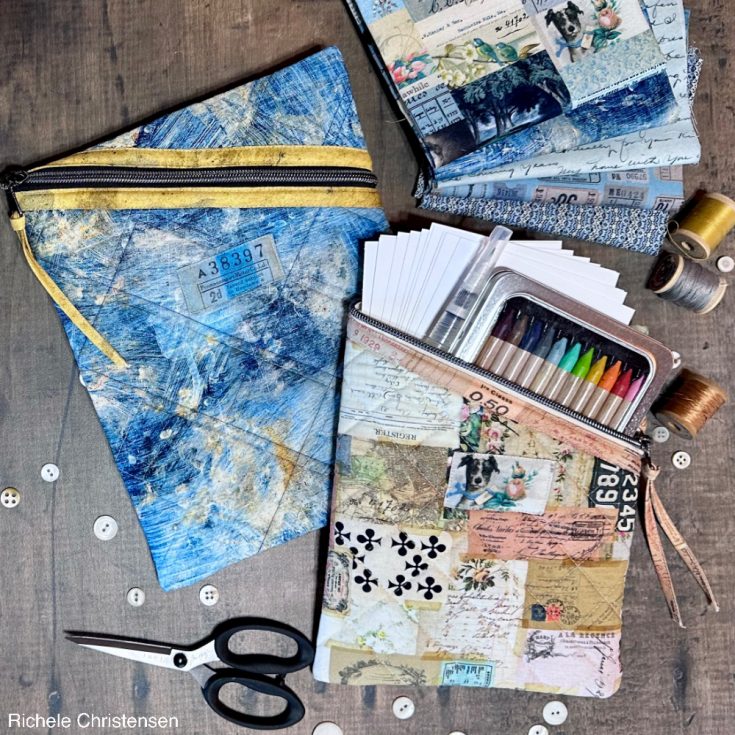
Hello friends! Everyone loves a great pouch and these are so beautiful using the Tim Holtz Palette Collection. Many of the sizes are even Fat Quarter Friendly. The smaller pouch I’ve made uses the Palette Multi Ephemera fabric, it’s one of my favorites for an instant patchwork look with out all the work and I love the soft muted colors. The Hemingway Pouch is by Center Street Quilts and is one of the easiest pouches I’ve made. The instructions are very clear with lots of photos and illustrations. So grab your favorite fabric, Tim Holtz Palette Fabrics of course and get started!
Gather your supplies and cut out the pieces according to the pattern.
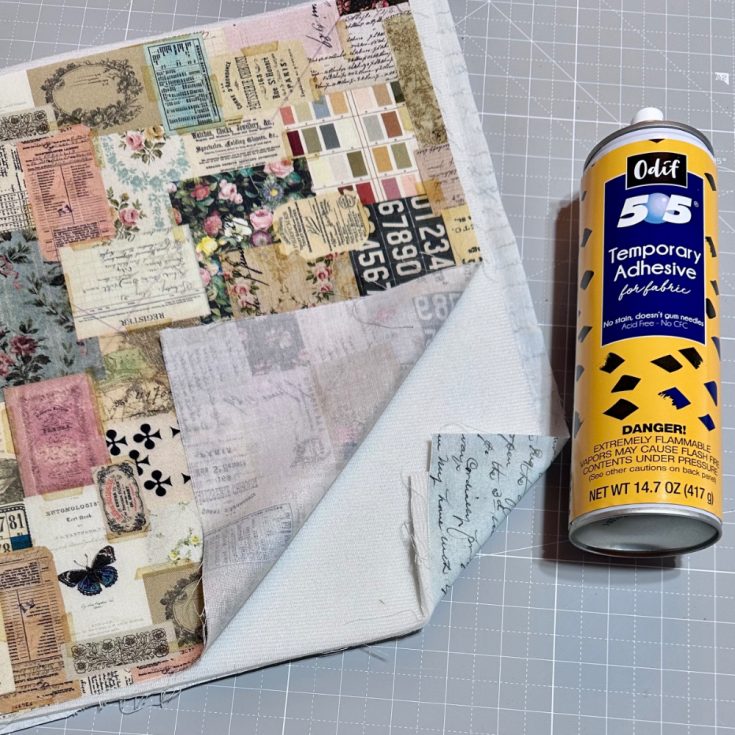
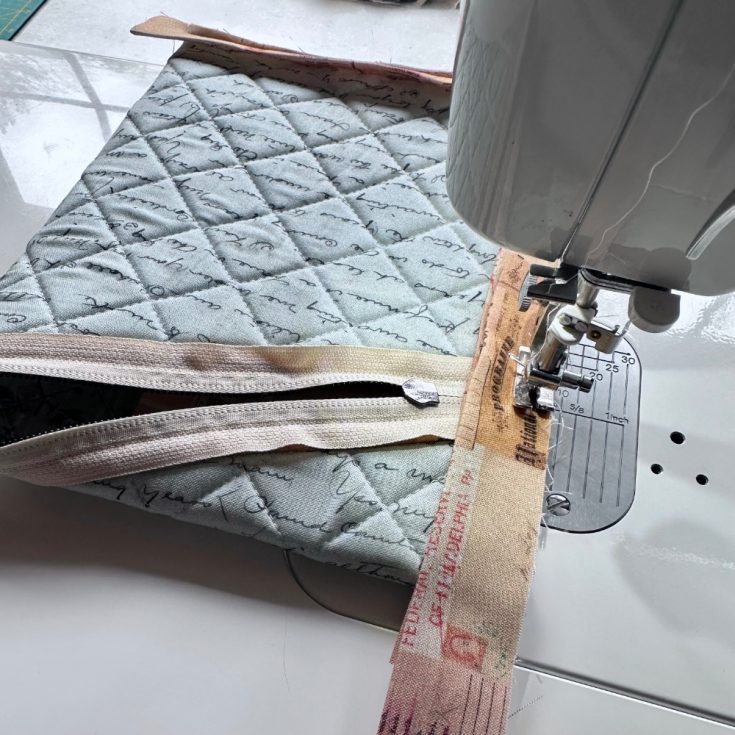
Prepare the pieces for quilting. Here I’ve used a spray adhesive to adhere the layers together with Soft and Staple batting.
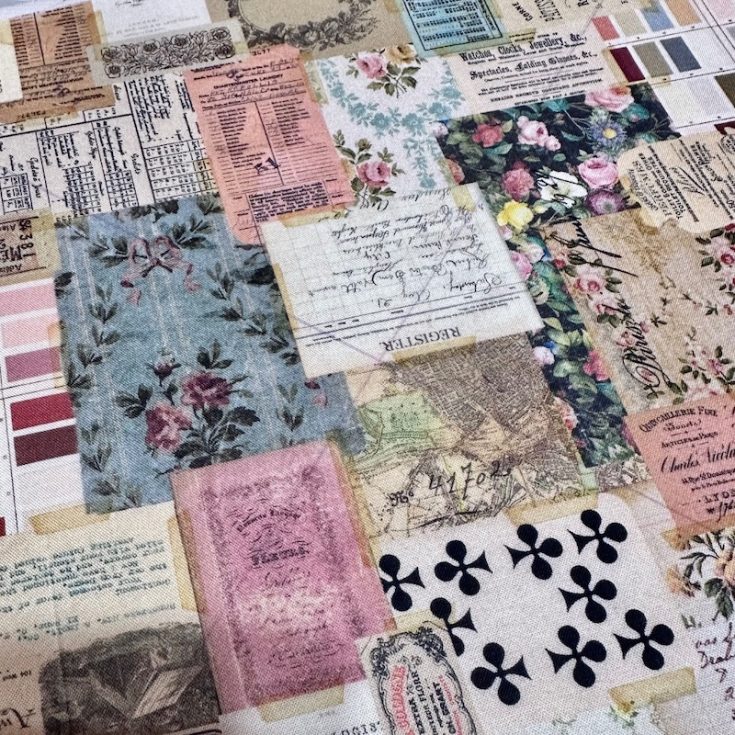
Mark your lines for quilting. The is quilted with a 1 1/4” grid on a 45 degree angle. This is one of my favorites but you could do anything.
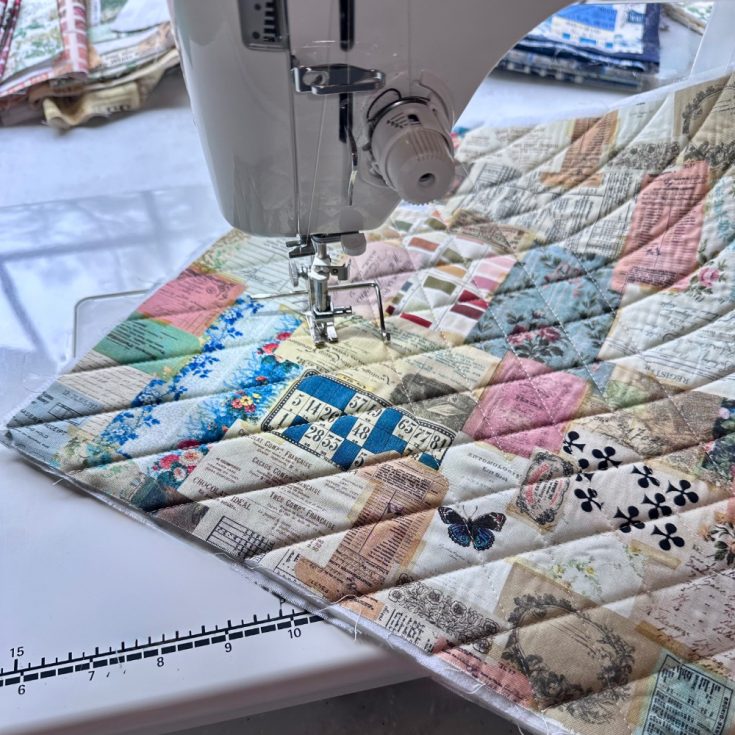

Quilt with a sewing machine or you could hand quilt if you’d like.
Cut the angle as instructed.
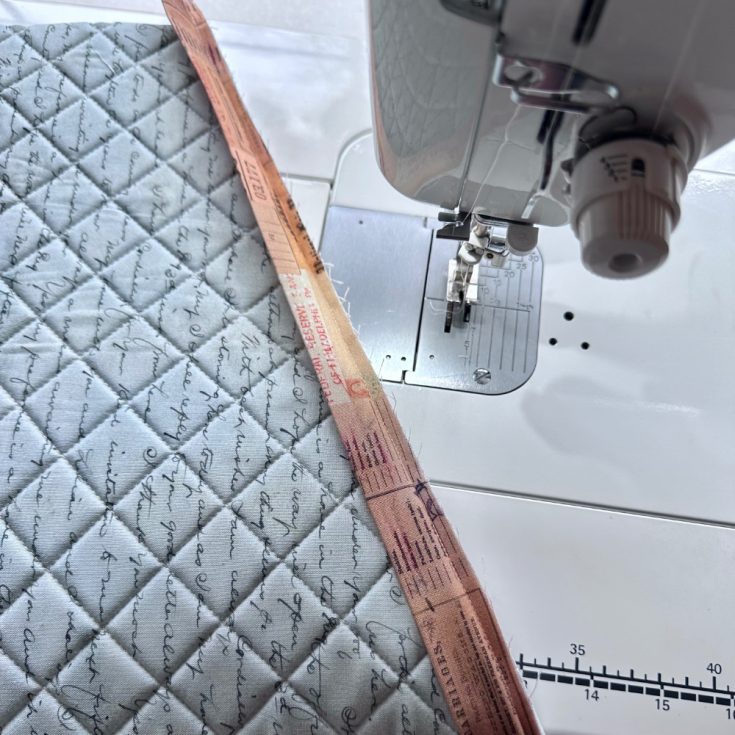
Add the binding to the inside right sides together.
Fold the binding over the raw edge to the front and topstitch 1/8” form the edge. Attach zipper by adding one side of the zipper and stitching 1/8” from the top edge. TIP: Use glue stick to hold your zipper in place.
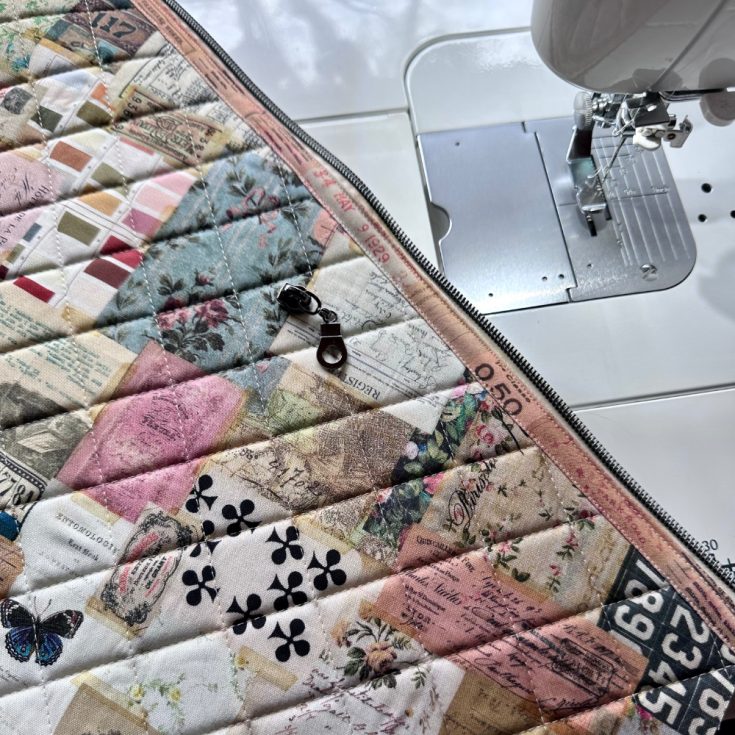
Slide the zipper pull onto the zipper. Leave the zipper open for turning.
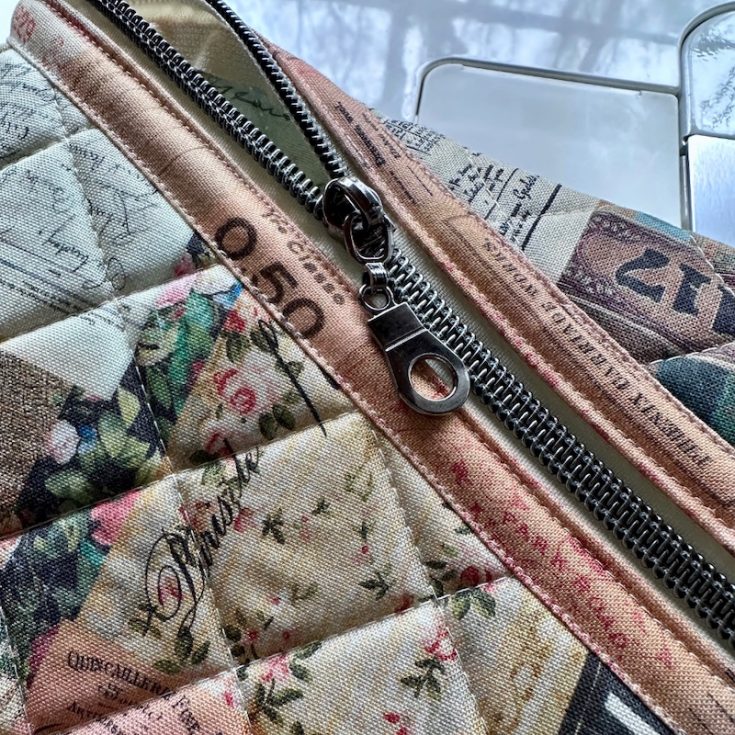
Add the binding to the raw edges. Fold the binding over the raw edge and topstitch 1/8” from the edge.
Turn your pouch right sides out and fill it with your favorite supplies, a book reader or treasures. I can’t wait to see your Hemingway Pouches. Thanks for stopping by and happy sewing!-Richele
SUPPLIES:
|


A big thank you to YOU, our reader — and to Richele for being our guest!
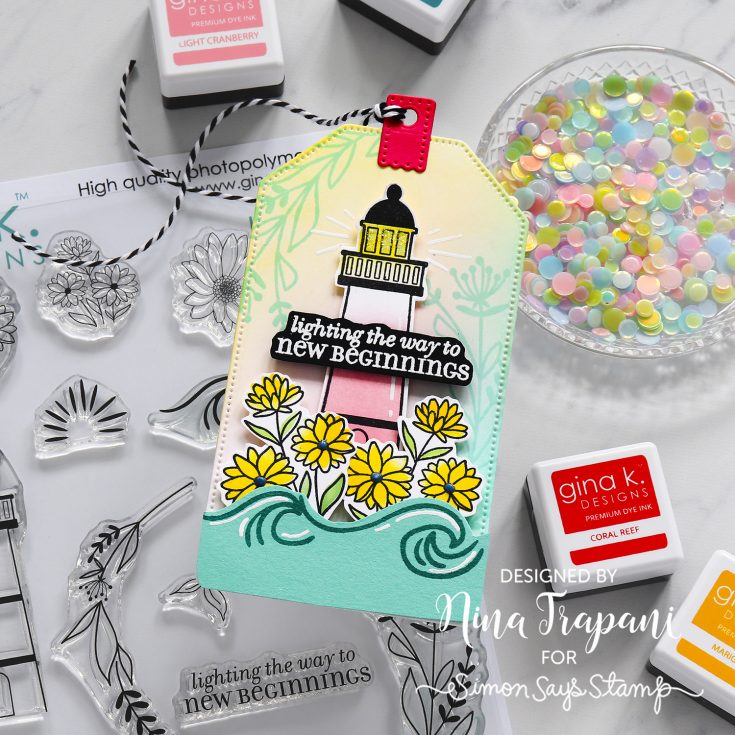
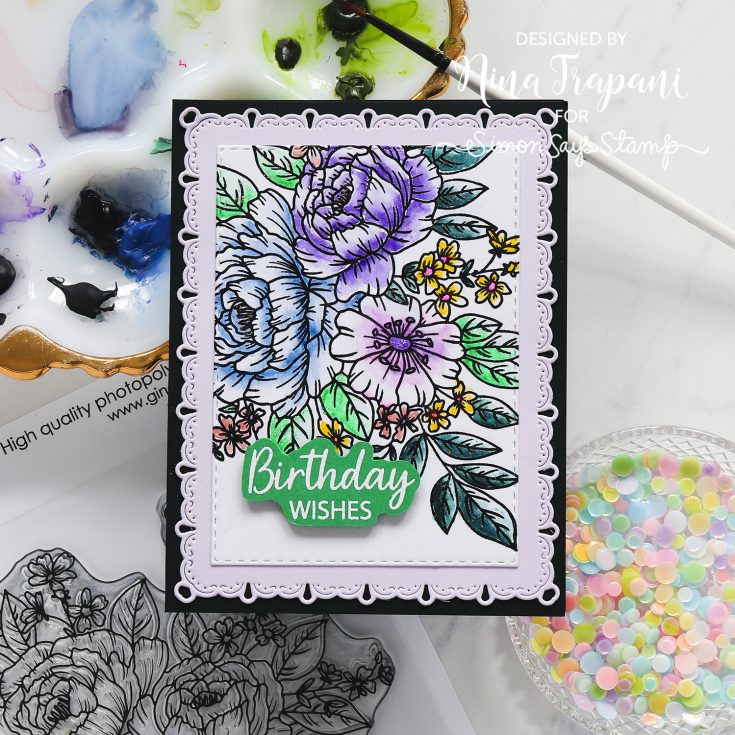
NEW Gina K Designs March 2026 Collection is HERE!
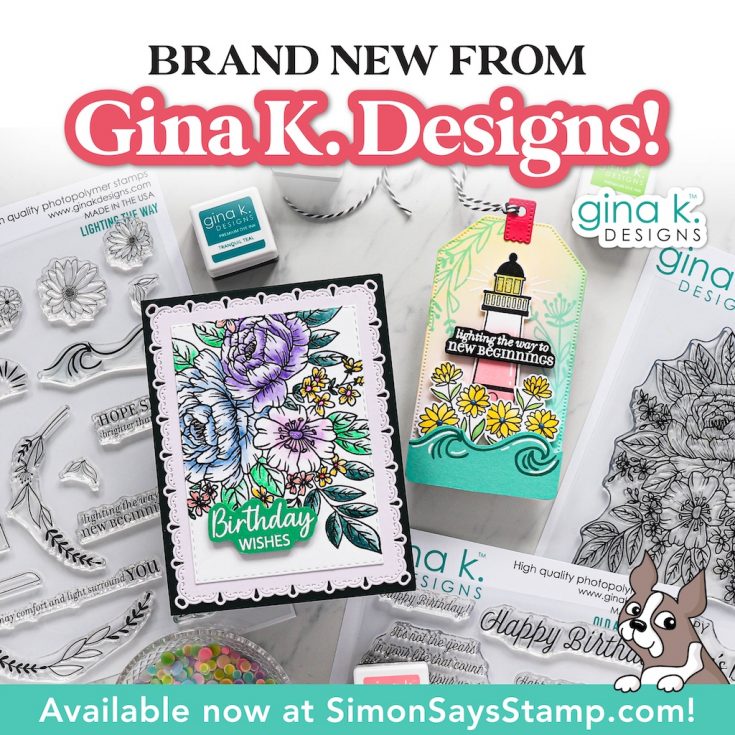
Hey crafty friends! It’s a happy day—the brand-new Gina K Designs March 2026 Collection has arrived! Click or tap here to see all the fresh, fabulous finds!
Need a little creative spark? Scroll on—new inspiration waiting for you!