Holiday Sparkle Blog Hop 2!
Hello, friends, and welcome to day two of our Holiday Sparkle release blog hops! If you missed yesterday’s hop, be sure to circle back and check it out HERE.
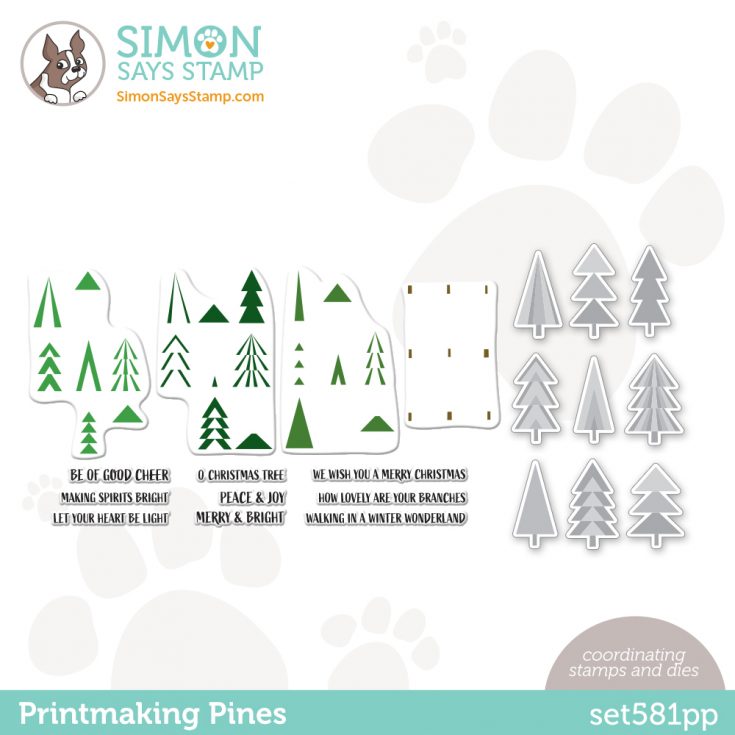
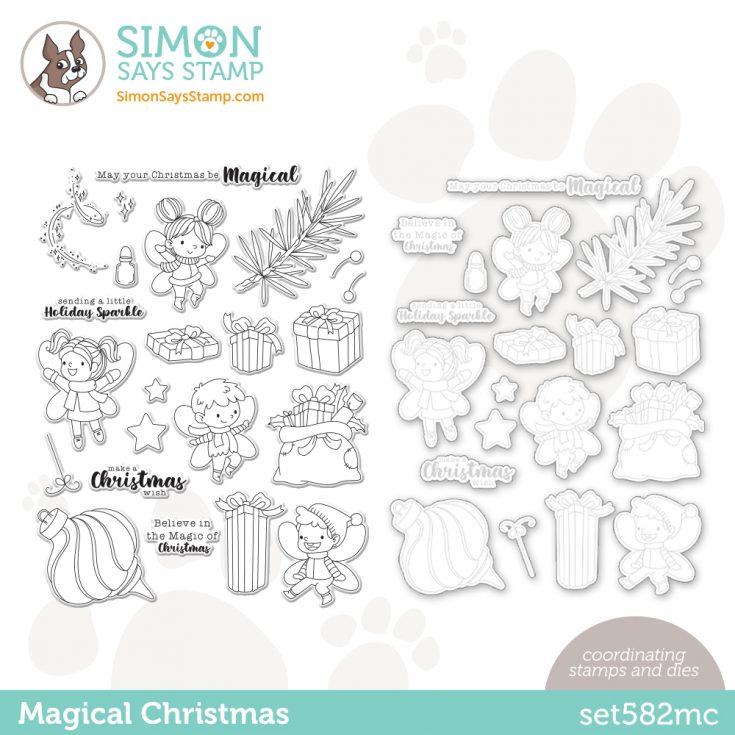
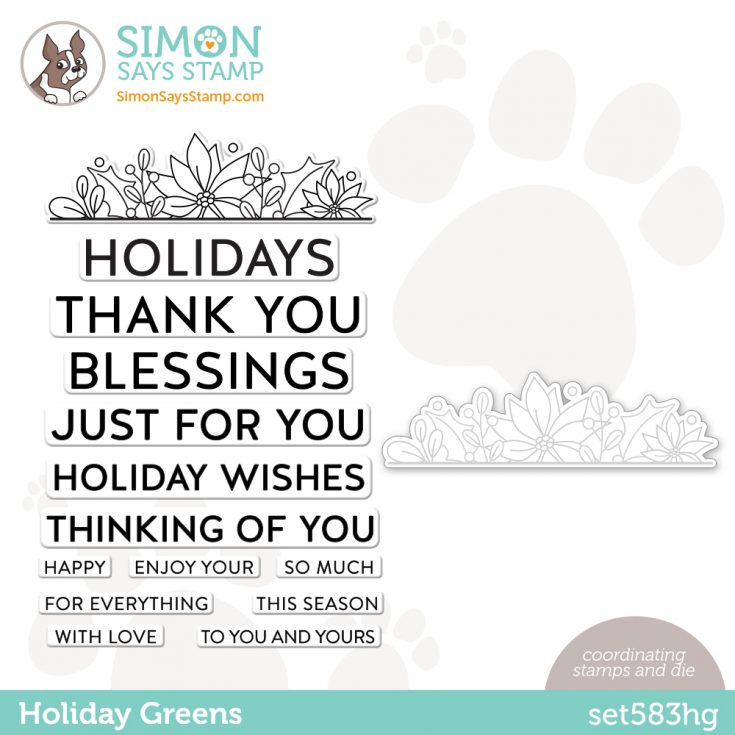
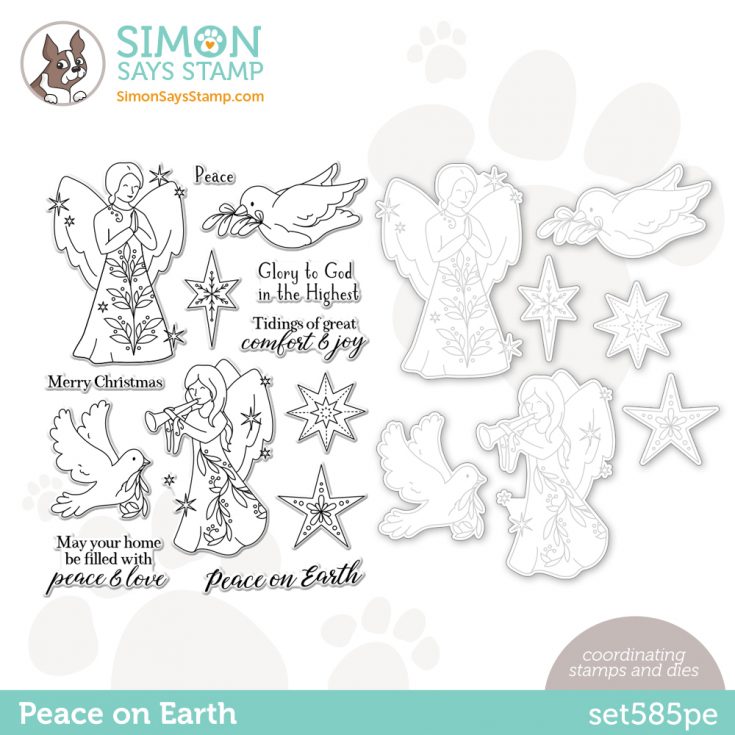
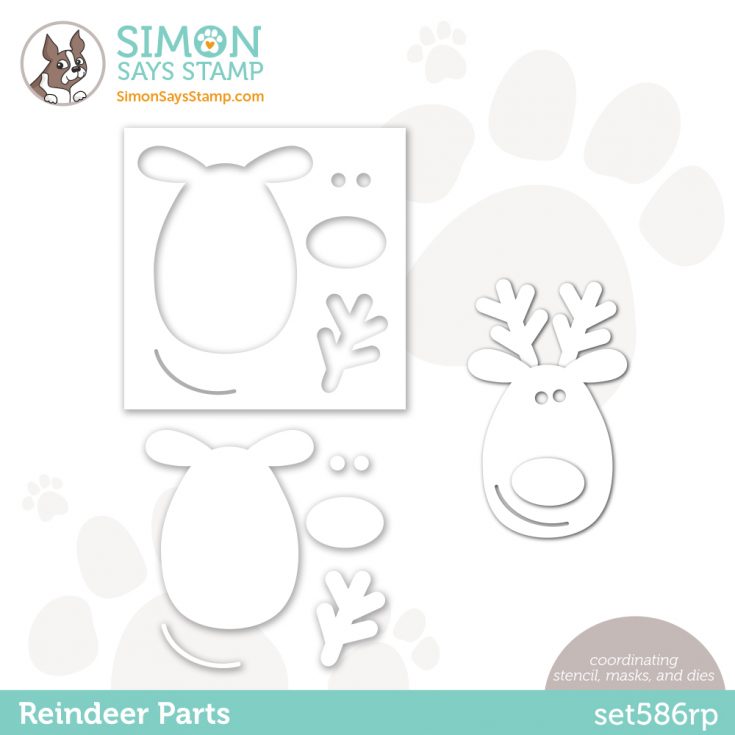
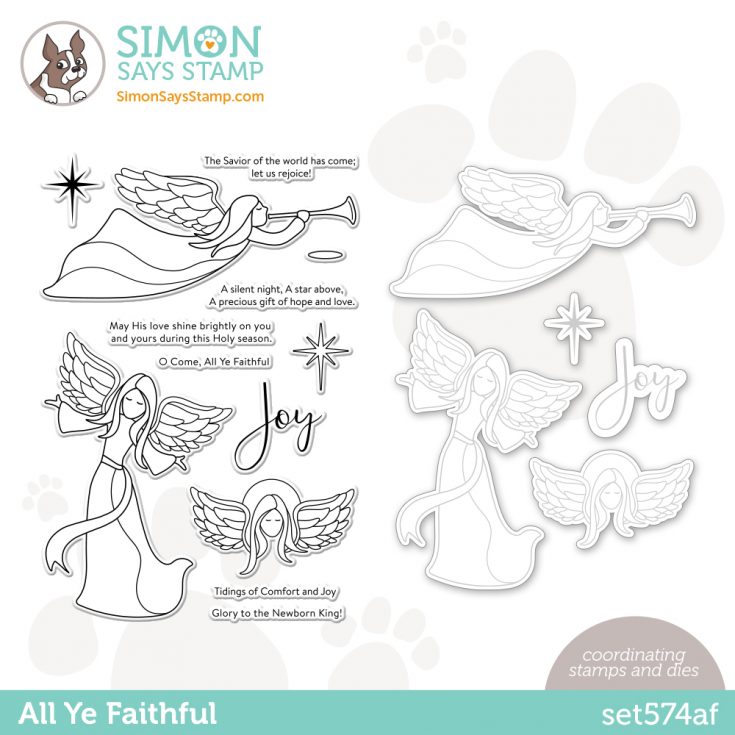
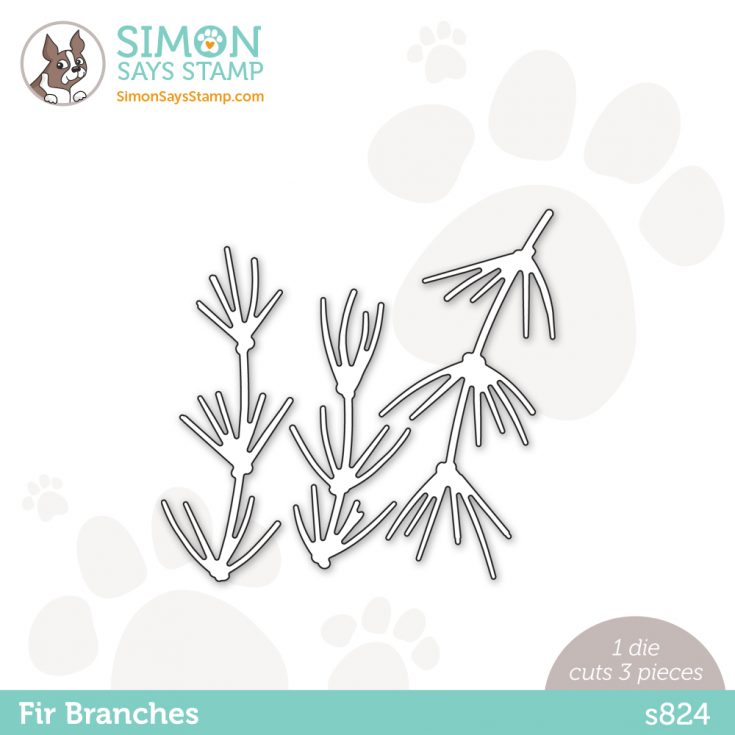
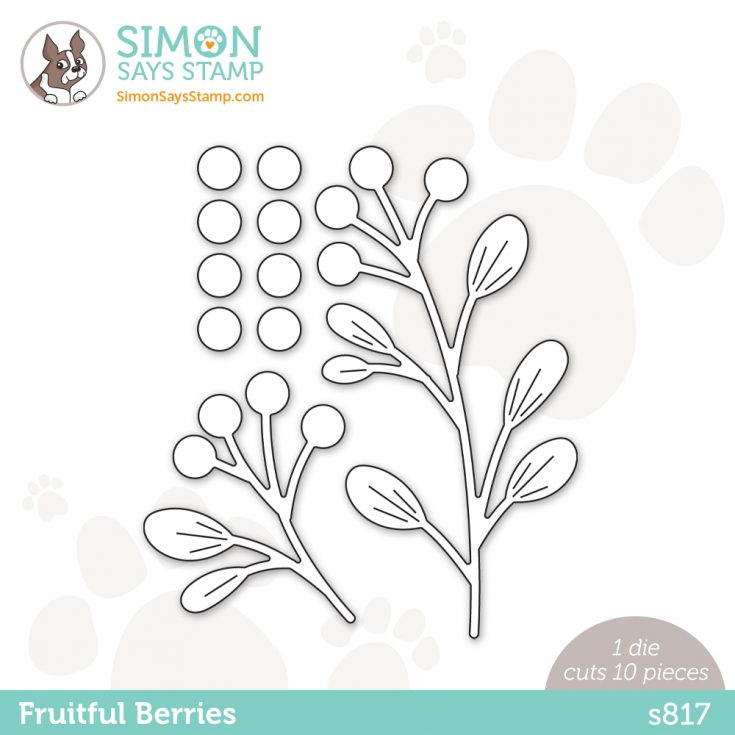
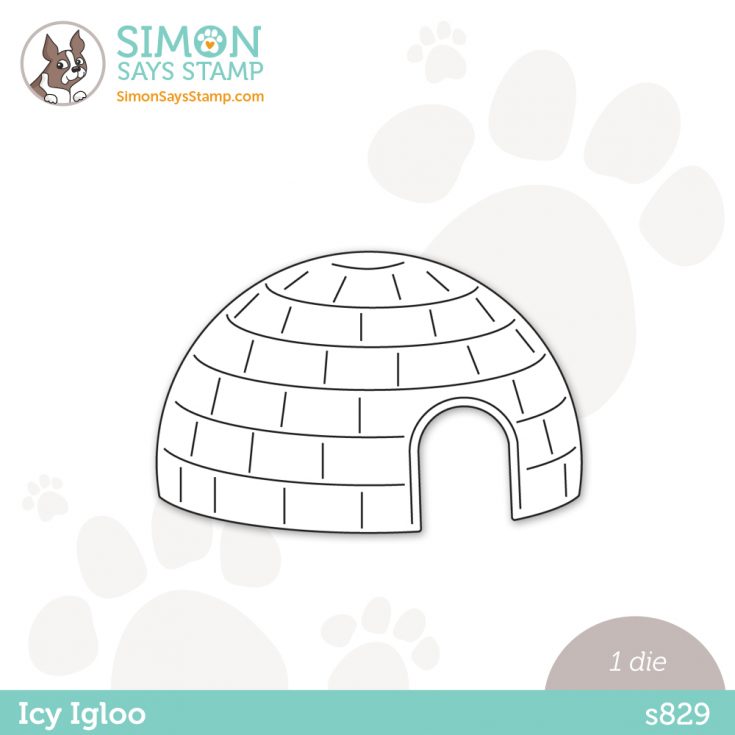
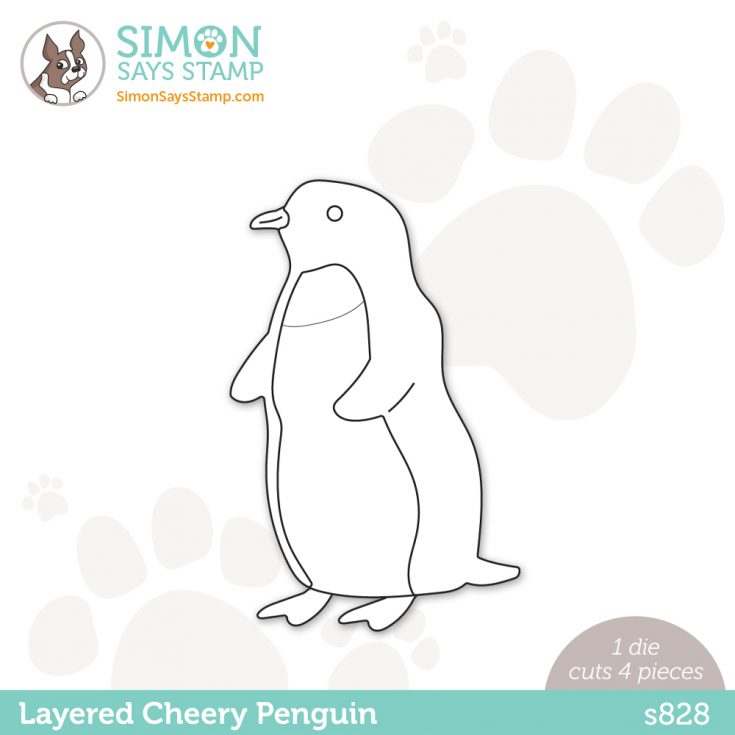
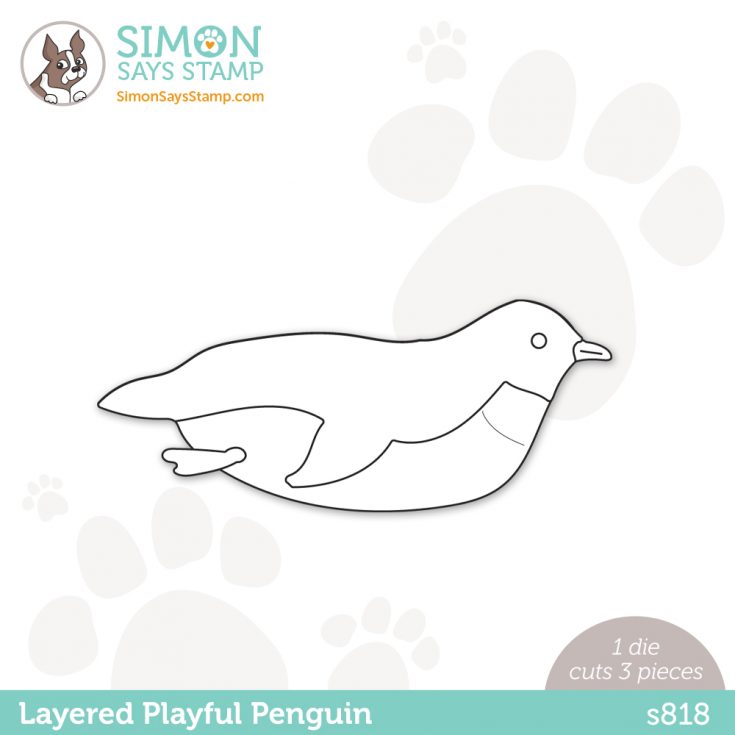
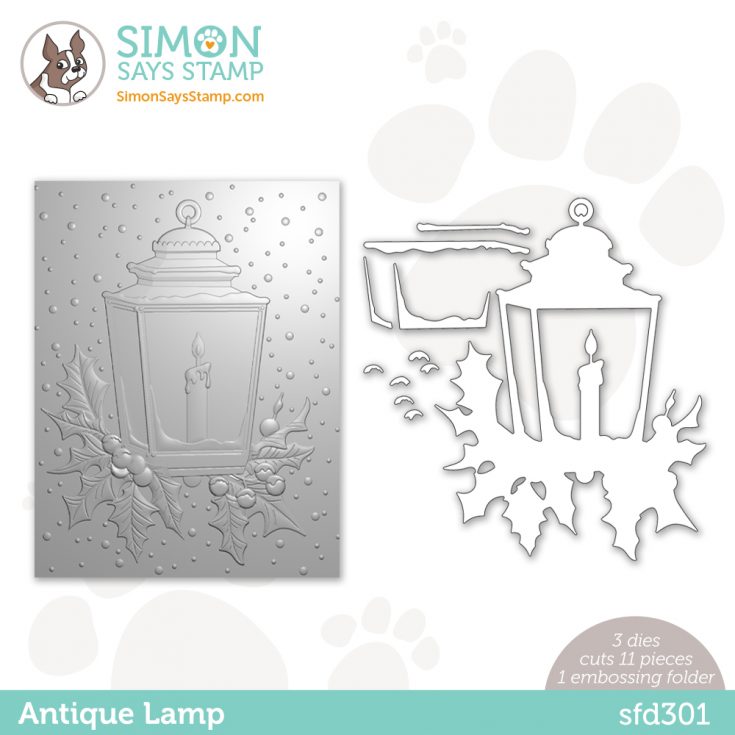
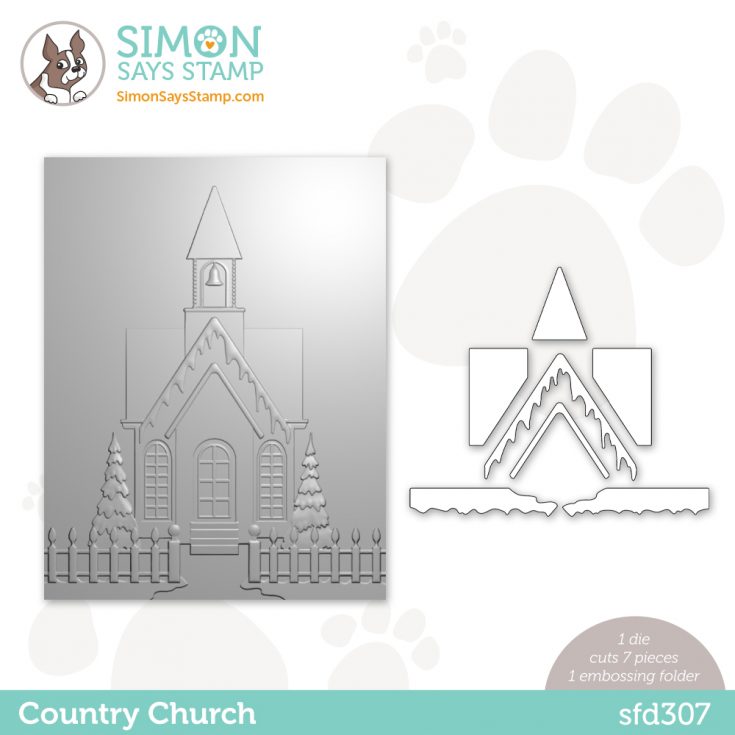
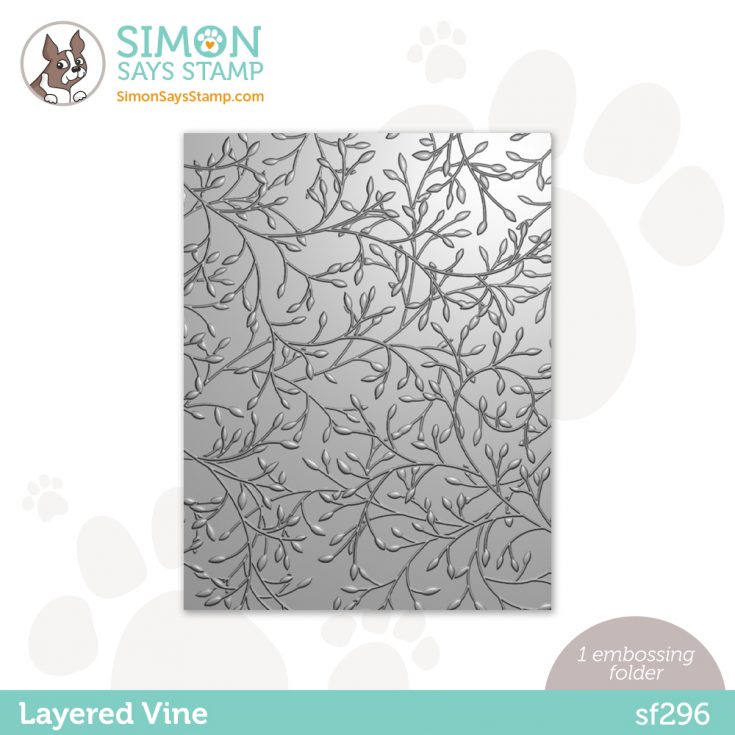
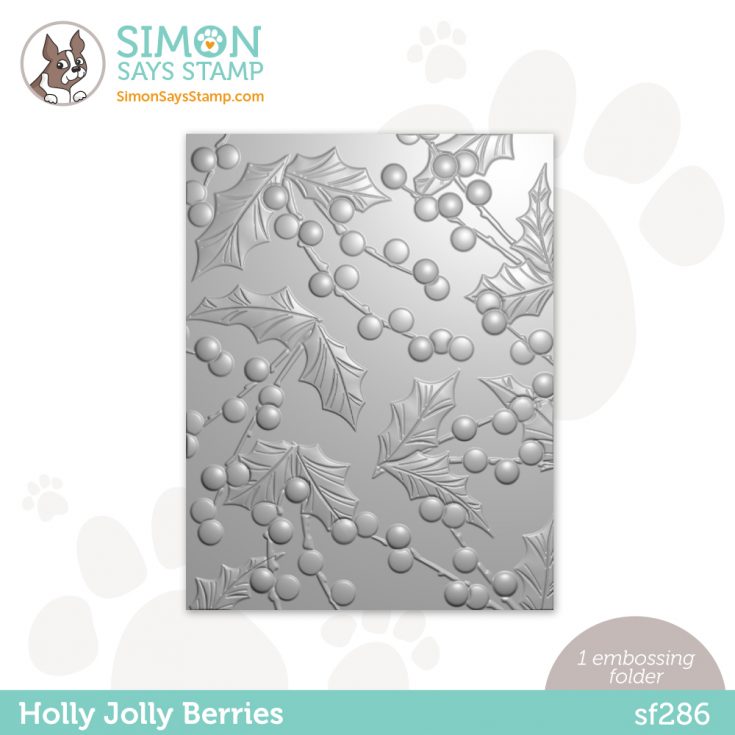
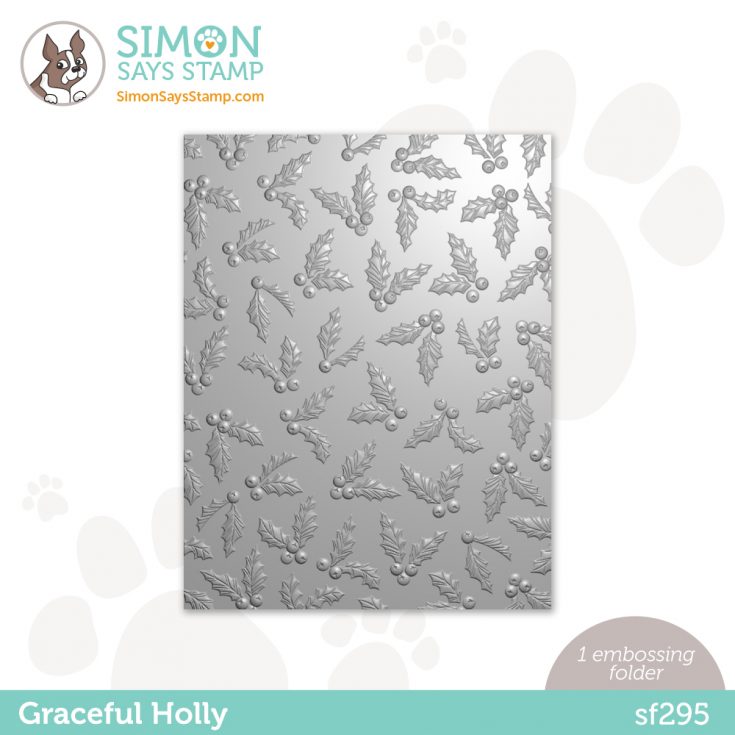
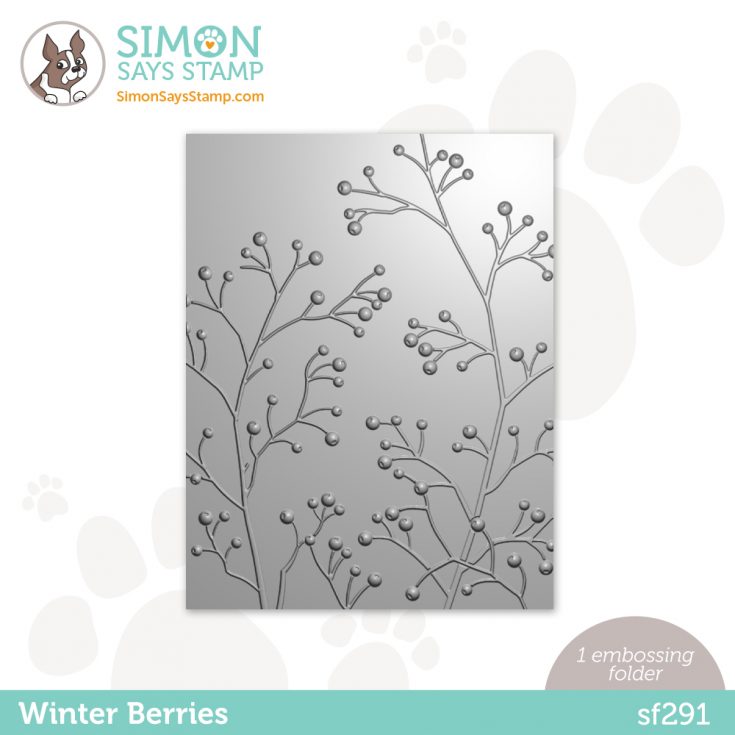
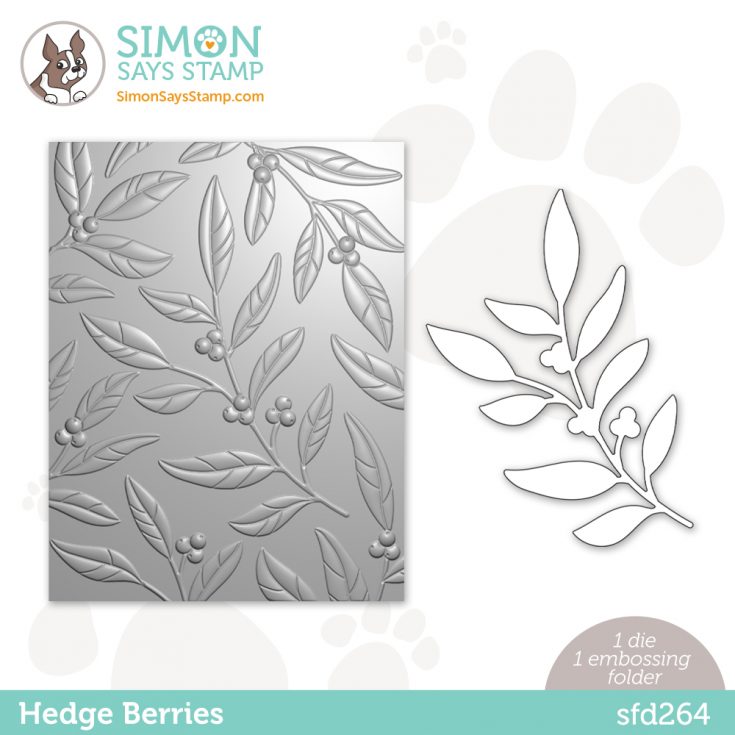
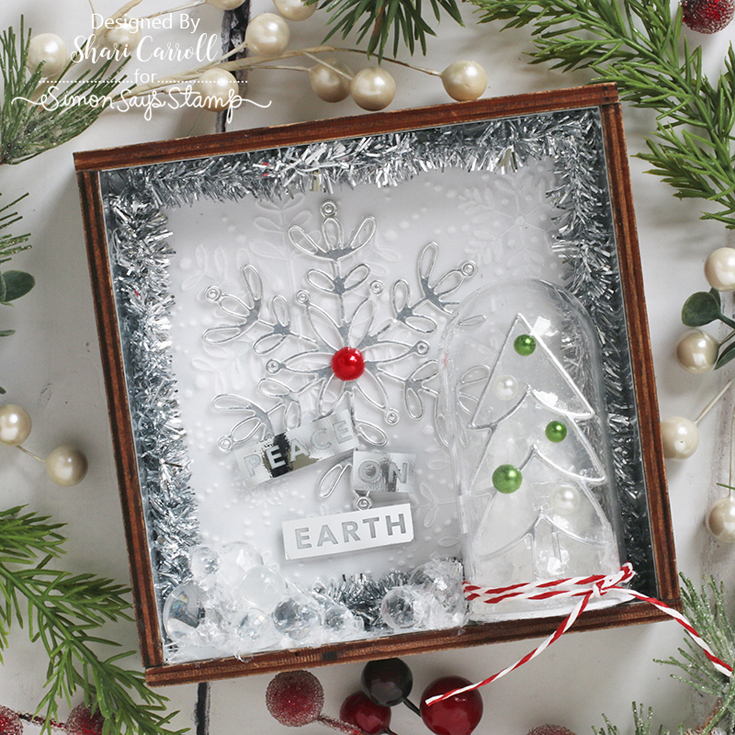
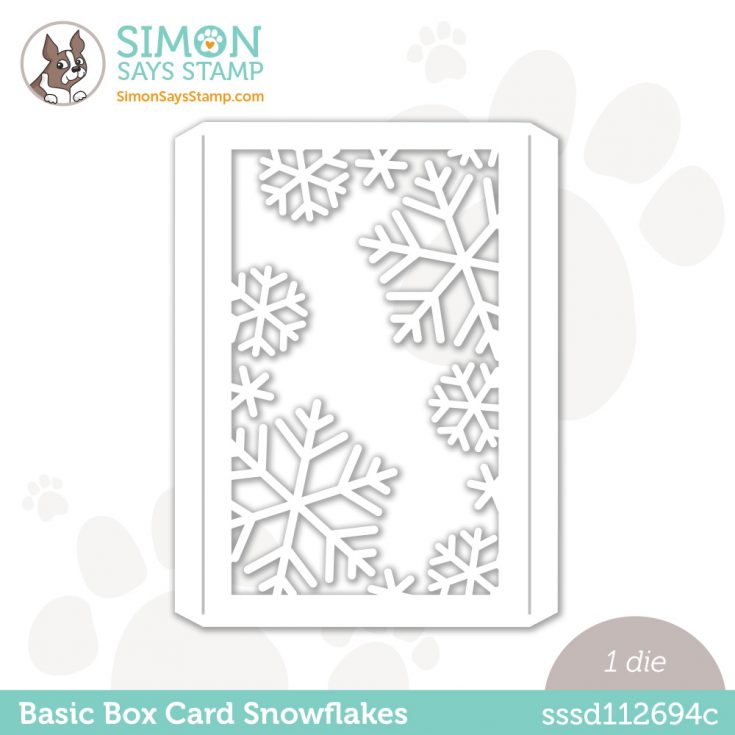
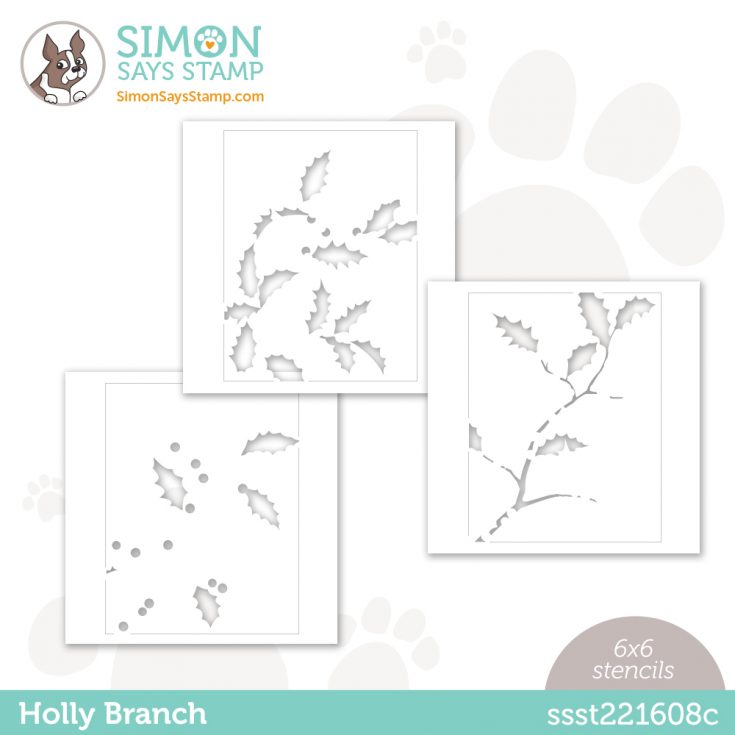
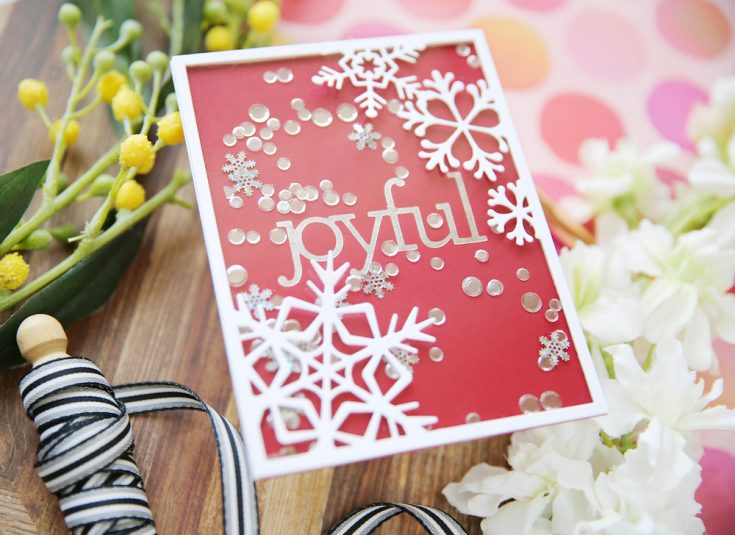
Twinkly season is upon us with our BRAND NEW collection, Holiday Sparkle, and there’s something for everyone! We’ve got sacred Christmas-themed products like Peace on Earth and All Ye Faithful sets and the lovely Country Church embossing folder; whimsical dies like Icy Igloo, Layered Cheery Penguin and Layered Playful Penguin, and Reindeer Parts (which has a coordinating stencil); and classic holiday images like Fir Branches and Fruitful Berries dies and Antique Lamp and Pine Landscape embossing folders.
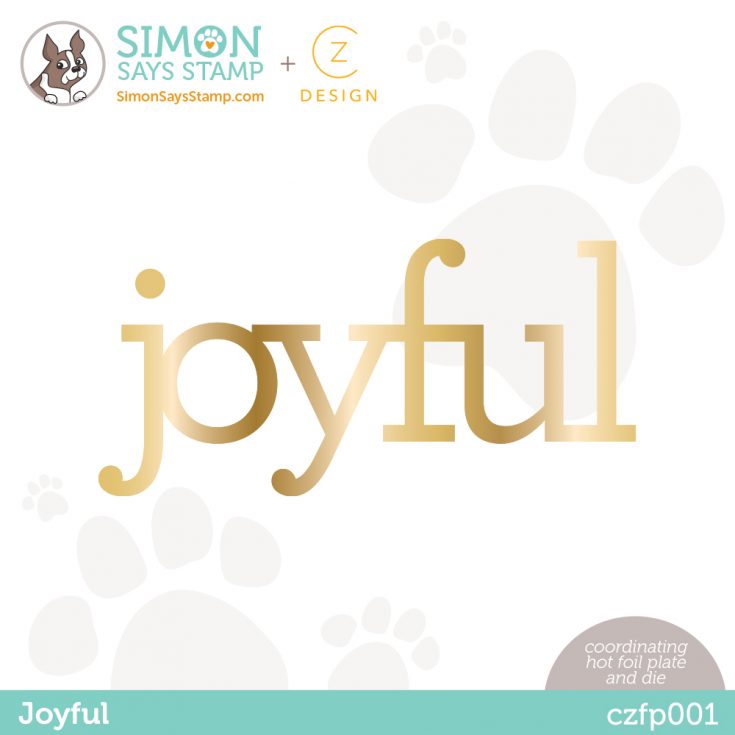
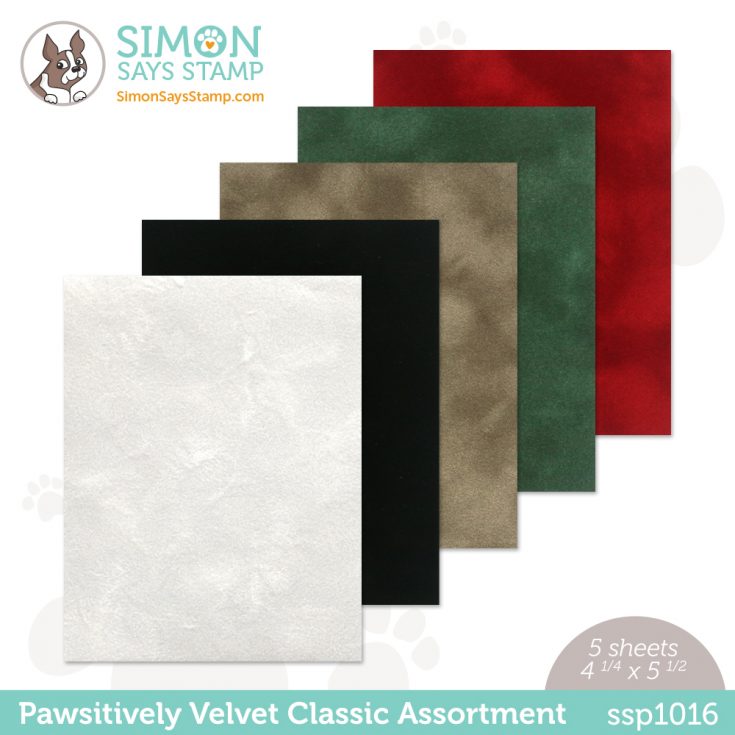
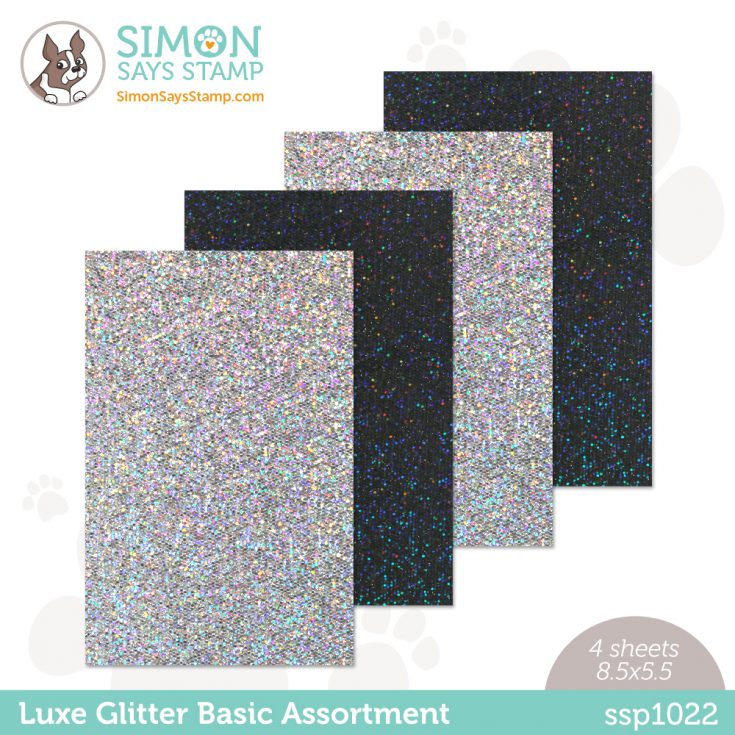
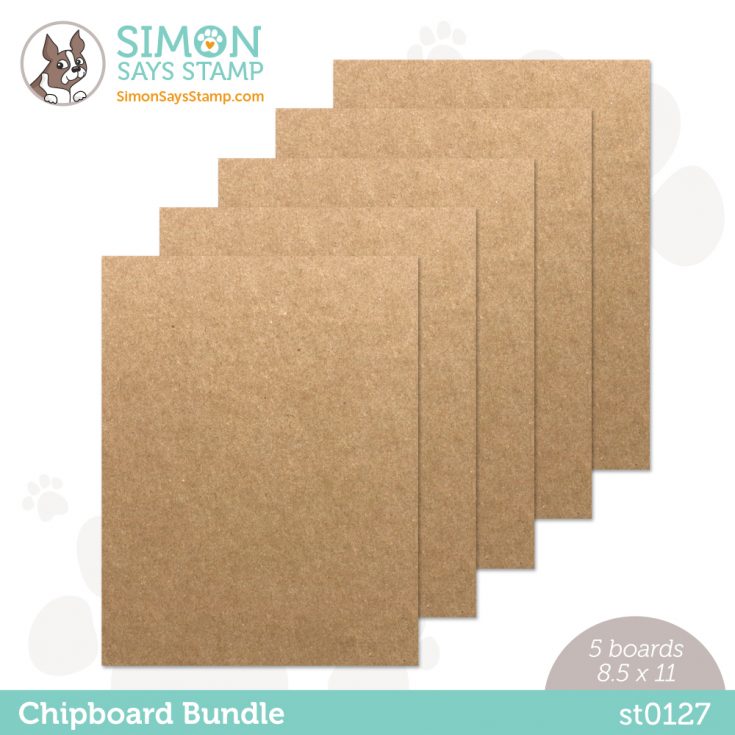
You’ll also love our two new hot foil plates (Believe and Joyful), some fabulous lush Pawsitively Velvet and Luxe Glitter papers, and a handy Chipboard Bundle for mixed media projects!
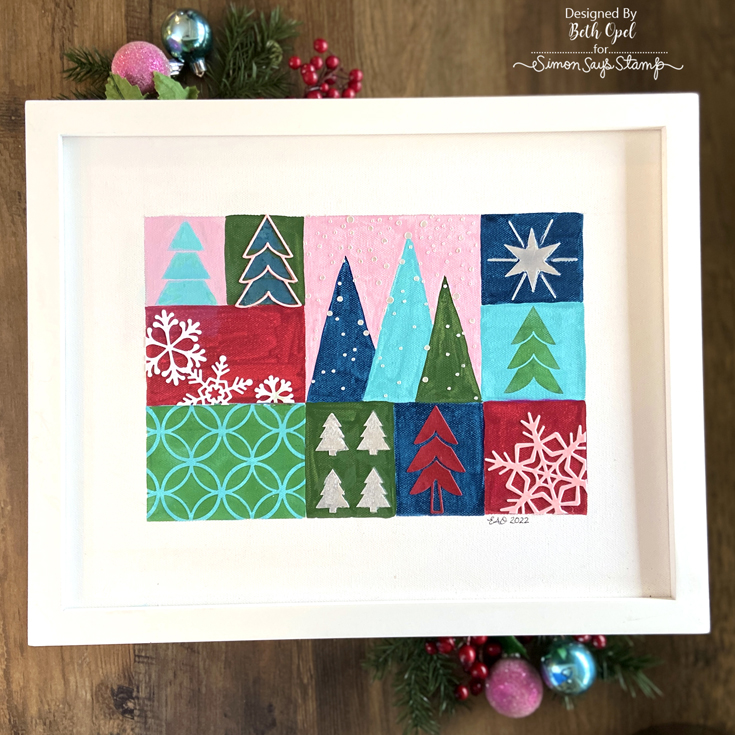
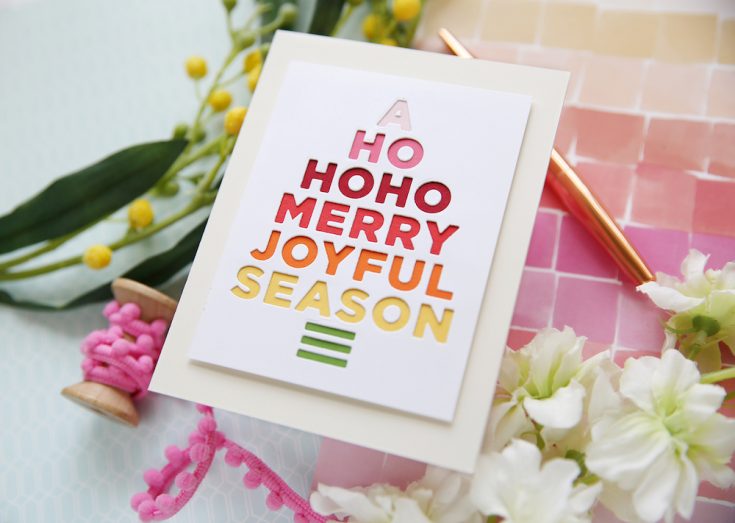
Before we hop, let’s take a look at some fabulous inspiration from Shari Carroll and Beth Opel:

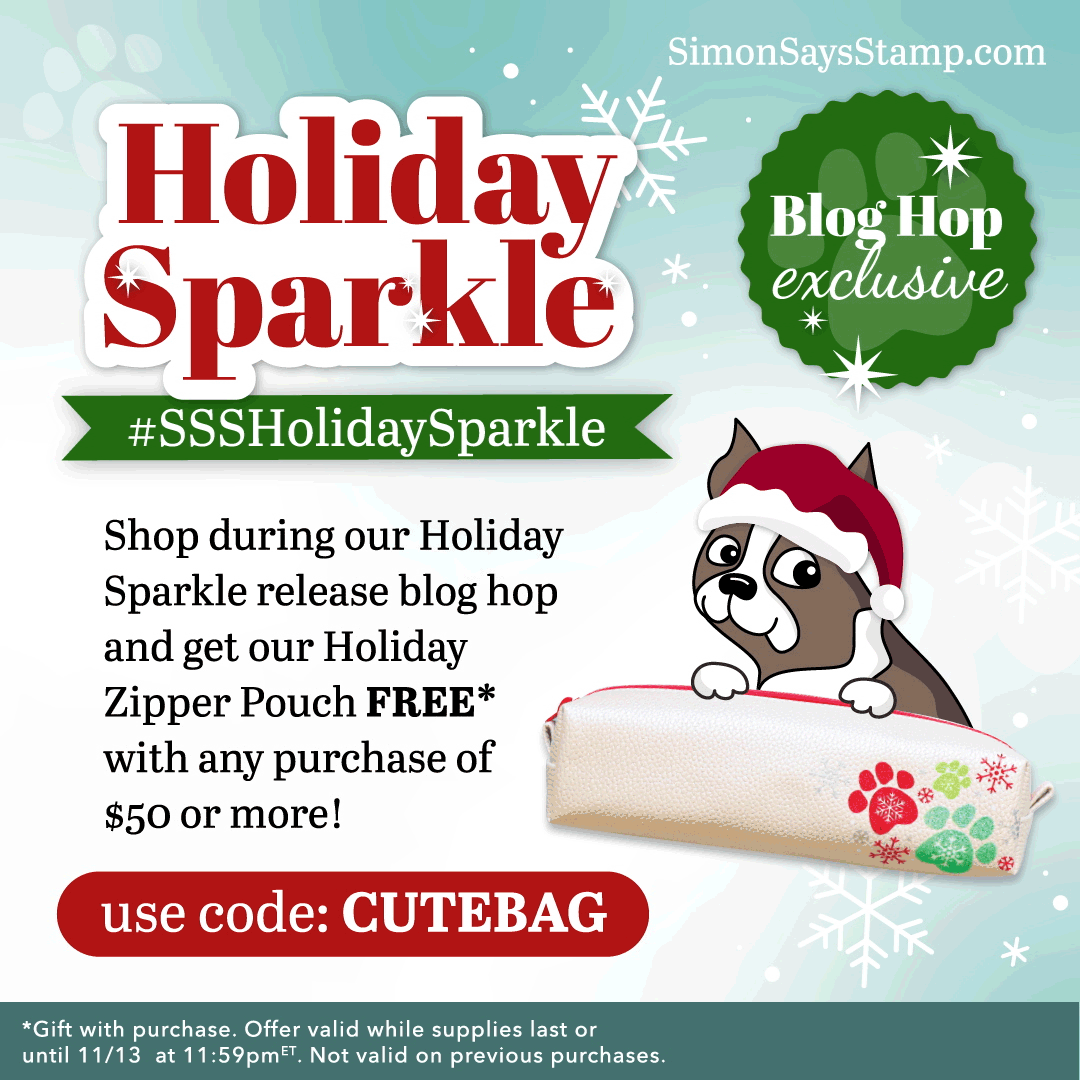
We love our customers! And we love your enthusiasm for our exclusive releases and blog hops. To celebrate, Simon has set aside a free gift just for you! The free gift with a purchase of $50 or more for the this blog hop is the adorable Holiday Zipper Pouch! Check out the details on the banner at the top of this post for information about claiming your gift.
Ready for even more Holiday Sparkle inspiration? Hop along with these talented designers! You’ll be inspired AND for every comment you leave on each blog, you’ll earn a chance to win a $25 Simon Says Stamp store shopping spree. YAY!
- Simon Says Stamp Blog <<YOU ARE HERE!
- Laura Bassen
- Debby Hughes
- Alberto Gava
- Miriam Prantner
- Anna-Karin Evaldsson
- Amanda Korotkova
- Mindy Eggen
- Lorraine Aquilina
- Heather Hoffman
- Emily Midgett
- Jennifer Kotas
- Tina Smith
- Jean Doeringsfeld
- Misty Elam
- Diane Morales
- Maura Hibbitts
Please share some feedback with these creative artists who work hard to inspire and excite us! Your comments mean so much to them.
Thanks again for joining us today!
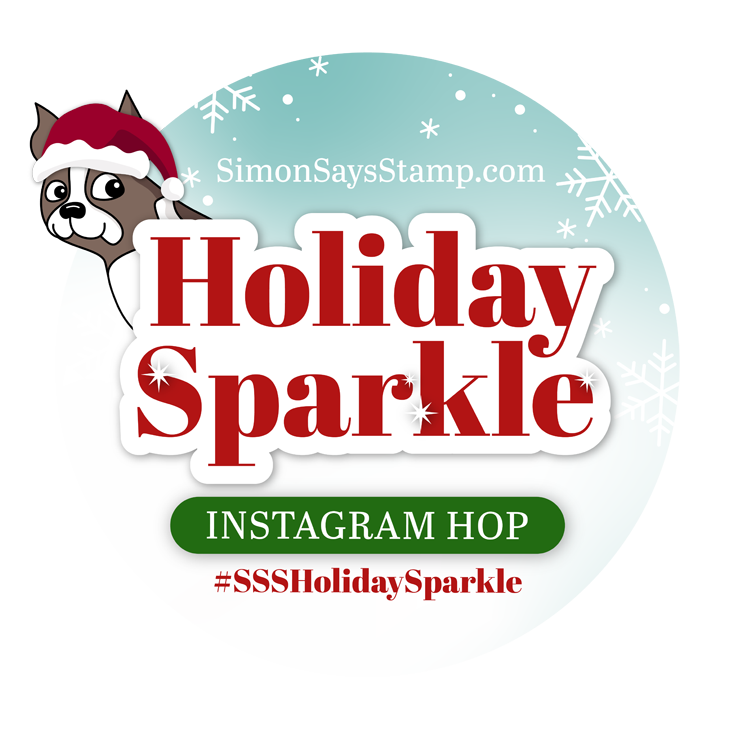
We hope you will join us on Instagram on Tuesday, November 15, for an Instagram Hop featuring even more inspiration from our Holiday Sparkle release! We are excited to share awesome ideas from several creative minds using these fantastic products.
You’ll love browsing our Holiday Sparkle gallery on our blog for loads of additional inspiration, and you can add your projects to these galleries as well!
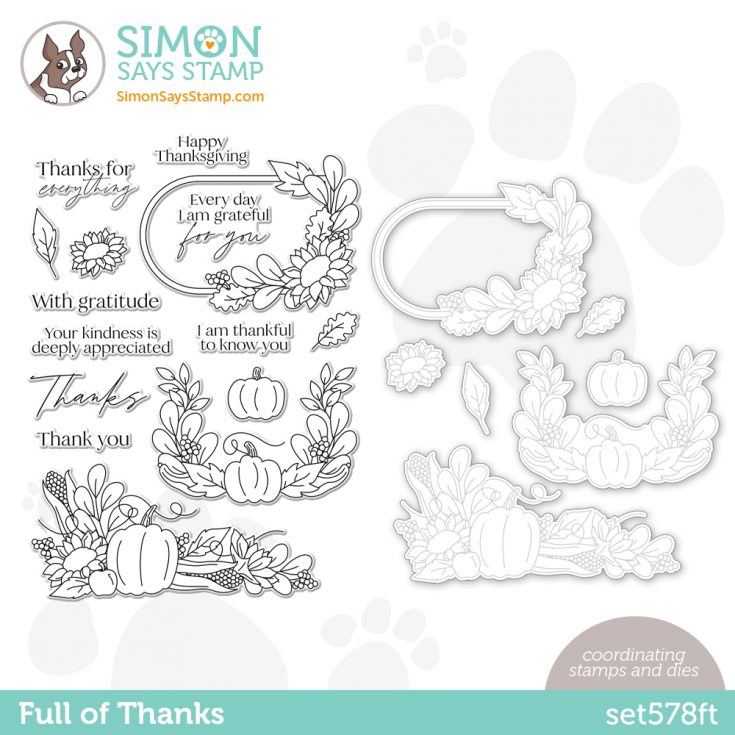
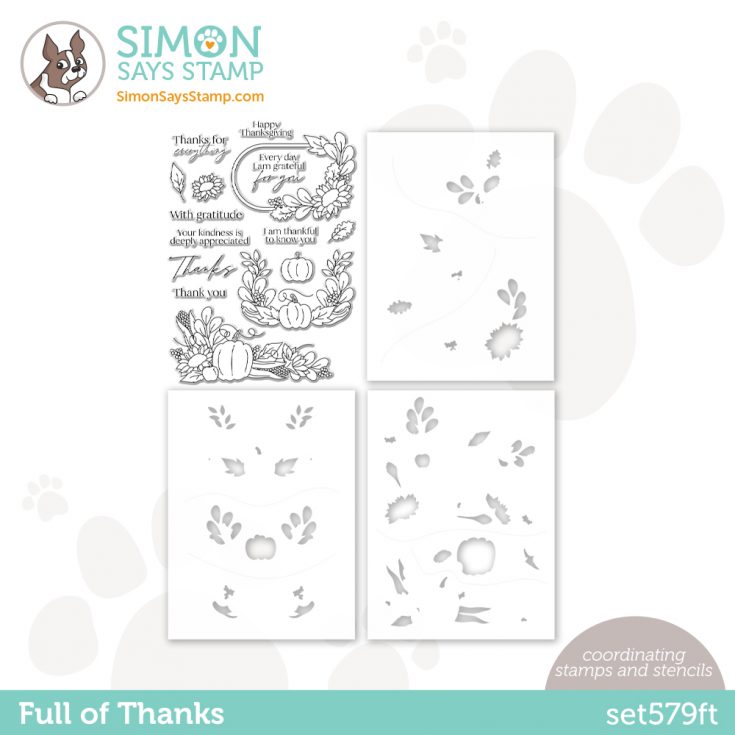
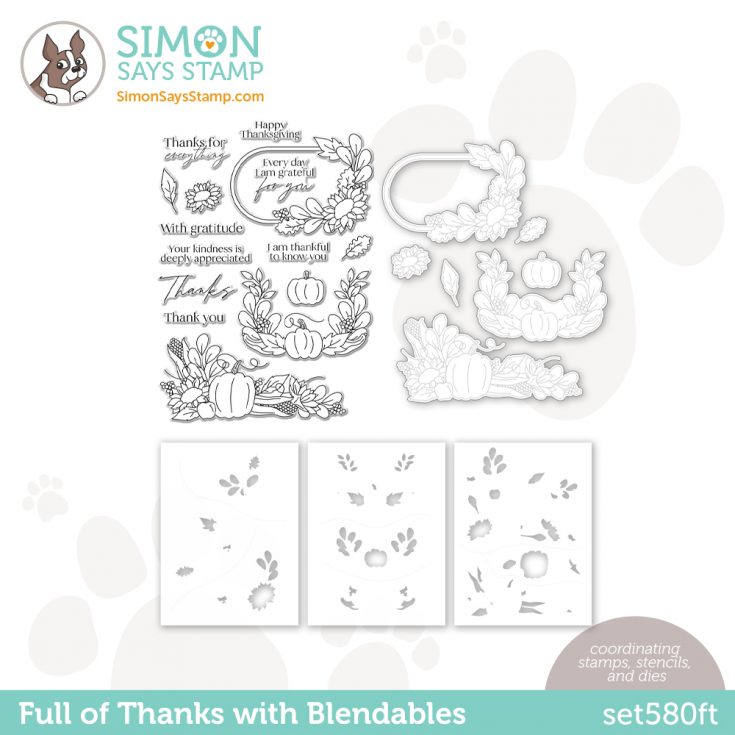
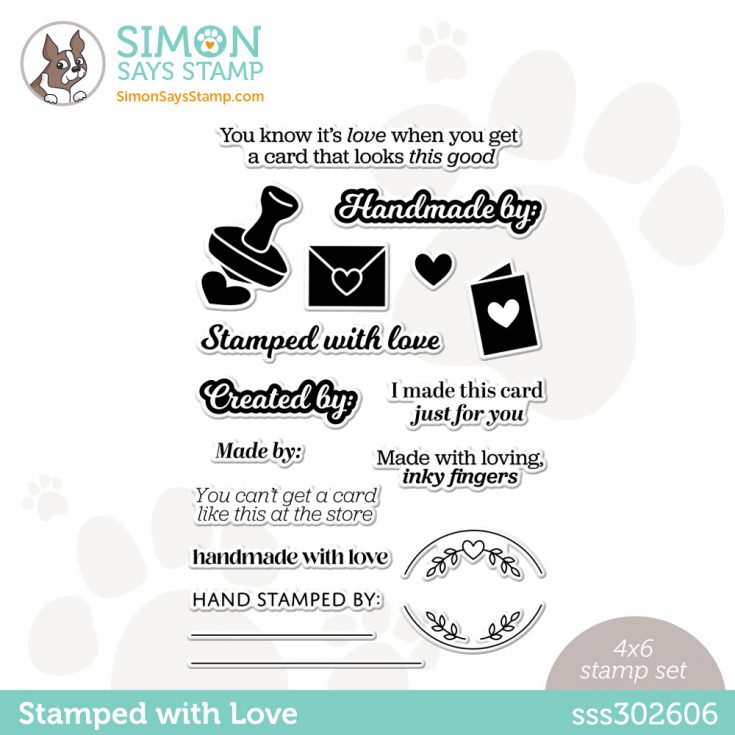
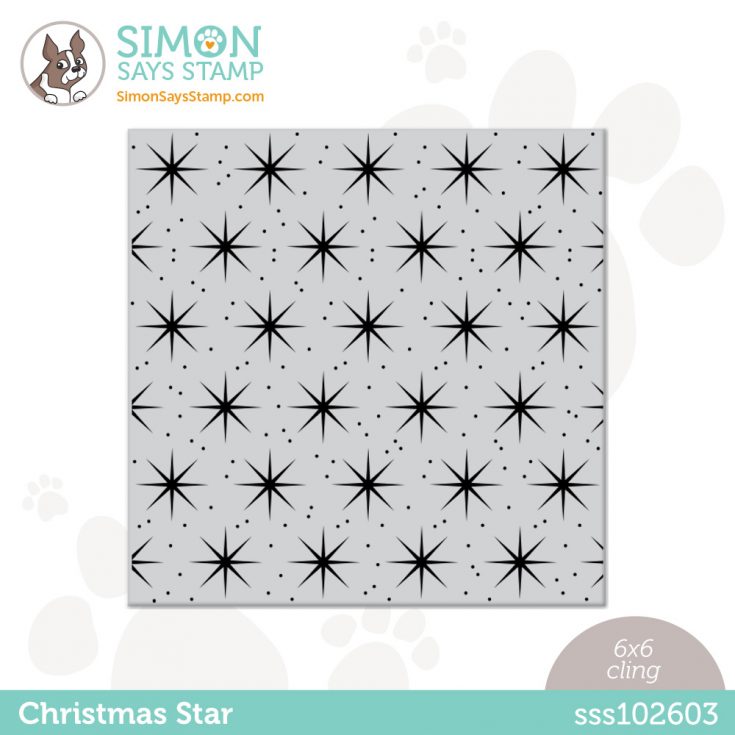
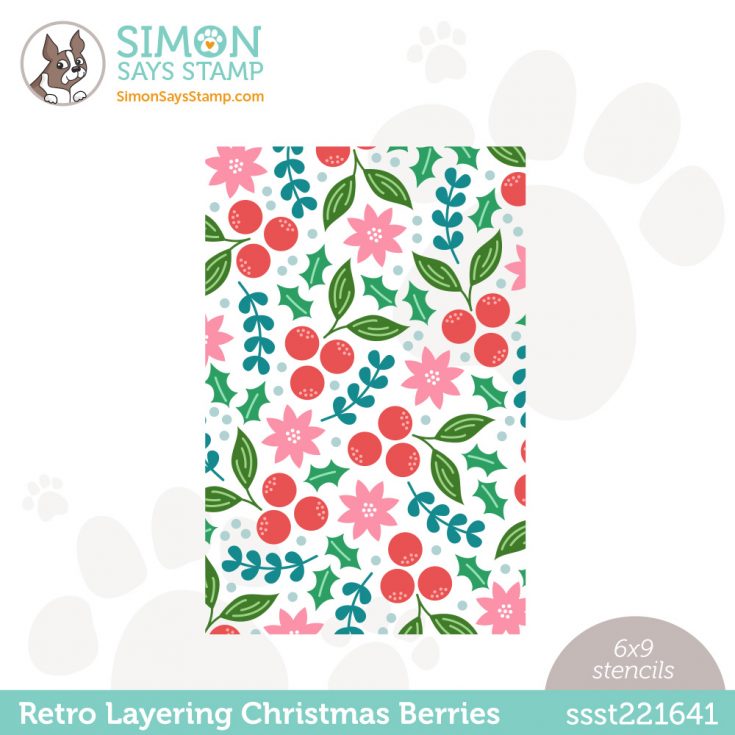
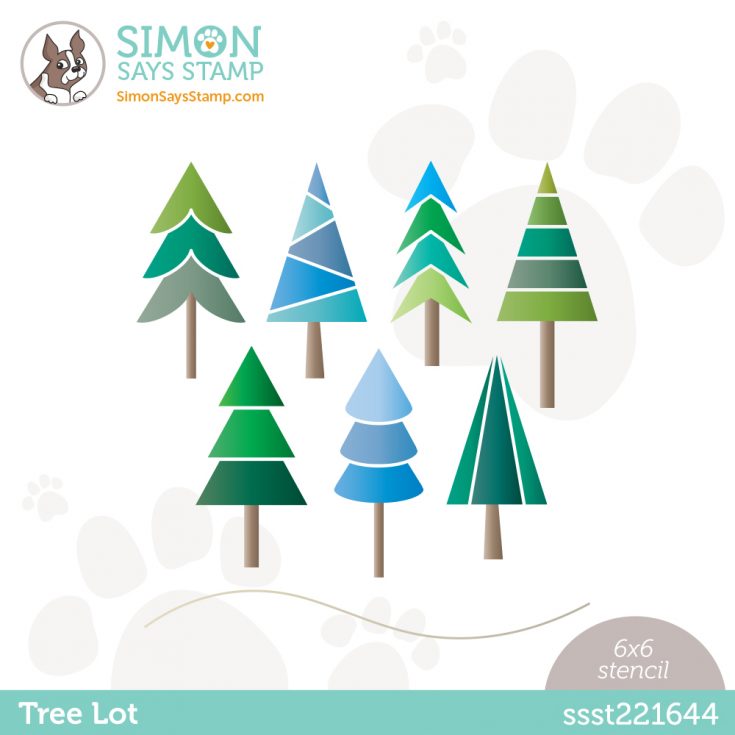
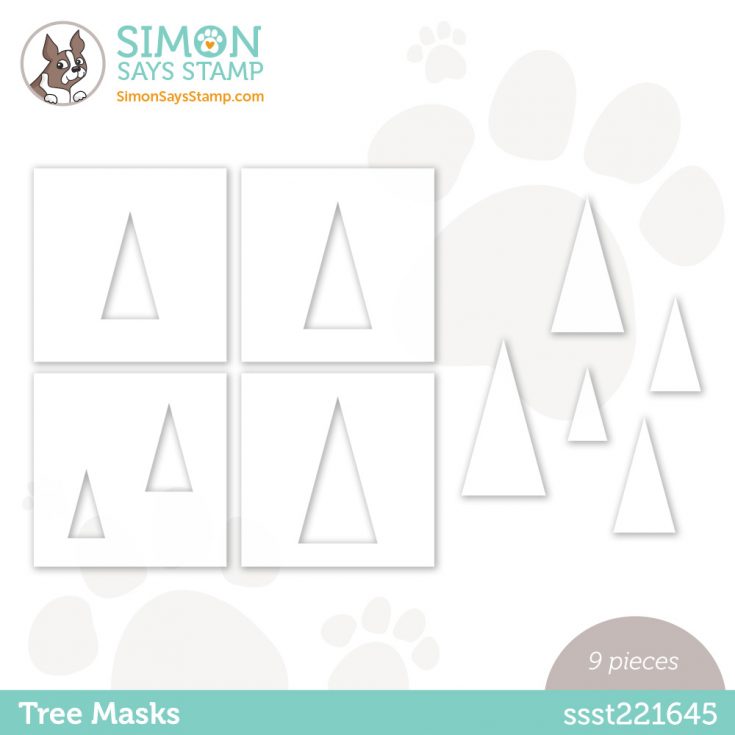
You can check out the entire Holiday Sparkle collection below:


Holiday Sparkle Blog Hop 1!
Hi, friends! Welcome to day one of two special release blog hops celebrating our Holiday Sparkle release! Come back tomorrow for more amazing inspiration!
Twinkly season is upon us with our BRAND NEW collection, Holiday Sparkle, and there’s something for everyone! We’ve got sacred Christmas-themed products like Peace on Earth and All Ye Faithful sets and the lovely Country Church embossing folder; whimsical dies like Icy Igloo, Layered Cheery Penguin and Layered Playful Penguin, and Reindeer Parts (which has a coordinating stencil); and classic holiday images like Fir Branches and Fruitful Berries dies and Antique Lamp and Pine Landscape embossing folders.
You’ll also love our two new hot foil plates (Believe and Joyful), some fabulous lush Pawsitively Velvet and Luxe Glitter papers, and a handy Chipboard Bundle for mixed media projects!
OK! Let’s get a sneak peek of what’s in store for our blog hop today with inspiration from Shari Carroll! Shari used products from our Holiday Sparkle release to make these fantastic projects:

We love our customers! And we love your enthusiasm for our exclusive releases and blog hops. To celebrate, Simon has set aside a free gift just for you! The free gift with a purchase of $50 or more for the this blog hop is the adorable Holiday Zipper Pouch! Check out the details on the banner at the top of this post for information about claiming your gift.
Ready for even more Holiday Sparkle inspiration? Hop along with these talented designers! You’ll be inspired AND for every comment you leave on each blog, you’ll earn a chance to win a $25 Simon Says Stamp store shopping spree. YAY!
Please let these talented designers know how much you appreciate their designs. They work hard to inspire and excite us!
- Simon Says Stamp Blog <<YOU ARE HERE!
- Nina-Marie Trapani
- Caly Person
- Nichol Spohr
- Cathy Zielske
- Jennifer McGuire
- Amy Rysavy
- Suzy Plantamura
- Keisha Charles
- Yana Smakula
- Barbara Tarayao
- Emma Williams
- Heather Ruwe
- Bibi Cameron
- Lisa Addesa
- Barb Engler
Thanks again for joining us today!
We hope you will join us on Instagram on Tuesday, November 15th for an Instagram Hop featuring even more inspiration from our Holiday Sparkle release! We are excited to share awesome ideas from several creative minds using these fantastic products.
You’ll love browsing our Holiday Sparkle gallery on our blog for loads of additional inspiration, and you can add your projects to these galleries as well!
You can check out the entire Holiday Sparkle collection here:
Bask in Holiday SPARKLE! Our latest exclusive collection
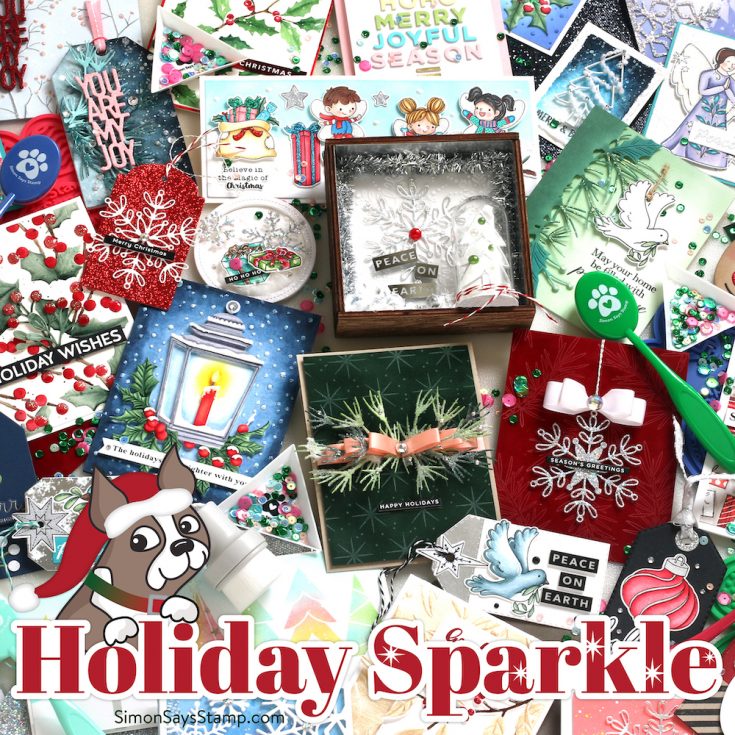
Twinkly season is upon us with our BRAND NEW collection, Holiday Sparkle, and there’s something for everyone! We’ve got sacred Christmas-themed products like Peace on Earth and All Ye Faithful sets and the lovely Country Church embossing folder; whimsical dies like Icy Igloo, Layered Cheery Penguin and Layered Playful Penguin, and Reindeer Parts (which has a coordinating stencil); and classic holiday images like Fir Branches and Fruitful Berries dies and Antique Lamp and Pine Landscape embossing folders.
You’ll also love our two new hot foil plates (Believe and Joyful), some fabulous lush Pawsitively Velvet and Luxe Glitter papers, and a handy Chipboard Bundle for mixed media projects!
Bask in the glow of all this and MORE in the video below as Laura Bassen introduces you to all of the glittery magic of this release!
WATCH THE VIDEO:
Shop the new collection:
Get INSPIRED!
Stay tuned for blog hops right HERE on the blog on Friday AND Saturday! Want even MORE inspiration? Stop by our gallery!!


