5 Ways in 5 Days Crafty Series: BONUS DAY Holiday Sparkle

Hi friends! Happy Sunday! Our full week of our popular, FREE craft series 5 Ways in 5 Days continues –and today is our FIRST BONUS CLASS! We are delighted to bring this series to you that includes a list of incredible designers including: Laura Bassen, Nina-Marie Trapani, Kristina Werner, Yana Smakula, Cathy Zielske, Caly Person, Shari Carroll, and Nichol Sphor!
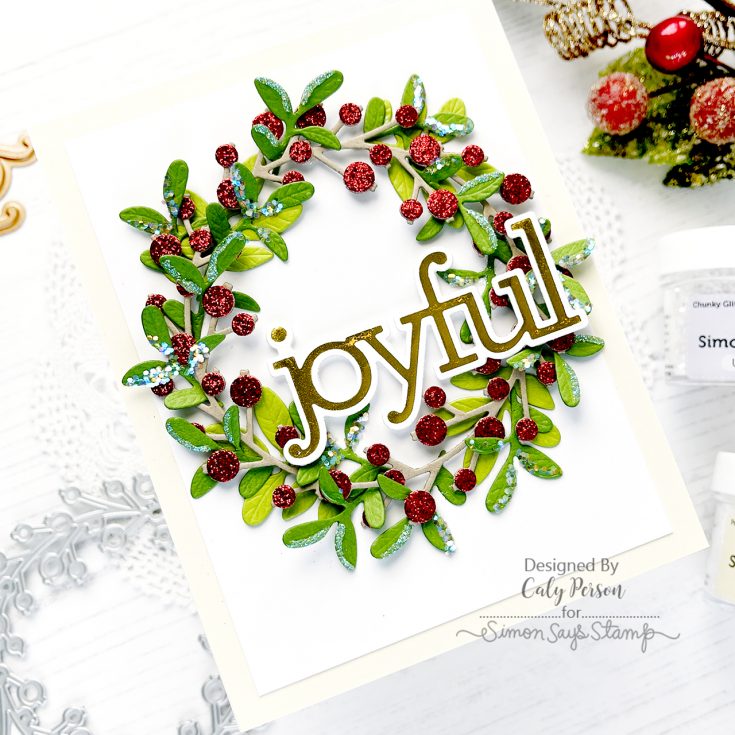
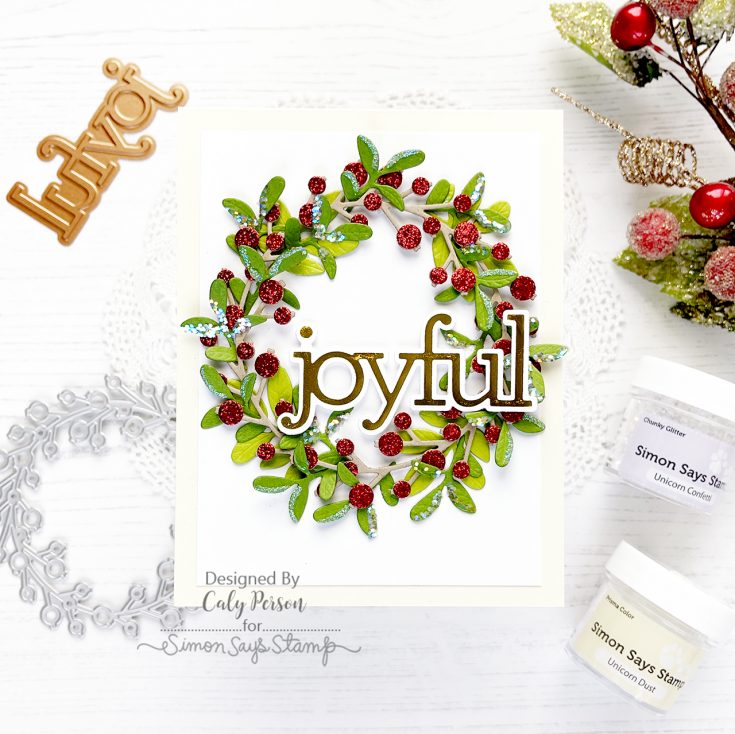
Throughout this series spanning November 15th – November 20th, we’ll be sharing with you 40 AMAZING holiday crafting ideas . Today we’re going to focus on 5 ways to add holiday sparkle! Nothing says holidays like some glitz and glamour, right?! Let’s dive in for some ideas!
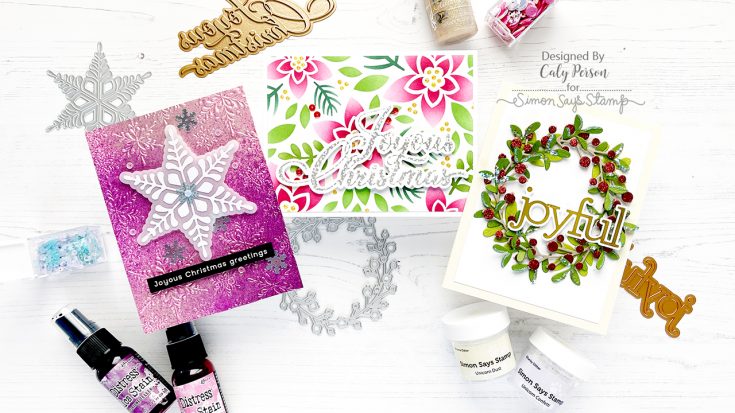
The five ways of adding holiday sparkle included into today’s FREE class include:
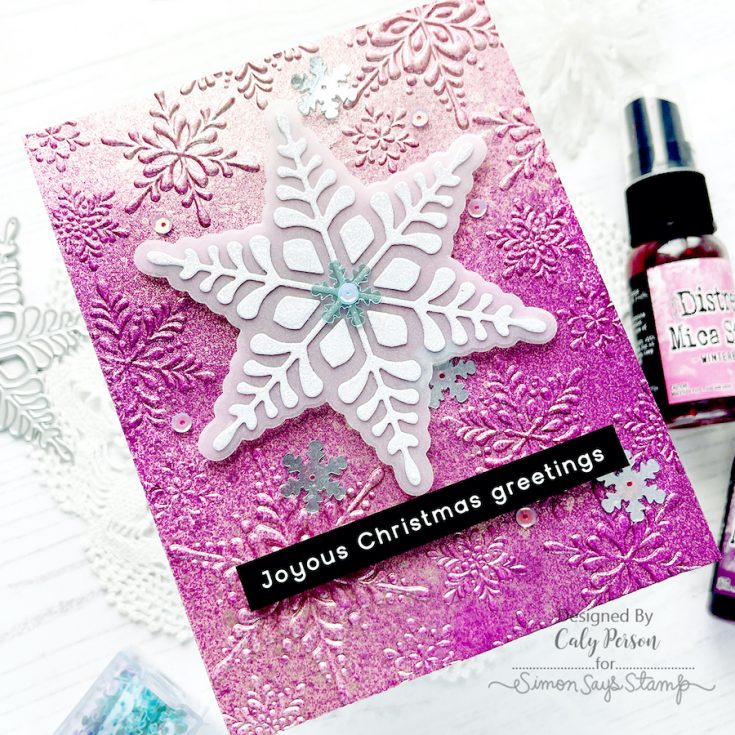
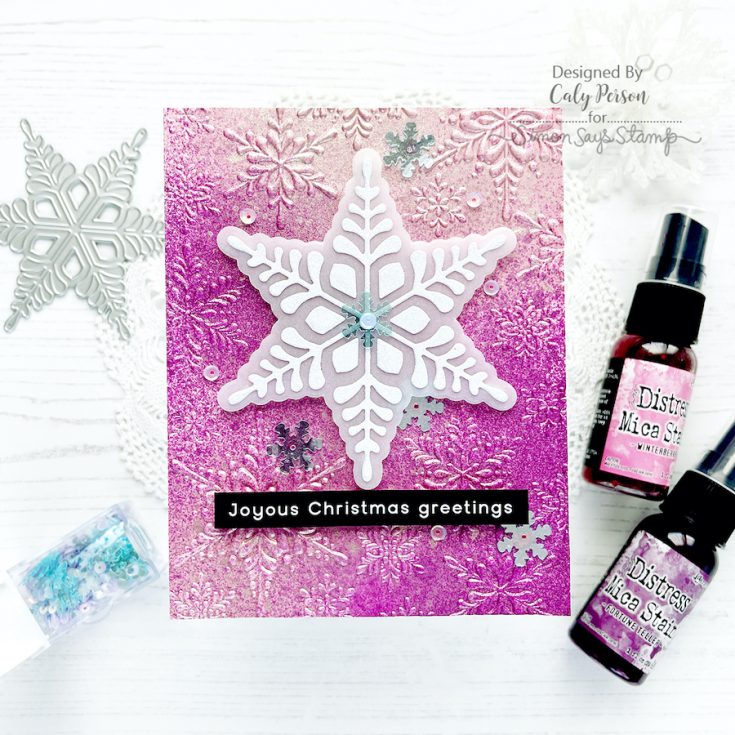
- Mica Stain
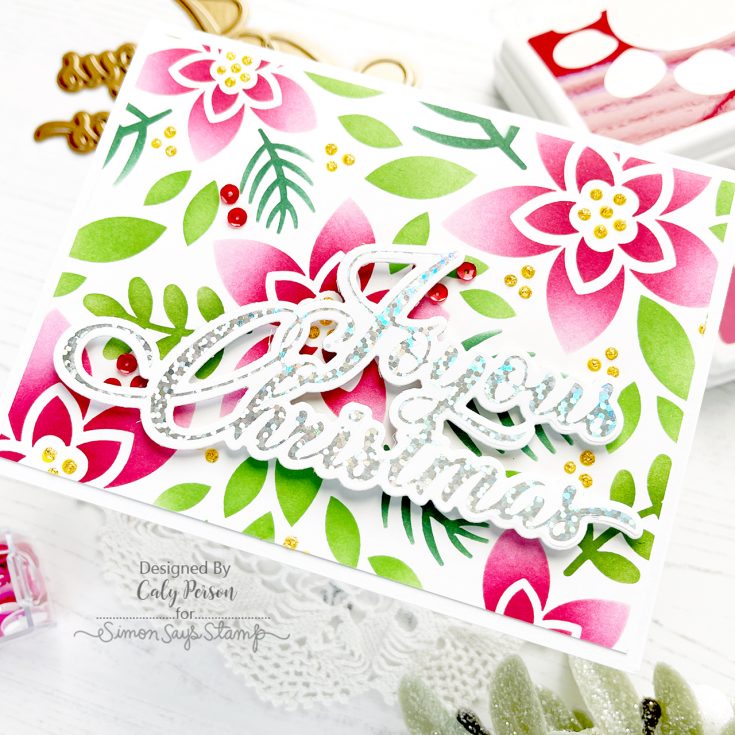
- Glitter Cardstock
- Sequins
- Glitter Adhesive / Nuvo Glitter Drops
- Unicorn Dust / Confetti
- BONUS- hot foil

WATCH THE VIDEO:
SUPPLIES:
|


See you later today for ANOTHER BONUS content of our 5 Ways in 5 Days FREE CLASSES for holiday inspiration!
Limited time offer! $20 BONUS BOGO gift card!
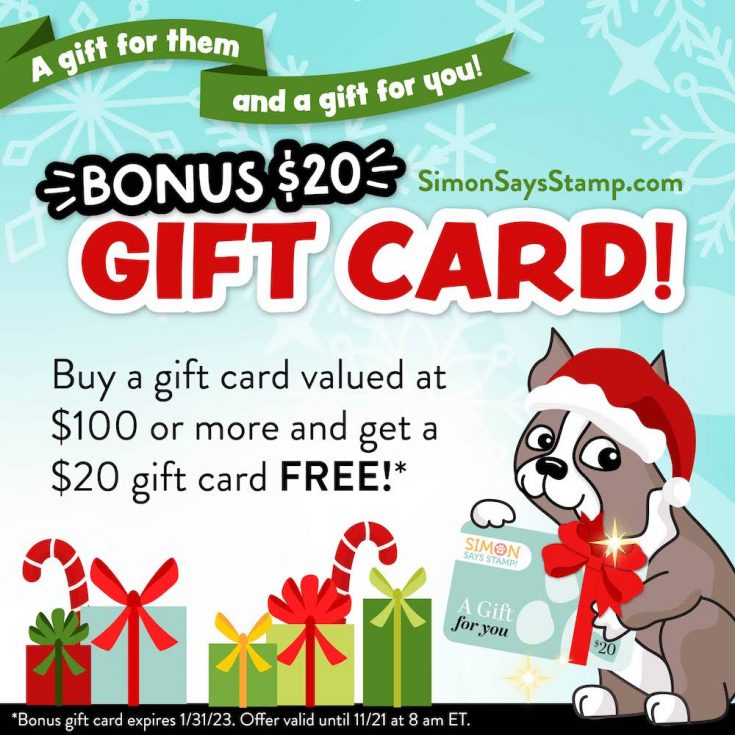
Hi friends! Now is the perfect time to purchase a gift card! In celebration of the gift giving season, we’re sharing the richest promotional gift card deal we’ve ever done during this season! If you purchase any gift card valued at $100 or more, you will get a bonus $20 gift card for FREE! (Please note that the bonus gift cards will expire on 1/31/23). You can spend your bonus gift card like CASH, or gift it! Totally up to you! Please enjoy!!
How’s your cart looking?

Need a refresher on how our project list works?! Check out the video below:


