DieCember® Savings!! 15% off Sizzix AND Tim Holtz Sizzix- starts NOW!

Hi friends! We’re continuing to celebrate the joy and fun of DieCember®! Today we are beginning a very special 3-day Sizzix sale! This includes Sizzix AND Tim Holtz Sizzix branded products! Use code SZX925 at checkout to take 15% off of any Sizzix branded item!* Please shop early for the best selection and ENJOY!
Please note that the brand new Tim Holtz Sizzix items for the first 2023 collection that are on reserve are not included in this sale.
Simple Ink Blended Cards (January 2023 Card Kit Inspiration)
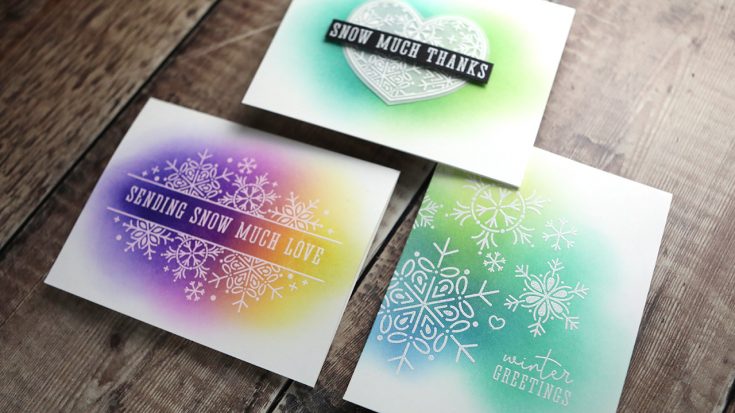
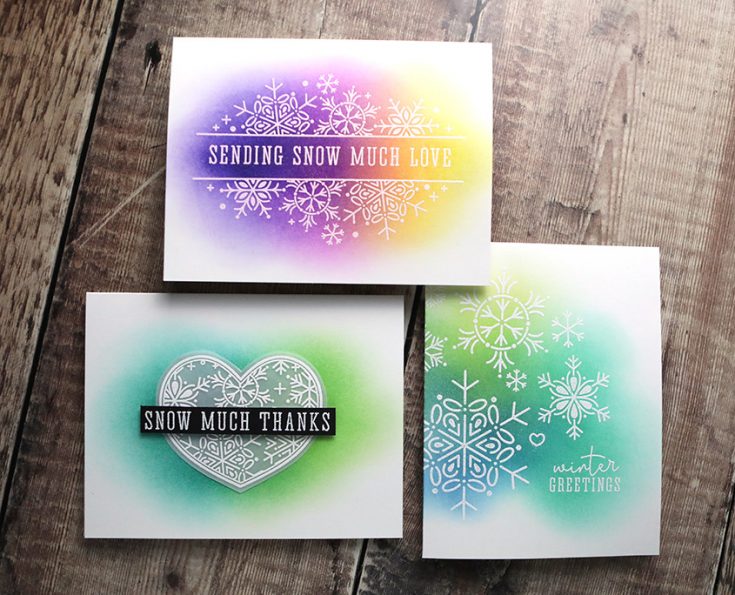
Hi all! Kristina Werner here. I have three cards for you featuring the January 2023 Card Kit. I used the Snow Love stamp set to create simple, yet colorful, ink blended cards.
I used various inks on each card…
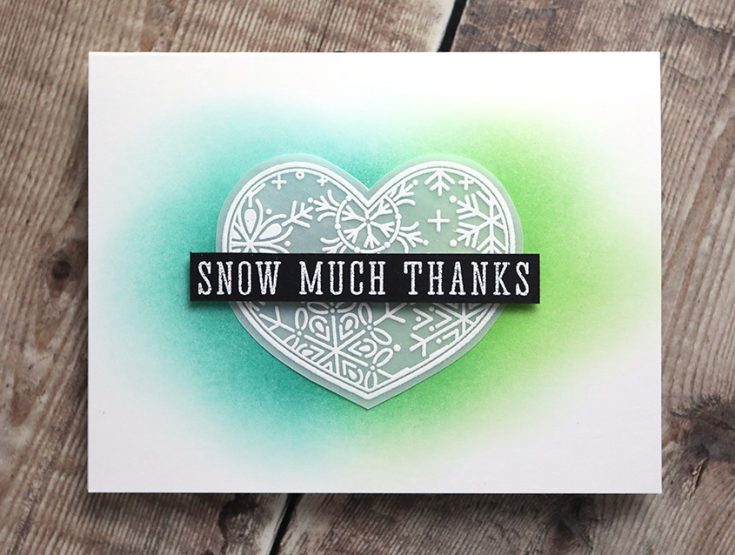
For the “Snow Much Thanks” card, I used Aegean and Limelicious inks.
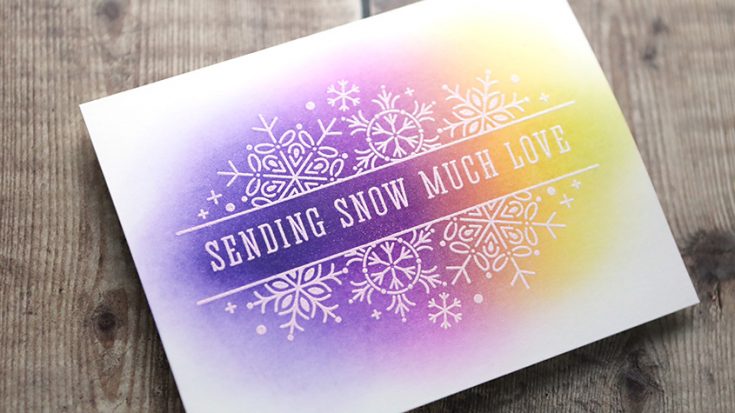
For the “Sending Snow Much Love” card, I used Iris, Sweets, and Lemonade inks.
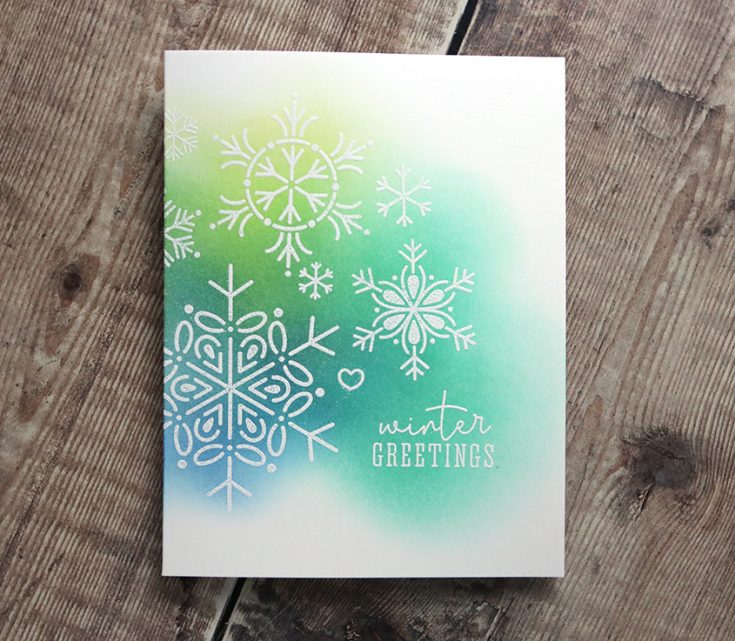
For the “Winter Greetings” card, I used Royal, Tropic, and Sunbeam.
Thanks for stopping by! You can pick up the January 2023 Card Kit HERE, or subscribe to receive this kit and future kits HERE.
Supplies
|


Holiday Gift Wrap and Tags Reprise by Emma Williams
Hi friends! Happy Monday! The holiday season is upon us and we are absolutely delighted to re-share this gorgeous inspiration by Emma Williams. Homemade wrapping paper is beyond cool and can be interpreted in so many ways!! Read on and enjoy!
Hi everyone, it’s Emma here and I’m thrilled to be back on the Simon Says Stamp blog to share my latest project with you all!
This year has flown by so quickly, and even though it might not have been the best of years for all of us and the festive season might be slightly different to previous years, you can’t help but notice that Christmas and the holidays are here and if you’re like me, then this is something I am so looking forward to, and I’m particularly excited about wrapping my presents and placing them under the tree. So with this in mind, I decided to create my own gift wrap and this year, I thought I’d share a few of my ideas with you all and hope you love what I’ve made using products from Tim Holtz, Sizzix and Stampers Anonymous.
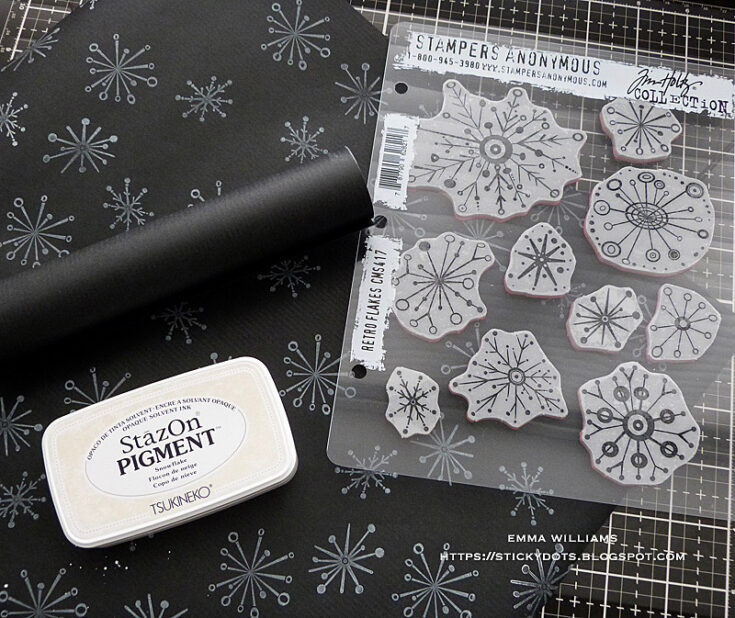
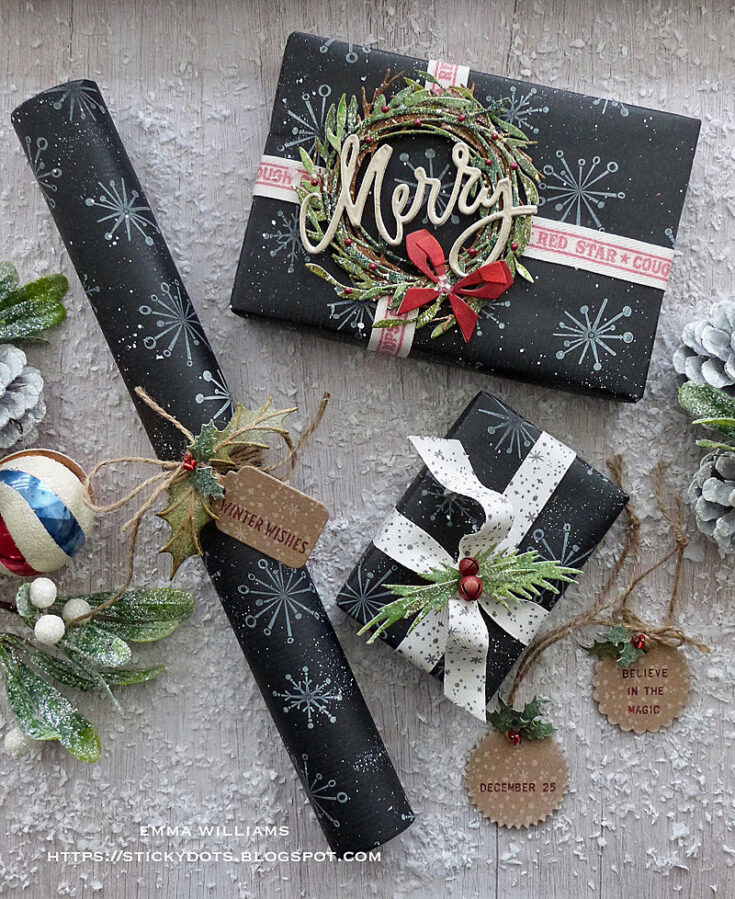
Let’s begin and I started by using black kraft gift wrap that I bought online. This is readily available and comes in all different colors to suit your color scheme! Unroll a section of the paper and place in front of you on a flat surface. To create my design, I used Stampers Anonymous Retro Flakes by Tim Holtz and selected three different sized snowflakes from the set. After inking the snowflakes with Stazon Pigment Snowflake Ink Pad (or this pigment ink pad would work great!), I stamped the three snowflake designs over the entire surface of my paper to create a pattern.
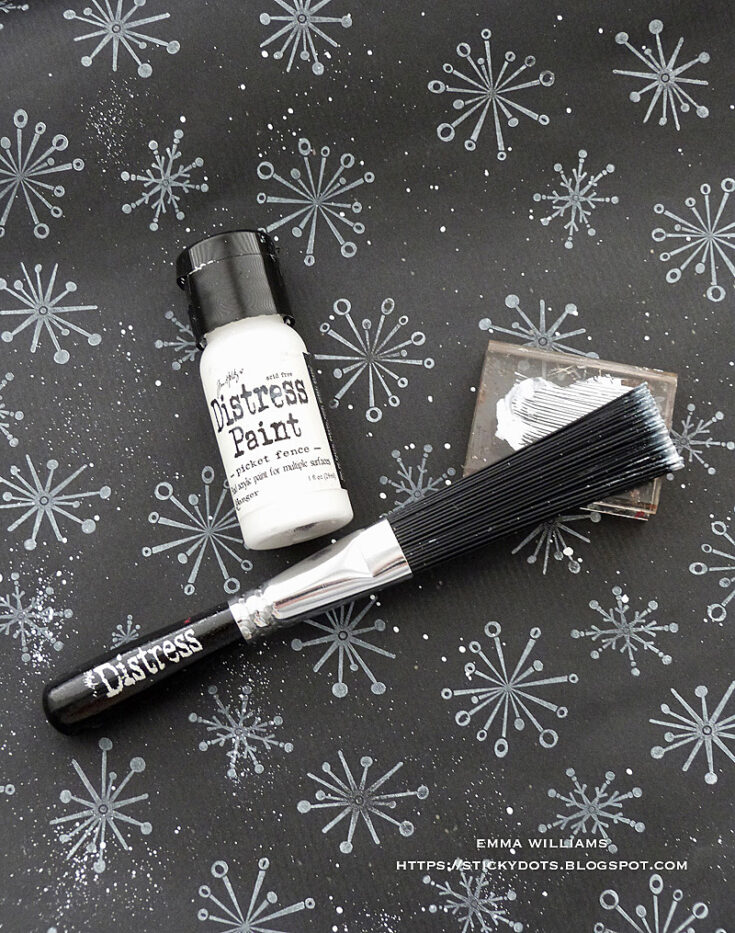
Once I was happy, I dipped my Tim Holtz Splatter Brush into Picket Fence Distress Paint applied to the Glass Mat and flicked some of the white paint over the surface of the stamped paper to create a snowy effect on the background.
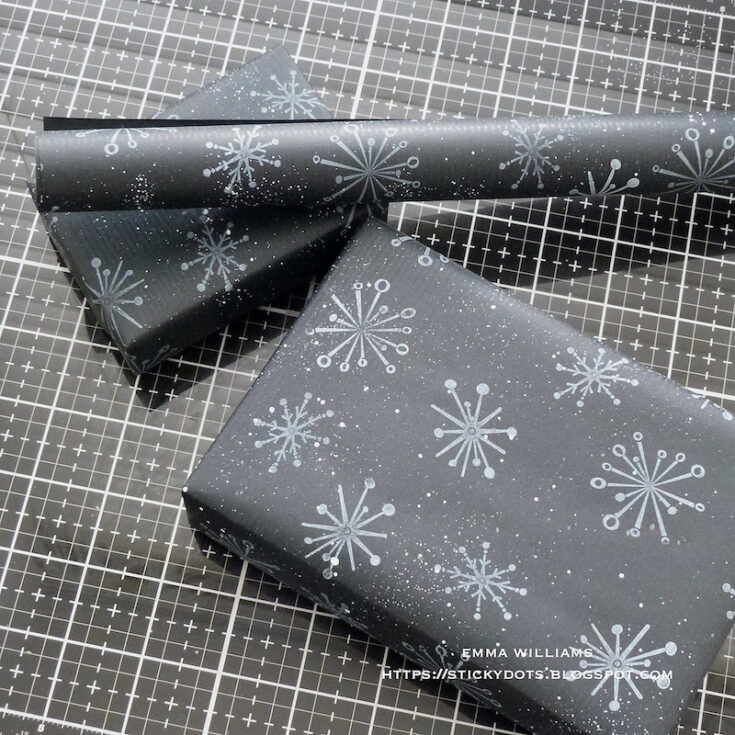
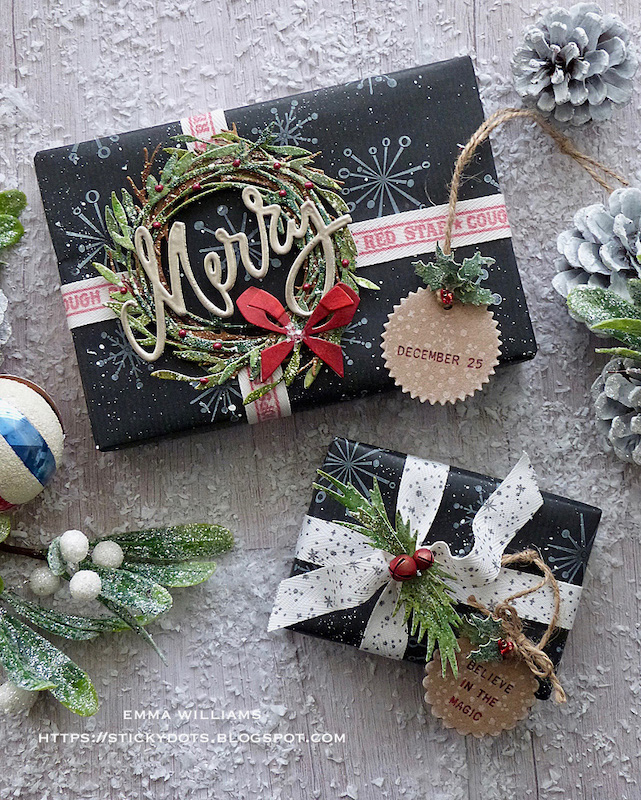
The paper is ready for wrapping my gifts and once that is done, I’m ready to create the embellishments, ribbons, and gift tags to add to them.
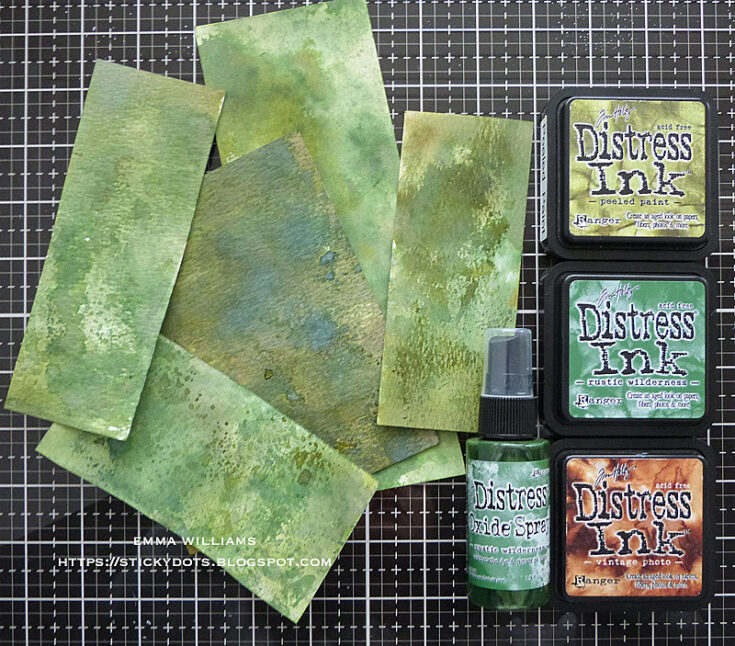
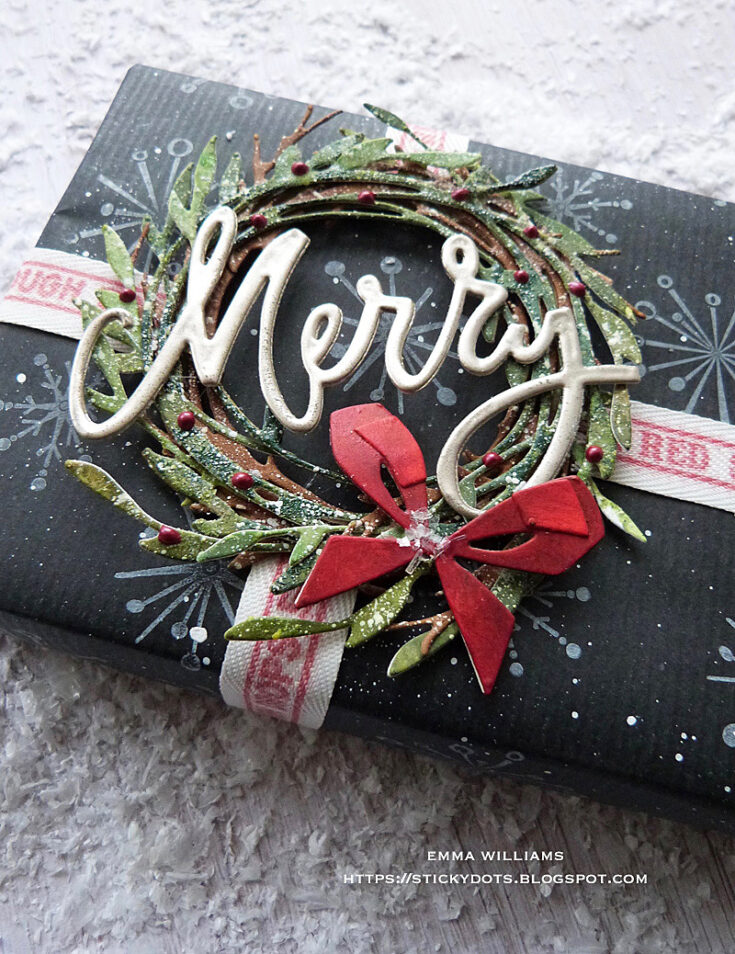
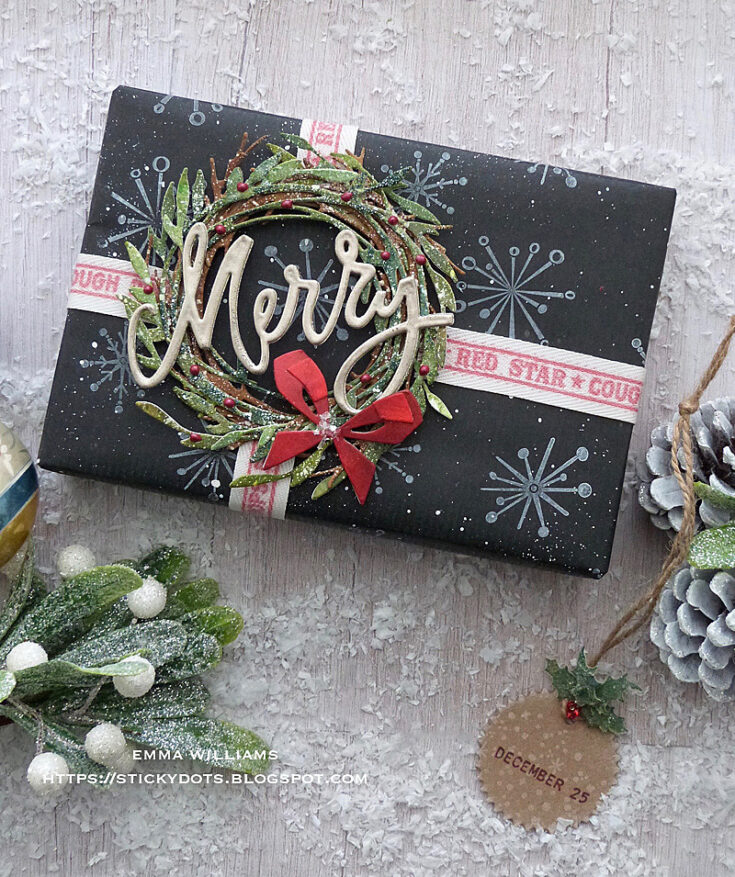
Starting with the wreath that sits on top of the larger package, I used the Sizzix Funky Wreaths Thinlits Die Set by Tim Holtz and used two colours to create the layers. The first brown twiggy layer is kraft card inked with Gathered Twigs Distress Ink and for the green leafy layer, I inked a panel of Distress Watercolour Card with a combination of Rustic Wilderness, Peeled Paint, Vintage Photo Distress Inks and a spritz of Rustic Wilderness Oxide Spray.
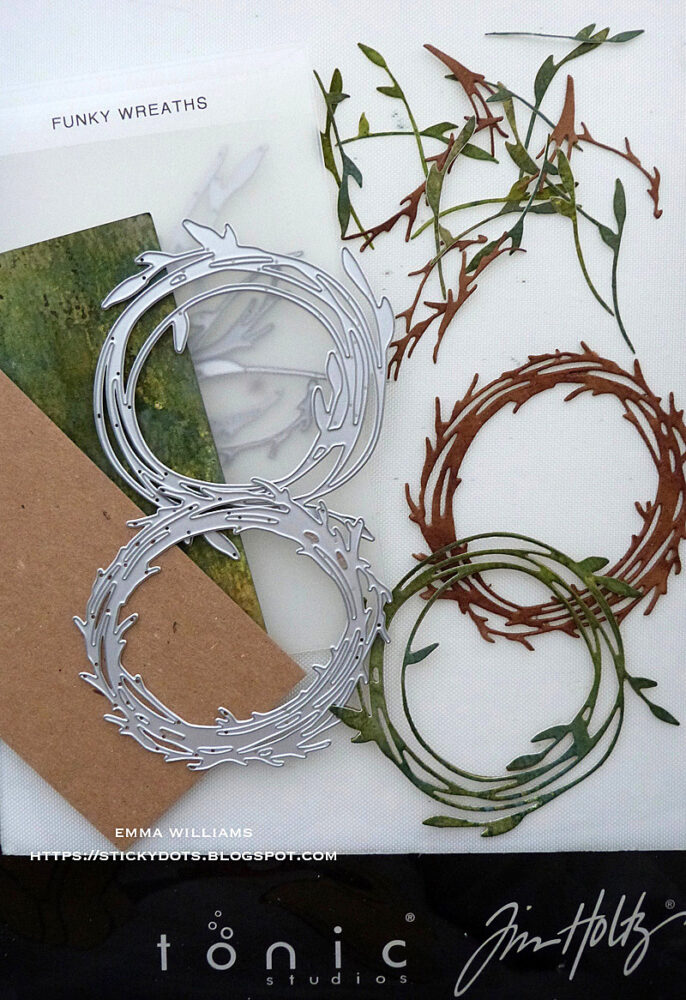
Die cut the inked card using the two circular wreath dies from the Funky Wreath Thinlits die set, cutting two of each colour. Take each of the separate twiggy layers and adhere one over the top of the other to create a thick substantial wreath piece. Repeat with the leafy wreath. With the remaining inked card, die cut a selection of foliage using the smaller dies from the set.
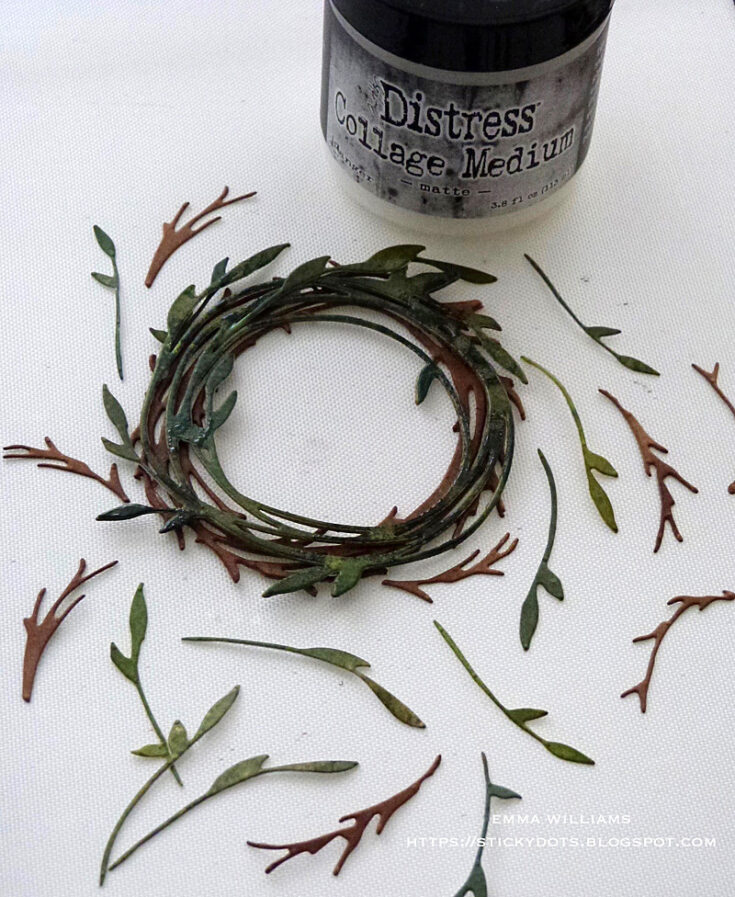
Taking the green wreath, I mounted this over the top of the twiggy wreath using foam pads, which I placed strategically on the back of the die cut so they wouldn’t show on the front. Once in place, I attached all my little extra die cut foliage pieces using a hot glue gun, or Matte Collage Medium and tuck each little piece of foliage into the layered wreath to create a really frothy wreath with plenty of dimension.
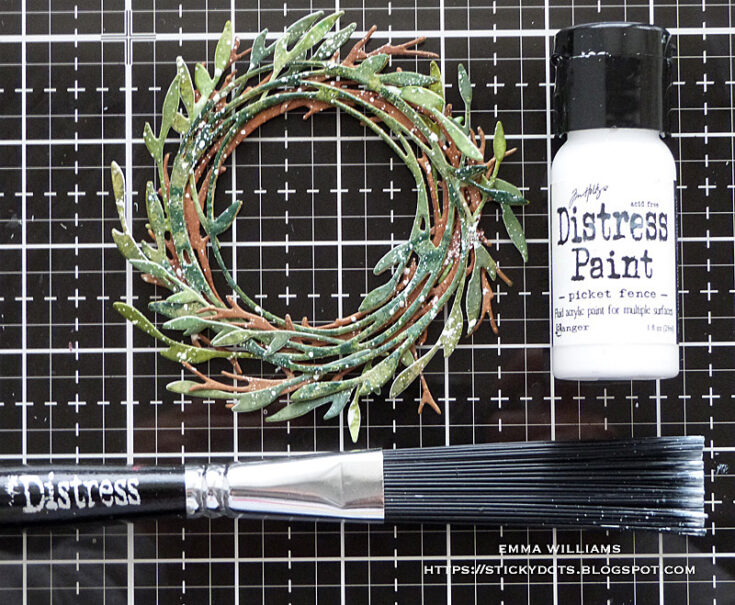
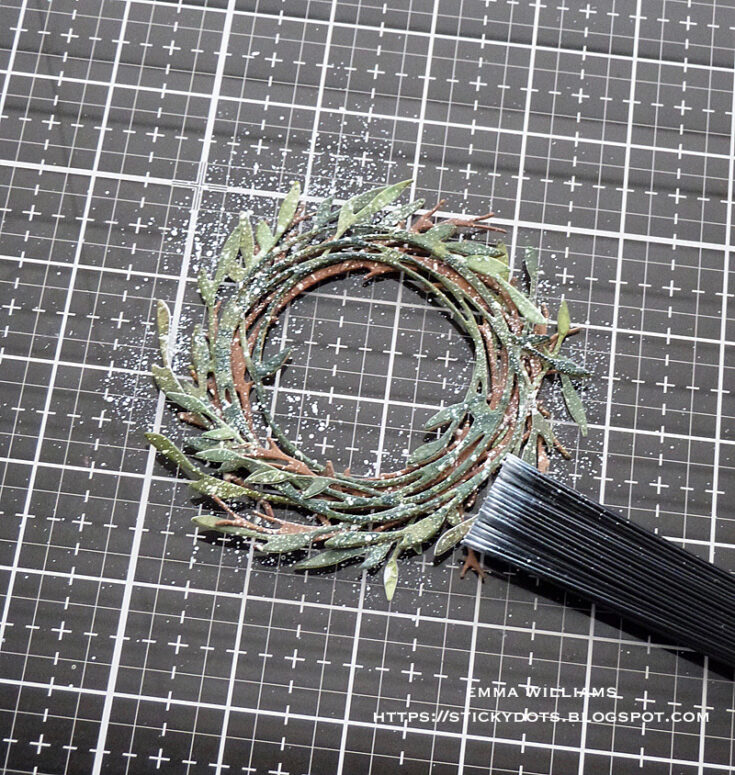
Once again, I loaded the splatter brush with Picket Fence Distress Paint and lightly splattered this across the surface of the wreath.
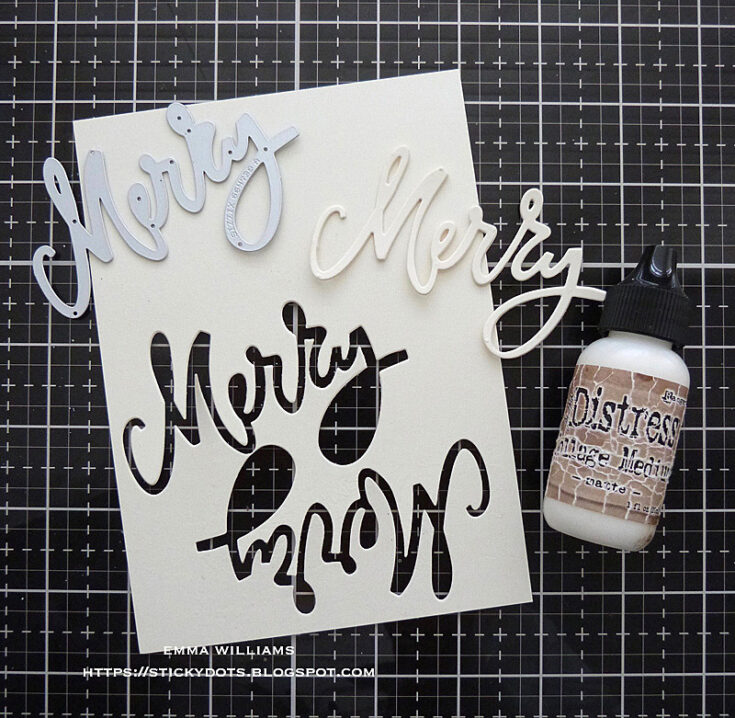
Using the “merry” wording only, from the Merry & Bright Die Set, die cut this twice from Mixed Media Heavystock card and then layer one over the top of one another to form a thick piece, resembling the thickness of chipboard.
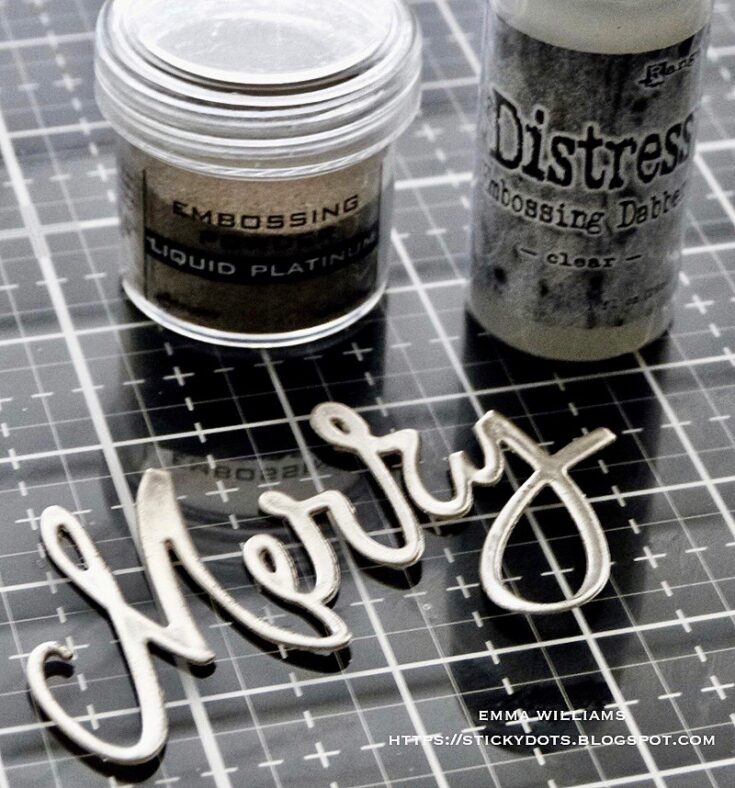
Apply the Embossing Dabber over the top of the die cut wording and before sprinkling with Liquid Platinum Embossing Powder. Tap away the excess powder and heat emboss until molten and then repeat the process to double emboss the die cut.
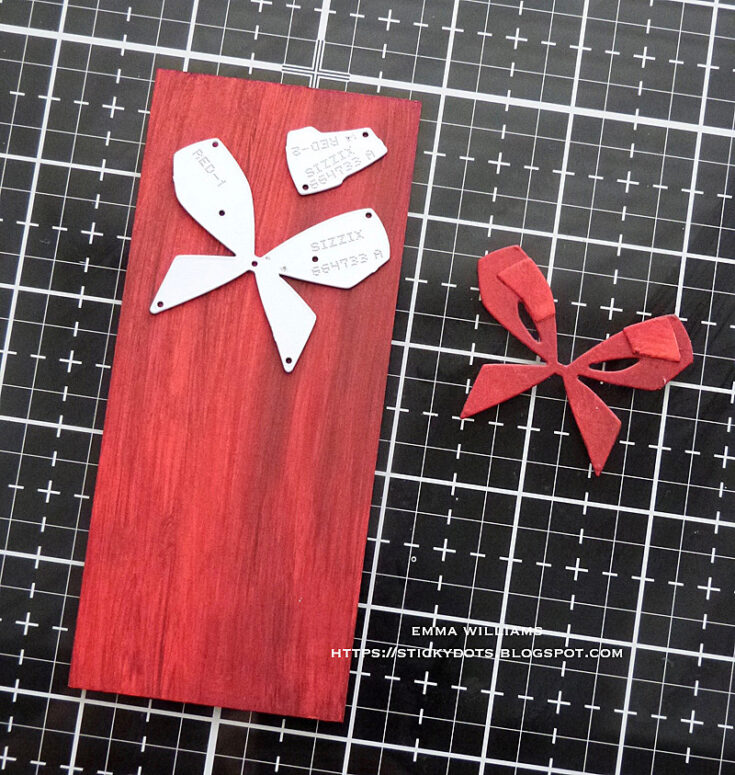
Using the bow die from the Festive Trims die set, I cut the ribbon pieces from red card and assemble the pieces to form the completed bow.
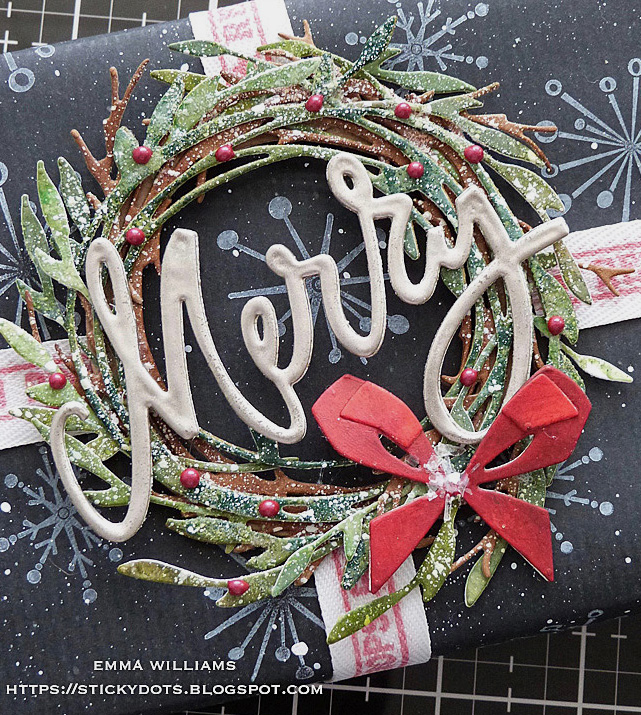
Dab and smear small amounts of Matte Collage Medium onto the wreath and sprinkle Rock Candy Distress Glitter over the top to add some sparkle. Tap away the excess glitter and then adhere the Merry wording and bow onto the wreath.
Now to create the ribbon and I used ivory colored cotton twill ribbon which I had in my craft stash, but any neutral shade of ribbon will work for this.
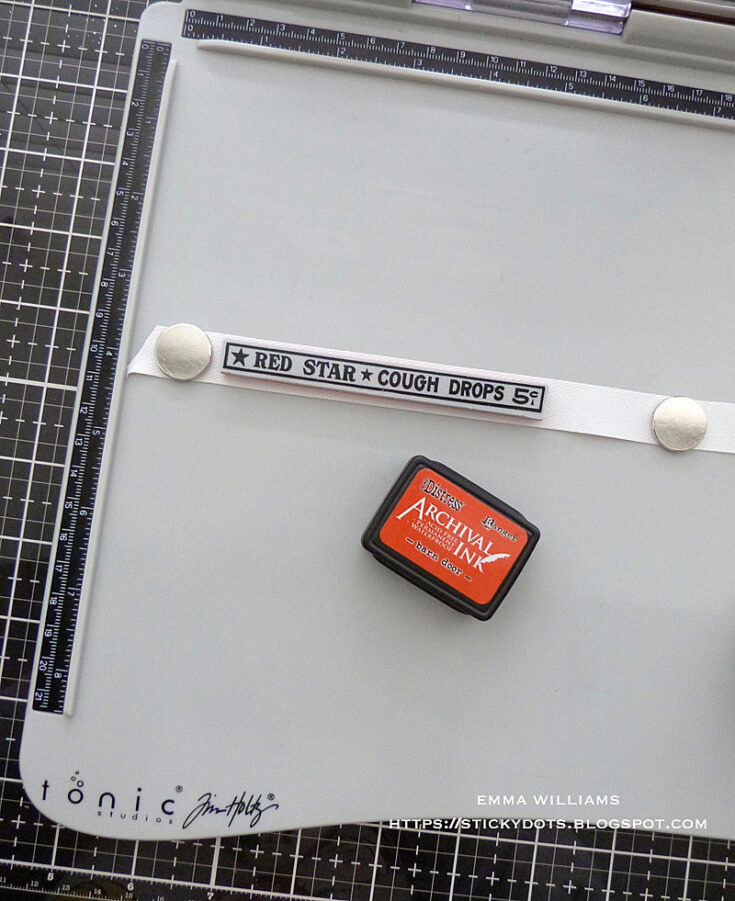
.To stamp onto the ribbon, I placed a strip onto my stamp platform using the magnets to secure it. For the first ribbon design, I used the Red Star Cough Drops Border Strip stamp from the Stampers Anonymous Vintage Holidays Stamp Set by Tim Holtz and inked this with Red Barn Archival Ink before repeatedly stamping the border image onto the ribbon, continuing until I had enough ribbon to go around my package.
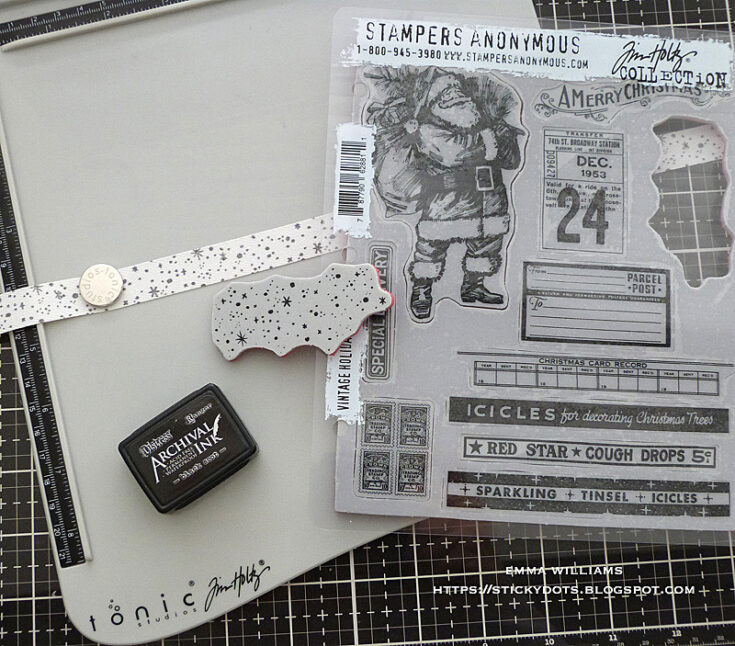
For the second design of ribbon, I used the ‘snow speckles’ stamp from the same stamp set and inked this with Black Soot Archival Ink. Once again, after securing the ribbon strip onto my stamp platform I inked the stamp and repeatedly stamped the small snow flecks along the length of the ribbon strip.
Die cut, (or if you haven’t got a die, you can cut this by hand) a circular hoop/ring of card, approximately 7cm from Mixed Media Heavystock. Cut the Red Star Cough Drops ribbon into four separate strips, ensuring that they fit around the length and depth of the package.
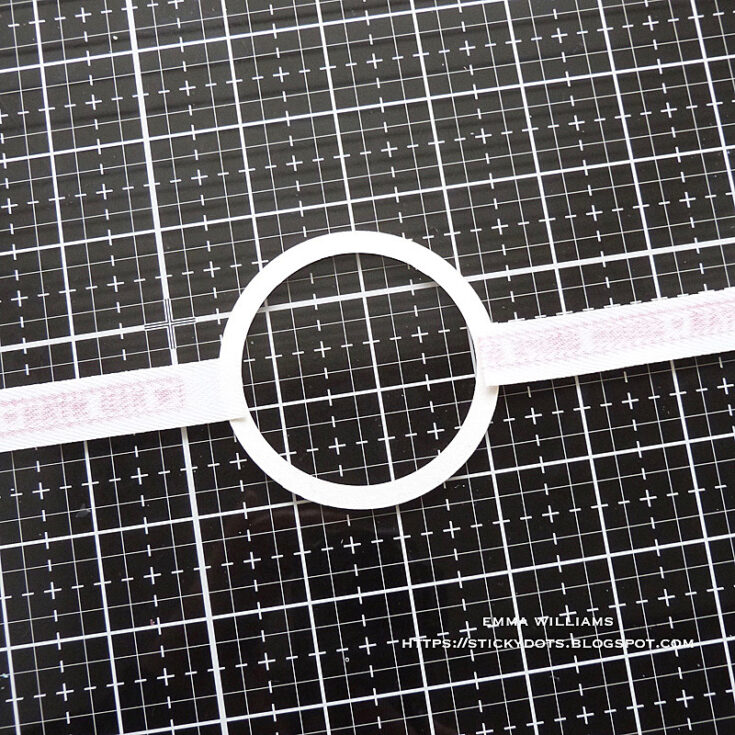
Take one end of the first strip of ribbon, attach this to the die cut hoop with strong adhesive tape. Repeat using the remaining three ribbon strips, placing them around the circular frame at equal distance.
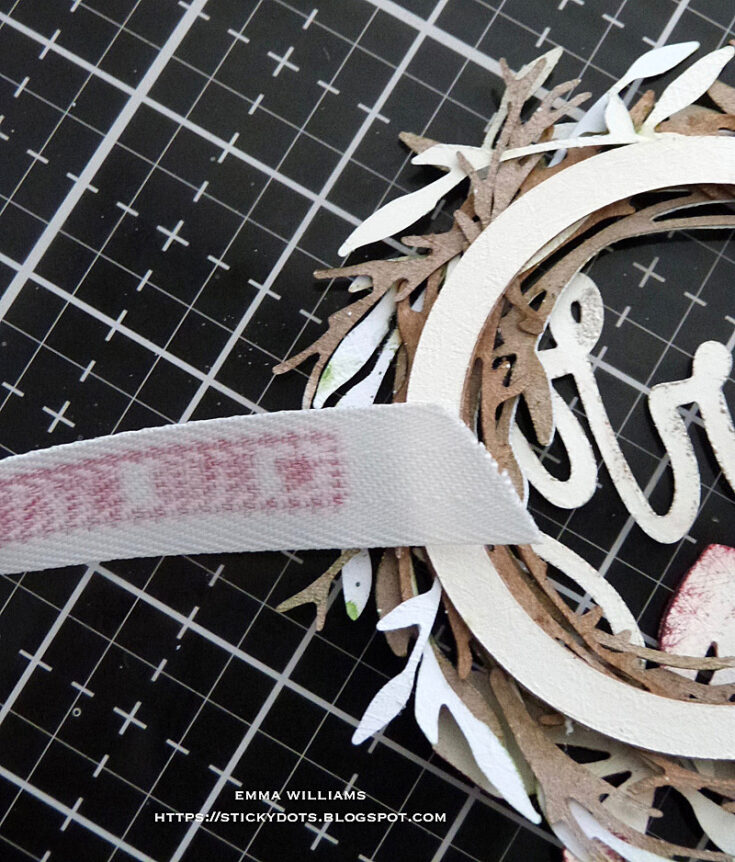
Attach the circular hoop and ribbon to the back of the wreath using Matte Collage Medium.
Once dry, I attached the wreath onto my gift, wrapping the ribbon around the package and securing the ends at the back with a piece of double sided tape.
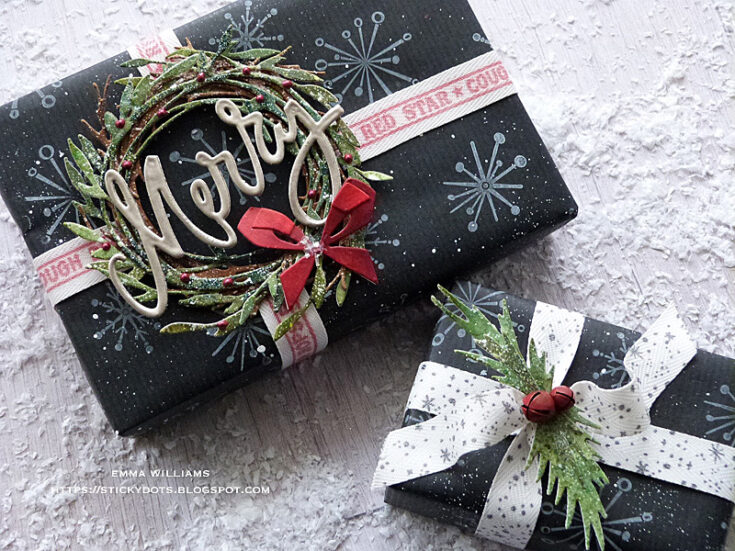
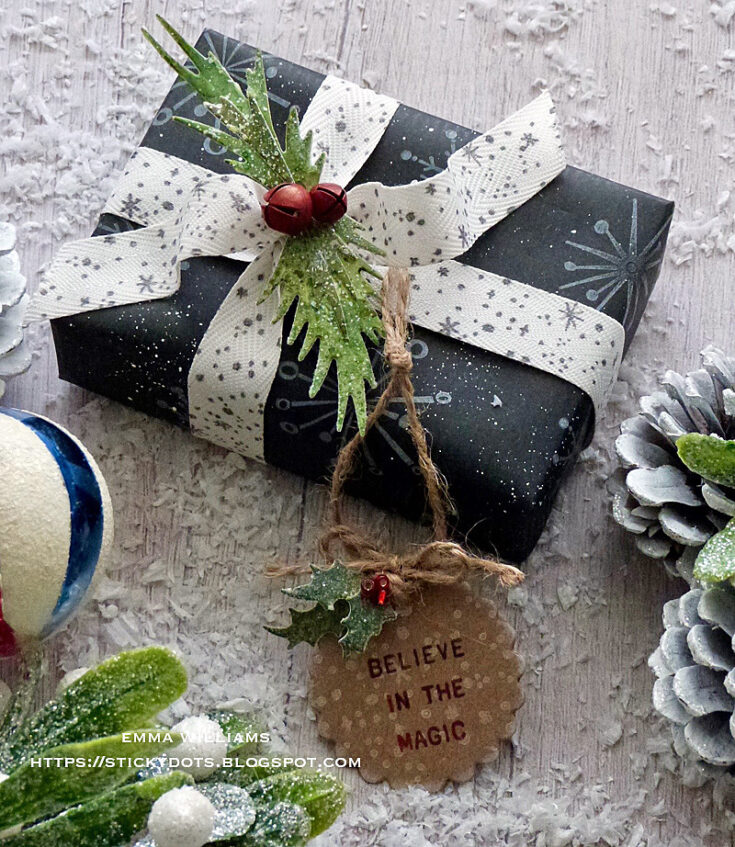
For the smaller package, I just tied the second ribbon design around the gift, and then using the remaining previously inked card, I cut some more foliage (you can use any die set you choose, or have to hand but I chose Sizzix Mini Holiday Greens and the Festive Trims die sets both by Tim Holtz). I attached the foliage pieces to the centre of the knotted ribbon.
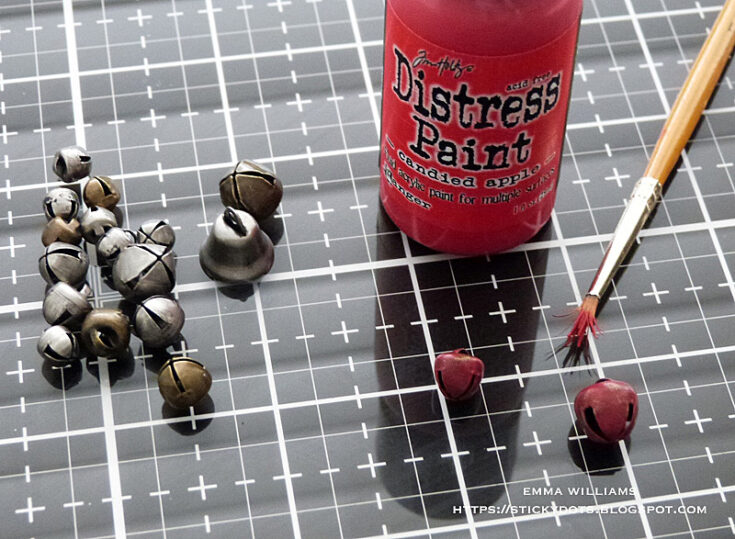
Paint two small Tiny Bells with Candied Apple Distress Paint and attach to the centre of the foliage.
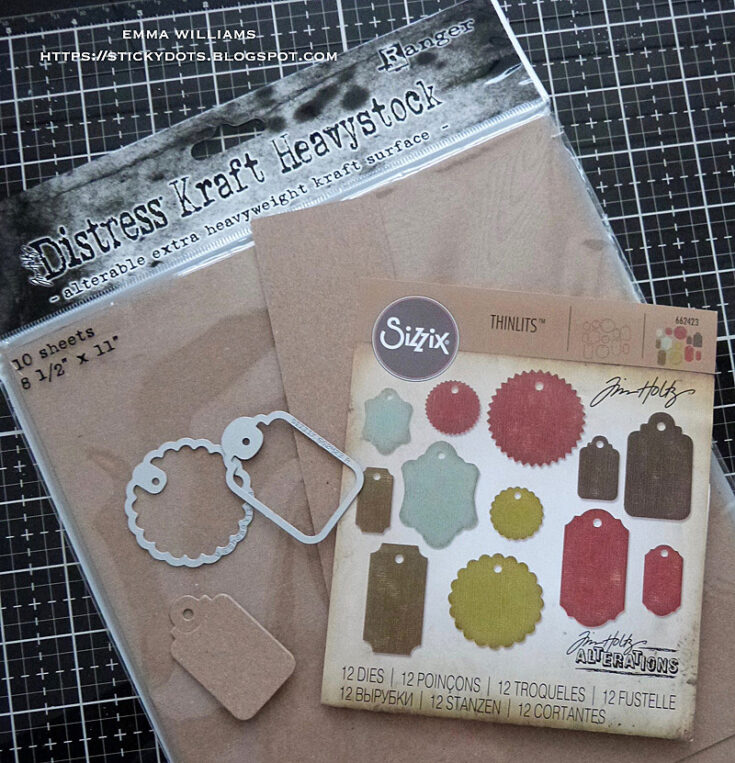
We’re nearly there and all that’s left are the tags. I used the Sizzix Gift Tags Thinlits Die set by Tim Holtz and cut my tags from Kraft Heavystock Card.
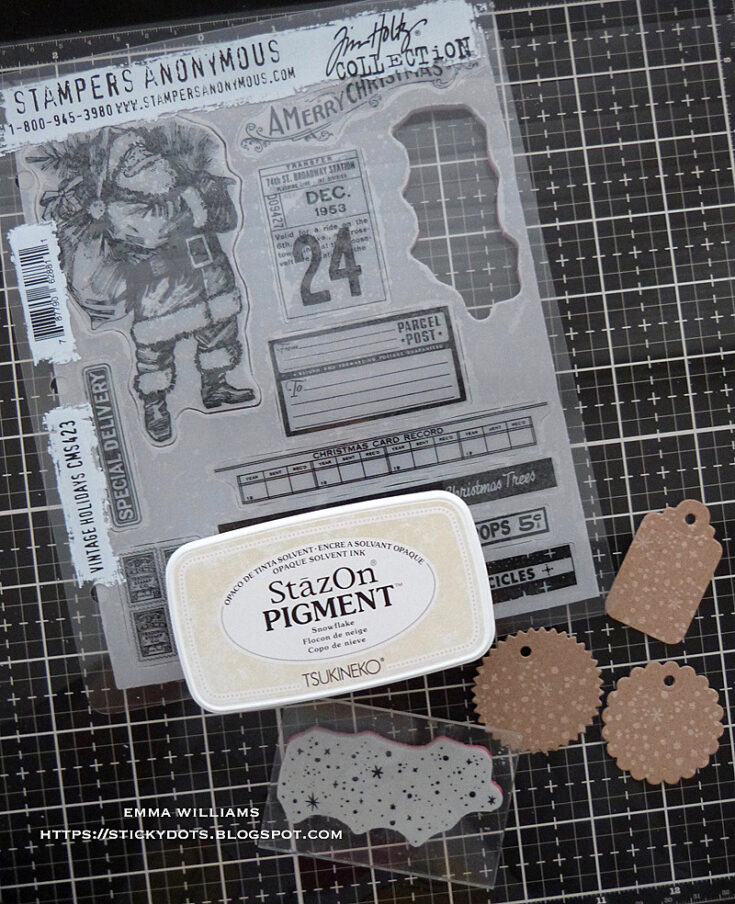
I then used the same snowy flecks stamp from the Vintage Holidays Stamp set and stamped onto the tag with the Stazon Ink Pad and stamped the messages using stamps from Stampers Anonymous Christmas Tiny Text and Sketch Greenery in Barn Door Archival Ink.
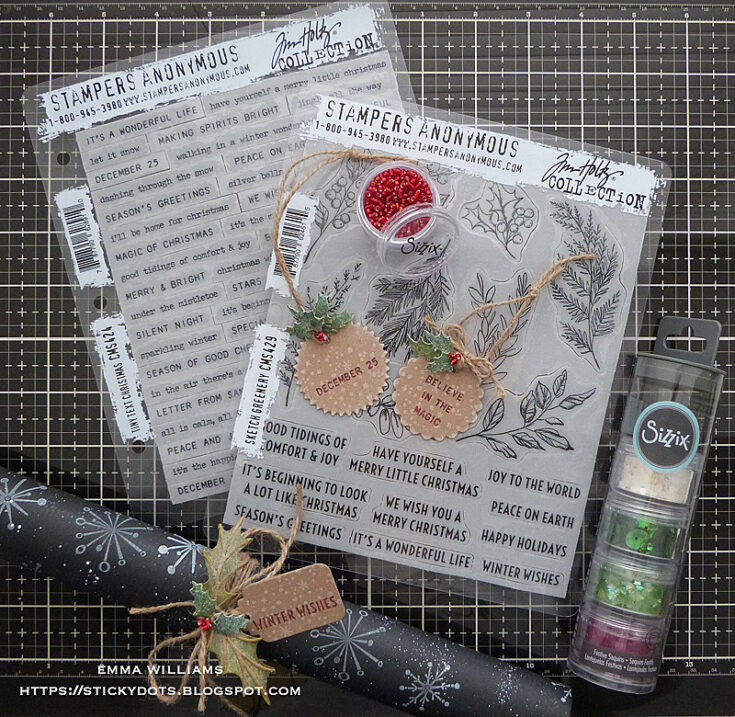
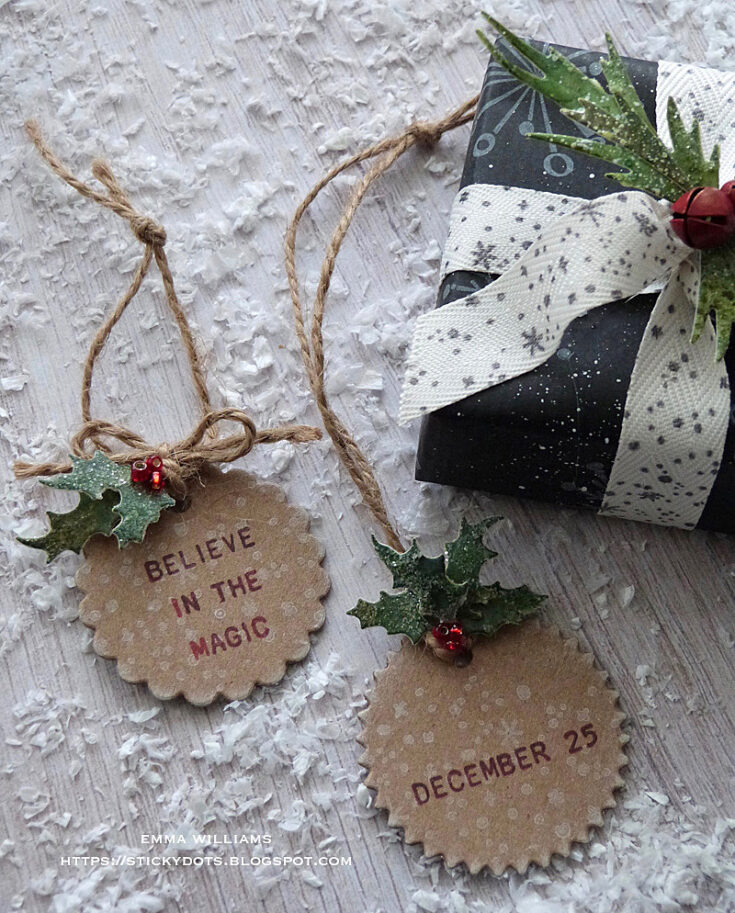
Thread twine through each of the tags and add decoration to each using some more die cut foliage pieces, together with some tiny seed beads from the Sizzix Festive Sequins and Beads centers. Attach the tags to your finished packages.
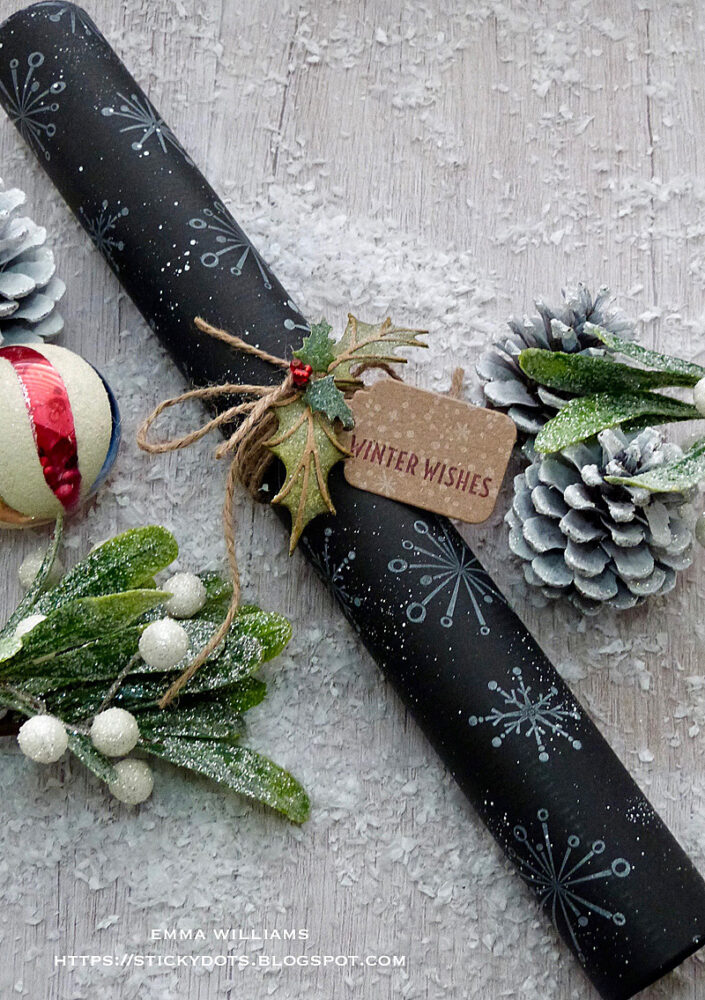
As an extra little idea to this post, I also made some wrap to gift to family members for their present wrapping and for this, I just rolled up a piece of the gift wrap and tied it with twine before adding some more foliage, seed beads and a tag.
Thank you so much for stopping by today, this post was so much fun to work on and I hope I’ve given you some tricks and techniques that will inspire you with some ideas of your own.
In the meantime, I wish you all a very Happy Christmas and I hope 2021 will bring us all much joy, love and the peace we all need!
Stay safe and well and see you again soon. Emma x
SUPPLIES:
|


Thanks so much for stopping by and thanks to Emma for being our guest!


