Fun Way to Give a Gift Card! Not a Card with Nina-Marie
Hello friends, it’s Nina-Marie Trapani here with you and I have a cute gift card gifting idea to share using Pretty Pink Posh’s newest release!
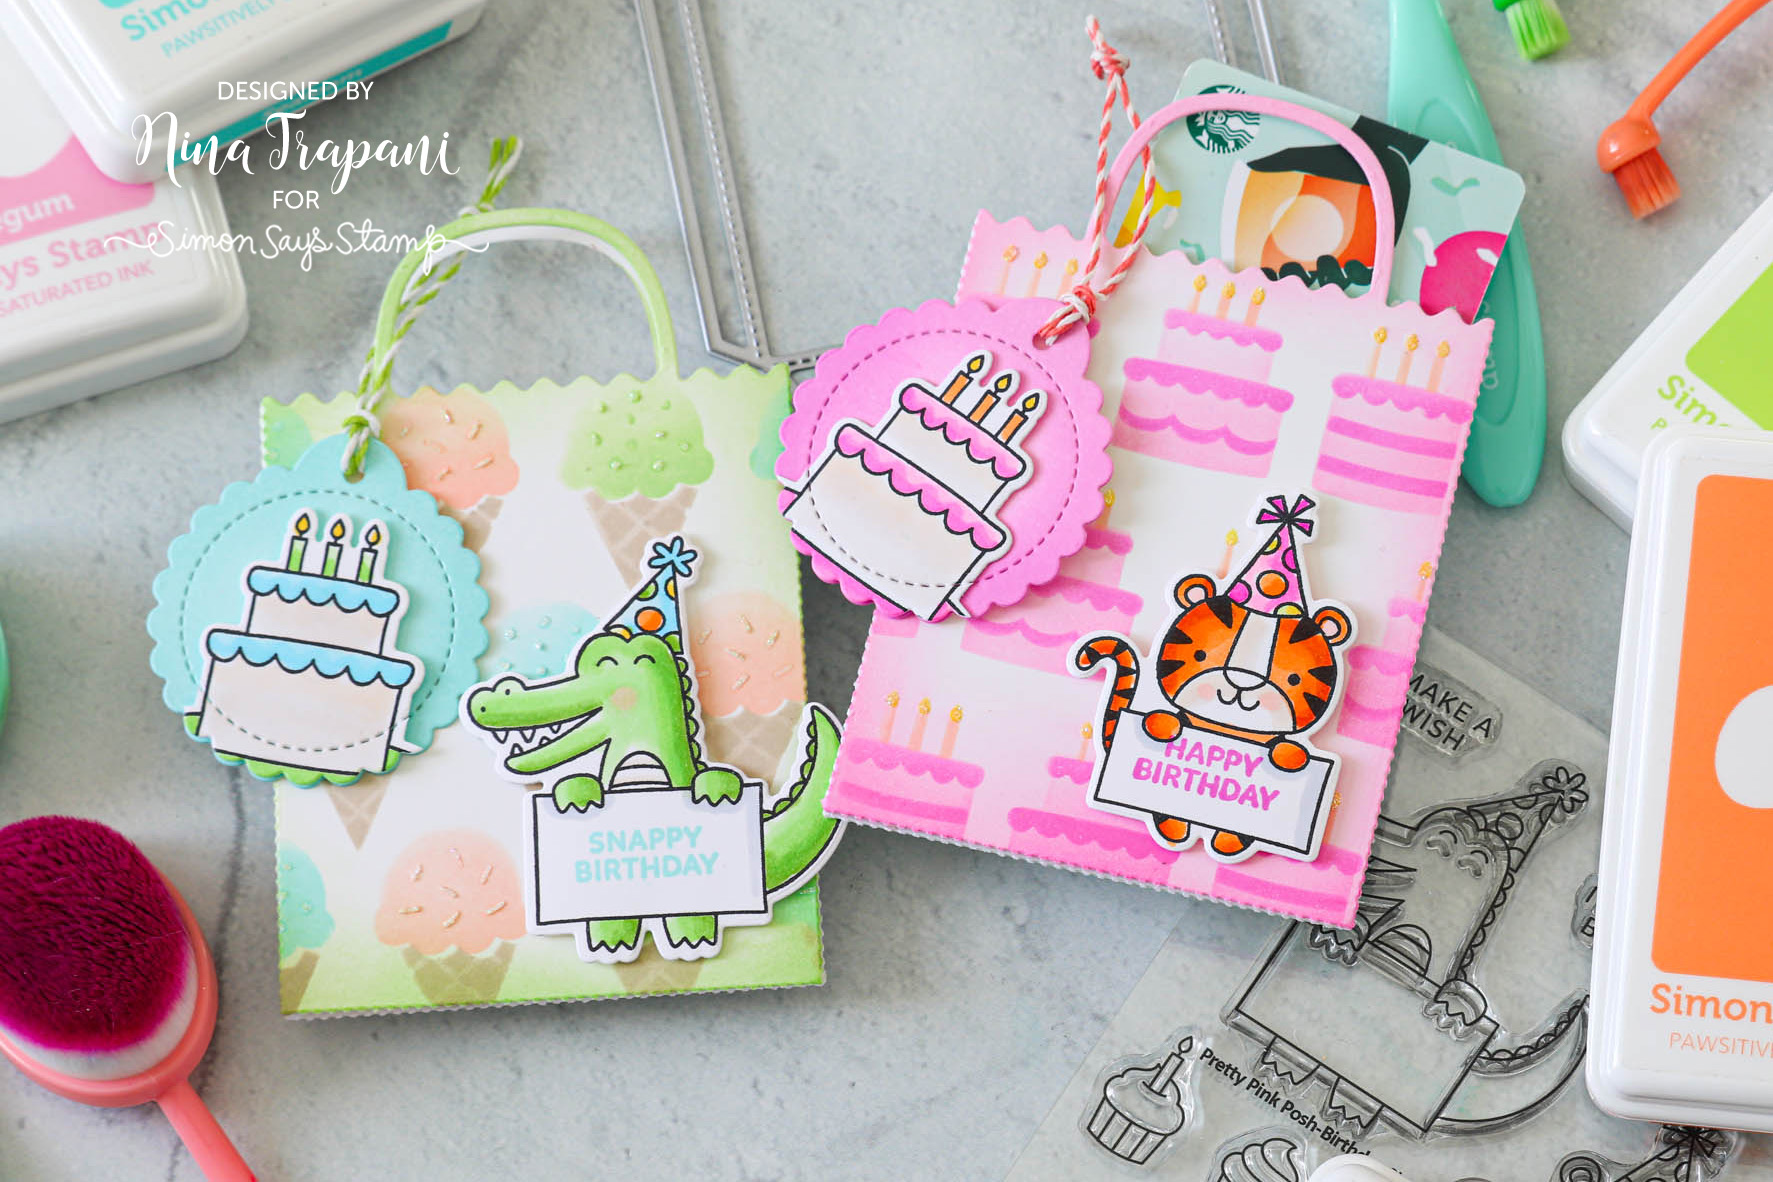
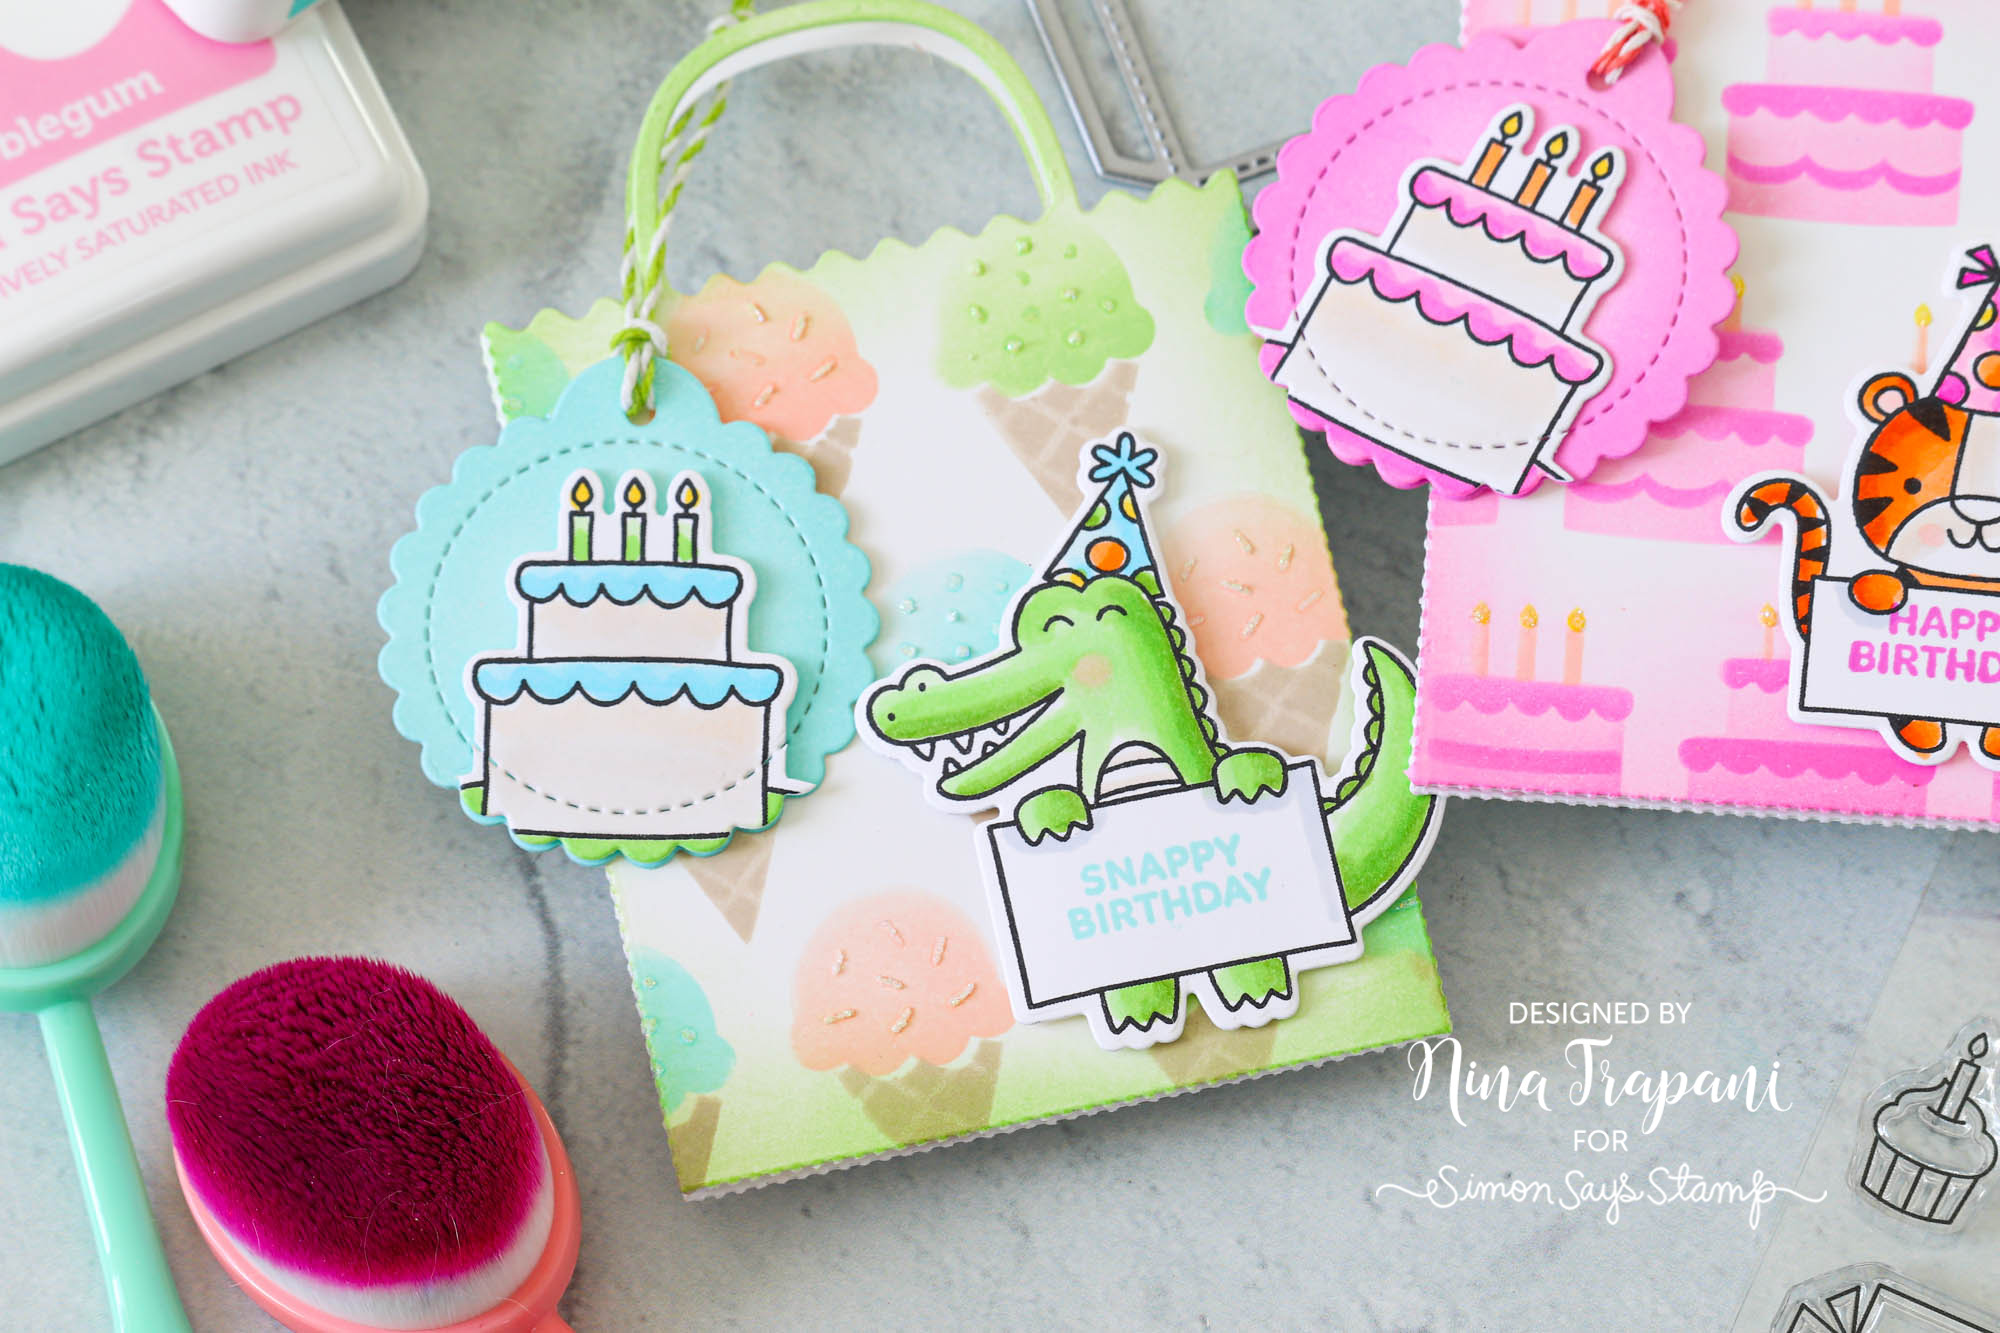
I used the new Gift Card Bag die set to make adorable mini bags that perfectly fit a gift card inside. Each bag is decorated with ink blending and stenciling; the fun stencils that I used were the Layering Birthday Cake and Layering Ice Cream Cones—both new from Pretty Pink Posh!
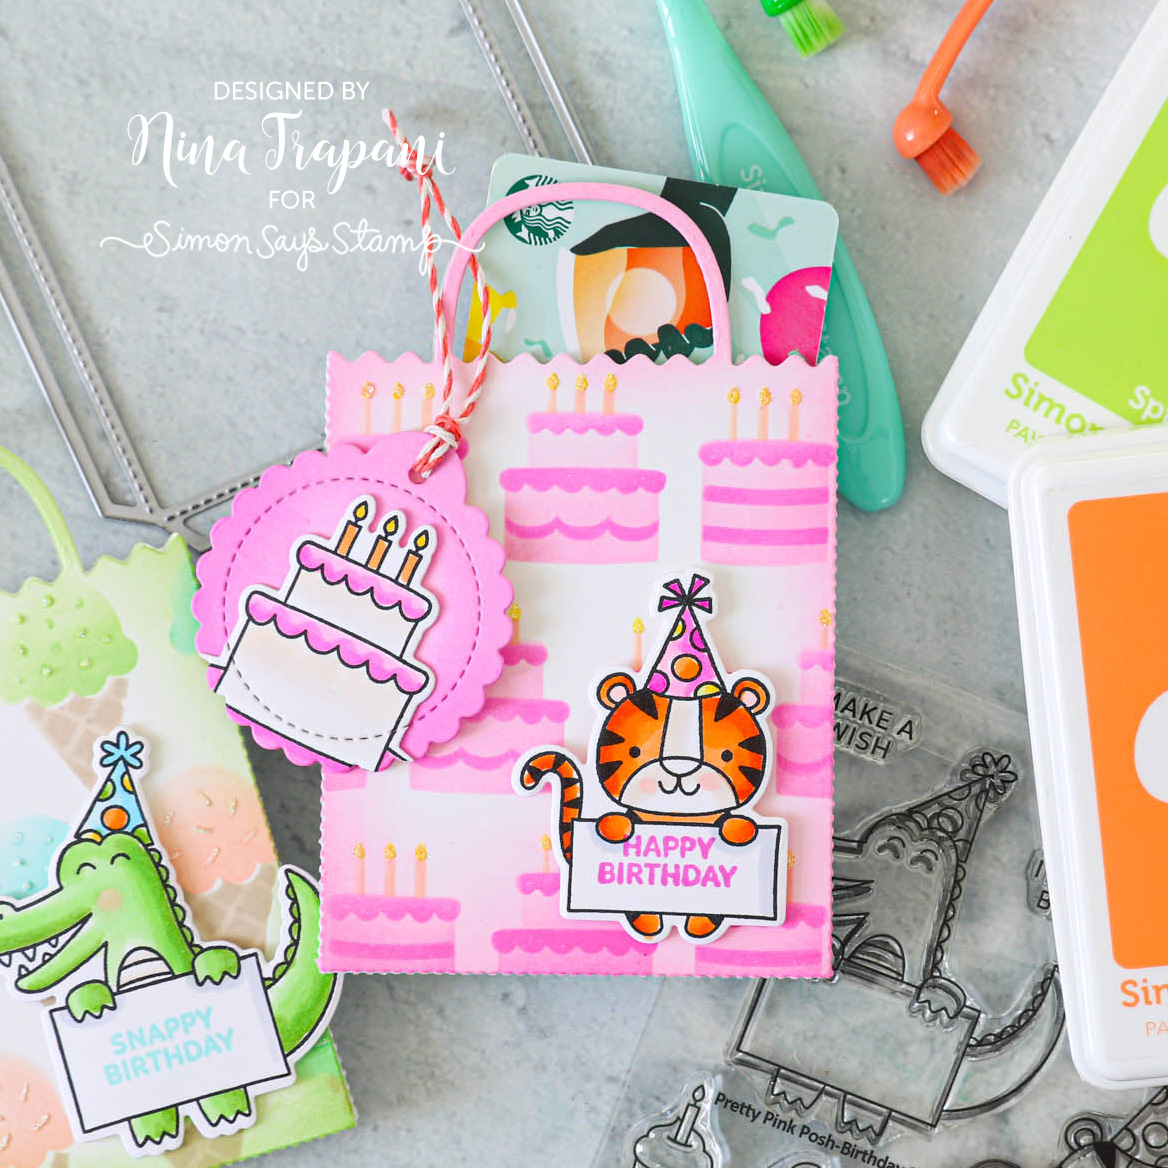
To further decorate the bags, I incorporated images from the new Birthday Signs stamp and die set. I love the cute critters and how you can customize their signs with a variety of greeting options.
Want to learn more about how I made these gift card holders? Watch the video below for all the details!
WATCH THE VIDEO
SUPPLIES
|


Card Kit Reveal and Inspiration: Happy Hello!

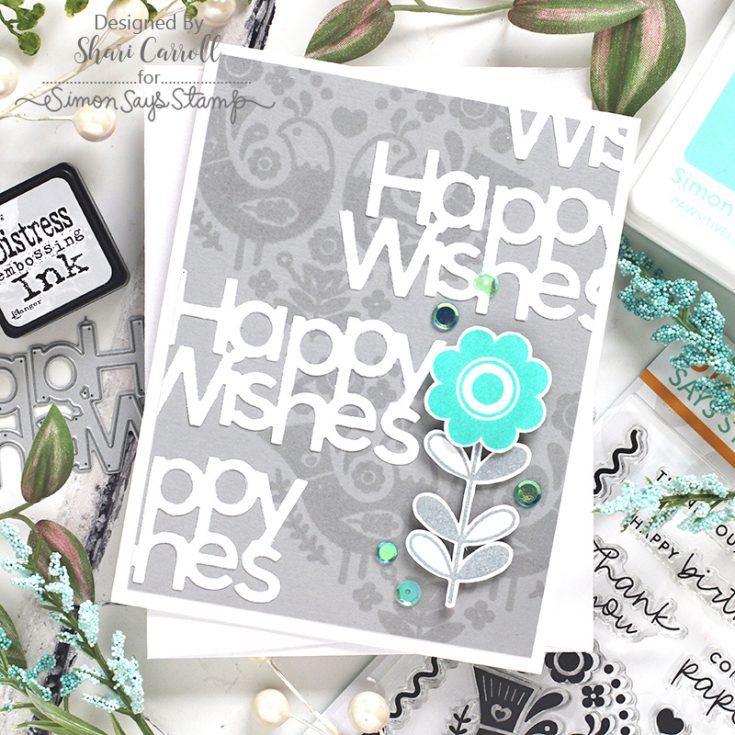
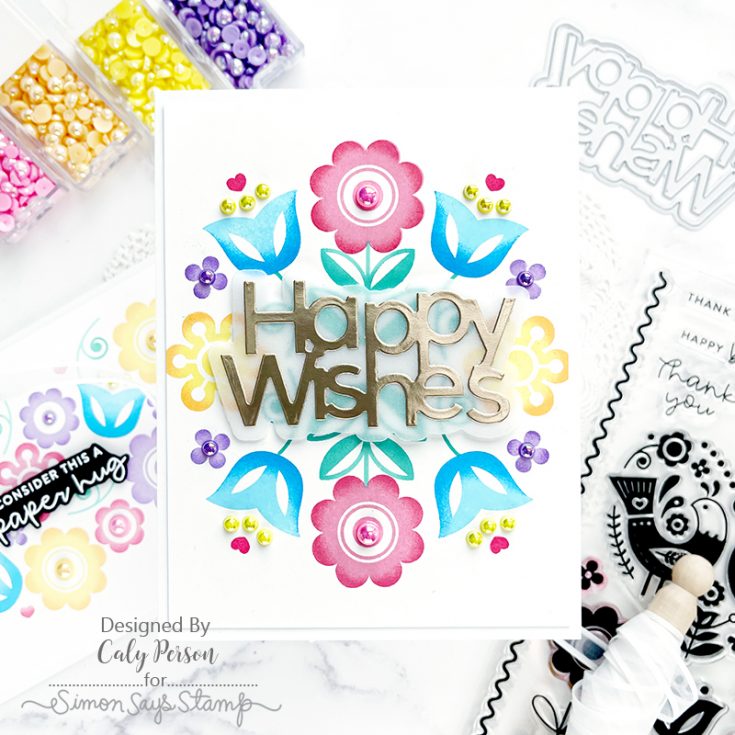
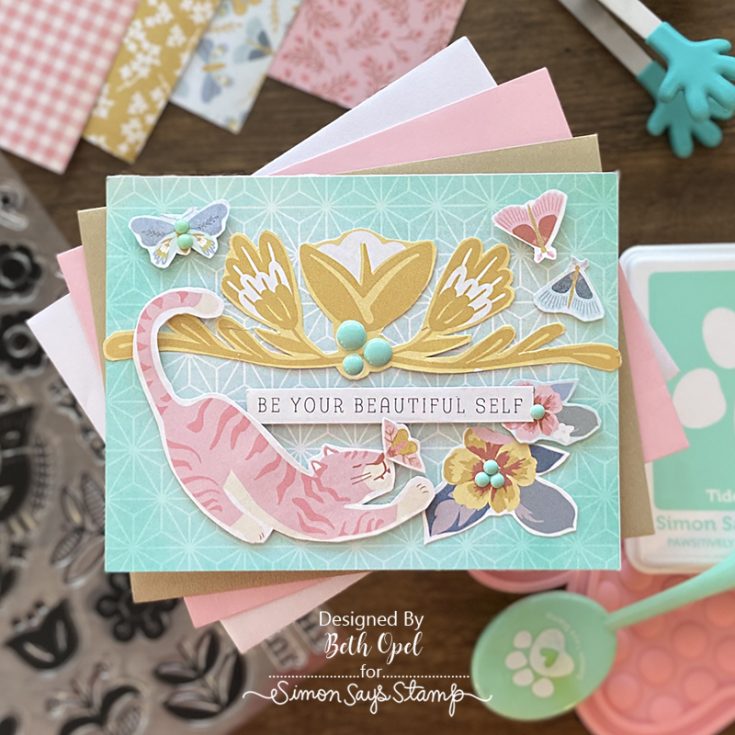
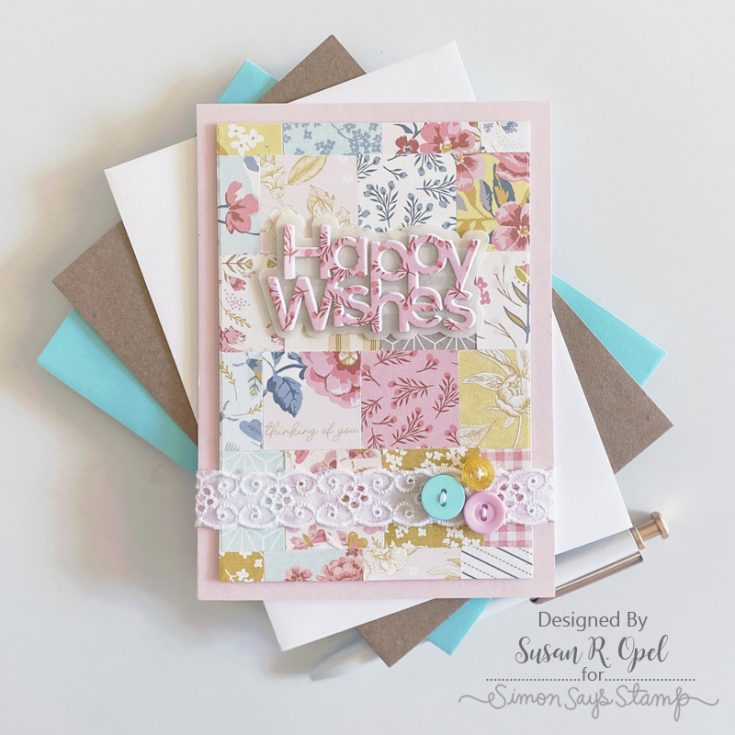
Introducing our March 2023 Card Kit—Happy Hello!
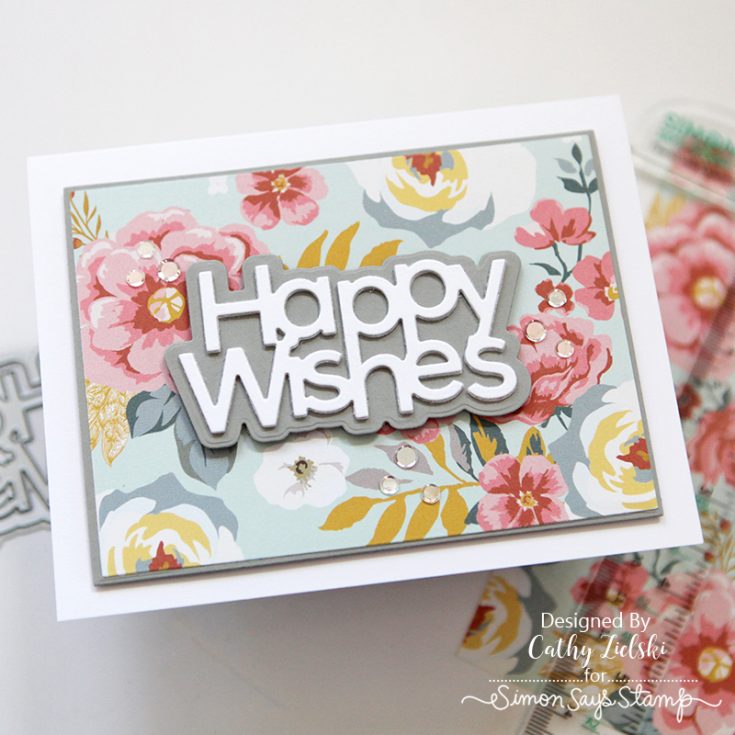
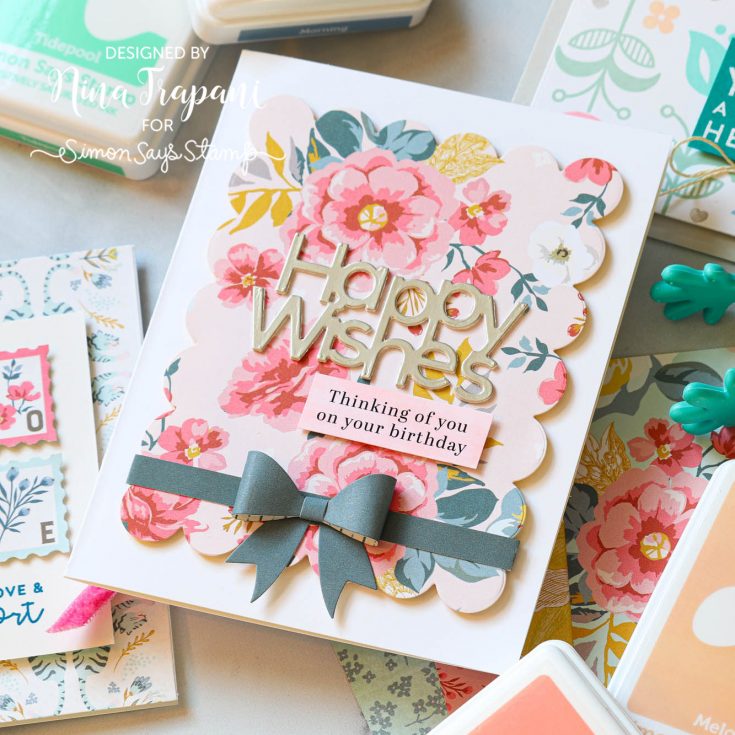
This pretty kit features many fun Simon exclusive products, including the brand-new Happy Hello 6×8 stamp set and Happy Wishes die. You’ll also find 1 full sized Pawsitively Saturated Tidepool ink pad and one of our popular Teal Hot Hands!
In addition, there are 6×8 double-sided patterned papers from Simple Stories (and one sheet of Craft Consortium patterned paper, too), 1 Tim Holtz/Ranger Mini Distress Embossing ink pad— which can be used with the jar of Tim Holtz/Ranger Distress Embossing Glaze! Also included are 2 sheets of Simon brand cardstock, 1 sheet of Neenah Solar White, and 1 Simon brand envelope. The entire kit fits in the included Simon Mesh Zipper bag!
Breathe in the freshness of spring crafting with our Happy Hello kit!
WATCH THE VIDEO:
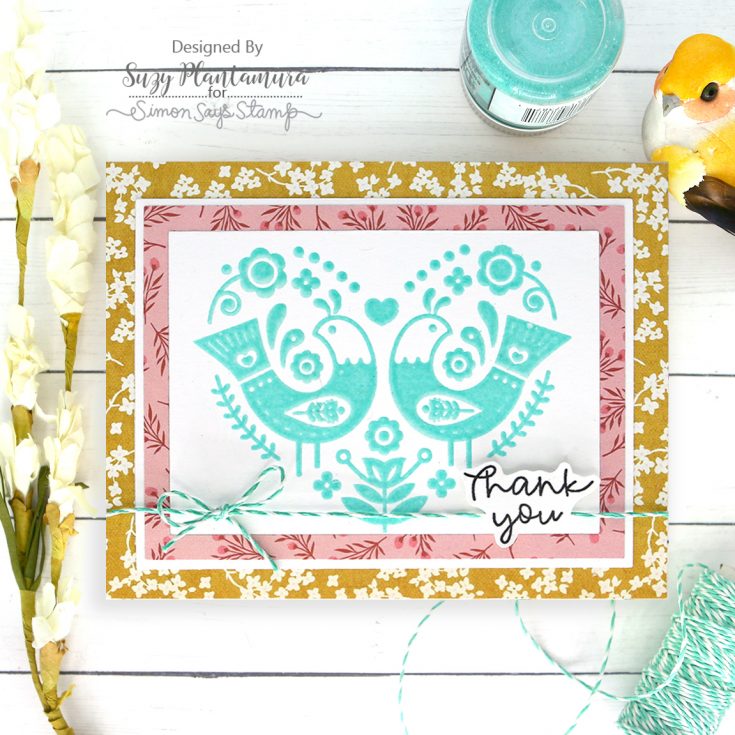
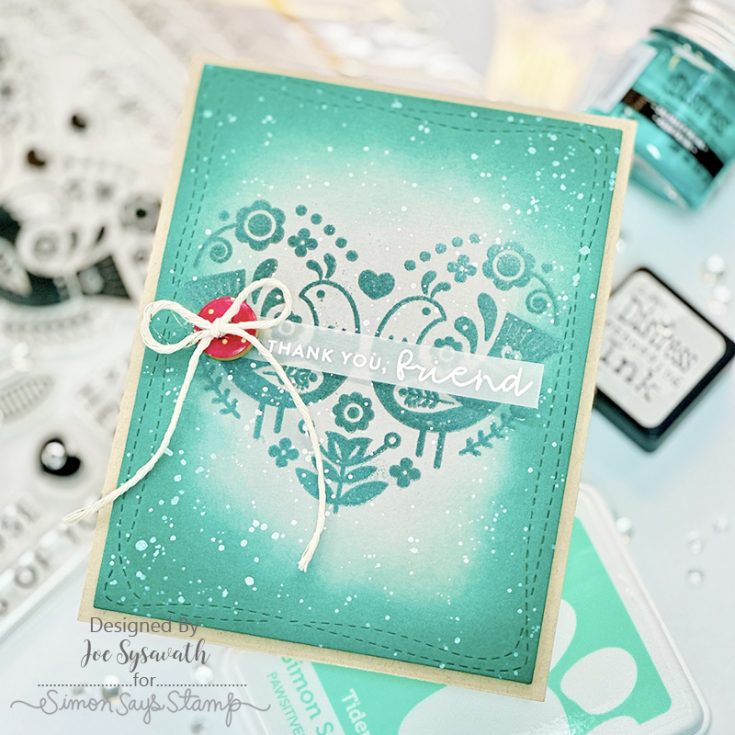
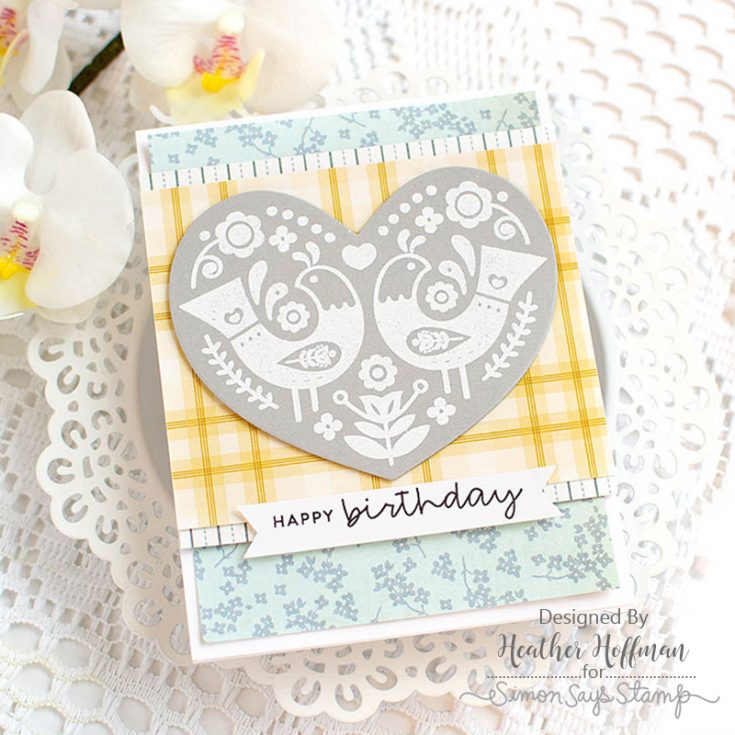
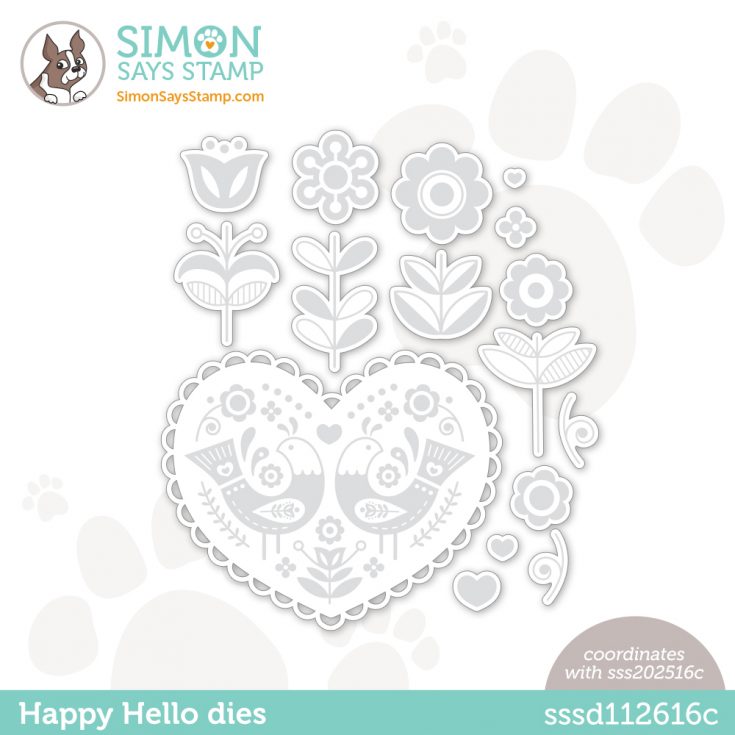
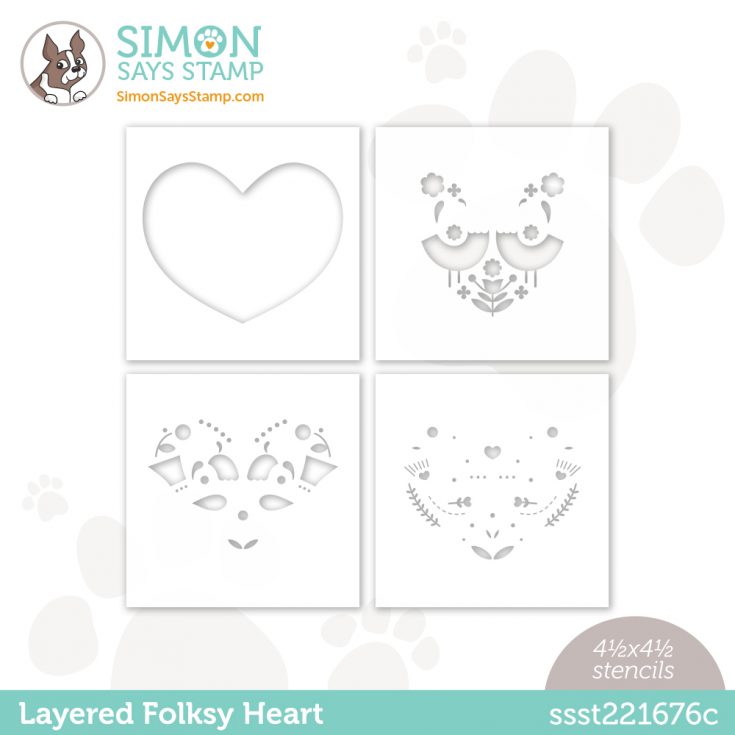
Enhance your kit with the following a la carte items to coordinate with it! Happy Hello, coordinating dies and Layered Folksy Heart stencil set.
Don’t forget! We have LOTS of gorgeous card kit inspiration to access and add to in our Card Kit Galleries!
You can purchase the kit at $39.99 or subscribe to our kit of the month program for just $34.99 (plus S&H) per month to have our kits delivered right to your door each month!
If you are a subscriber who used Paypal to purchase your subscription, please be sure to pay the invoice that we send you within 3 business days. We have a limited number of this card kit in stock and don’t want you to miss out. For easier and quicker monthly processing, please contact us via email or telephone, and we will put your credit card on file as a courtesy for you. Card kits bill and ship anytime between the 16 – 30 of every month.
Don’t miss our next LIVE!
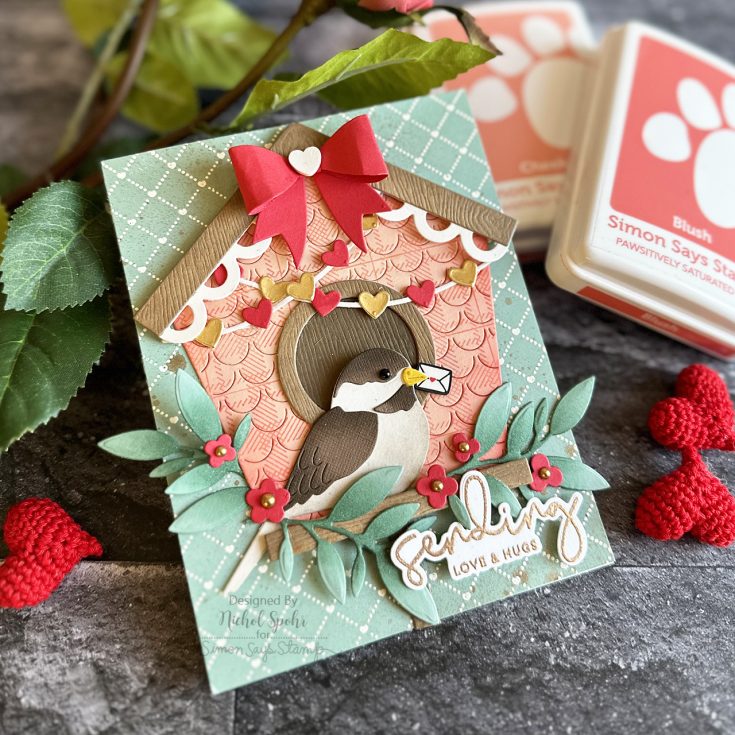
TWEET idea: Customizing dies for the season! Making the Cut series Love card

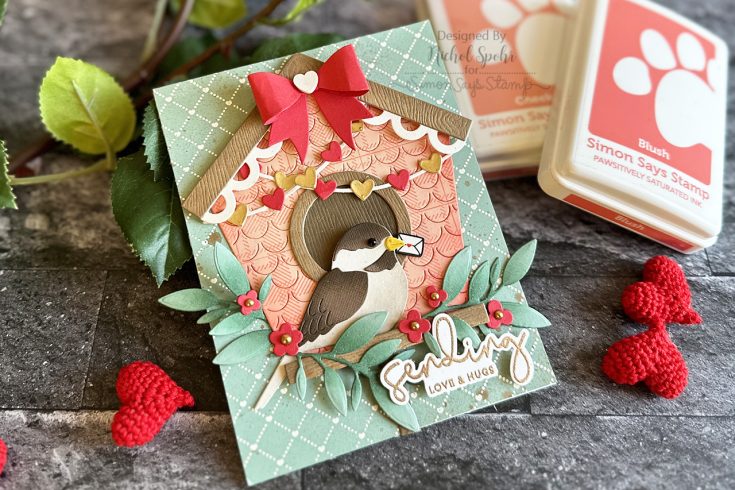
Hi friends! Happy Monday! Please join me in welcoming back special guest Nichol Spohr back to our blog for our monthly installment of Making the Cut, a celebration of the amazing wafer thin die cuts and the gorgeous projects you can make with them! In this sweet project Nichol is showcasing a multitude of dies including our exclusive Scalloped Birdhouse, Layered Songbird, Flower Bundle, Mini Flowers and Leaves, and Perfect Bow (among others!) Be sure to watch the video for all the details, and enjoy!
WATCH THE VIDEO:
SUPPLIES:
|


Thanks so much for stopping by, and thanks to Nichol for being our guest!