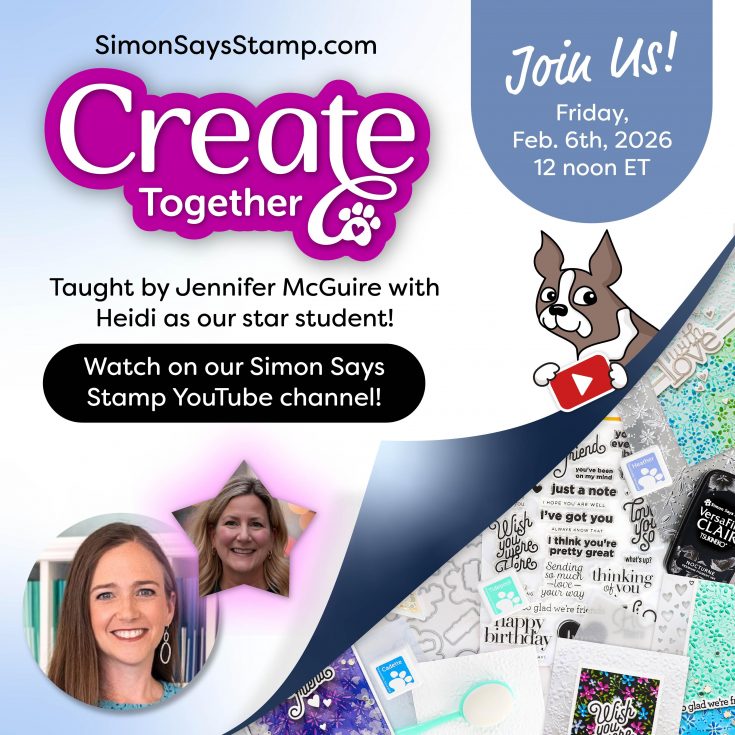
Our Create Together Techniques and Textures Class with Jennifer McGuire is LIVE!
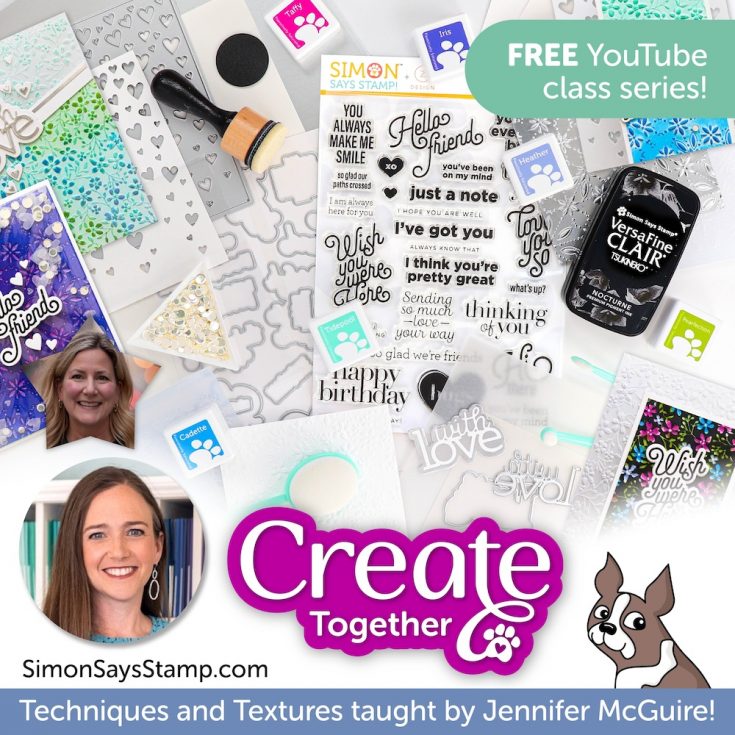
A Huge THANK YOU to Everyone Who Joined Us Live for Our Techniques and Textures class taught by Jennifer McGuire with our star student Heidi!
We had an absolute blast Creating Together with all of you, and we hope you enjoyed it just as much as we did! Your energy, creativity, and enthusiasm made this class unforgettable, and we’re so grateful to have shared this special experience with such an amazing community.
Missed the class? No worries! You can catch all the fun whenever it’s convenient for you. Just click or tap the image above to watch the class on-demand—pause, rewind, and rewatch as much as you’d like to soak in every detail and technique!
Want even MORE inspiration? Click or tap HERE! Please share what you’re making on this gallery, and if you post on social media include the hashtag #SSSTechniquesAndTextures
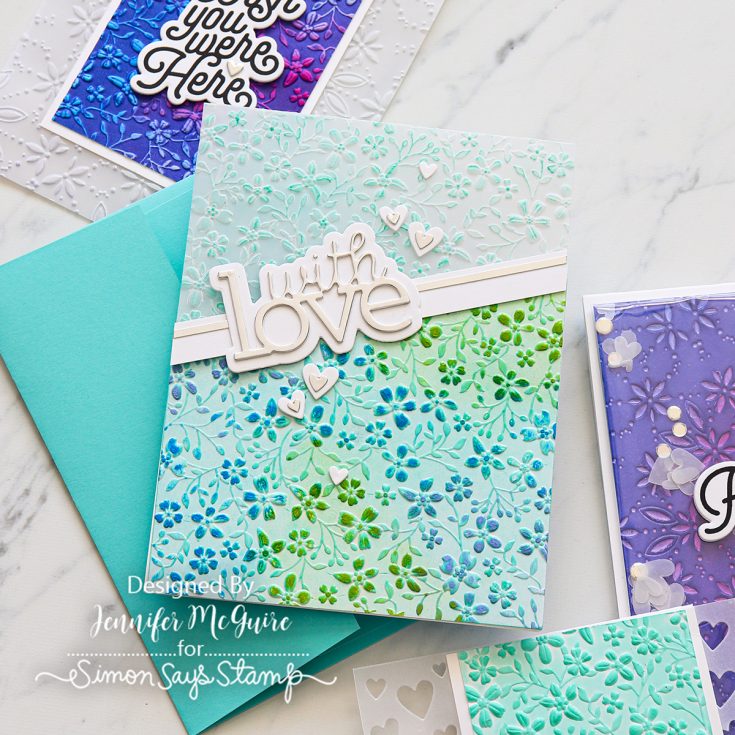
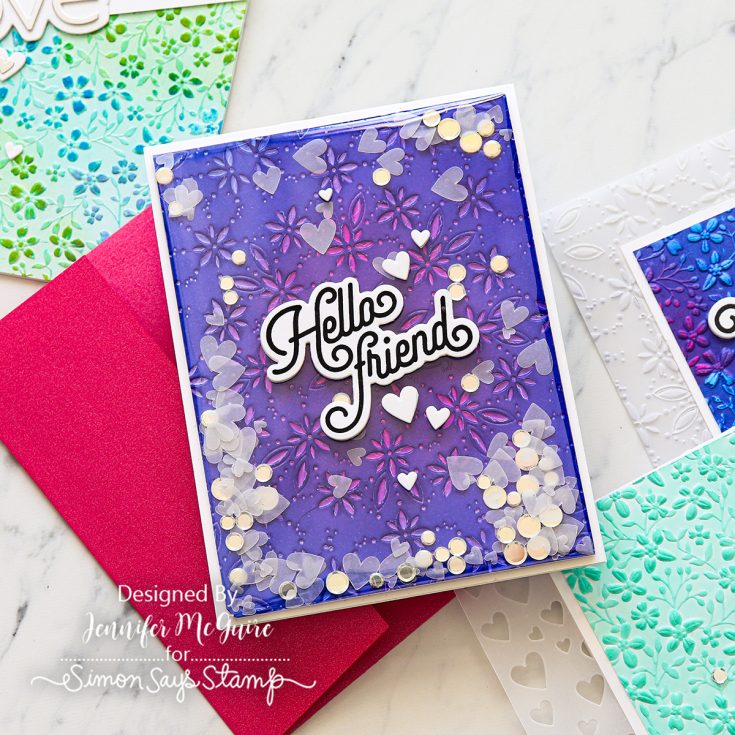
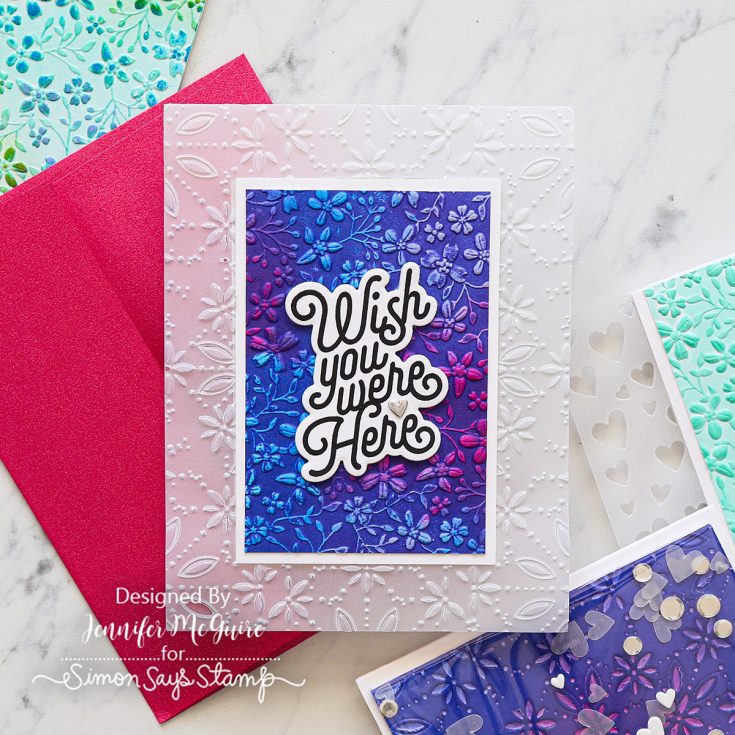
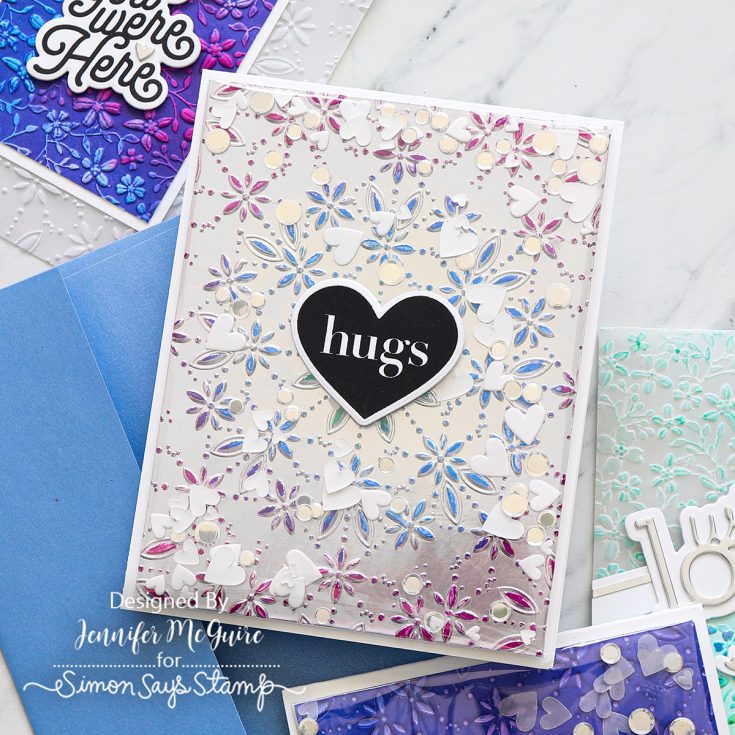
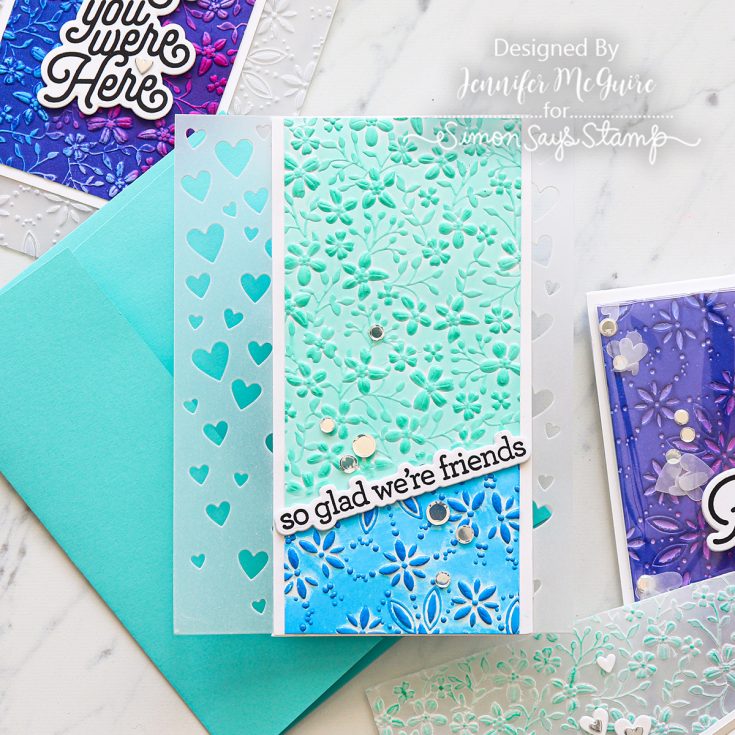
Here’s another look at the AMAZING cards by Jennifer McGuire:

Rewatch the class:

Missed the kit? Shop select individual components available:
|


TODAY is the DAY! Don’t Miss the Techniques and Textures Class with Jennifer McGuire!
Here are the additional supplies recommended to have for class:
- Die cut machine
- Stamp Positioner, such as MISTI or Stampwheel
- Trimmer
- Scissors
- Adhesives: Tape runner, strong liquid glue, double sided tape and foam tape
- Strong tape, such as scotch tape
- Temporary tape (to help with die cutting)
- Dry cloth or paper towels
- Ruler to measure
- Mist bottle with water (for clean up)
- Score board and bone folder
- Post-it notes for masking
- Tweezer or wax pick-up tool
- Optional: Blending brushes (if you prefer to use more than what is in the kit, or different)
- White Gel Pen
- Scrap Paper
- Heat Gun
- Permanent Marker
- Baby Wipes
- Tacky/Grip Mat
Homework:
Good news—there’s no homework! (Well… for the most part!)
The one super important—and time-saving—task we’ll tackle during class is determining the best sandwich recipe to achieve the perfect impression with our embossing folders for your projects. Please refer to our Helpful Sandwich Recipe Guide, which covers the most popular die-cutting machines.
Missed the kit? Here are individual components still available!
|


A Winning Hand: A Handmade Card for a Friend Amore Laurafadora
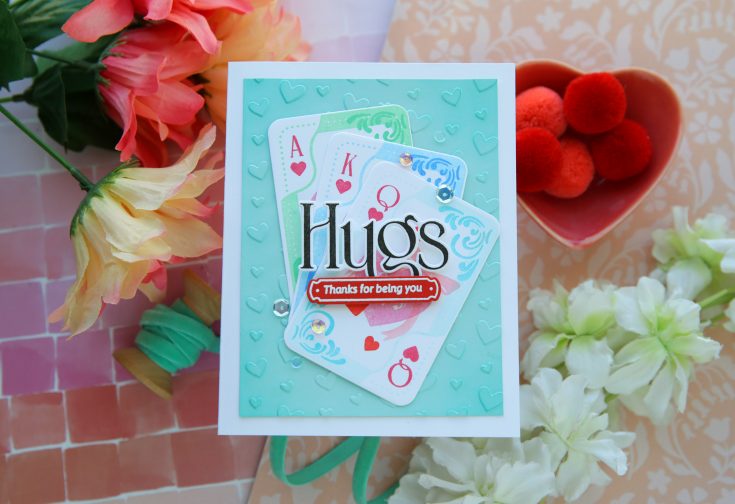
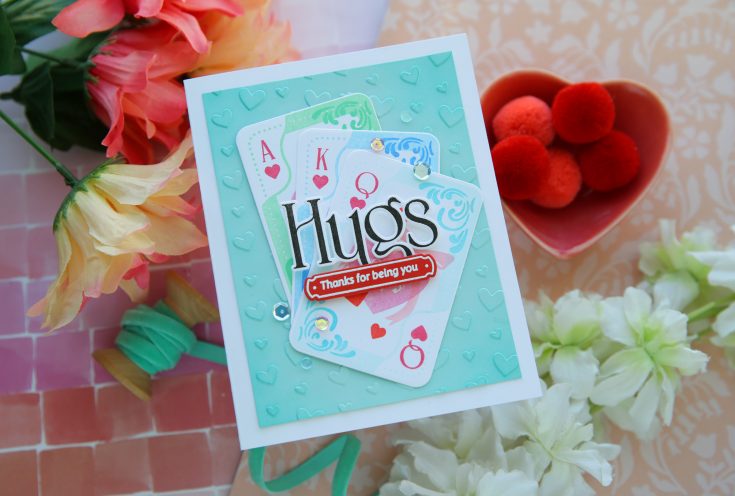
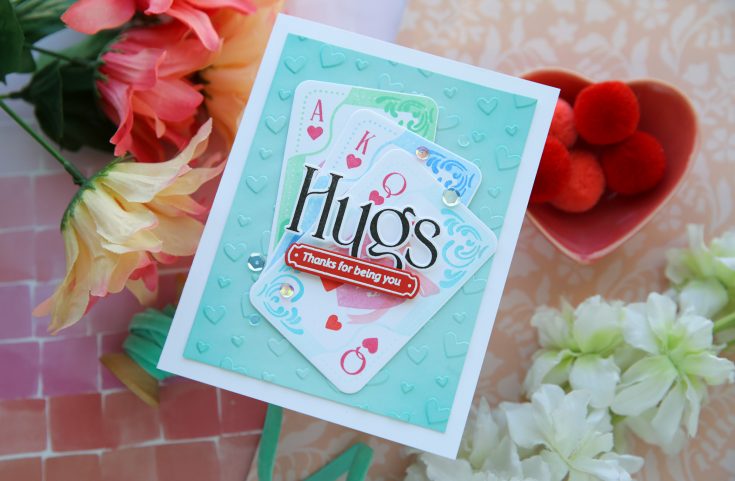
Hi friend! Happy Thursday! Please join me in welcoming back special guest Laura Bassen to showcase this super fun card showcasing our brand new Heart Suite bundle, Cascading Hearts embossing folder, and a little sprinkling of sparkle from our Red Berries and Tidal Wave Embellishment packs! Be sure to watch the video for all the details, and enjoy!
WATCH THE VIDEO:

SUPPLIES:
|


A big thank you to YOU, our reader — and to Laura Bassen for being our guest!
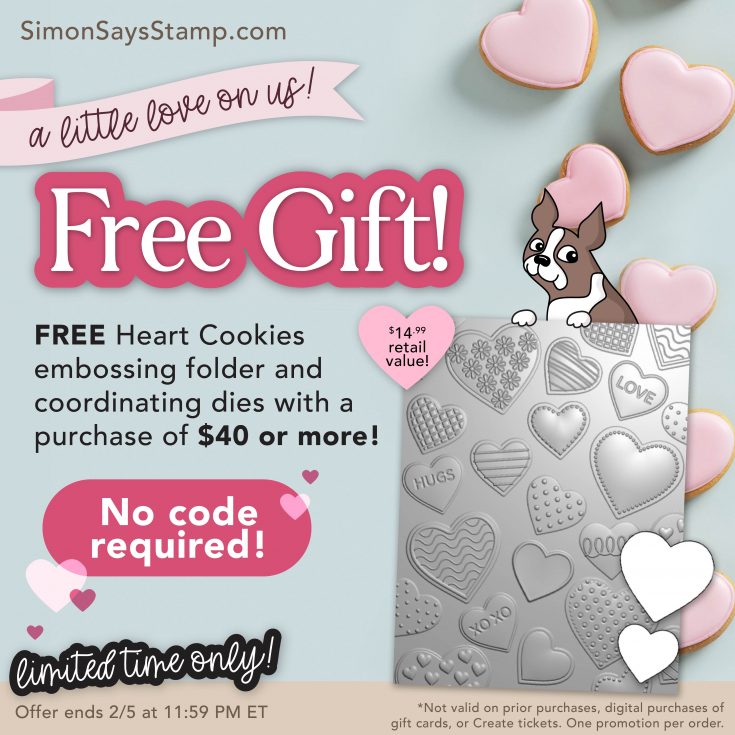
GIFT ALERT! – ENDS TONIGHT!!!
For a limited time, any order $40 or more will automatically get this totally SWEET Heart Cookies Embossing Folder and coordinating dies set! No code required!