This weekend ONLY – BoGO gift cards!
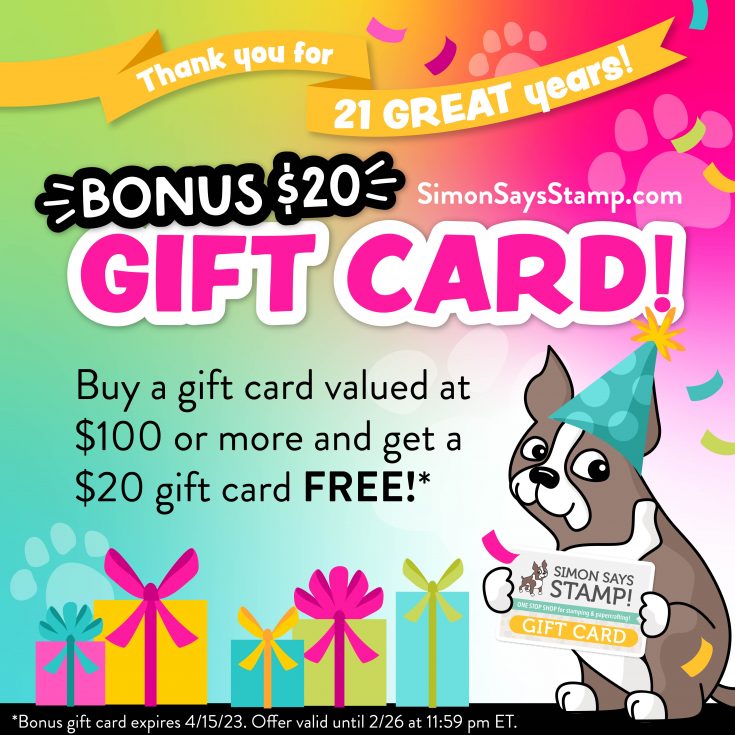
Hi friends! Happy Friday!! Did you know?! We turned 21 this month!! In celebration of our 21st Birthday, we wanted to extend a special gift to you! This weekend only, when you purchase a gift card of $100 or more you will get a $20 BONUS gift card -FREE! Please enjoy!
Thank you for your loyalty!! We love you all!
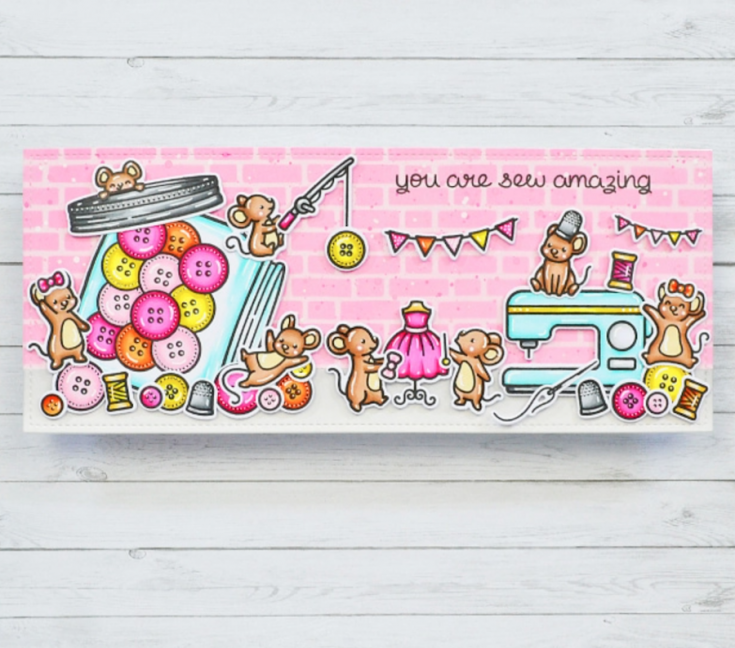
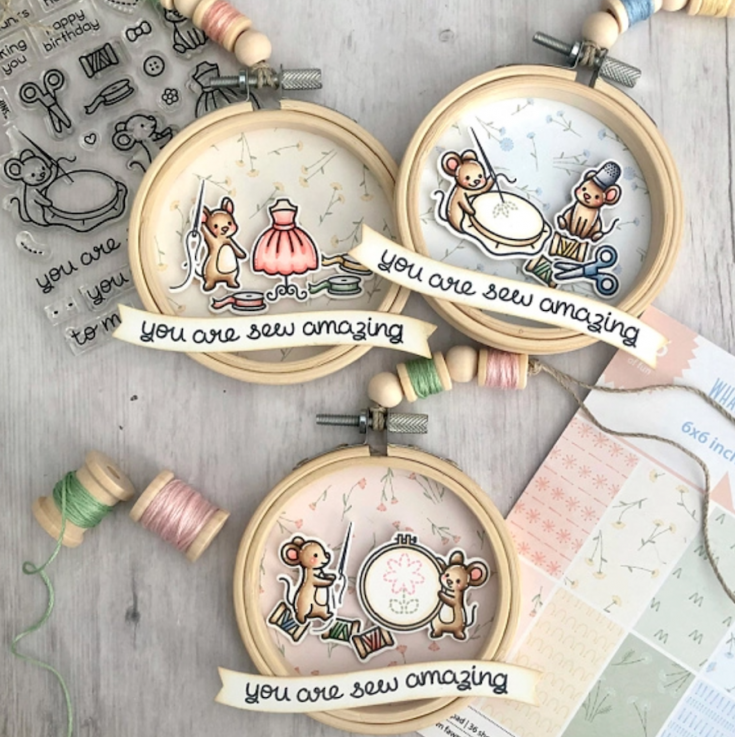
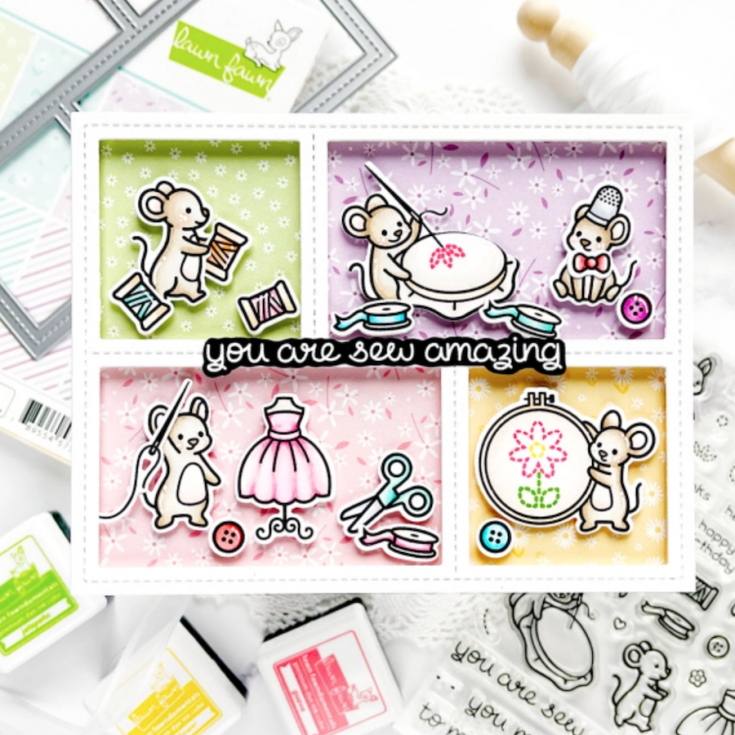
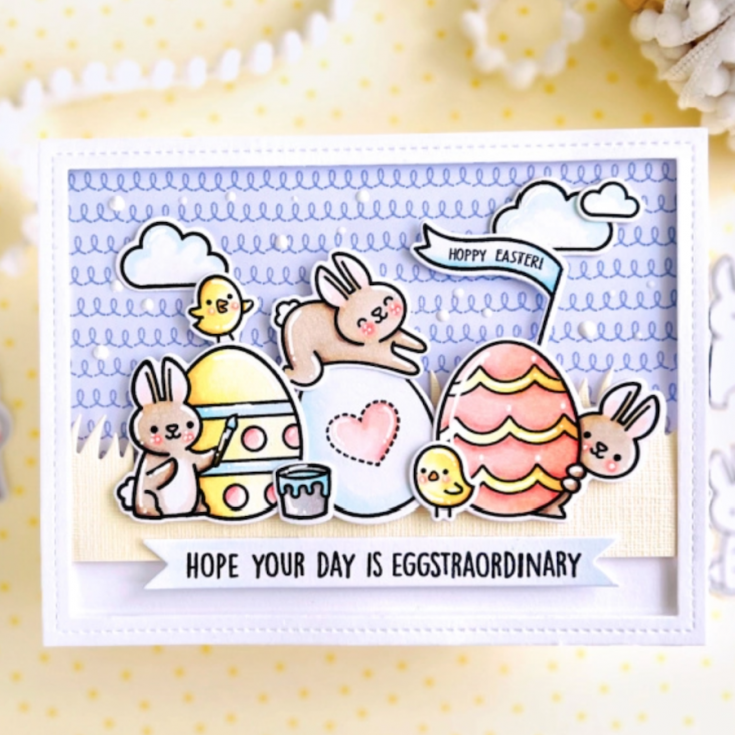
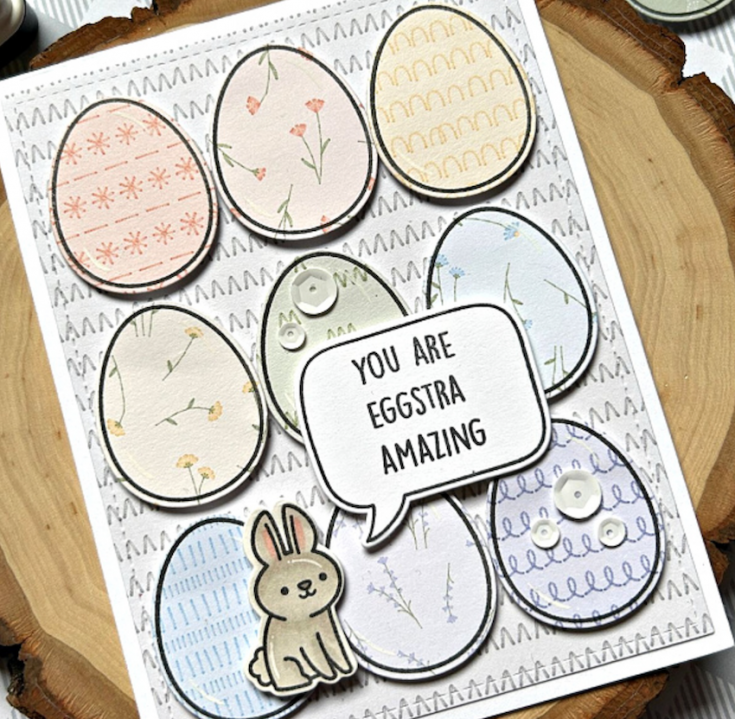
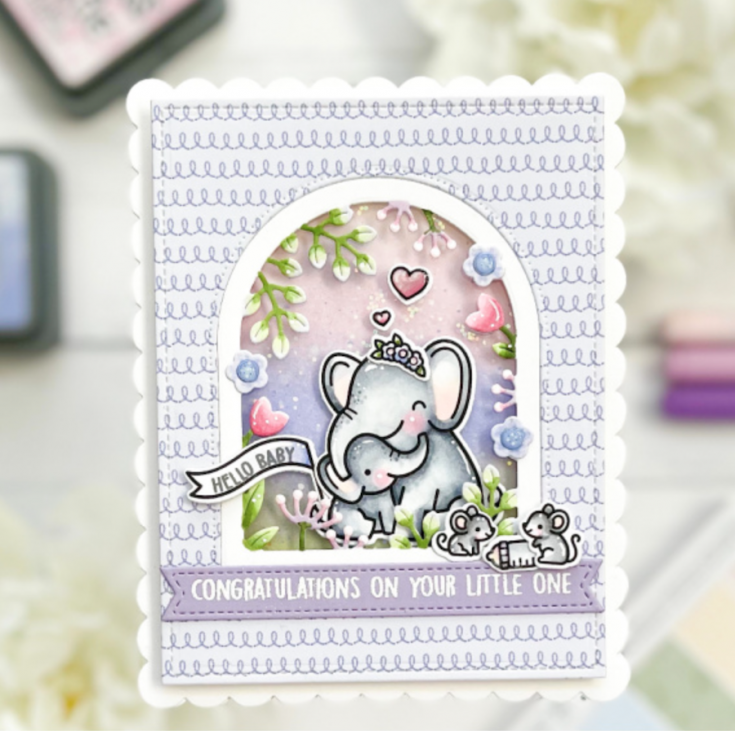
JUST RELEASED! New Lawn Fawn Spring collection!
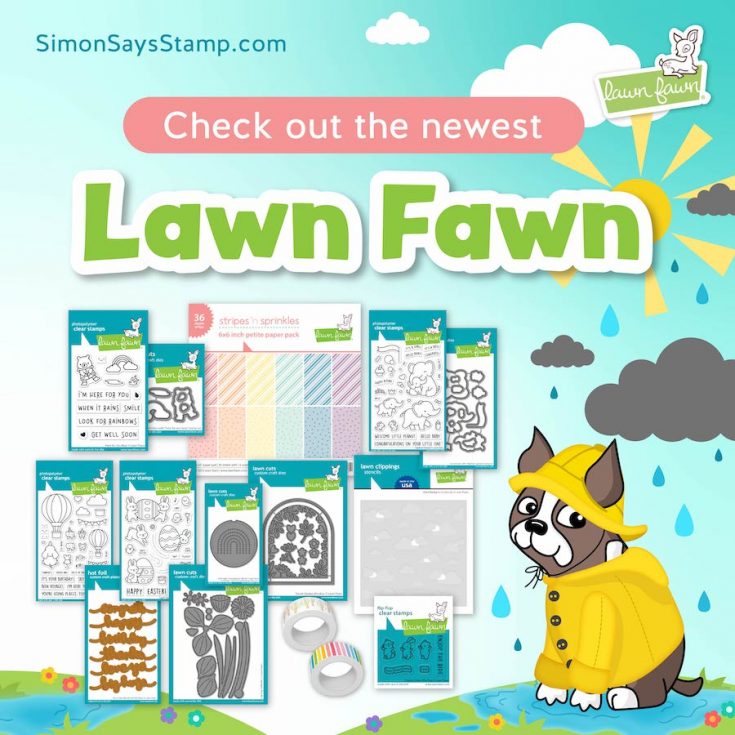
Hooray!! Lawn Fawn day is HERE! We are SO excited to share the newest Spring 2023 collection of OVER THE TOP adorable goodies from the amazing minds at Lawn Fawn! A huge shout out to Caly Person, Mindy Eggen, Marine Simon, Audrey Tokach, Tammy Stark, Elena Roussakis, Elise Constable and Grace Camou!
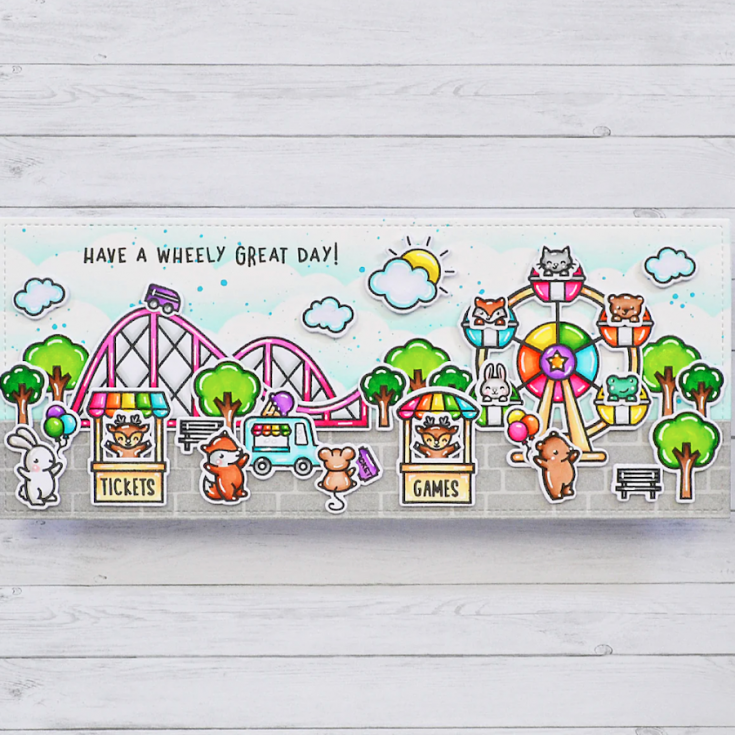
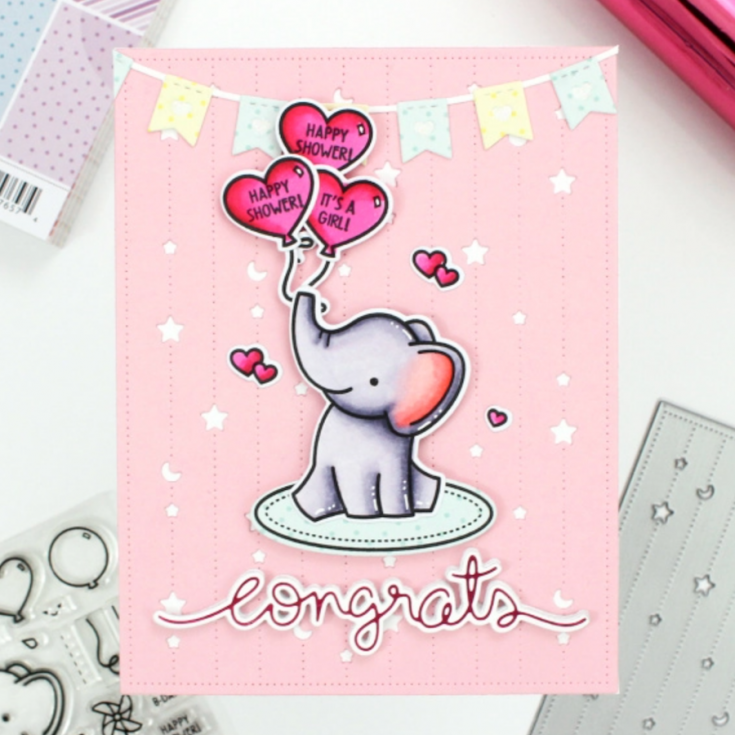
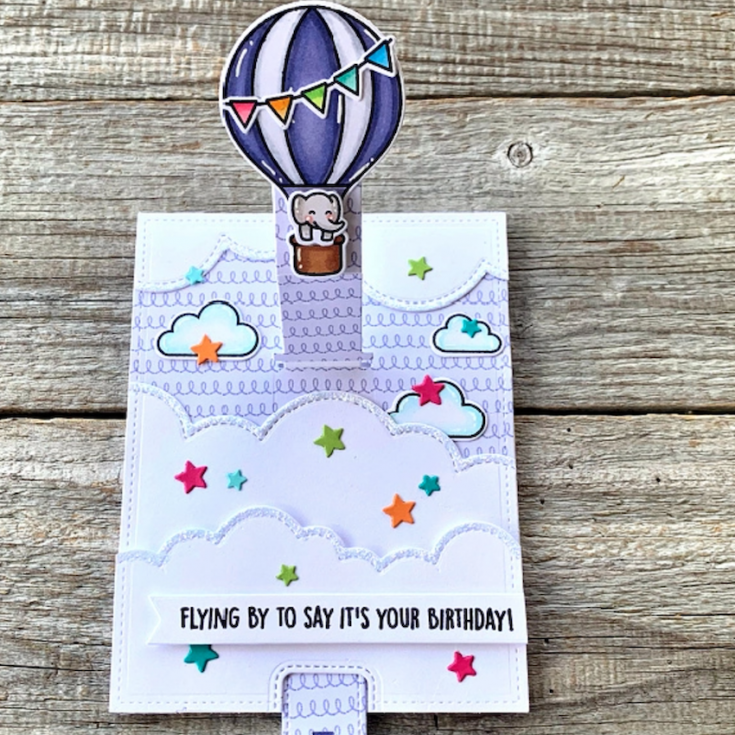
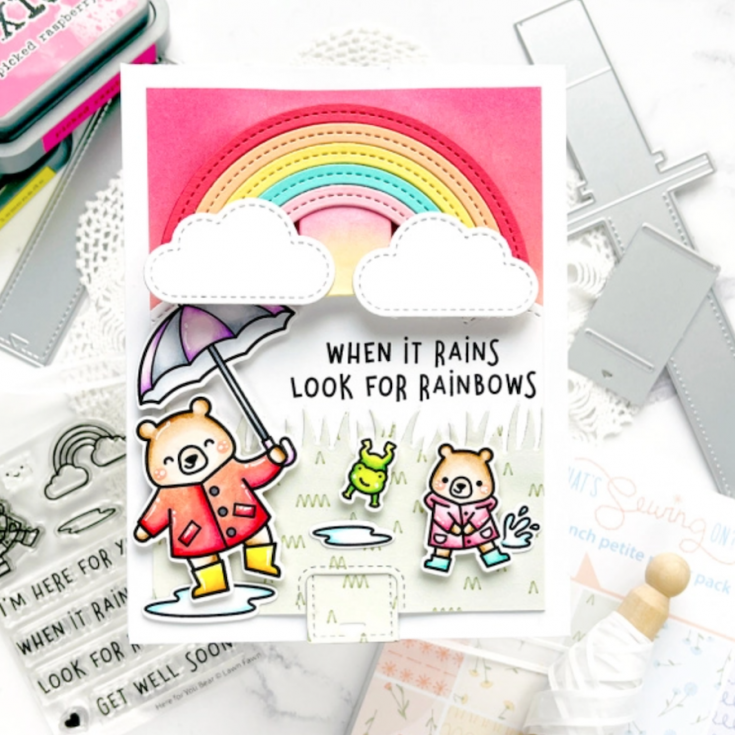
Shop the ENTIRE new release!
|


Happy shopping!!
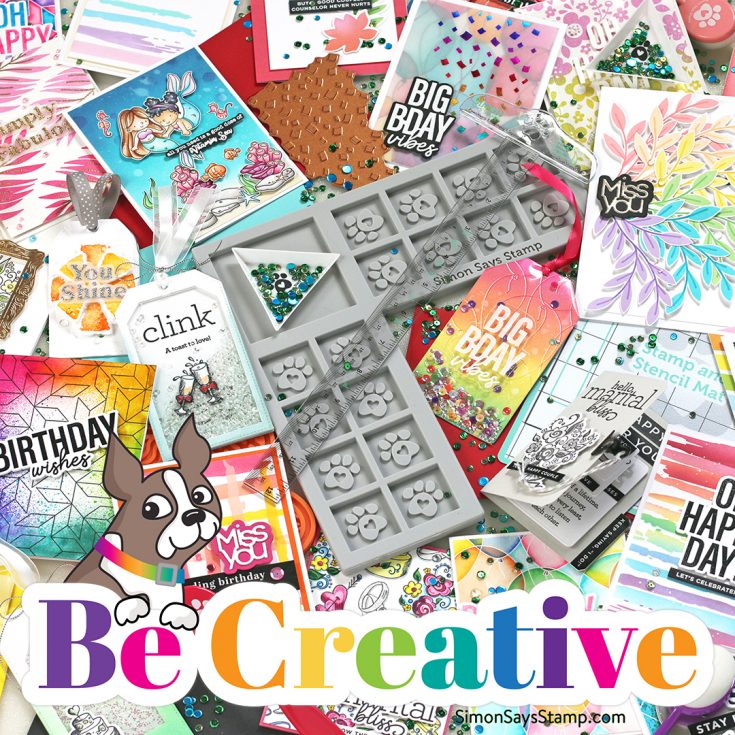
Be Creative Blog Hop WINNERS!
Hello, friends!
We hope our newest Simon Says Stamp exclusive release inspires you to Be Creative! Go geometric with cling stamps like Angularium and Parallelogram; channel your inner artist with our Brush Strokes stencil and Journaling Strips; and improve your creative process with our innovative Corner Ink Cube Holder and new Storage Envelopes.
As always, we’ll help you celebrate life’s special moments with dies like You Shine and Simply Fabulous, stamps like Big Old Birthday and You Did, and our festive new Mini Slimline Falling Confetti hot foil plate.
To celebrate this phenomenal release, we hosted two amazing blog hops! The hops featured many talented designers and each one created wonderful projects to inspire you. If you missed either of the hops, you can find the direct links here: DAY ONE and DAY TWO.
A BIG thank you to all of YOU who joined us for the hops! We enjoy hearing from each of you, and your words of encouragement and appreciation to each of the designers mean so much to us here at Simon and to them. It’s our tradition to give away gift certificates to random commenters on each blog stop, and today we are revealing all of the winners! So without further ado, I present to you our winners!
DAY ONE HOP WINNERS:
from Simon Says Stamp’s blog: Bunny Hoyle!
from Nina-Marie Trapani’s blog: Joyace!
from Caly Person’s blog: cheryl morway!
from Suzy Plantamura’s blog: Suzanne Hebb!
from Amy Rysavy’s blog: Cyndi Morris!
from Debby Hughes’s blog: Louanne Collins!
from Lisa Addesa’s blog: Heather Jacobs!
from Sidnie Des Jardins’s blog: Sandy Anderson!
from Miriam Prantner’s blog: Amy Solovay!
from Bobbi Lemanski’s blog: Laurie Black!
from Kath Stewart’s blog: DorothyA!
from Barb Engler’s blog: Karalei!
from Misty Elam’s blog: Sheri Kempke!
from Jennifer Kotas’s blog: Mary Lehett!
from Allison Frazier’s blog: Valerie Hayden!
DAY TWO HOP WINNERS:
from Simon Says Stamp’s blog: Jade!
from Laura Bassen’s blog: Sarah Jayne Haumschild!
from Nichol Spohr’s blog: Lynn Chan!
from Cathy Zielske’s blog: Marlene McLane!
from Alberto Gava’s blog: Bonnie Lynn Schroeder Ratzloff!
from Barbara Tarayao’s blog: Shawna!
from Keisha Charles’s blog: Connie Hostak!
from Mindy Eggen’s blog: Beth Merrill!
from Emma Williams’s blog: Michelle Noto!
from Heather Ruwe’s blog: Tijana Zivkovic!
from Emily Midgett’s blog: Anne Sturgeon!
from Lea Lawson’s blog: Amy Potts!
from Sandi MacIver’s blog: Lisa Tilson!
from Seeka’s blog: Paula Haller!
If you see your name listed above, CONGRATULATIONS! Please email [email protected] and let him know that you are one of our Be Creative Blog Hop winners! You’ll receive a $25 Gift Card.
Thanks again for hopping along with us! We hope you enjoy our fantastic Be Creative release and that it gives you creative enjoyment for months to come!
You’ll love browsing our Be Creative gallery on our blog for loads of additional inspiration, and you can add your projects to these galleries as well!
Winning ROCKS, and so do you!


