Best Day EVER! Super fun Birthday Card idea!
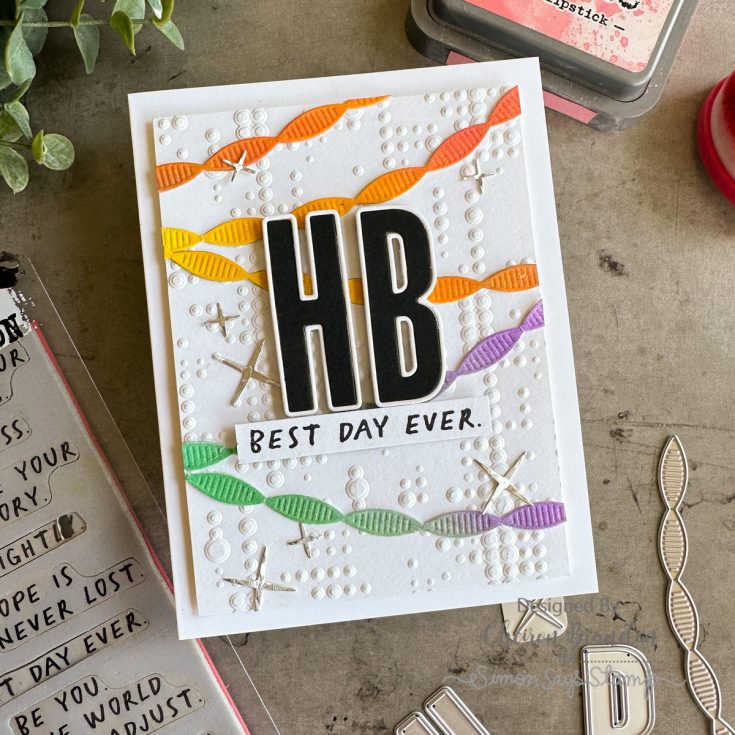
Hi friends! We’re excited to welcome back special guest Cheiron Brandon to our blog with this super fun Birthday card idea showcasing a variety of festive Tim Holtz products! Read on for the details, and enjoy!
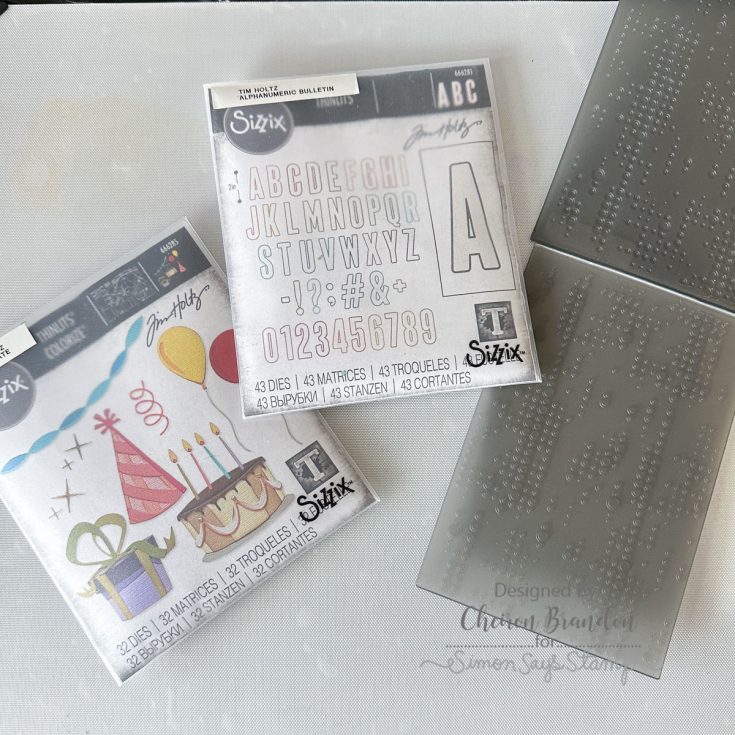
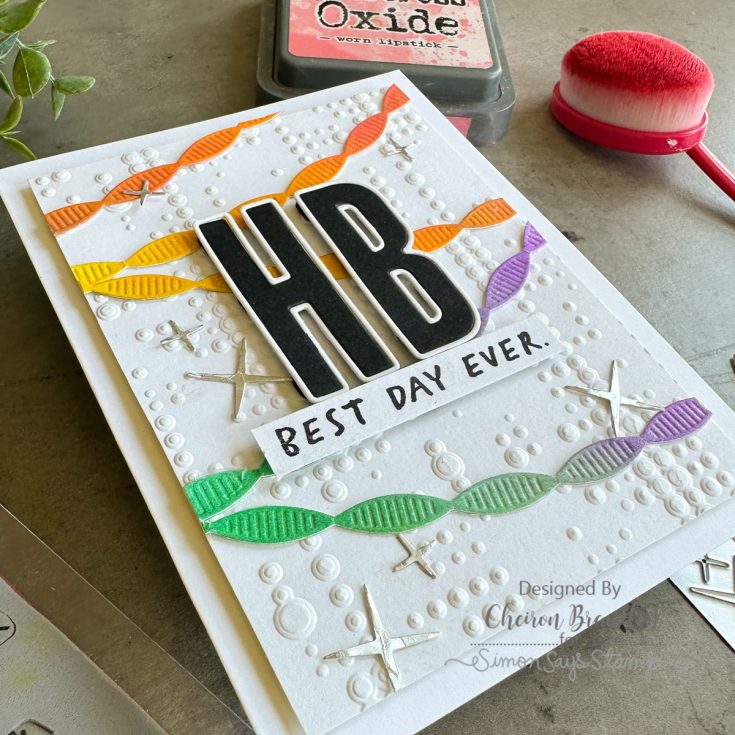
Hi there crafty friends! It’s Cheiron Brandon and I am back on the blog today with another fun project using Tim Holtz products. This month I wanted to create a fun and simple birthday card with a pop of color. To begin, I gathered my Tim Holtz Dotted Texture Fades Embossing Folder, the Celebrate Colorize dies and the Alphanumeric Bulletin Alphabet dies.
I cut all my pieces out and embossed a 3 ¾ x 5 panel of Distress Watercolor Cardstock with the Dotted Texture Fade. Before embossing, I misted the paper lightly with water to get the best impression,. I cut the Alphanumeric Bulletin letters from both black and Distress Watercolor cardstocks.
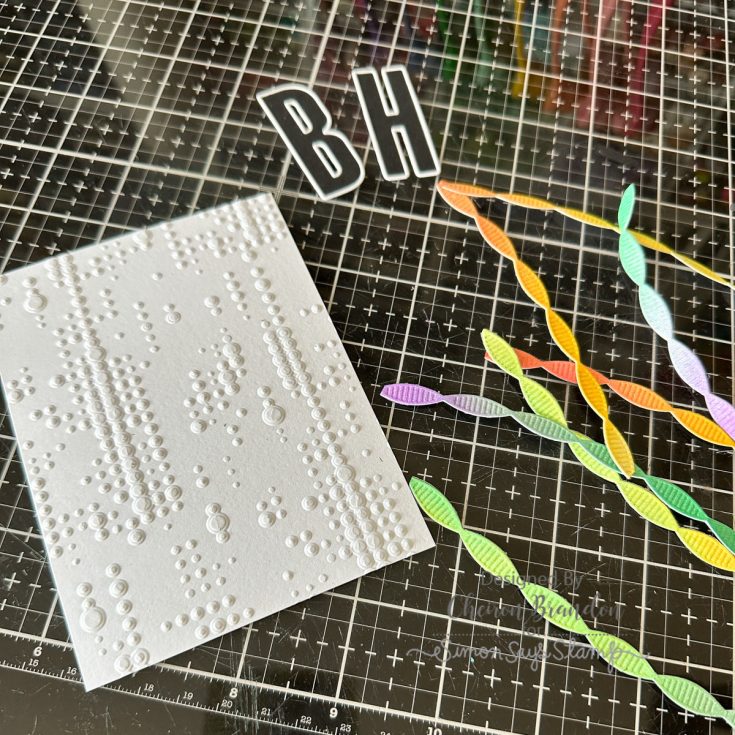
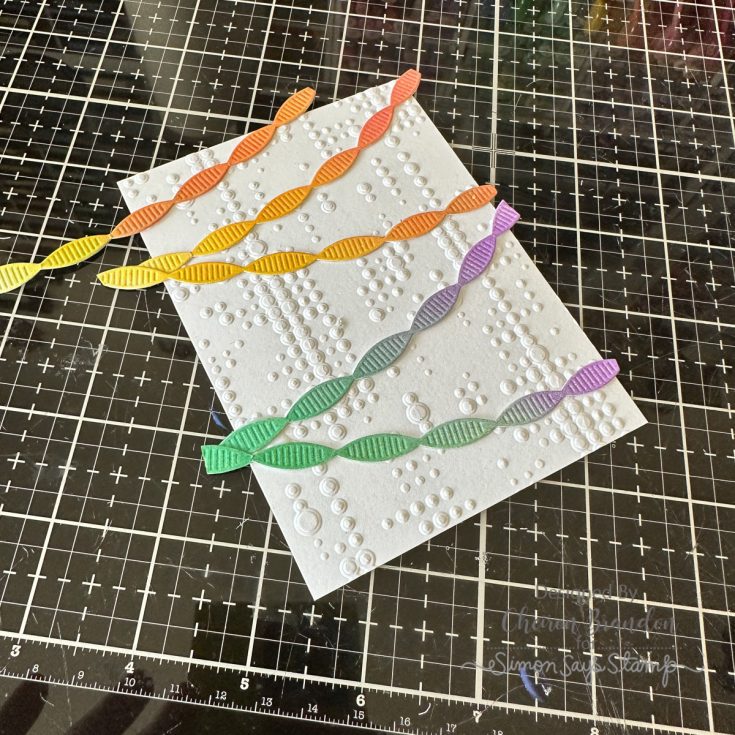
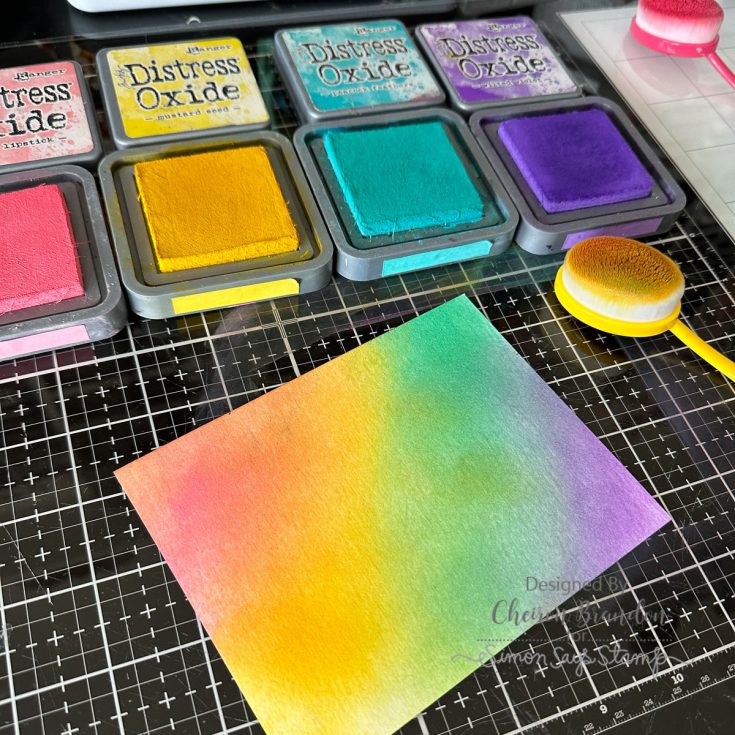
Next, I inked a panel of DIstress Watercolor Cardstocks using Distress Oxides in Worn Lipstick, Mustard Seed, Peacock Feathers and Wilted Violet. I used the banner die from the celebrate set and cut a bunch of banners from my inky panel. Once all of my pieces were cut out, I arranged the banners onto the dotted panel. Then I arranged the H & B onto the card using the t square ruler to line them up and adhered them with foam tape.
Once the letters were lined up, I stamped a sentiment from the Noteworthy stamp set onto a Distress Watercolor Cardstock strip using Black Soot Distress Archival Inks.
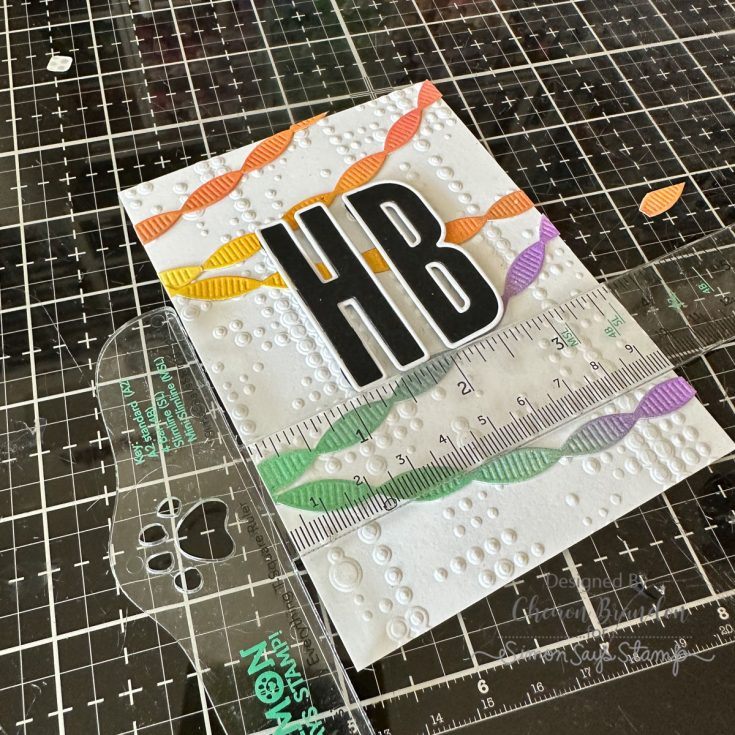
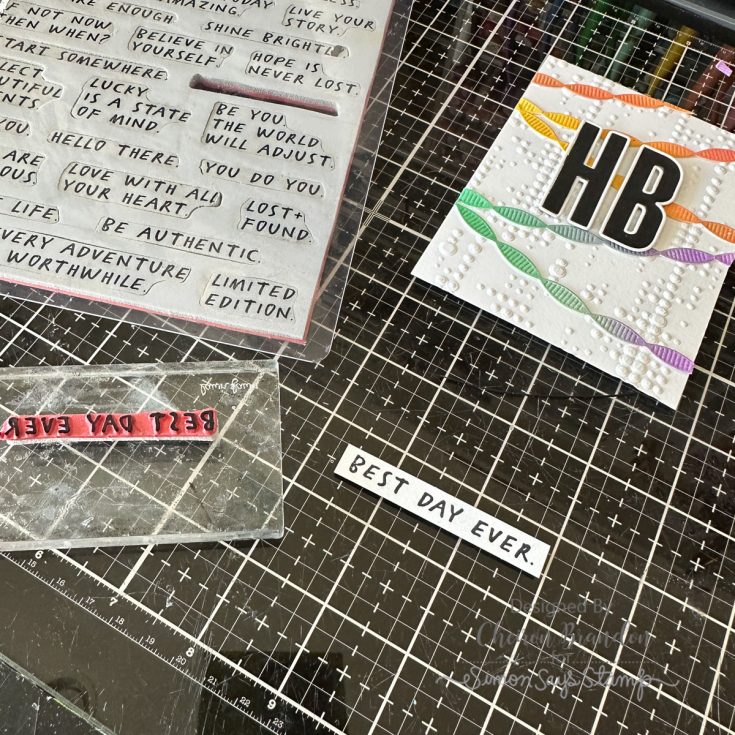
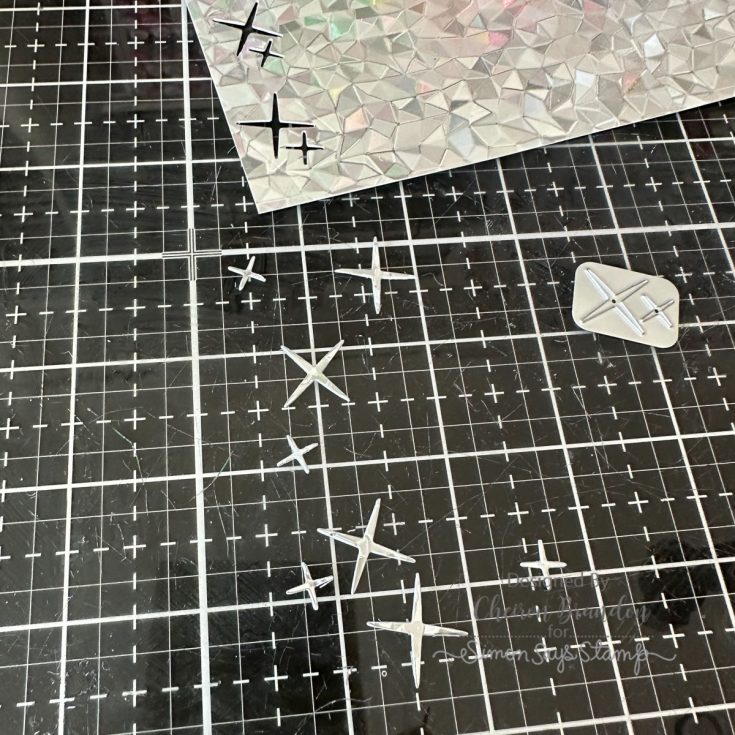
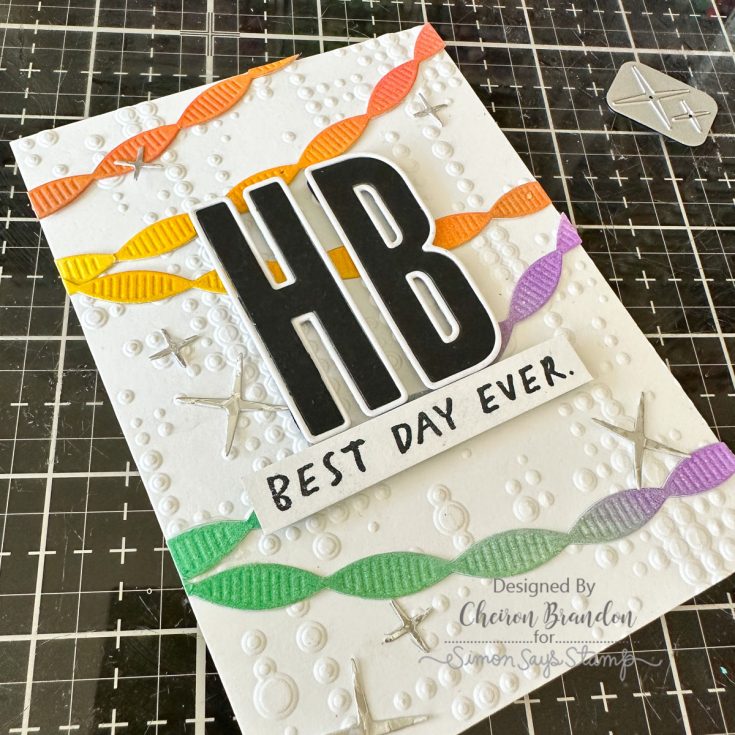
To finish the card and give it a bit of sparkle, I cut the sparkles from the Celebrate dies out of Simon Says Stamp Holographic Paper and adhered them to the panel. Once they were dry, I used foam adhesive to adhere the panel to a white notecard and my card is complete. I hope you enjoyed creating this fun and easy card with me today!
SUPPLIES:
|




Thanks so much for stopping by, and thanks to Cheiron for being our guest!
Make Framed Floral Art: Crafty with Caly
Hi friends! We’re excited to share this gorgeous decor piece created by Caly Person that would be perfect for gifting or decorating in your own home! Read on and be sure to watch the video for all the details!
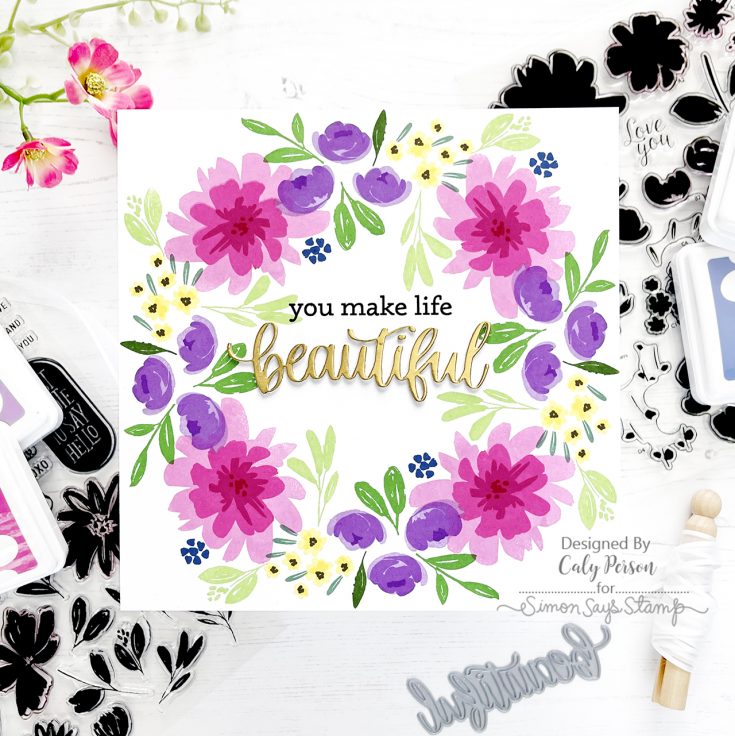
Hello! I’m sure a lot of you are curious about the new Altenew Stampwheel, so I thought I would share a project using it! I created a 7” x 7” wreath that I framed and hope you will be inspired to create a framed project too!
The images on my wreath are stamped using the Fresh Air Flowers and Brushed Flowers stamp set. It takes some time to stamp each image and it’s layers, but the Altenew Stampwheel makes it so easy with its rotating clear flip plate.
WATCH THE VIDEO:
The Altenew Stampwheel allows you to evenly space images as it “clicks” into its base before stamping, making sure your images are perfectly positioned with a “lock and key” system.
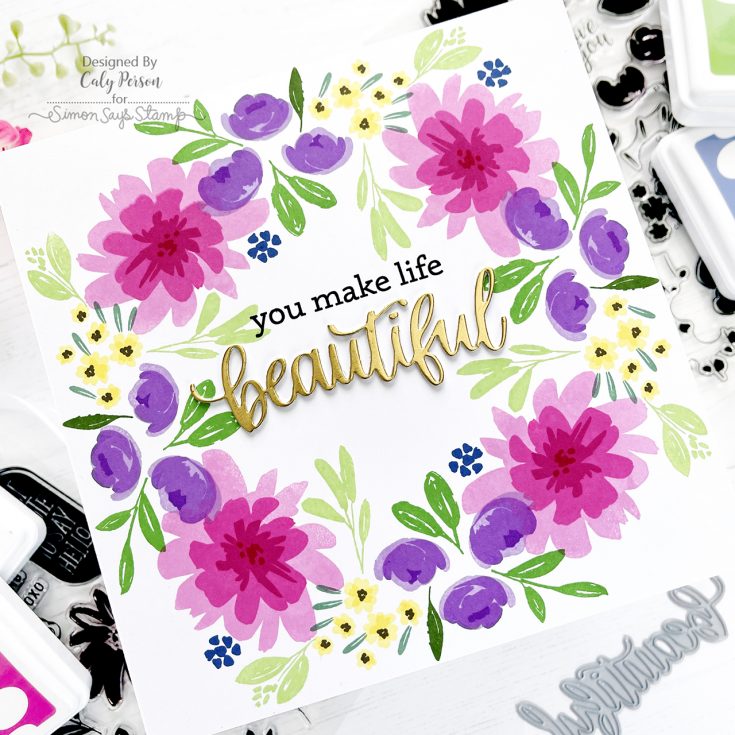
When I was done stamping the images, I stamped a sentiment from the Slimline Beautiful You stamp set with a crisp black ink. Then for shimmer and shine, I die-cut the Beautiful word die using Matte Gold Cardstock and layered it with two additional layers of white cardstock for dimension.
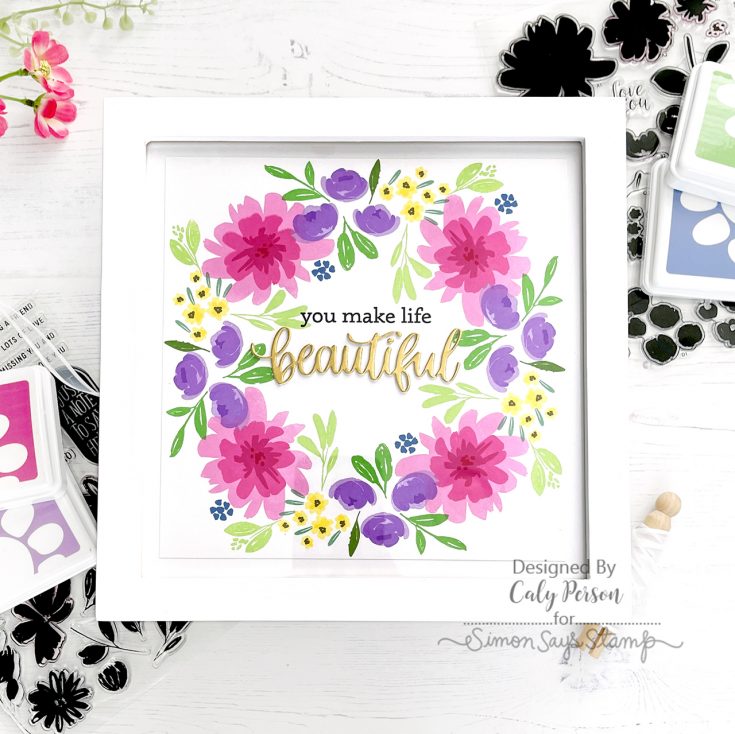
To finish my framed project, I purchased an 8” x 8” frame with a mat (which I had to trim down to size).
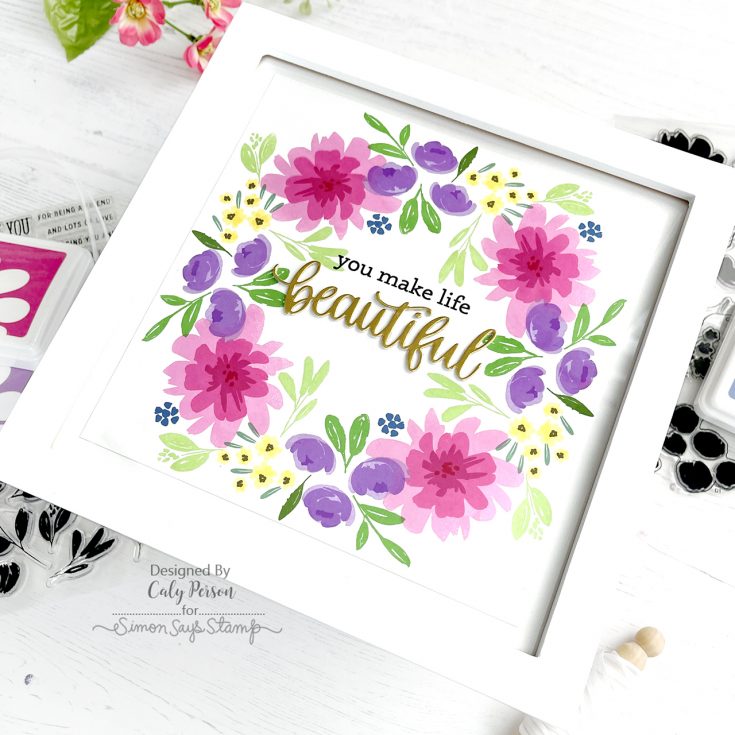
It makes for a great gift or décor to your own space! I hope you like it! Thanks so much for visiting today! ~Caly
SUPPLIES:
|


Thanks so much for stopping by, and thanks to Caly for being our guest!
Floral Stamped Bookmarks for Summer Reading! Not a Card with Nina-Marie
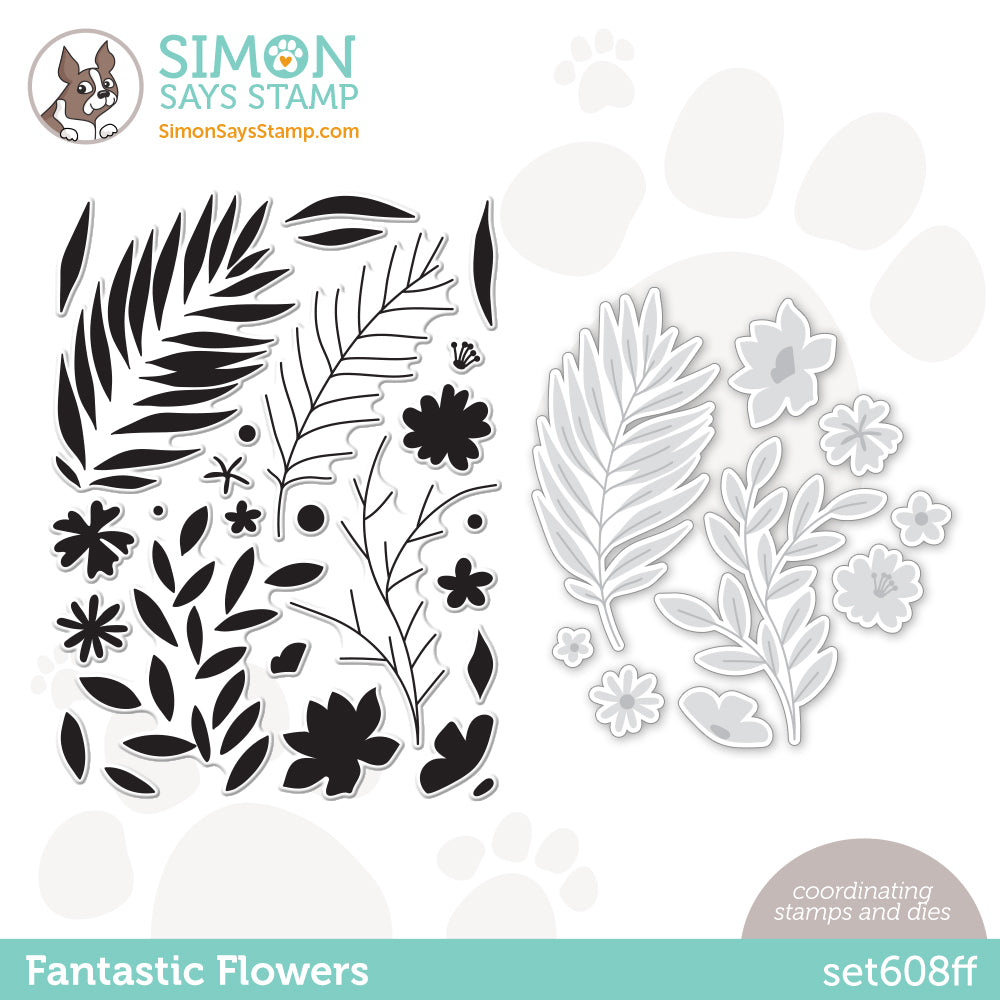
Hello there friends, it’s Nina-Marie Trapani here with you! Today I am sharing a new idea for my Not a Card series, and we’re going to be making bookmarks! I love the Simon Says Stamp Fresh Air Flowers and Fantastic Flowers stamp sets; I used both of these along with some Pawsitively Saturated Inks to make these elegant bookmarks!
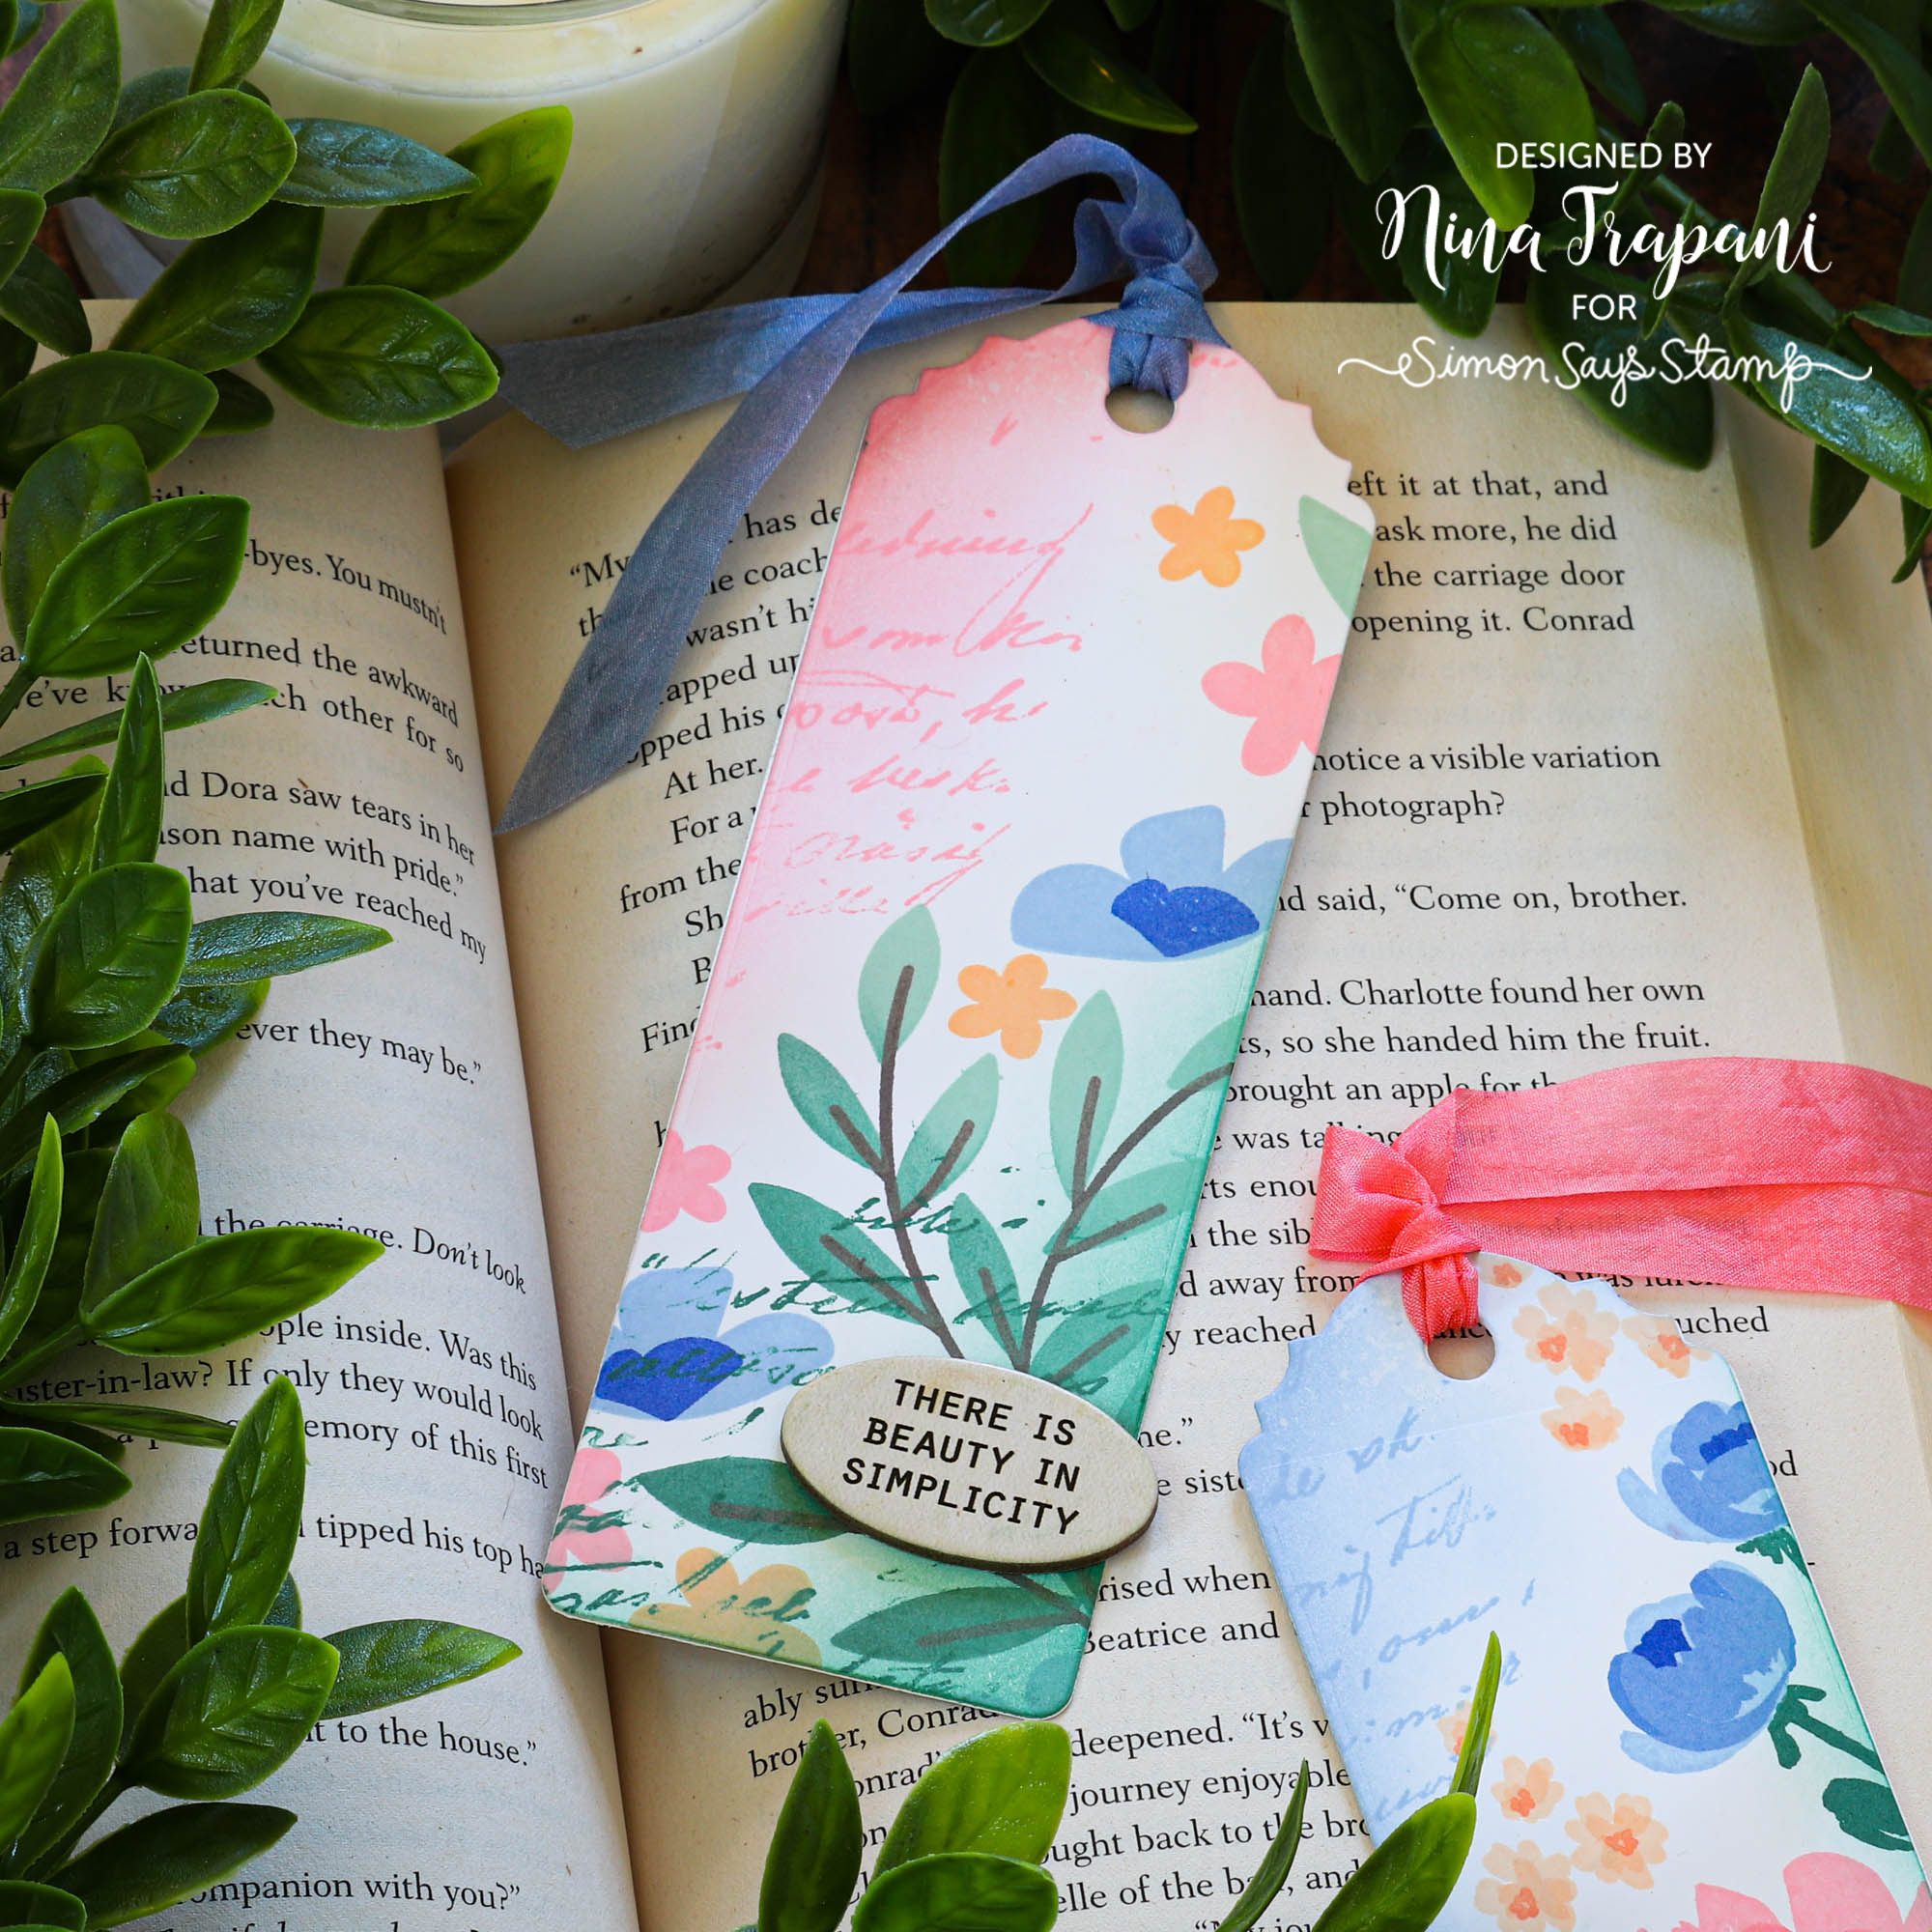
To make the bookmark shape, I used the Altenew Botanical Bookmark die—I love the little detail at the top, which elevates the whole design. I also added Tim Holtz Quote Chip Labels on each of the bookmarks. Its a lot of fun to pick and choose which ones to add to the bookmark—all of them are so inspiring!
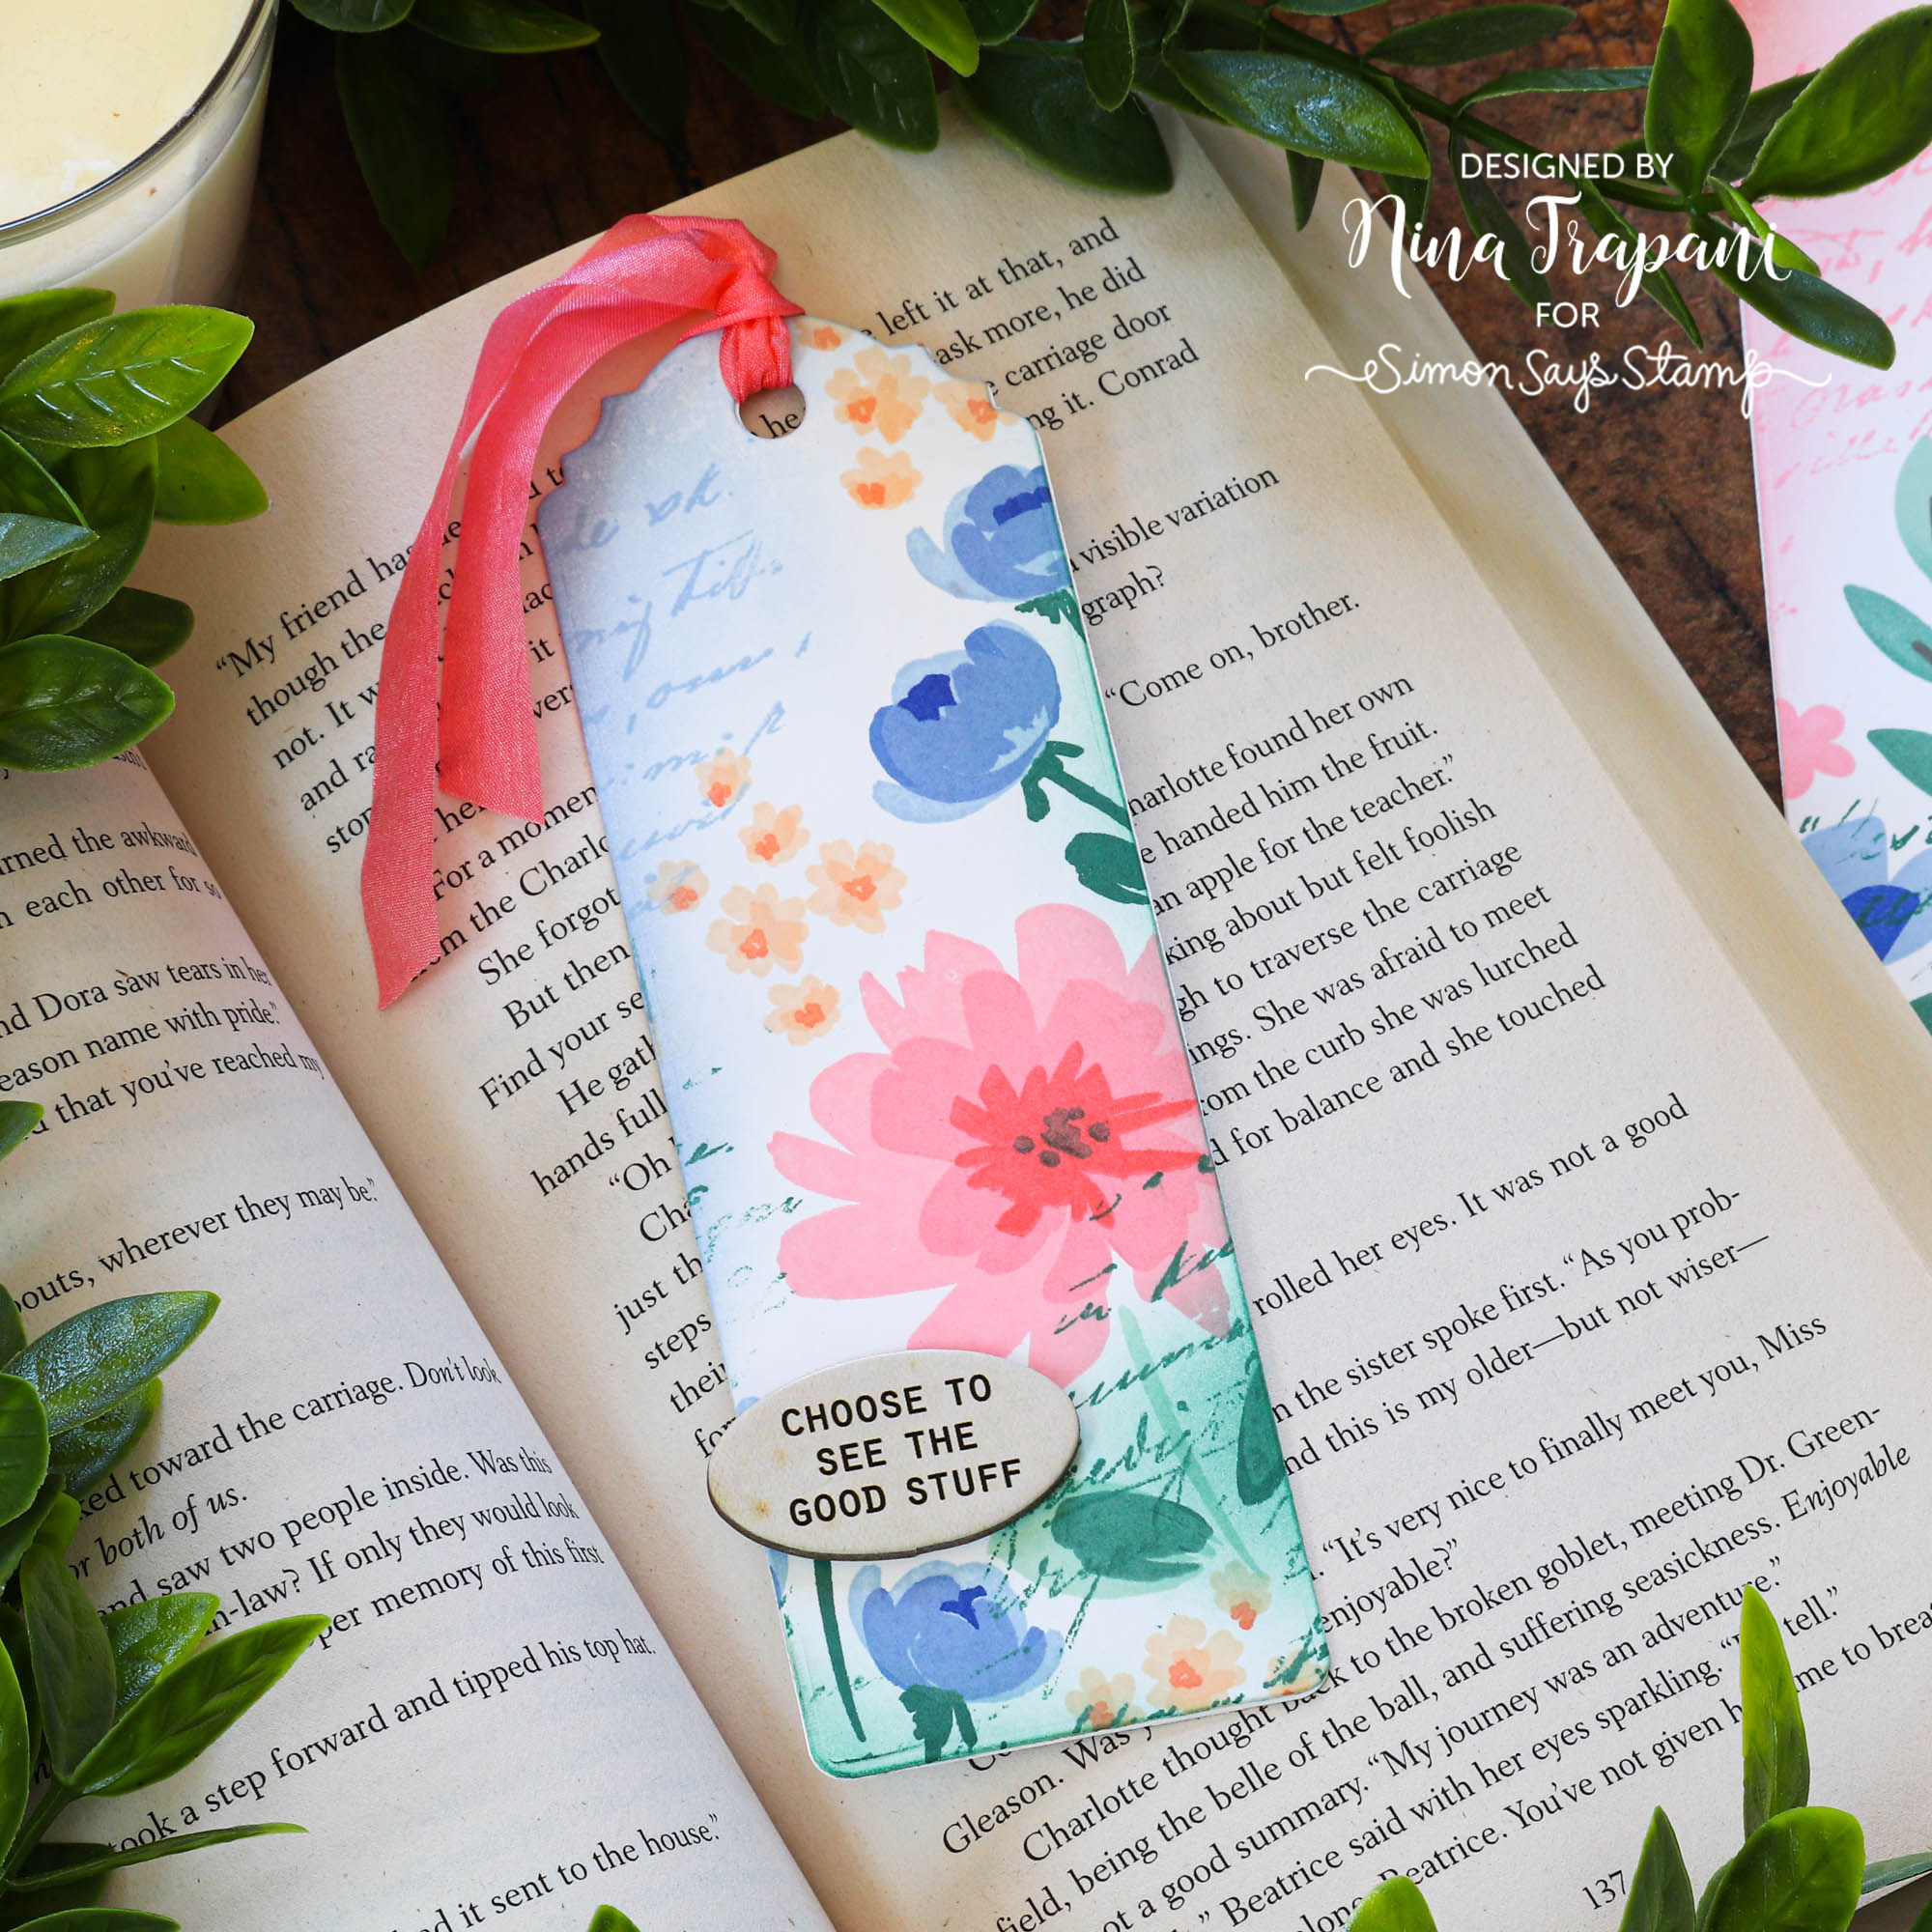
That added Old Letter writing on top of the design gives this a vintage feel to the bookmarks. I love how they turned out! Be sure to watch the video below to learn how I created these!
WATCH THE VIDEO
SUPPLIES
|