Our newest release is Out of this World!
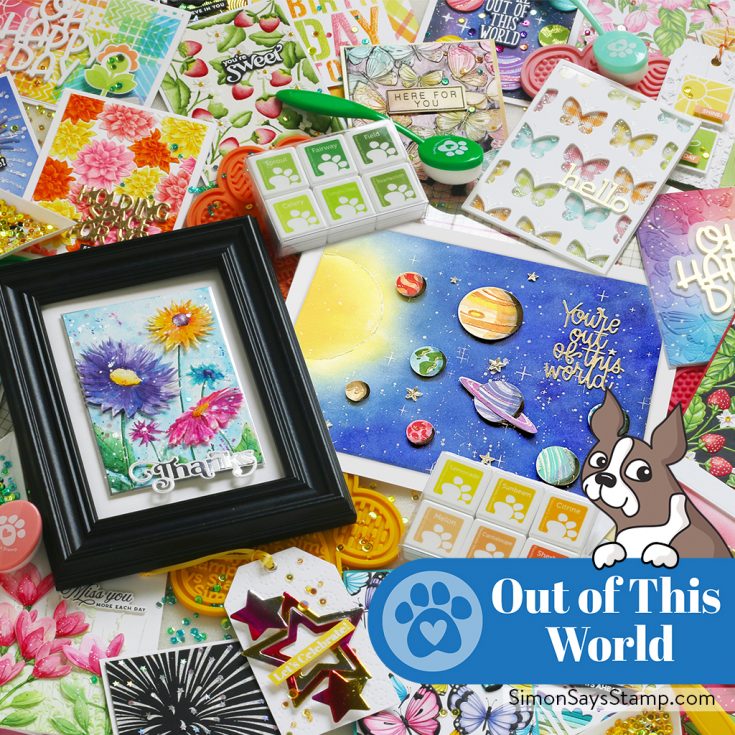
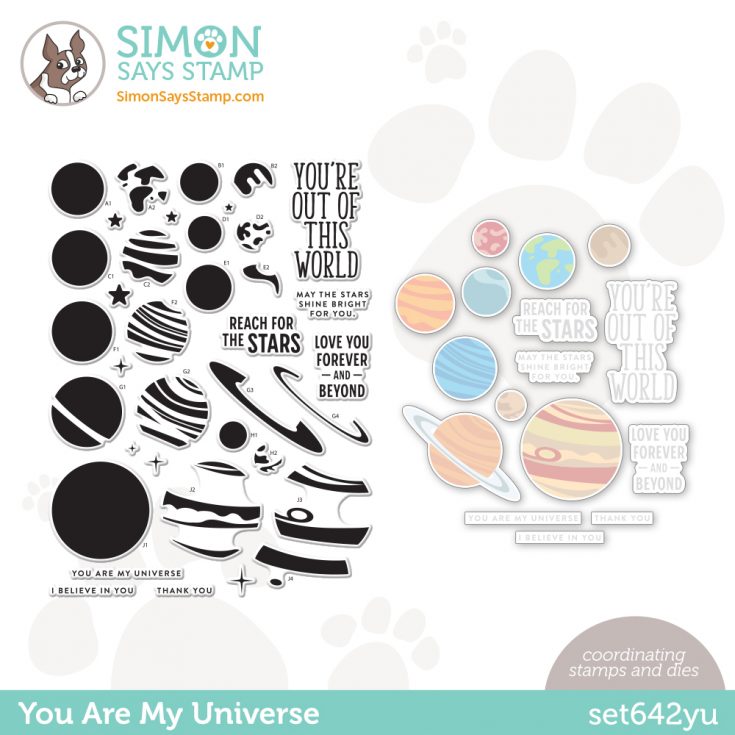
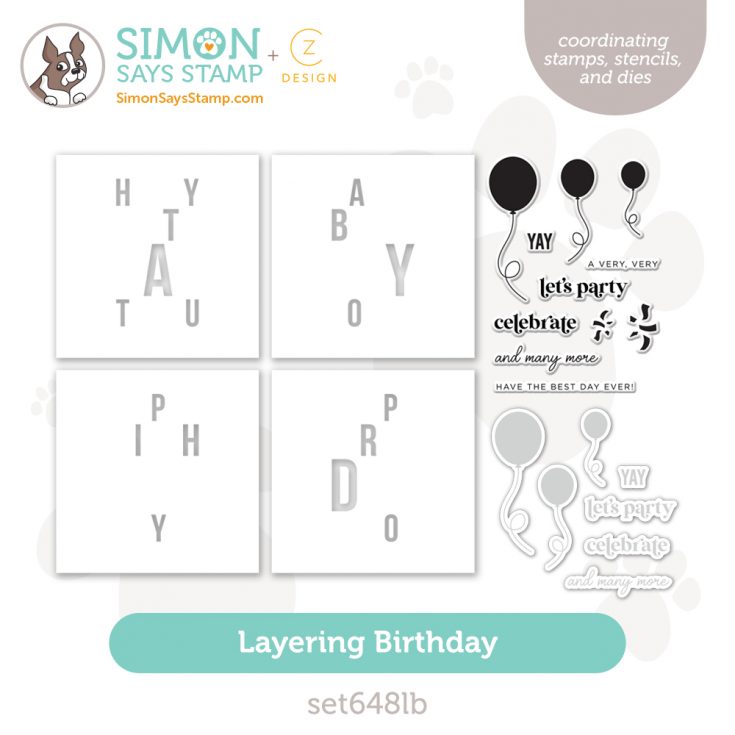
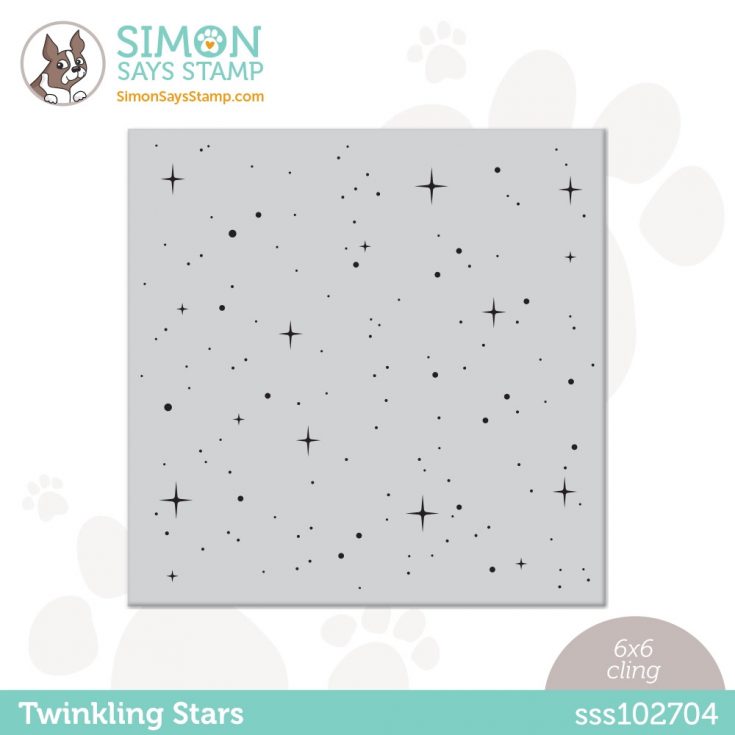
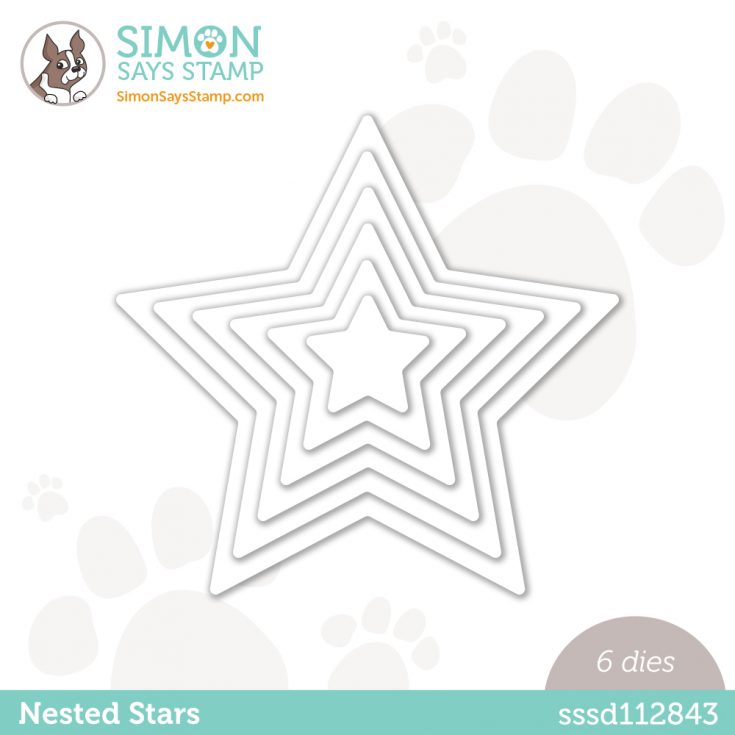
Our brand new Simon release is absolutely Out of This World! Look to the sky with You Are My Universe stamps and dies, Nested Stars dies, Celebration Fireworks stamps and dies, and Twinkling Stars cling stamp; celebrate birthdays with our Birthday Shenanigans stamps and Layering Birthday stamps, dies, and stencil suite; and improve the precision of your stamping with our Pawsitively Perfect Placement Guides!
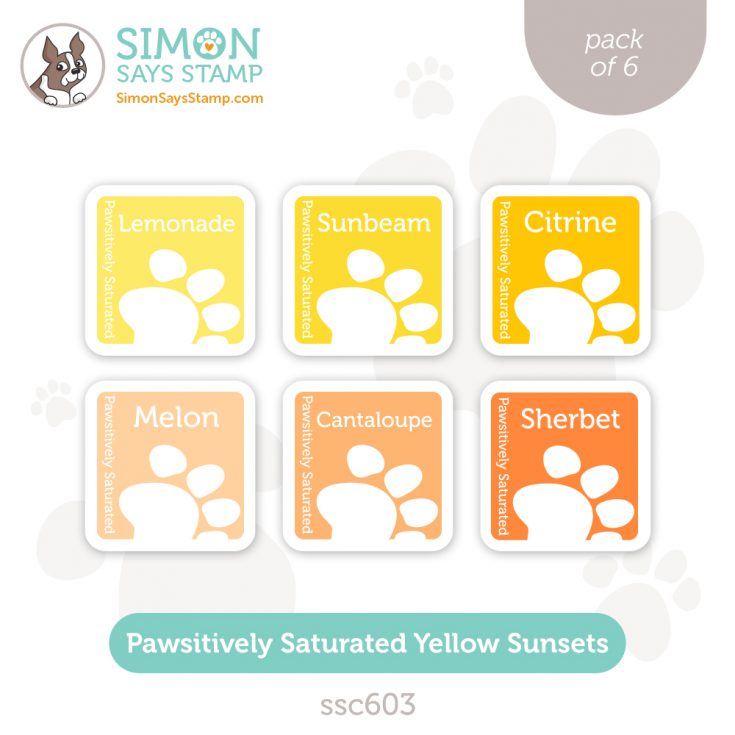
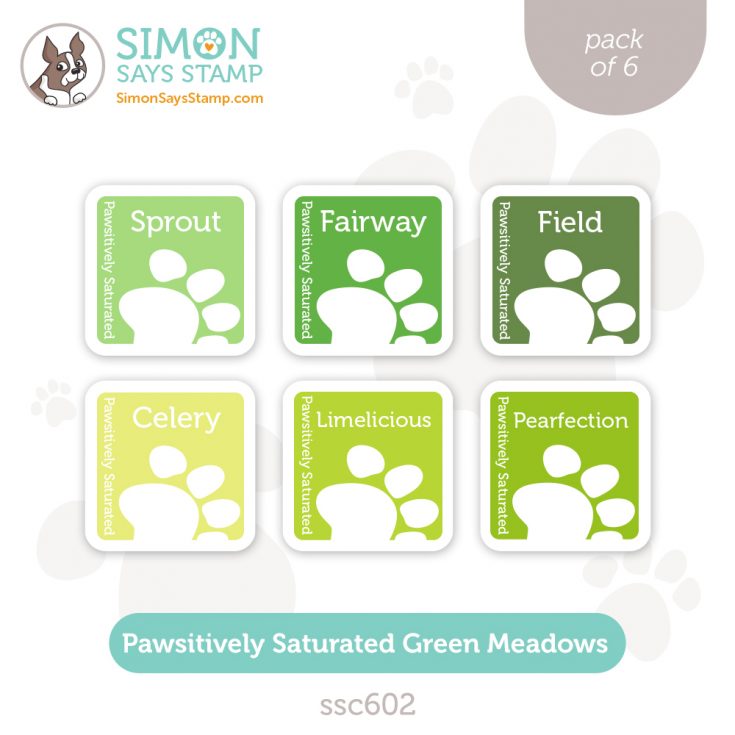
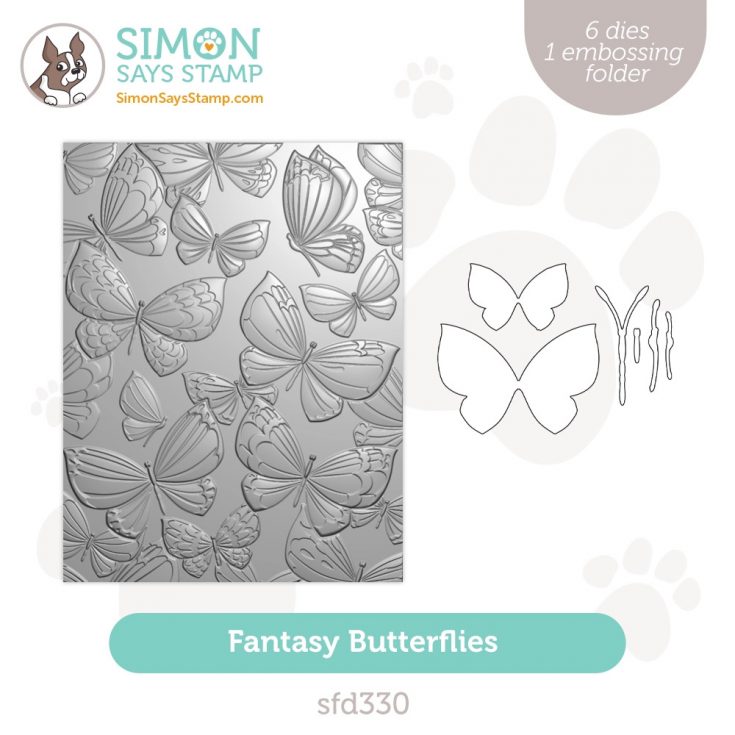
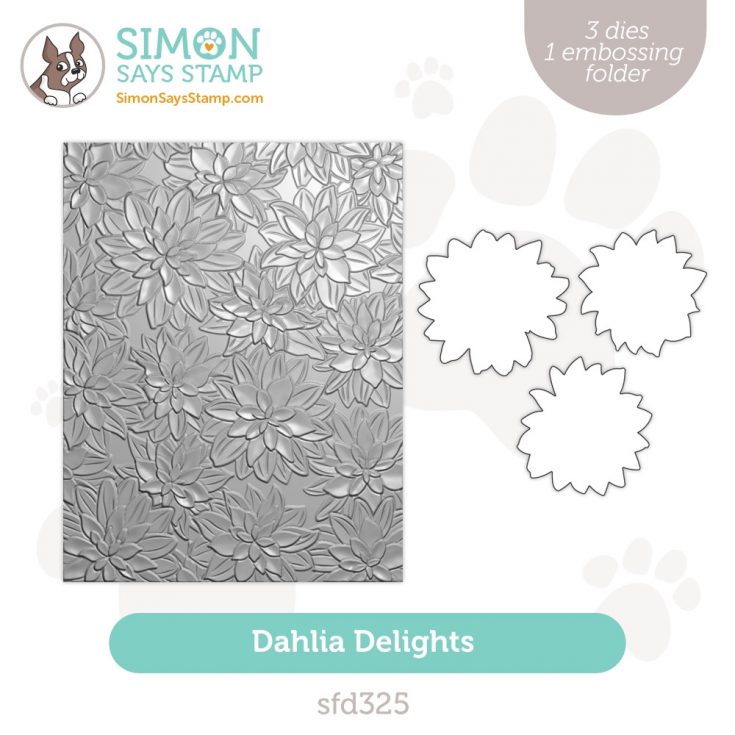
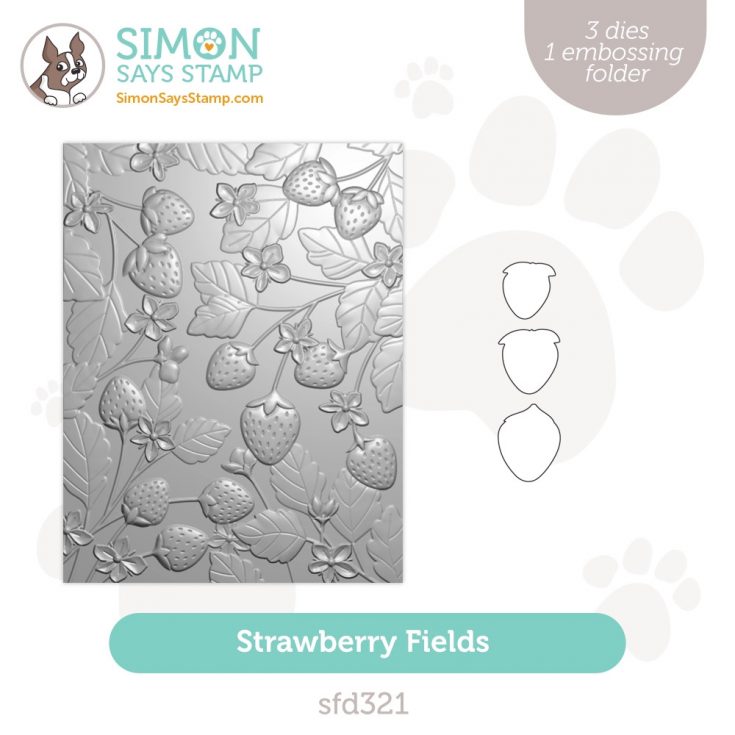
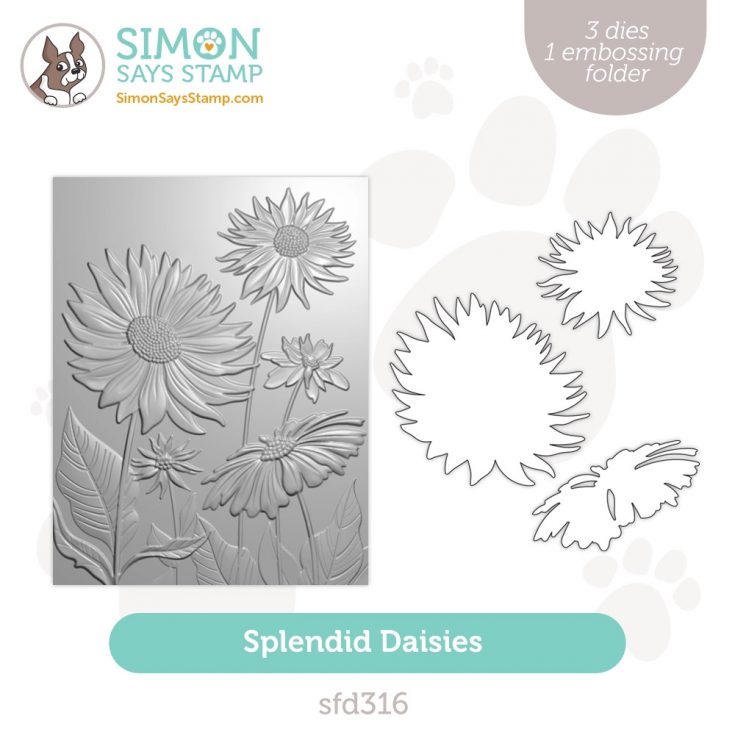
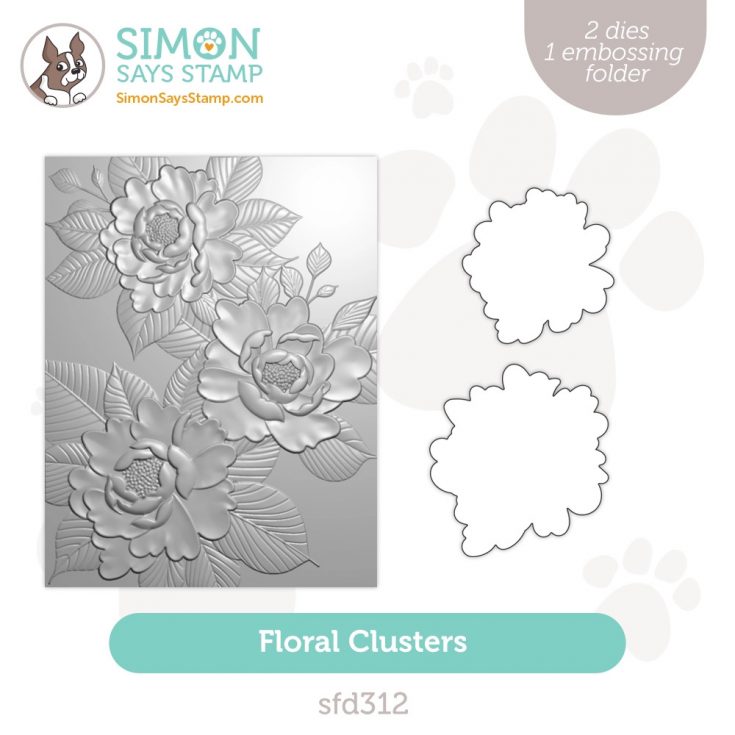
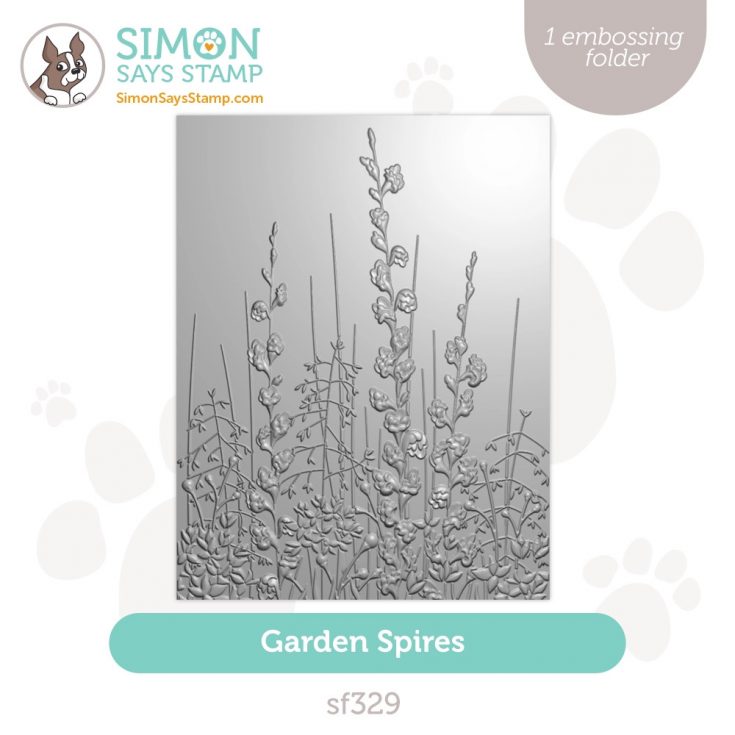
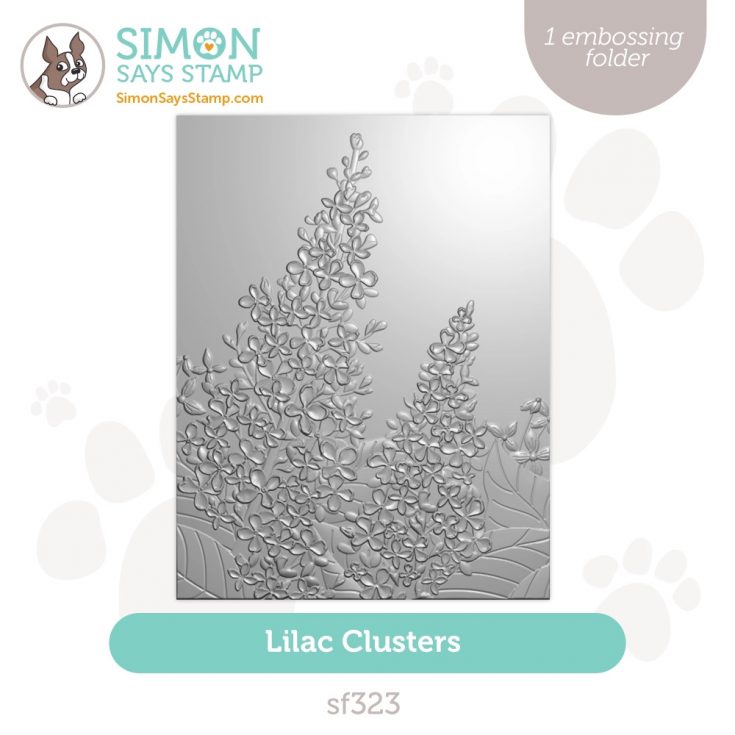
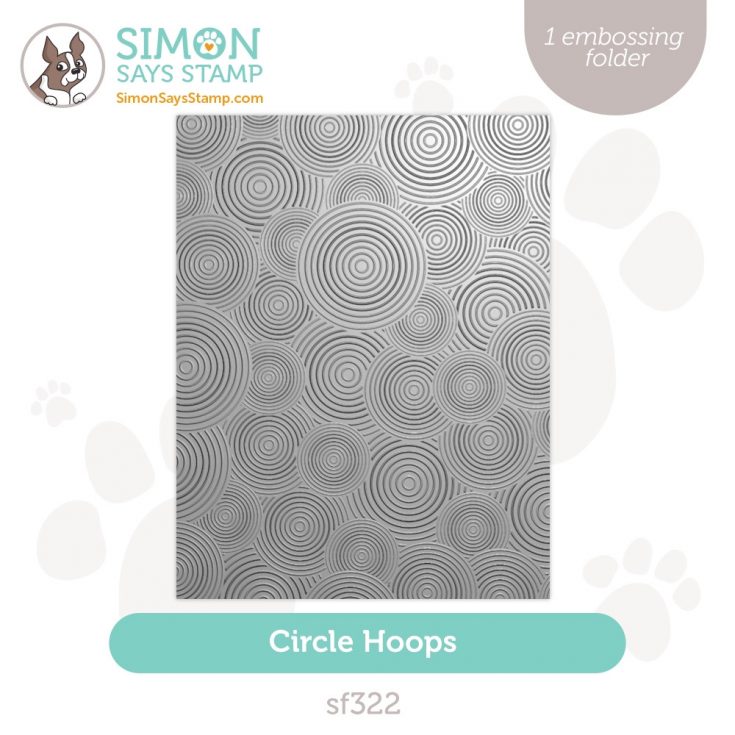
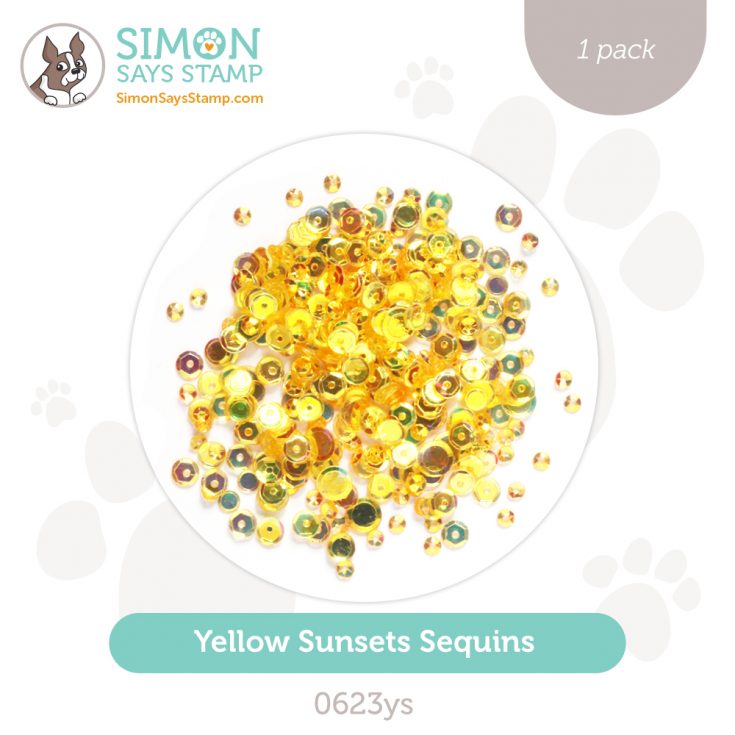
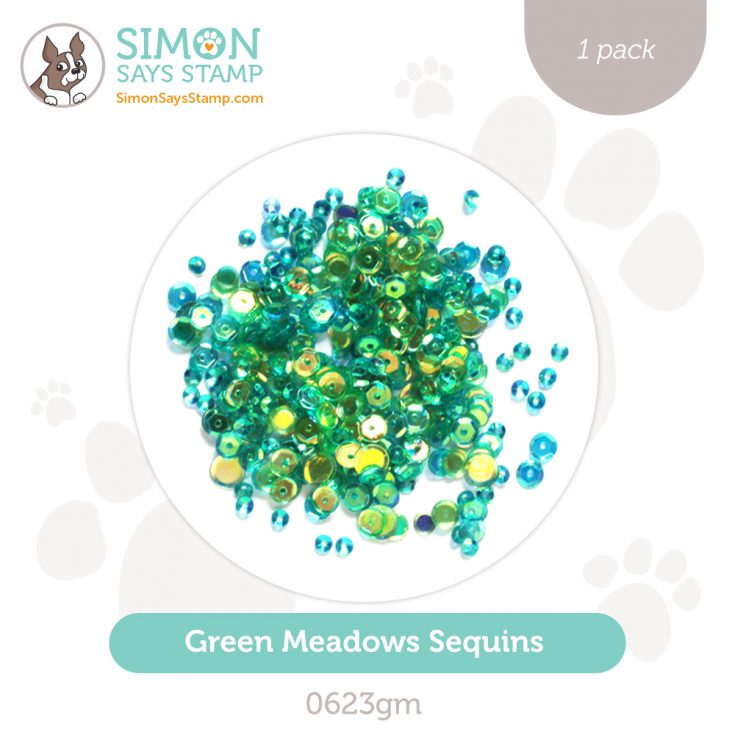
Also, get excited about TEN new embossing folders and two more new 6-packs of Pawsitively Saturated ink cubes: Green Meadows and Yellow Sunsets!
Blast off into the cosmos and learn all about this celestial collection with Laura Bassen in the video below.
WATCH THE VIDEO:
Shop individual products in the collection:


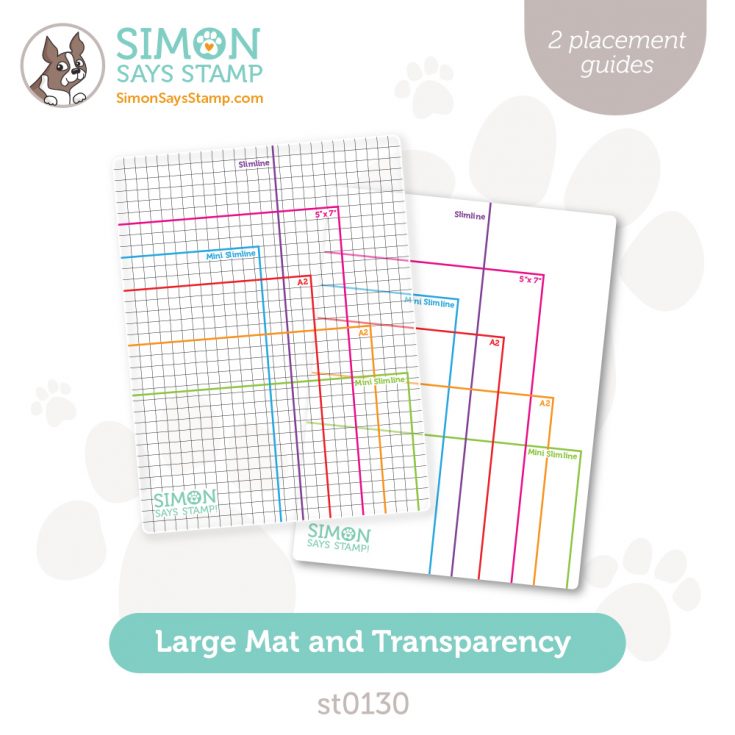

Learn MORE about our new mat and transparency combos:
Get INSPIRED!
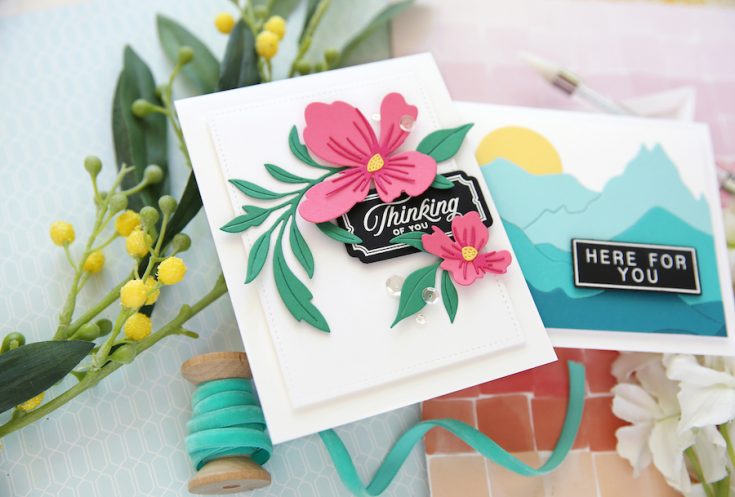
Want even MORE inspiration? Visit our gallery!
Peony Background with Polychromos & BetterPress: Yippee for Yana

Hi friends! Please join me in welcoming back the oh-so-talented and amazing Yana Smakula! (Please note: our dear friend Yana is Ukrainian. To show support to our brothers and sisters in Ukraine, please see Yana’s post HERE.)
Hello, crafters, this is Yana Smakula for Simon Says Stamp! Welcome back for another Yippee For Yana video!
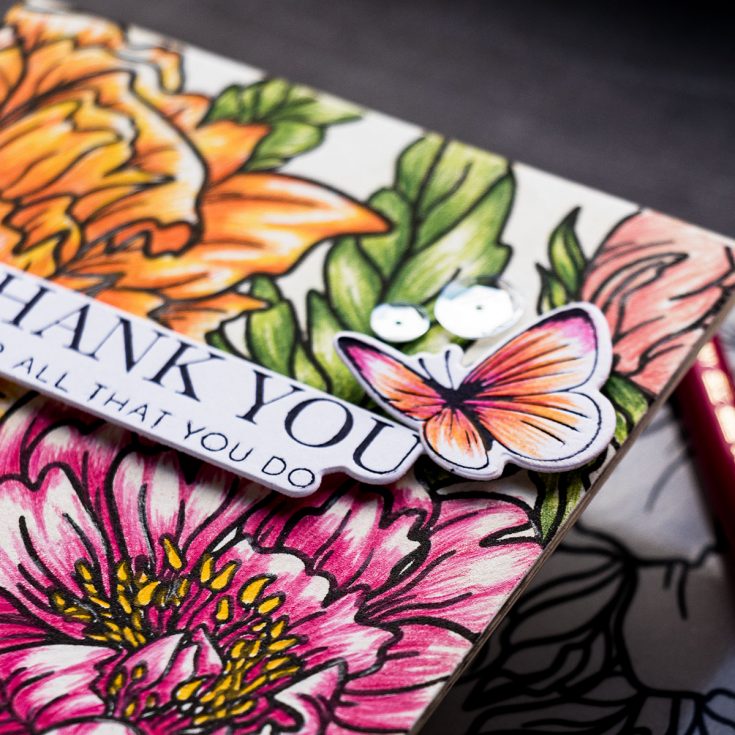
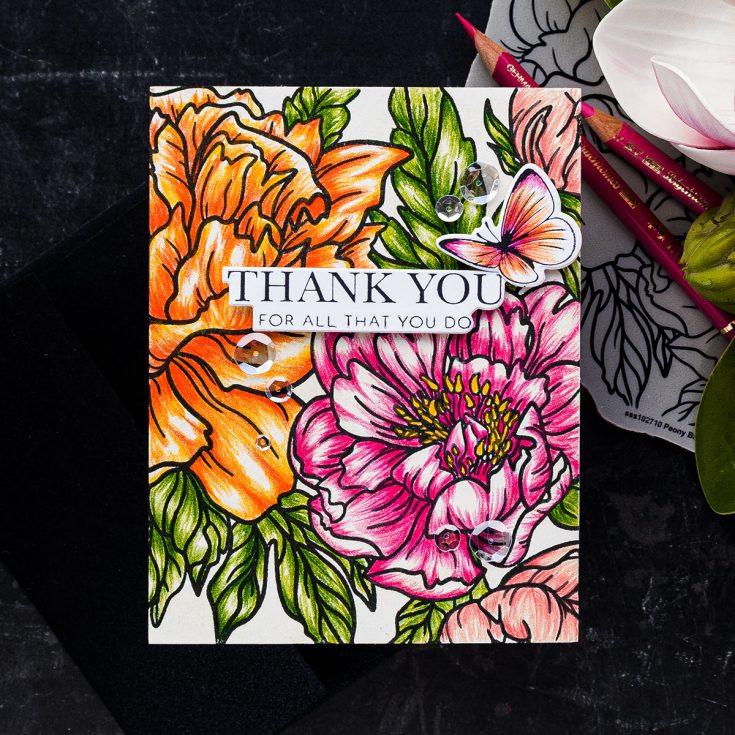
In this video, I’m creating with the Simon Says Stamp Peony Background stamp set and combining it with a letterpressed sentiment made using the new BetterPress system from Spellbinders. It’s been a long time since I’ve used colored pencils to do coloring on my cards and I decided it was time to re-visit this technique, especially since the stamp I’m using is perfect for coloring!
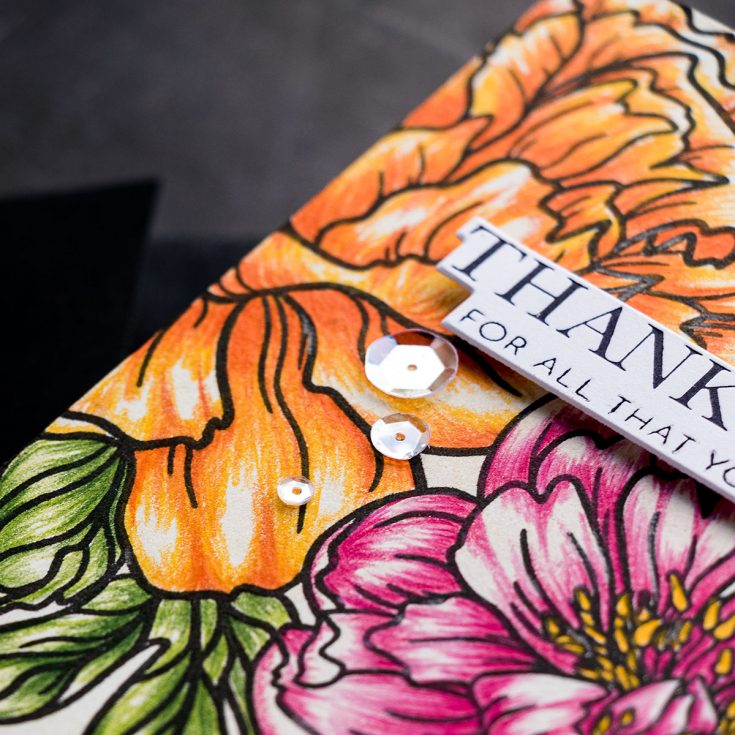
I stamped the image in VersaFine Onyx Black ink onto Spellbinders BetterPress paper in Porcelain. Next, I used Polychromos pencils to color it. Watch my video for the how-to.
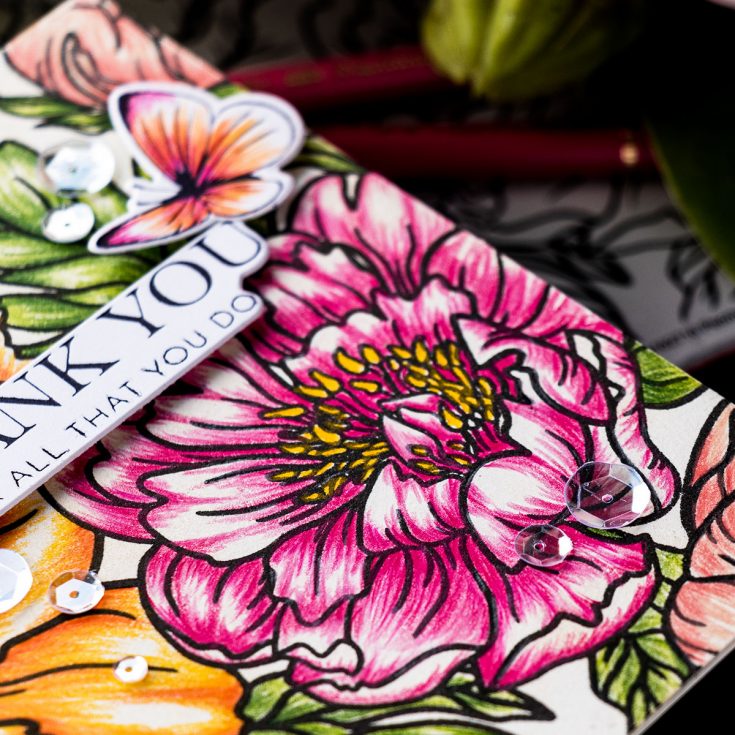
I love using Polychromos pencils to color flowers. I’ve found they work beautifully on this BetterPress paper and give me wonderful blended results. I used 2-3 shades of each color and blended some of these using a white pencil, which is a must!
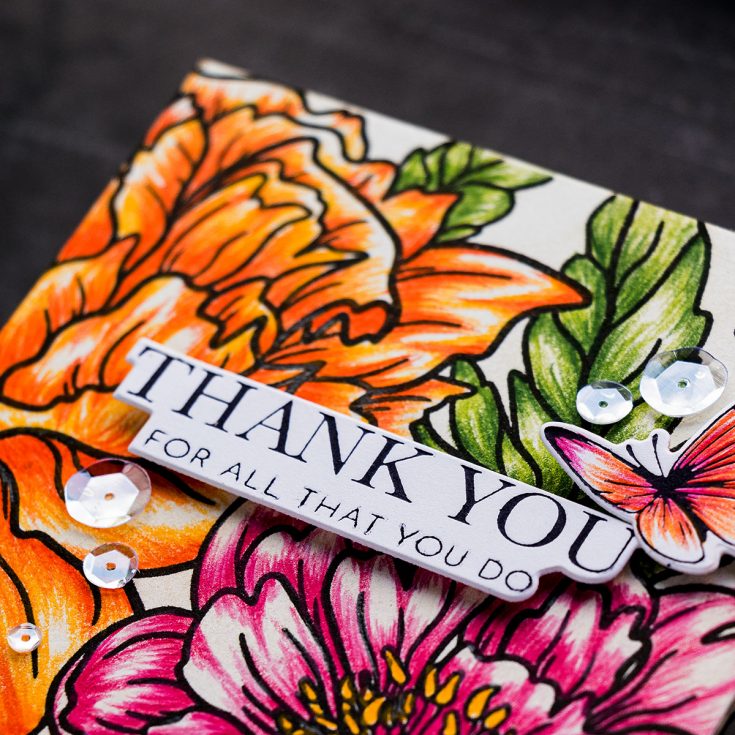
With the coloring done (it didn’t take too long – the large size petals and leaves provide ample space for beautiful blending), I added a BetterPress sentiment created using a Butterly Garden press plate and black ink. I cut it out using a coordinating die included in the set and foam-mounted both the sentiment and the butterfly (colored using the same pencils) onto the card.
Lastly, I embellished my card using Sparkling Clear sequins to a pop of shine! Have fun creating!
WATCH THE VIDEO:
SUPPLIES:
|


Thanks so much for stopping by, and thanks again to Yana for being our guest!
Ways to support Ukraine:
If you are looking for ways to support Ukraine, we encourage you to visit this page on Yana’s blog:

Mushroom Terrarium: Crafty with Caly

Hi friends! Happy Tuesday, and please join me in welcoming back special guest Caly Person to our blog with the latest edition of Crafty with Caly! Please read on and be sure to watch the video for all the details! Enjoy!

Hi there! It’s Caly and I’m so excited you’re here! I’m creating a mushroom terrarium using some Pinkfresh Studio products today.
My card features the Terrarium die as well as the The Magic is in You stencil and die set.
WATCH THE VIDEO:
Stencils are such an easy way to add and blend color to images. My first tip is to die-cut first before stenciling. This will ensure you stencil each die-cut perfectly. It might be difficult to line things up perfectly if you stencil first.
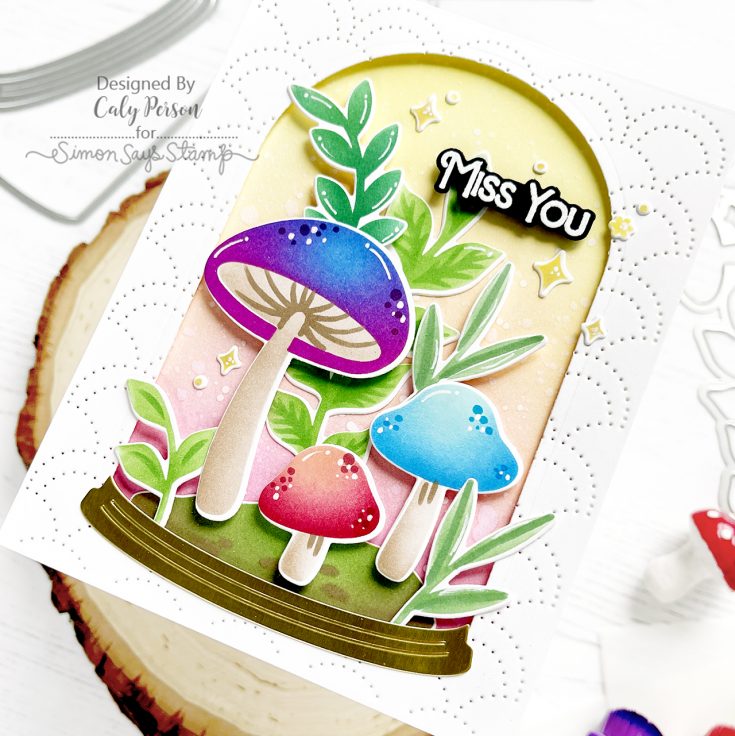
Once all of my terrarium images were ink-blended, I set them aside to work on my terrarium frame. I die-cut a dome window using the Terrarium die and die-cut the base using Matte Gold Cardstock. To add detail to the frame, I ran it through my die-cut a second time using the Dotted Scallop Cover Plate.

The final step of creating a scene is always my favorite! I attached my images using liquid glue and 3D foam squares. Before attaching the little stars and sparkle bits, I prepared a sentiment using the Wonderful Sentiments set. I added some Copic dots to add texture to my mushrooms using R56 and B06. To finish, I added some highlights using my white gel pen too.
I hope you enjoyed this! Thanks for visiting today! ~Caly
SUPPLIES:
|


Thanks so much for stopping by, and thanks to Caly for being our guest!


