Did You Know? July 2023 Edition!
Hello crafters, it’s Shari Carroll here with you! Today I have a new edition of our popular Did You Know series!
If it’s your first time seeing this feature, each month we bring you fun facts, creative tips, and even crafty hacks about your favorite supplies and brands; you can then use these awesome tips that you learn in your next crafting projects! Are you ready to learn some fun tricks? Keep on reading!
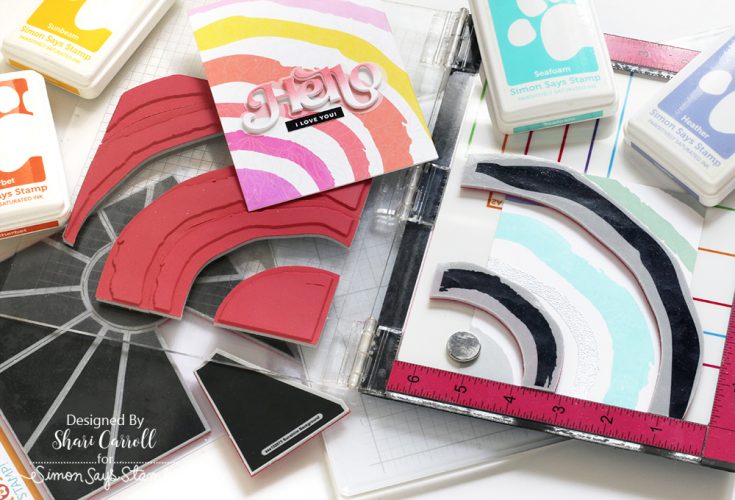
YELLOW SUNSETS AND GREEN MEADOWS INK CUBES
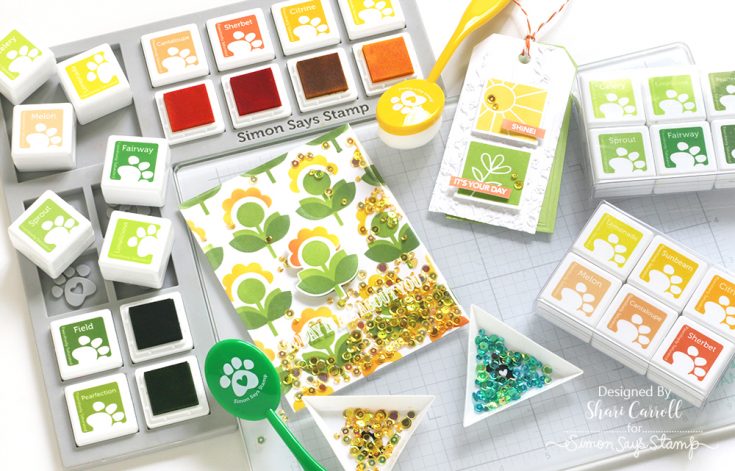
As promised, we recently came out with another two sets of ink cubes. The Yellow Sunsets 6-pack features a bright and cheery yellow/peach palette. The versatile Green Meadows 6-pack features a beautiful green color palette. All our ink cubes can be used for various techniques and projects. The handy box is easy to take ink on the go taking up less space than full-size ink pads.
TIP: Don’t forget, these can be re-inked when dry with Simon Says Stamp Pawsitively Saturated Re-inkers!
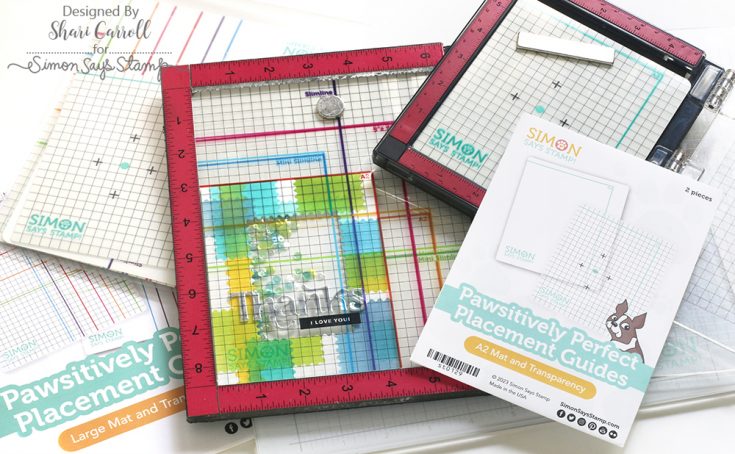
The Pawsitively Perfect Placement Guides Mat and Transparency by Simon Says Stamp are essential tools for precision stamping and card making. They come in two sizes, the A2 size inserts perfectly into the 6 x 7-inch Misti stamp platform, and the large size fits the 8 x 10 Misti platform.
The transparencies have markings to make your stamping and aligning a breeze.
TIP: Check out our Quick Tip video below to see how these work.

Too CUTE not to share!! Our Paw-It sticky notes are a pad of 40 sweet notes fashioned in the form of a paw. These pads are perfect for your office, craft room, or any place where you need to jot down a quick message or reminder.
TIP: Use them as a removable message inside your cards so the recipient can repurpose your card.
SIMON SAYS STAMP BRUSH POWDER TOOL
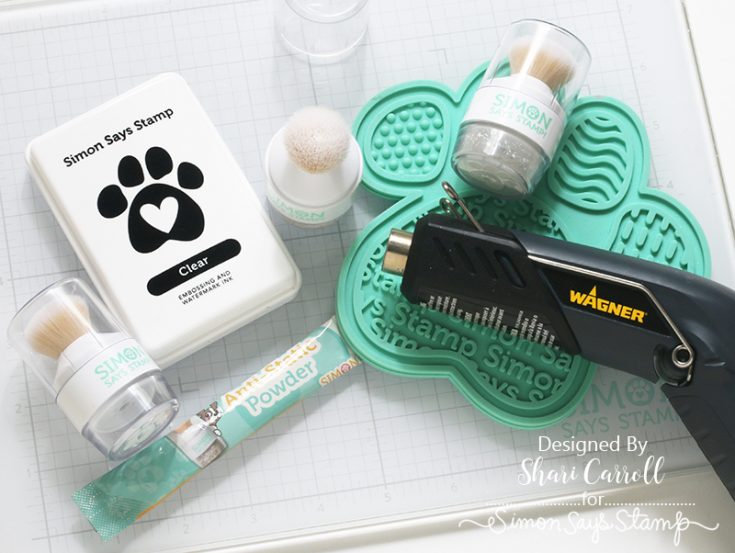
Are you ever frustrated with stray speckles or marks on your heat-embossed projects? The Simon Says Stamp Brush Powder Tool is perfect for preparing a surface for embossing! This brush features a compact design that allows you to fill the reservoir with the Simon Says Stamp Anti-Static Powder and to apply in just the right areas of your projects.
TIP: Apply powder to the project surface, stamp with clear embossing ink, apply embossing powder, tap off the excess, and set with a heat tool.
We have several pull-apart type Cling stamps. These are designed to allow you to use segments separately with different color inks and techniques. They are simple to use. Pull them apart, stamp, clean, and return them to their original design on the clear acetate. I have listed several of our pull-apart type stamps below.
TIP: Use these stamps with a large Misit for perfect positioning.
I hope these tips have helped you learn a few tricks for your upcoming crafting projects… Thanks for tuning in today and spending some time with me!
SUPPLIES:
|


Watercolor Resist with Simon Says Stamp Pawsitively Saturated Inks!
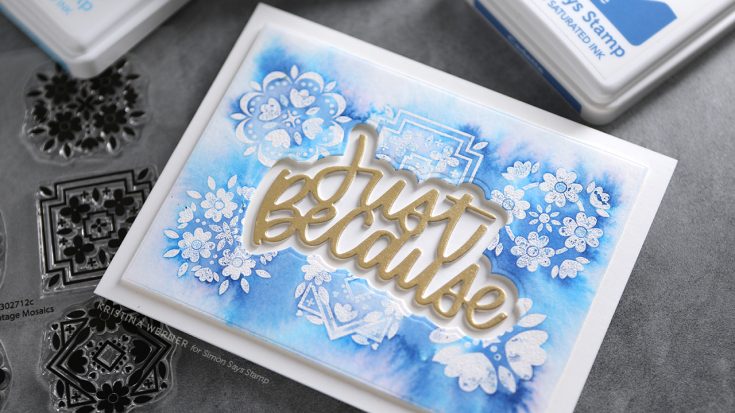
Hi all! Kristina Werner here. Today I have a fun cad for you made by watercoloring with Pawsitively Saturated Inks! I used the new Vintage Mosaics stamps and shades of blue to create a watercolor resist design. I For the greeting, I used the Just Because die set.
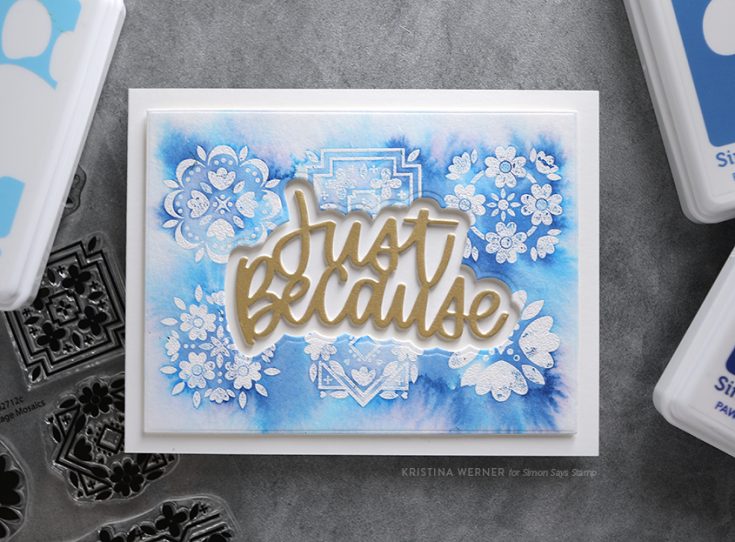
I first stamped the images from the Vintage Mosaics stamp set on watercolor paper and heat embossed using white embossing powder. Everywhere the embossing powder is will resist color. So as I painted with Royal, Cadette, and Marine inks, the designs remained white.
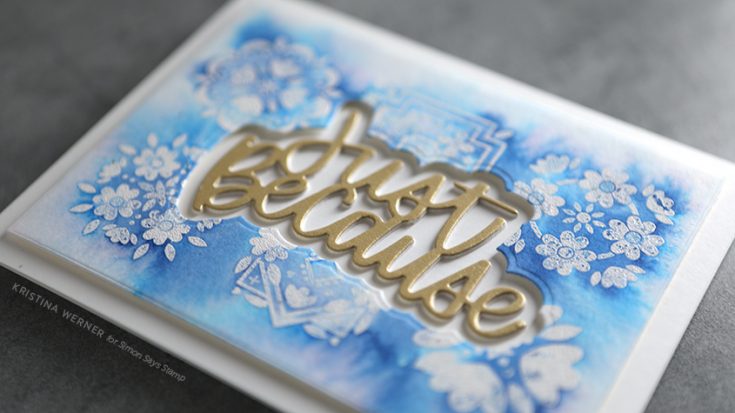
The greeting was die cut using gold pearl cardstock from Sizzix and the Just Because dies.
Thanks for stopping by today! Enjoy!
|


Layered Stencil Beautiful Background: Amore Laurafadora
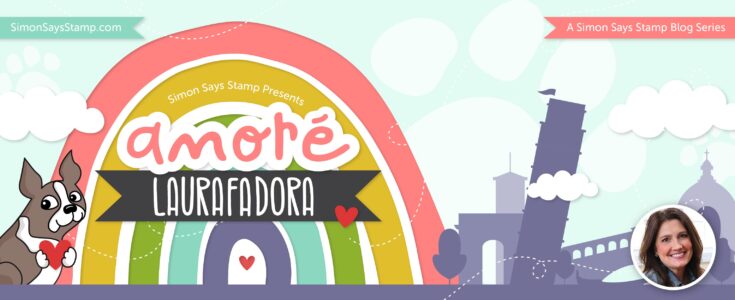
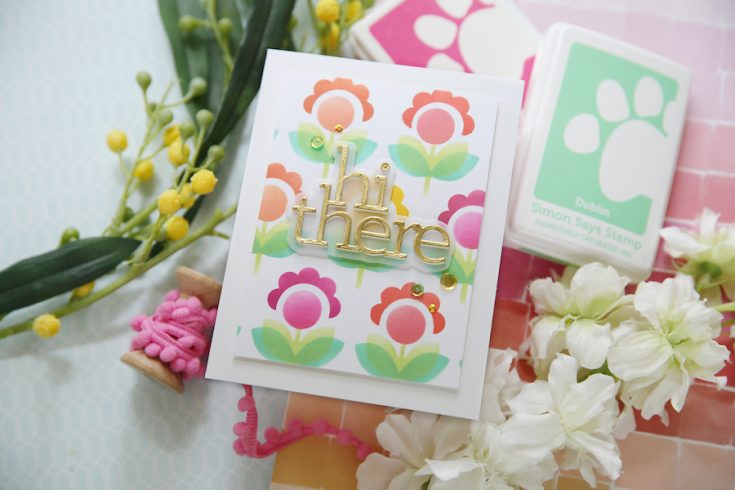
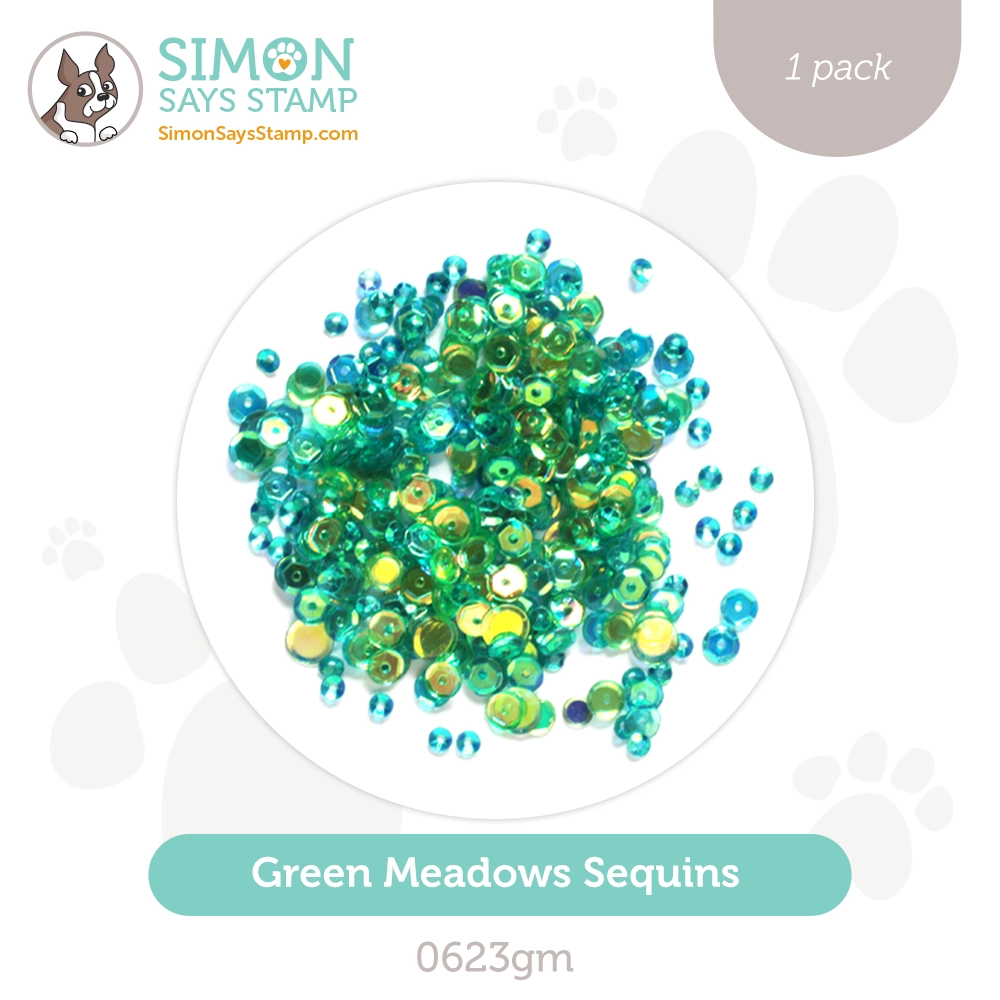
Hi friends! Happy Wednesday! If you’re stateside like us, I hope you had a wonderful 4th of July, and if you’re not, I hope you had a wonderful day! :) We’re back with the always entertaining and inspiring Laura Bassen in our bi-monthly Amore Laurafadora blog series where she is showcasing our brand new Pixie Flowers layered stencil set as well as our brand new Green Meadows and Yellow Sunshine sequins pack in addition to our “Oldie but goodie” Hi there die set from CZ design. Also, fun fact – ever heard of a nurdle? Watch the video and you’ll learn what it is!

WATCH THE VIDEO:
SUPPLIES:
|


Thanks so much for stopping by, and thanks to Laura for being our guest!


