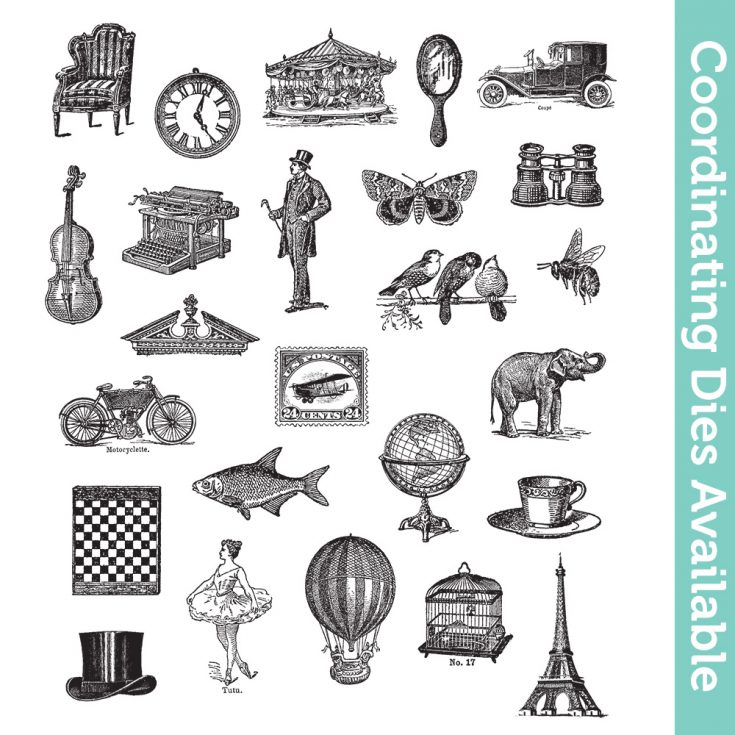
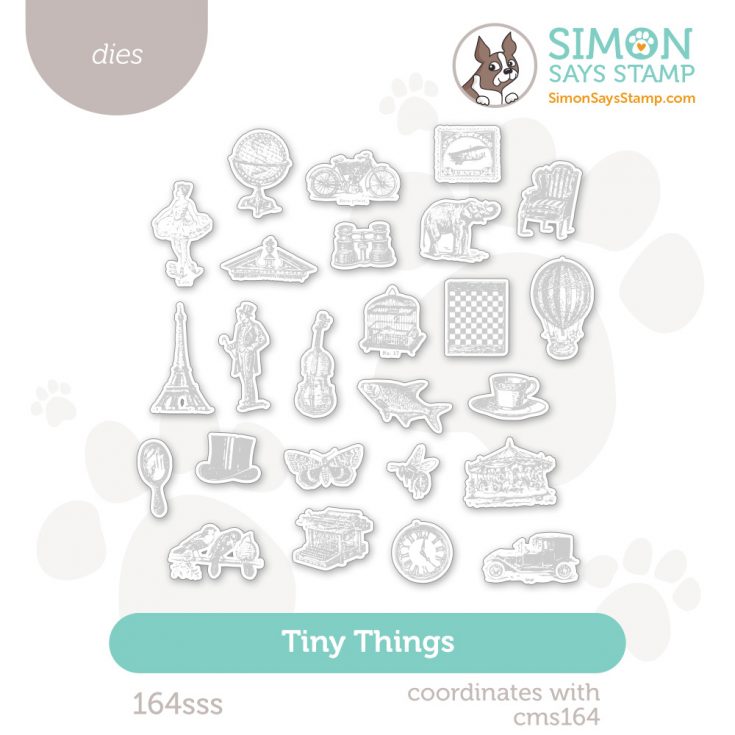
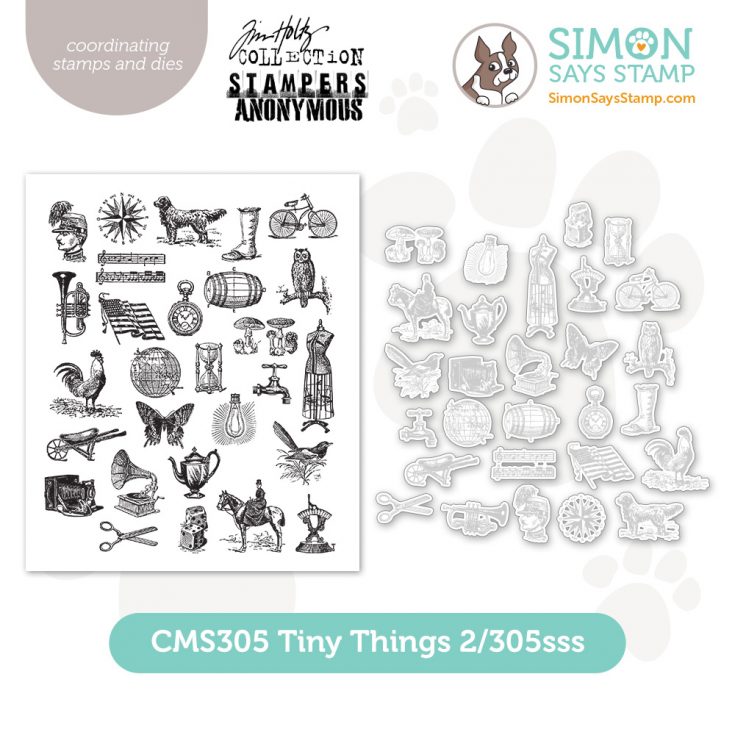
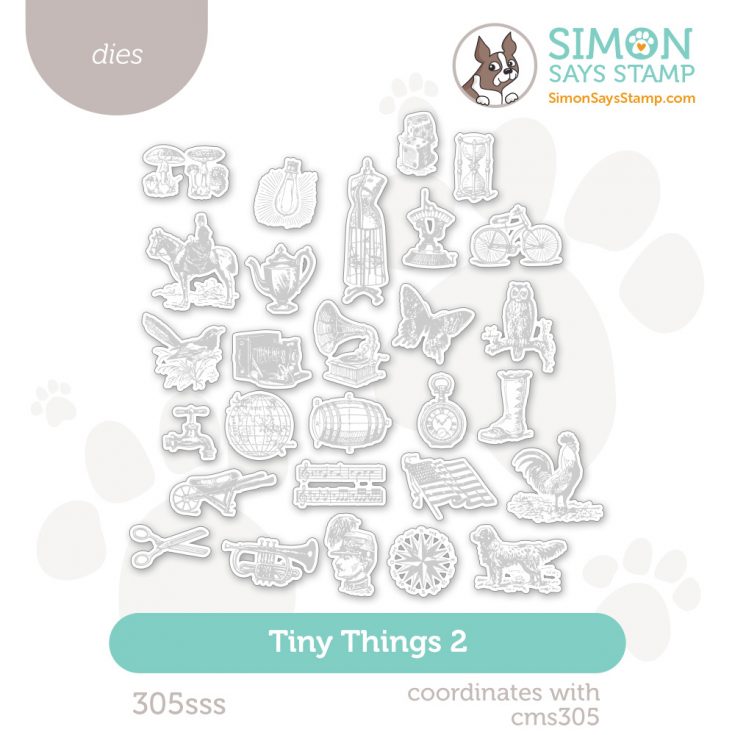
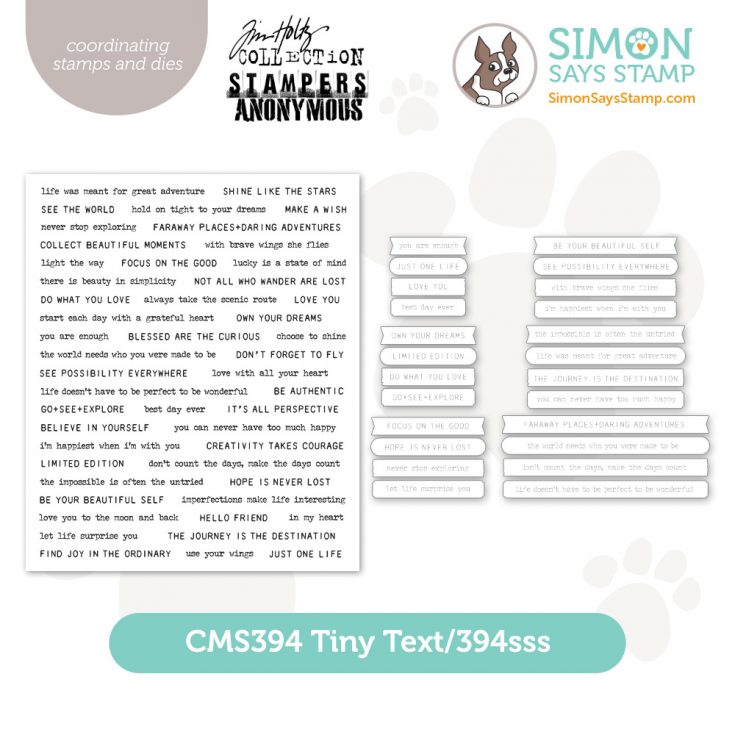
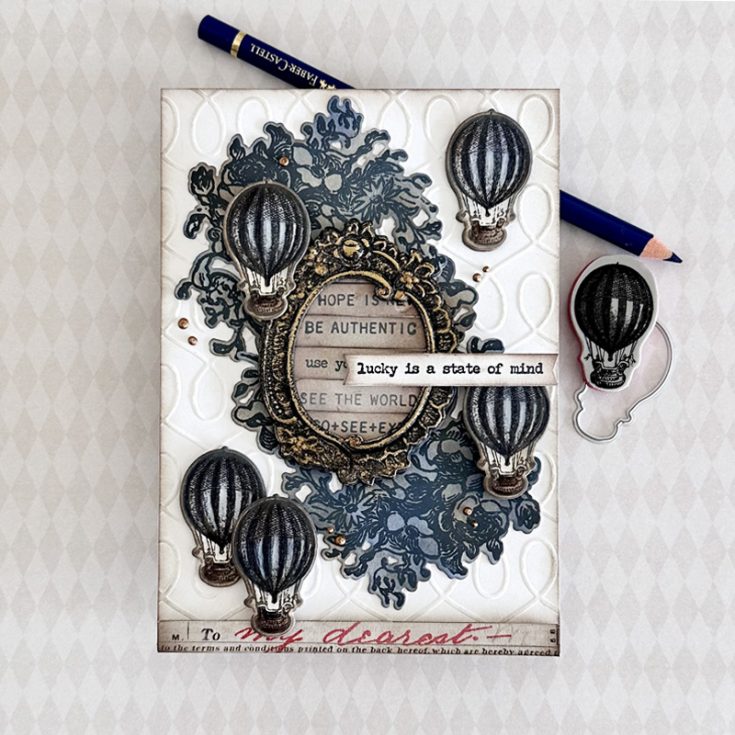
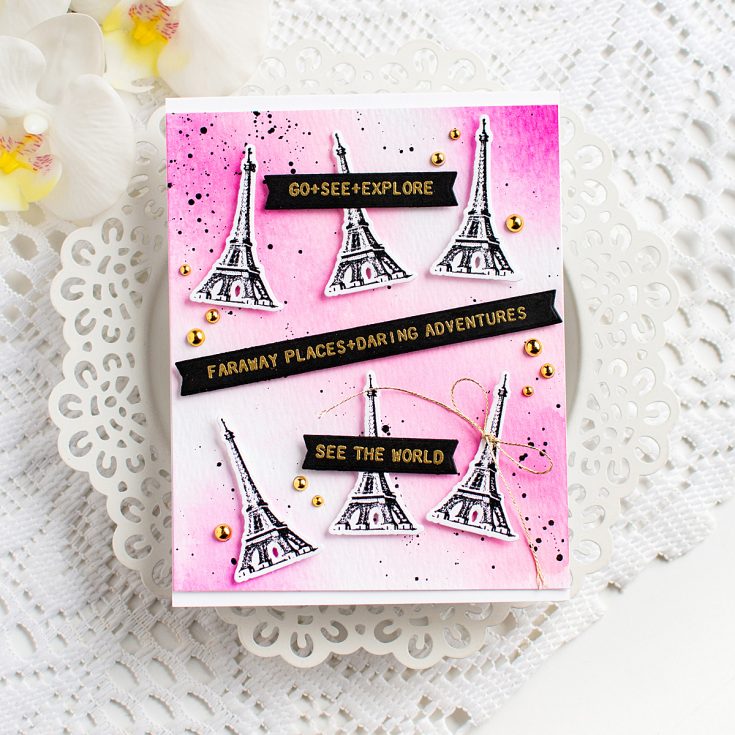
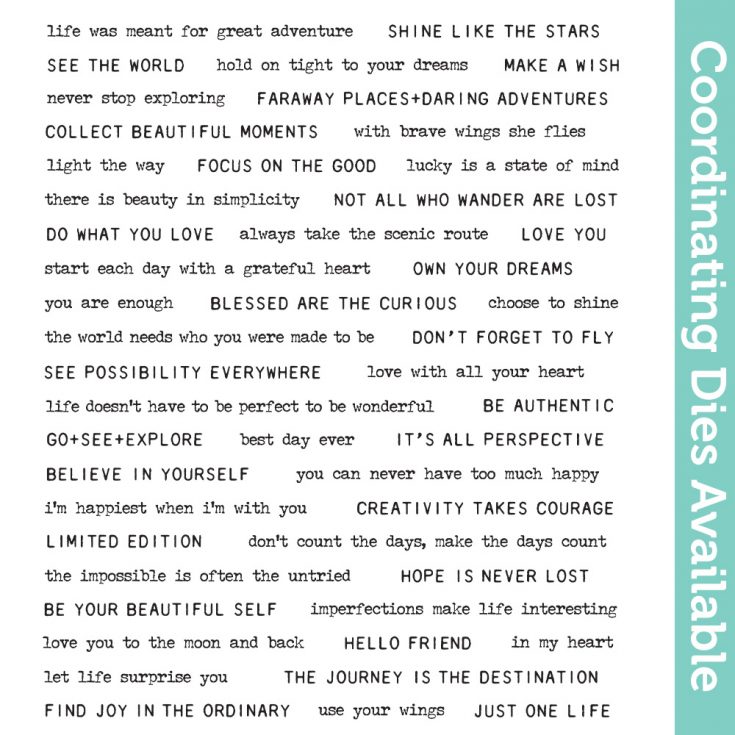
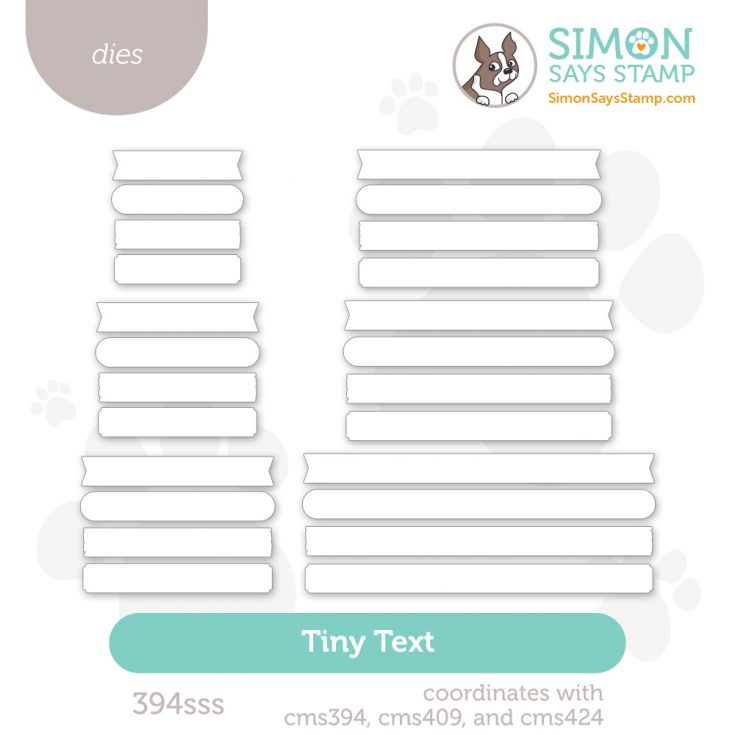
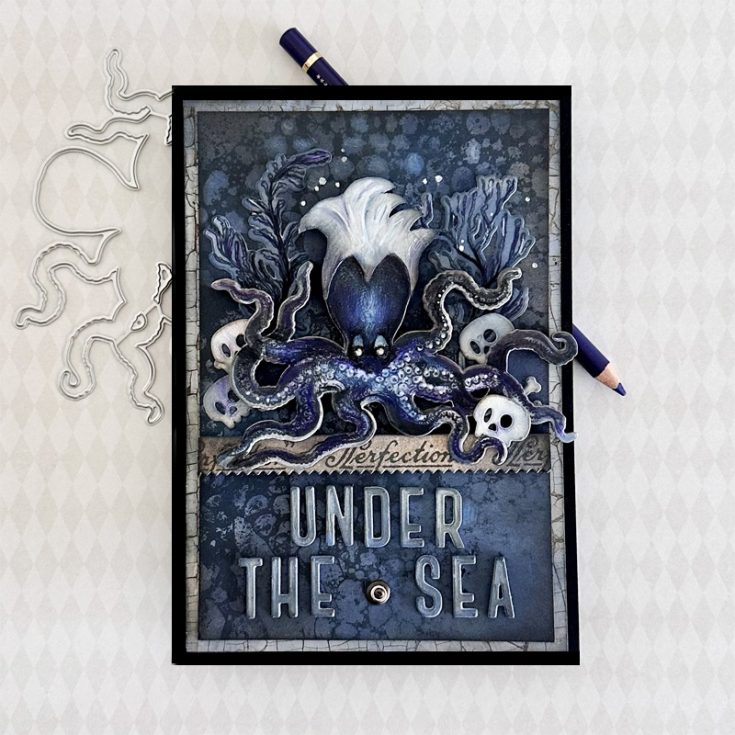
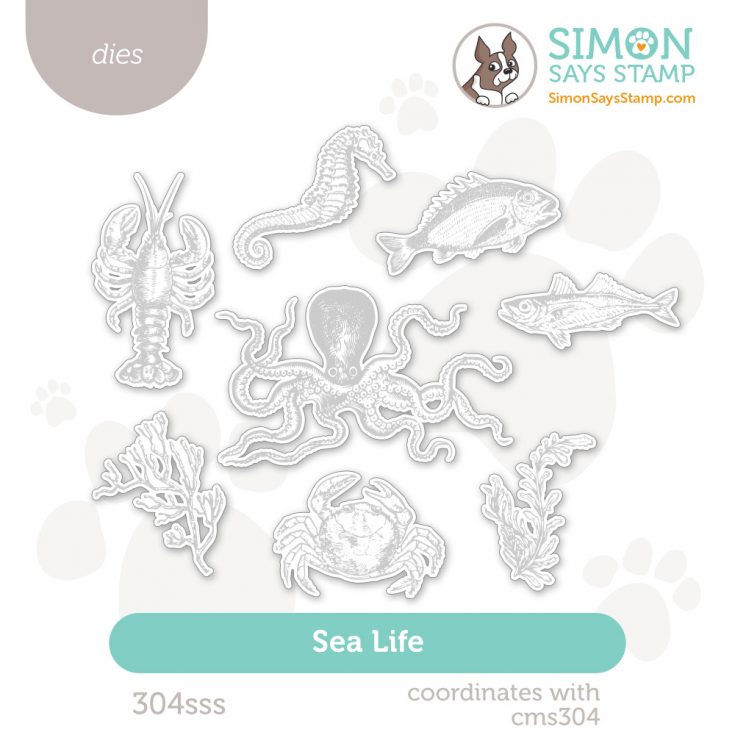
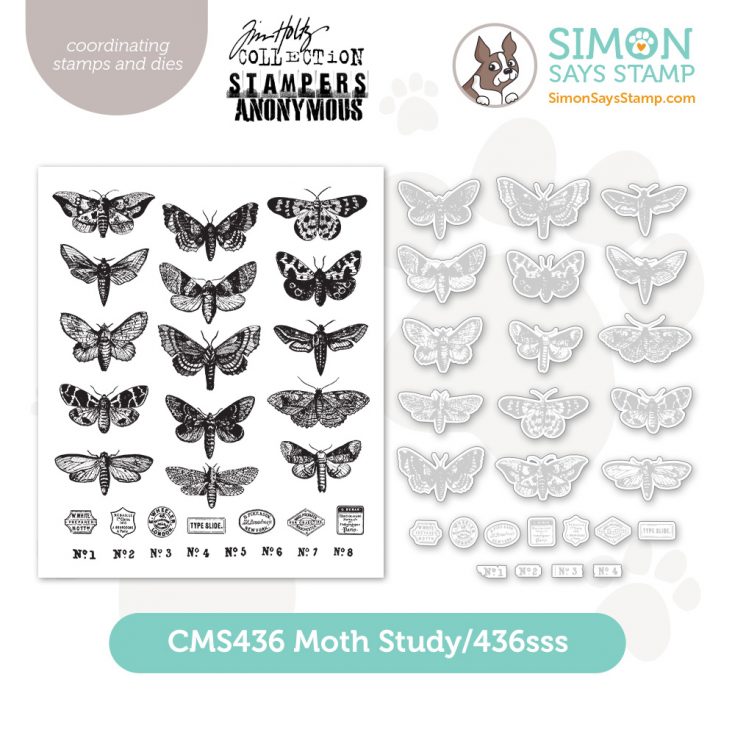
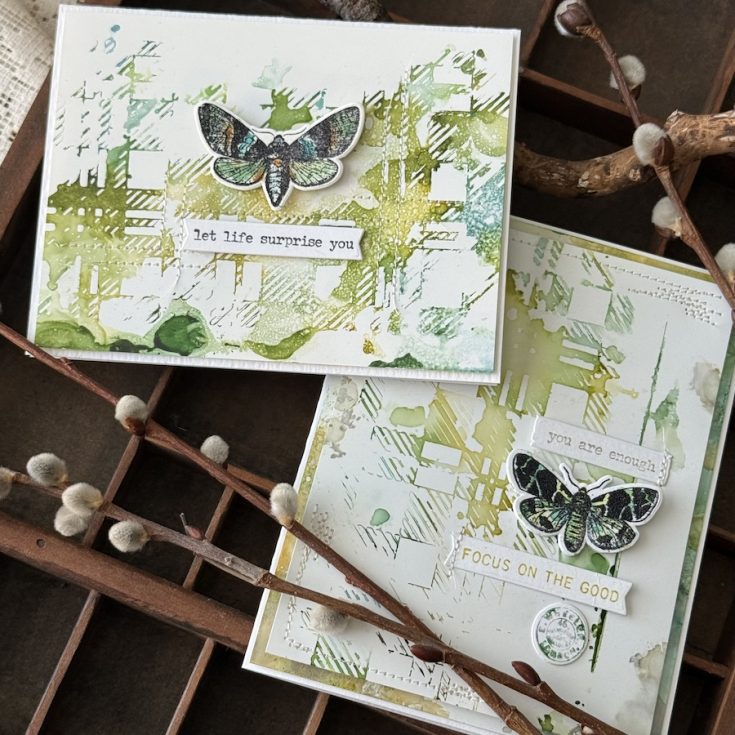
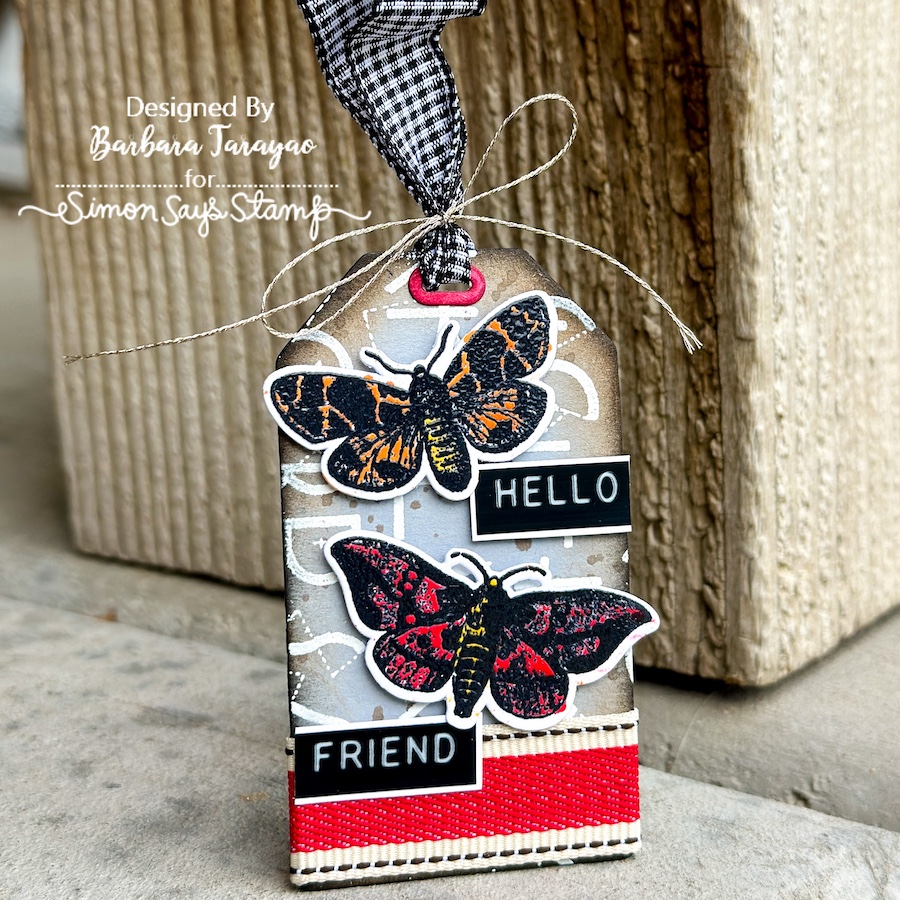
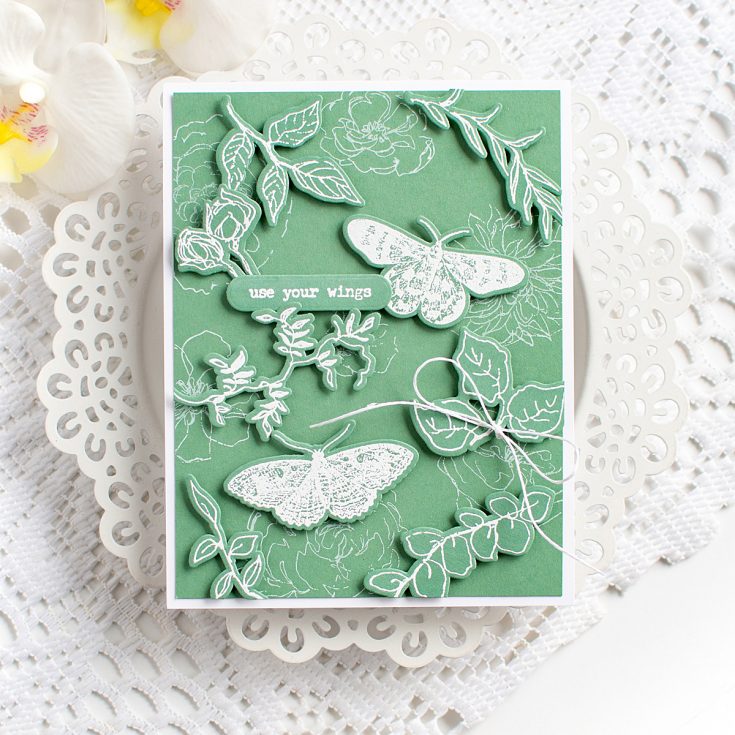
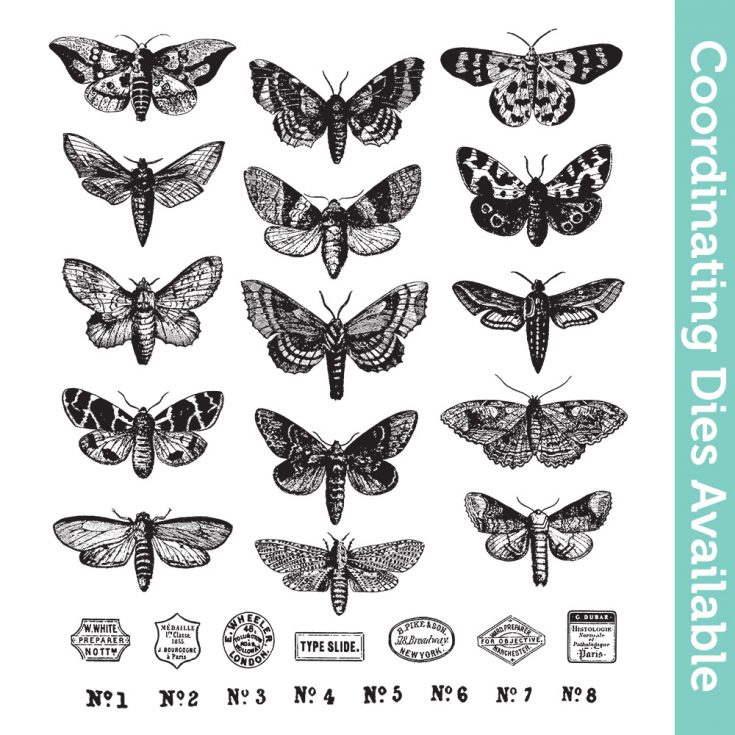
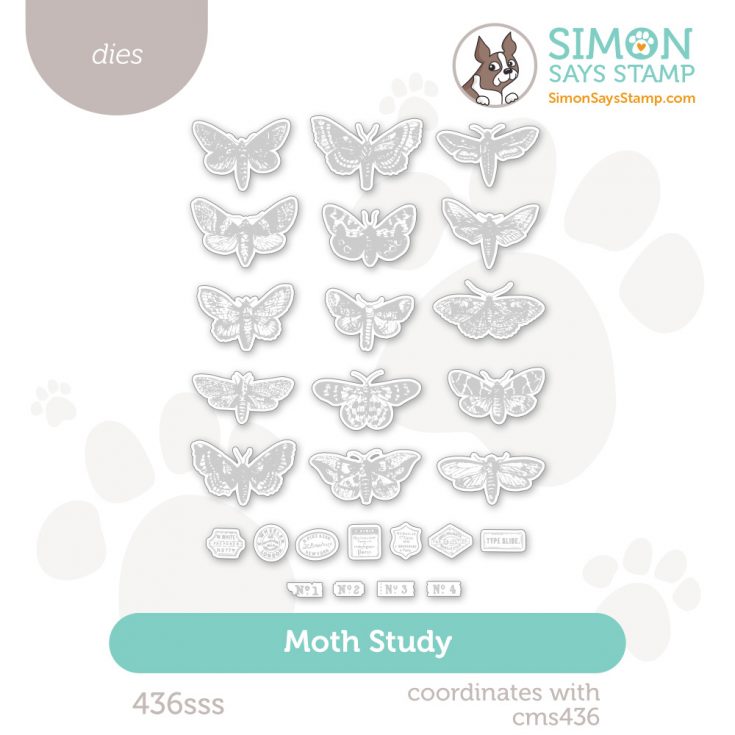
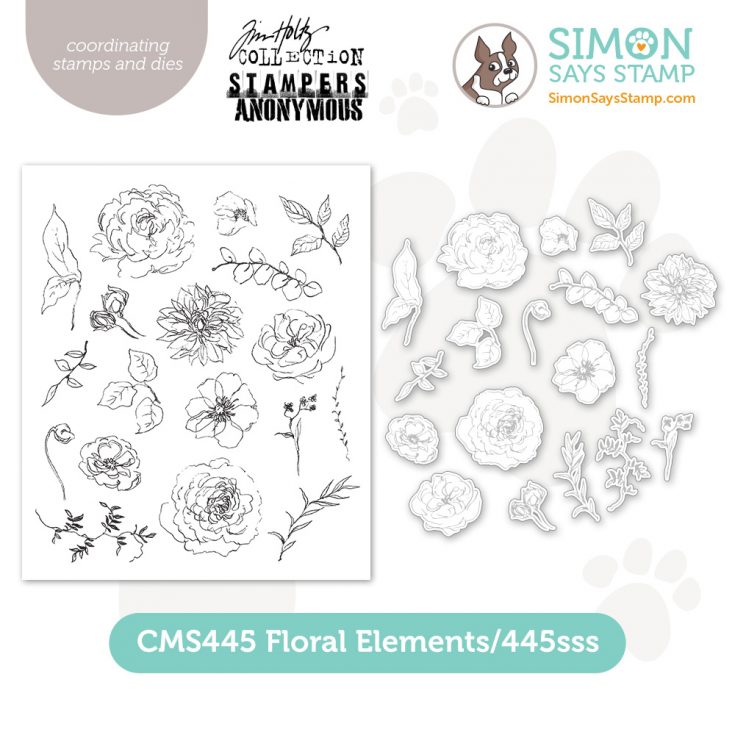
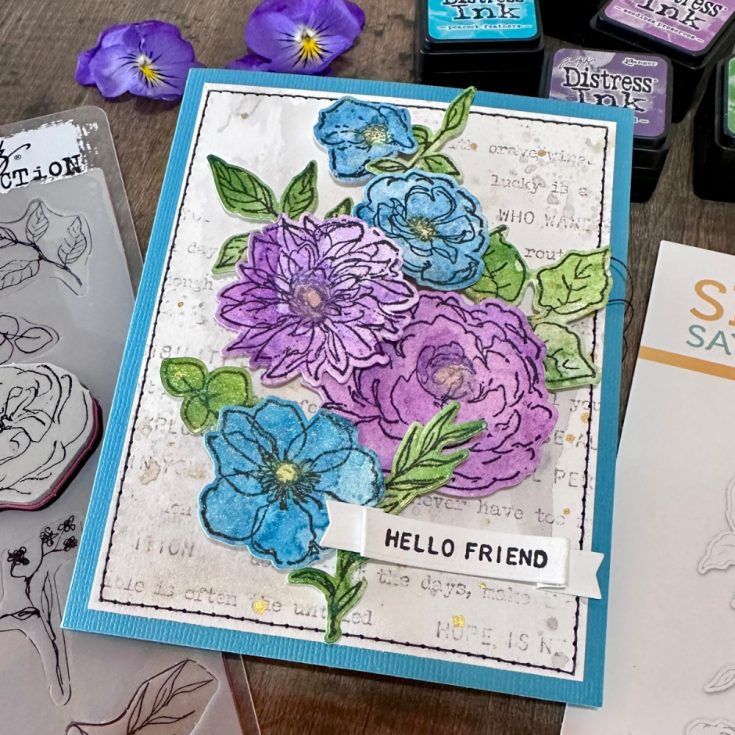
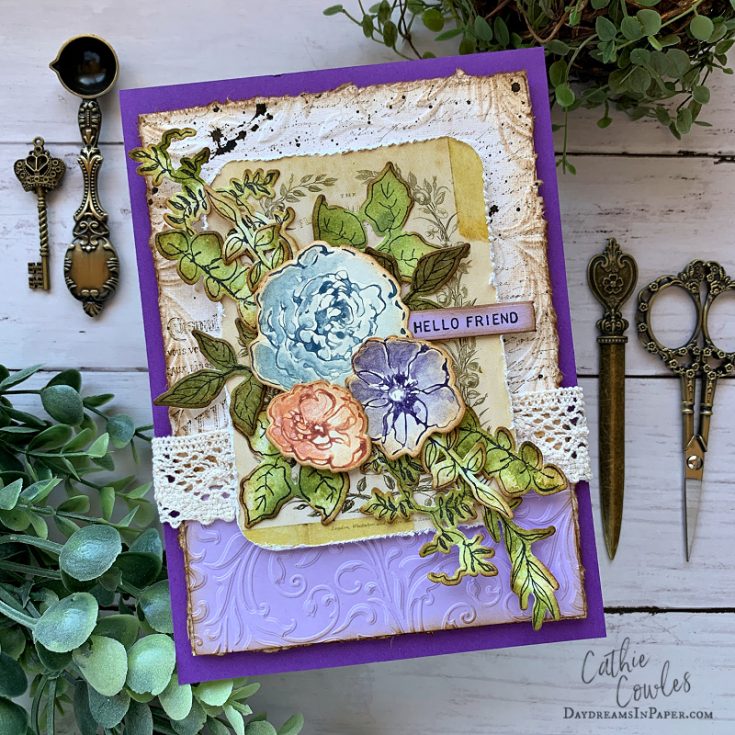
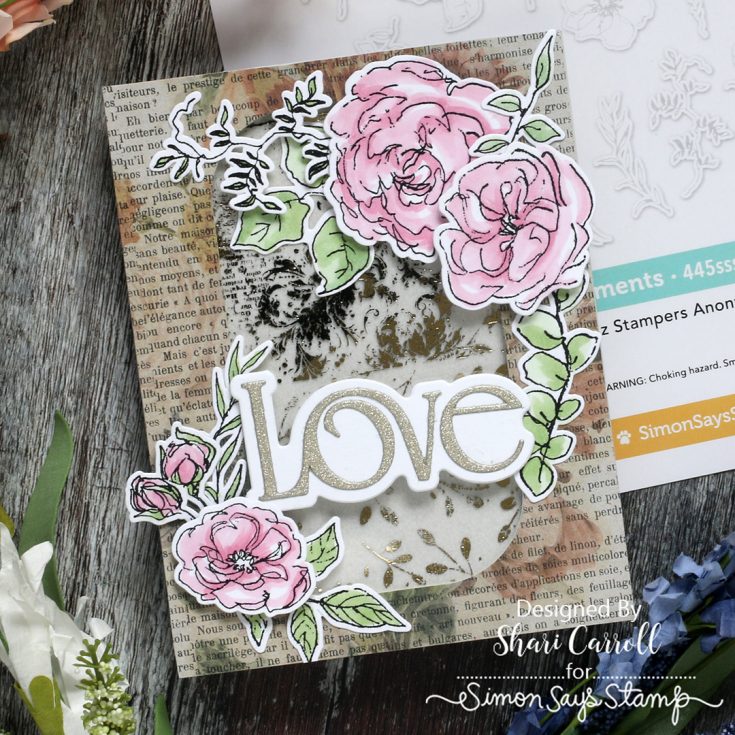
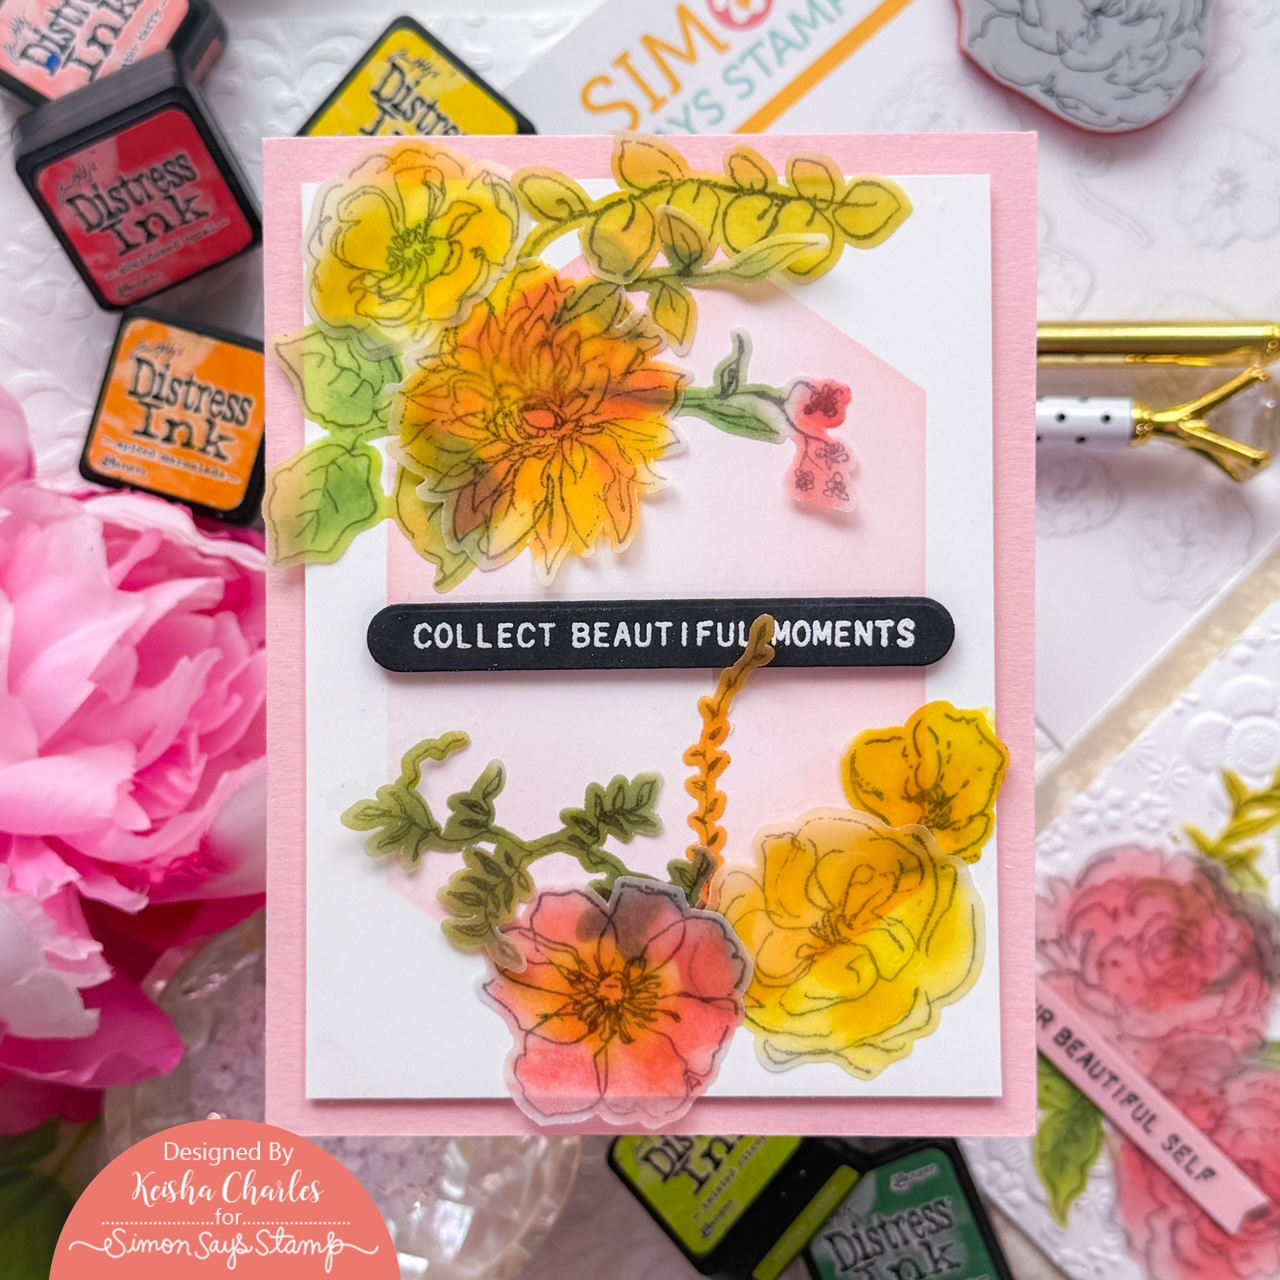
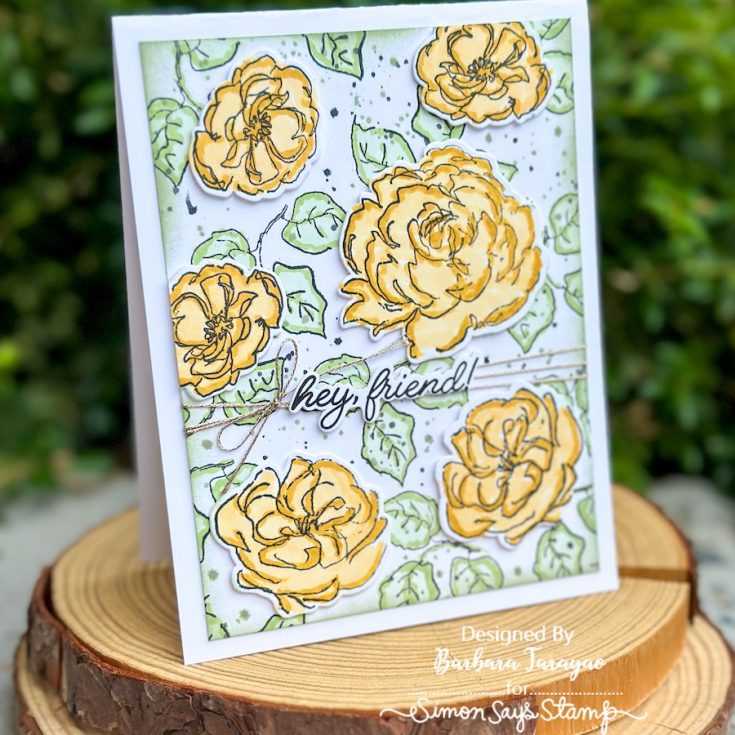
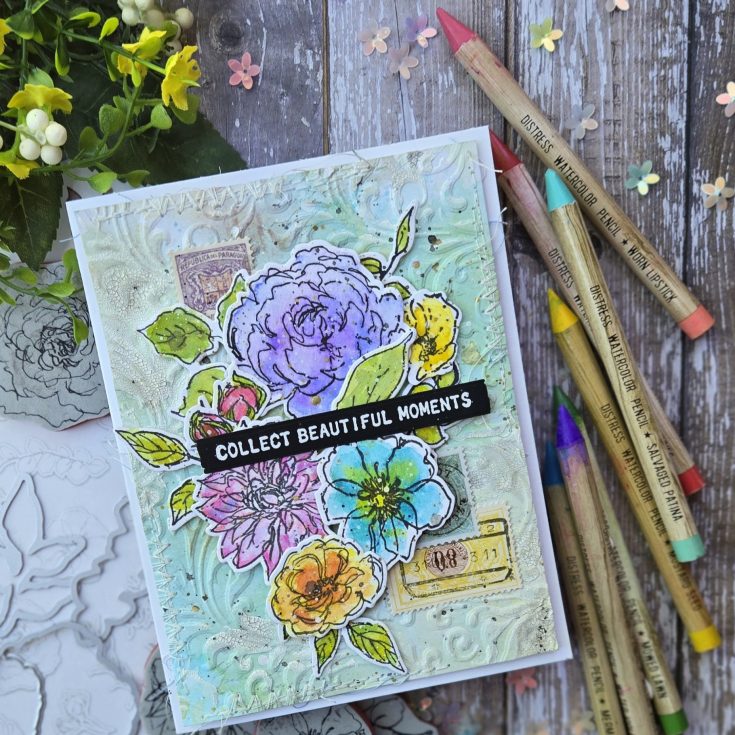
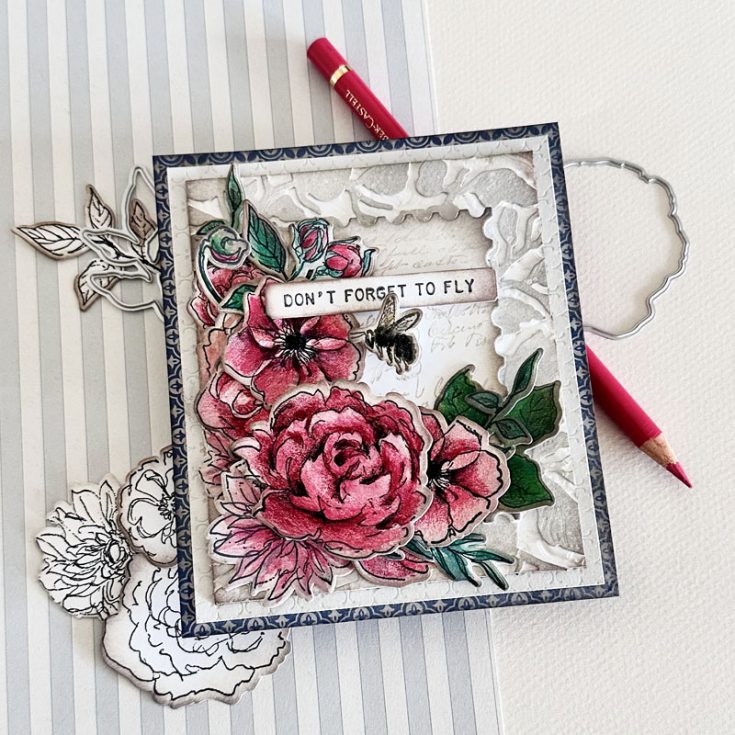
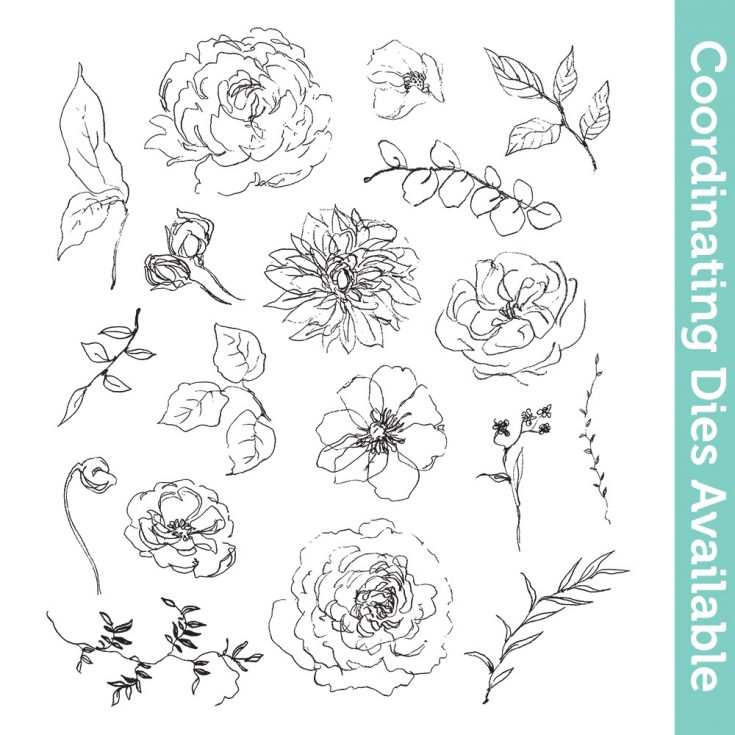
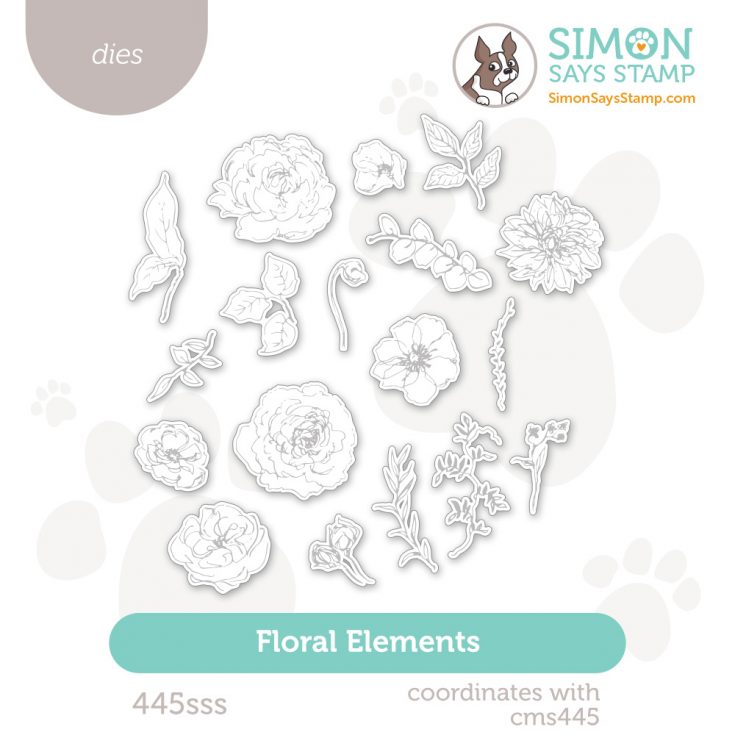
NEW Simon Says Stamp Exclusive Dies to Coordinate with Your Favorite Tim Holtz Stamps!
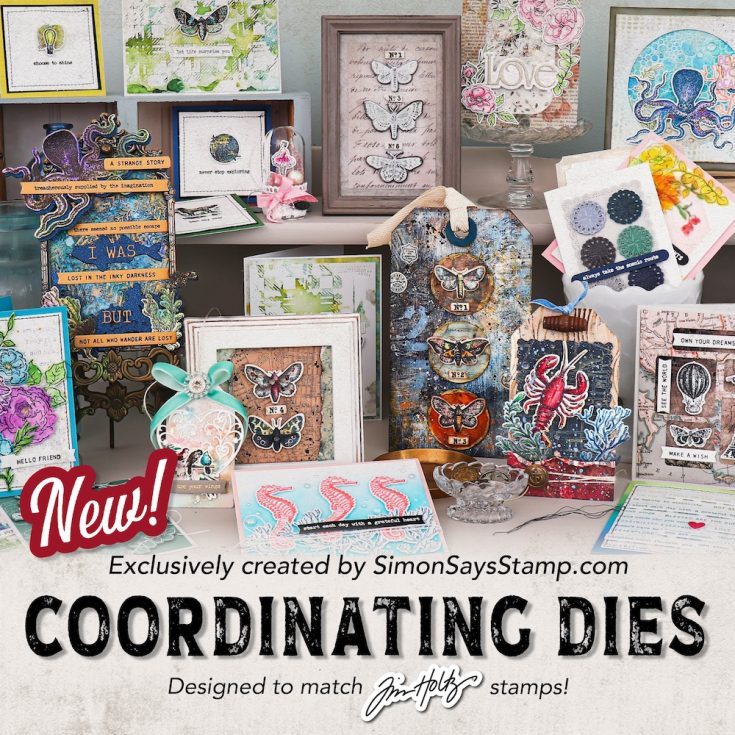
You asked—we delivered! Introducing our latest Simon Says Stamp exclusive coordinating dies, crafted to perfectly complement your favorite Tim Holtz stamp designs. Enjoy effortless die-cutting, seamless layering, and crisp, professional results every time.
Made especially for YOU, this exciting new collection is shipping now!


Missed us live? Catch the rewatch!

Join us LIVE today at 12 PM for a Special Exclusive Release!
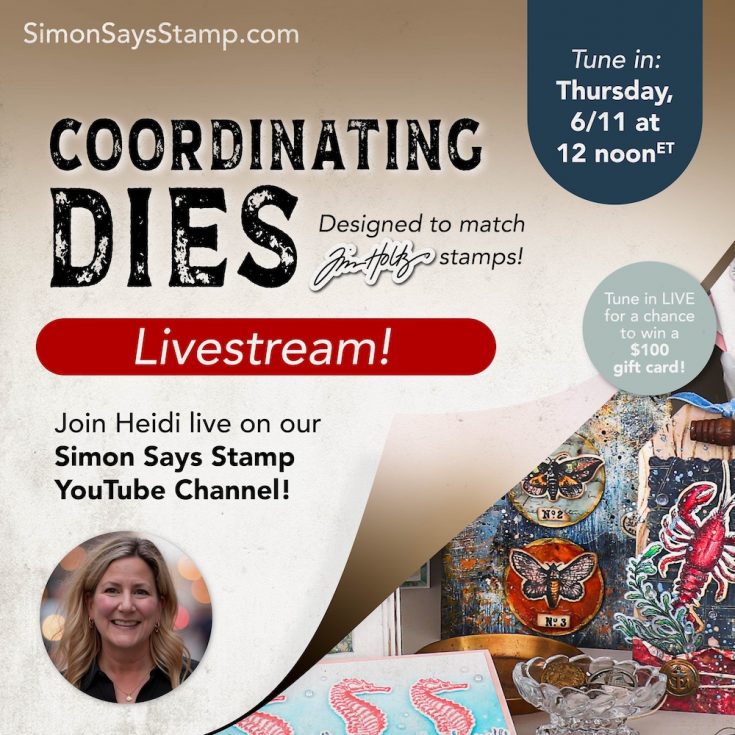
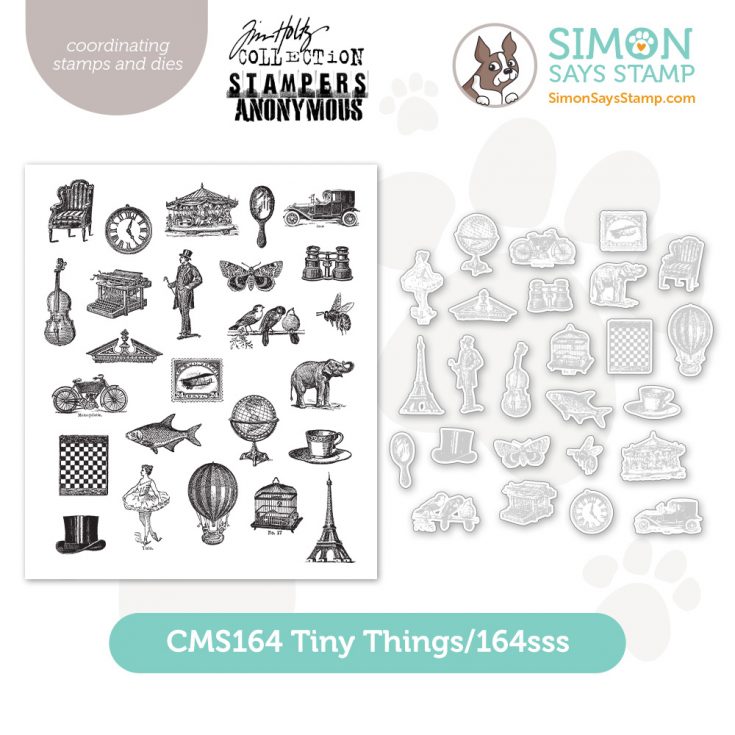
Hi friend! Set your alarm, click or tap the bell to be notified! Join Heidi LIVE to share the newest and way cool exclusive Simon Says Stamp coordinating dies to match your favorite Tim Holtz stamps! PLUS! A lucky commenter will win a $100 gift card! See you there!
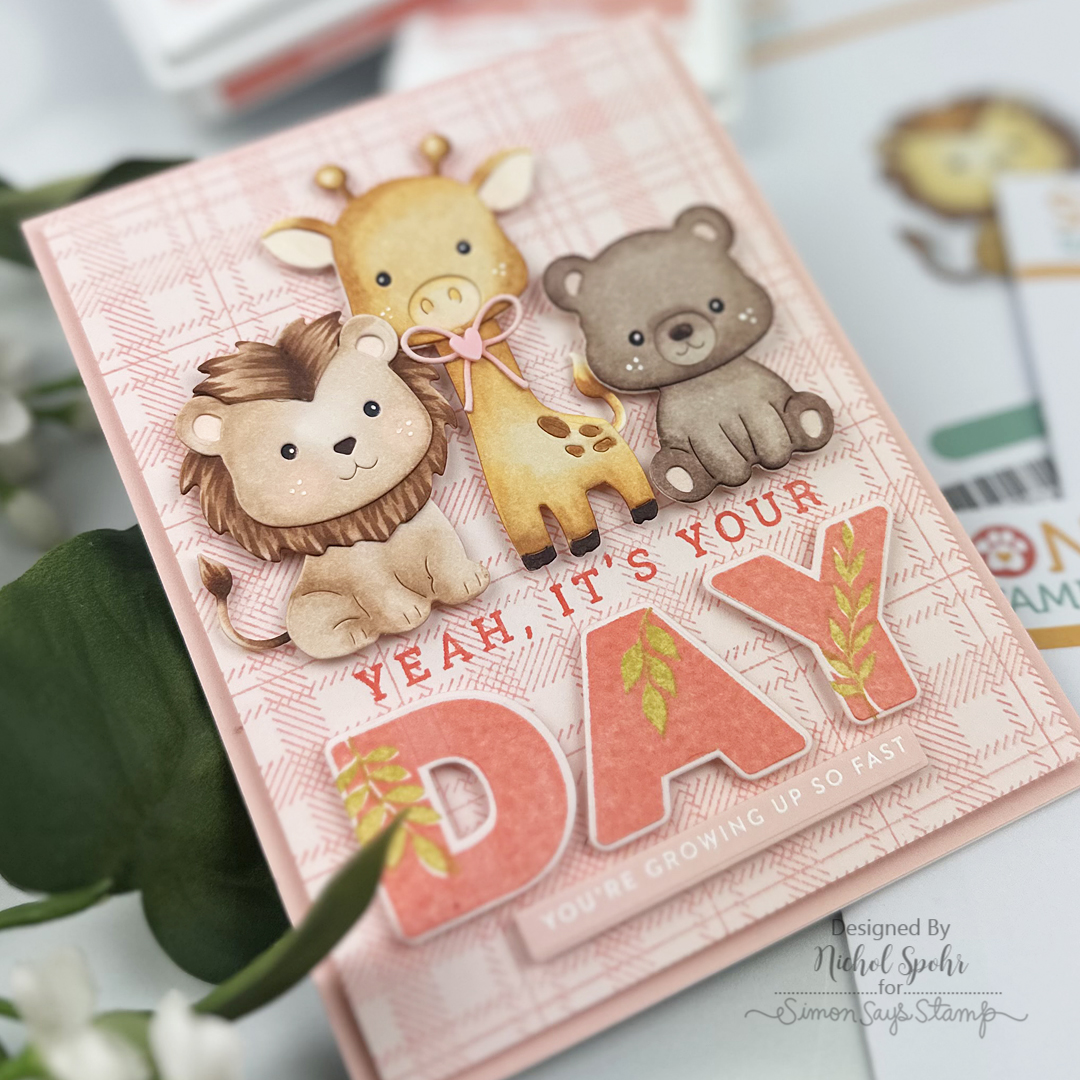
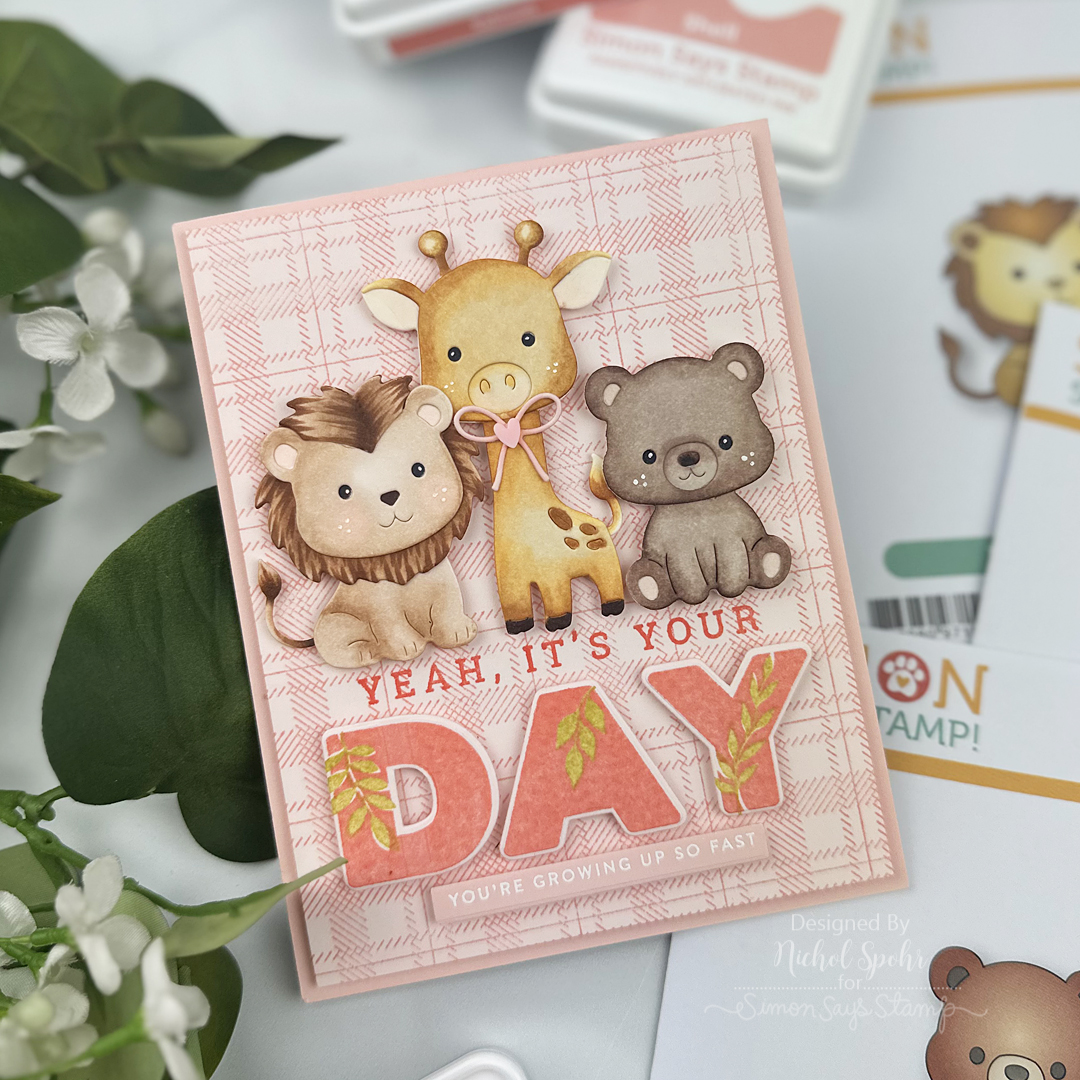
✨ Storybook-Inspired Birthday Card with Adorable Critters: Making the Cut

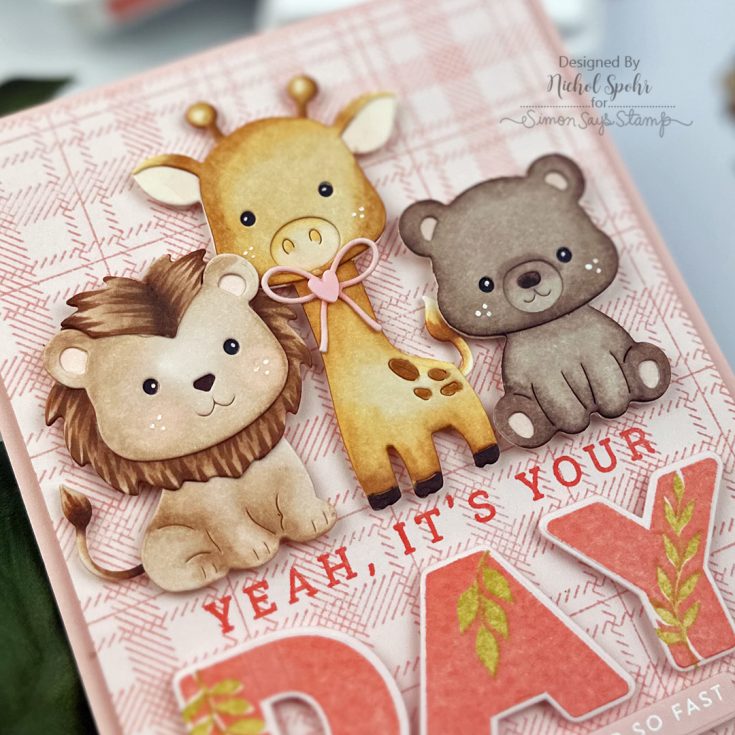
Hi friend! Happy Wednesday! Please join me in welcoming special guest Nichol Spohr to our blog back in our monthly installment of Making the Cut – our monthly blog series that celebrates the love of all things die cutting! Nichol is showcasing some adorable NEW critters just released in our Always There collection including our Fable Sitting Bear, Fable Lion, Fable Giraffe, and Layered Oh Happy Day stamp and die set! Be sure to watch the video for all the details and enjoy!
WATCH THE VIDEO:

SUPPLIES:
Olo Markers Used:
- Lion: O 4.0, 4.1, 4.3, 4.6; R 0.1, 0.2
- Giraffe: YO 2.0, 2.2, 2.5, 2.7; R 0.1
- Bear: O 7.1, 7.3, 7.2; R 0.1
|


A big thank you to YOU, our reader — and to Nichol for being our guest!


