Soft Neutrals and Texture with Pantone’s 2026 Color of the Year
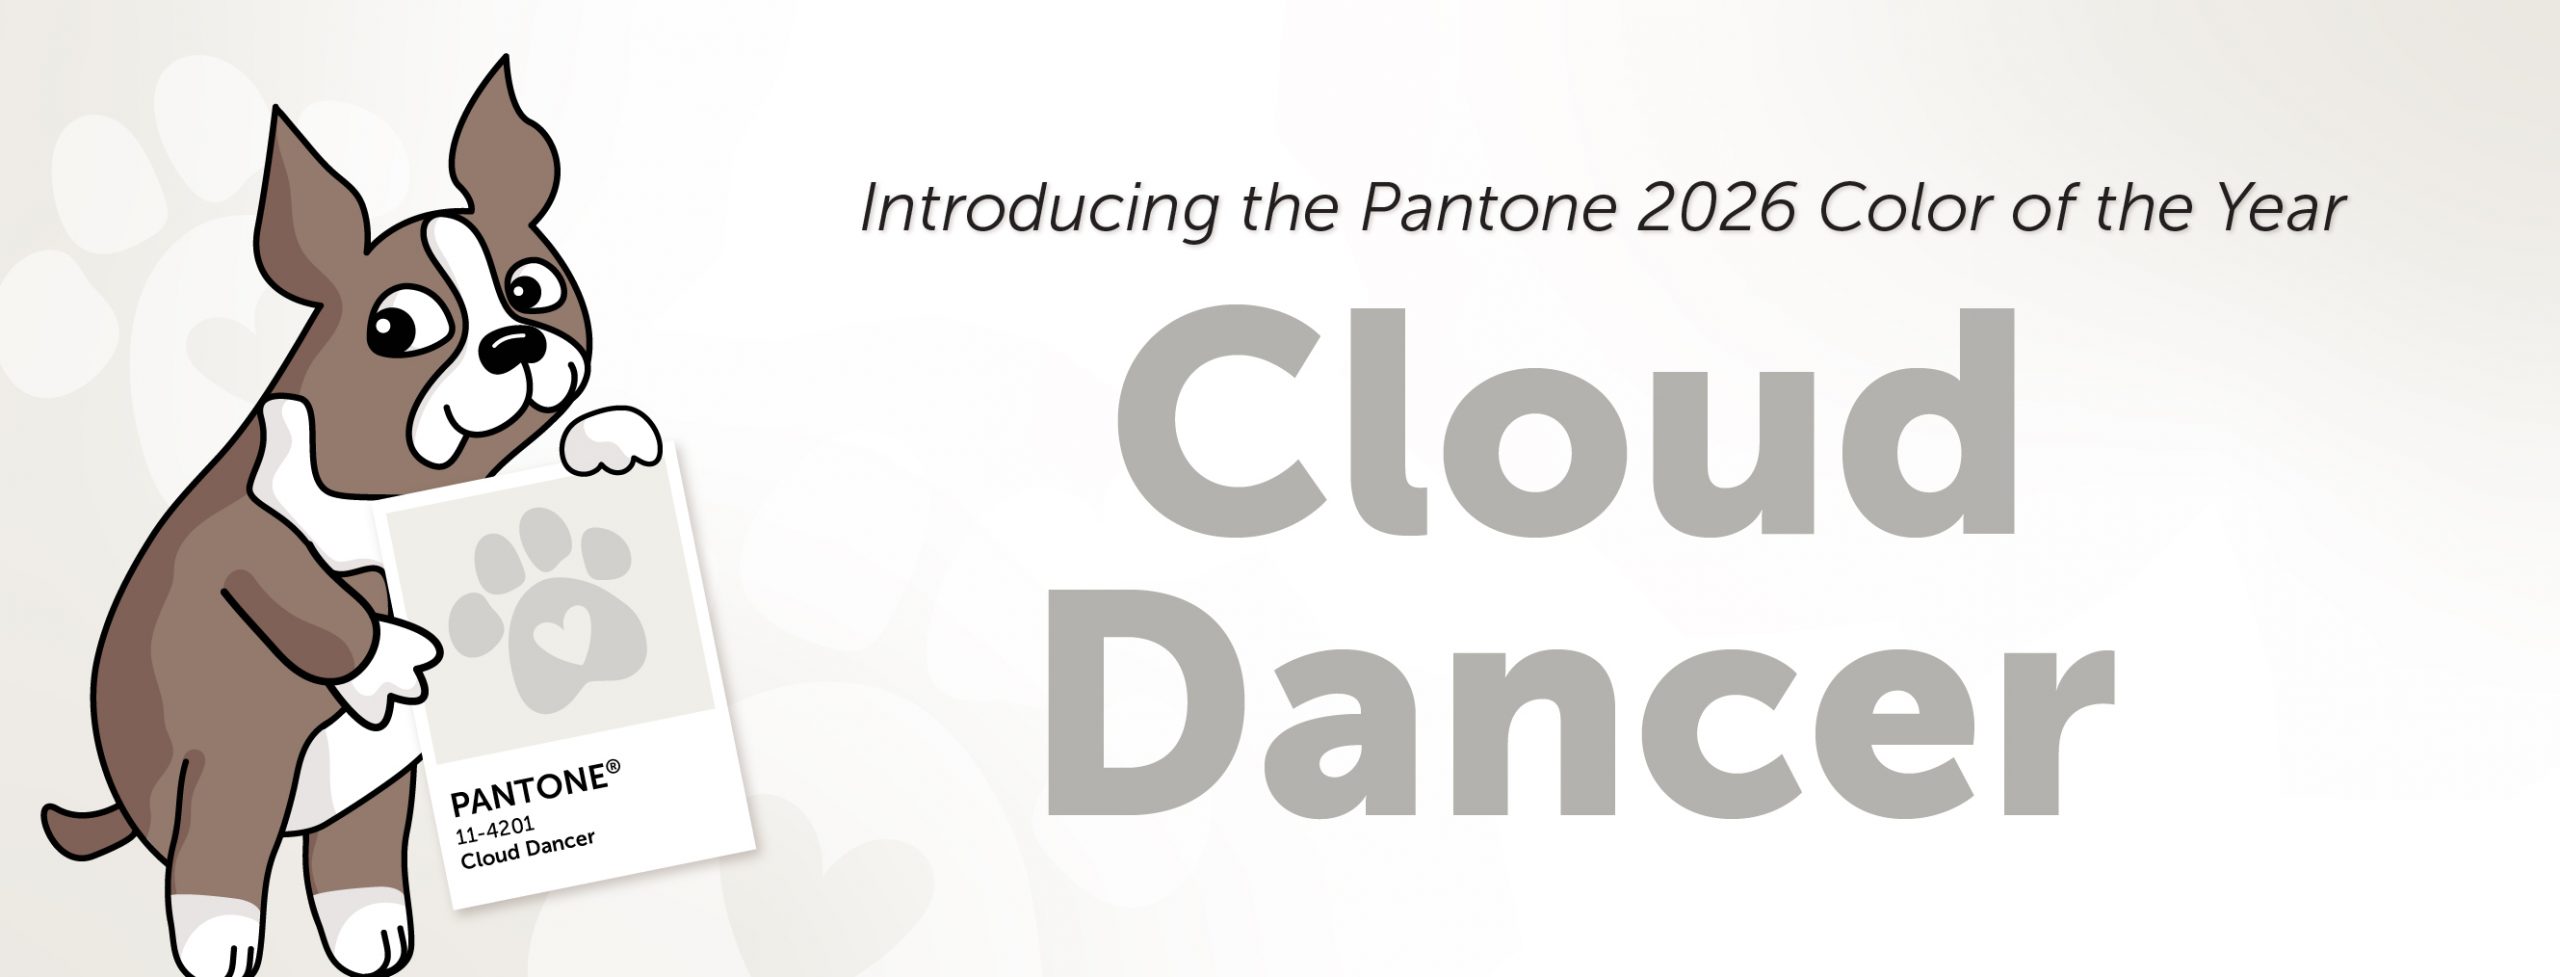
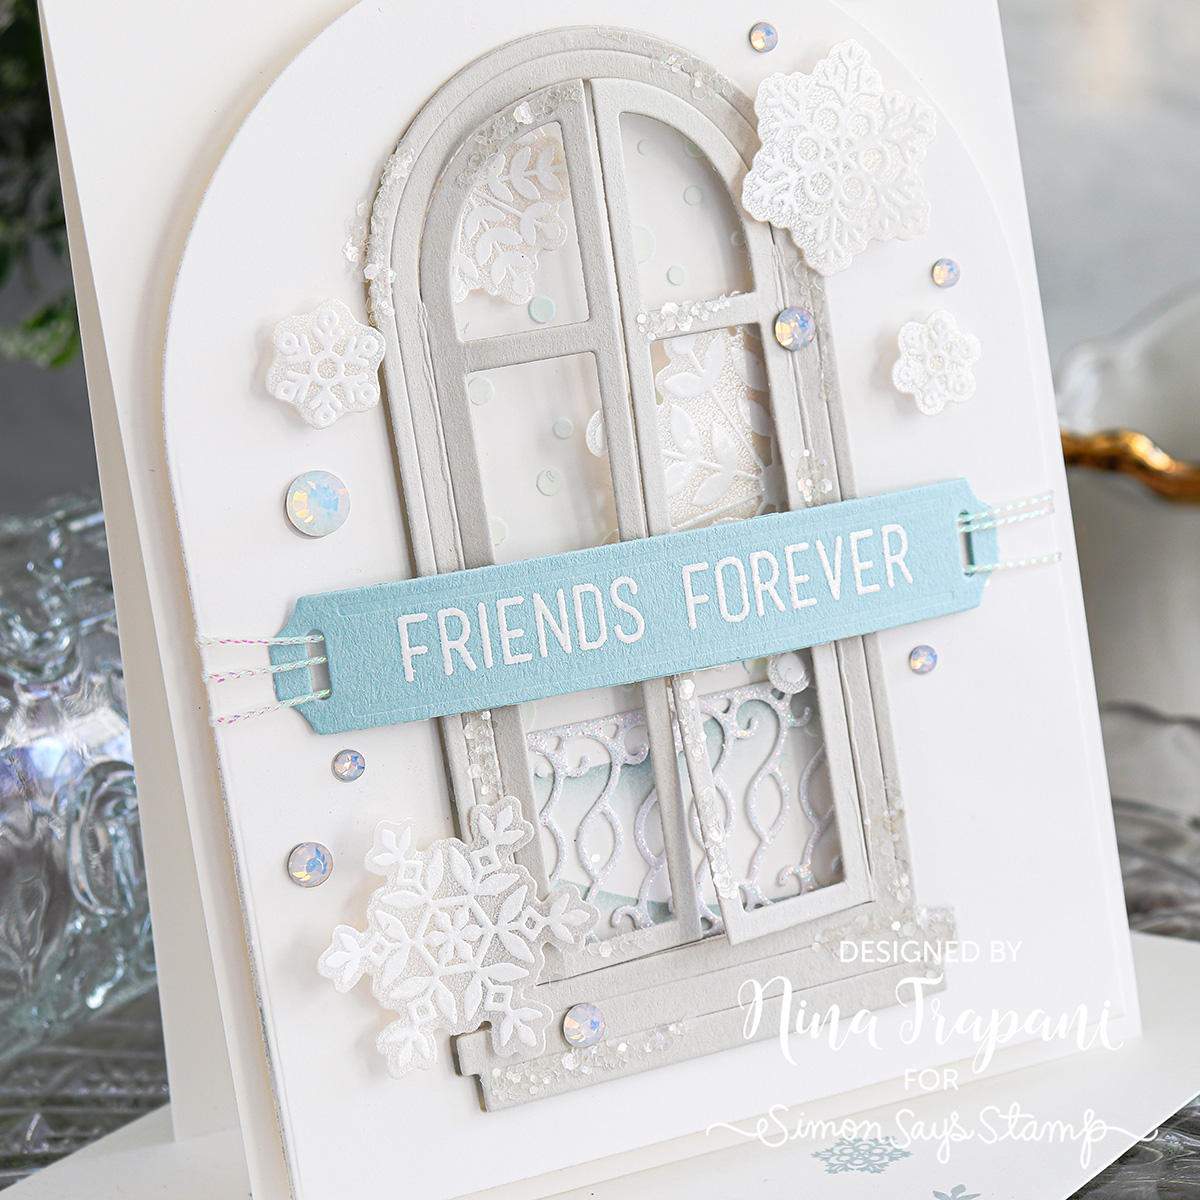
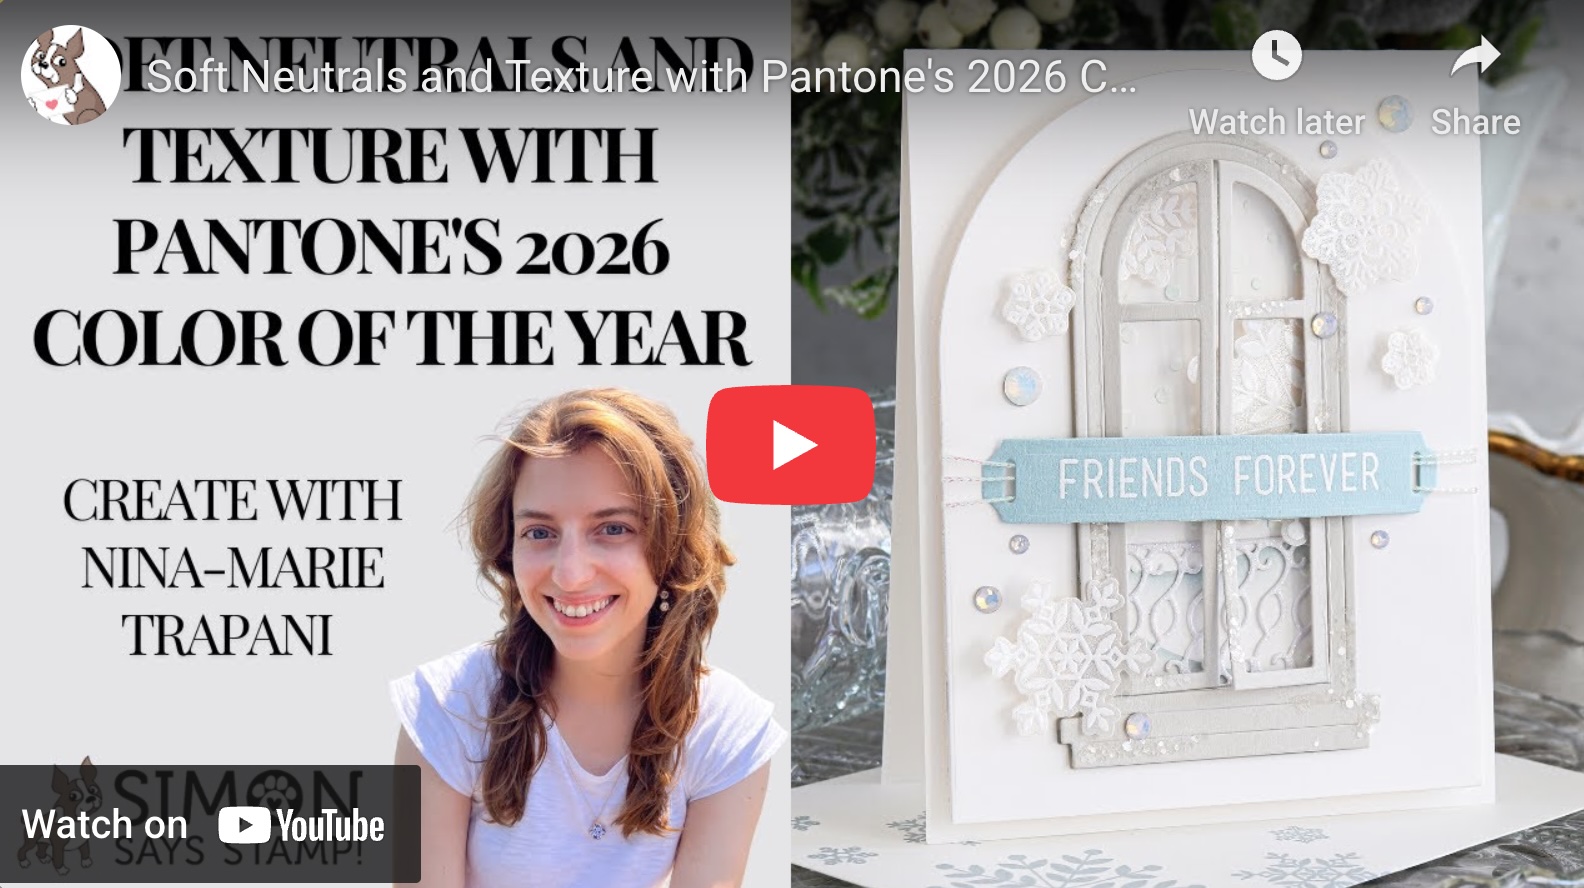
Welcome back friends, it’s Nina-Marie Trapani here with you today! Every year I enjoy sharing a project inspired by the Pantone Color of the Year. 2026 has brought us Cloud Dancer—it evokes quiet beauty, offering a light, airy foundation that lets texture and detail shine! I was excited to stretch my creative muscles and focus my project on exactly that.
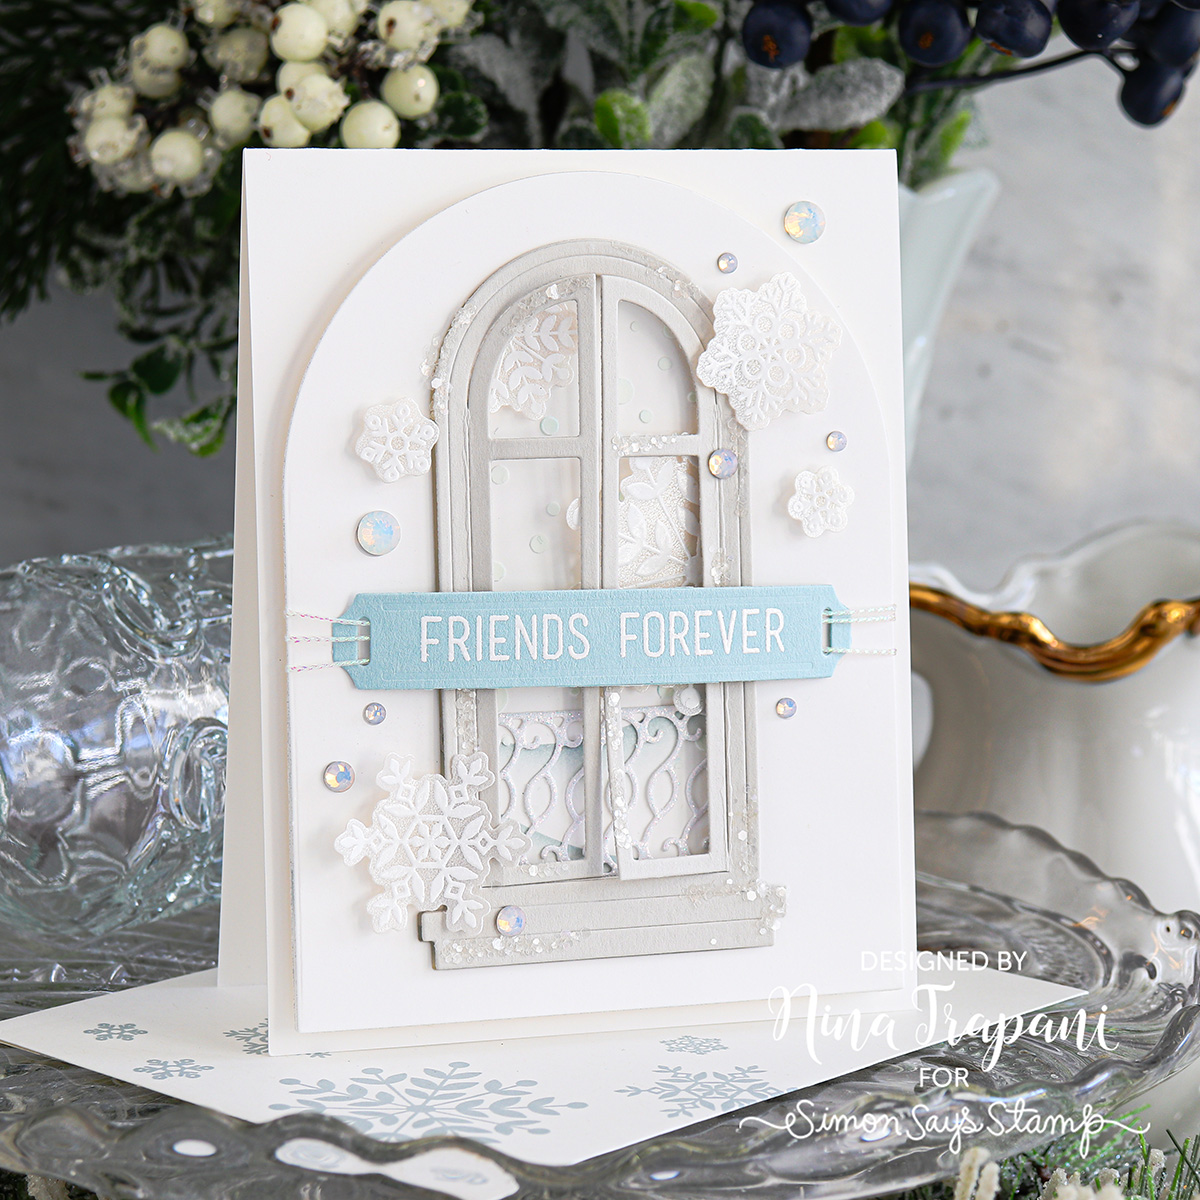
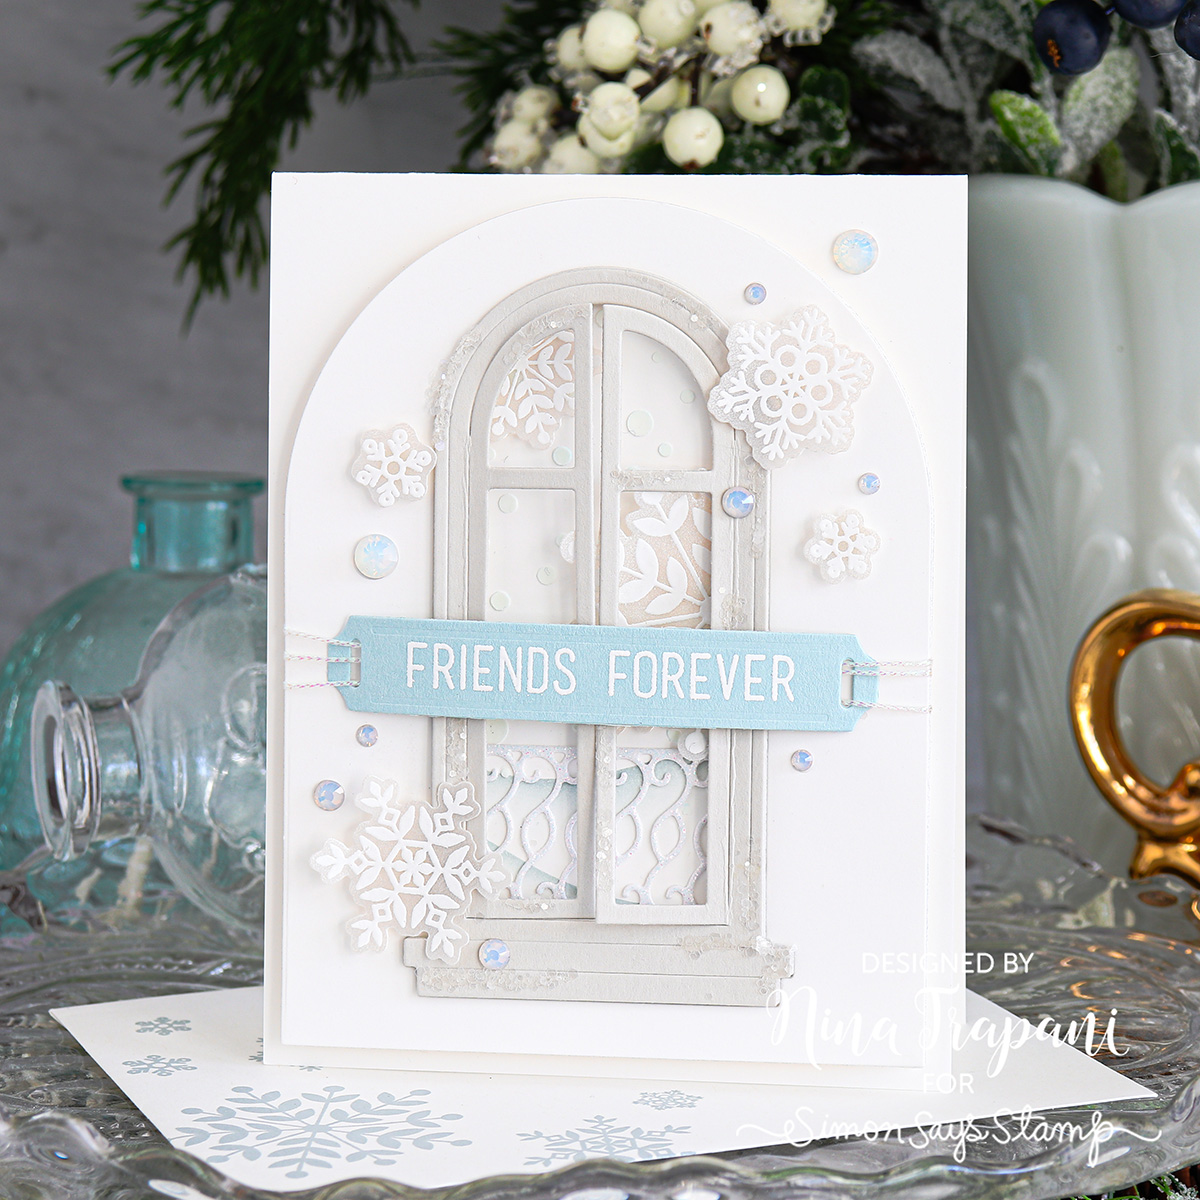
I used many products from our Simon Says Stamp exclusive collection—the Lots of Snowflakes stamp and die set, the Balcony Windows dies, the Label Slides Love and Friendship stamp and die set, as well as the Snowfall and Banks stencil.
Utilizing those pieces, I added texture and detail with things such as Tim Holtz Texture Paste, Rock Candy Chunky Glitter, Opal Dazzling Gems, Iridescent cording, and even Shimmer Vellum as the base for my stamped and embossed snowflakes!
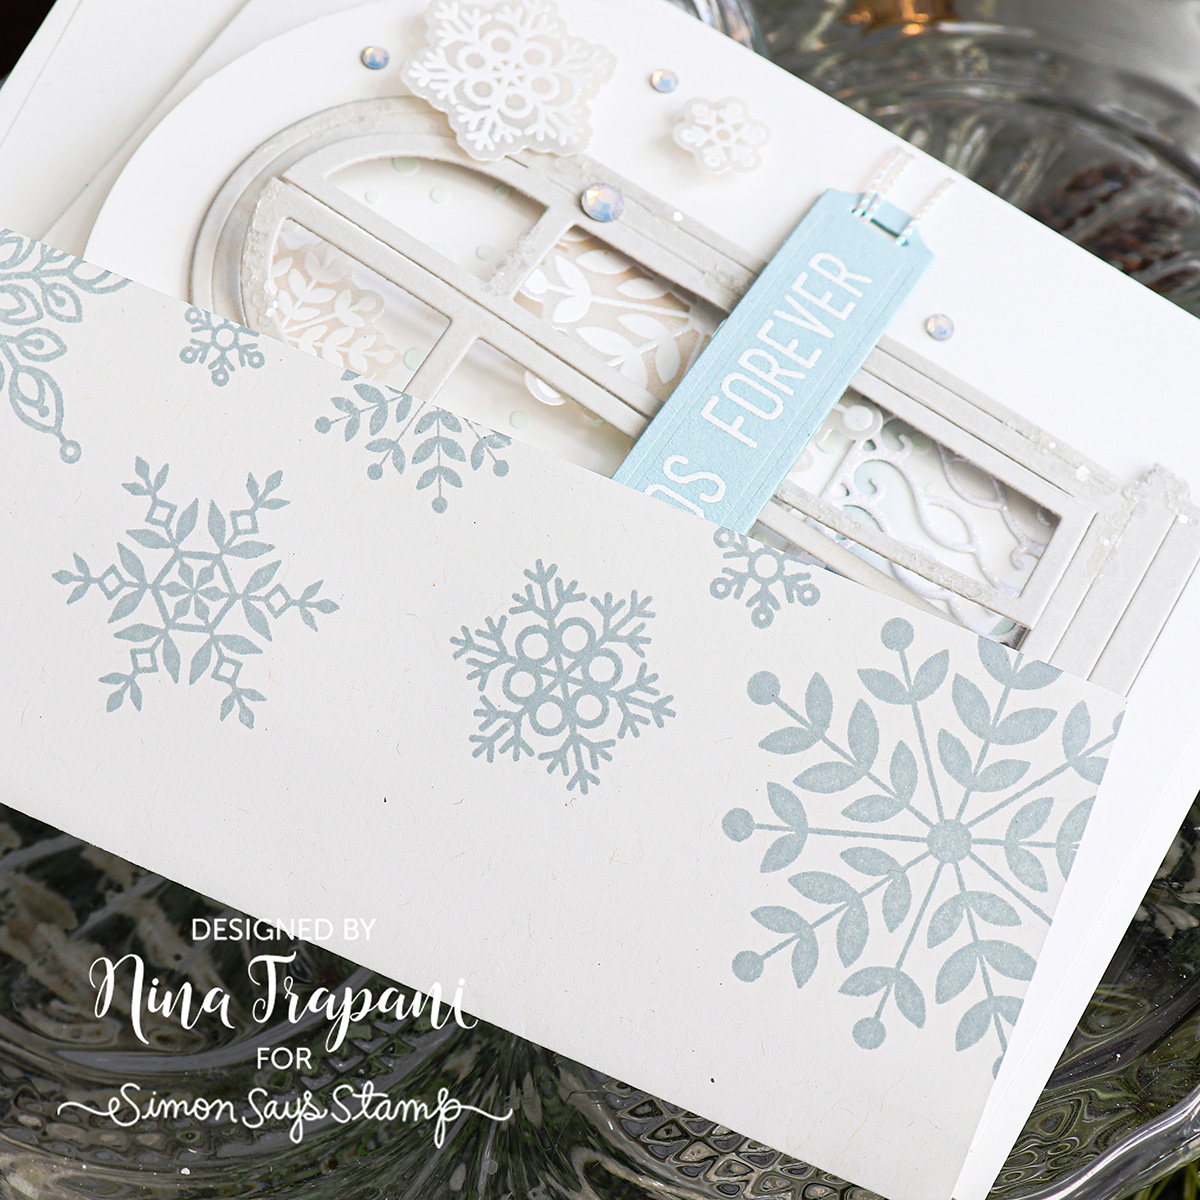
The card also has a coordinating envelope that I stamped with the Lots of Snowflakes stamp set, which really ties the whole project together.
It can be an inspiring exercise to base your project on a specific color and let the simplicity of it highlight the fantastic details you add for embellishment. I hope you will watch the video below to see this project come together!
WATCH THE VIDEO
SUPPLIES
|
Heart to Heart Blog Hop WINNERS
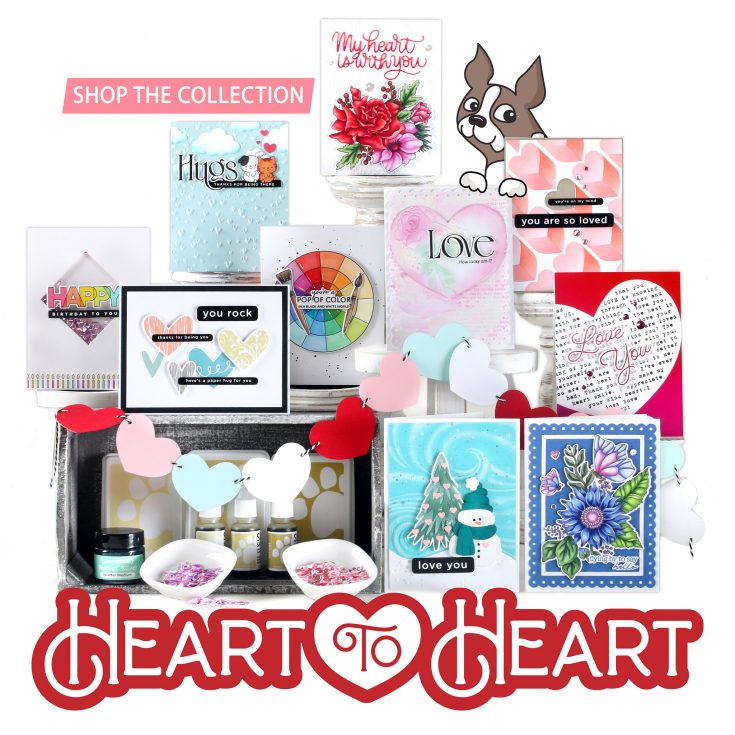
Hello, friends! We hope you are loving our Heart to Heart release!
To celebrate this incredible release, we hosted two amazing blog hops! The hops featured many talented designers and each one created wonderful projects to inspire you. If you missed either of the hops, you can find the direct links here: DAY ONE and DAY TWO.
A BIG thank you to all of YOU who joined us for the hops! We enjoy hearing from each of you, and your words of encouragement and appreciation to each of the designers mean so much to us here at Simon and to them. It’s our tradition to give away gift certificates to random commenters on each blog stop, and today we are revealing all of the winners! So without further ado, I present to you our winners!
from Simon Says Stamp’s blog: Kristen Snoozy!
from Nina-Marie Trapani’s blog: Tee Hall!
from Heather Hoffman’s blog: Rochelle!
from Suzy Plantamura’s blog: Selena Bennett!
from Jennifer McGuire’s blog: Margarita Navarro-Rivera!
from Laura Bassen’s blog: Lora Knudsen!
from Mindy Eggen’s blog: Kathy Dumpert!
from Anne Fiene’s blog: Virginia Folsom!
from Jessica Vasher’s blog: Jenn Borjeson!
from Revati Panickar’s blog: Rebecca Stevenson!
from Amy Rysavy’s blog: Amy M Troska!
from Kim Hamilton’s blog: Anna Given!
from Anna-Karin Evaldsson’s blog: Berina RGA!
from Simon Says Stamp’s blog: Danielle Tetreault!
from Nichol Spohr’s blog: Rebekka Reed!
from Barbara Tarayao’s blog: Marcia Shannon!
from Emily Midgett’s blog: Daria Z!
from Lisa Addesa’s blog: Fran Smith!
from Tina Smith’s blog: Patti Bailey!
from Keisha Charles’s blog: Beth Merrill!
from Heather Ruwe’s blog: Michele Lee!
from Barb Engler’s blog: ginger!
from Lea Lawson’s blog: Barbara-Jean K!
from Charlene Madrid’s blog: Helen Langlais!
from Maggie Haas’s blog: Kathy Eddy!
from Maura Hibbitts’s blog: Robin Mermer!
from Sandi MacIver’s blog: Jeanne Beam!
from Cathy Zielske’s blog: Sally Weinberg!
If you see your name listed above, CONGRATULATIONS! Please email [email protected] and let him know that you are one of our Heart to Heart release blog hop winners! You’ll receive a $25 Gift Card.
Thanks again for hopping along with us! We hope you enjoy our fantastic Heart to Heart release and that it gives you creative enjoyment for months to come!
We hope you will join us on Instagram on Friday, January 16, for an Instagram Hop featuring our Heart to Heart release! We are excited to share awesome ideas from several creative minds using these fantastic products.
You’ll love browsing our Heart to Heart gallery on our blog for loads of additional inspiration, and you can add your projects to these galleries as well!
Winning ROCKS, and so do you!
Card Kit Reveal and Inspiration: Be Your Beautiful Self
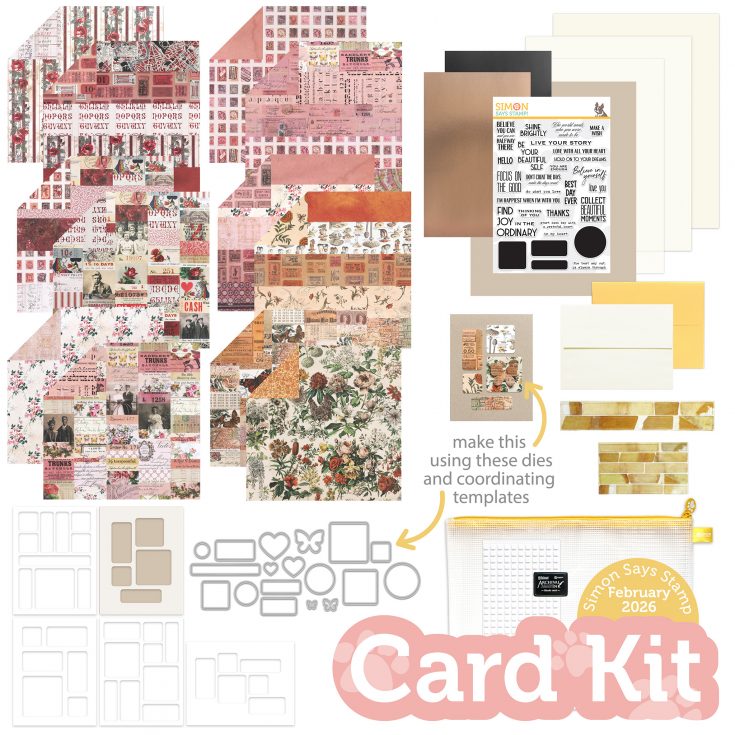
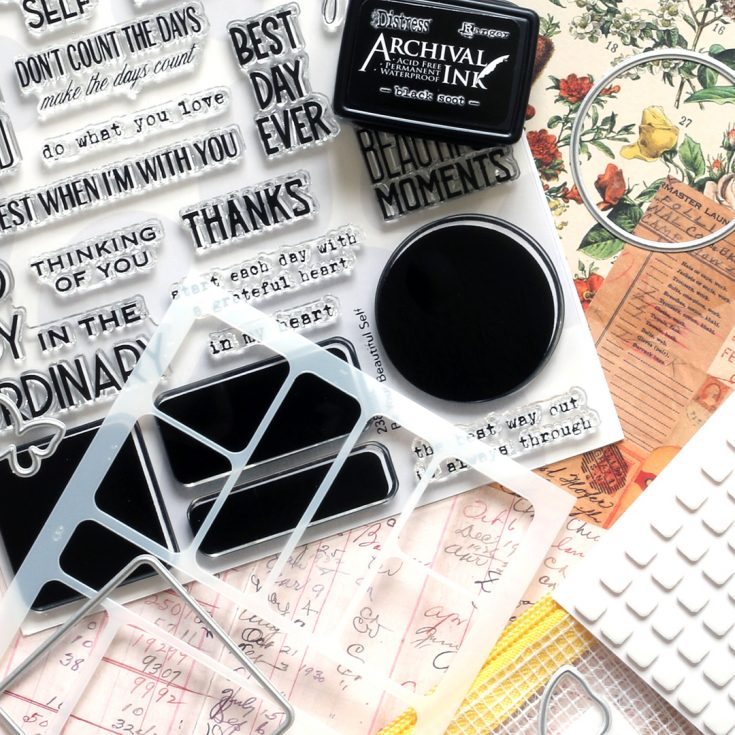
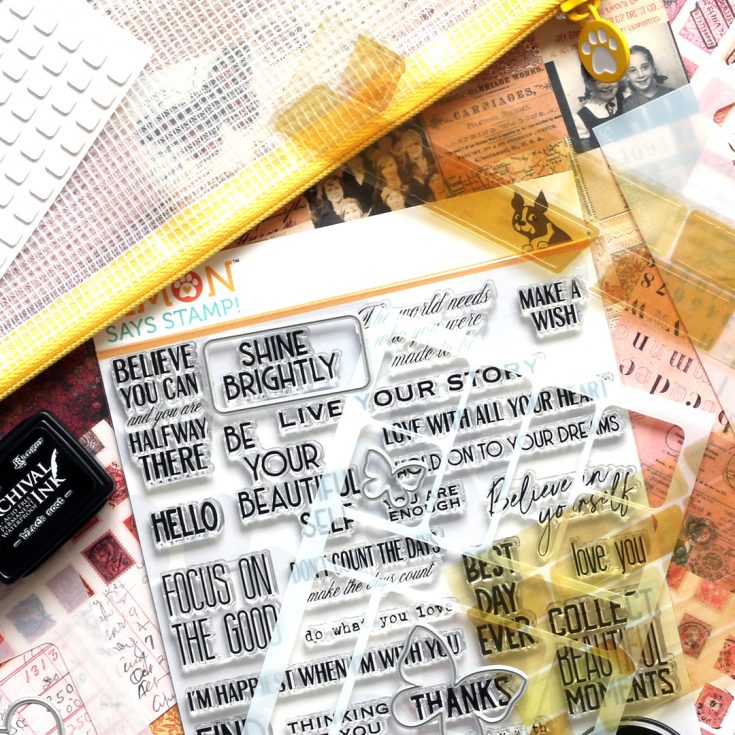
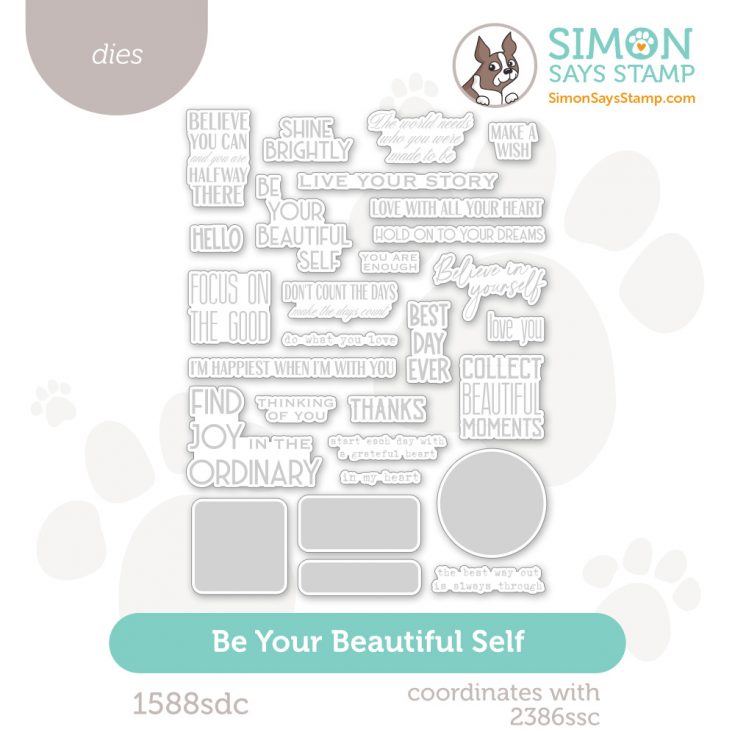
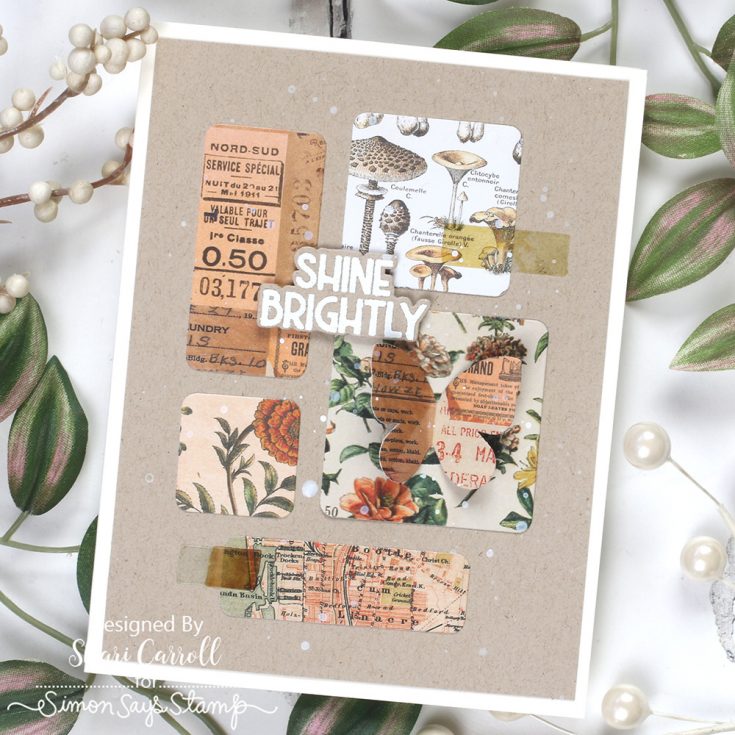
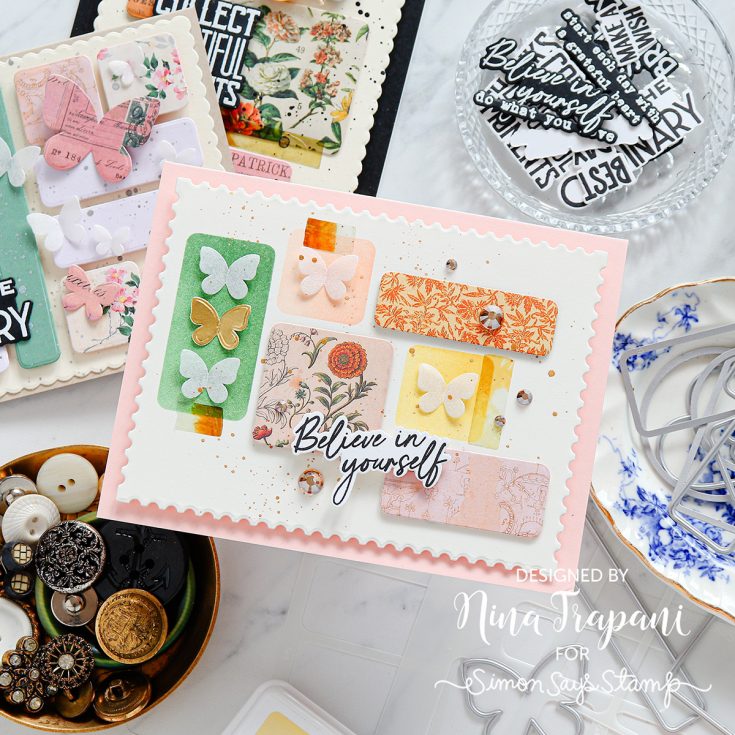
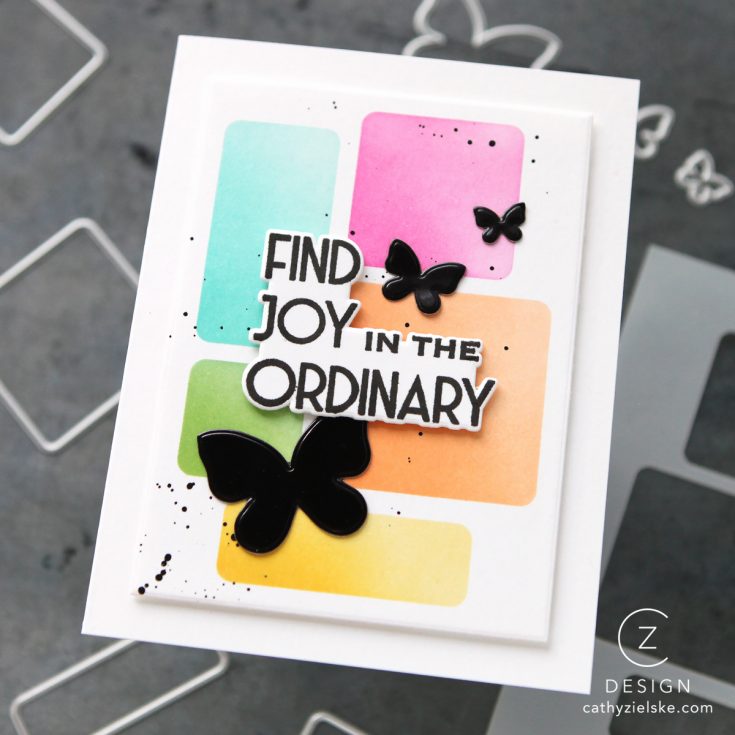
Create bold, expressive cards with this art-forward card kit designed to inspire confidence and creativity. Featuring the NEW Be Your Beautiful Self 6″ x 8″ clear stamp set and coordinating Artful Palette Layering Templates and Dies, this kit makes it easy to build modern, painterly layers with striking visual impact.
A curated mix of Tim Holtz idea-ology Curated Palette 8″ x 8″ patterned papers, metallic cardstock, vellum, and warm neutral cardstocks adds depth, texture, and versatility to every project. Finishing essentials—including a Mini Distress Archival Black Soot ink pad, cello sticker tape, adhesive squares, and coordinating envelopes—ensure you’re ready to create right out of the box.
Perfect for clean-and-simple designs or layered mixed-media looks, this kit encourages experimentation and artistic expression in every card.
WATCH THE VIDEO:

Enhance your kit with the coordinating die set (sold separately!)
Ideas to INSPIRE!
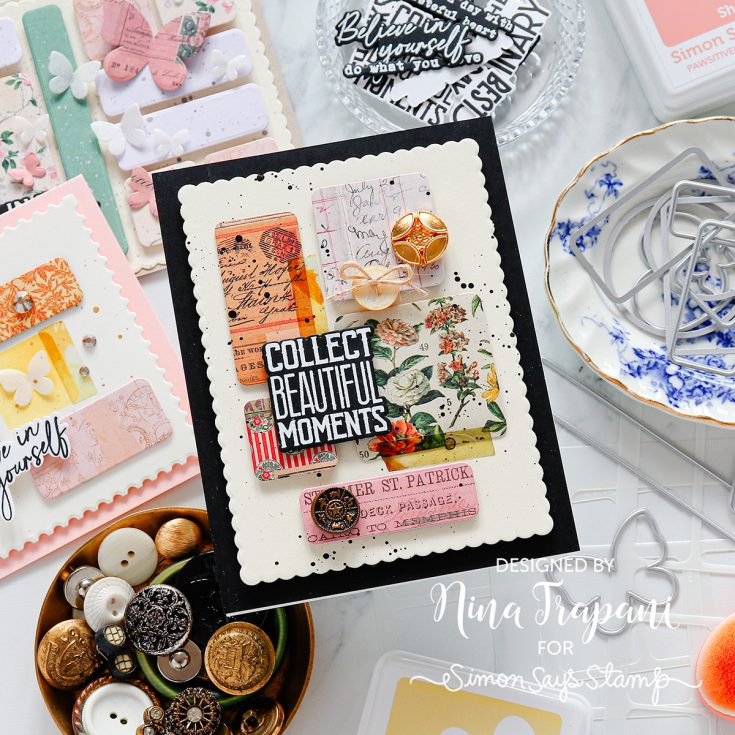
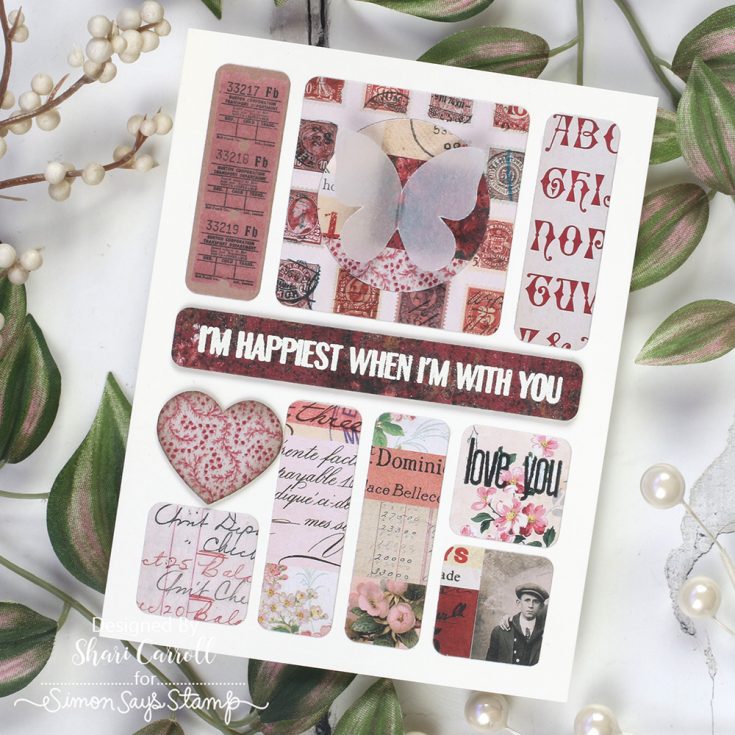
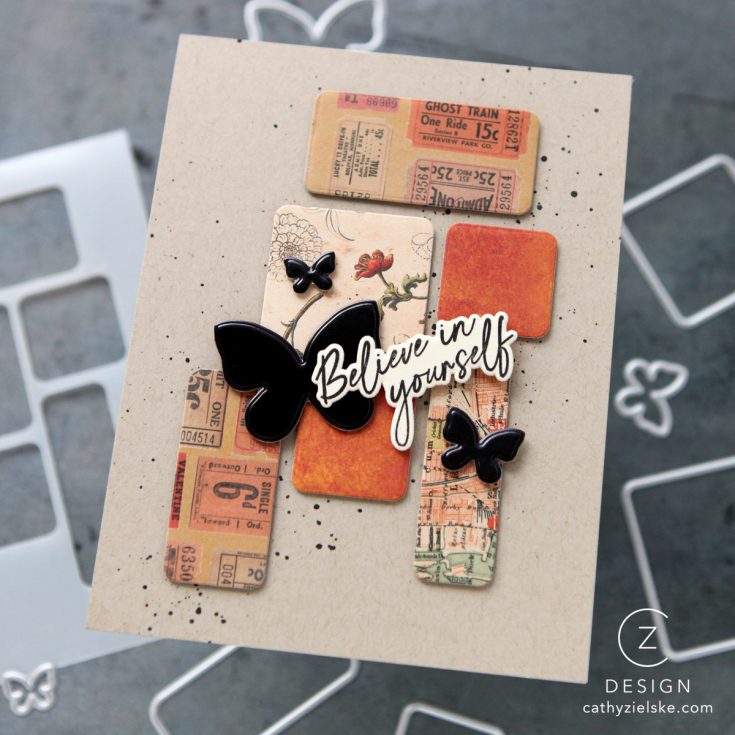
Did you know?! We’ve made our card kit subscription BETTER THAN EVER!

Here’s what makes our new service a crafting paradise:
Exciting new perk! USA Subscribers can get free shipping on their recurring subscriptions!
Free or Discounted Shipping Opportunity: Love Free Shipping? Us too!! Valued subscribers have a chance each month to receive free USA Shipping on a card kit subscription purchase! Simply login to your account, click “manage subscriptions” and add additional products to your subscription shipment so the order total is $100 or more before 11 PM ET on the 15th of the month. International customers will receive $7.99 off their cost of shipping – no code required! (Existing subscribers only)
Exclusive Access: As a subscriber, you get first dibs! Each month, you’ll get an exclusive sneak peek at our new kit, with the option to add more coordinating items to your cart, including handy replenishable supplies, all shipped together for your convenience.
Hassle-Free Payments: Say goodbye to monthly billings! Our automated system smoothly charges your preferred card, ensuring an uninterrupted flow of crafty goodness – unless you decide to pause, of course!
$5 Off Magic: Enjoy a special $5 discount off our kit’s retail price, exclusive to our beloved subscribers – no codes needed, just automatic savings!
Crafting Inspirations: Dive into a sea of creative ideas monthly, all tailored around your kit, to keep your inspiration flowing endlessly.
Flexibility First: Fear of commitment? Not here! Our subscription is as flexible as it gets – pause or cancel anytime, no strings attached.
Why wait? Step into the realm of our NEW Simon Says Stamp Monthly Card Kit service. Welcome a box full of crafting marvels, right to your doorstep. Craft with ease and let creativity come to you!
Ready to elevate your craft? Subscribe Now and open the doors to boundless creativity!
We’re thrilled to have you in our crafting community and can’t wait to embark on this renewed creative adventure together!


