Try this: Highlighted Shaker! Studio Monday with Nina-Marie

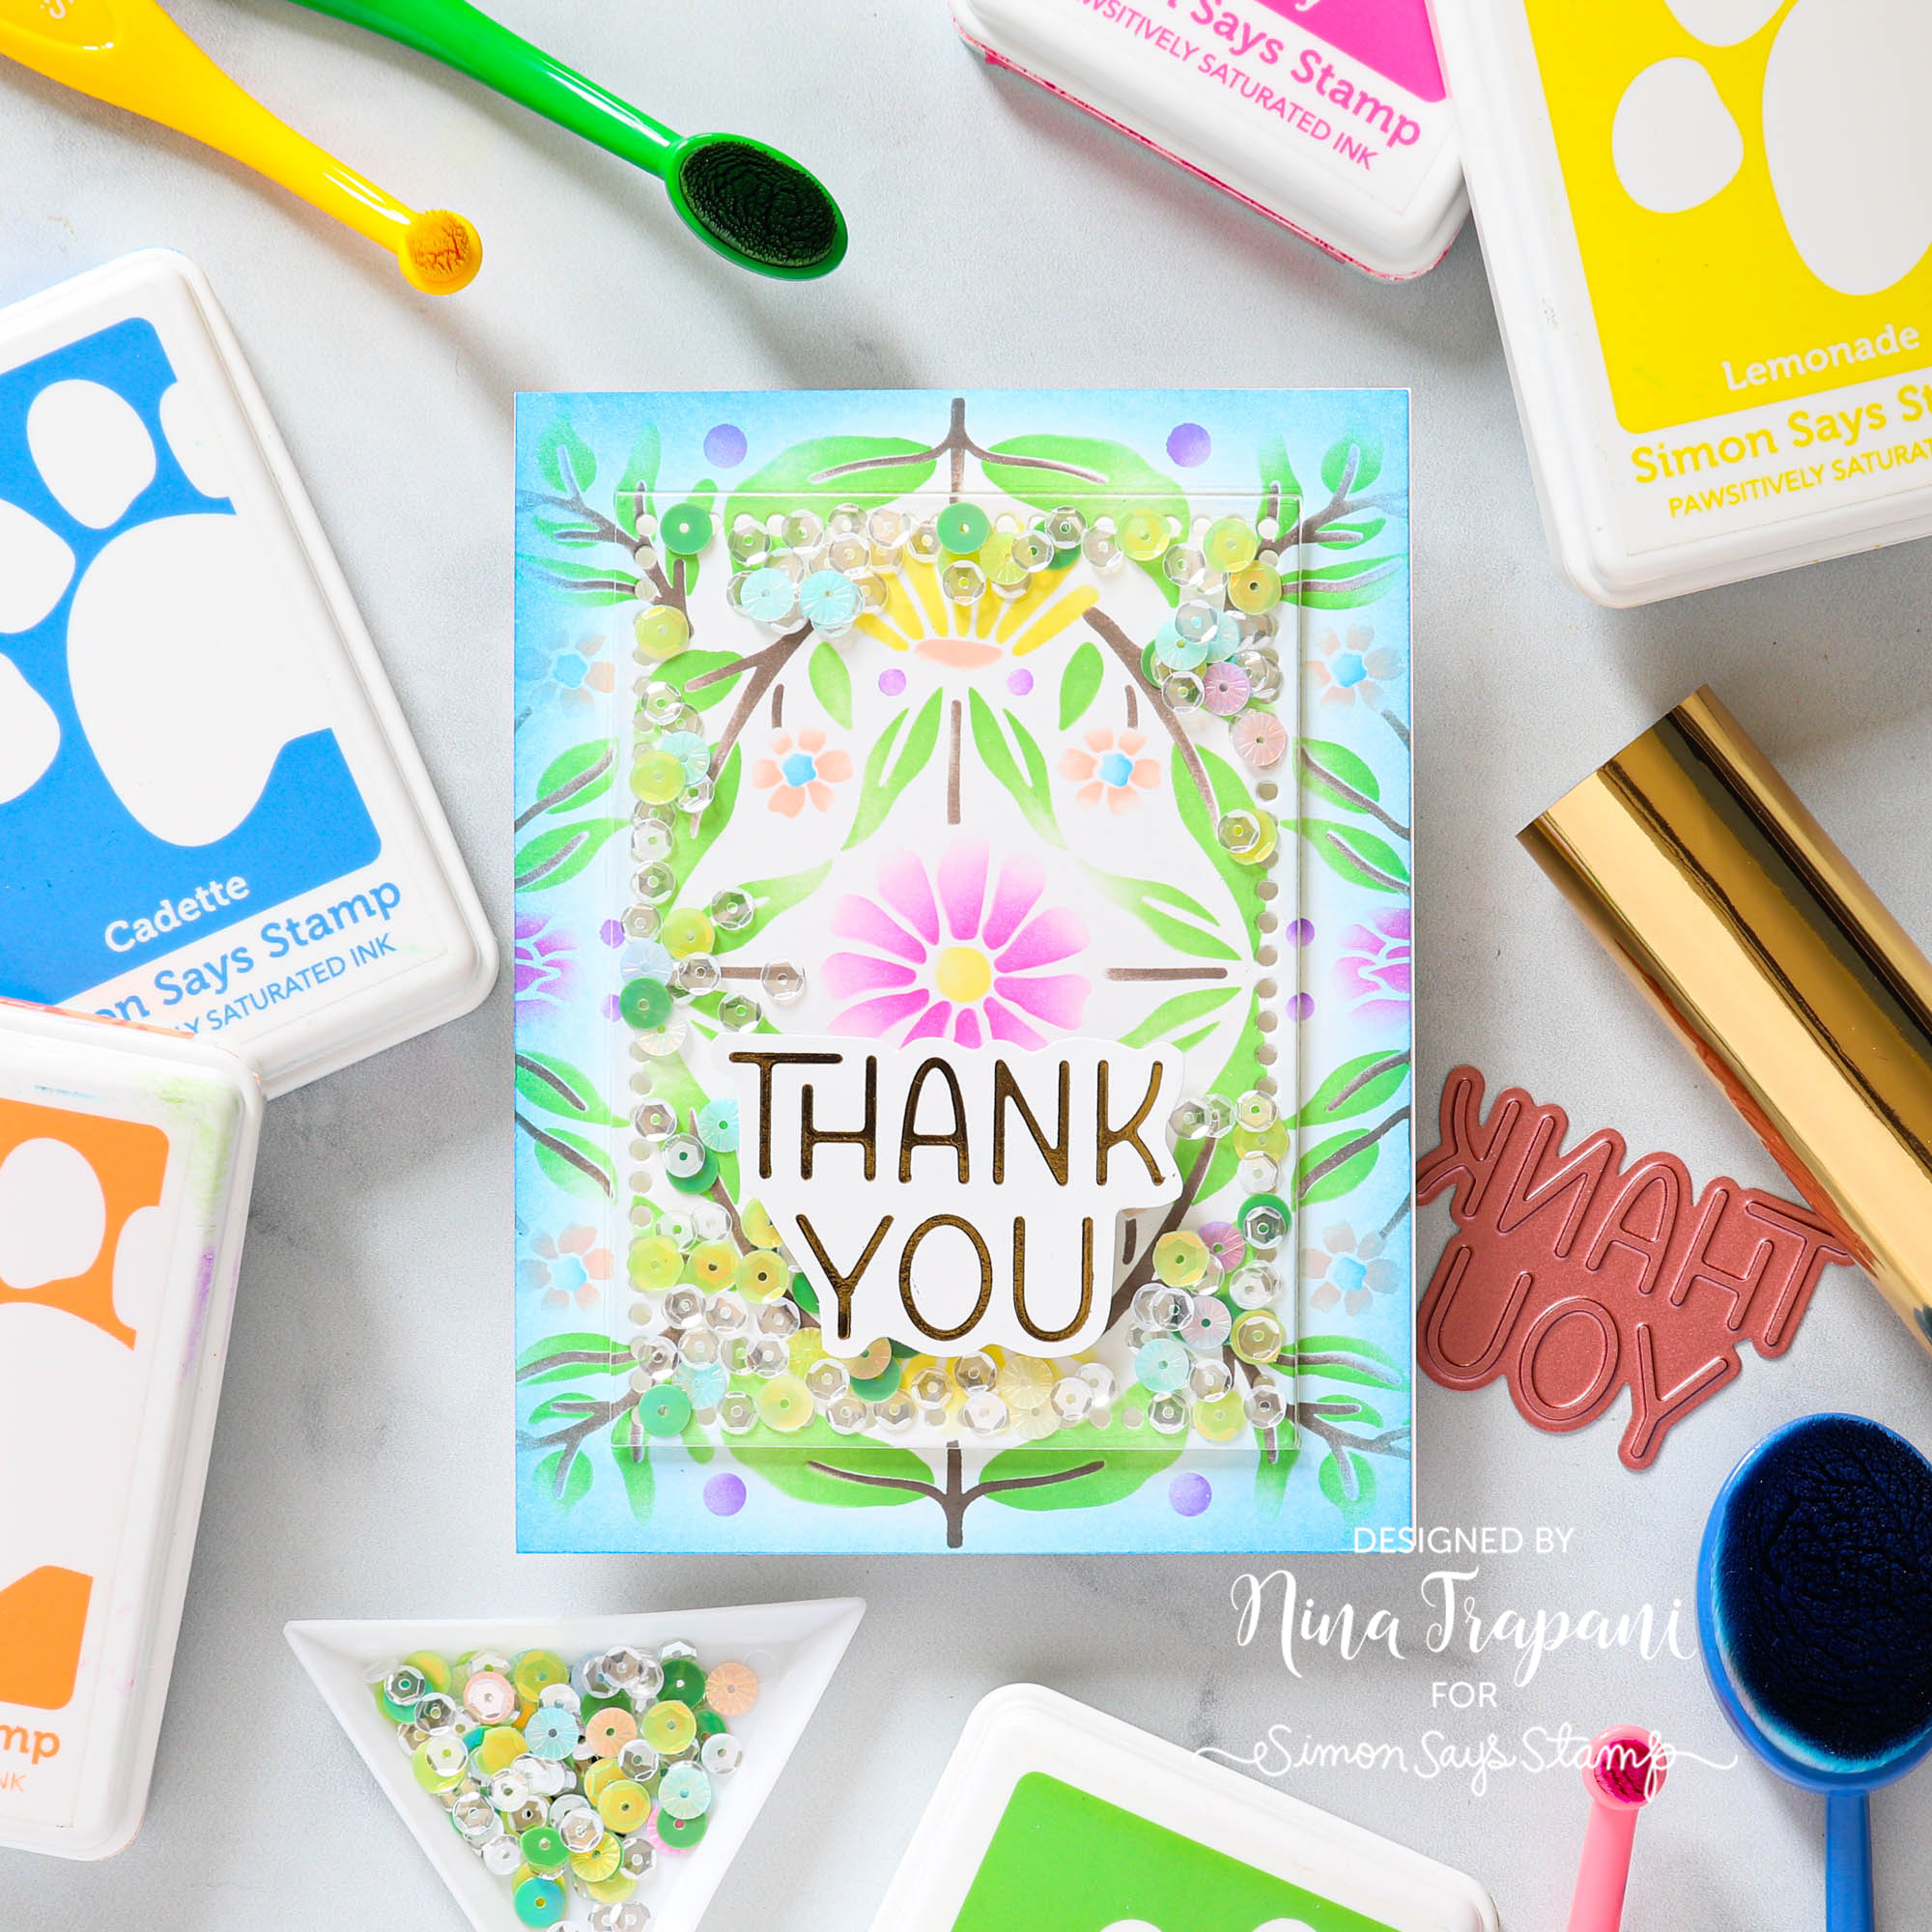
Hello friends, its Nina-Marie Trapani here with you! Today I am sharing a fun twist to an edge-to-edge shaker by taking an entire background and only using a portion of it to make the shaker. This highlights the center portion but still continues the beautiful design across the card!

In this project I used products from Honey Bee Stamps, including their gorgeous Folk Daisy stencils and Fall Foliage Sentiments Foil Plates. The foiled greeting adds such an elegant finish to the card!
Want to see how I made this project? Be sure to watch the video below for all the details!
WATCH THE VIDEO
SUPPLIES
|


Gilded Rainbow Butterflies Hello Card: Making the Cut


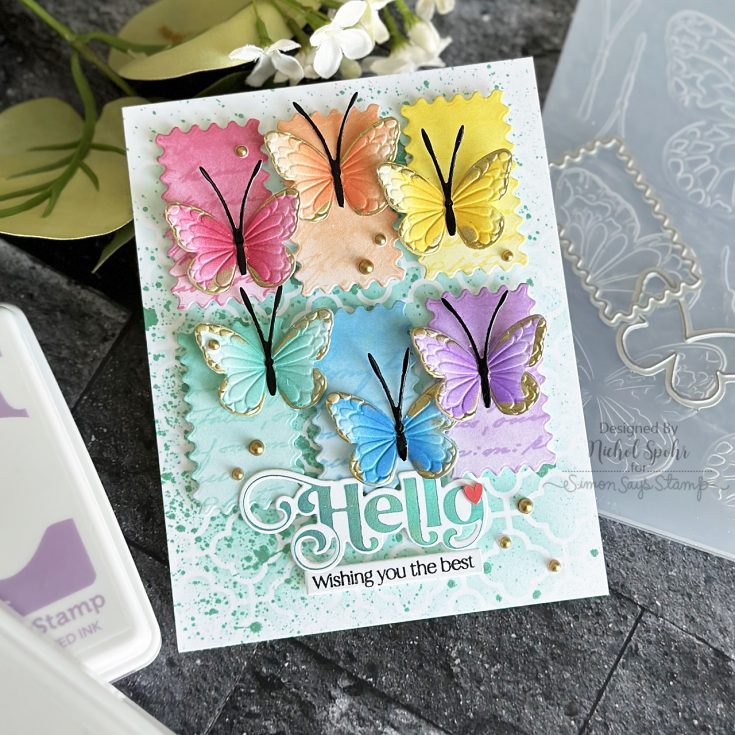
Hi friends! Happy Sunday! Please join me in welcoming back special guest Nichol Spohr to our blog with this gorgeous gilded rainbow butterfly card in our monthly Making the Cut blog series that highlights the love of die cutting! Isn’t this card gorgeous? I am just loving how Nichol combined our Graceful Butterfly Embossing Folder and die set and our Modern Postage Stamp Rectangles die set for this stunning design! Other beautiful items highlighted in this card are our Elegantly Modern Greetings Hot Foil Plate and wafer dies, as well as the tried and true Tin Tile stencil as well as our Old Letter cling stamp! Be sure to watch the video for all the details, and enjoy!
WATCH THE VIDEO:
SUPPLIES:
|


Thanks so much for stopping by, and to Nichol for being our guest!

Hello Honey!! Super cute Lawn Fawn card by Chari Moss!
Hi friends! Happy Saturday! I’m delighted to welcome back special guest Chari Moss today representing Lawn Fawn read on to learn more about this super cute card!
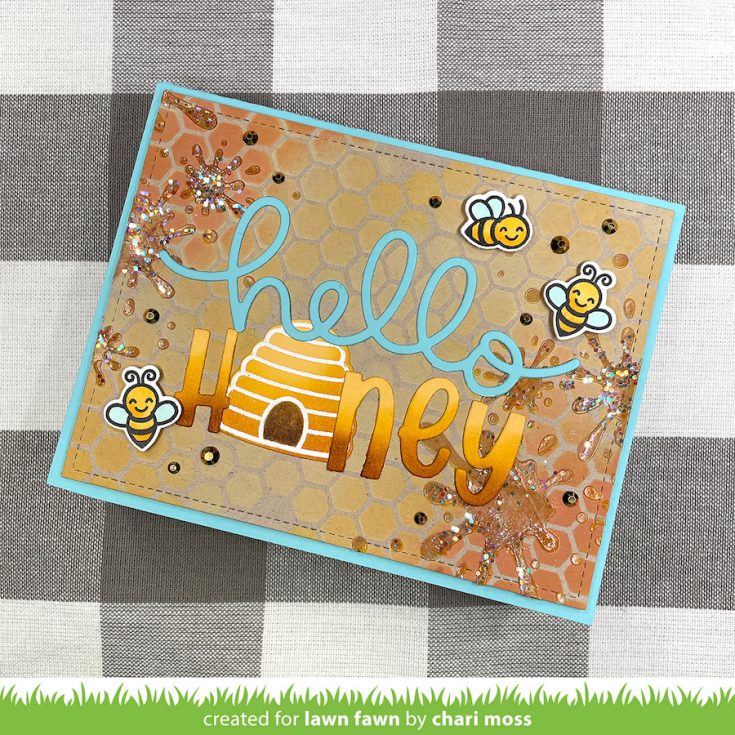
Hello Crafty Friends! Today I am sharing a fun card with some new products from Lawn Fawn. On today’s card I am mixing lots of products and techniques so let’s get started! First I created my background on a die cut rectangle of Kraft cardstock.
I used the Honeycomb Stencil to ink my background with distress oxide inks in scattered straw, wild honey and rusty hinge. Next I created some honey splatters around the edges. I started with tea dye distress ink through the Lawn Fawn Paint Splatter Background stencil. Then I layered clear stencil paste over top to create sticky, shiny honey. Before the paste dried I sprinkled on some chunky glitter and prisma glitter to make it sparkle.
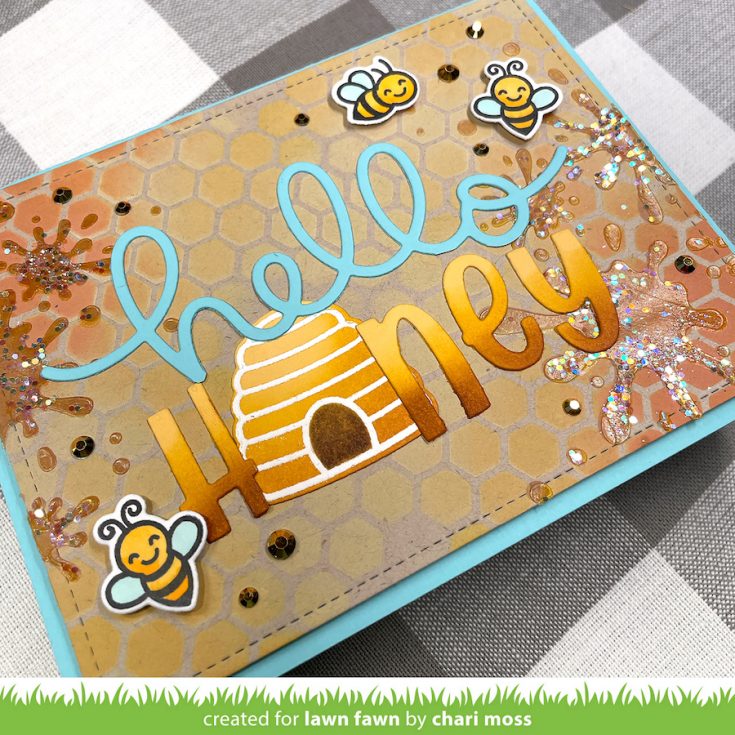
While my honey was drying I die cut my sentiment. The sentiment is a mixture of the scripty “hello” from the Giant Hello Sunshine die and Henry’s ABCs. The hello is cut from Mermaid cardstock with the bottom word trimmed off. The other letters are cut from Sunflower cardstock with ink blending on the bottom using fossilized amber, tea dye, and vintage photo distress inks. For the “O” I white embossed the bee hive from Hive Five on sunflower cardstock and added ink blending as well to match the letters.
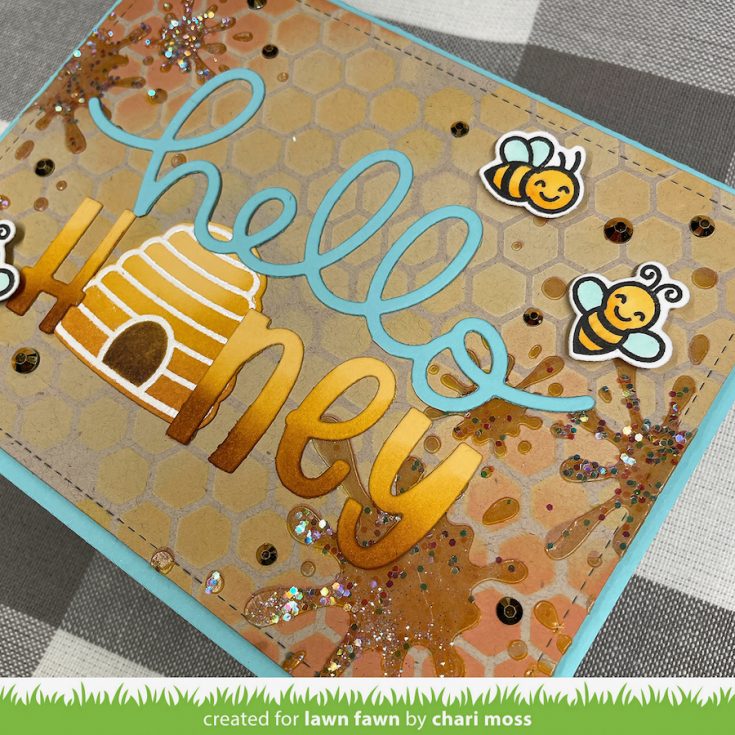
I adhered the honeycomb panel to a Mermaid cardstock card base and glued my sentiment directly to the background. Then I added a few bees from Hive Five, popped up on foam squares and finished it off with some Studio Katia gold crystals. I love how this card turned out! The stenciling with the shiny honey is so fun and I really like the mix of fonts for the sentiment. Thanks so much for joining me today!
SUPPLIES:
|


Thanks so much for stopping by, and thanks to Chari for being our guest!


