Sending Happiness: New Hero Arts!
Hi friends! Happy Monday! Please join me in welcoming special guest Dana Joy with this gorgeous and Summery card design showcasing brand new products from Hero Arts! Read on to learn more and enjoy!
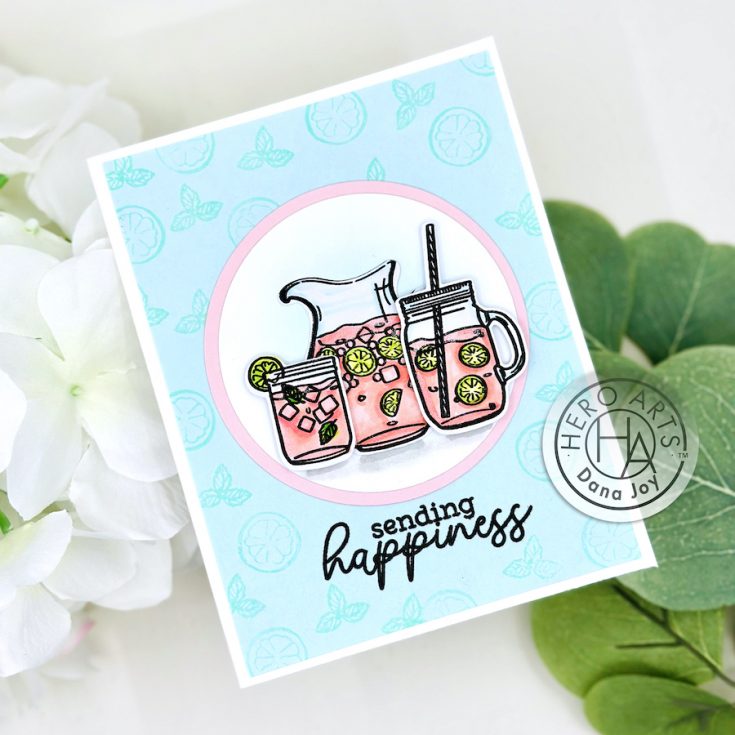
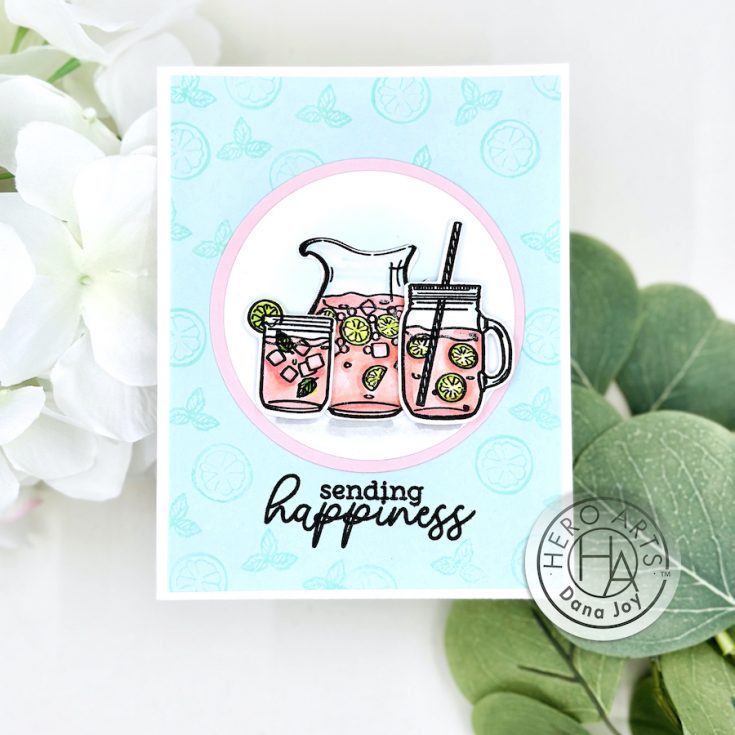
Who’s ready for summer? The newly released Hero Arts Lemonade Day stamp set and bundle make beautiful summer ready cards. Inspiration for my card comes from the refreshing summer taste of pink lemonade! Ahhh such a great summer drink. Growing up I can remember standing on the kitchen stool helping my Mom whip up a pitcher of lemonade. These days (since I’m fully grown), I like to whip up my pink lemonade with a few pours of a nice rum accented with lemons or lime slices and mint.
Summer colors that spoke to me were Hero Arts Peony, Arctic, Dove White and a splash of black. The images on the card were colored using Copic markers and die cut using the coordinating fancy dies. My lemonade needed some sparkle. I know, I know lemonade doesn’t sparkle but when on a card, it shall do just that by using a glitter pen in a few areas. Within the stamp set, there are a few supporting images such as tiny citrus fruit and mint stamps. These images work perfectly to fill in a background on a card panel. A great tip when creating these background designs, keep the color monochromatic by using the same color ink pad and cardstock. This will help it not compete with your main focal point.
Also by placing the colored image onto a white circle lightly blending with ink makes a great landing spot for your main image. By layering that circle onto a nested circle in pink really pulls the colors throughout the card. And don’t forget to pop up a few of those images for dimension. Using a light grey Copic marker under the images will also help ground everything nicely. A simply sentiment under the main image finishes off the card.
Here’s to a summer of cool drinks and days at the beach. I hope I’ve inspired you to mix up your own batch of pink lemonade. Drink responsibly friends. LOL Have a wonderful day everyone.
SUPPLIES:
|


Thanks so much for stopping by, and thanks to Dana for being our guest!
What Do You Put on the Inside of Your Card? Yippee for Yana

Hi friends! Please join me in welcoming back the oh-so-talented and amazing Yana Smakula! (Please note: our dear friend Yana is Ukrainian. To show support to our brothers and sisters in Ukraine, please see Yana’s post HERE.)
Hello, crafters, this is Yana Smakula for Simon Says stamp! Welcome back for another Yippee For Yana video!
What do you do on the inside of your card? Truth be told, I rarely do anything and I just keep it boring and blank. But this time I challenged myself to continue the card design from the front to the inside of my card! I hope you’ll join me and create a card with a simple design repeated on the inside.

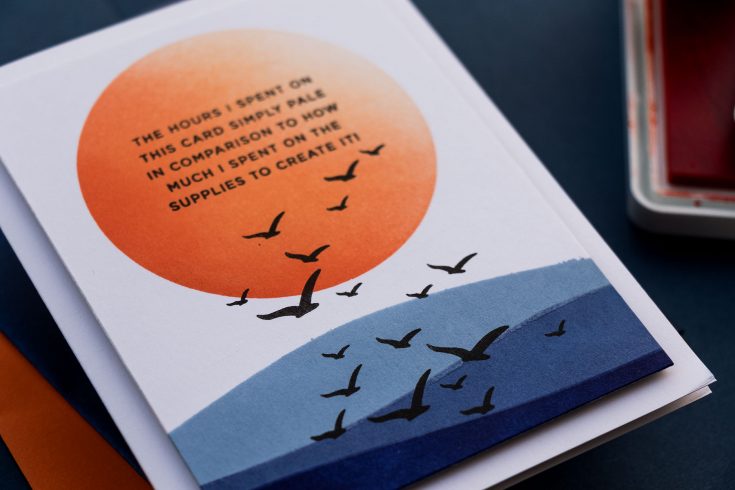
I used the circle mask from Simon Says Stamp to ink blend a sun using 3 shades of orange ink – Cantaloupe, Sherbet, and Mandarin. Next, I used the Horizon Line stencil, this stencil has a brilliant design, you can simply slide your cardstock panel into or between the sections that you want to ink blend and you not only have the stencil but also the mask to protect the areas you have already blended. I used Galaxy, Twilight, and Morning to ink blend the bottom part of my panel. Next, I used a rectangle die and I trimmed this panel down.

Next, I used my mini MISTI stamping tool and stamped the sentiment in the center of the sun. I was going for a snarky card and my sentiment reads – The hours I spend on this card simply pale in comparison to how much I spend on the supplies to create it! This stamp is from Cathy Zielske, who is the master of unique and snarky sentiments! I stamped this in VersaFine Onyx black ink.
Next, I stamped a bunch of bird silhouettes – these come from 2 different stamp sets from Simon and these happen to be among my favorites, I keep going back to these sets again and again – these are the Seas and Greetings and the Your Light sets.

Next, I foam mounted this panel onto the A2 card base, I used black fun foam, I typically use white, but I’m out of white, so black it is for this card!
Now let’s talk about the inside of the card! Typically the inside is left blank, this time I challenged myself to repeat the card design on the inside and I ink-blended an identical panel.

I stamped a different sentiment, this one reads Hugs! You Are Literally My favorite and I adhered to this panel on the inside of my card and I love this result! Have fun creating!
WATCH THE VIDEO:
SUPPLIES:
|


Thanks so much for stopping by, and thanks again to Yana for being our guest!
Ways to support Ukraine:
If you are looking for ways to support Ukraine, we encourage you to visit this page on Yana’s blog:

Hawaiian Dimensional Floral Card by Caly!
Hi friends! Happy Saturday! Please join me in welcoming back special guest Caly Person with a gorgeous and Summery floral card idea featuring Lawn Fawn products! Read on to learn more and enjoy!
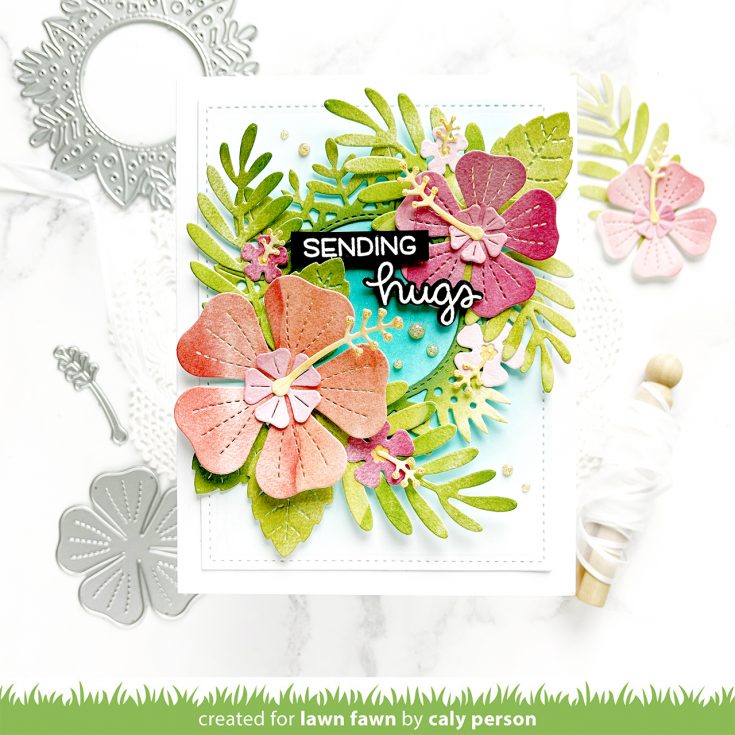
Hi friends! I hope today’s card brings you tropical summer vibes. It’s colorful and die-cut from colored cardstock – super convenient and easy to do! All the patterned paper used is from the Watercolor Wishes Petite Paper Pack.
I die-cut the Happy Hibiscus flowers using red, pink, and yellow cardstock. Then for the foliage from the Tropical Leaves and Magic Iris Tropical Leaves dies, I used green cardstock from the paper pack.
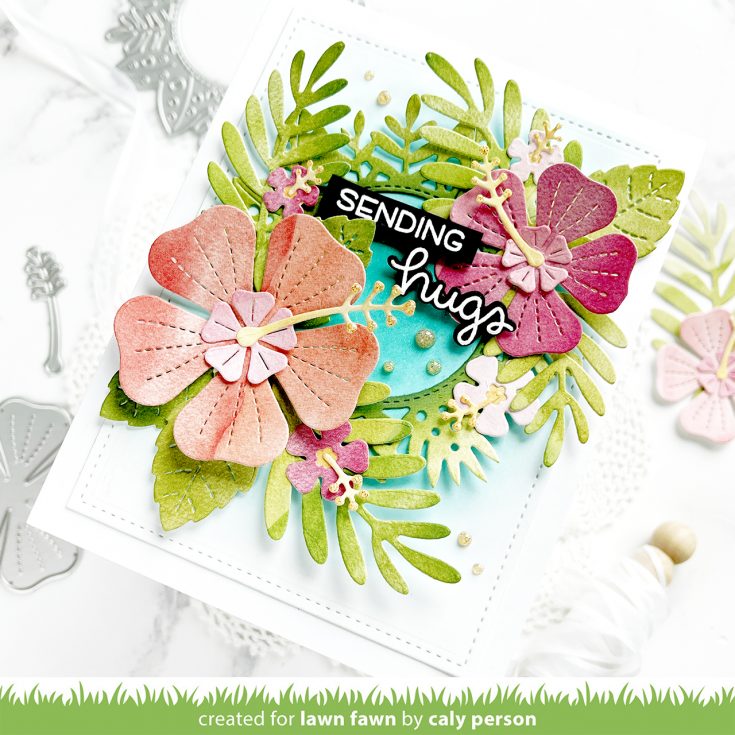
After die-cutting everything, I added some Rustic Wilderness Distress Oxide Ink to the Magic Iris Tropical Leaves die-cut to give it more color. On a white panel, I ink-blended the background with Peacock Feathers Distress Oxide Ink before die-cutting a stitched border using the largest Small Stitched Rectangle Stackable die.
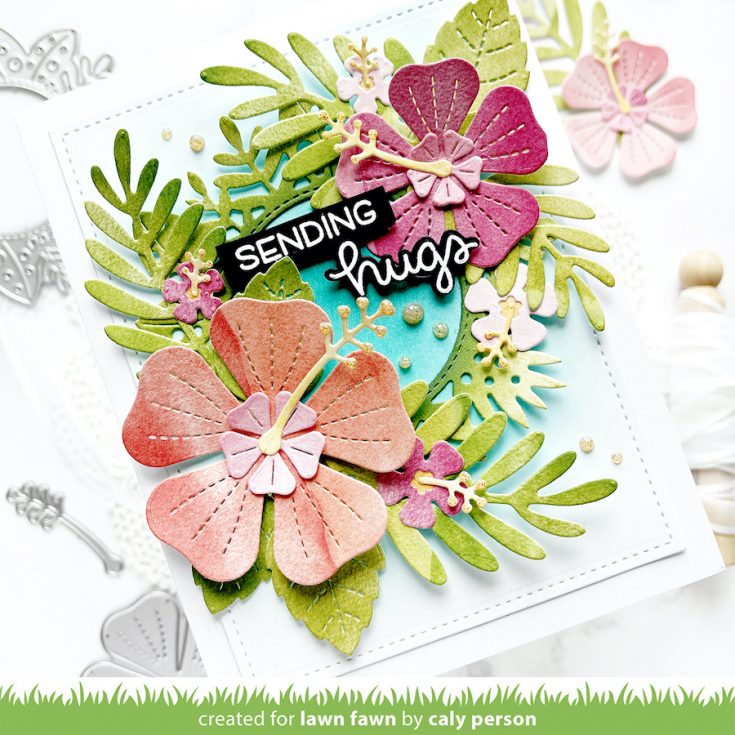
After arranging my images over the background, I embossed and die-cut my sentiments from the Long Distance Hugs set. I then finished with some sparkles by using some Nuvo Glitter Drops in Honey Gold.
SUPPLIES:
|


Thanks so much for stopping by, and thanks to Caly for being our guest!


