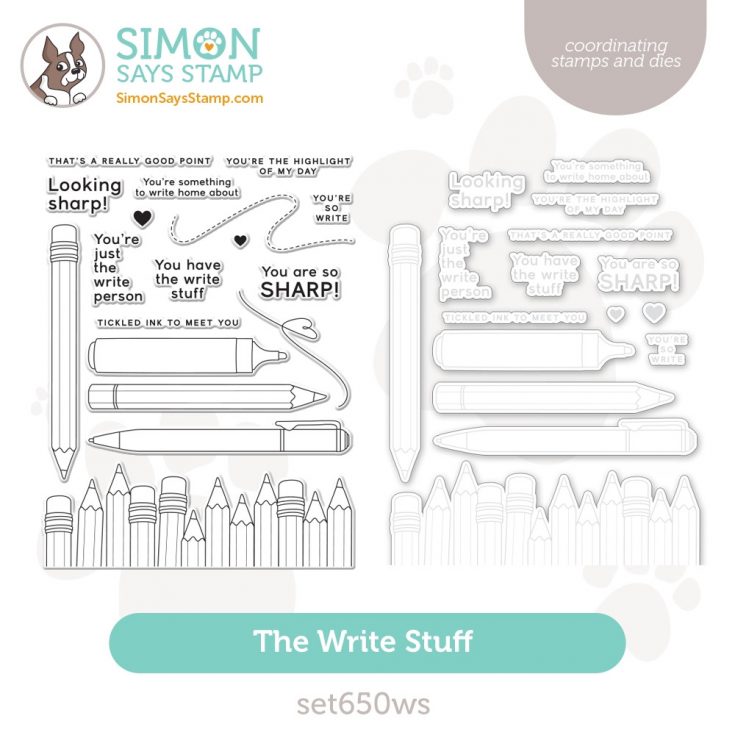
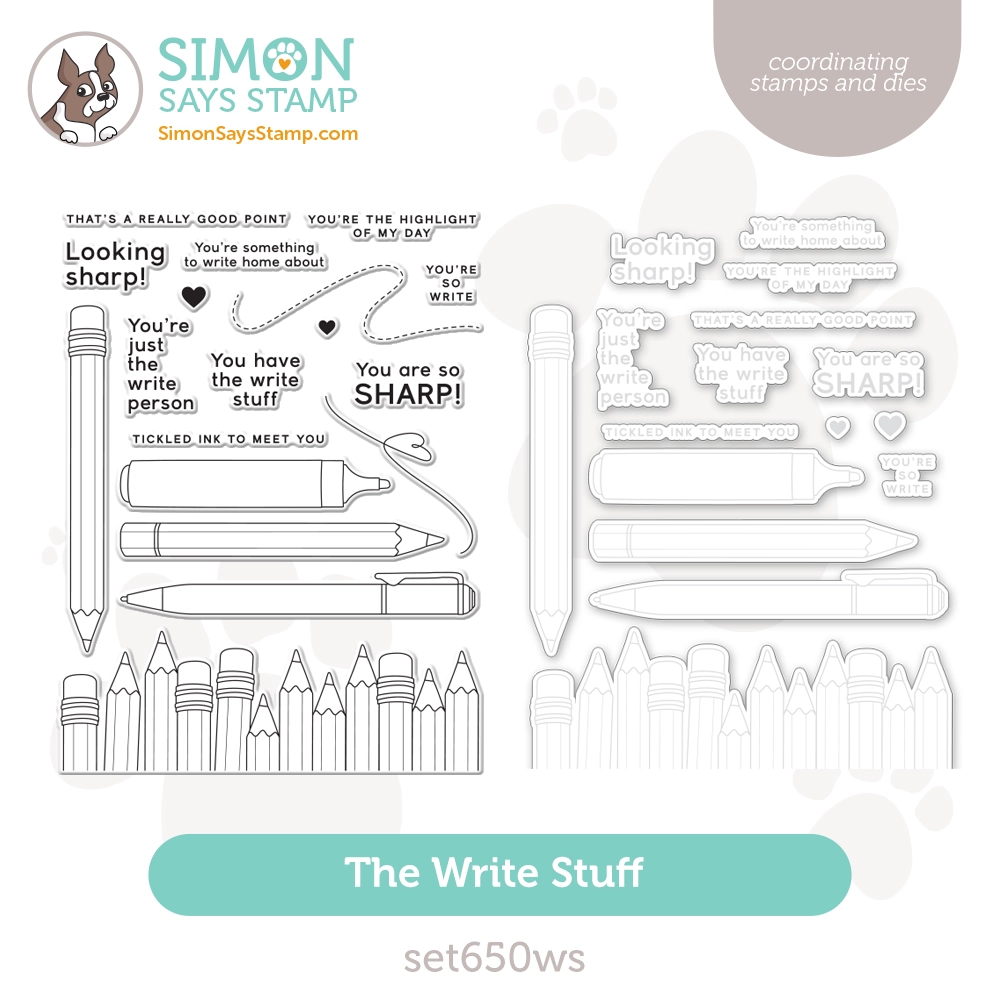
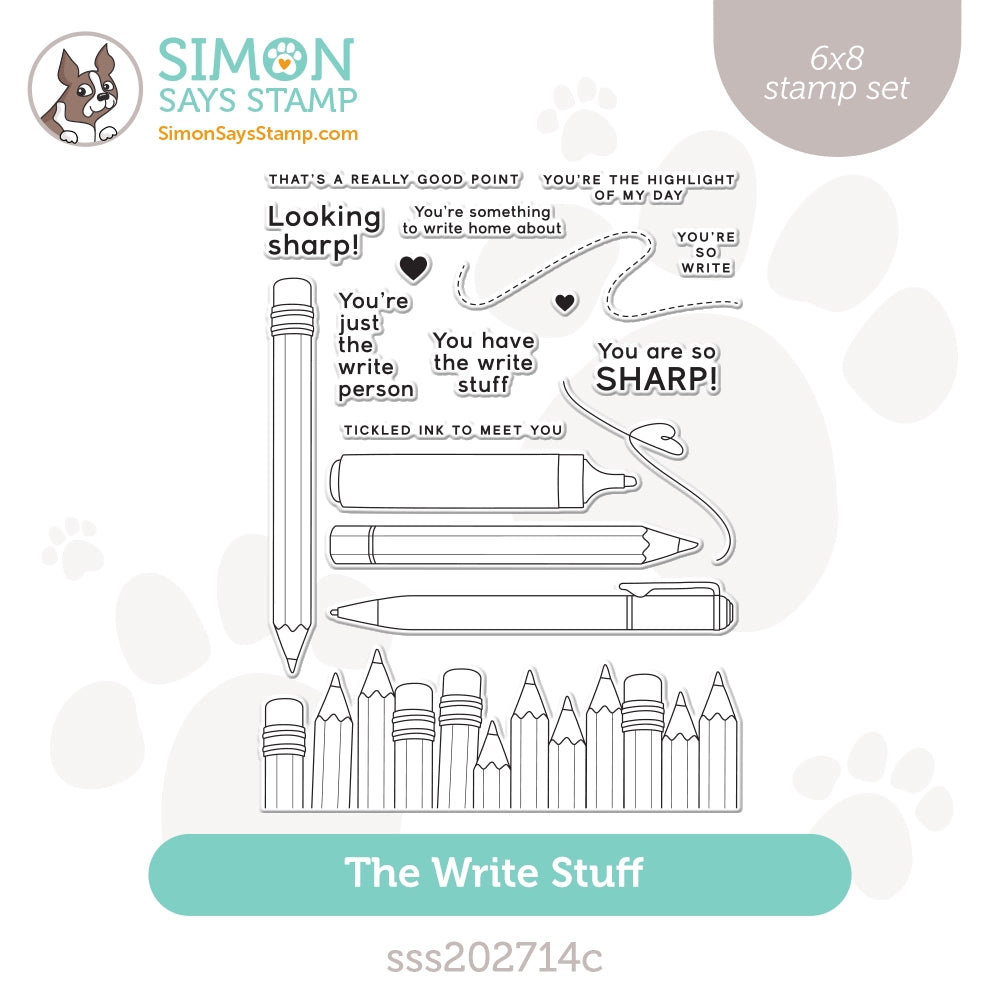
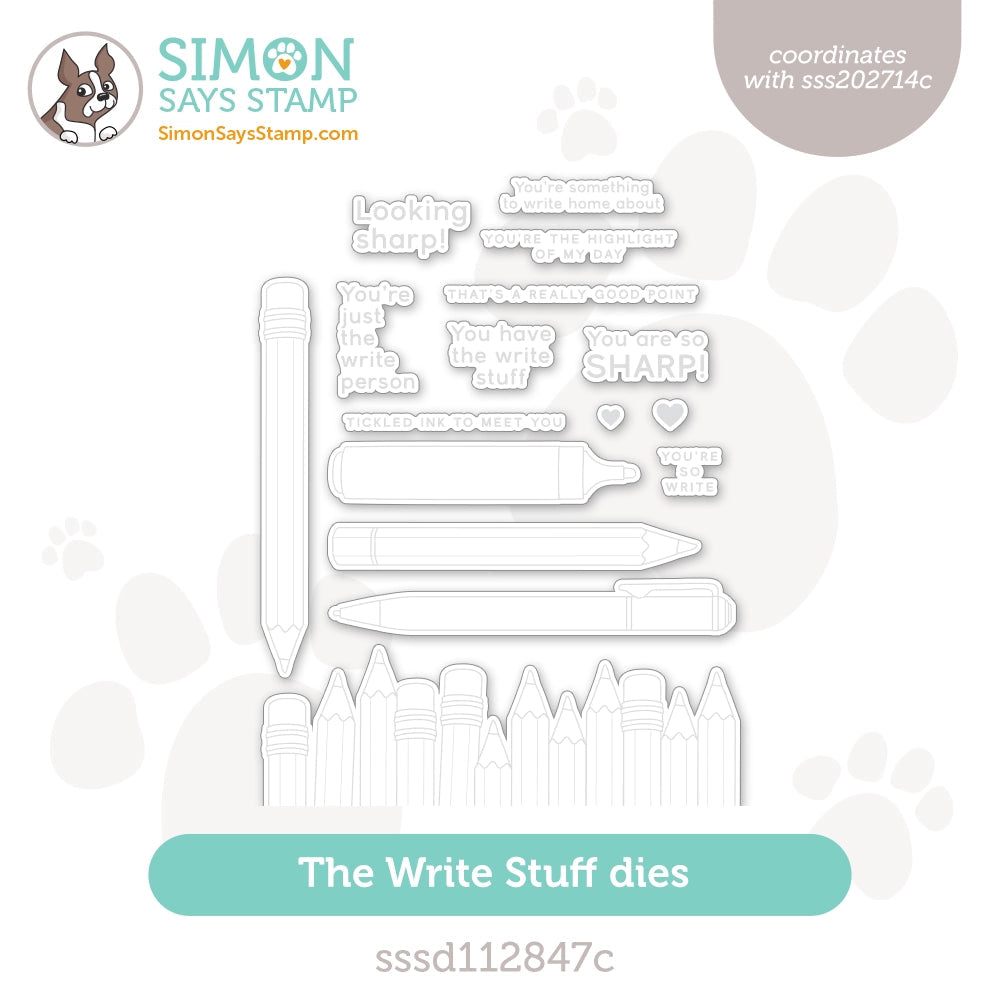
One Stamp, Five Ways: The Write Stuff

Hi friends! Happy end of July! I cannot believe it!! As always, we’re delighted to welcome special guest Suzy Plantamura for her monthly installment of 5 Ways in 5 Days! Today she’s featuring our (just released last week!) set called The Write Stuff! Let’s dig in and keep reading for all the details! Enjoy!

My “one stamp, five ways” post today uses lot of products from the new Just A Note release. I picked the Just Write stamp set to use on my 5 cards today. So many of the products go together in this release, so I ended up using quite a few of the other ones.
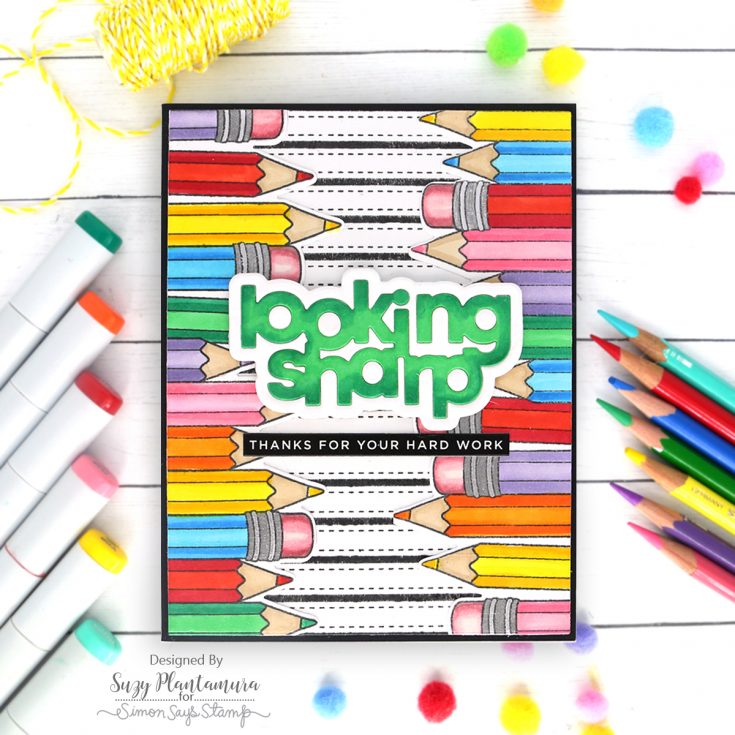
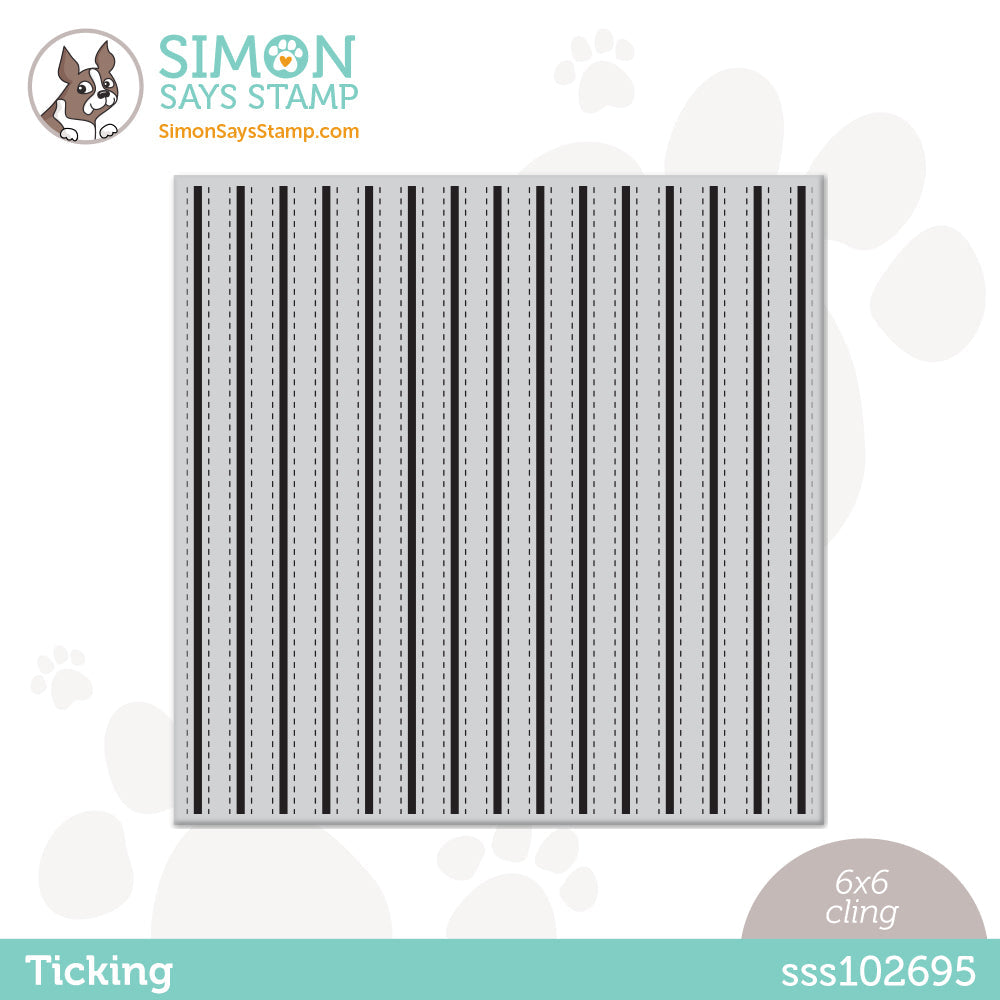
I started this card by stamping the new Ticking Cling stamp with black ink on white cardstock. I then stamped the row of pencils from the Just Write stamp set with black ink on white cardstock. I colored them in with lots of different colors of Copic markers and die cut them out with the matching dies.

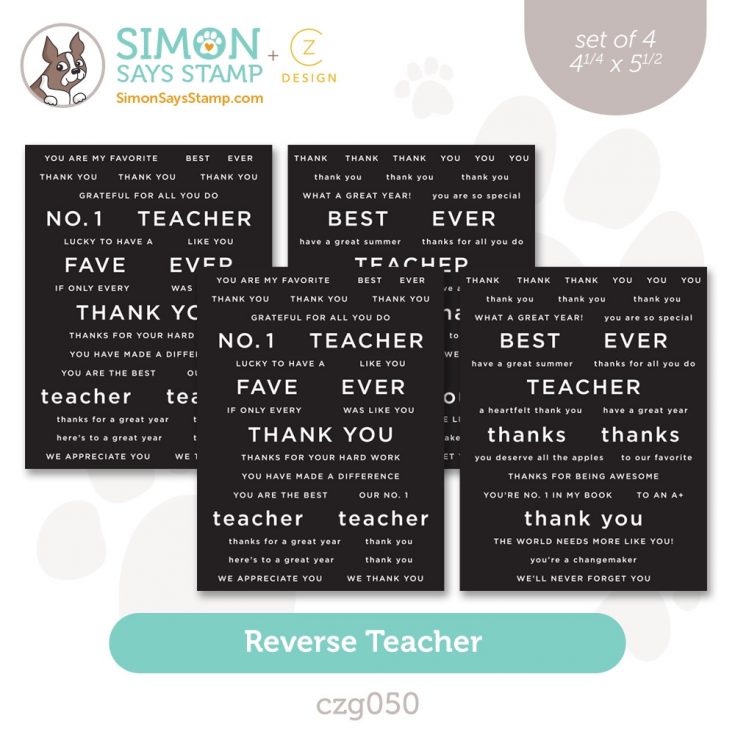
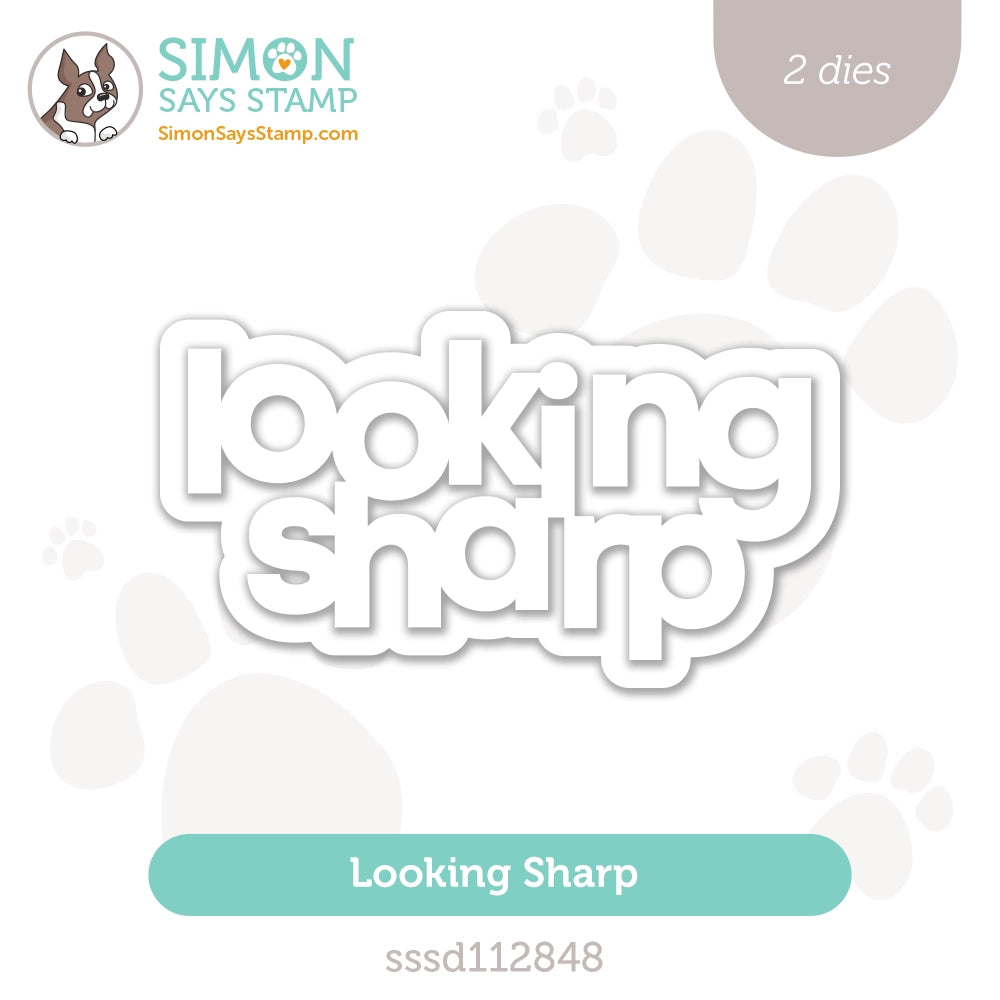
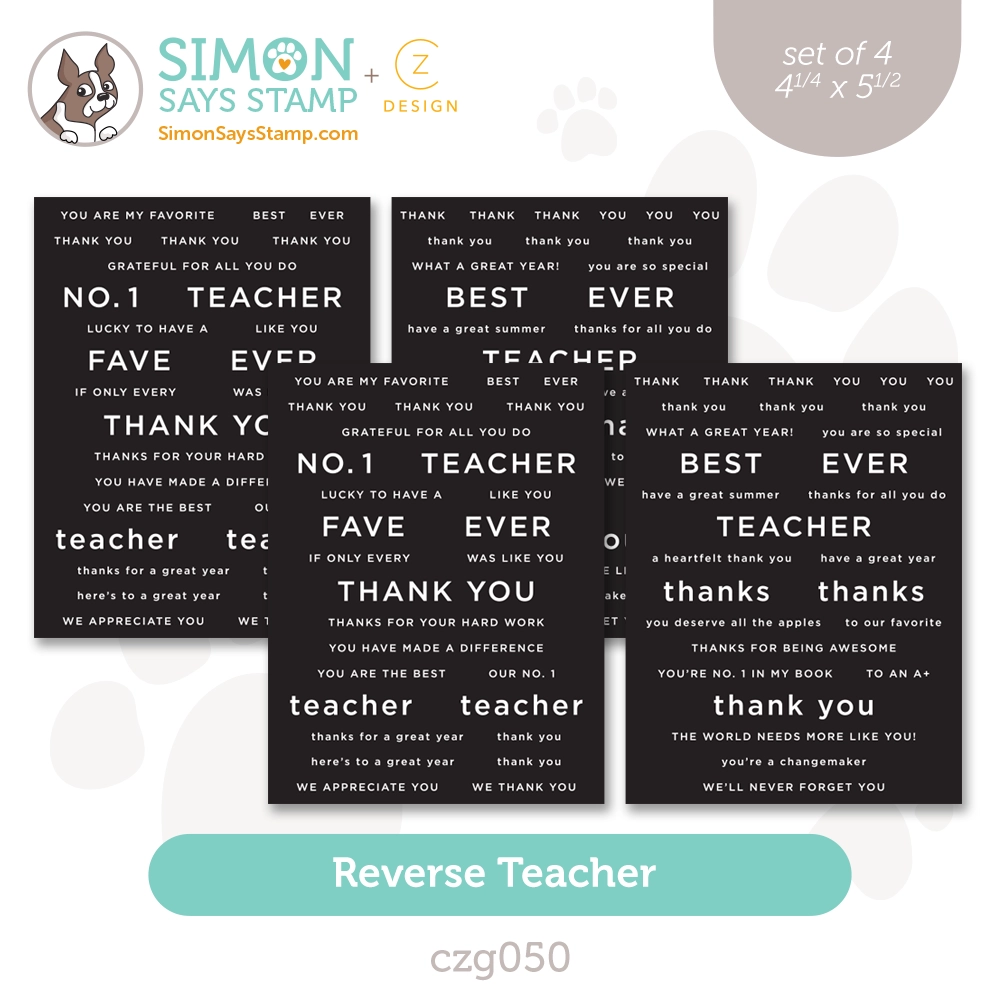
I attached the two rows of pencils on each side of the background and then die-cut the entire piece with the SSS A2 Thin Frame Die. I attached them to a card base made with black cardstock. I die-cut the Looking Sharp Die twice from white cardstock. I colored in the inside letters with some of the same colors I used in the pencils. I glued them together and attached them to the center of the card with foam tape behind them. I die-cut a small sentiment from the new Reverse Teacher sentiment strips using the smallest SSS Sentiment Label Dies. I attached that below the larger sentiment.

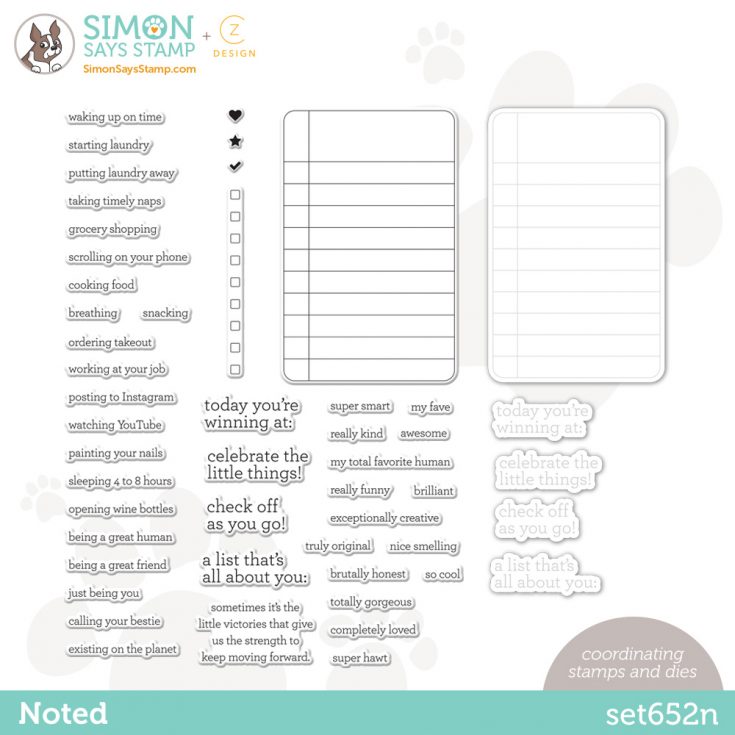
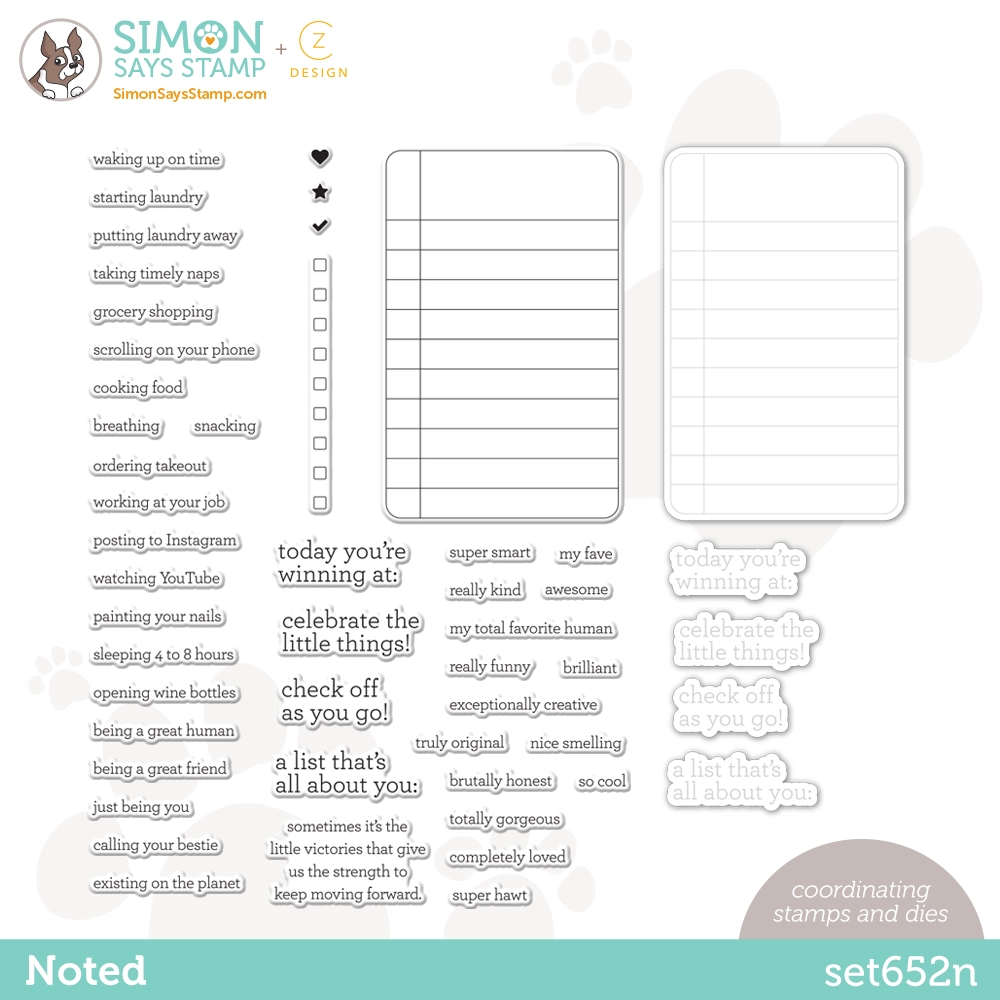
I used the same Ticking Cling stamp for this background. This time I stamped it with Tidepool Pawsitively Saturated Ink and then die-cut it with the A2 Thin Frame Die. I attached it to a card base made with dark gray cardstock. I stamped the list stamp from the new Noted stamp with black ink. I stamped the little squares and then the check marks with the same Tidepool Ink. I also stamped the list of things about the teacher with the title at the top. This is the cutest set of stamps for making little lists!

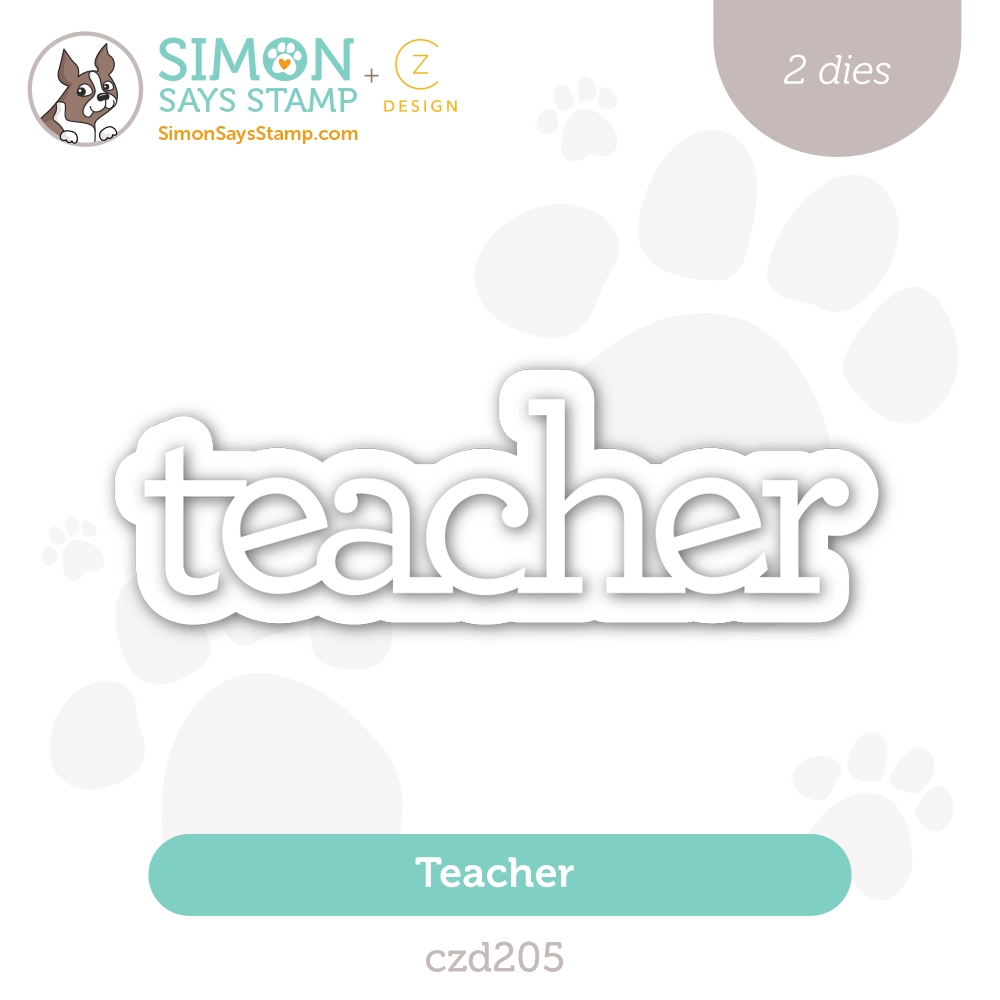
I stamped three of the pens/pencils from the The Write Stuff stamp set with black ink on white cardstock and colored them in with Copic markers. I die-cut them out with the matching dies. I die-cut two of the Teacher Die and colored the letters with a matching Copic. I glued the two together. I attached the list, the three pens, and the title on the card background using foam tape behind the center marker and the title. I then stamped a secondary title from the Just Write stamp set with black ink and attached it below the Teacher sentiment.

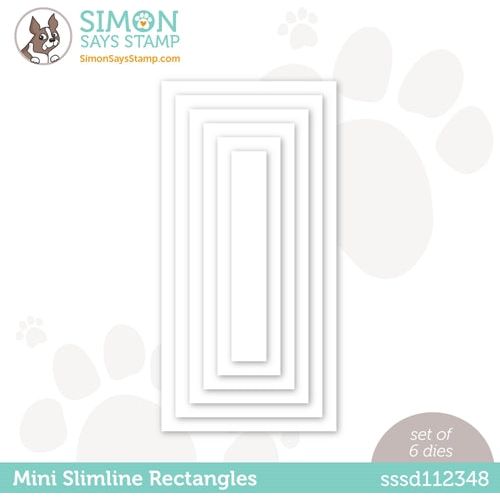
I die-cut a rectangle using the Mini Slimline Rectangle Dies from white cardstock. I stamped the row of pencils on each corner diagonally. I colored them in with Copic markers making them look like actual #2 pencils. I attached this piece to a dark gray card base.
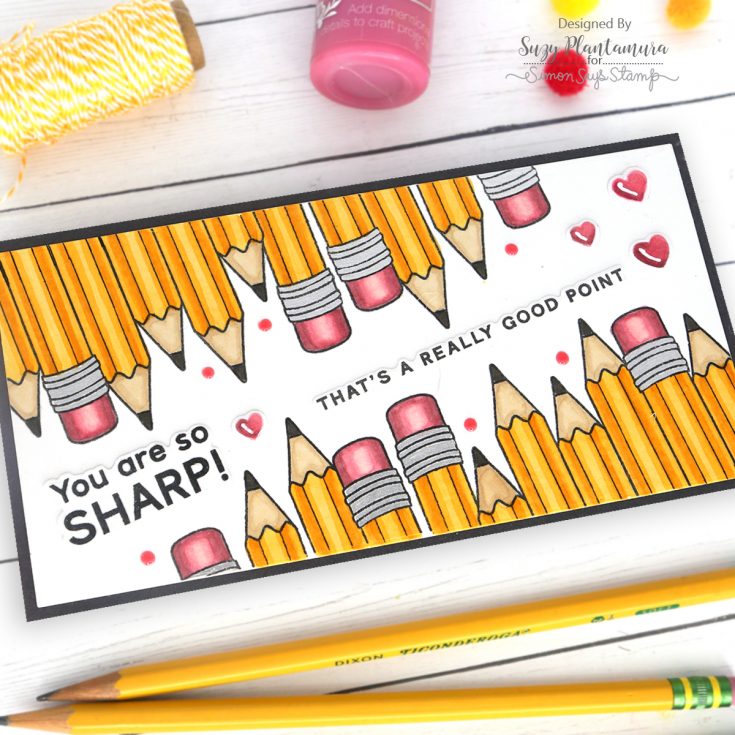
I stamped two sentiments from the The Write Stuff stamp set and several of the small hearts. I attached them in the center of the pencils making sure they all followed the same line by using a ruler to straighten them. I added some red Nuvo Drops around the pencils.

This is my “random stamping” card that I always make. I stamped all of the images in the Just Write stamp set with black ink on white cardstock arranging them like puzzle pieces fitting around each other. I used Latte Pawsitively Saturated Ink so I could color them with no-lines.
I colored them in with Copic markers and used my Crafter’s Companion Glitter Pens I received in a previous card kit (love this set).

I die-cut this piece out with the A2 Thin Frame Die and attached it to a blue cardstock card base. I then stamped a sentiment from the The Write Stuff stamp set with black ink and die-cut it out. I attached that to the center of the card with foam tape behind it. I used another sentiment from the Reverse Teacher Sentiment Strips set die-cut with the SSS Sentiment Label Dies. I attached that below the other sentiment. I then added some blue shiny Nuvo drops around the background.

I die-cut a Slimline Rectangle Die out of white cardstock. I then stamped the long row of pencils on the bottom edge letting it slightly hang over the left edge. I stamped it again lining it up with the first set letting it hang over the right edge. I then colored all of them in with Copic markers. I used a white Uniball to add white lines to the pens. I attached this piece to a blue cardstock card base.

I stamped one of the stand-a-lone pencils with the same ink and colored it with Copics. I attached that to the top of the card with foam tape behind it. I stamped a sentiment from The Write Stuff stamp set with black ink and die-cut it out. I attached that below the pencil. I also stamped one of the pencil line stamps on the right of the pencil with black ink,
As you can see, this The Write Stuff stamp set goes with so many other products from the Just A Note release. My 8 year old granddaughter was over when I was finishing up my 5 cards, so she had lots of input about how she wanted them to turn out. She plans on giving them to her teachers this year. I’m so happy that I made so many cards with these school products that will actually be used for the right purpose – to make a teacher’s day more special. Thanks for visiting today! Suzy
SUPPLIES:
|


Thanks so much for stopping by today, and thanks to Suzy for being our guest!
Mixed Media with Shari Carroll: Foiled Butterfly Shaker Box

Welcome, everyone! Happy Sunday! Today, I have a fun mixed-media shaker box using a Tim Holtz Vignette box and some Waffle Flower products.
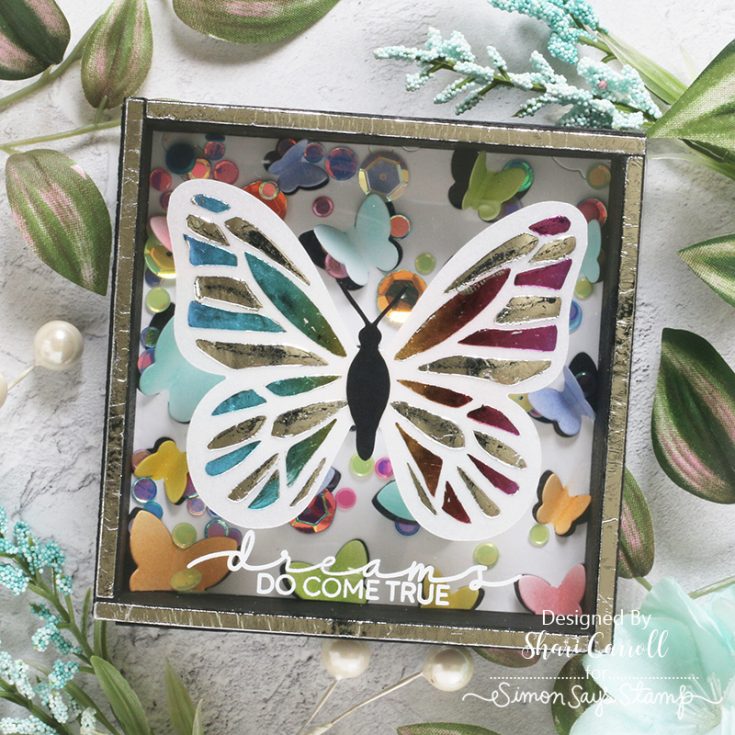
I created a popped-up butterfly panel as a backdrop to a sequin-filled box. On top is a beautifully foiled butterfly and a message stamped on acetate.
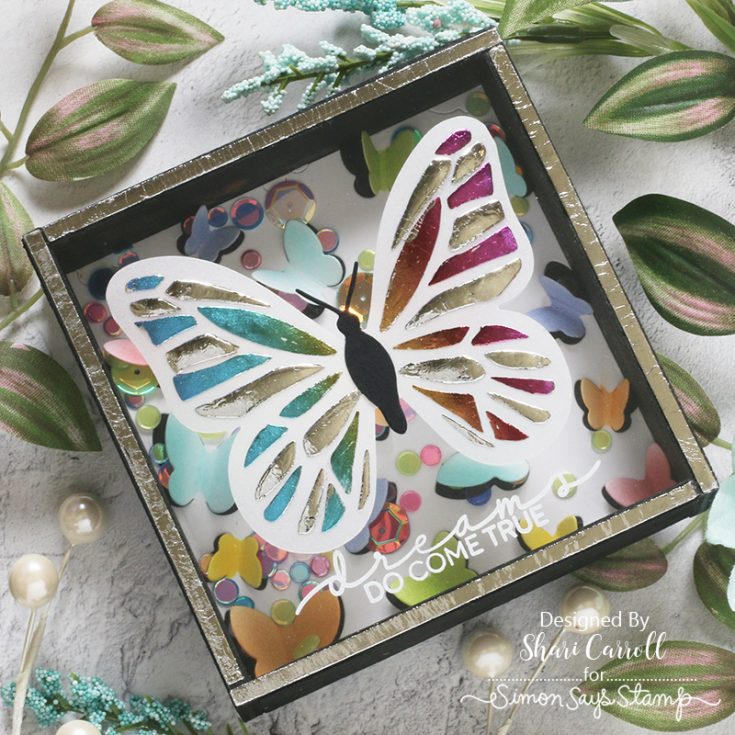
To see how this all came together, check out my video below. Enjoy!
SUPPLIES:
|


Just a Note Blog Hop 2!
Hello, friends, and welcome to day two of our Just a Note release blog hops! If you missed yesterday’s hop, be sure to circle back and check it out HERE.
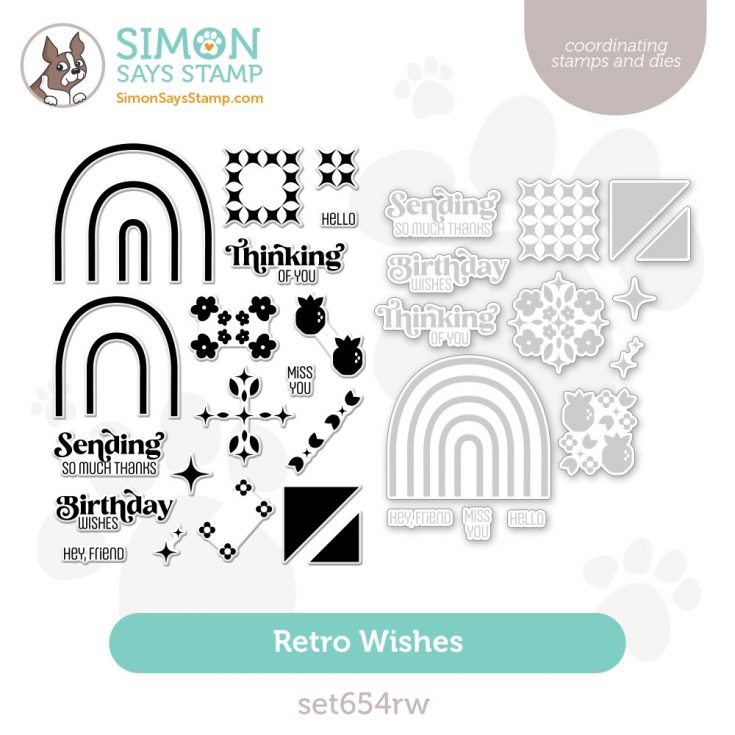
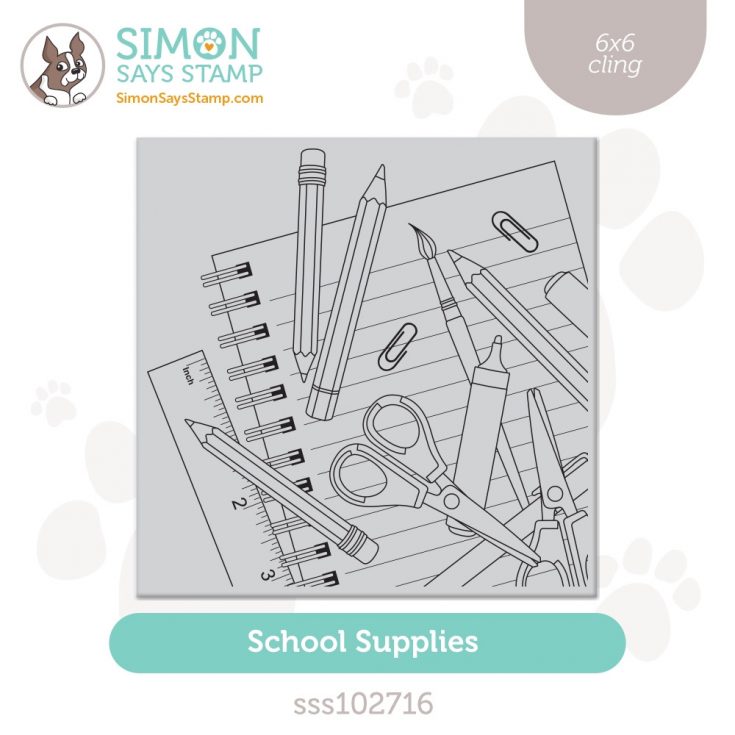
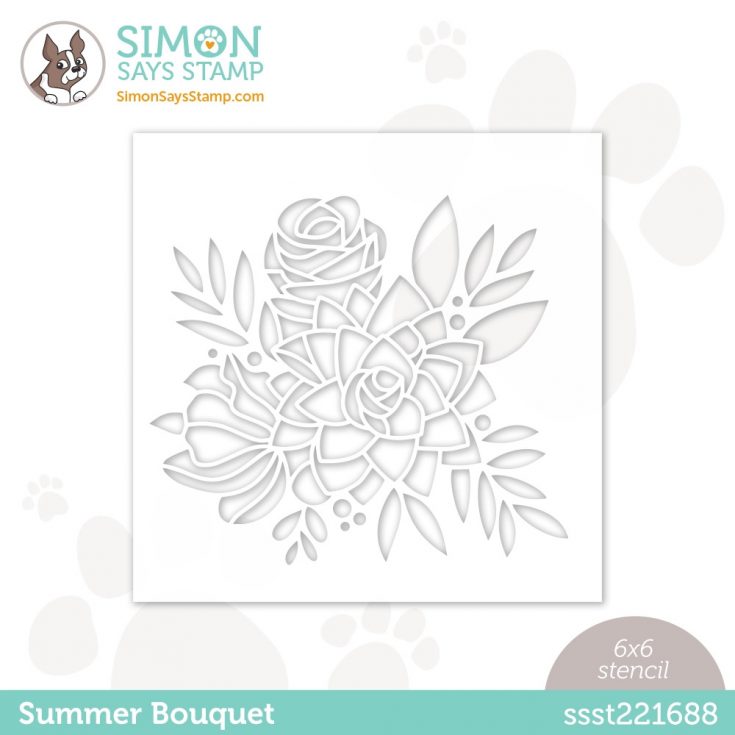
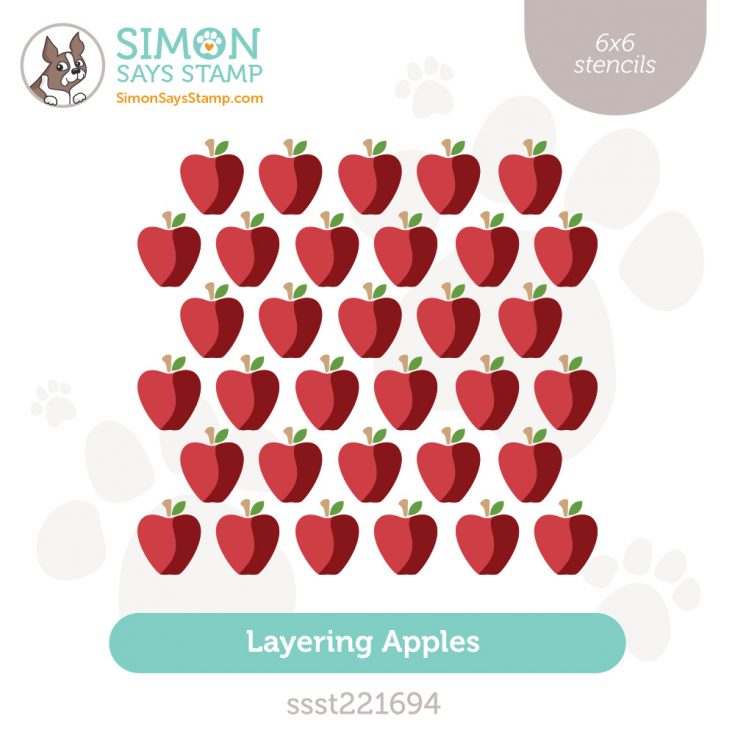
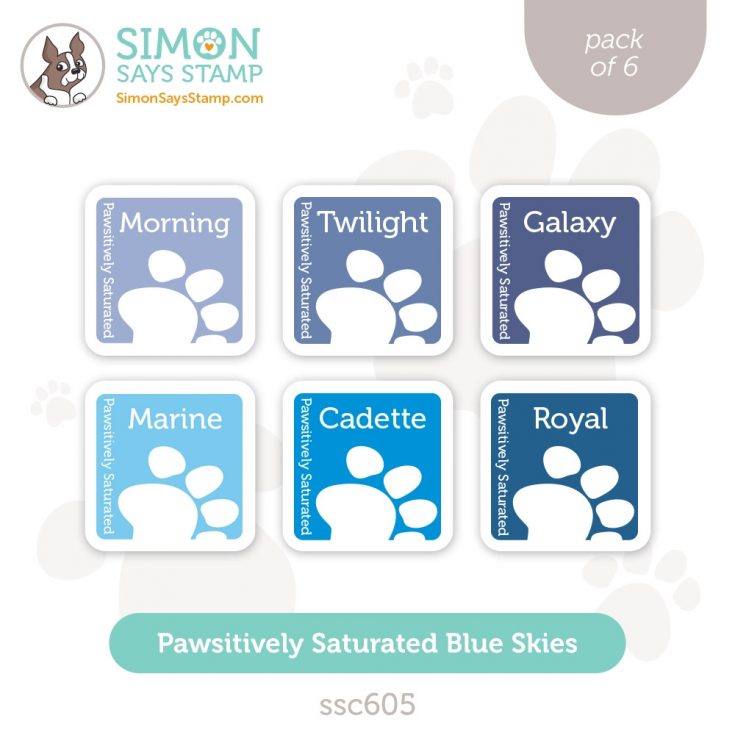
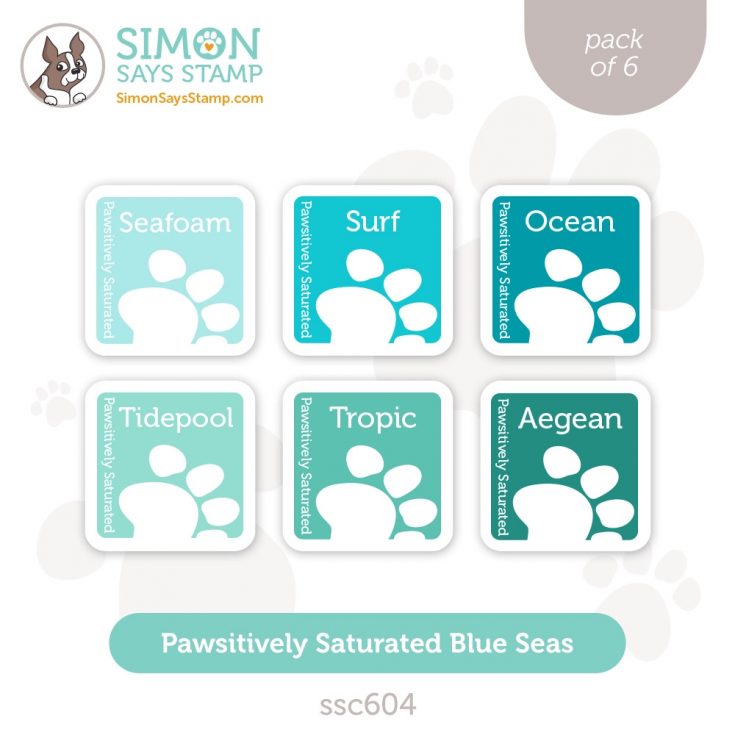
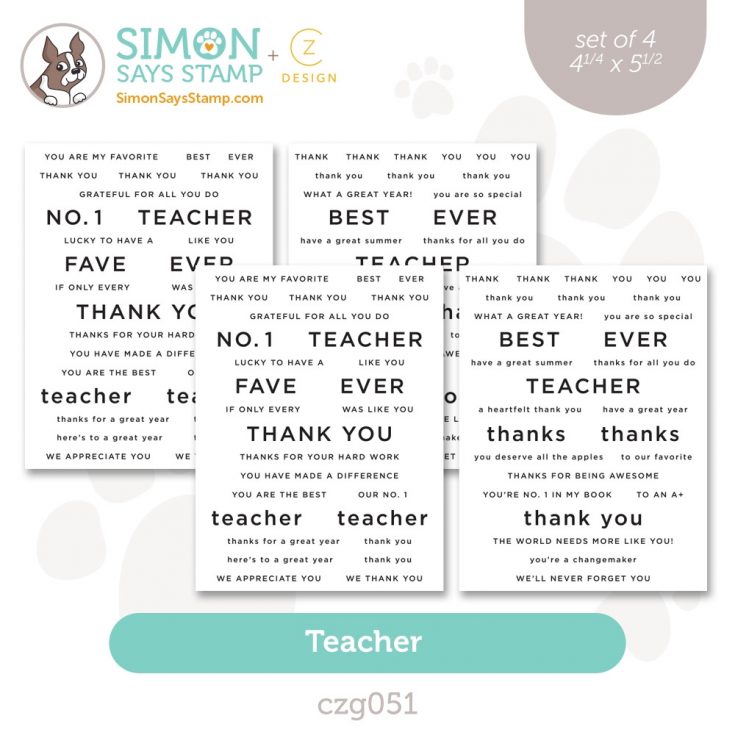
It’s time to share Just a Note about our latest release! We’re squeezing the last juice out of summer with our Citrus Slice Background die, Summer Bouquet stencil, and Golden Fern embossing folder (as well as Blue Seas and Blue Skies Pawsitively Saturated ink cube 6-packs); we’re leaning into August with our Super Sunflower Plate die and Layering Apples stencils; and we’re gearing up for work and school with stamps like Noted, School Supplies, and The Write Stuff and Teacher sentiment strips.
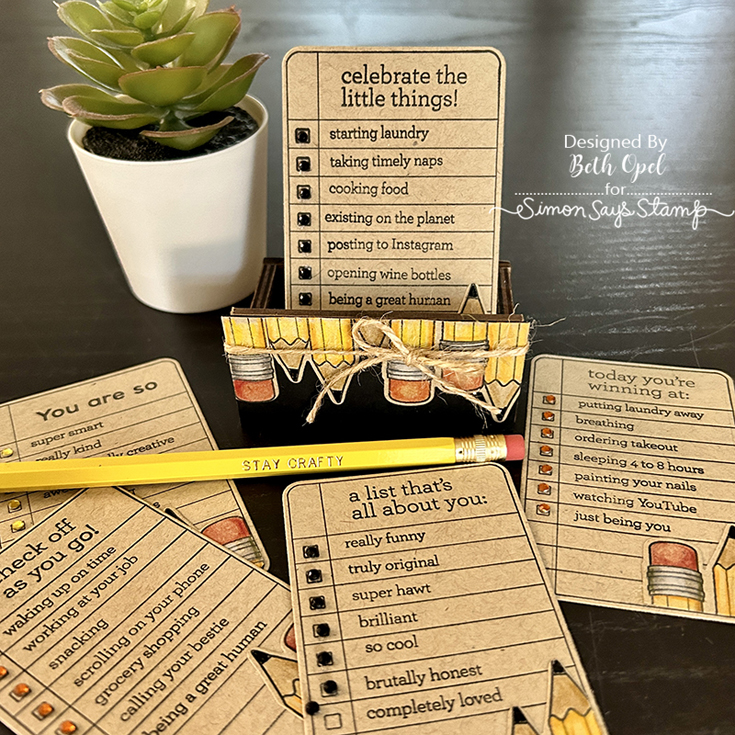
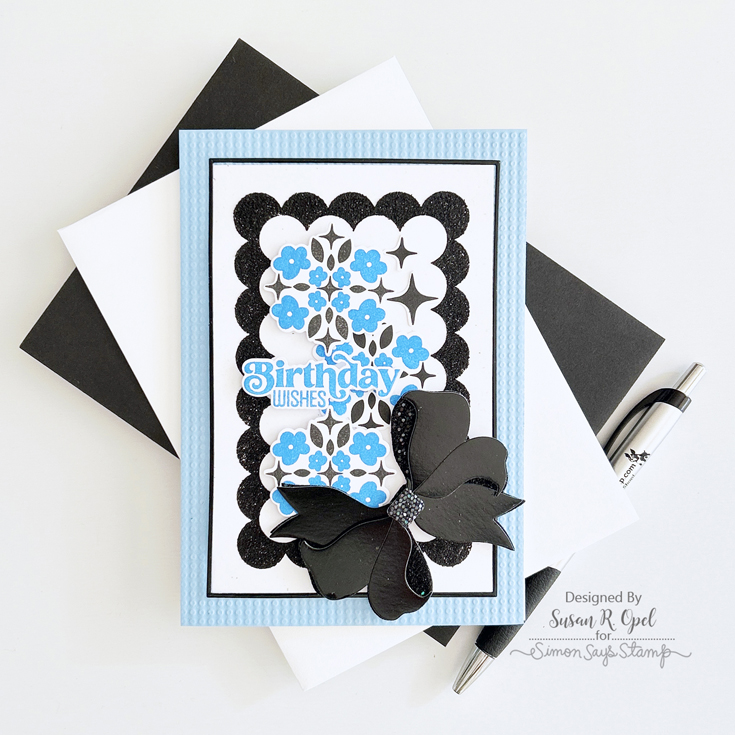
Before we hop, let’s take a look at some fabulous inspiration from Beth Opel and Susan R. Opel:
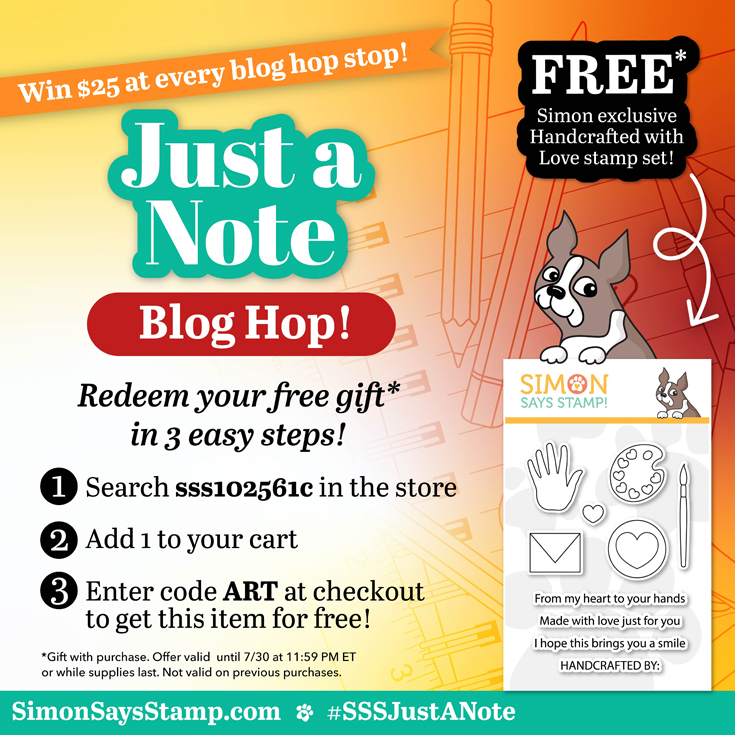
We love our customers! And we love your enthusiasm for our exclusive releases and blog hops. To celebrate, Simon has set aside a free gift just for you! Our exclusive gift for this blog hop is the Handcrafted with Love stamp set FREE with any purchase (while supplies last)! Check out the details on the banner at the top of this post for information about claiming your gift.
Ready for even more Just a Note inspiration? Hop along with these talented designers! You’ll be inspired AND for every comment you leave on each blog, you’ll earn a chance to win a $25 Simon Says Stamp store shopping spree. YAY!
- Simon Says Stamp Blog <<YOU ARE HERE!
- Nina-Marie Trapani
- Caly Person
- Debby Hughes
- Amy Rysavy
- Emily Midgett
- Lisa Addesa
- Heather Hoffman
- Lea Lawson
- Bobbi Lemanski
- Jennifer Kotas
- Sandi MacIver
- Barb Engler
- Allison Frazier
- Maura Hibbitts
Please share some feedback with these creative artists who work hard to inspire and excite us! Your comments mean so much to them.
Thanks again for joining us today!
Missed our Livestream yesterday? Check out the rewatch HERE:
We hope you will join us on Instagram on Wednesday, August 2 for an Instagram Hop featuring our Just a Note release! We are excited to share awesome ideas from several creative minds using these fantastic products.
You’ll love browsing our Just a Note gallery on our blog for loads of additional inspiration, and you can add your projects to these galleries as well!
You can check out the entire Just a Note collection below: