Make Your Wish Count! Colorful Candle Birthday Card: Crafty with Caly
Hi friends! Happy Monday! Please join me in welcoming special bi-monthly guest Caly Person for this fabulous and fun Birthday card idea! Be sure to watch the video for all the details, and enjoy!
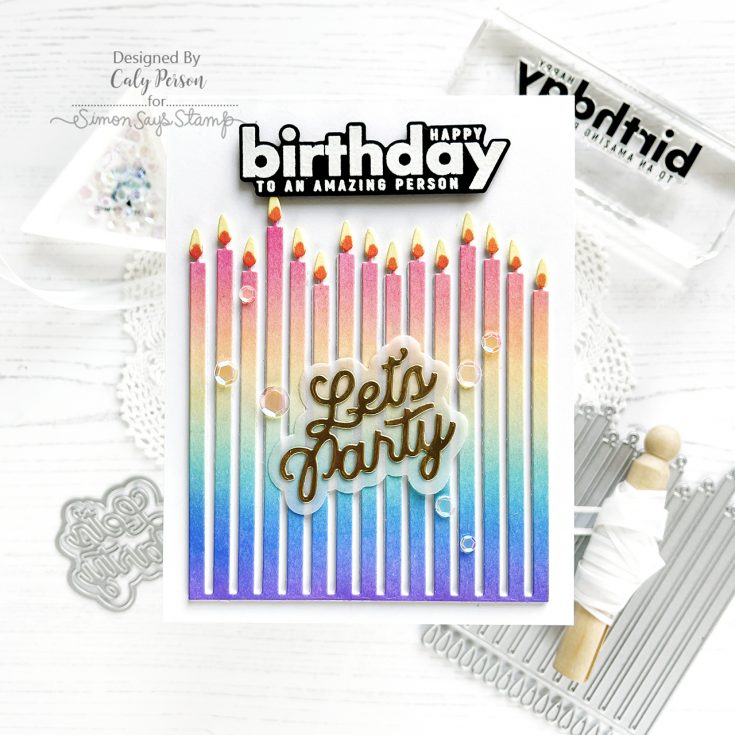
Hello there! Thanks so much for joining me today! I have a quick and easy birthday card to share today using new products from Simon Says Stamp’s Diecember and Smitten releases!
Birthday cards are never available when I need them and think many can agree that it would be nice to have a go-to design. I hope today’s card gives you some inspiration for future birthday cards!
WATCH THE VIDEO:
I ink-blended a white panel with rainbow colors using Watermelon, Lemonade, Cadette, and Orchid inks to die-cut the So Many Candles die. The color options are endless here – you can choose favorite colors of any recipient!
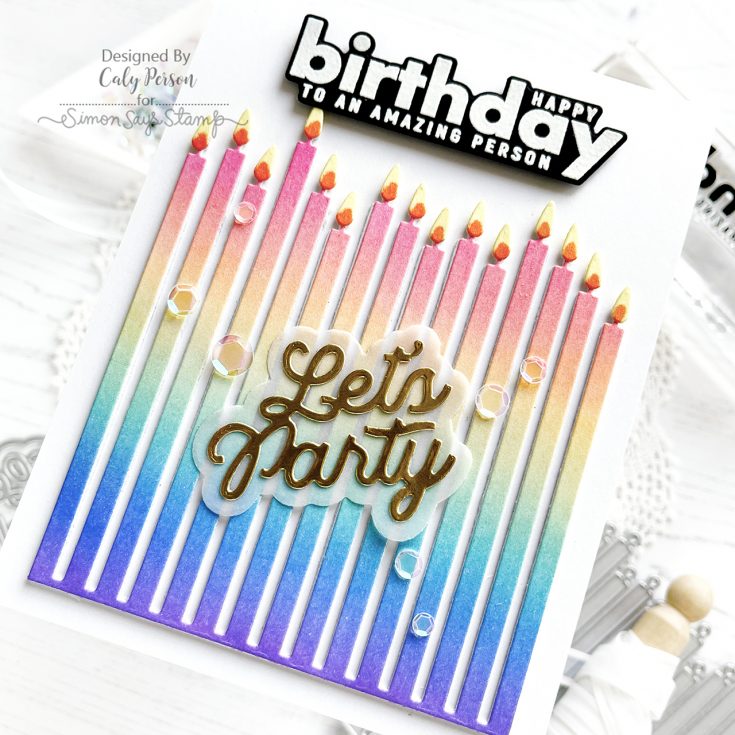
The candle flames are die-cut with Lemon Chiffon cardstock and dabbed with a dot of Copic YR07 to give the flames more color. I layered two additional layers of white cardstock under the ink-blended candles to give them dimension and strength.

My sentiments use the new Let’s Party die from the Smitten release and a birthday greeting from the XL Birthday Greetings set. Then, I finished with a few iridescent sequins over the candles since I didn’t think to add texture before hand (with water and/or paint splatters).
I hope you enjoyed this project! Thanks so much for visiting! ~Caly
SUPPLIES:
|




Thanks so much for stopping by, and thanks to Caly for being our guest!


More January 2024 Card Kit Inspiration by Kristina Werner!
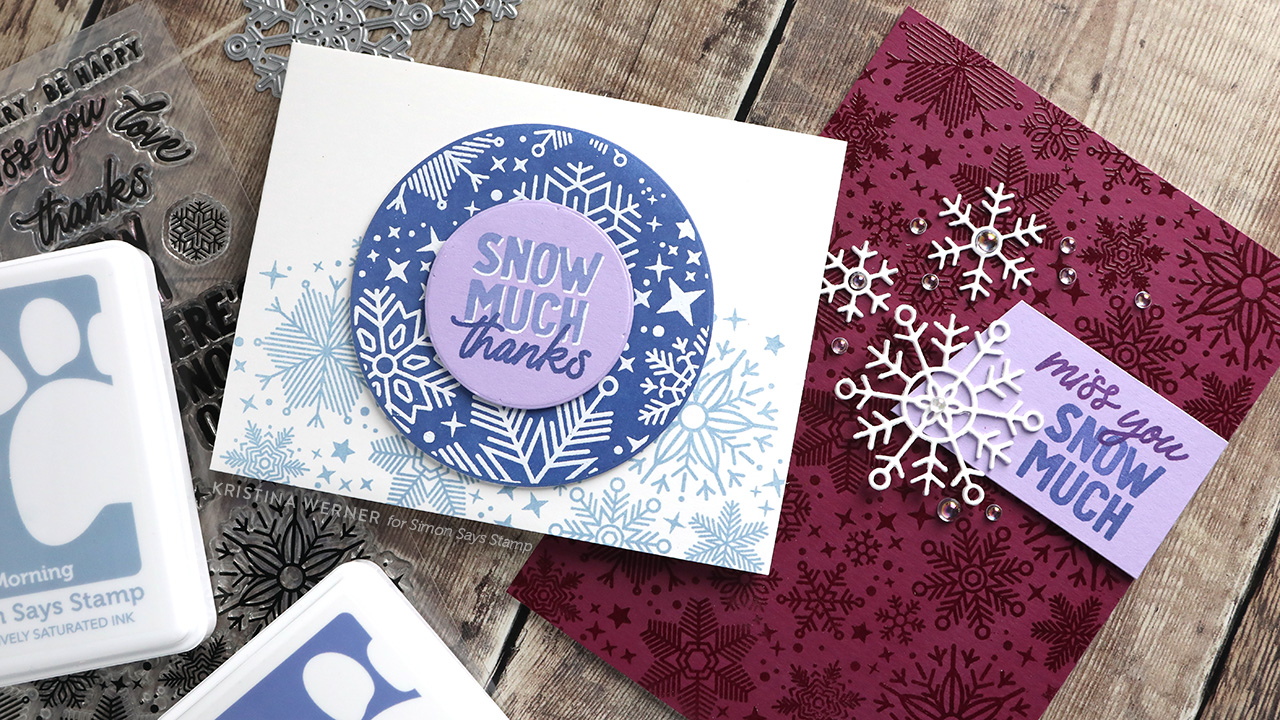
Hello, all! Kristina here! Today I have two cards made using supplies from the January 2024 Card Kit! I used the Don’t Flurry, Be Happy stamp set for both cards, plus some additional supplies from the kit.
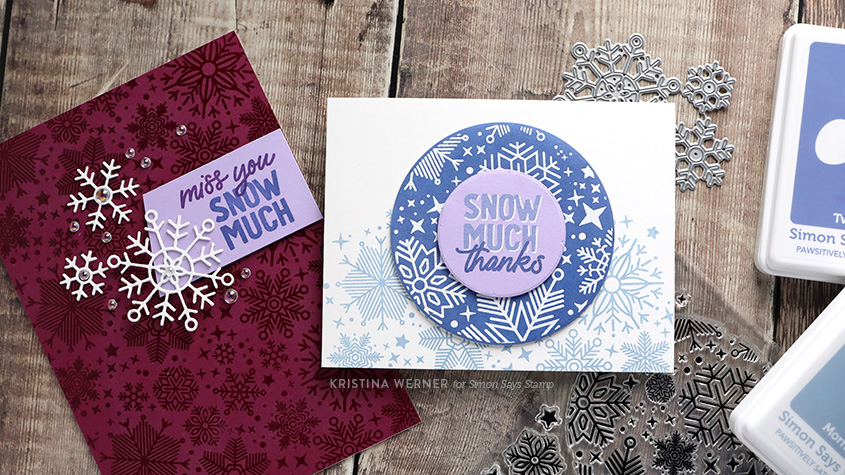
The first card kit features both large snowflake pattern stamps. I used the Nested Circles dies to cut out the stamped greeting and the large circle snowflake pattern.
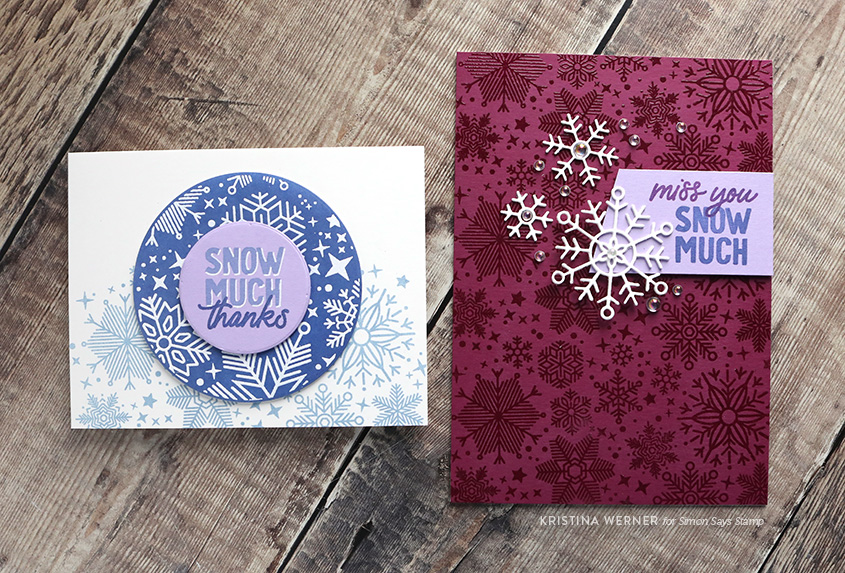
The second card utilizes the repeating nature of the large rectangular snowflake pattern from the stamp set. The top and bottom edges of the pattern nestle into each other to create a seamless pattern!
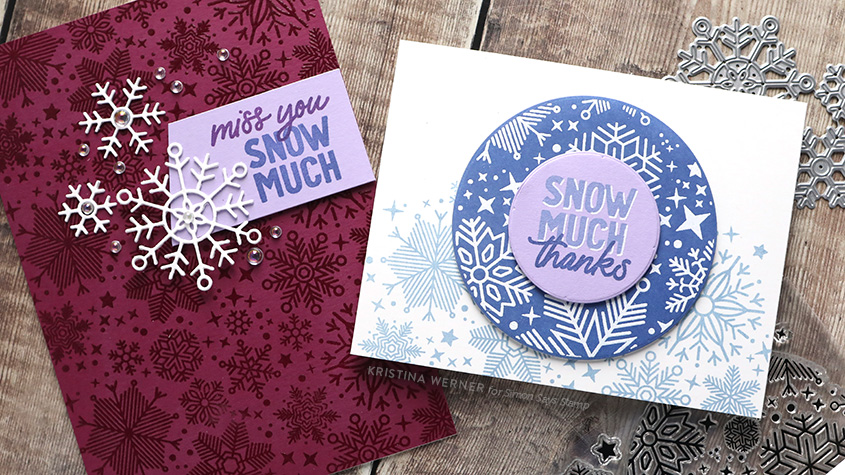
To finish off the card, I diecut the Harmony Snowflakes, also included in the kit.
You can pick up the January 2024 Card Kit HERE, or subscribe to receive this kit and future kits HERE.
Enjoy the video!
Supplies
|







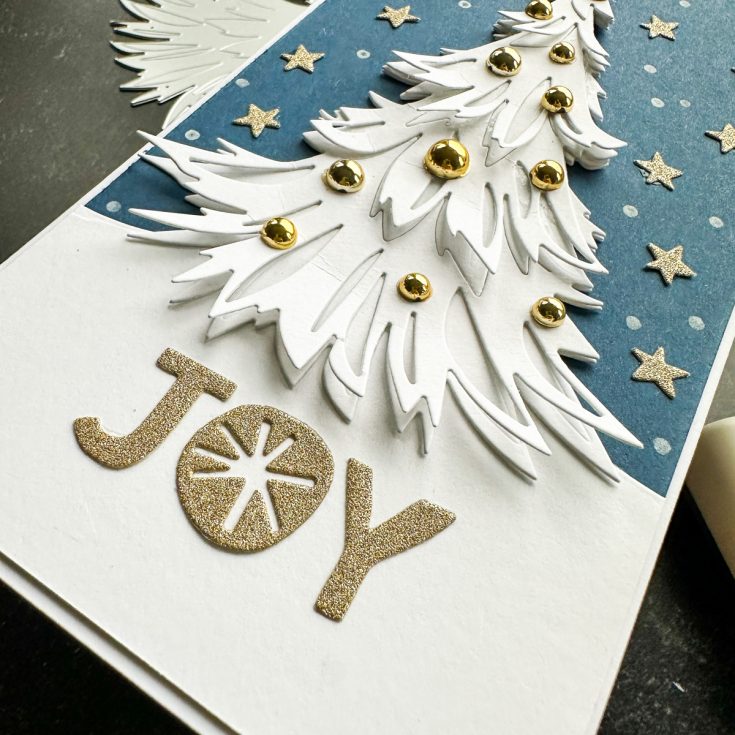
Tim Holtz Sizzix Trim a Tree Christmas Slimline Card by Cheiron Brandon!
Hi friends! Happy Saturday! I’m delighted to welcome back special guest Cheiron Brandon to our blog with this super fun and festive card! Read on to learn more and enjoy!
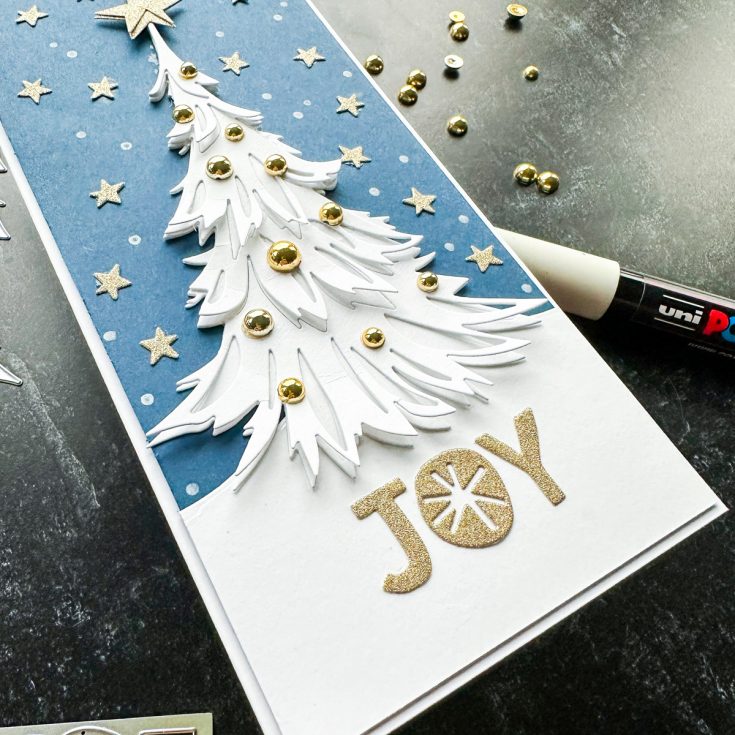
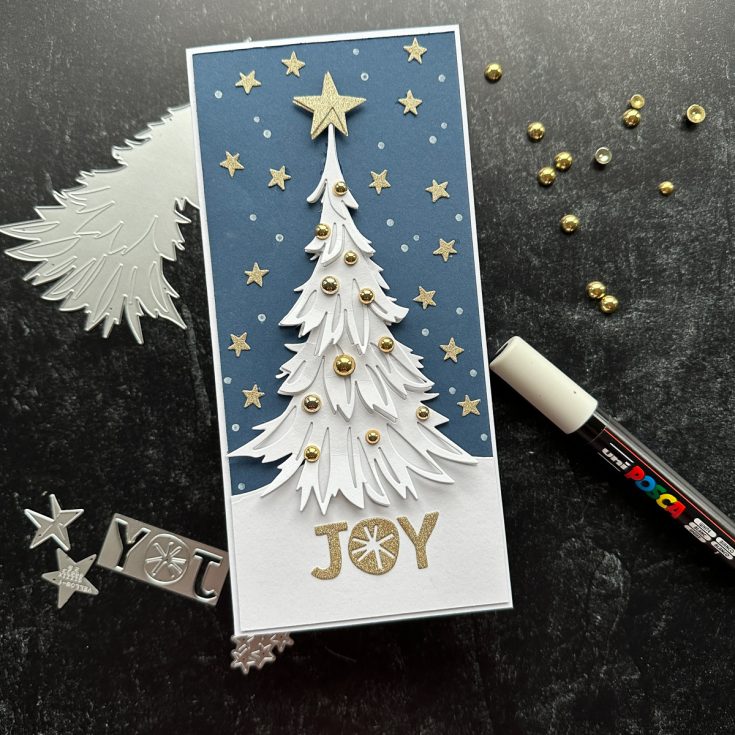
Hi there crafty friends, it’s Cheiron Brandon here and I have a fun Christmas card to share with you today. I love to make batches of cards to mail out but I also like to make some very special cards to put in packages or to give in person, especially when it involves shimmer and sparkle. Today I am playing with one of my favorite holiday combos of navy, gold and white using the Tim Holtz Sizzix Trim A Tree and Christmas Cutouts dies.
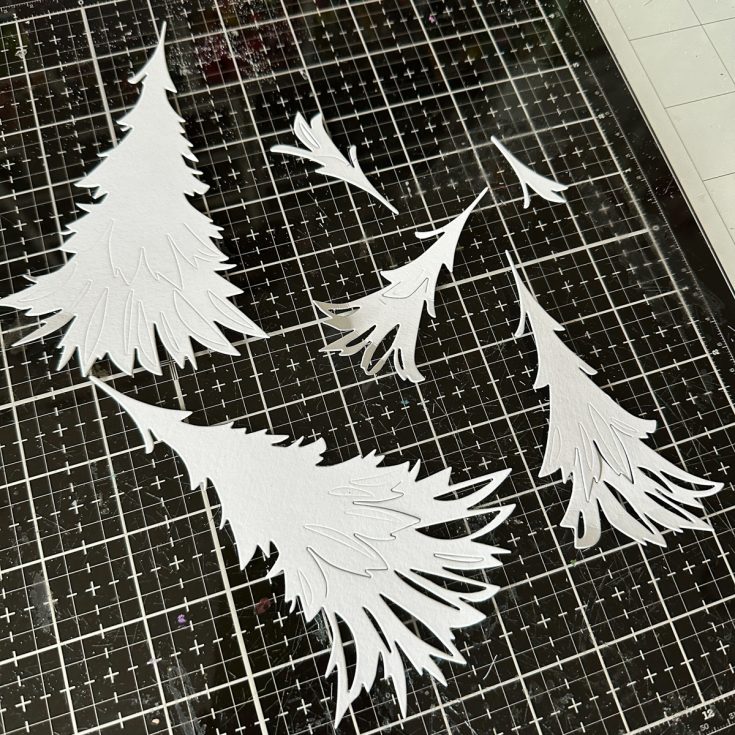
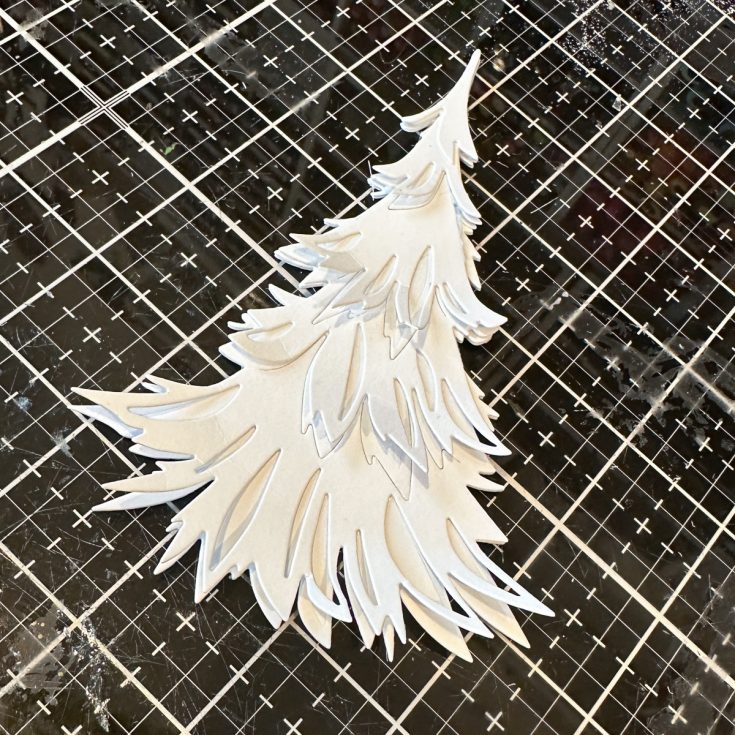
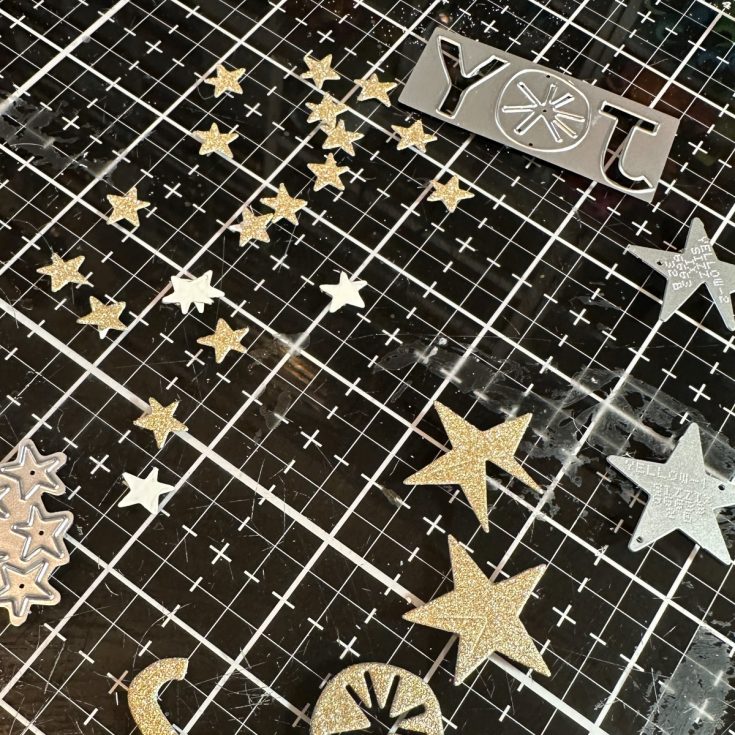
To create this card, I cut a panel of Simon Says Stamp Soft Navy Cardstock 3 7/8 X 8 3/8. Then I cut all the Tree pieces from the Trim A Tree dies from Distress Watercolor Cardstock. I punched all the small inside pieces out from the die cuts and then curled the edges of the trees up and adhered them all together. Once the tree was assembled, I cut the star from the Trim A Tree dies and the Joy and the small cluster of stars from the Christmas Cutouts from Sizzix Gold Glitter Paper.
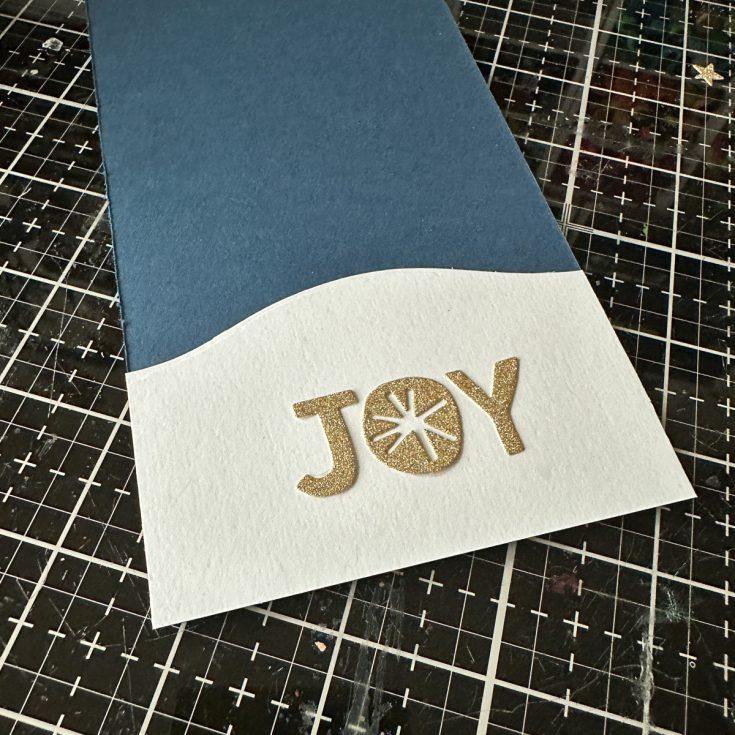
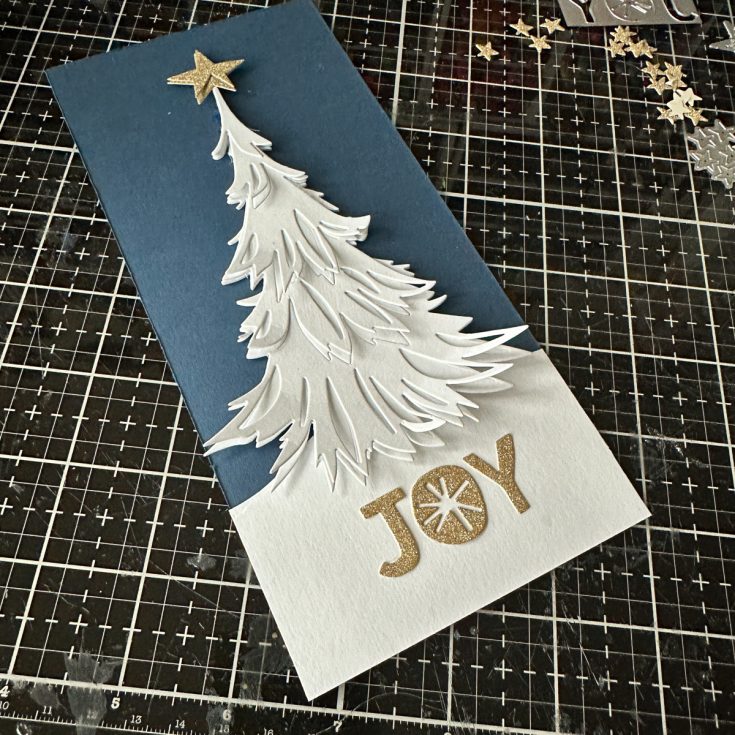
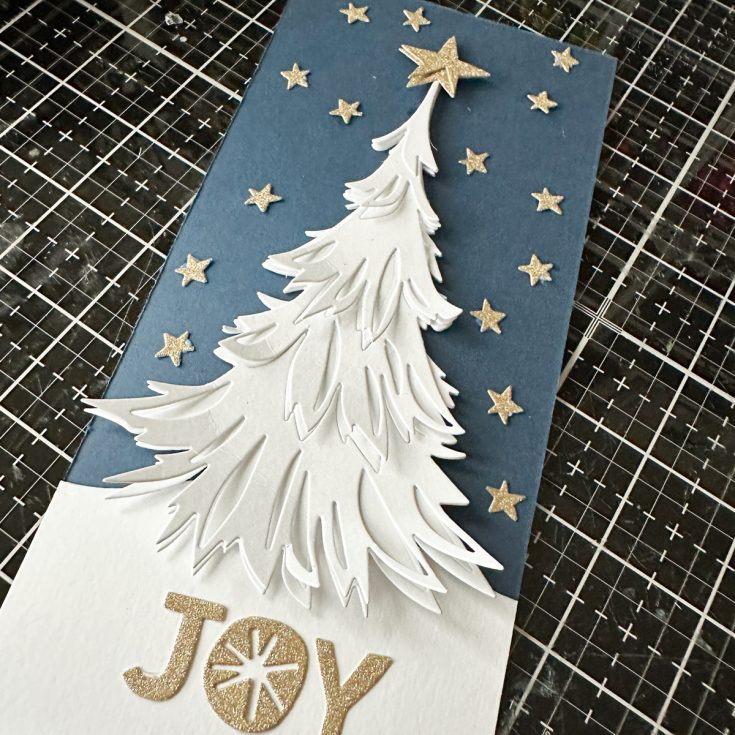
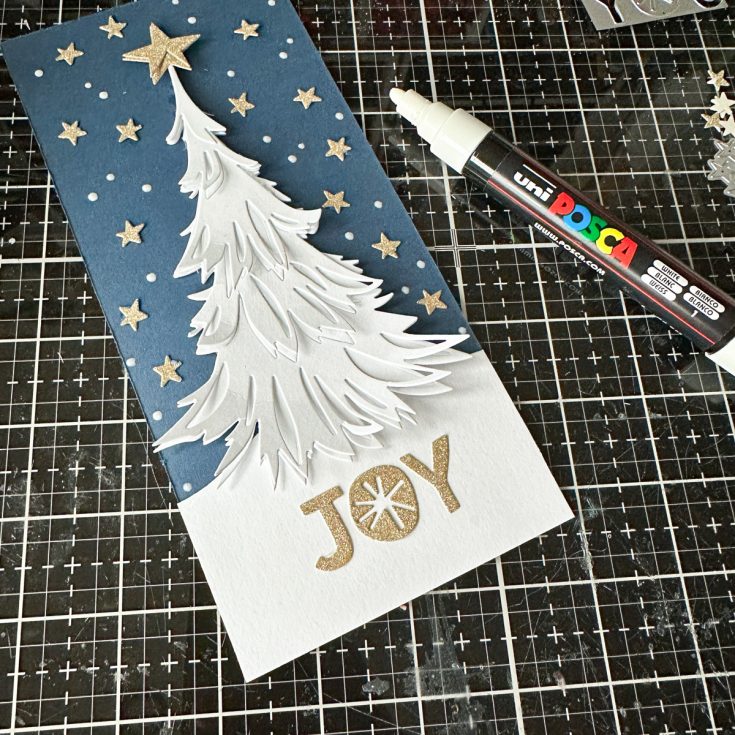
Once my dies were all cut out, I cut a snowy hill to fit the width of my card using the Simon Says Stamp Slimline Snowflakes dies. I added it to the bottom of the Soft Navy Panel, then added the Joy letters. I added the tree onto the snowy hill and then added the large gold star from Trim a Tree with foam tape. I added all of the tiny stars I cut from the Christmas cutouts around the tree. To create snow, I tool a medium point Posca marker and added some dots between the stars. To finish the card and make it really shine, I added a bunch of gold Metallic Droplets as ornaments.
I hope you had fun creating this card with me! It is really easy to do and you could make several in a day if you wanted to by doing each step in an assembly line! Wishing each and every one of you a very happy holiday season!
SUPPLIES:
|


Thanks so much for stopping by, and thanks to Cheiron for being our guest!