Hello Autumn Home Decor Tag Reprise
Hi friends! Happy Sunday! This tag was originally made and shared a few years back but it is just so GORGEOUS my Autumn-loving heart had to share it again! Isn’t Emma Williams amazing?!! What season makes your heart happy? If you’re a “Fall fan” like me you’ll want to check this out (again or for the first time! ;)) Read on and enjoy!
Hi everyone, it’s Emma here and I’m thrilled to be back on the Simon Says Stamp blog to share my latest project with you all!
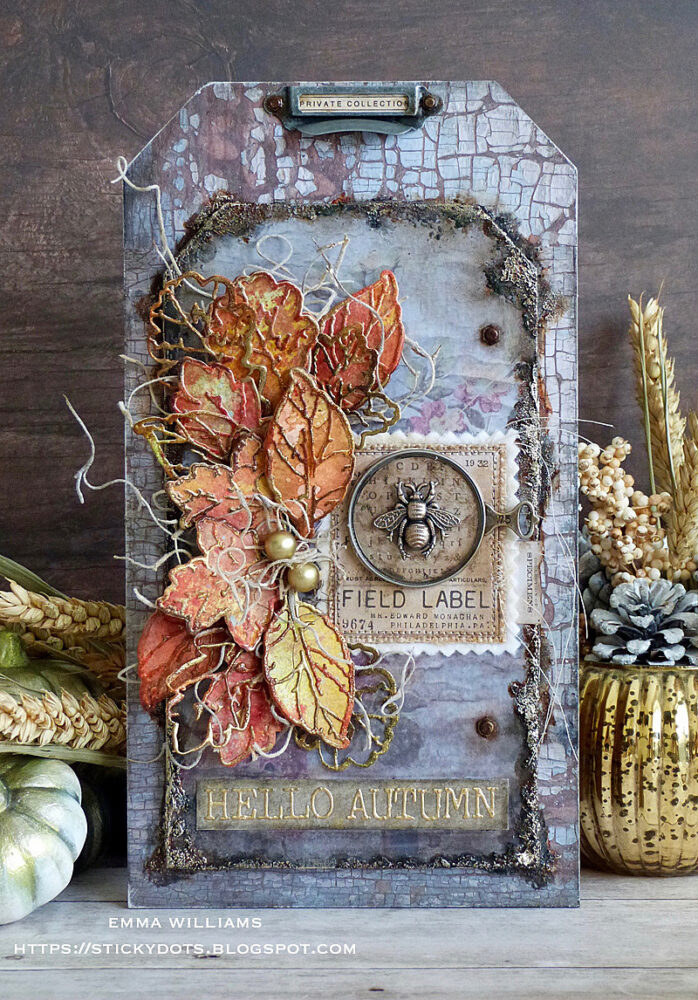
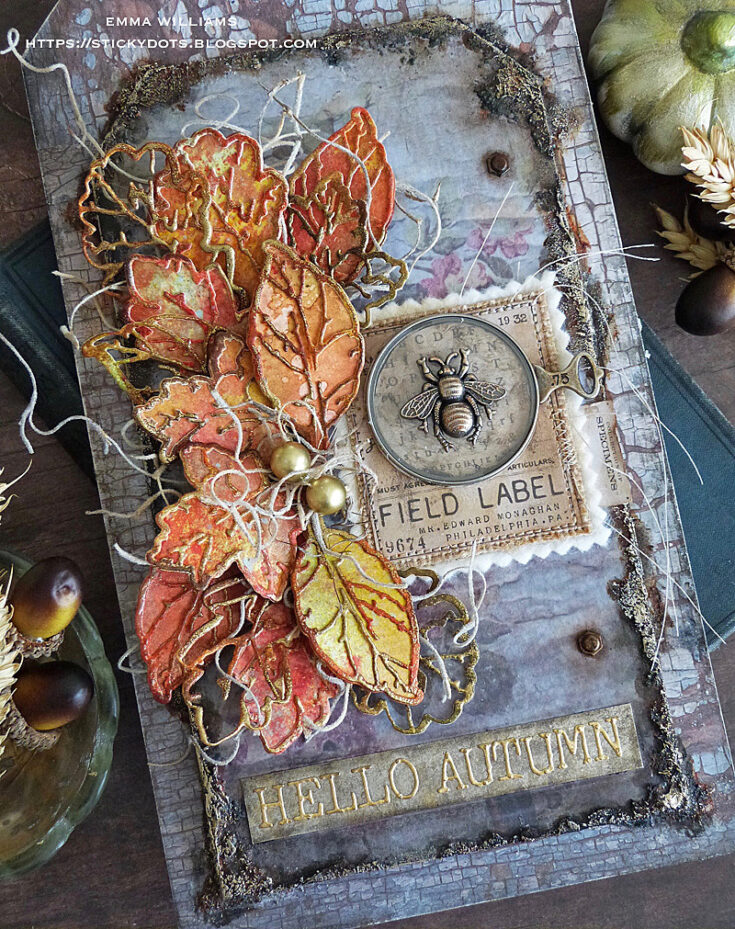
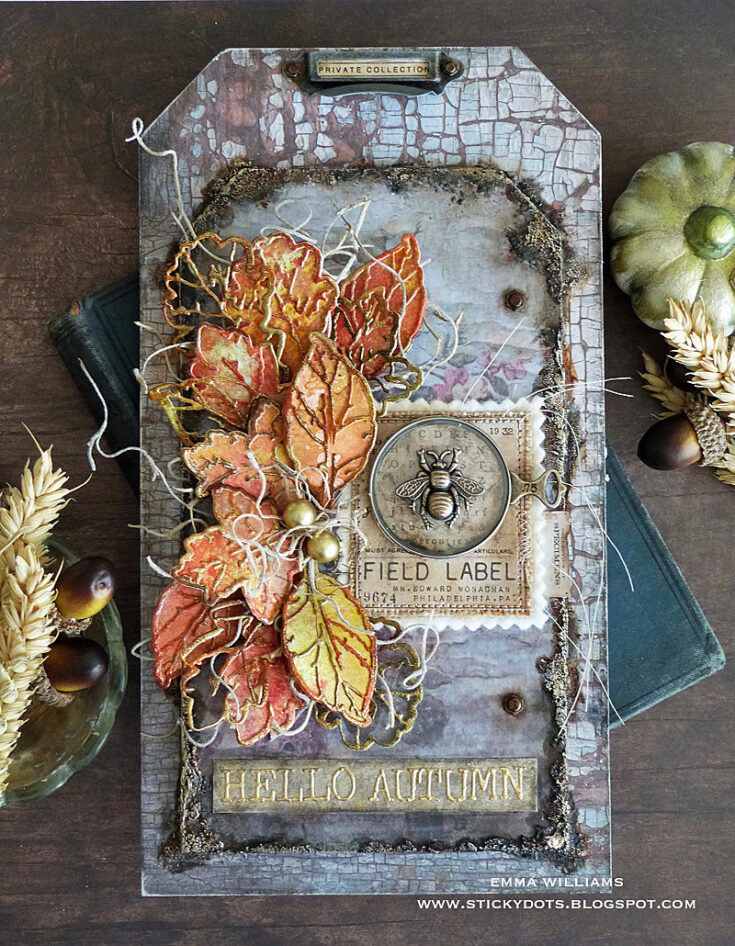
If you watched Tim Holtz’s recent Facebook Live, then some of you might recognize this piece as it was a project that I created especially for the live, using the beautiful Leaf Print Thinlits die set from the brand new Sizzix Chapter 4 release and I’m so happy that I get to share it with everyone today as this piece is perfect for displaying in your home to celebrate the start of Autumn!
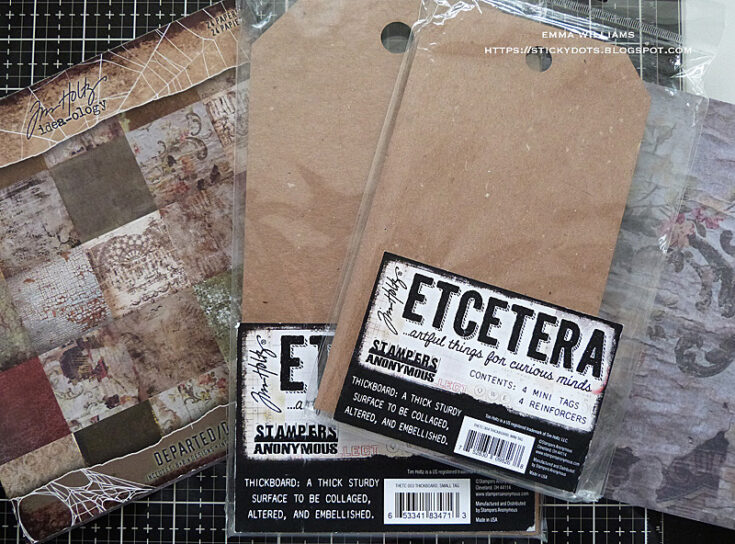
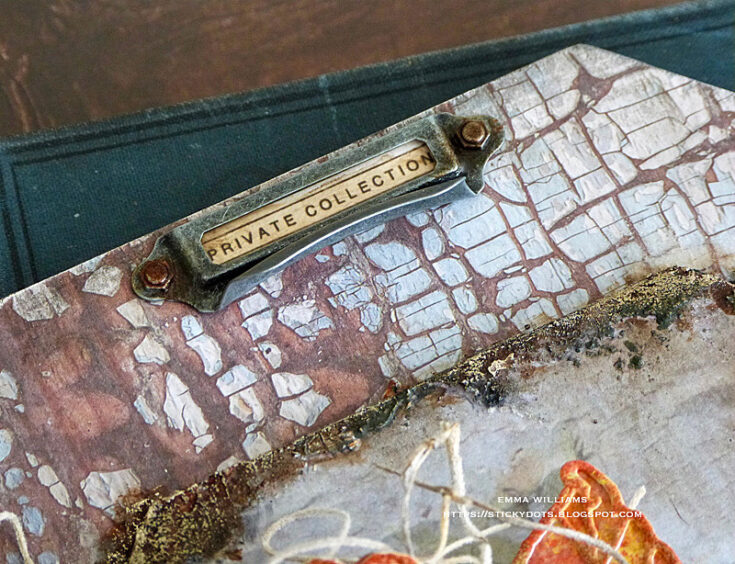
So, let’s get started and I began by covering two Etcetera Tags, the small and mini size, using two coordinating papers from the Tim Holtz Departed Paper Stash. Because the 8” x 8” papers aren’t quite long enough in length to cover the small sized tag, I cut a second panel and matched the design of the paper, ensuring you can’t see the join along the top section of the tag. Adhere the papers to each of the tags, using the Distress Collage Brush to apply Matte Collage Medium. Trim away any excess paper from the sides of each tag and then using a fine grade sandpaper, sand away any rough edges around the edges of the tag. Apply a coat of the medium over the top of the tags to seal the papers.
Adhere the mini sized tag onto the small tag with more of the Matte Collage Medium and once the tag is securely in place, I added some texture around the edges of the smaller tag. For this I used Distress Translucent Grit Paste by Tim Holtz, and using a palette knife I applied the paste around the edge of the entire tag using a palette knife. I applied the paste thicker and chunkier in some areas than others to create pockets of texture.
Put the tags to one side so that the paste can dry ~ I usually leave mine overnight to ensure it’s rock hard.
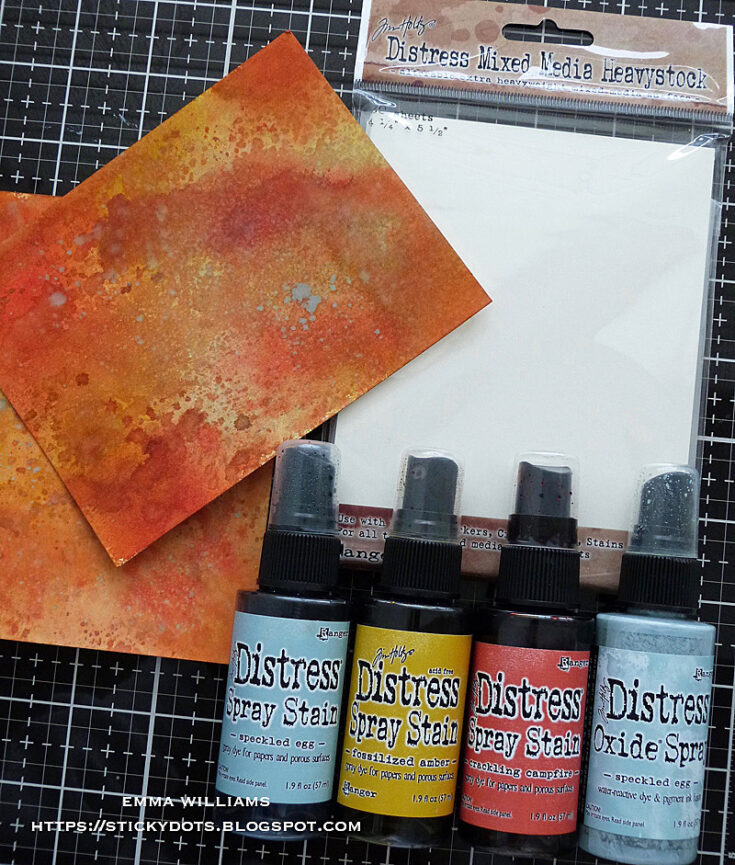
At this point, I started creating my leaves. I lightly spritzed pieces of Mixed Media Heavystock with a light misting of water and coloured the card panels with a combination of Crackling Campfire, Speckled Egg and Fossilized Amber Distress Spray Stains. I then spritzed another layer of water over the top, allowing the colours to blend together before heat drying the inked card. Once it was dry, I then lightly spritzed Speckled Egg Distress Oxide Spray over the inked surface, just allowing drips to fall onto the card.
When the coloured card is thoroughly dry, I took the Leaf Print die to die cut a selection of leaves ~ I used approximately 15 leaves for this piece.

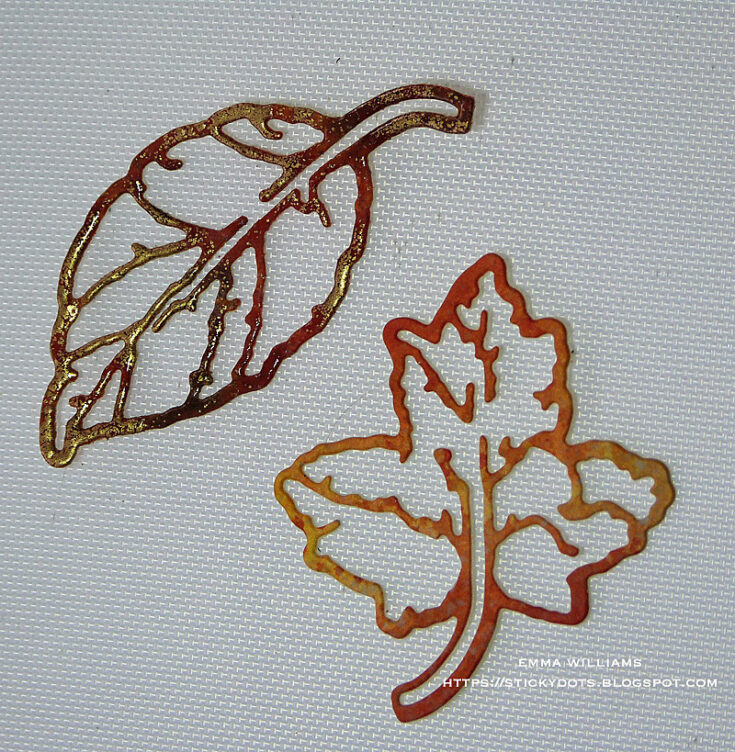
The clever thing about this die set is that you can cut the leaves in a variety of ways and I chose to cut some leaves to be used as solid pieces…
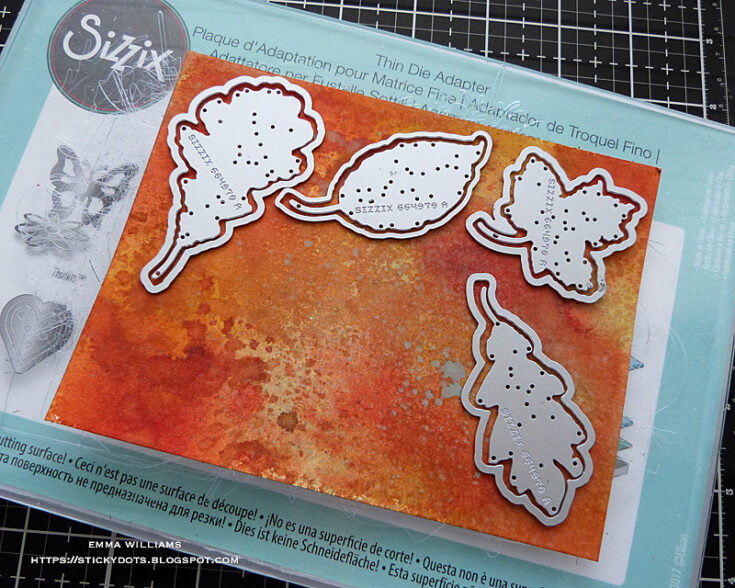
…and also cut a selection using the detailed die, together with the solid outline die and I will use these die cuts in two separate ways ~ some will be adhered over the top of the solid leaf die cuts, shown in step 9 and some will be left as they are, to create skeleton leaves.

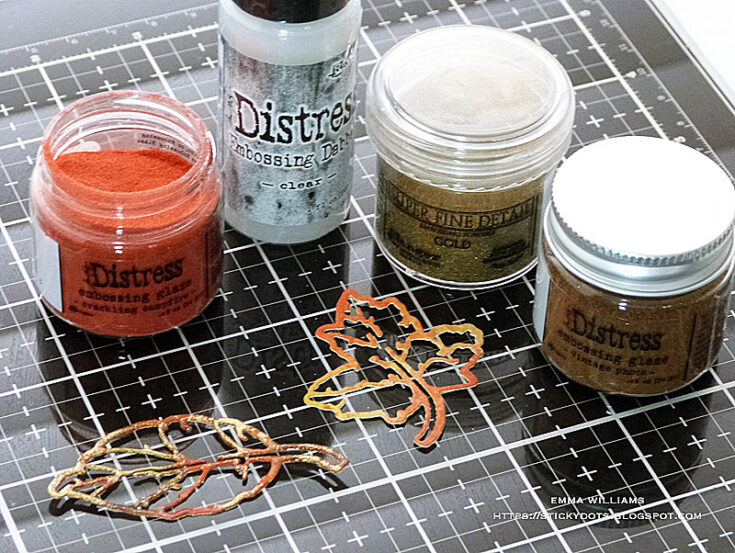
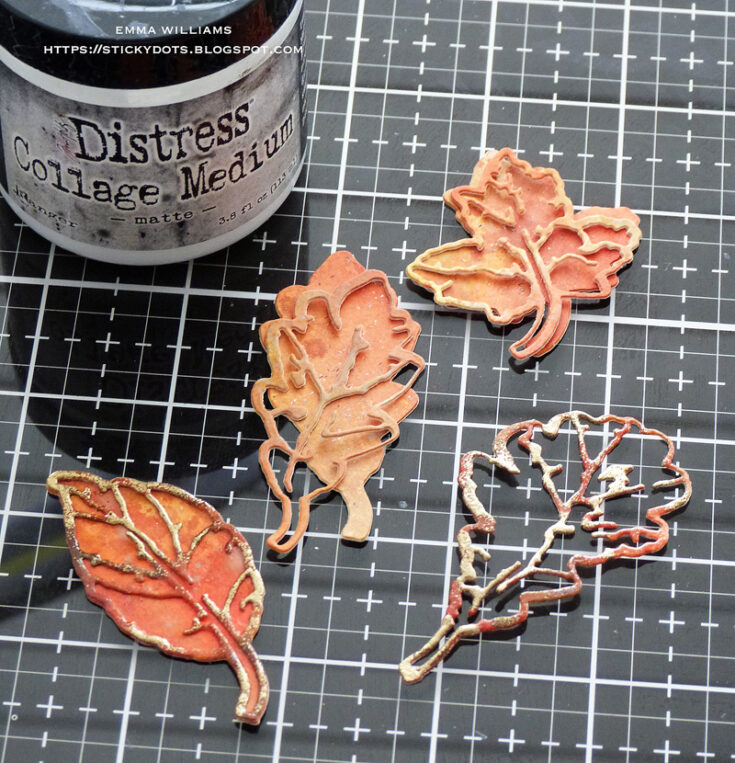
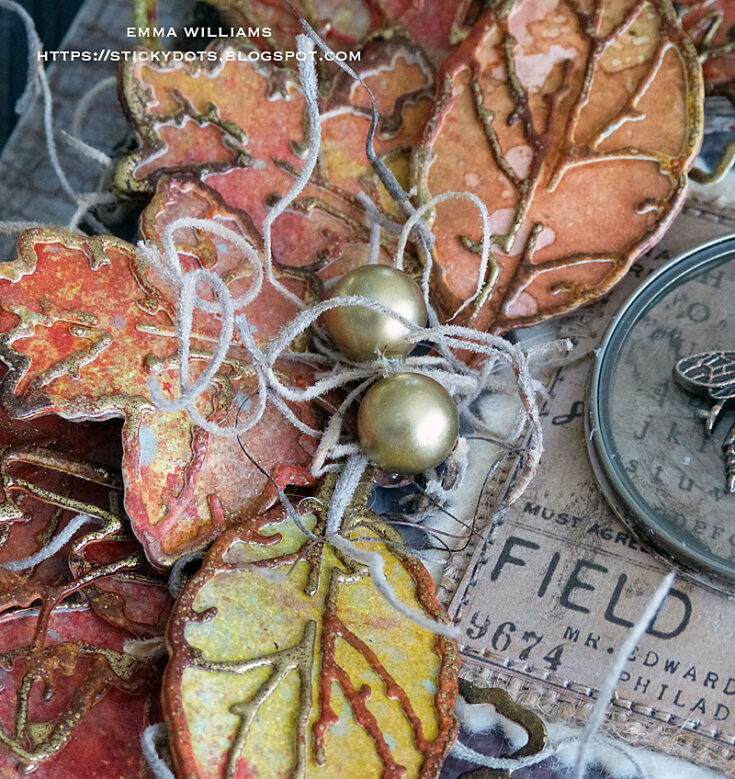
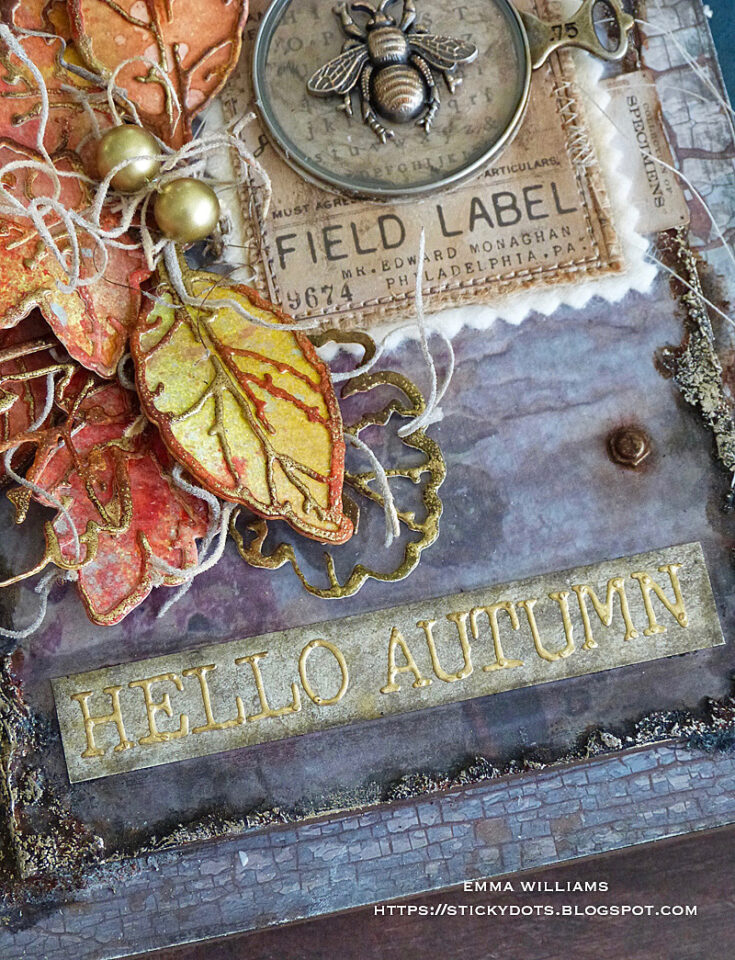
Once you have a selection of all the leaves you need, placing the solid leaves to one side, I took the outline die cuts and embossed these using a combination of Crackling Campfire and Vintage Photo Distress Embossing Glaze and Gold Embossing Powder. To apply these powders, I first used the embossing dabber directly onto the die cut leaf and then using one Embossing Glaze at a time, sprinkle the powder over the top. Tap away the excess powder and heat emboss until glossy and molten. To add gold highlights to each leaf, I applied the dabber to the embossed surface of the leaf, but made sure not to apply too much and not over the entire surface ~ you only want highlights. Sprinkle gold embossing powder over the top, tap away the excess and heat emboss.
Leaving a few of the embossed leaves to one side, I then used the remaining ones to add texture to the solid die cut leaves. I overlaid and attached each of them using Matte Collage Medium.
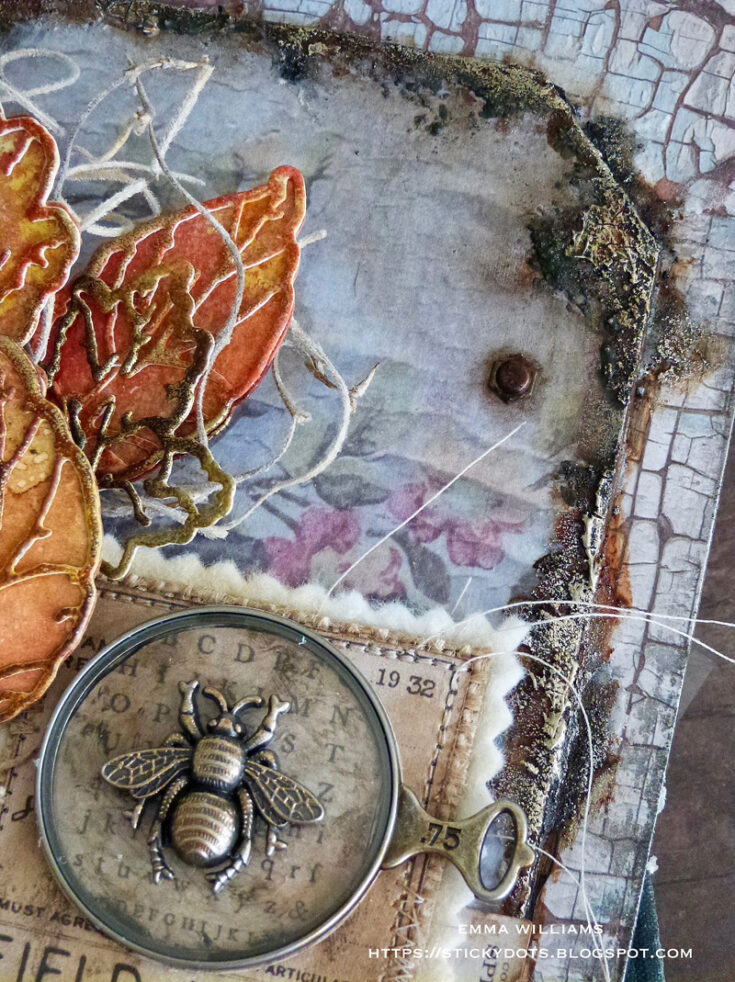
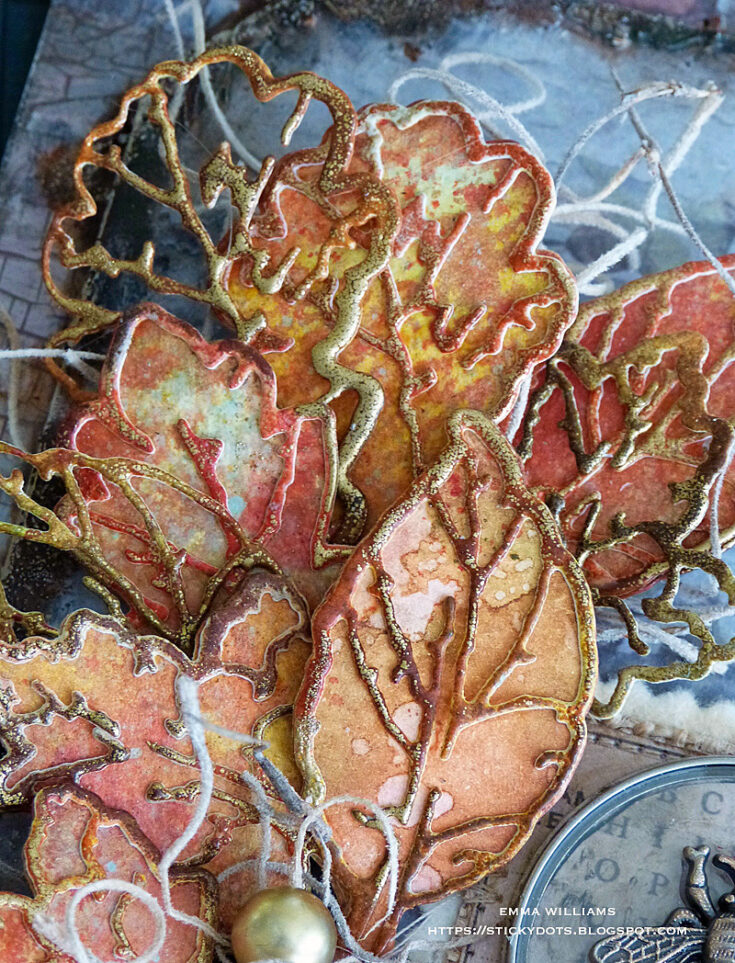
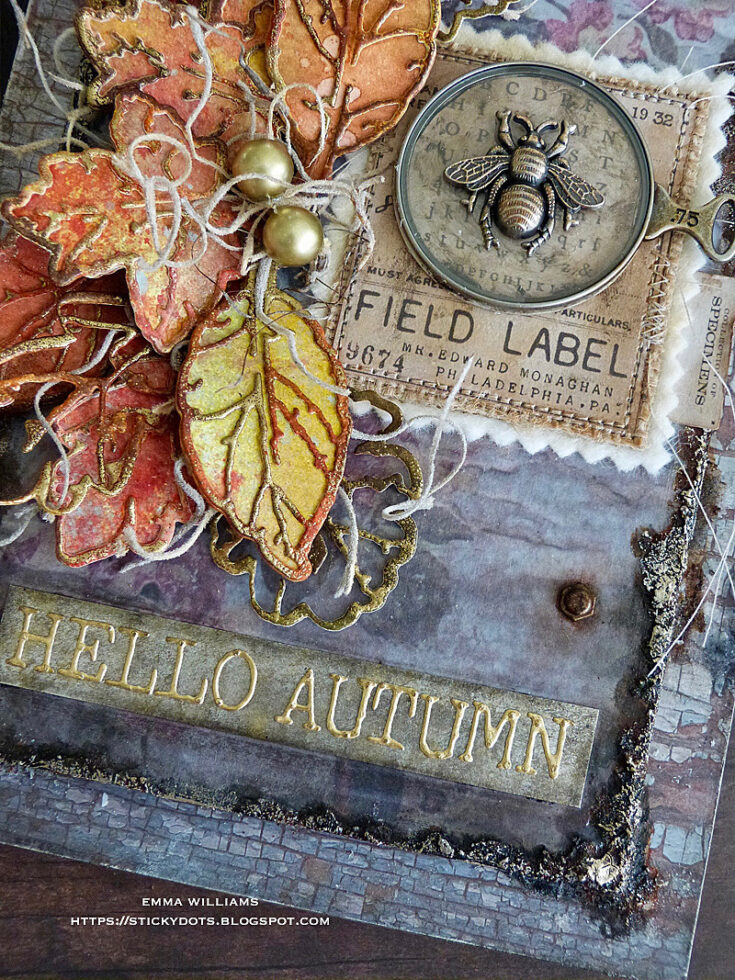
You can see from this close up photo how the embossing adds amazing texture to the die cuts and makes the leaves almost glow.
I now have all of my leaves ready and moving back to the layered tag, I wanted to add some colour to the textured paste around the edge of the mini tag and using a fine detail paint brush, painted over the top of the paste using Black Soot Distress Paint. When adding paint layers you do need to dry each layer between applications as you don’t want it to become muddy in appearance so at this stage, you can either be patient and wait for the paint to dry or if you’re like me, too impatient to wait, you can gently heat dry the painted area being careful not to apply to much heat as you don’t want the paste to bubble or melt.
To build up the layers of colour I then added some Rusty Hinge, Ground Espresso and Antiqued Bronze Distress Paints, applying each paint separately. Once I was happy with the colour, and the painted areas were dry ~ I applied a light coverage of Metallic Distress Crayons over the paste , using my fingertip to blend the metallic crayon over the bumpy, crusty surface.
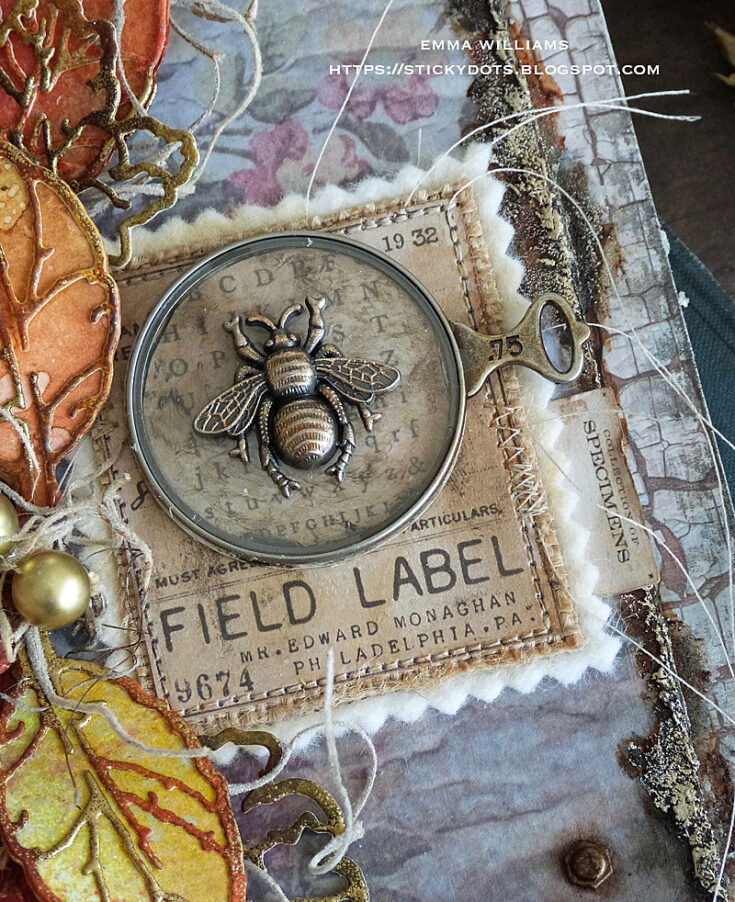
To create the label on the right hand side, I used a Field Notes Ephemera piece and machine stitched the label to a piece of felt that I cut with my pinking shears.
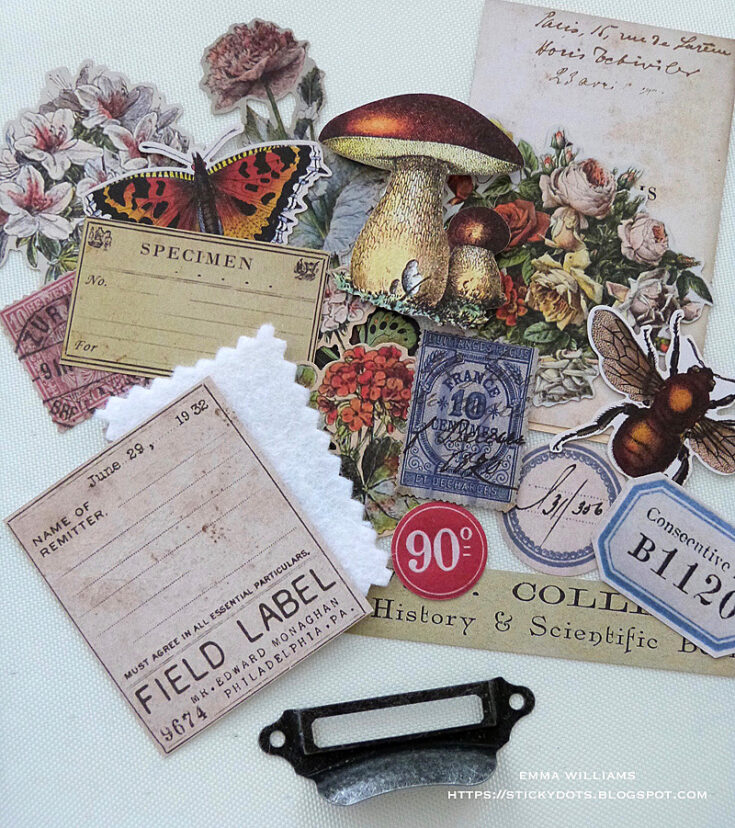
I also used a second Ephemera Piece which I placed behind an idea-ology drawer pull piece taken from the Hardware Pulls. I attached this to the top of my larger tag and added a Hardware Head to either side.
I used Matte Collage Medium to adhere the layered field label directly onto the tag and then attached an Optical Lens idea-ology piece.
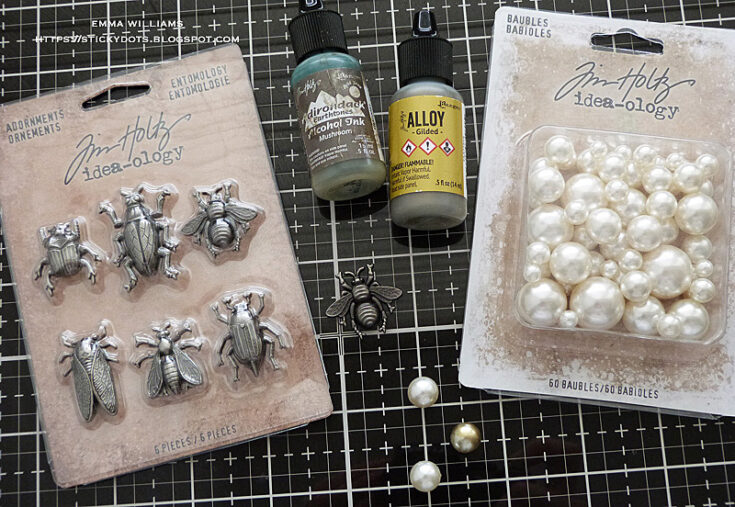
Using the bee from the Entomology Adornments set, I coloured the metal piece using an Alcohol Ink Applicator Tool to apply a combination of Mushroom Alcohol Ink and Gilded Alloy Alcohol Ink to the surface of the metal. I also inked a couple of Bauble Findings with the same inks.
Attach the bee to over the top of the Optical Lens.
I arranged the leaves down the left hand side of the tag, shaping them to create dimension and also adding and tucking in small bunches of Spanish Moss that I have in my stash, placing it in-between the layers.
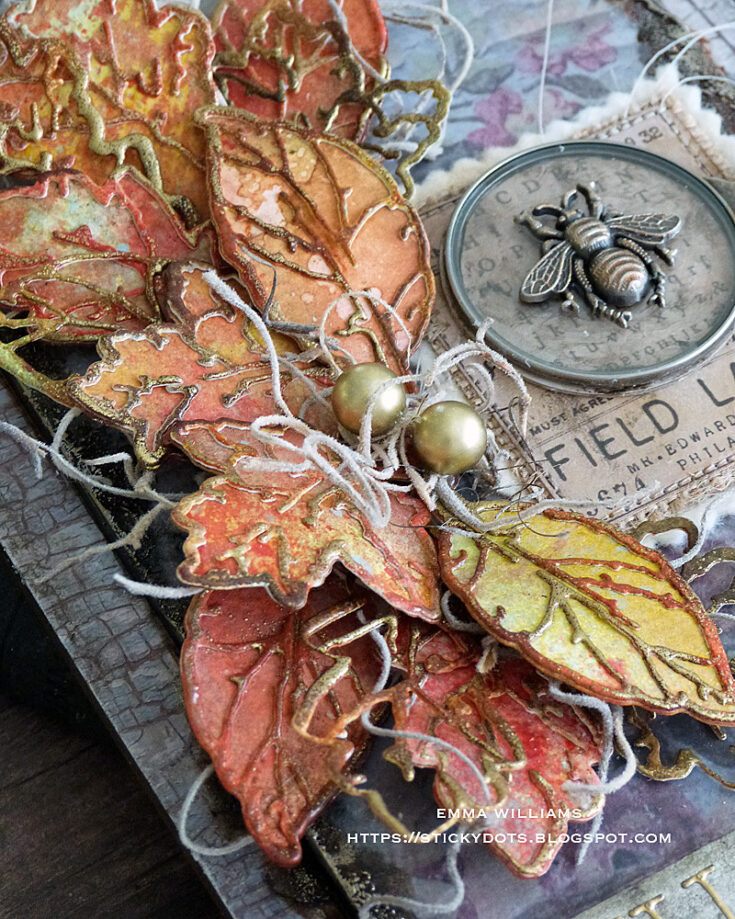
Attach the leaves with a hot glue gun, nestling them around the layered label and optical lens.
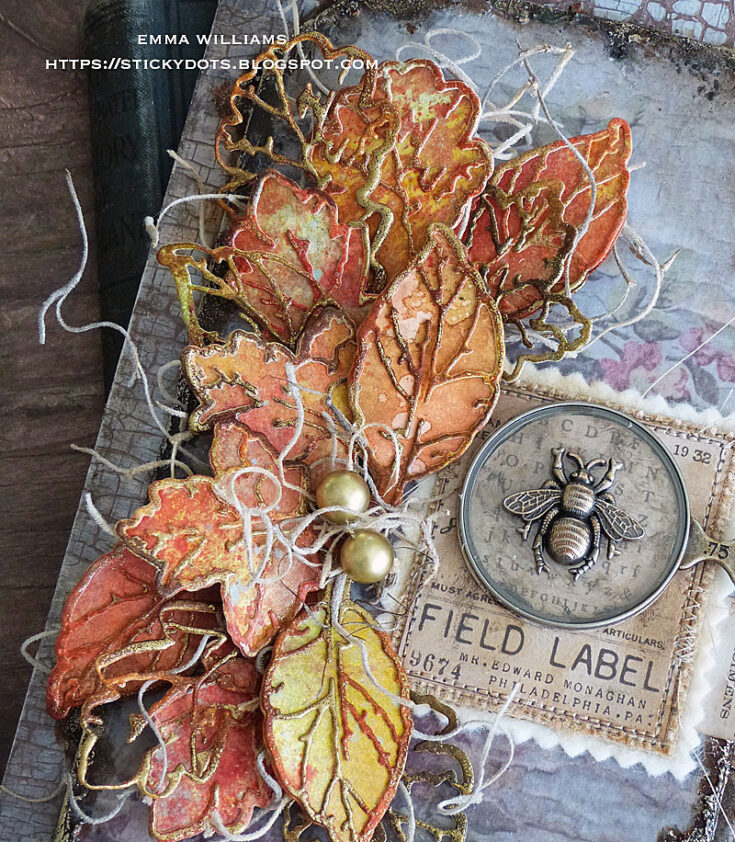
Add the two gold baubles in the centre of the arrangement.
To create the Hello Autumn banner, I cut a strip of silver metallic kraft stash and using a paint brush dipped into Black Soot Distress Paint, I lightly added the paint to the surface of the card strip. Wipe away the excess with a soft cloth before die cutting the lettering using the Alphanumeric Tiny Type Upper Thinlits Die Set from gold metallic kraft stash.
Adhere each of the letters to the silver banner strip before attaching the banner to the tag.
To complete the tag, I added two Hardware Heads to the right hand side, both of which I altered with Rust Alcohol Ink.
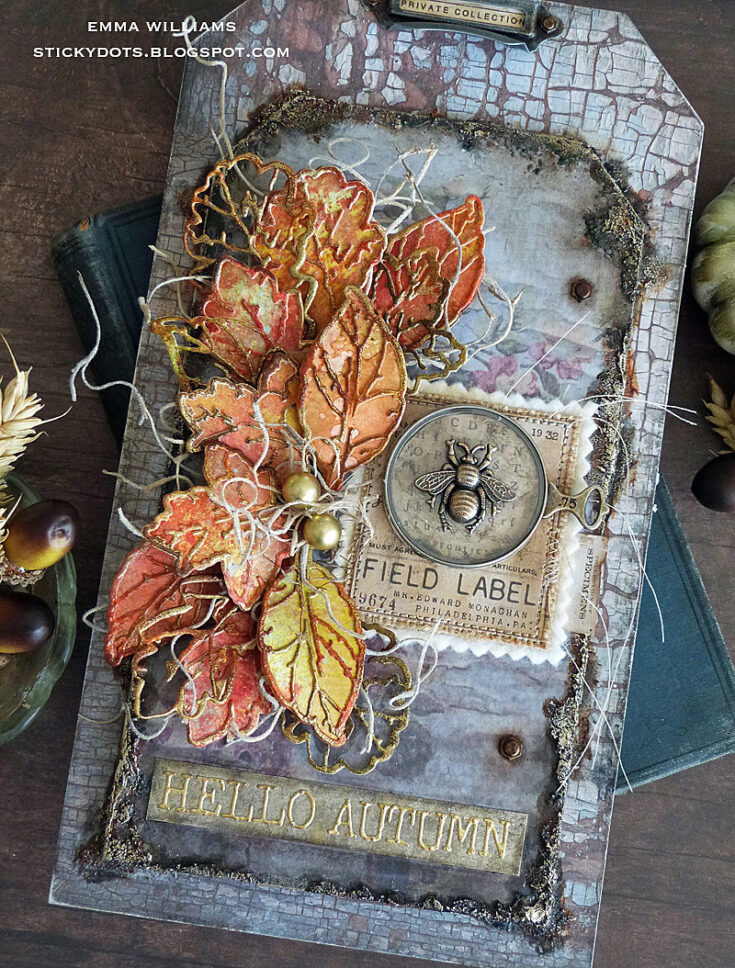
…and that finishing touch completes my autumnal home decor piece.
Thank you so much for stopping by today and I hope you love this project as much as I loved creating it. It’s been so much fun taking you through the creative process of this autumnal tag and I hope I’ve shown you some tricks and techniques that will inspire you with some ideas of your own. See you again soon…Emma x
SUPPLIES:
|


Thanks so much for stopping by, and thanks to Emma for being our guest!
Did You Know? August 2023 Edition: STAMPtember®!

Hi friends! Happy STAMPtember® eve! Today I have a new edition of our popular Did You Know series!
With STAMPtember® just a few weeks away, we’re gearing up for the year’s biggest celebration of stamping!! To get you ready, we thought it would be fun to give you a sneak peek into what you can expect for the month ahead—it all starts September 1st!
STAMPtember® 1st is a big deal!
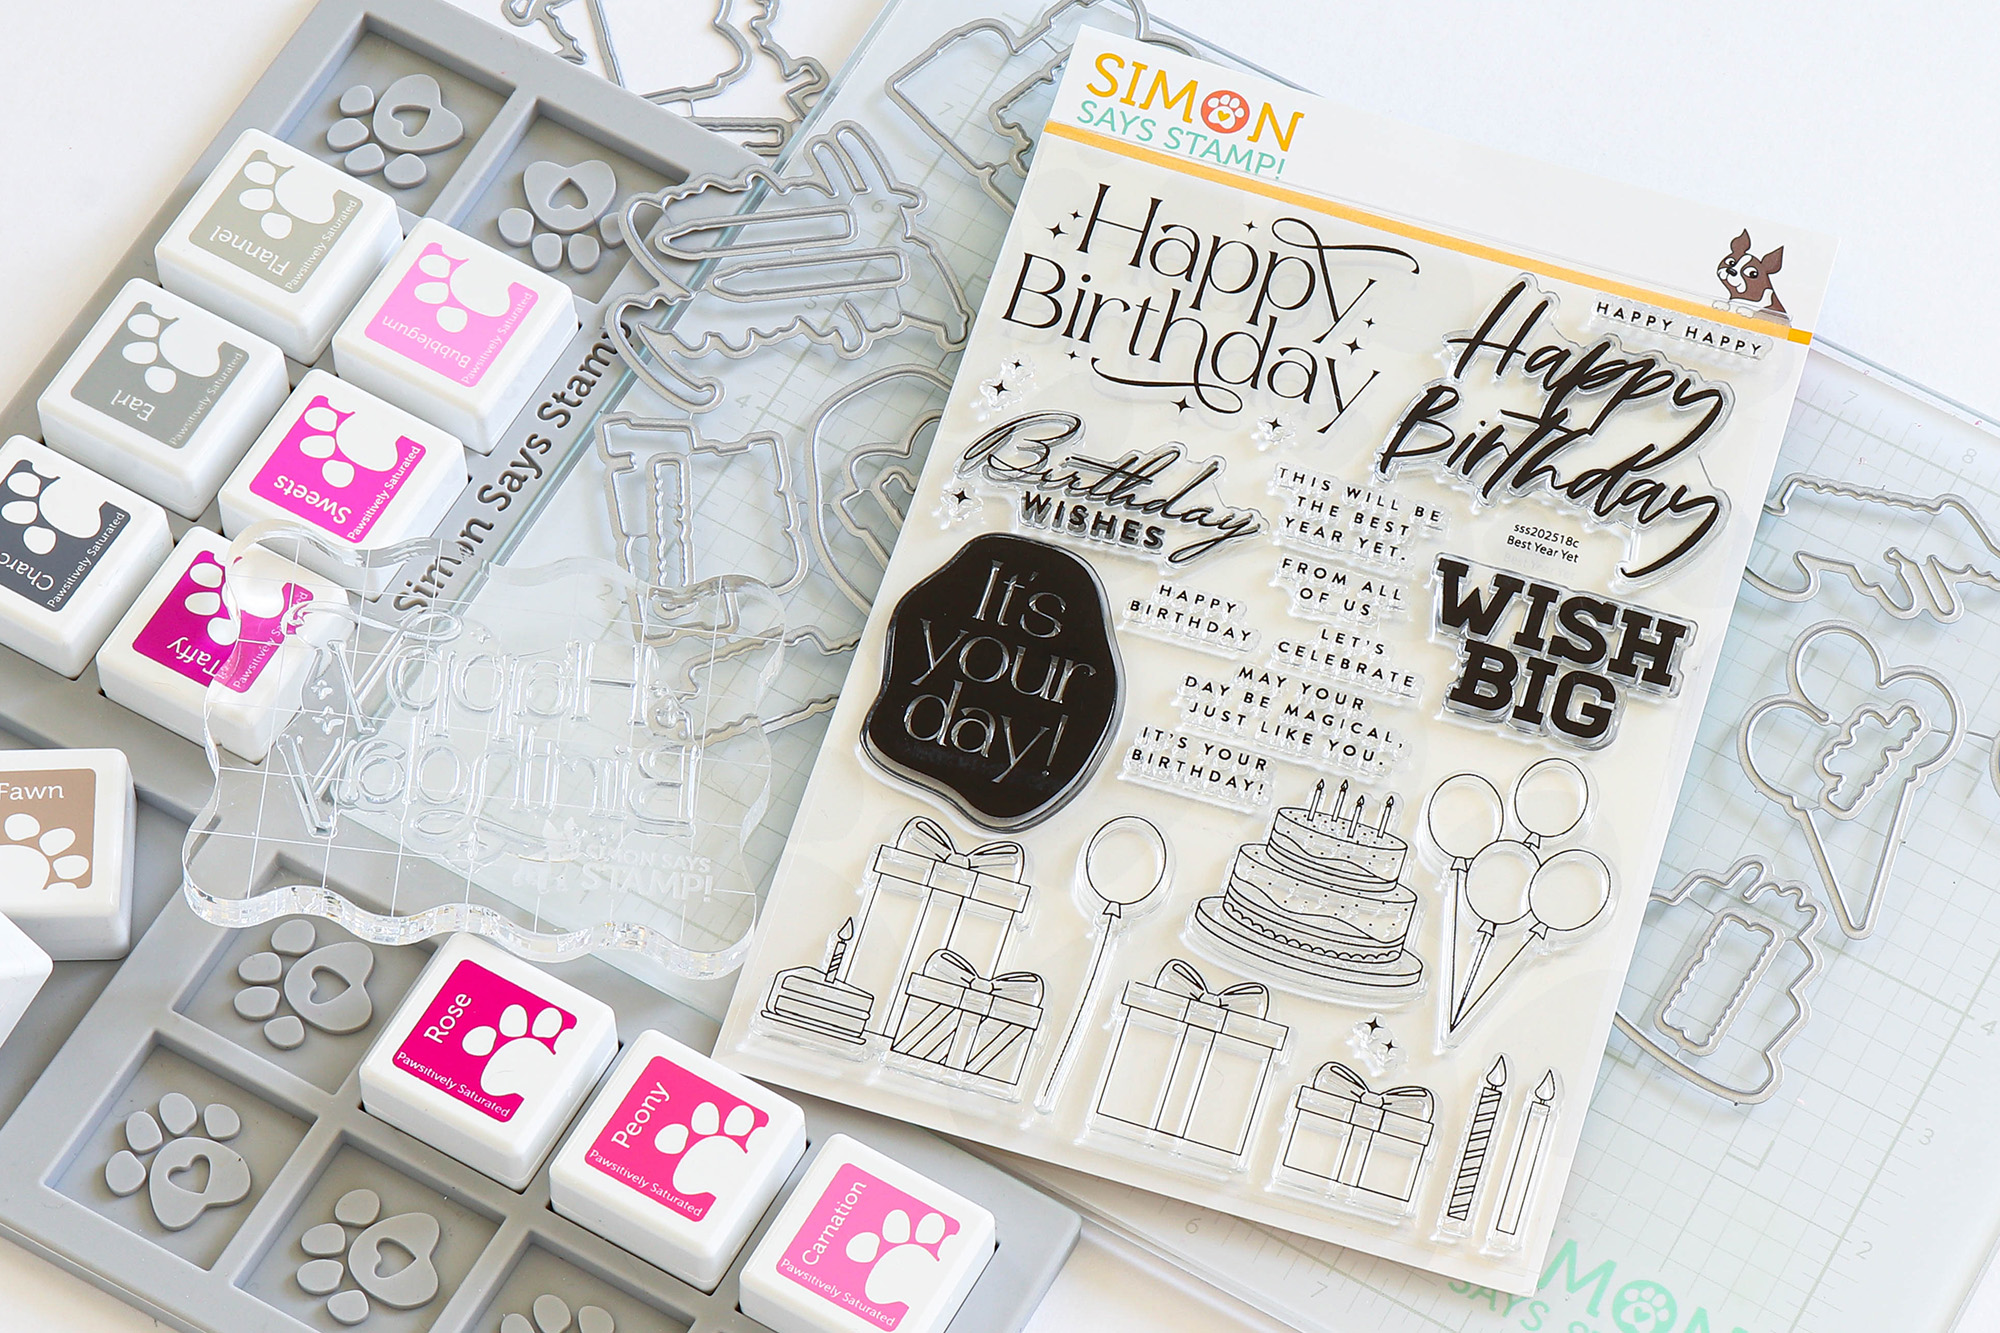
We kick off this special, month-long celebration with a GIANT Simon Says Stamp brand release on the 1st! These exclusive products are not limited edition; all of the Simon branded products released on STAMPtember® 1st (like all Simon branded releases) become a part of the Simon catalog and are restocked as needed.
STAMPtember® 3rd is Heidi’s birthday!
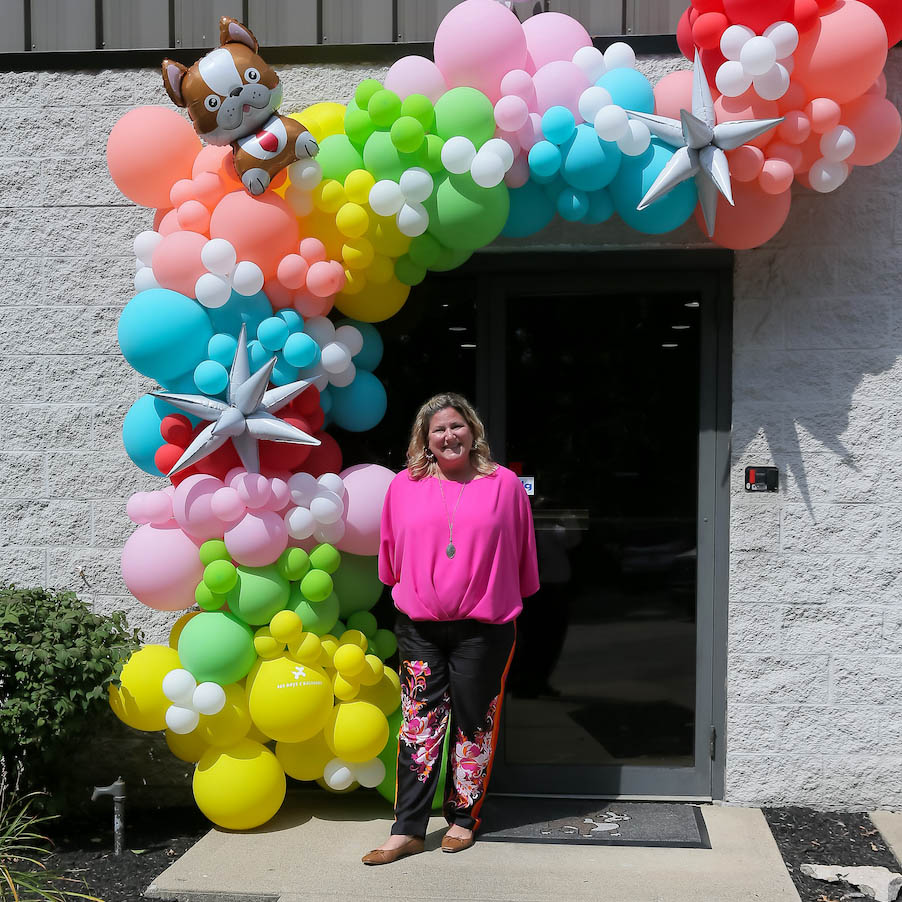
Our beloved founder and fearless leader, Heidi Crowl’s birthday is on Stamptember® 3rd! To celebrate her birthday, we give YOU gifts! Stay tuned to our Simon blog and store starting 9/2 to find out what gifts we’re unveiling (there are LOTS)!
All month we’re revealing surprises!

All STAMPtember® long exclusive collaboration stamp sets (many with coordinating dies) will be unveiled—designed by your favorite brands! These special sets are limited edition and only available while supplies last, so if you love it you’ll want to make sure to order it right away! Each collaboration set release date is a secret. This is what makes STAMPtember® so fun—every day is like a new present to unwrap!
Plus extra-specials surprises, too!


*examples of previous STAMPtember® Limited Edition Kits
On select days throughout the month, special limited edition kits will be released! These kits are not part of our usual monthly kit subscription and there are limited quantities available. Each one is jam-packed with crafty goodies that you can use to make cards, tags, mixed media projects, and more!
You could win a Golden Bone!
We place one Golden Bone (kind of like the golden ticket in Willy Wonka!) in a random order each week during STAMPtember®! If YOU find a Golden Bone in your order, you will win an assortment of Simon Says Stamp products from EVERY release for an entire year!
Hopefully by now you are REALLY excited for STAMPtember® to begin—we sure are! We can’t wait to celebrate the love of stamping with you and look forward to a month of sharing that joy together!
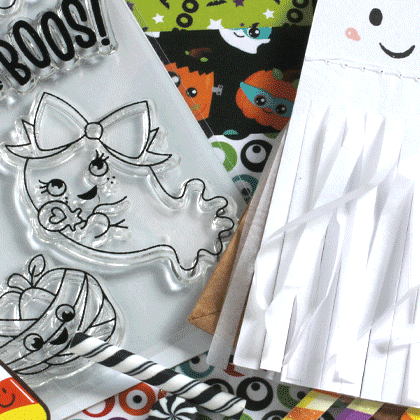
Funny Friday with Art Impressions: Halloween Scene
Hey, friends! It’s Shari Carroll here with another installment of our Funny Friday series with Art Impressions! I was intrigued when I saw the Halloween Front Porch Series stamp and die set and thought it would be fun to step forward into Fall a wee bit!

This is a scene-building stamp and die set featuring two sets. The Front Porch is the base set and has many styles of stamp sets that go with it. It’s also the perfect size for an A2 card.
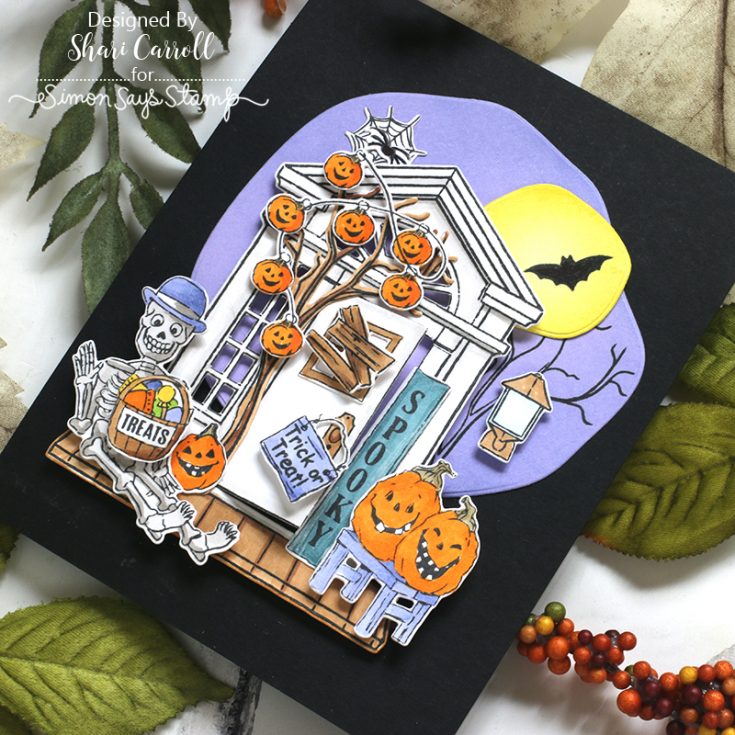
To see how this all came together, check out my video below.
SUPPLIES:
|