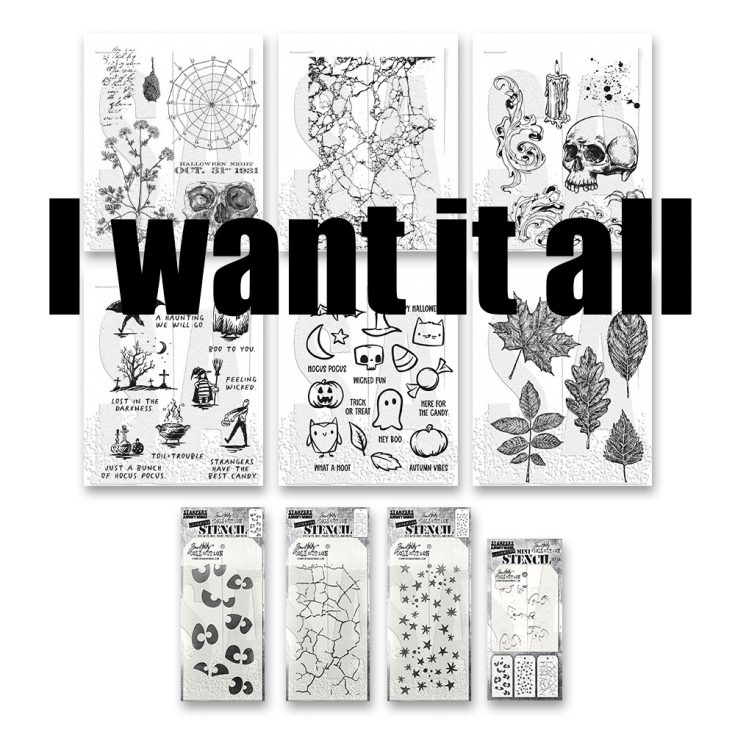
TREAT yourself to Brand NEW Tim Holtz Halloween Stamps and Stencils!
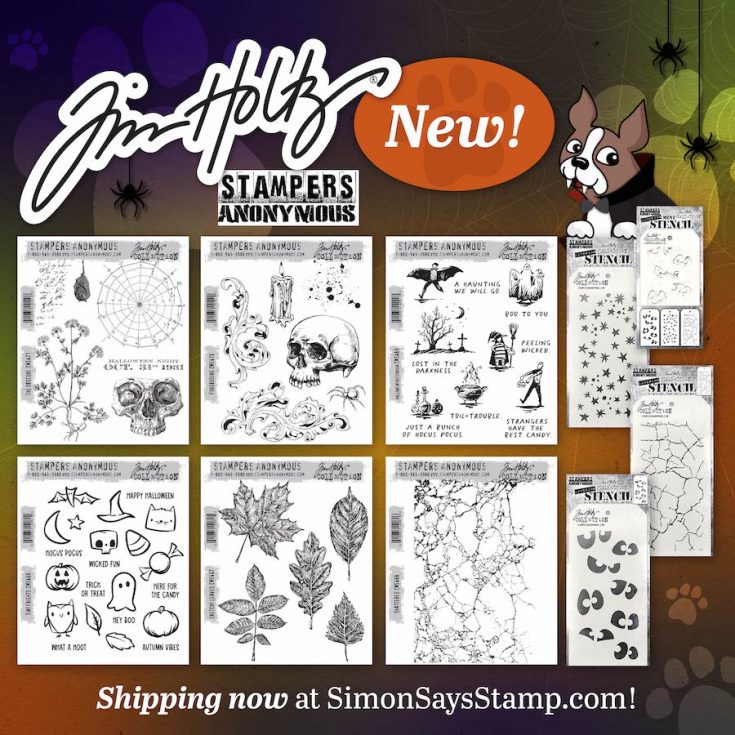
Happy dance, time!! Tim Holtz’s 2023 Fall and Halloween stamp and stencil collection is HERE and shipping now and it is SO cool! Peruse the entire collection to find a new favorite? Can’t pick a favorite?? (Me neither! ;)) We have also bundled the entire collection for you!
Simple Ink Blending with Cosmos Stencil: Yippee for Yana

Hi friends! Please join me in welcoming back the oh-so-talented and amazing Yana Smakula! (Please note: our dear friend Yana is Ukrainian. To show support to our brothers and sisters in Ukraine, please see Yana’s post HERE.)

Hello, crafters, this is Yana Smakula for Simon Says Stamp! Welcome back for another Yippee For Yana video!

In this video I’m ink blending a floral design with Simon Says Stamp Pawsitively Saturated inks and Layering Cosmos stencil.
I used the Waffle Flower Grip Mat as a surface to hold my paper (I’m using Neenah Solar White) and stencil. I picked Simon’s small and detail blending brushes to do my ink blending and my plan was to ink blend from the outside in. Ink blend the flowers from the outside of the petal to the inside of the petal making sure the outside of the petal is where I focus most of the ink and keep the base of the petal nearly white.

This is the opposite of what I usually do, I usually blend flowers from the center out, so the petals are mostly colored, with very little to no white, here I wanted a different effect, so I decided that blending from the tip of the petal to the base of the petal was a better option.
I used using a combination of 2 ink shades for each flower: Sunbeam, Citrine, Guava, Watermelon, Cantaloupe, Melon.
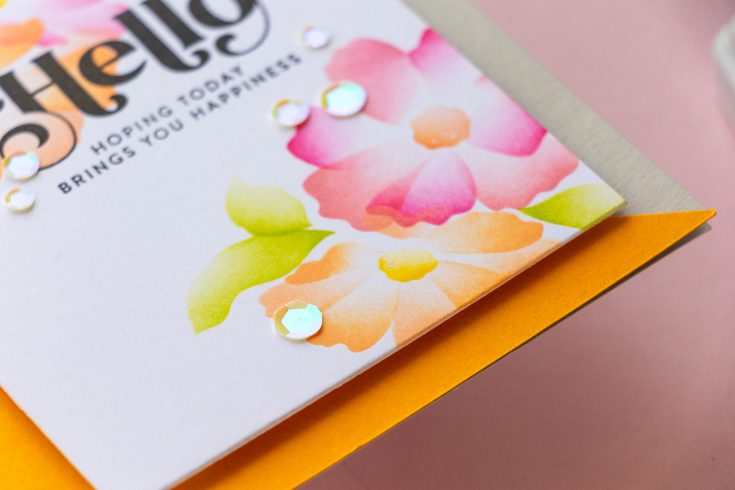
With this stencil, you have 2 layers to each flower so you can easily do 2 colors of ink to give the flower more definition.
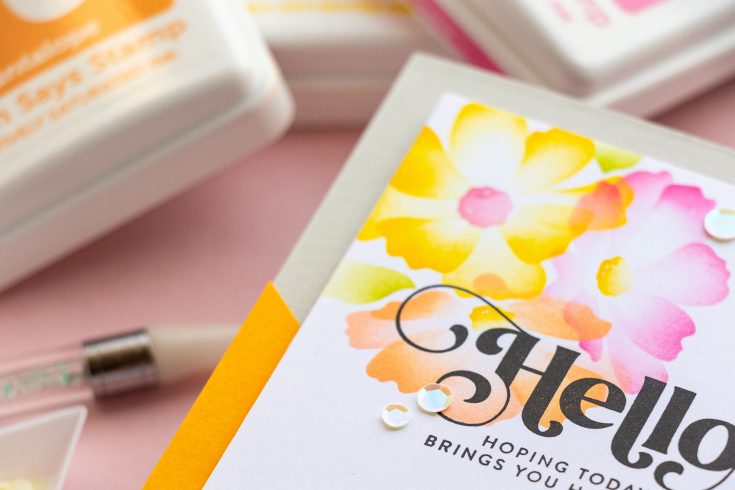
Using a small blending brush gives me a lot more control over where the ink is applied and how the ink is blended. I also used the tiniest brushed to ink blend flower centers. With the ink blending done I placed the panel inside my mini MISTI stamping tool and stamped a sentiment using Elegantly Modern Greetings and Tiny Words Encouragement stamp sets in VersaFine Onyx Black ink. I created an A2 card base using Simon’s Fog cardstock, added a piece of yellow cardstock to add interest to the background and foam-mounted the stamped and ink-blended panel on top. Lastly, I embellished the card with Aura sequins from Spellbinders.
Have fun crafting!
WATCH THE VIDEO:
SUPPLIES:
|


Thanks so much for stopping by, and thanks again to Yana for being our guest!
Ways to support Ukraine:
If you are looking for ways to support Ukraine, we encourage you to visit this page on Yana’s blog:

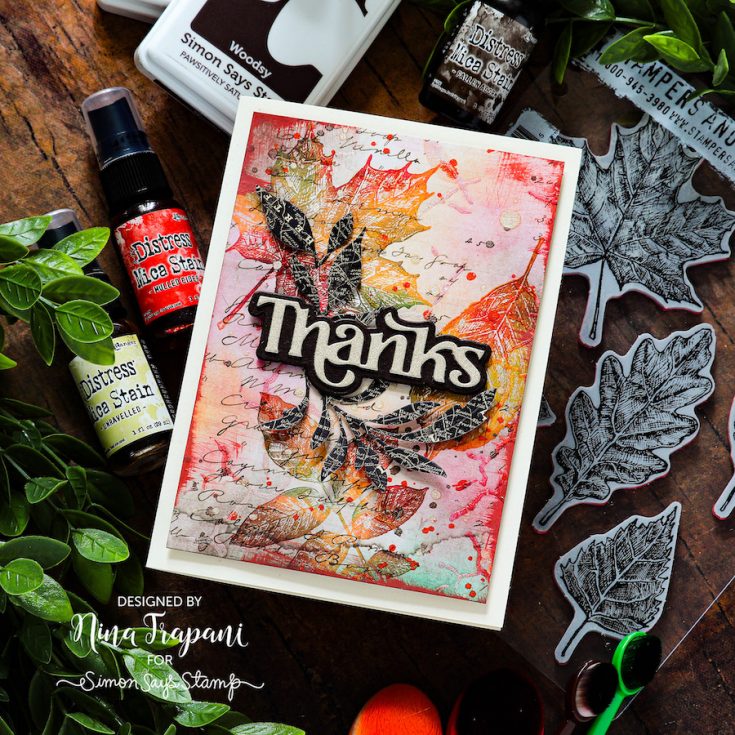
5 Ways in 5 Days Crafty Series BONUS DAY: Layering Stencils
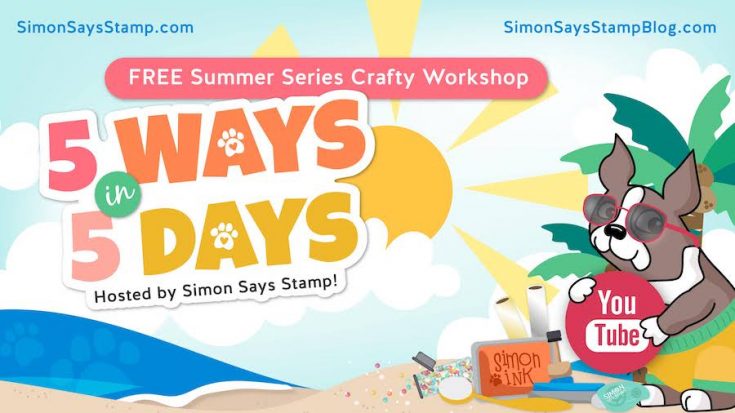
Hello friends, please join me in welcoming special guest Nichol Sphor for our final bonus day of our 5 Ways in 5 Days series! We are delighted to bring this series to you that includes a list of incredible designers including: Laura Bassen, Kristina Werner, Cathy Zielske, Shari Carroll, Nina-Marie Trapani, Caly Person, Yana Smakula, and Nichol Spohr!
Throughout this series spanning August 15th-22nd, you’ll be learning 5 ways to use some of your favorite crafty products. (Plus! Spoiler alert, you’ll actually have 8 DAYS of education! That’s a total of 40 crafty ideas that will be provided for you for FREE to keep your creative juices flowing!!) Today we’re going to focus on FIVE ways to use Layering Stencils!

The 5 Ways Showcasing Layering Stencils are:
- Embossing Folders Over a Layered Stencil
- Use Multiple Colors of Paste
- Distress Mica Stains Application Through Layering Stencils
- Stamping Text over Layered Stencils
- Masked Text Stamping Through Layered Stencils
WATCH THE VIDEO:


SUPPLIES
|