Try Layered Stamping: A Classy Christmas Tree Card Idea: Yippee for Yana

Hi friends! Please join me in welcoming back the oh-so-talented and amazing Yana Smakula! (Please note: our dear friend Yana is Ukrainian. To show support to our brothers and sisters in Ukraine, please see Yana’s post HERE.)

Hello, crafters, this is Yana Smakula for Simon Says Stamp! Welcome back for another Yippee For Yana video!
In this video I’m creating a Christmas Card, this project is very easy to make, easy to copy, and easy to mass produce. The card features a stylish Clean and Simple design with a lot of drama achieved with the help of colored cardstock.

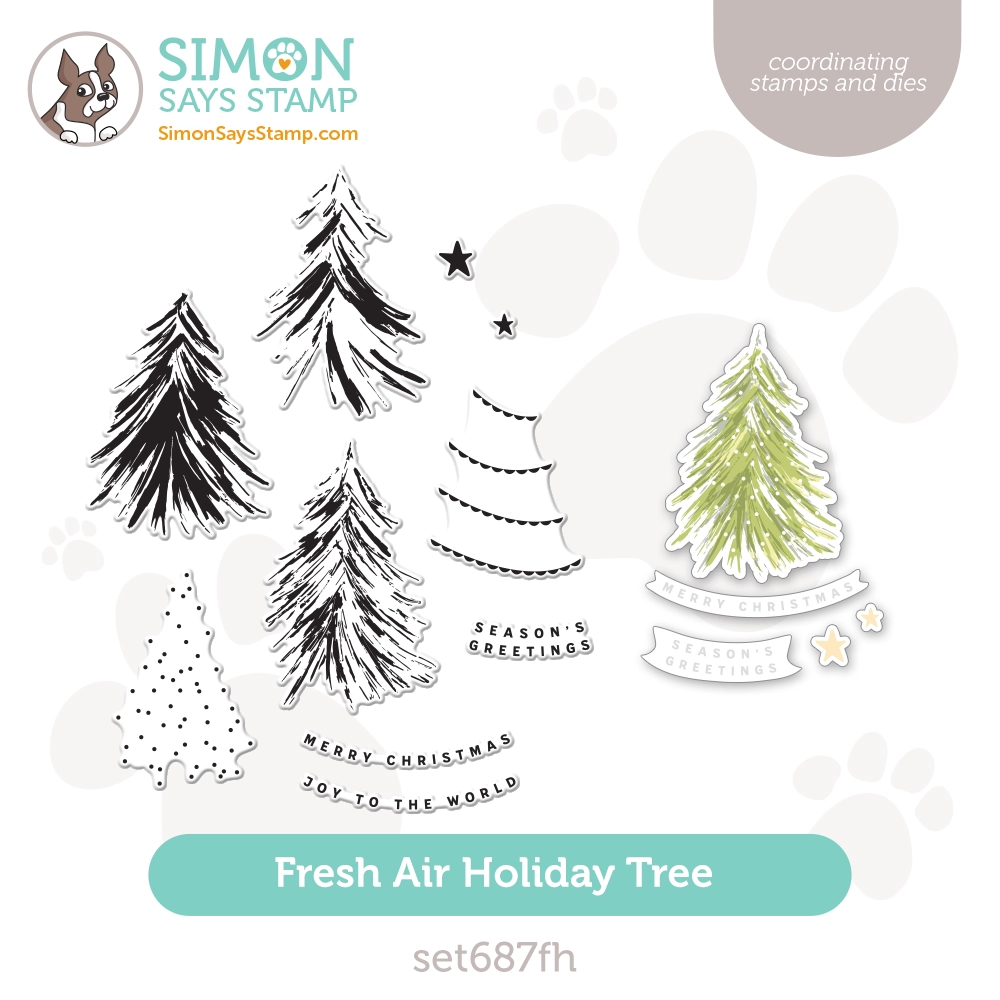
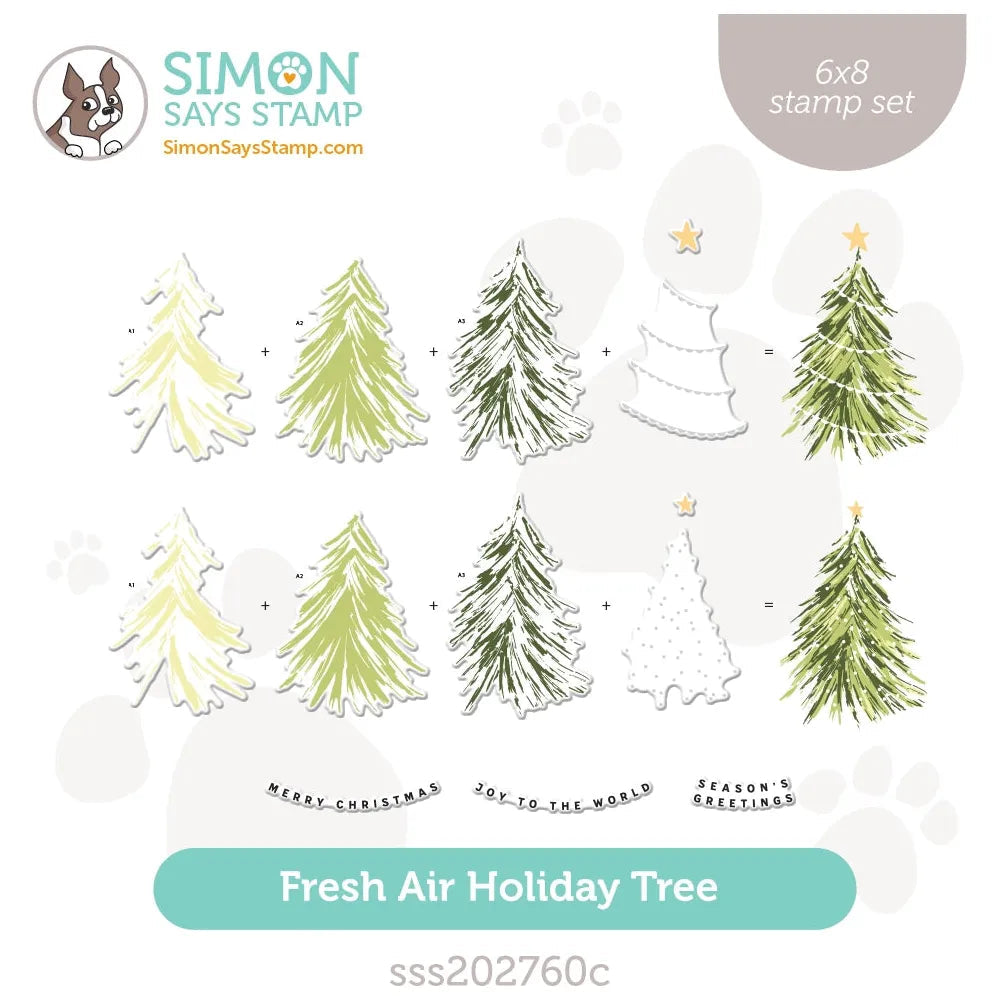
I’m using a new stamp set from Simon – Fresh Air Holiday Tree and it is gorgeous! It is a layering set and I’m a huge fan of sets like this, especially when they are done well and believe me when I say, this one is done exceptionally well. This brushstroke Christmas tree design is stunning.

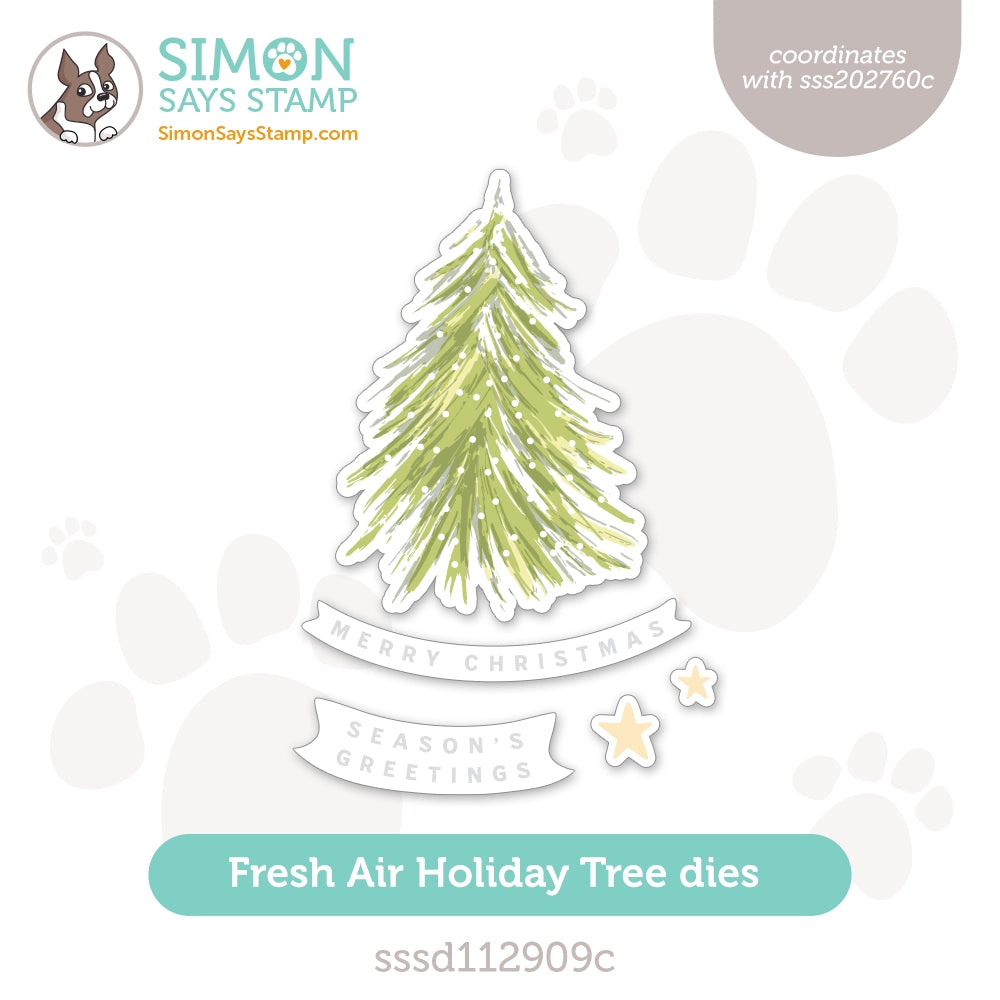
To create this card I first used the coordinating die and die cut a tree from white cardstock. Next, I used the die cut as a guide to align the layers and stamp them in Pine, Sage, and Field inks. I added a garland layer using Antique Gold embossing powder (there’s also an option to add snow, and you can even combine both options if you want).

I heat embossed one of the longer sentiments at the bottom of the Soft Navy cardstock panel and added ink blending with Simon’s Royal and Tsukineko Onyx Black inks from the top and foam mounted a Christmas Tree die cut in the center. Love the result!
Have fun stamping!
WATCH THE VIDEO:
SUPPLIES:
|


Thanks so much for stopping by, and thanks again to Yana for being our guest!
Ways to support Ukraine:
If you are looking for ways to support Ukraine, we encourage you to visit this page on Yana’s blog:

Lawn Fawn Christmas Mistletoe Card Idea

Hi friends! Happy Sunday! I’m delighted to welcome back from Lawn Fawn a very special guest designer, Elise Constable! She’s made this gorgeous holiday card to inspire! Read on to learn more and enjoy!
Hi everyone! I’m so excited to be back on the SSS blog today with a Christmas card to share with you all!
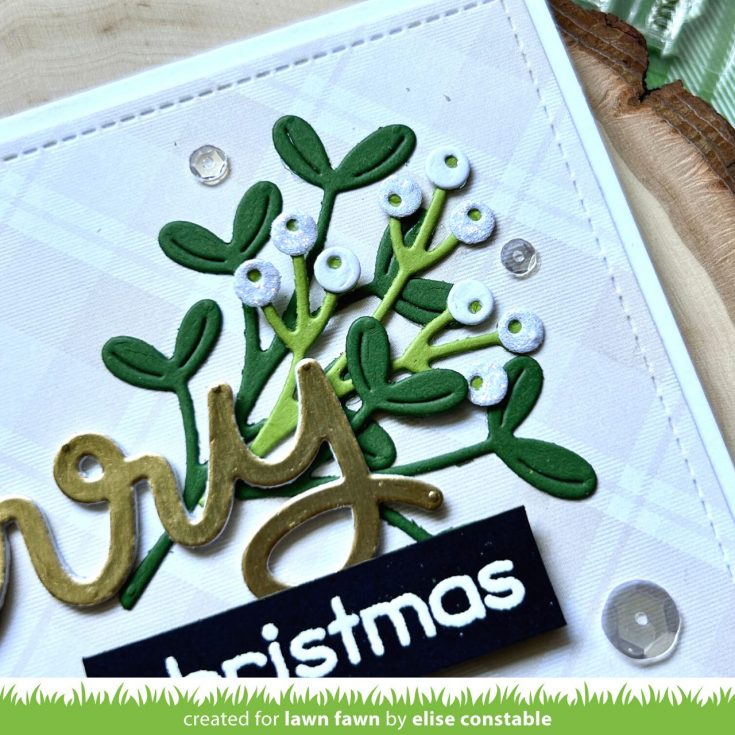
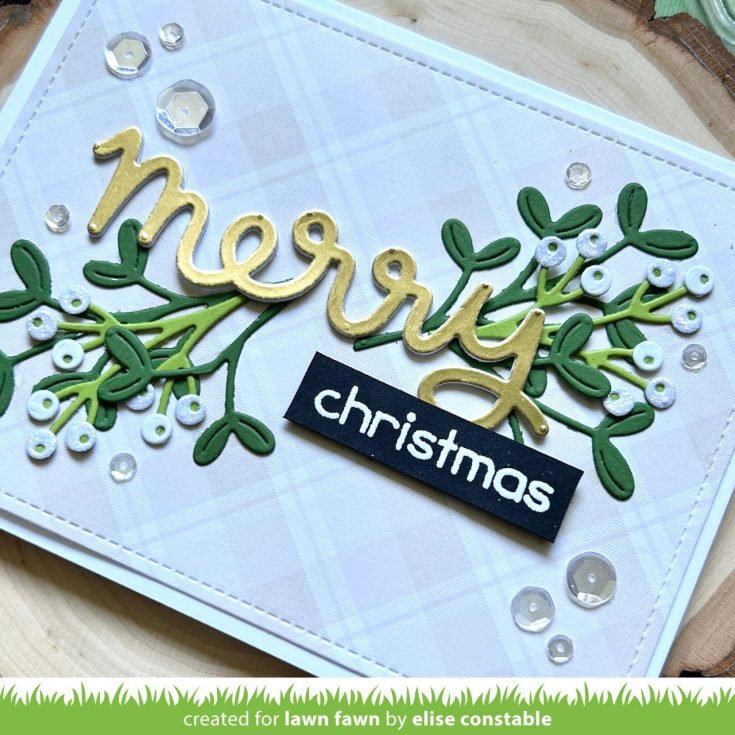
I started by die cutting a piece of patterned paper from the Favorite Flannel paper pack with the Outside In Stitched Rectangle die, and adhering it to a white card base. Then, I die cut the leaves and branches from the Merry Mistletoe set from Noble Fir and Cilantro cardstock. I decided to switch up the colors of the berries on the branches, and instead of red, I chose to cut the berries from Pixie Dust and white cardstock.
I love to make the sentiment the star of the show, so I used the Merry Christmas Script (only used the Merry)to cut the sentiment with gold metallic cardstock. The gold sentiment pops so nicely against the greenery on the card!
After arranging the branches and sentiment on the card, I glued the piece into place. I only glued the stems of the mistletoe die cuts so that the leaves could pop up a bit from the card for extra dimension.
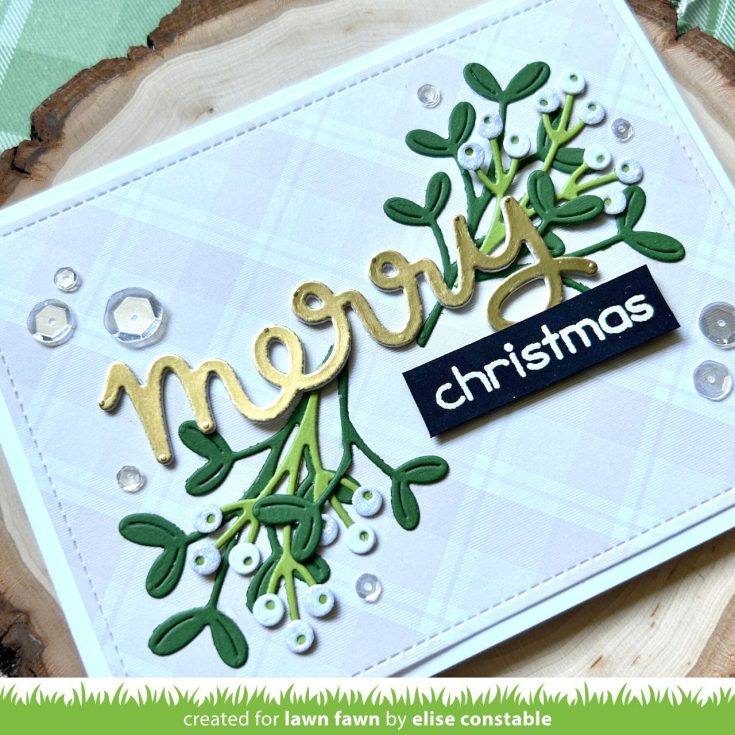
Next, I used embossing ink and white embossing powder to heat emboss the “christmas” sentiment onto Black Licorice cardstock. The “christmas” stamp is from the Christmas Before ‘n Afters stamp set. After cutting out the “christmas” sentiment and attaching it with foam tape, I glued a few clear sequins onto the background.
Thanks so much for stopping by and I hope this has inspired you to make some Christmas cards today!– Elise
SUPPLIES:
|


Thanks so much for stopping by, and thanks to Elise for being our guest!
A Sparkly Surprise from Tim Holtz Distress!
Did you catch Tim Holtz’s sparkly surprise during his Halloween Livestream on his channel yesterday? If you can believe it, today marks the 10 year anniversary of the AMAZING Tim Holtz Distress Rock Candy Vintage Inspired Clear Glitter! To commemorate this special occasion this amazing LARGE jar of this sparkly goodness is available for a limited time! Don’t miss it!


