More November 2023 Card Kit Inspiration with Kristina Werner
Hi all! Kristina here. :)
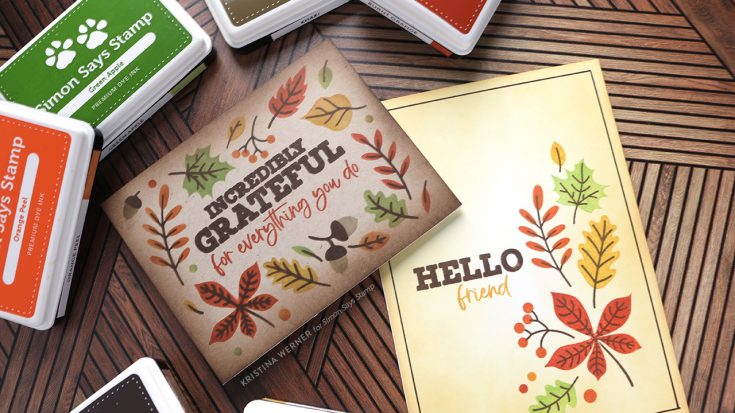
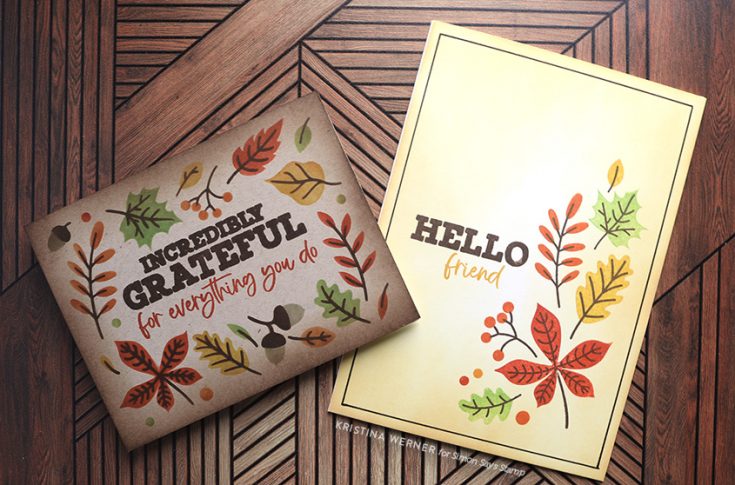
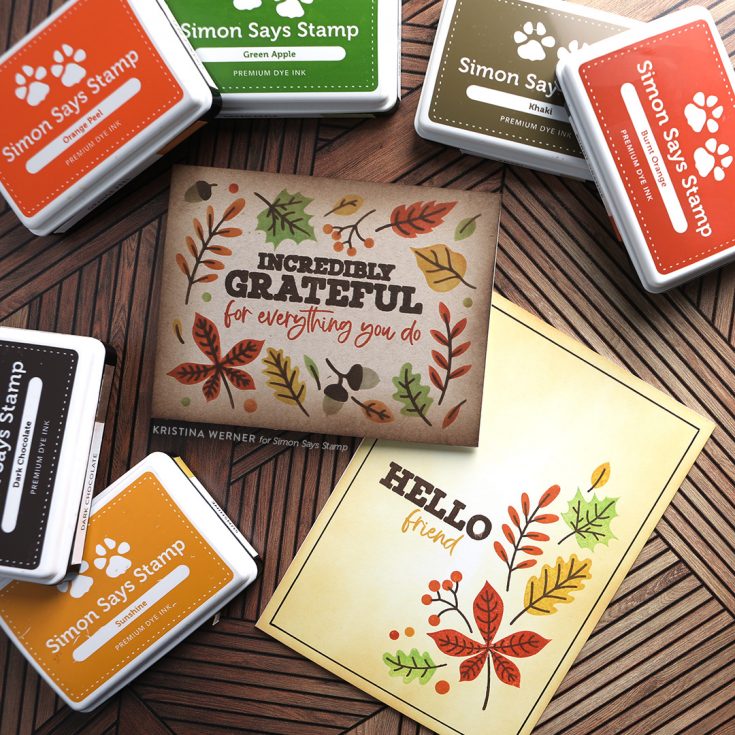
Today I have two cards for you that I made using the November 2023 Card Kit. I used the Cozy Autumn Hugs stamp set and the Autumn Frame stencil set included in the kit, and lots of ink colors.
You can pick up the November 2023 Card Kit HERE, or subscribe to receive this kit and future kits HERE.
Enjoy the video!
Supplies
|


Create a Holiday To-Do List Tag: EZ with CZ

Hi friends! Happy Monday! Please join me in welcoming back Cathy Zielske to the blog for the latest edition of EZ with CZ for a super fun and quick holiday tag idea! Take it away, CZ!
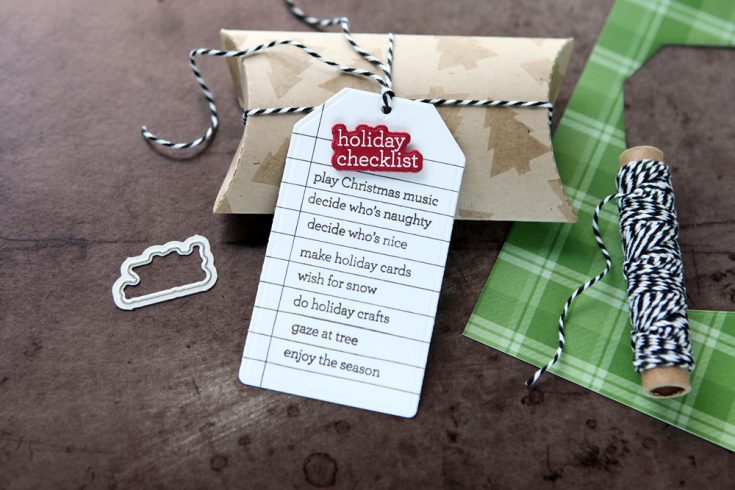
Hey everyone, it’s Cathy Zielske back with another installment of EZ with CZ! Today I am sharing a really cute little holiday tag that doubles as a holiday to do list! In the Simon Says Stamp Season of Wonder release, I added a new stamp set to my collection called Noted, Holiday. This stamp set is an add-on to my original Noted 6 x 8 stamp set.
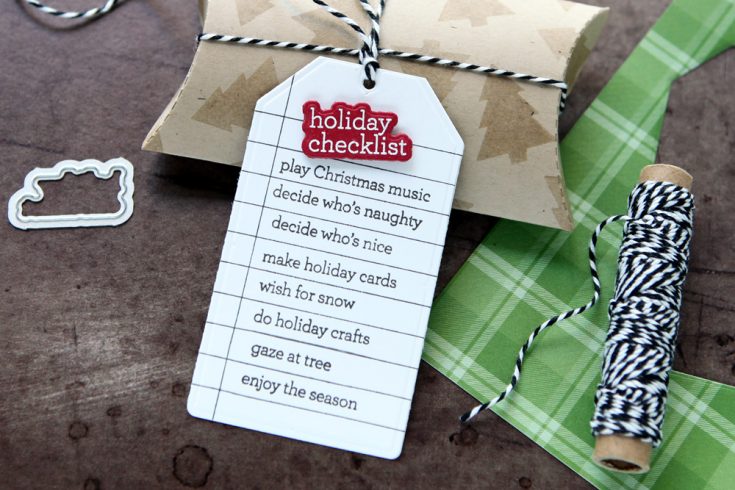
But for today’s video, I wanted to take the lined stamp from Noted and turn it into a cute little holiday to do list using my new stamps! Here is my tutorial, showing you how quickly it comes together!
WATCH THE VIDEO:
I love to finish tags off by putting a tag on the back and I thought that the Lawn Fawn Favorite Flannel was the perfect paper to do just that.
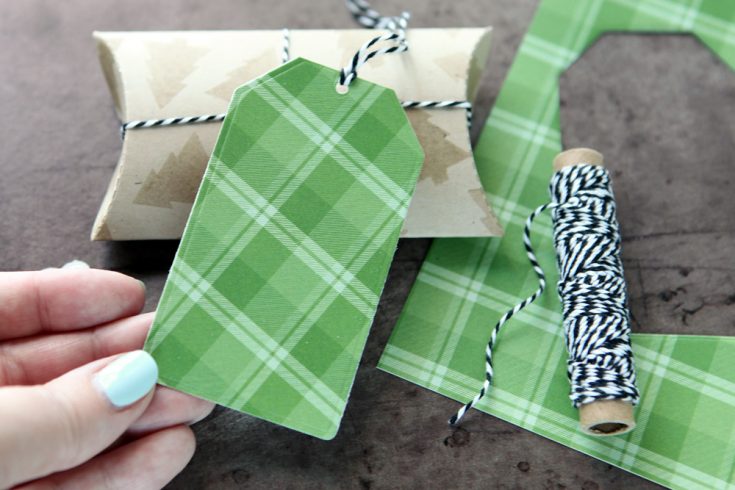
Plus, it gives you space to write a little message if you plan on using this as a gift tag to pop onto a package. I made a little Pillow Box using a die from Lawn Fawn (off camera) and stamped a few clear embossing ink trees to create a tiny treat box! Simon Says Stamp also has a charming little Pillow Box die, as well! They are so fun to create.
Thanks so much for stopping by and I’ll see you again next month!
SUPPLIES:
|


Thanks so much for stopping by, and thanks to CZ for being our guest!!
Jolly, Festive, and oh-so SWEET Santa Card!

Hi friends! Happy Sunday! If you’re anything like me, this sweet card will make you smile the instant you see it! Colorful, crisp, and just the right amount of jolly, you’ll want to read on for all the details!
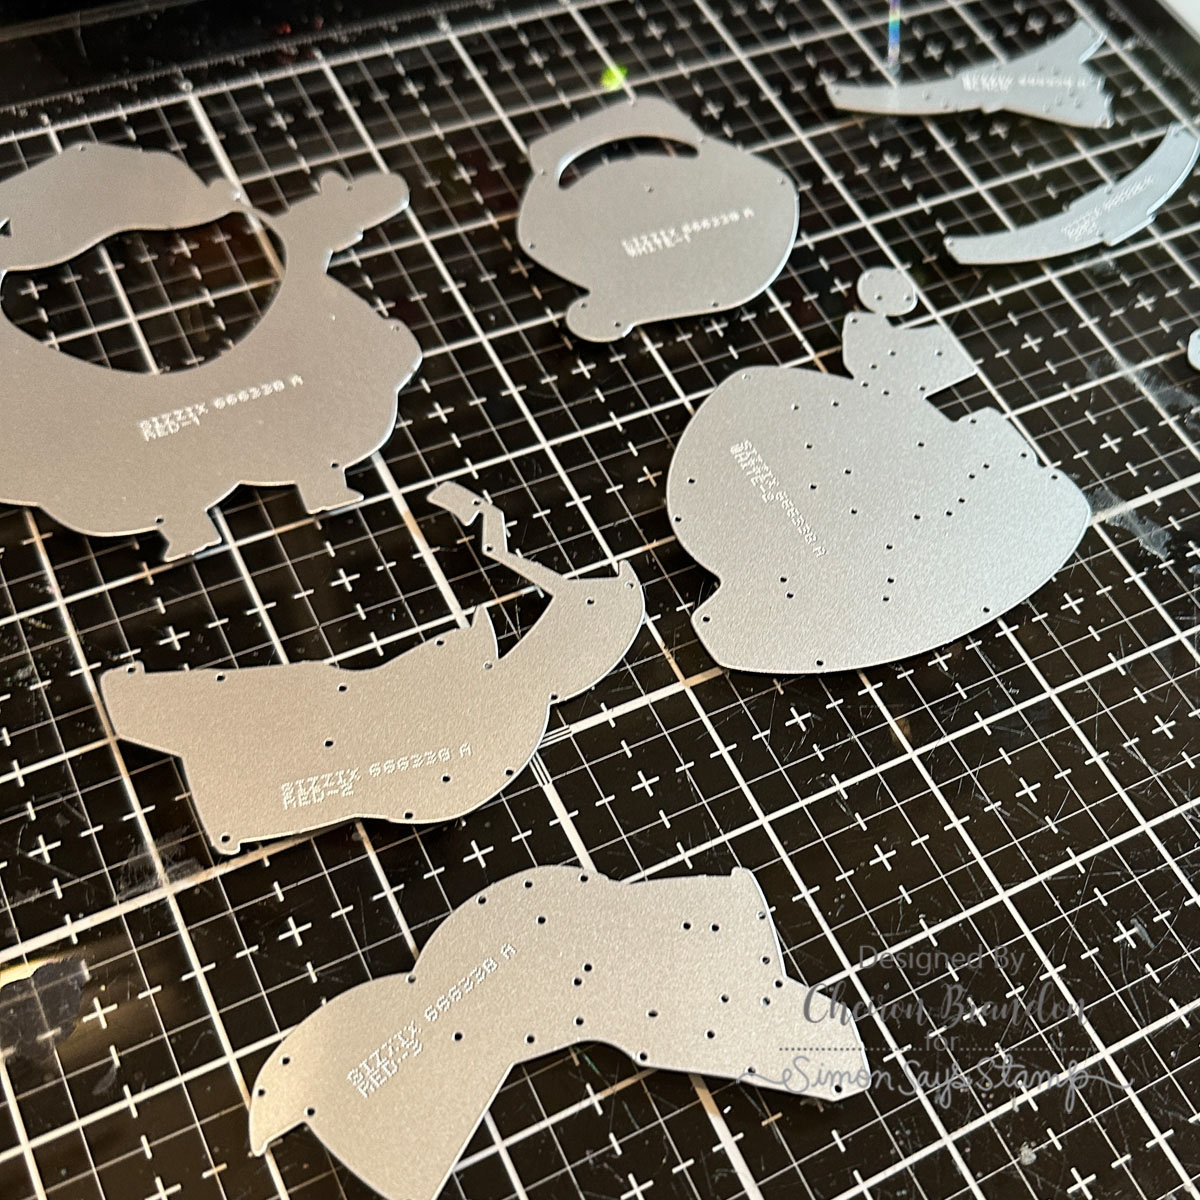
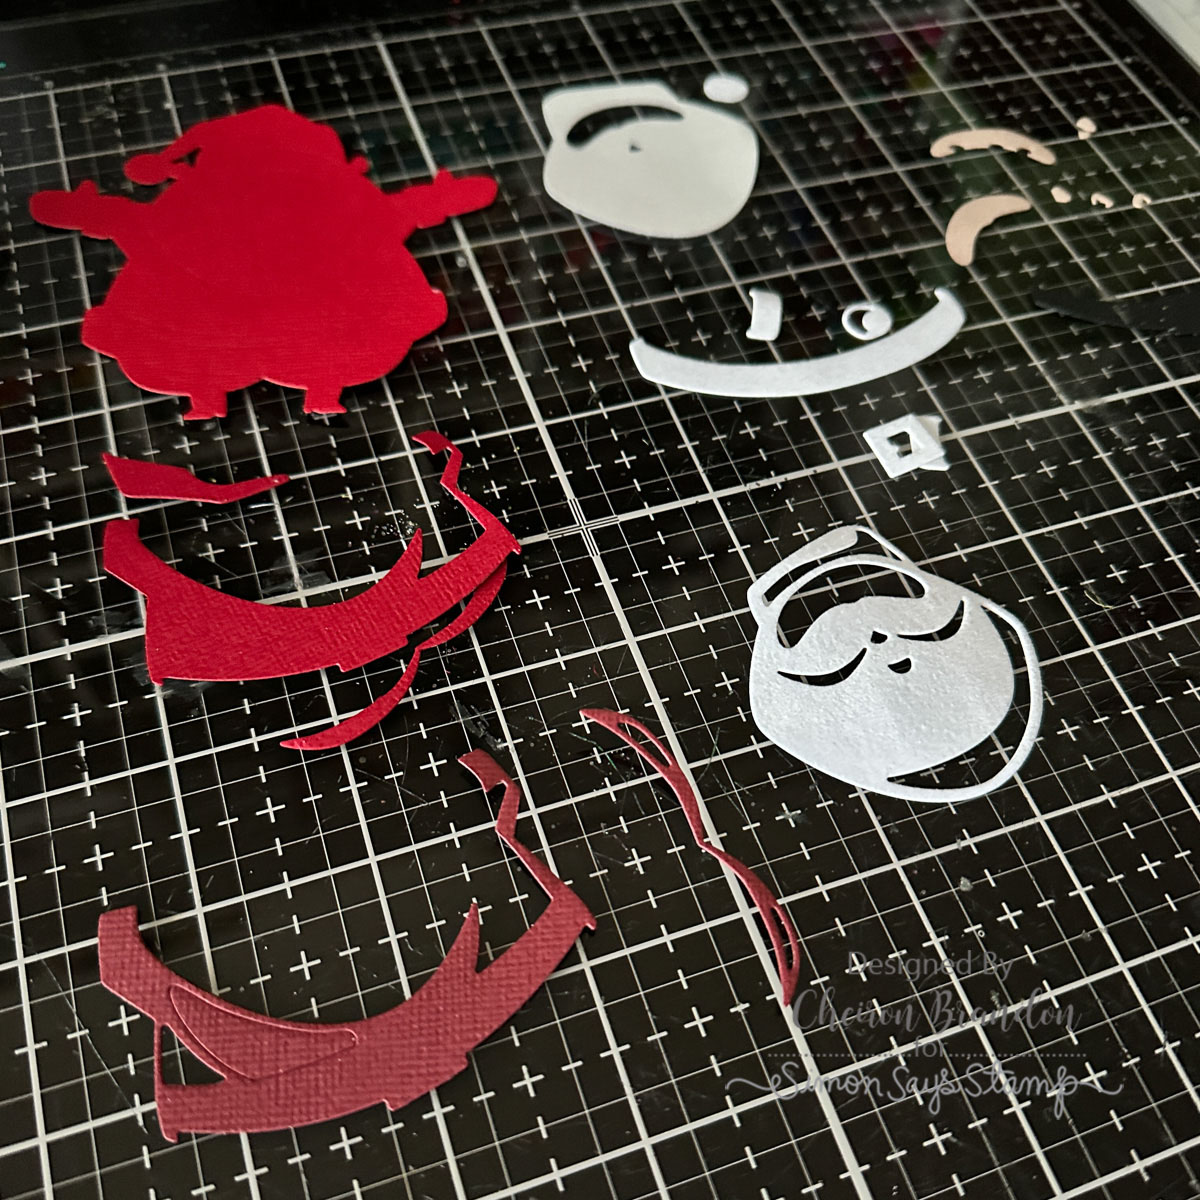
Hi there crafty friends! It’s Cheiron Brandon here and I don’t know if you’ve started your Christmas cards yet, but I try to work on some very special ones early in the making season. Today I wanted to create a fun card using the Tim Holtz Sizzix Santa Greetings die and incorporate a little Merry in rainbow form. Whenever I use one of Tim’s Colorize die, I cut all my pieces out first and lay them out. They are designed to layer and create dimension just with the colors of cardstock you use. So for the red pieces in this set, you can use 3 reds to get a fun layered look – each die will tell you on the back a suggested color. The colors are printed on the back of the dies so you will notice when they are all laid out the dies will say RED-1, RED-2, RED-3, etc.


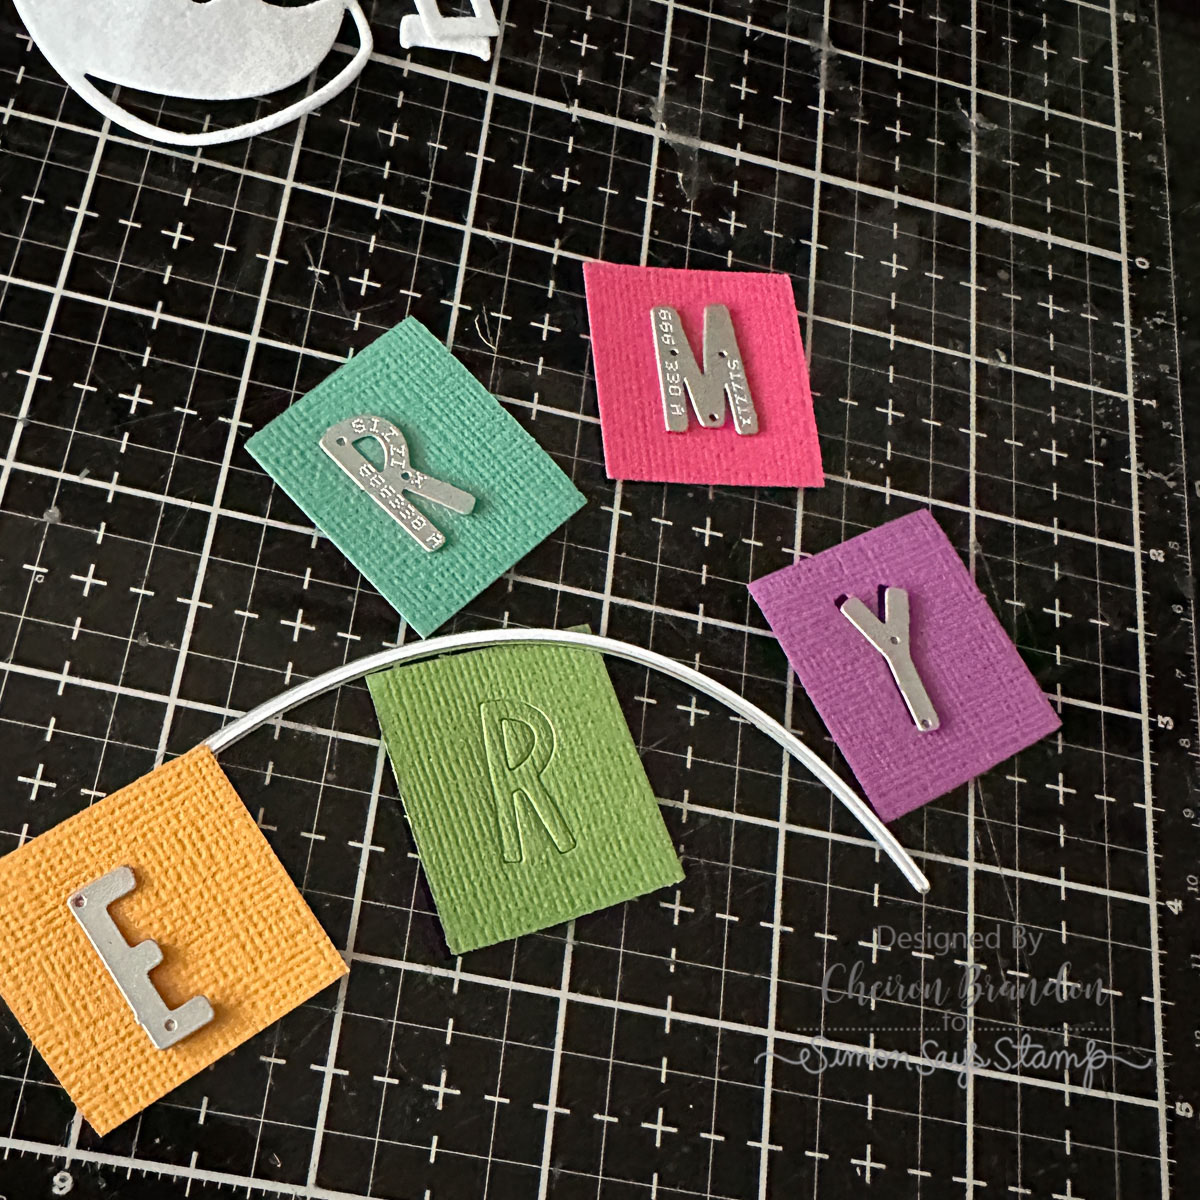
For the white on this card, I decided to give Santa’s beard and trim some texture using the Simon Says Stamp Pawsitively Velvet Luxury Cardstock, so I cut all my white from that. For my letters, I used a different color of cardstock for each letter of the alphabet to give the banner a rainbow effect. I used some Distress Collage Medium in the fine tip bottle (along with some tweezers) to adhere my Santa together. I added a little gold metallic droplet to each end of his banner.
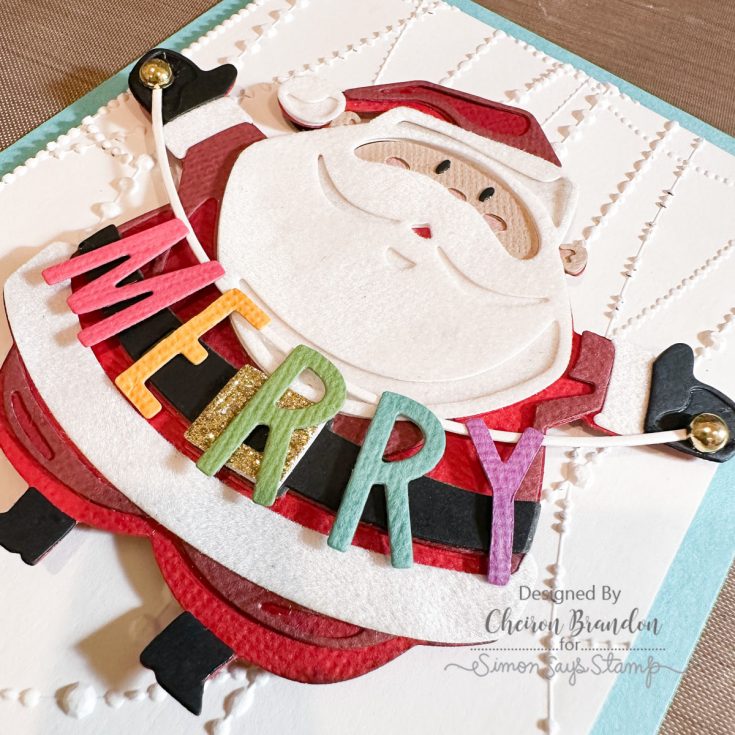
To keep the background simple, I used the Sparkle 3D texture fade and the dimension on this folder is incredible. My tip for getting the embossing to look its best is to use a panel of Distress Watercolor Paper, and mist it with water using a Distress Sprayer (I use about 3 mists) before embossing.
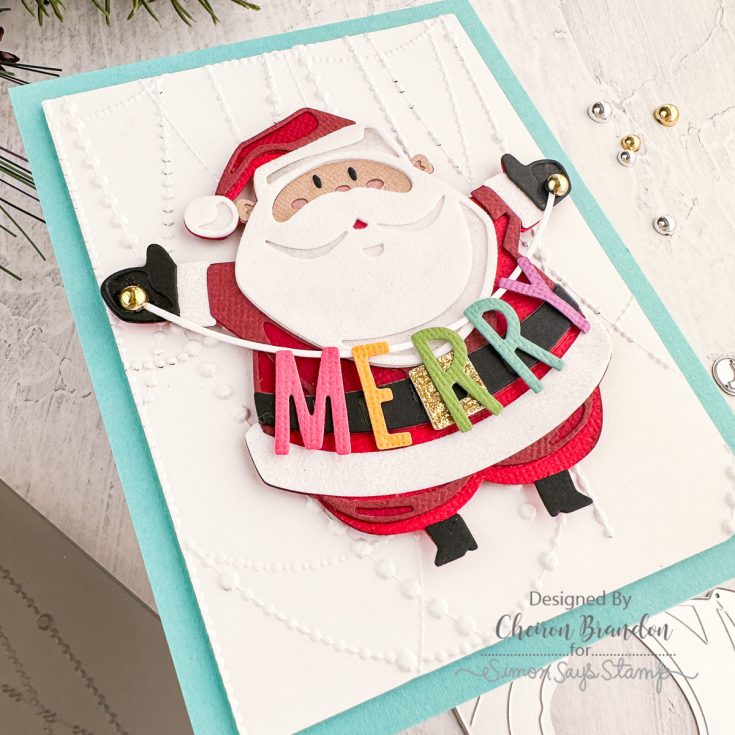
To finish the card, I added the Sparkle panel to a card base of Simon Says Stamp Audrey Blue Cardstock, and then added Santa to the top of the card. I can’t wait to send this adorable Santa out for the holidays!
SUPPLIES:
|


Thanks so much for stopping by, and thanks to Cheiron for being our guest!


