Copic Coloring Tips and Tricks! Crafty with Caly

Hi friends! Happy Wednesday, and Happy New Year! Please join me in welcoming back special guest Caly Person back to our blog! Read on and be sure to watch the video for all the information! Enjoy!
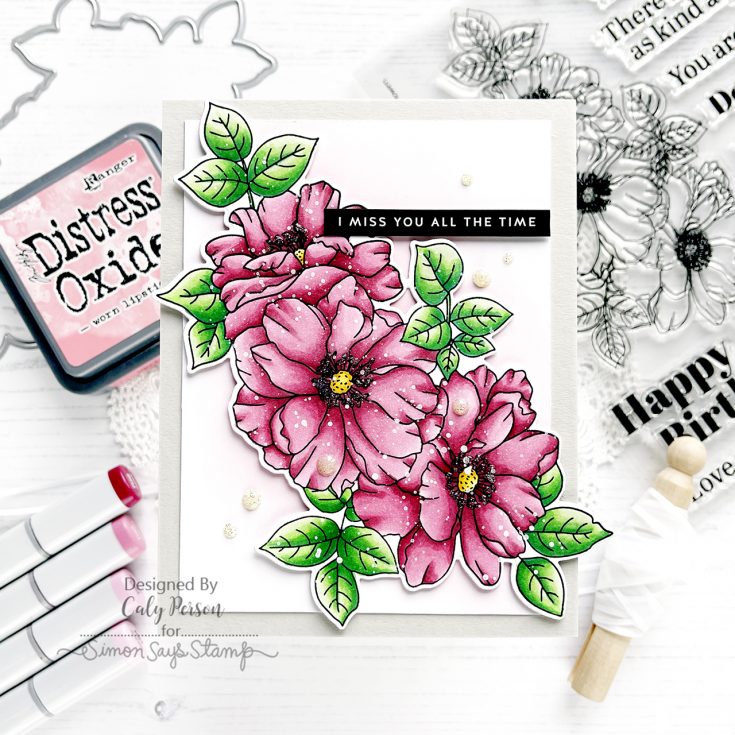
Hi there! I hope everyone had wonderful holidays! It’s a new year and I’m thrilled to be sharing more spring cards. Today’s card uses the Mom’s Spring Flowers set. It’s an older set, but she’s a beauty!
I stamped my image in black and colored with Copic markers.
- Flowers: R81, R83, R85, R56
- Flower Centers: Y11, Y15, YR24
- Foliage: G40, YG06, YG09, G17
WATCH THE VIDEO:
Coloring can take your time, but if you’re patient, it will be worth it! After coloring, I die-cut it and splattered it with white paint.
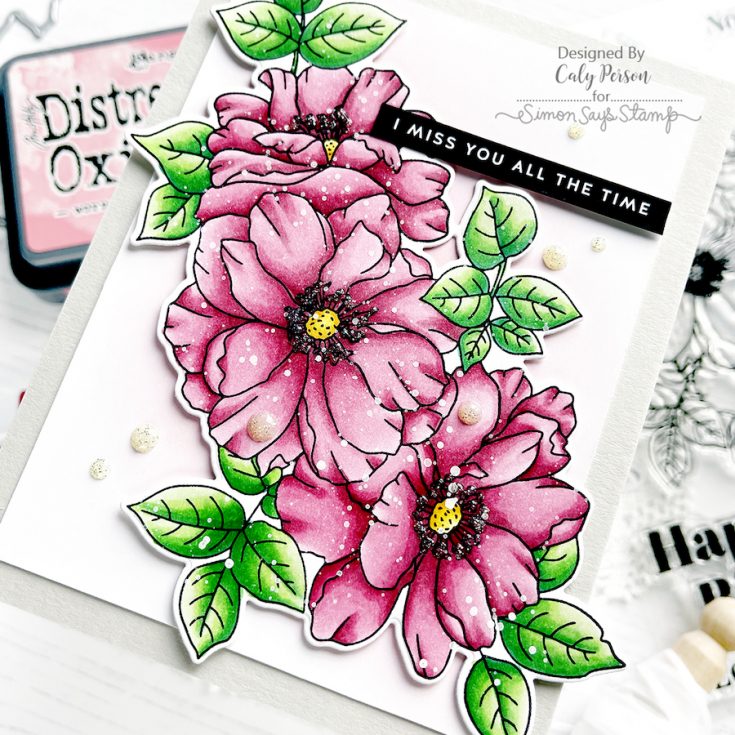
For the background, I ink-blended with Worn Lipstick Distress Oxide ink. Next, I adhered the image with 3D Foam Squares and matted the panel over Fog cardstock.
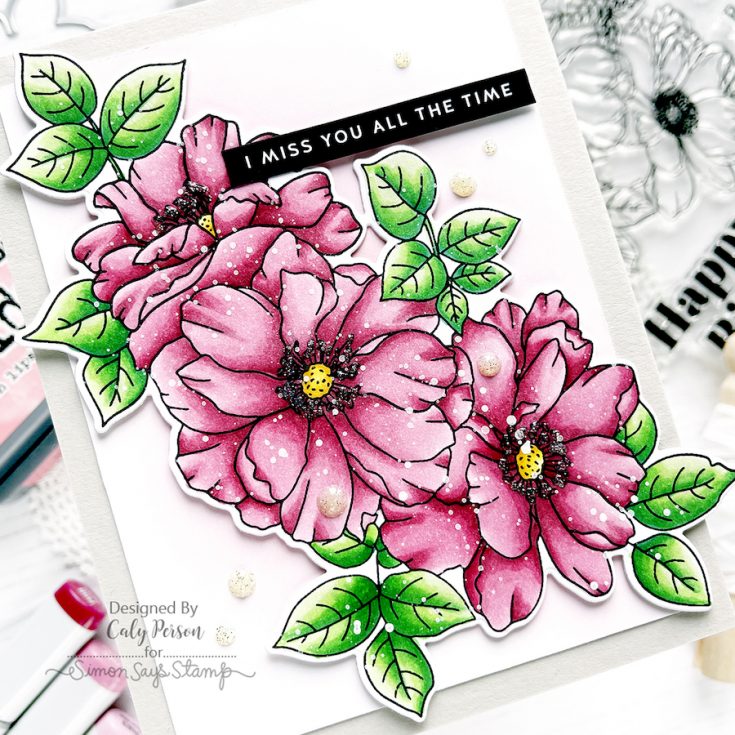
To finish my card, I added a sentiment from the Thinking of You Sentiment Strips and added some glitter using Nuvo Glitter Drops in Gold Coast. I hope you like it!! Thanks so much for joining me today! ~Caly
SUPPLIES:
|


Thanks so much for stopping by, and thanks to Caly for being our guest!
Art Journaling with Shari Carroll: 2024 “To Love”

Happy 2024, everyone!!! It’s Shari here with the first entry of my 2024 art journal. After much consideration, I’ve chosen to use circle dies as my base for the year. I’m using the Simon Says Stamp Nested circles and the outer edge of this entry measures 4″. This size will allow me to use my embossing folders, die cuts and even sewing as I move forward with my projects. I’ll be securing these at the top using the Simon Says Stamp Ring Clip.
My first entry is my wish for 2024. To LOVE! I had a few curiosities that I decided to experiment with. First, do the Tim Holtz Glazes allow the glimmer of the Sparkle Kraft stock to remain after embossing? I got my answer, yes they do!! A nice surprise happened when the Speckled Egg glaze grabbed a bit of the gold paper color and turned it a beautiful green. This fits the organic look I was going for so I was thrilled!

My second curiosity was to figure out how to make a see-thru shaker element. I achieved this by using acetate on the front and back champagne flutes and adding more layers in between until I had the desired height for the sequins to be sandwiched.

If you’d like to see how these techniques are done, check out my video below.
SUPPLIES:
|


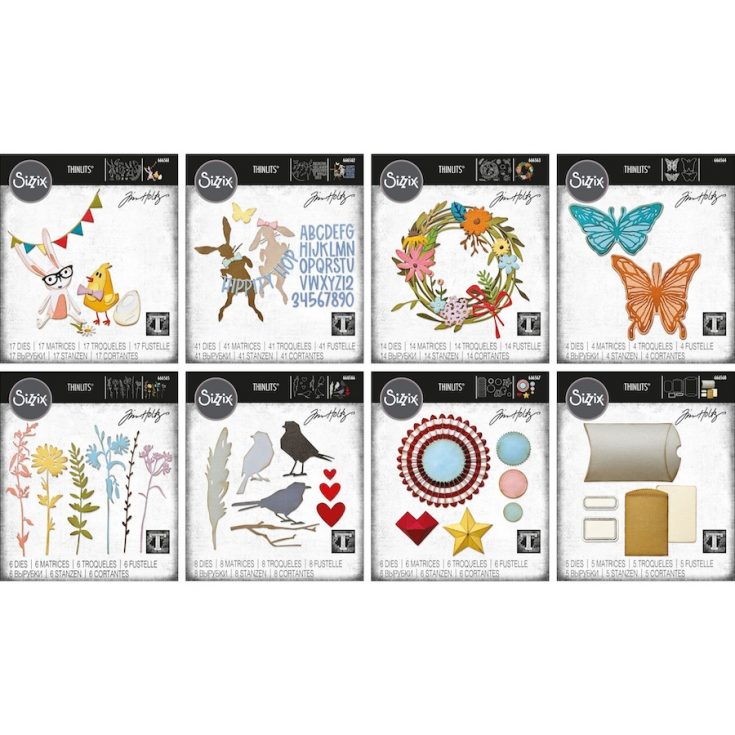
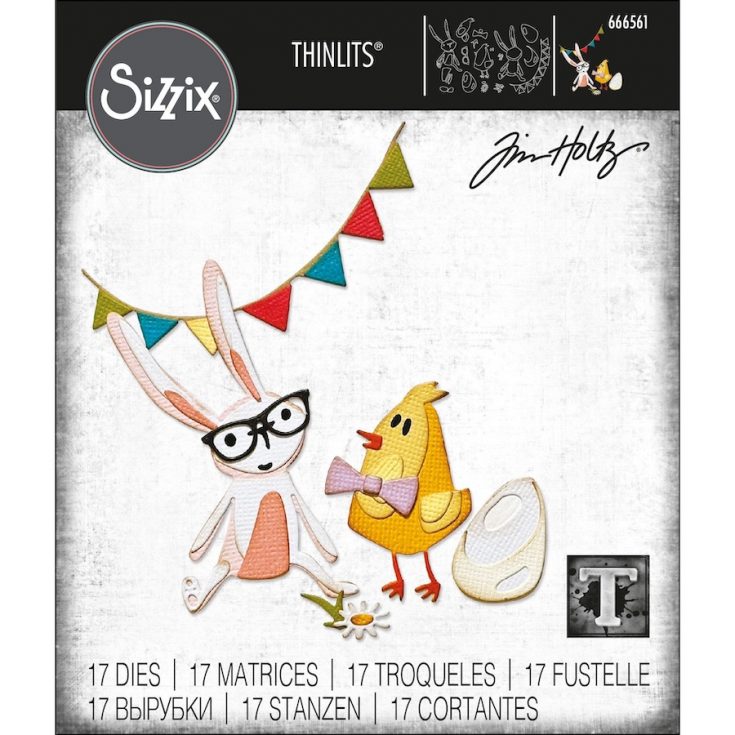
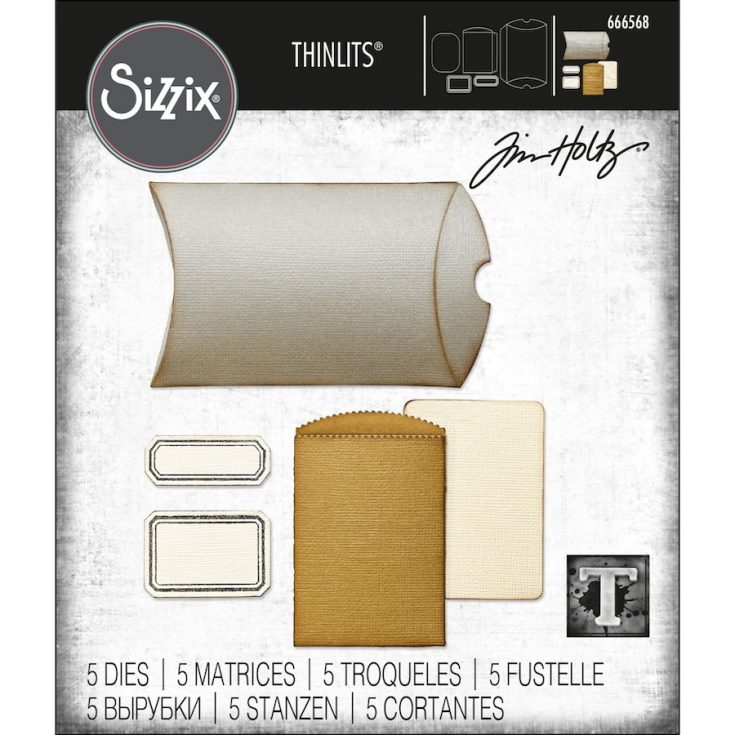
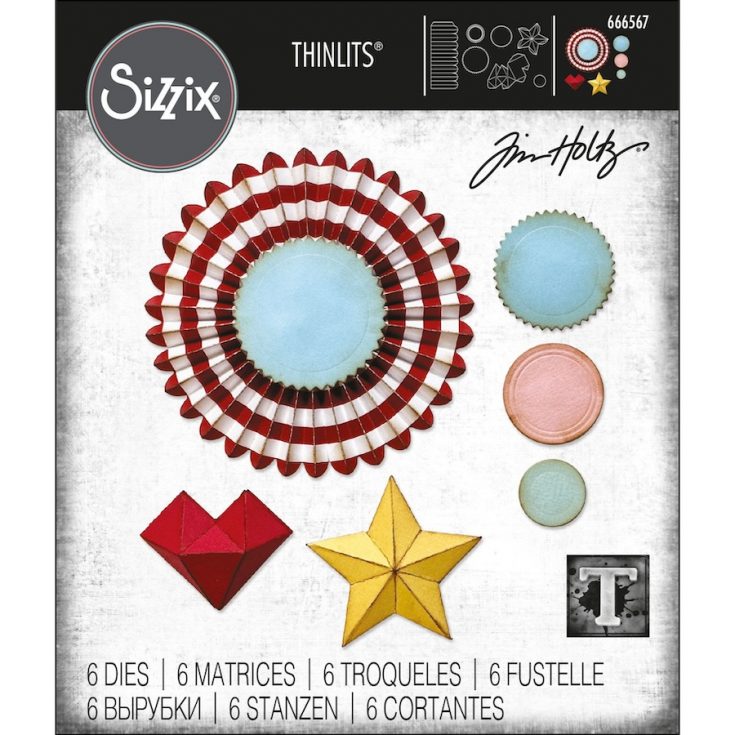
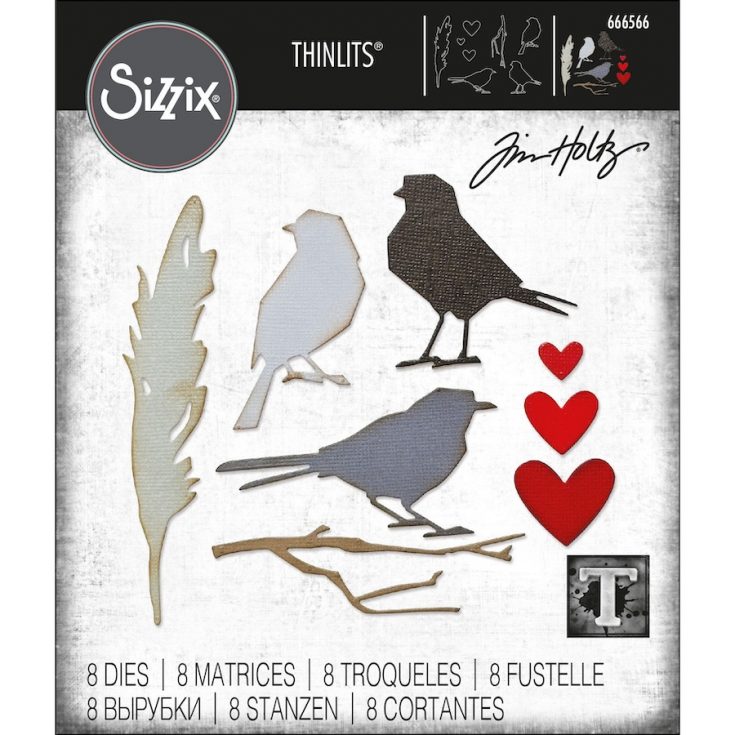
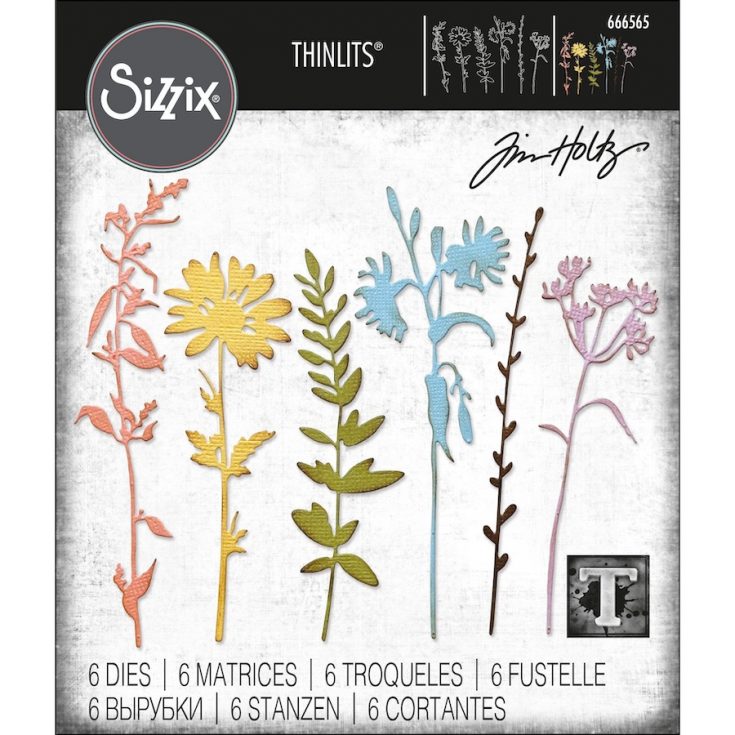
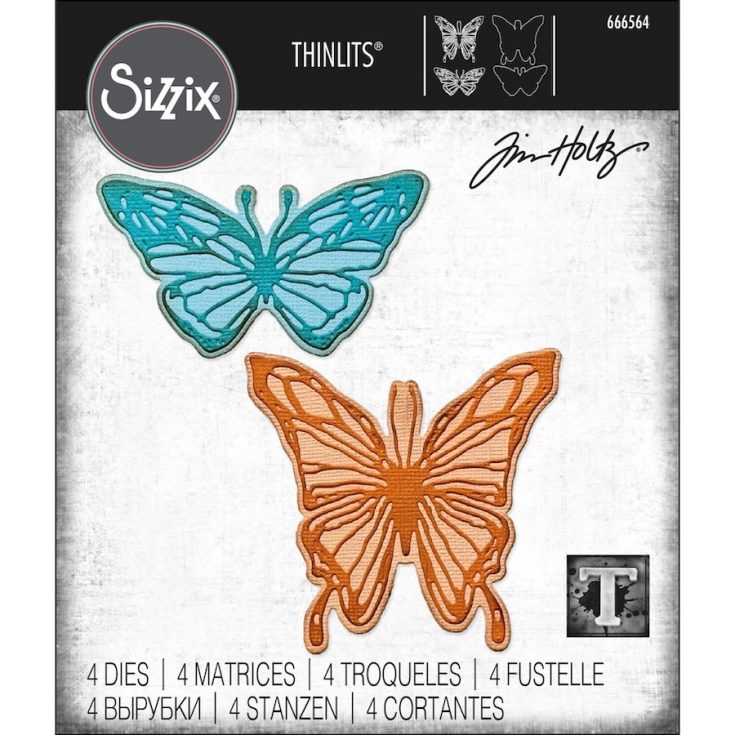
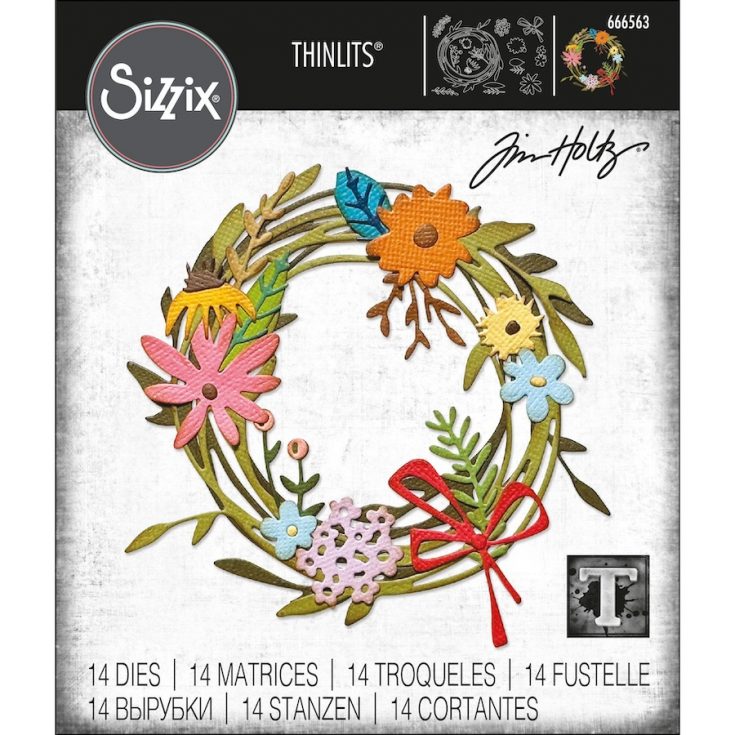
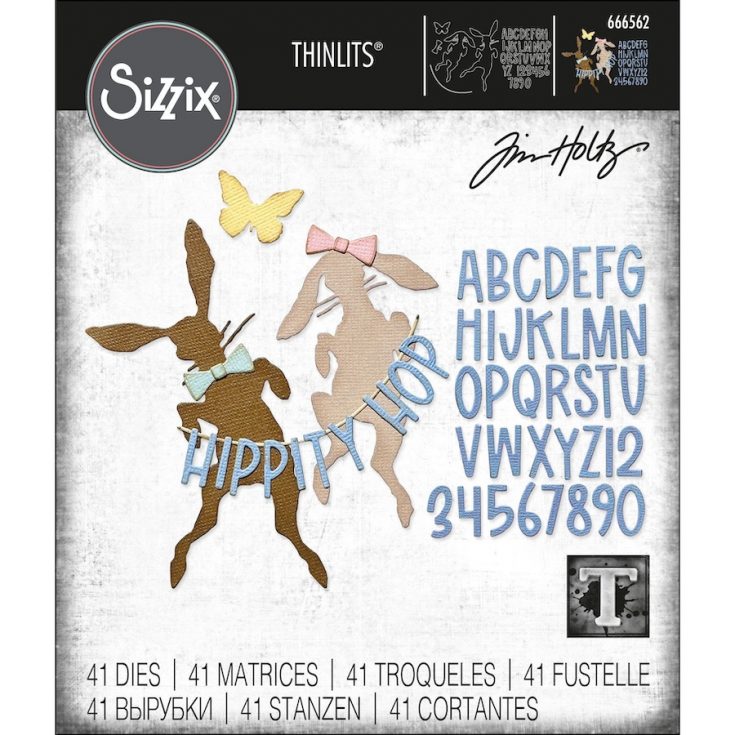
NEW for 2024 Tim Holtz Sizzix!

Happy New Year, friends! We’re excited to share these super fun from the vault Tim Holtz Sizzix collection for the new year! Shipping NOW! Read on to learn more!
Celebrating 15 years with Sizzix, Tim Holtz is bringing his favorite designs back from the vault and better than ever! The classics have been reimagined with Tim’s creative approach to combine different design elements that all work together. These curated sets feature new sizes and different die technology offering something new both to makers who have the original dies, or makers who missed them the first time around.
-Sizzix Marketing Team

Happy shopping!


