NEW Tim Holtz Everyday Stamps and Stencils
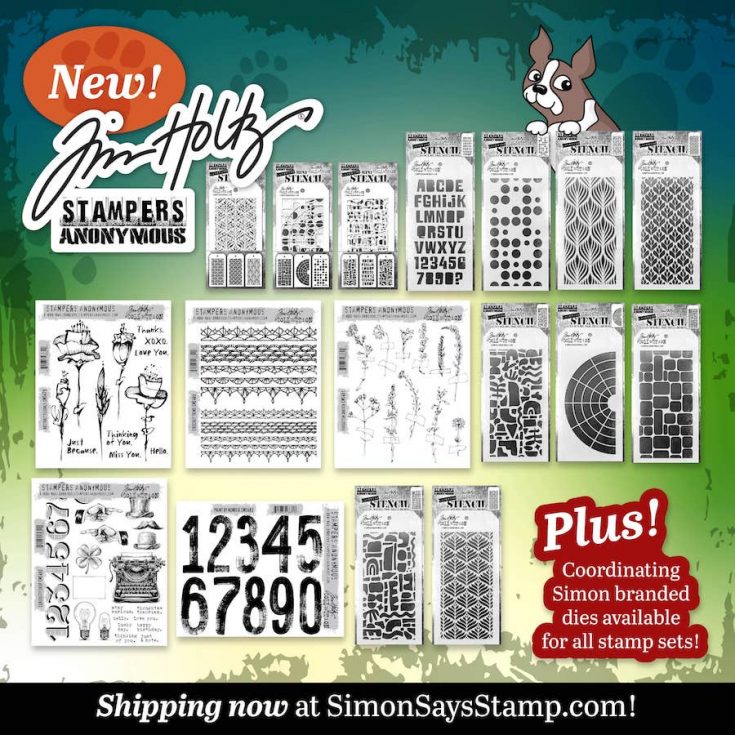

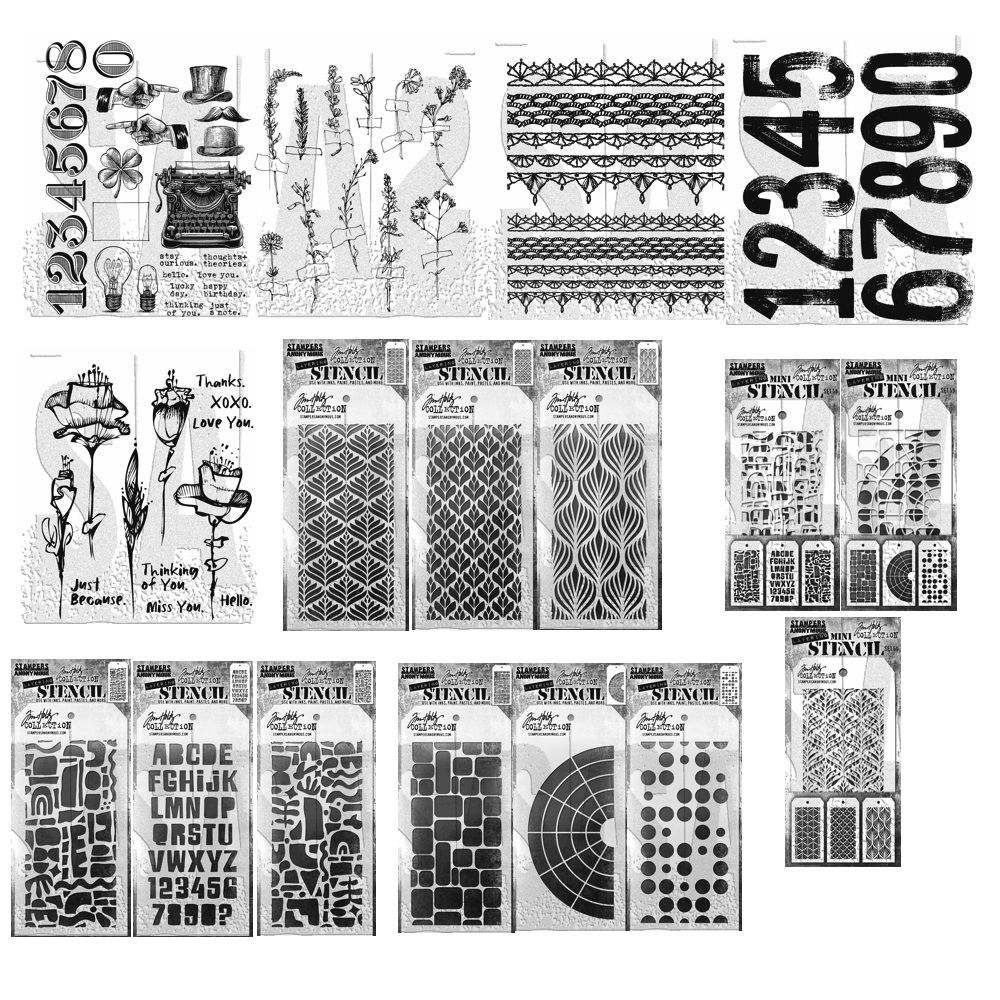
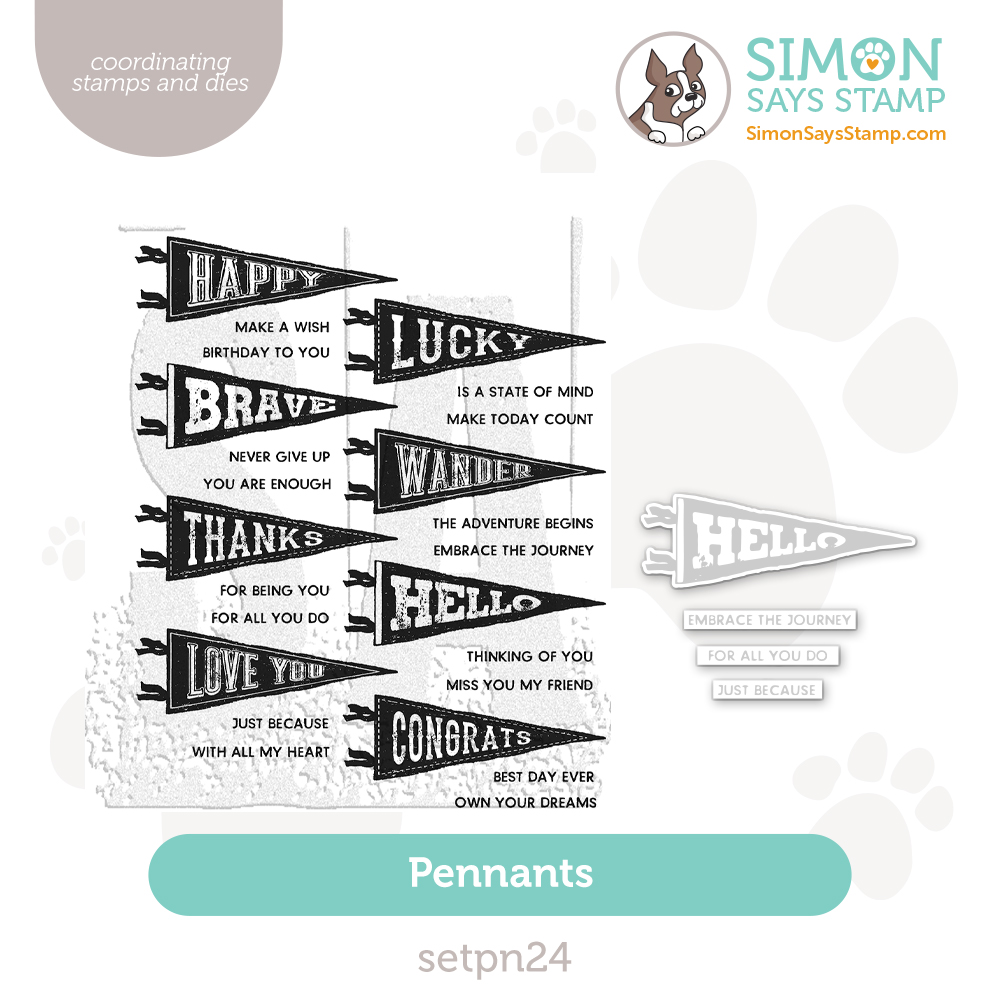
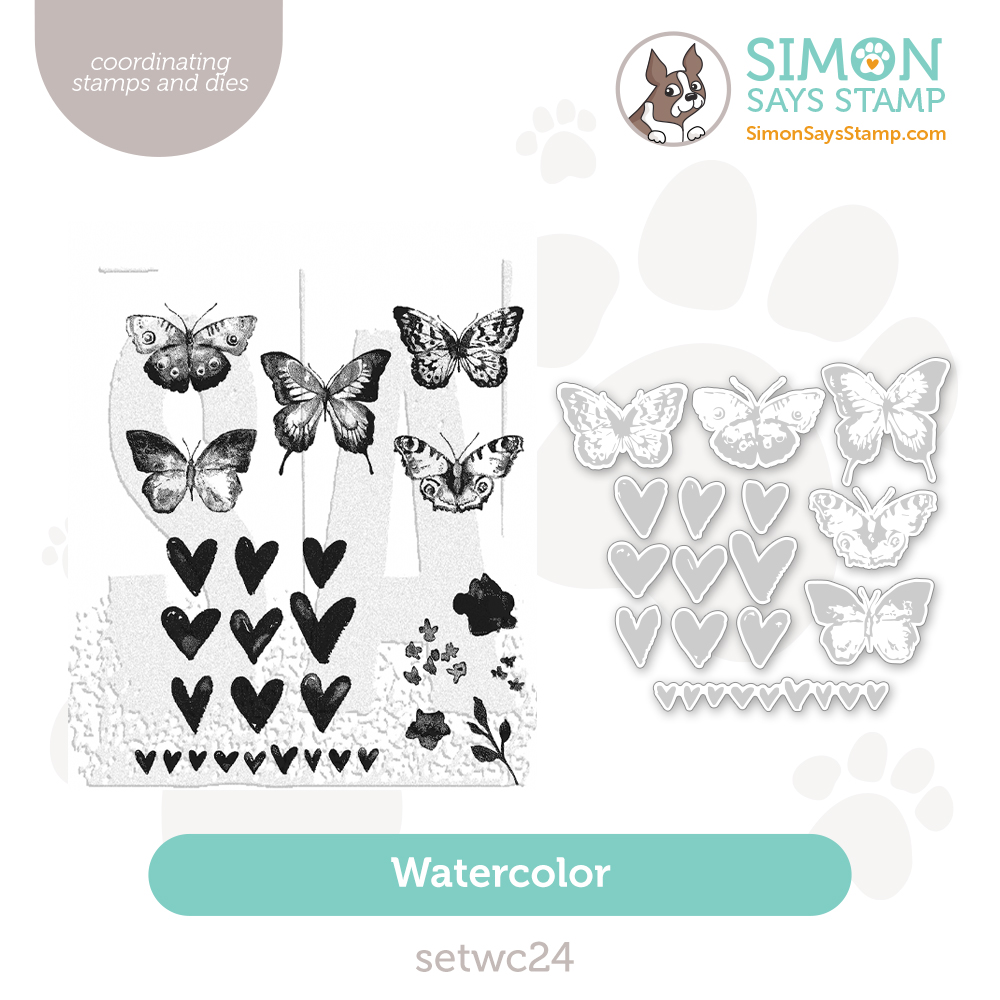
NEW and EXCLUSIVE! Coordinating Simon Says Stamp branded dies available for all NEW Tim Holtz stamp sets!


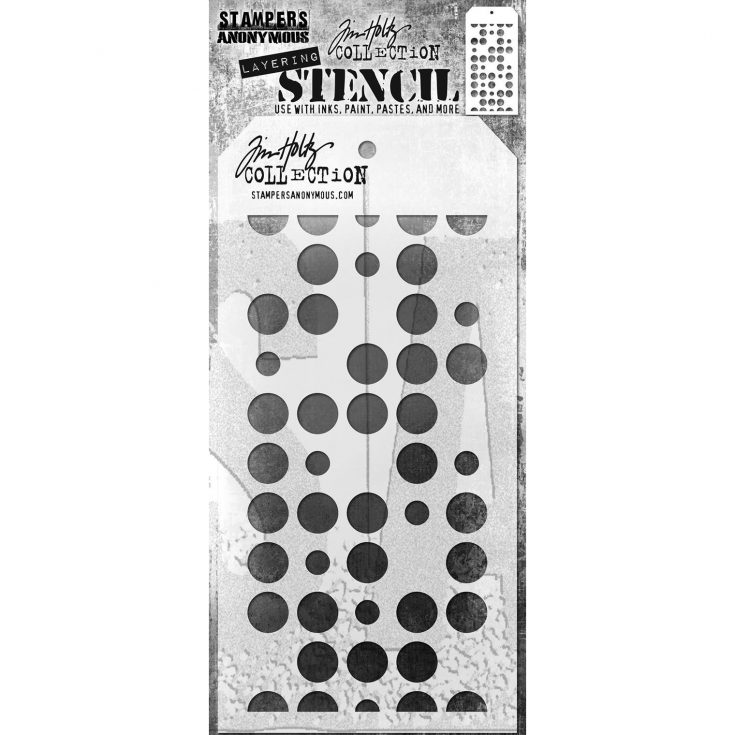

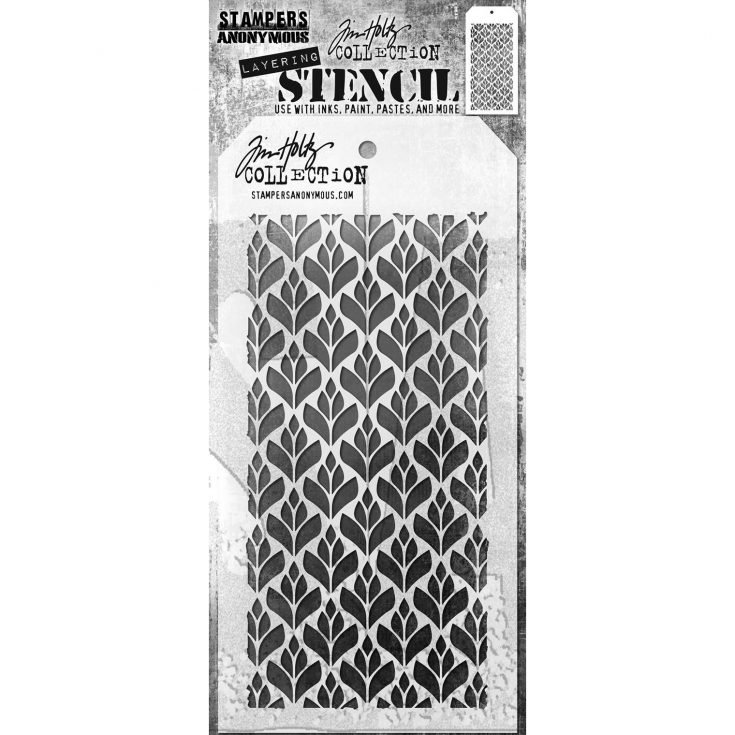


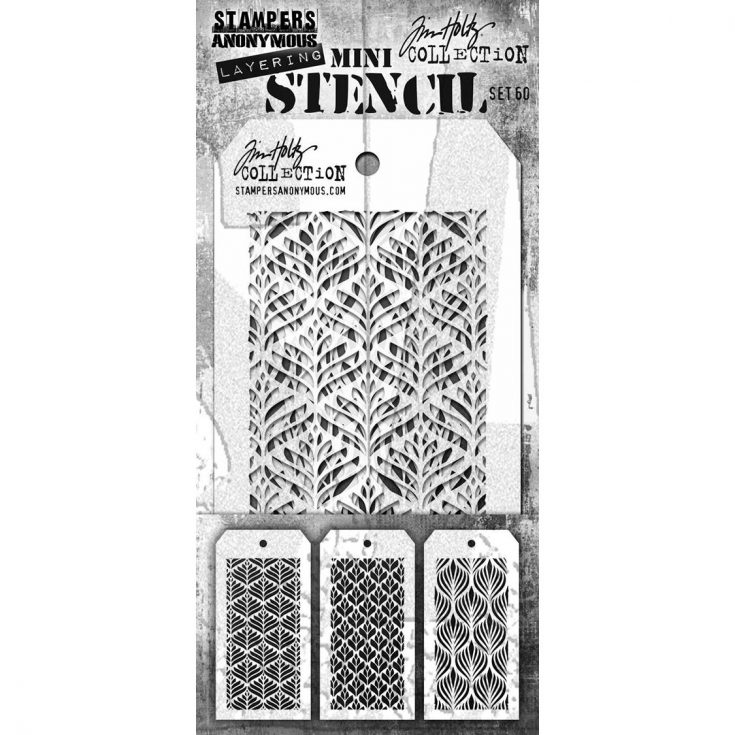
Check out GORGEOUS inspiration by Nina-Marie Trapani in our Youtube Premiere featuring NEW Tim Holtz stamps and Simon Says Stamp coordinating dies!


Missed our Livestream? Catch the rewatch below!

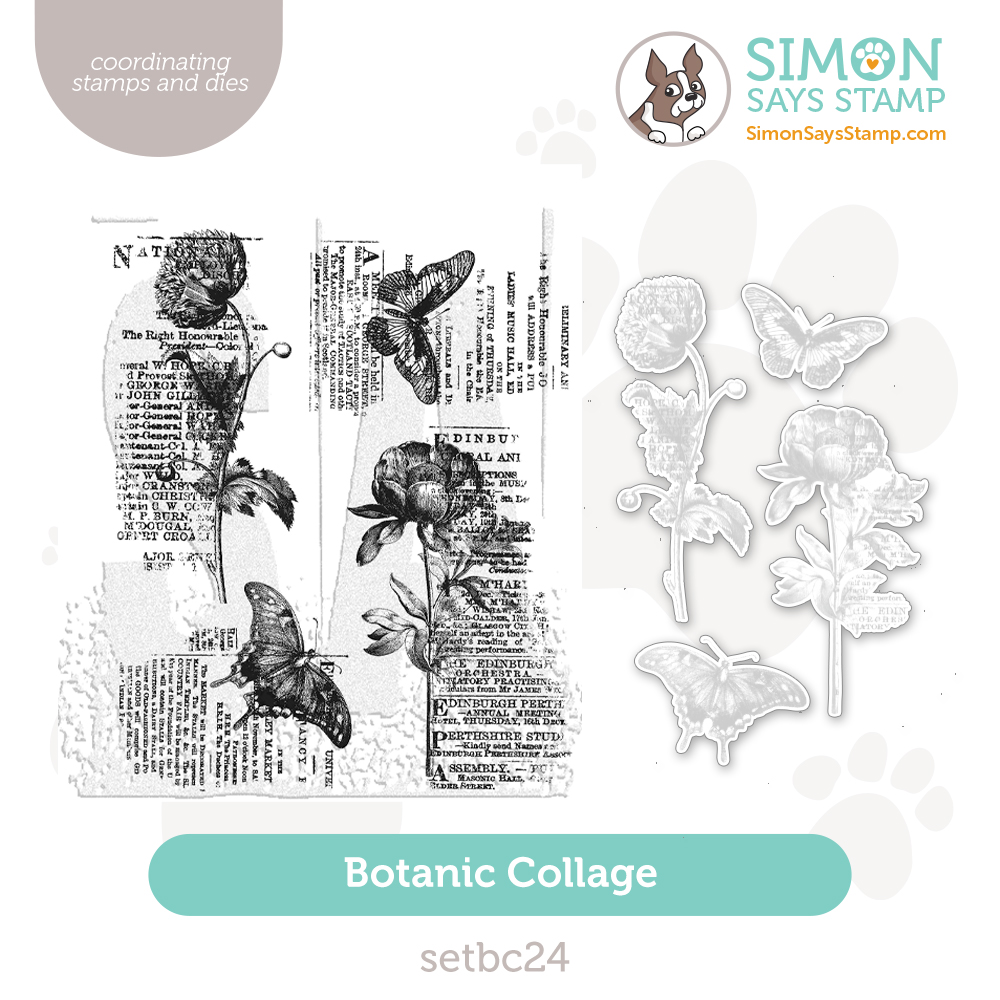
Recently released Simon Says Stamp dies designed to coordinate with existing popular Tim Holtz stamp designs!
(Buy this –> make THAT!)
Stay Tuned! A SPECIAL SURPRISE coming at 12 PM ET TODAY!
Friends!! You do not want to miss this super fun Monday surprise that features something from the one-and-only Tim Holtz AND Simon Says Stamp! Join our fearless founder (and Simon Momma) Heidi as she goes live to share the surprise on our Simon Says Stamp Youtube Channel at 12 PM ET! Go there now and tap the bell to be notified/reminded when it starts!
But wait, there’s MORE! We have a special Youtube Premiere following our Livestream with Heidi showcasing inspiration with the surprises! You won’t want to miss it!

How to Create A Watercolor Look with A Background Stamp: Crafty with Caly
Hi friends! Happy Sunday! We’re excited to welcome back special guest Caly Person with this super fun card design sharing a unique to try with background stamps for a gorgeous result! Be sure to watch the video for all the details and enjoy!
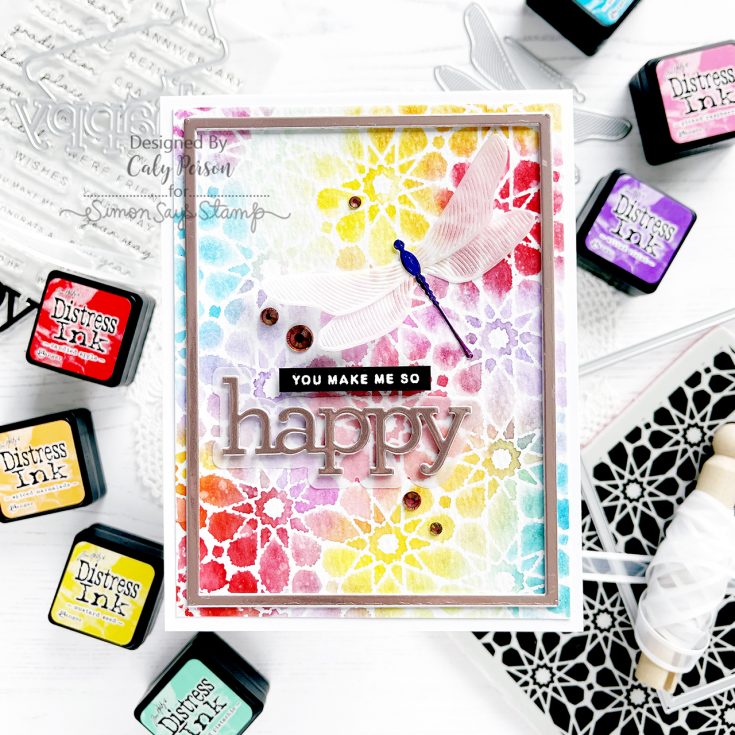
Hello! It’s always nice to re-visit a technique that I haven’t done in a while. Have you tried faux watercoloring with Distress Inks? It’s so easy and fun and I hope you’ll enjoy today’s video!
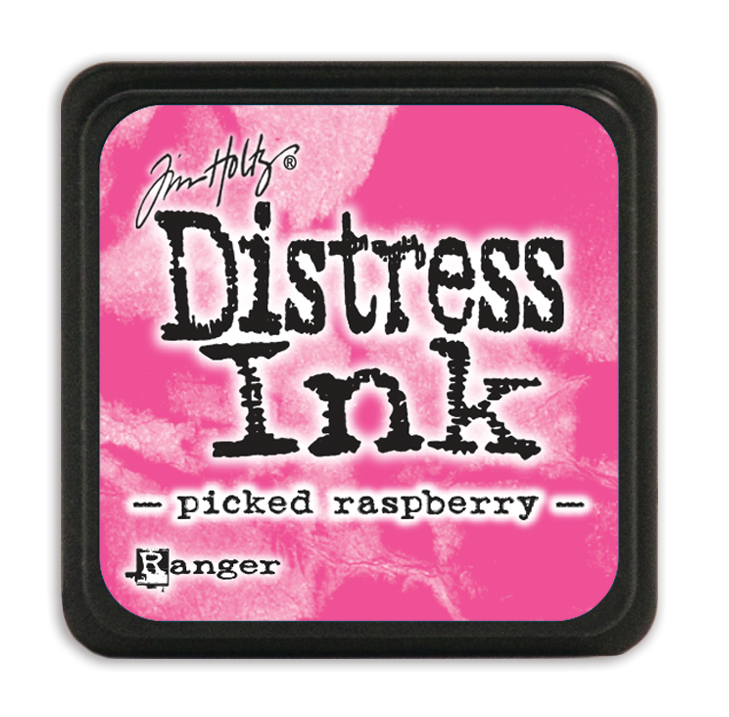
Background stamps with lots of solid areas are great for this technique so I thought the Alessa Background cling stamp from the Be Bold release was perfect for today’s card. All you have to do is apply Distress Ink over the image and spritz it with water before stamping! Watercolor paper is needed for this technique and will lend to that watercolor look.
WATCH THE VIDEO:
As you can see from the video, you can get multiple impressions without re-inking. I got three panels out of it by spritzing it again with water before stamping on the other two panels. I chose to use the second panel because it was a good balance between the boldness of the first panel and the light wash on the second panel.
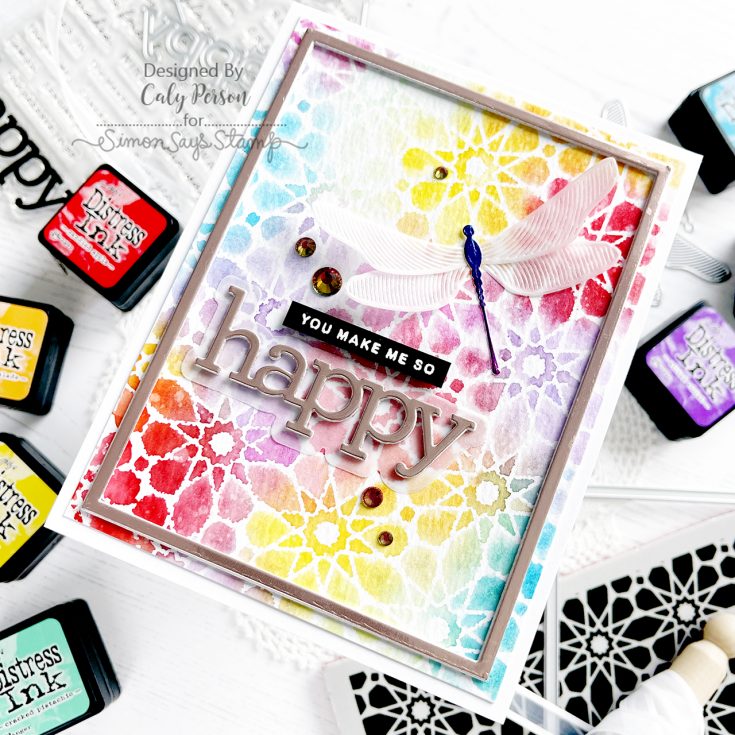
I used the new A2 Nesting Frames to make a border using some Rose Gold Metallic paper. I also used the metallic paper on the Happy die for the sentiment. This Happy die coordinates with the CZ Happy Combos stamp/die set.
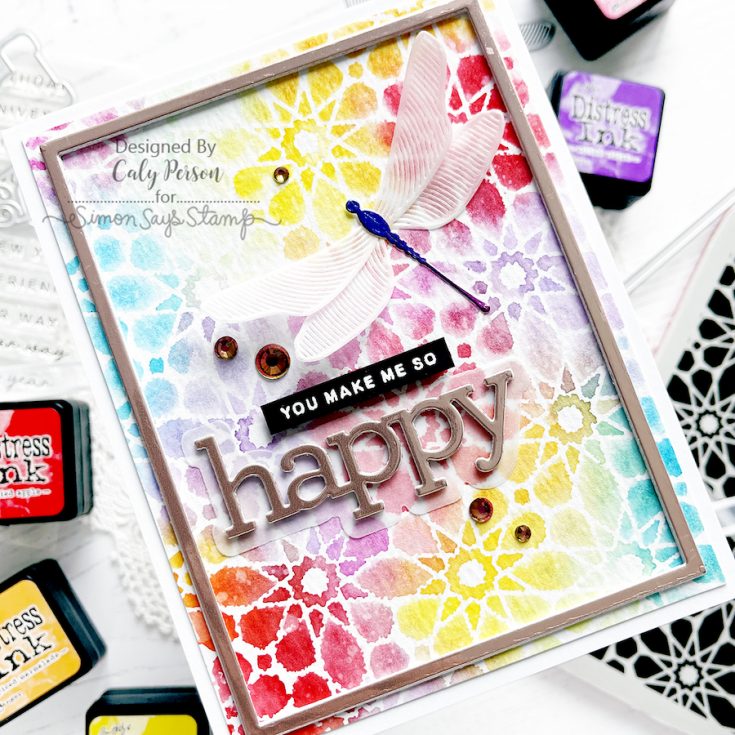
Next, I added a Whirl Dragonfly. I used vellum for the wings and Holographic Rainbow cardstock for the butterfly. I love the blue to purple blend of the paper for the dragonfly’s body! The use of Rainbow Dazzling Gems just finishes off my project with a touch of shine. I love these multi-colored gems and I think they are so neat!
I hope you enjoyed this project! Thanks for visiting! ~Caly
SUPPLIES:
|




Thanks so much for stopping by today, and to Caly for being our guest!
P.S. Can’t Miss LIVE!
P.S.S. Last day to SAVE!!