Java Gift Card Holder: Funny Friday with Art Impressions

Hey there, everyone; it’s Shari Carroll here with you, and today I am showcasing Art Impressions’ super versatile Java Gift Card Holder die set to make this coffee cup! I made mine with fresh colors to coordinate with my chosen gift card.
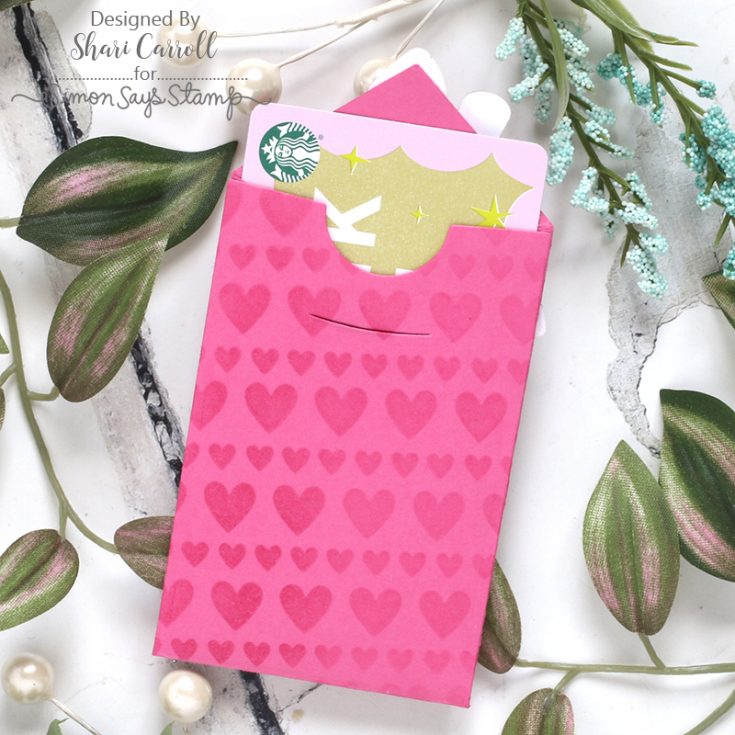
I’ve used the Rainbow Splash Rising Hearts stencil to spice up the holder by blending ink to create a tone-on-tone look. I’ve also added a little interactive element that you can see in my video below. Enjoy!
SUPPLIES:
|


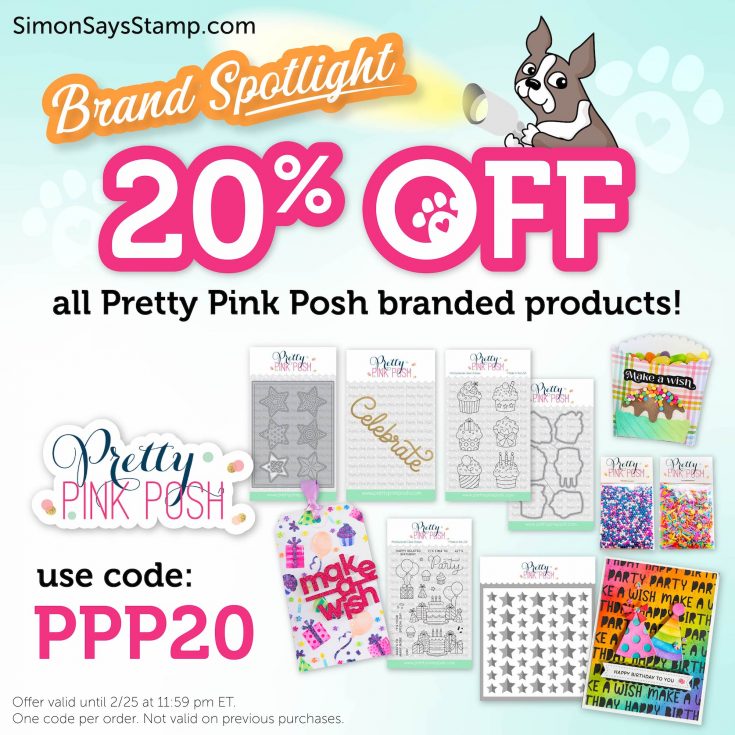
Brand SPOTLIGHT Sale: Pretty Pink Posh!
Hi friends! Happy Friday! We’re kicking off your weekend with a GREAT sale on a GREAT brand! Now until February 25th at 11:59 PM ET you can save 20% on any in-stock Pretty Pink Posh branded items with code PPP20 at checkout! Shop early for the best selection and enjoy!
Looking for some ideas?
We found some really eye-catching ideas from top-notch designers to get you inspired with some gorgeous things you can make with Pretty Pink Posh products!
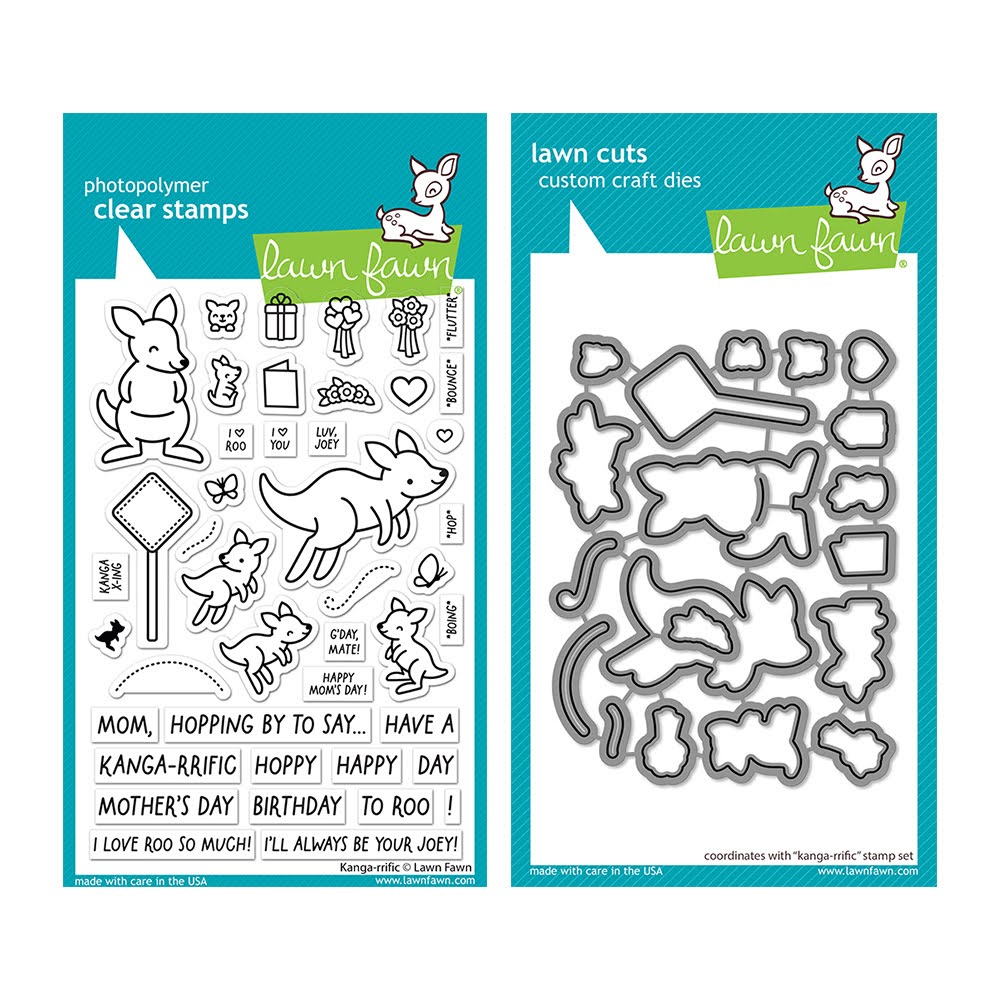
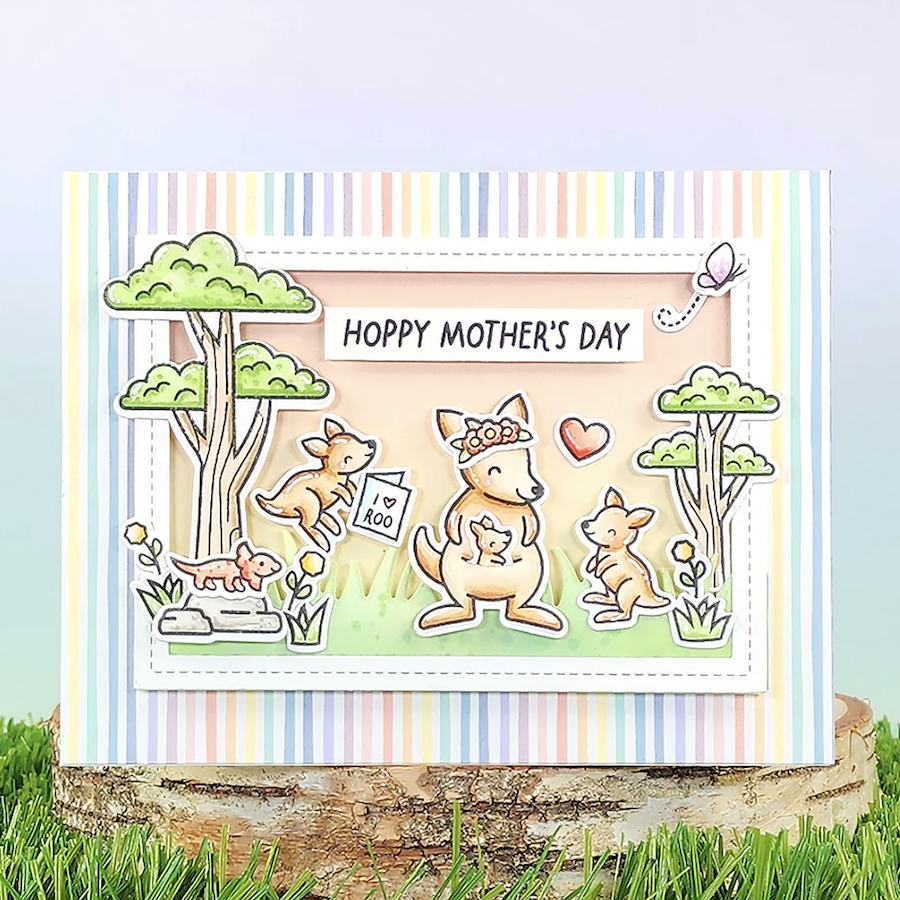
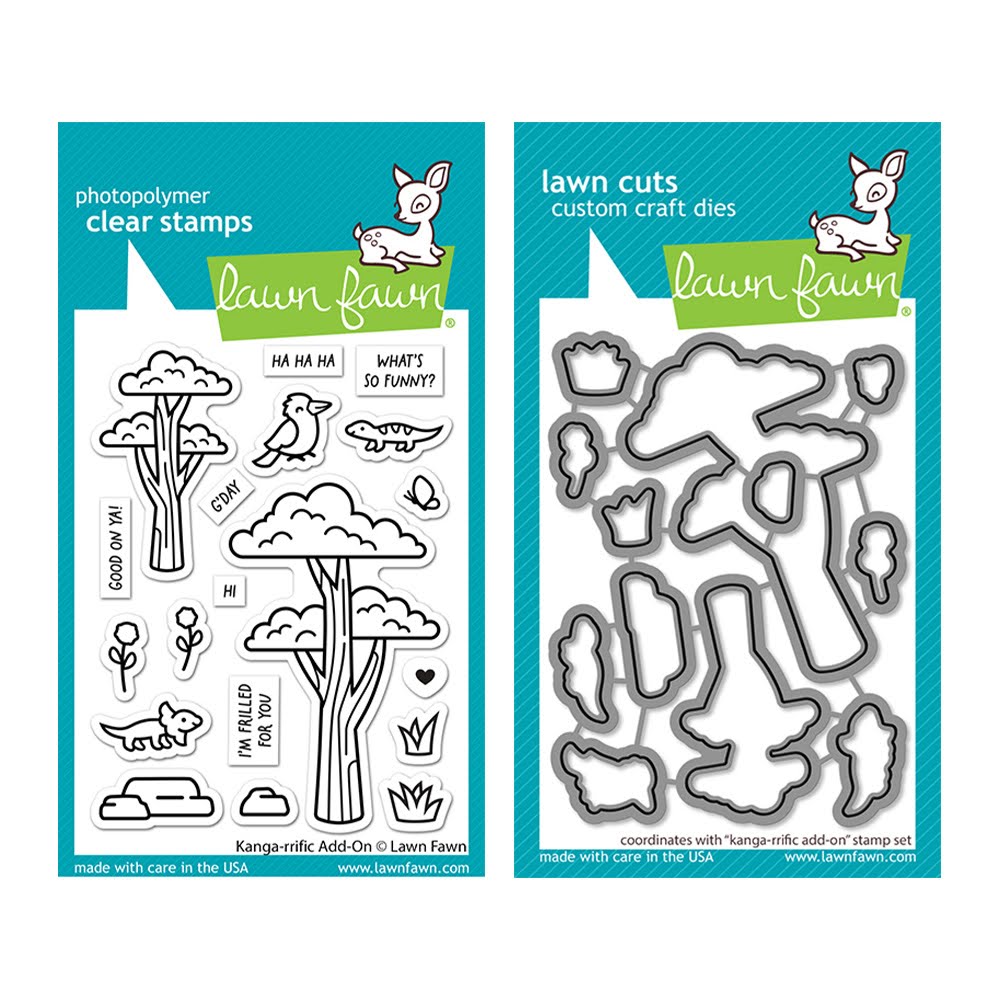
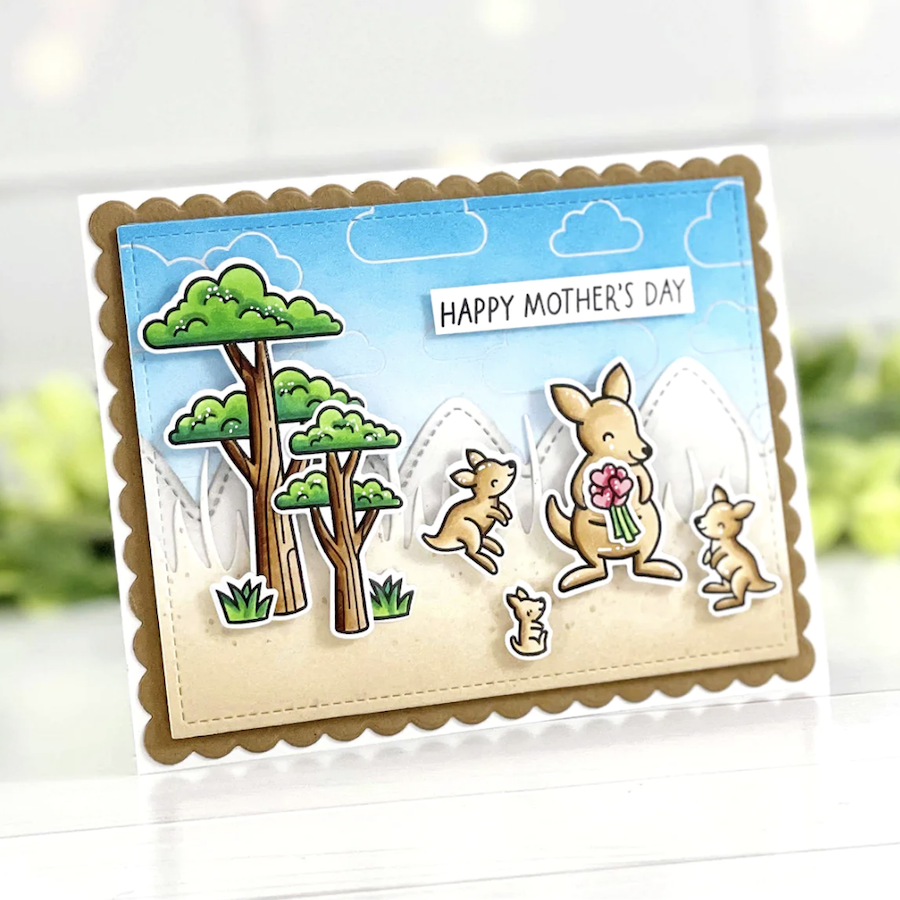
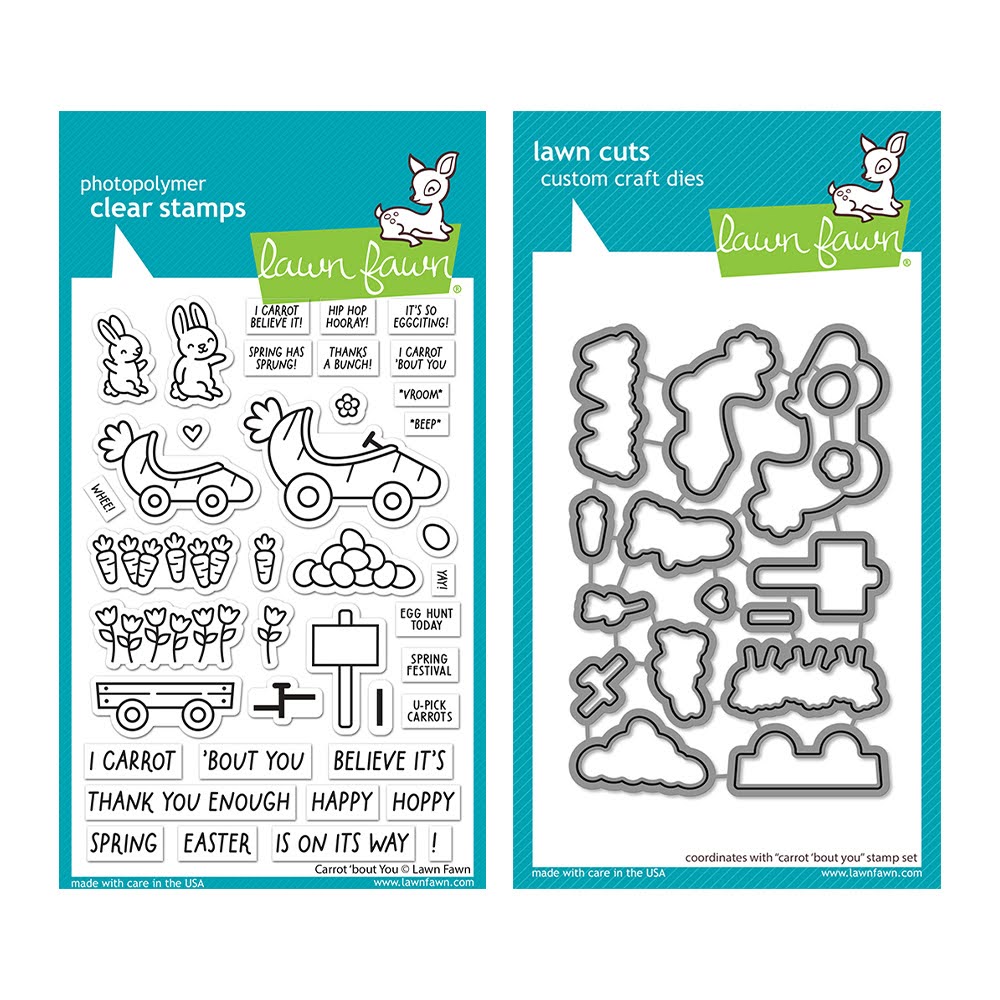
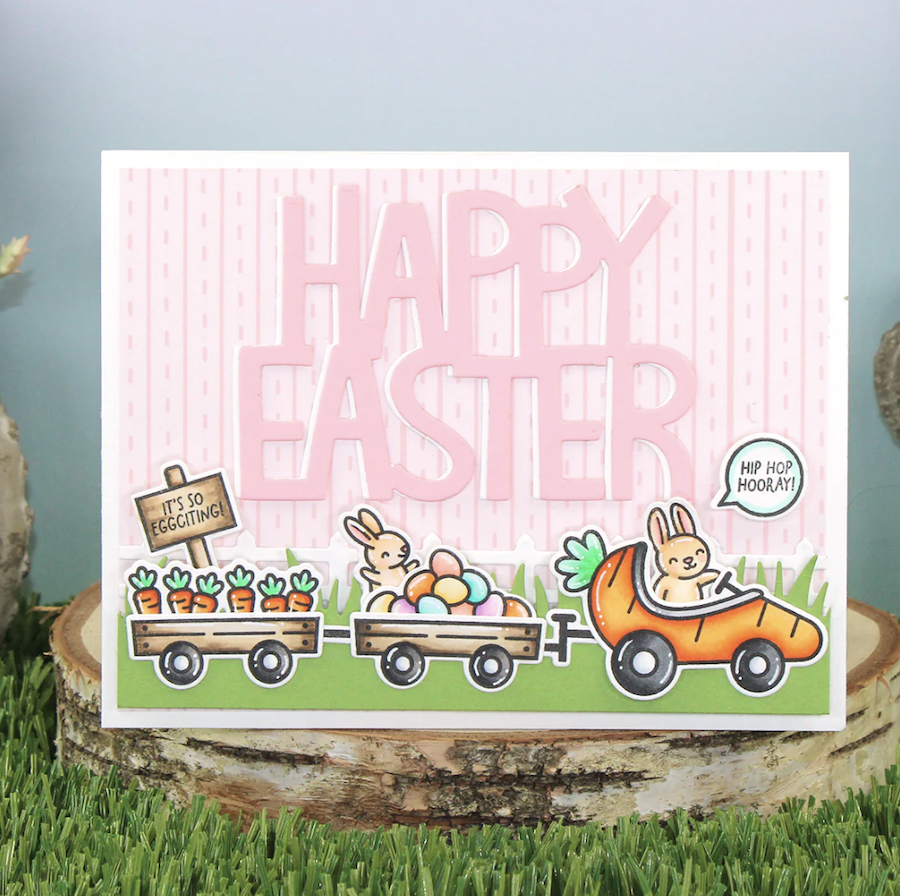
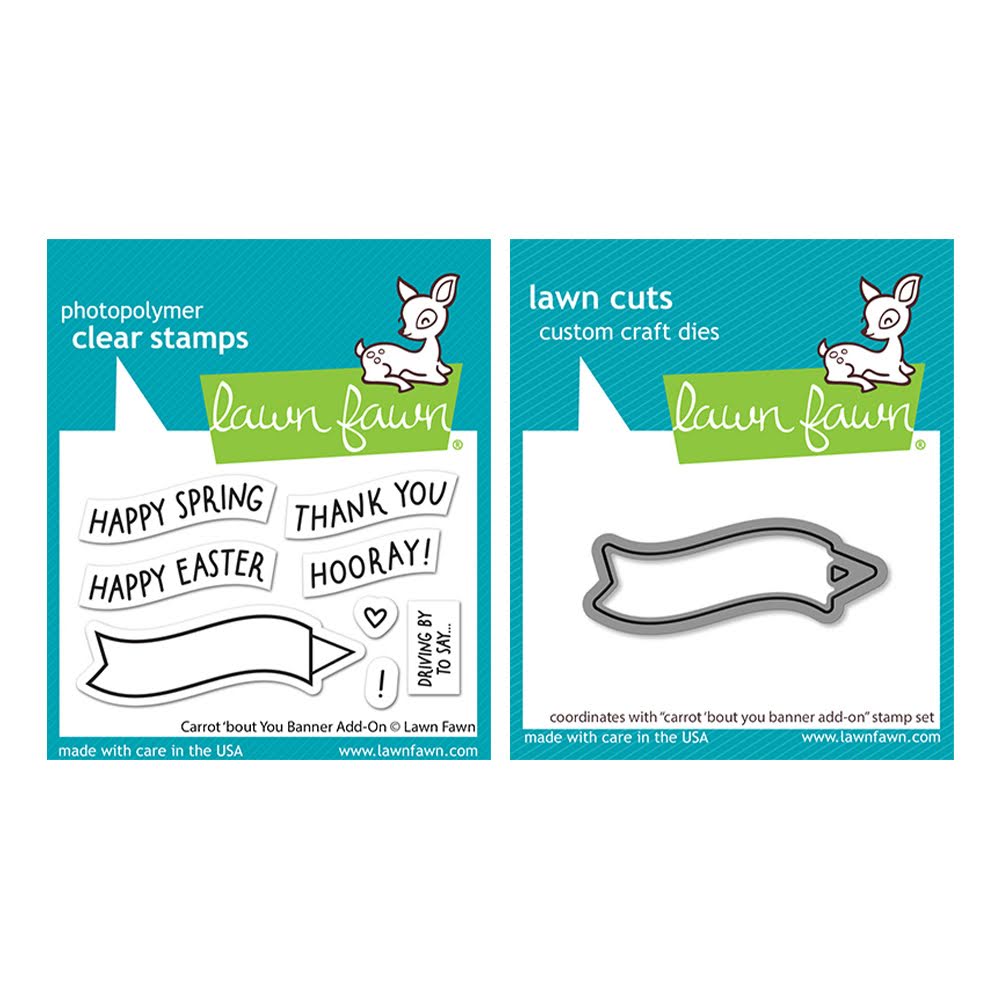
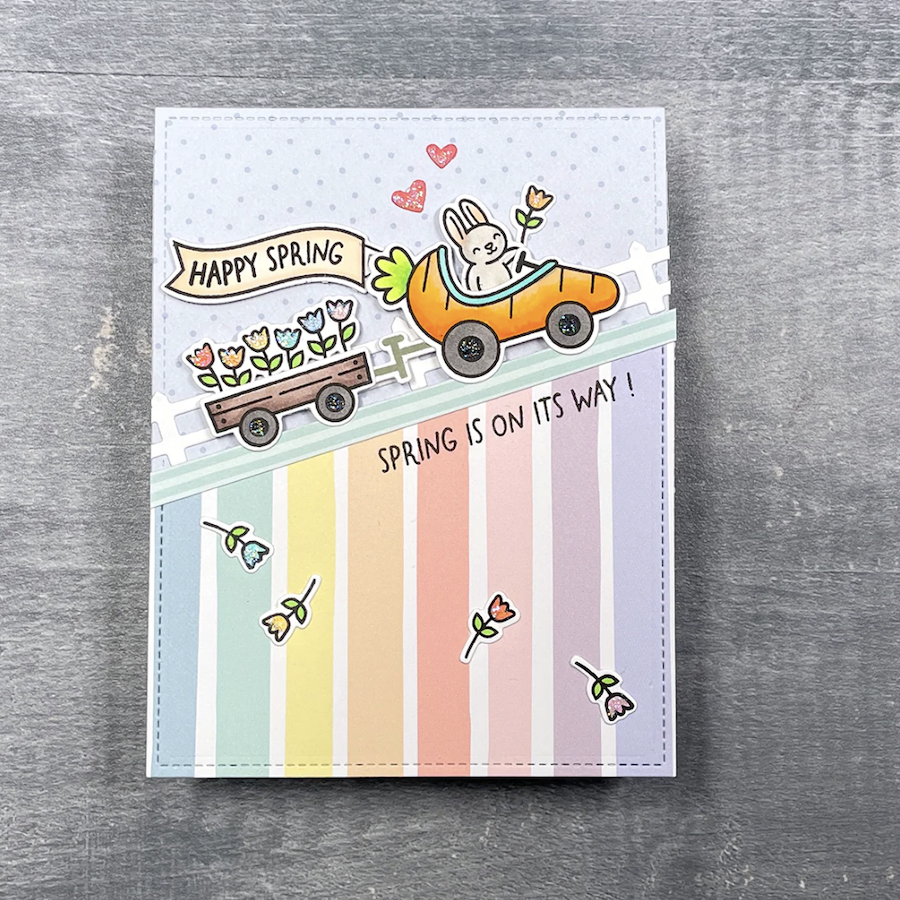
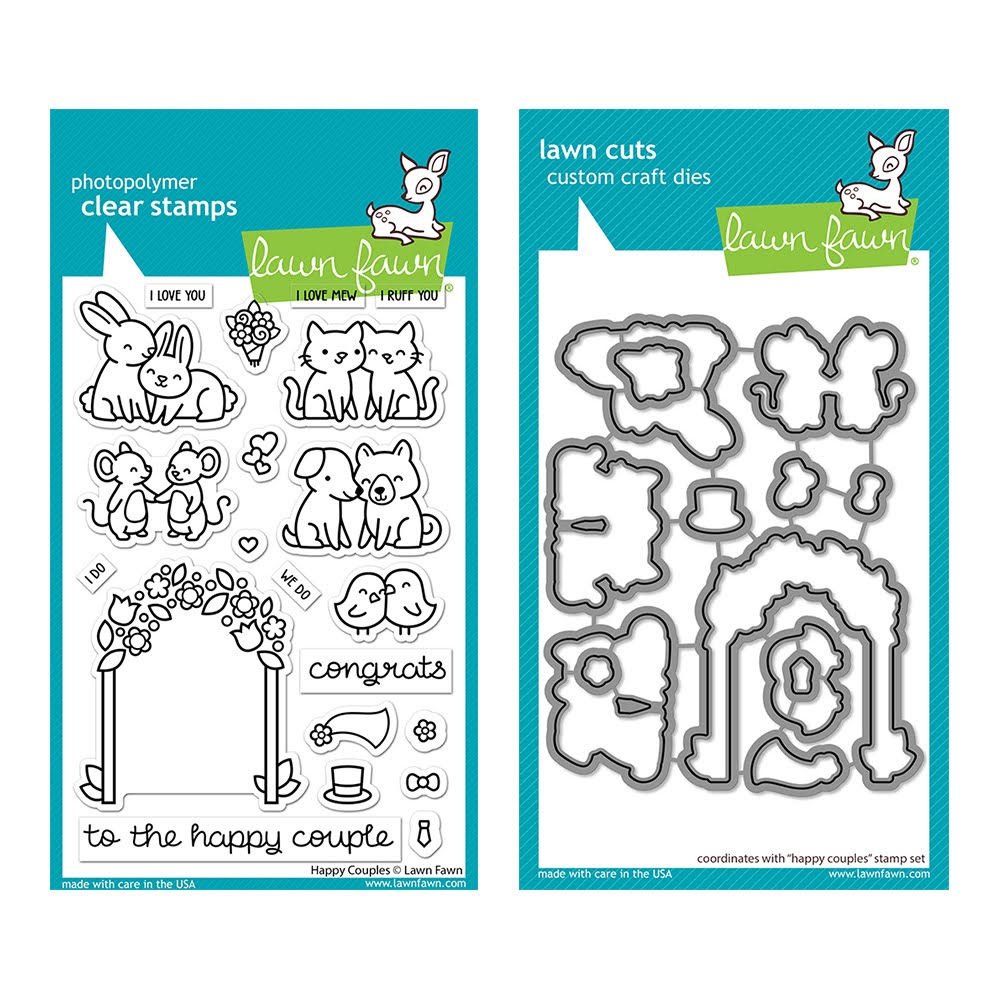
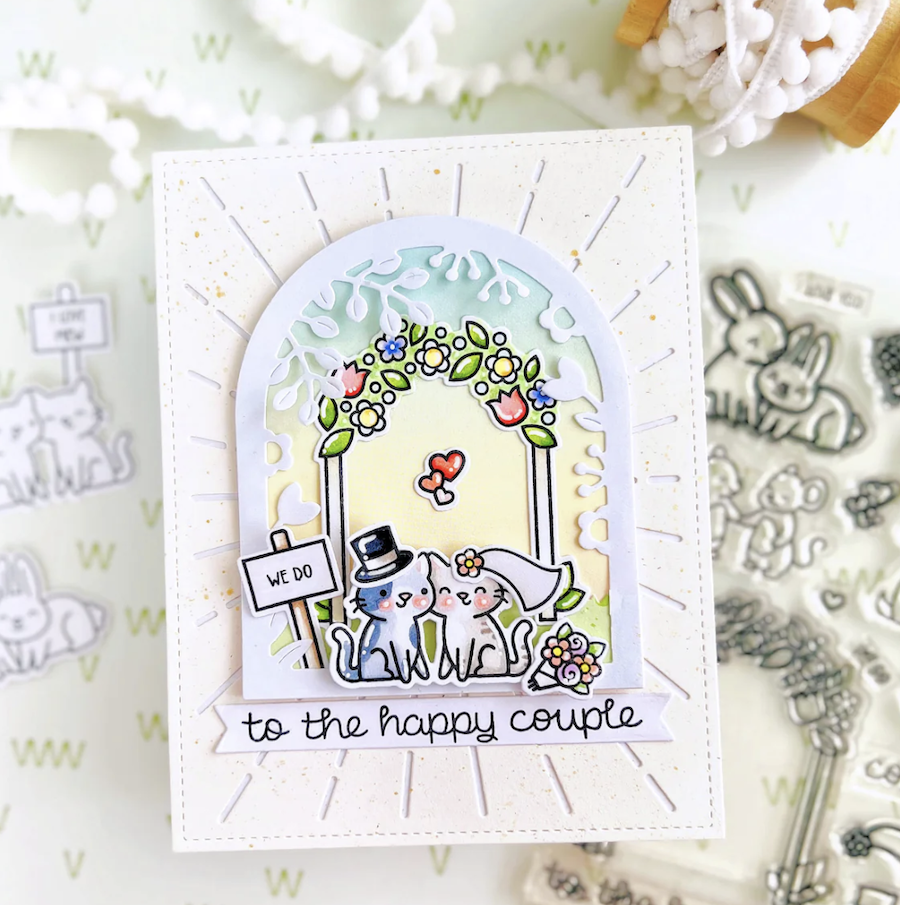
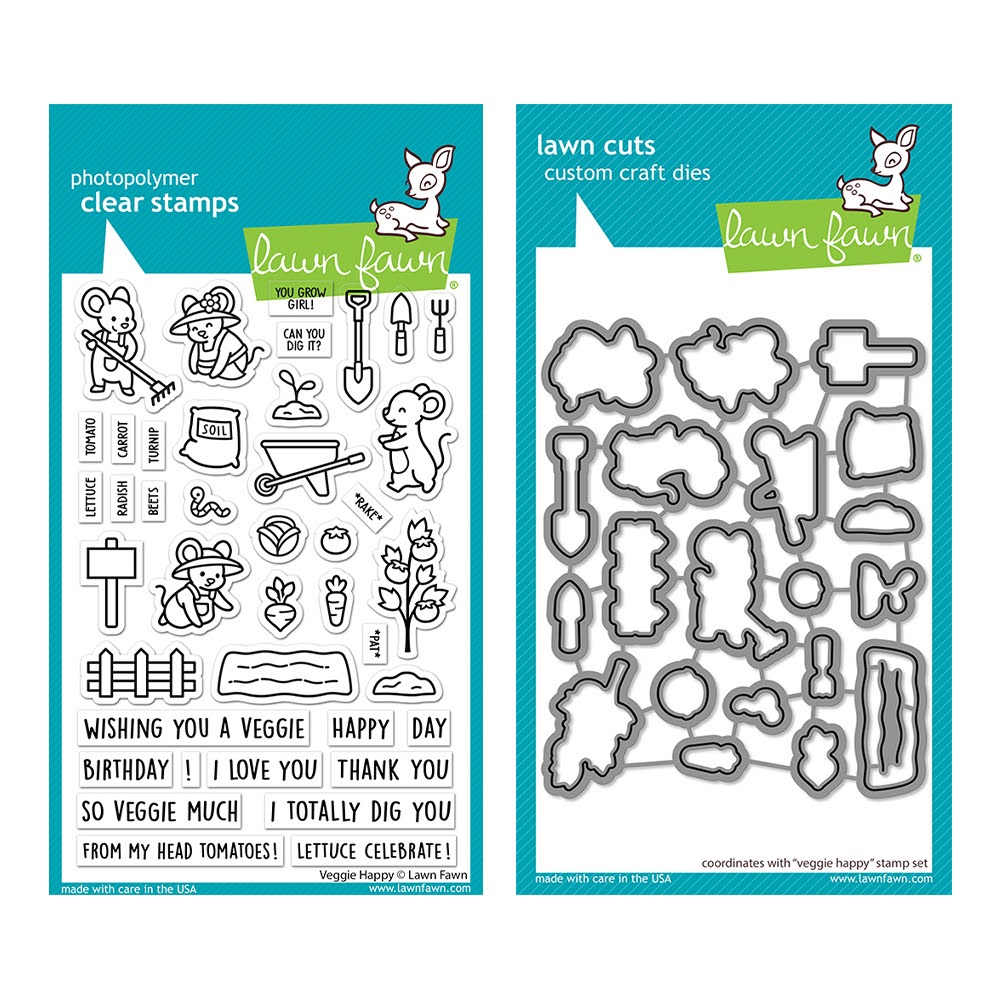
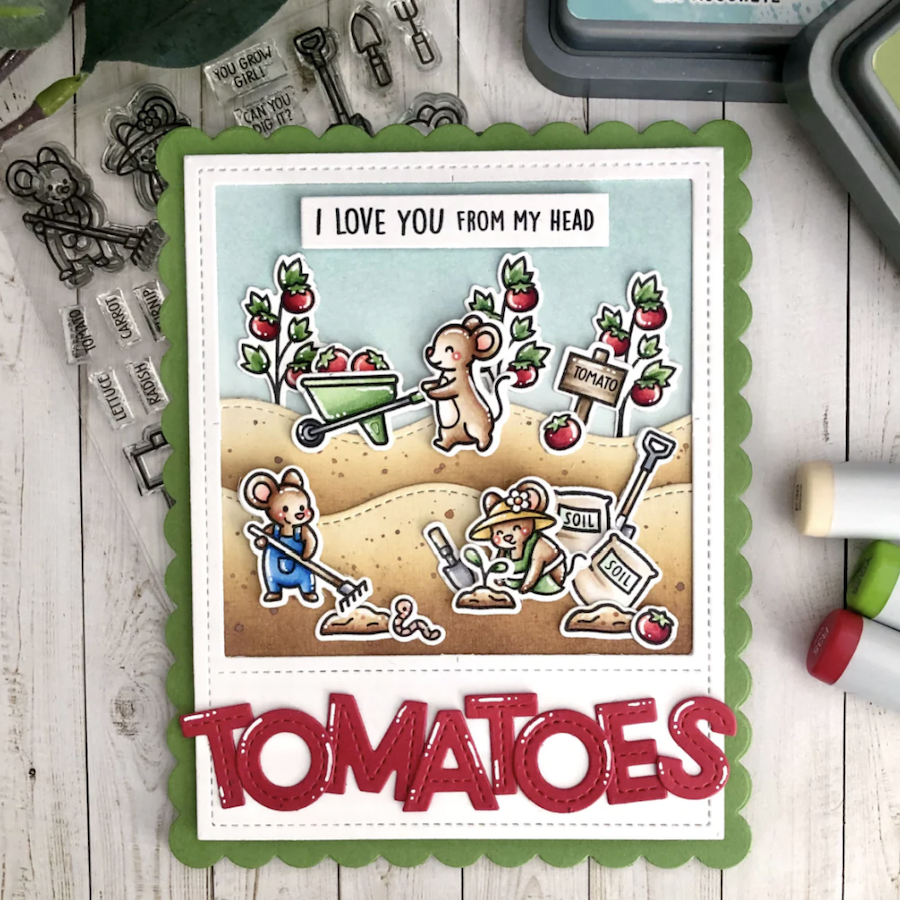
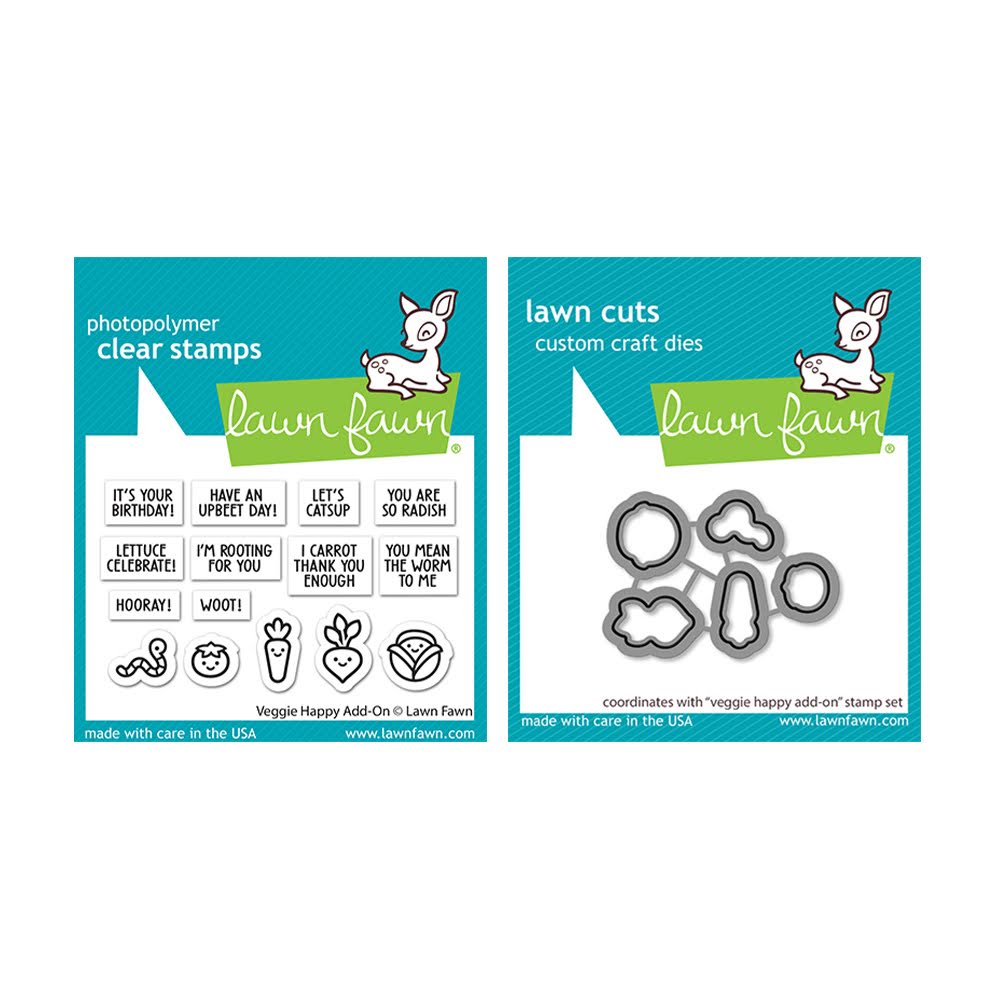
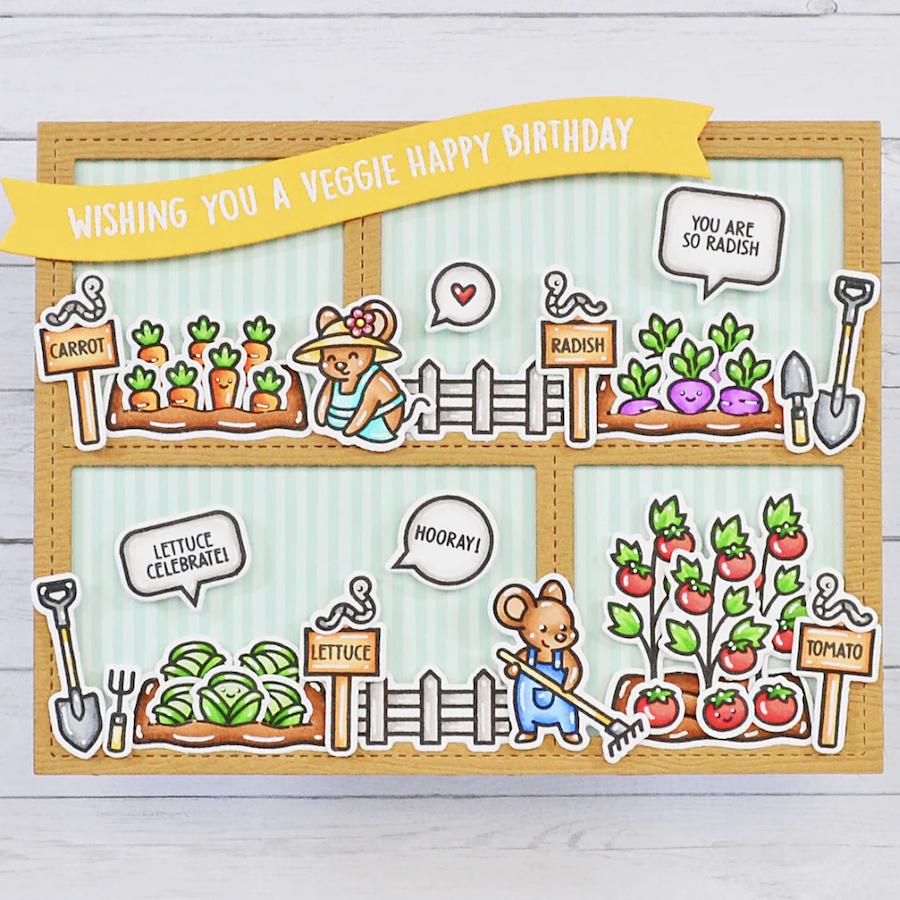
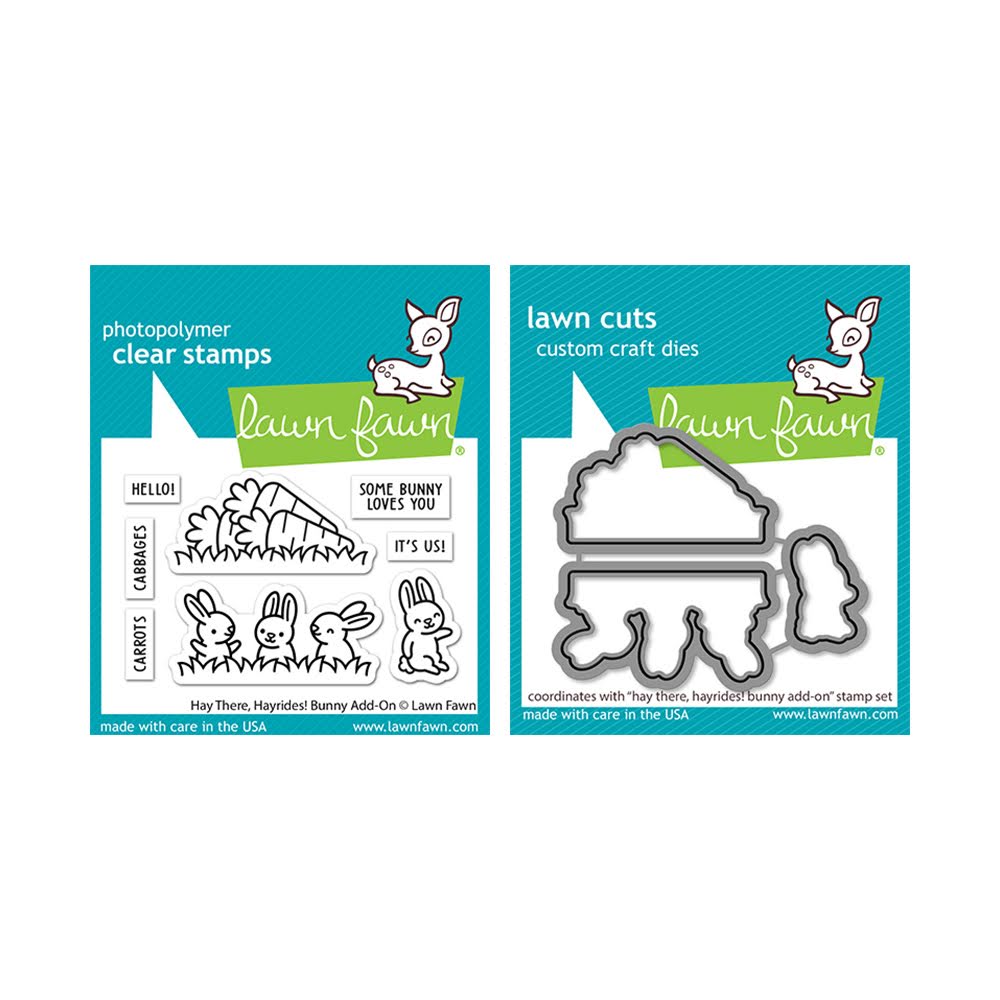
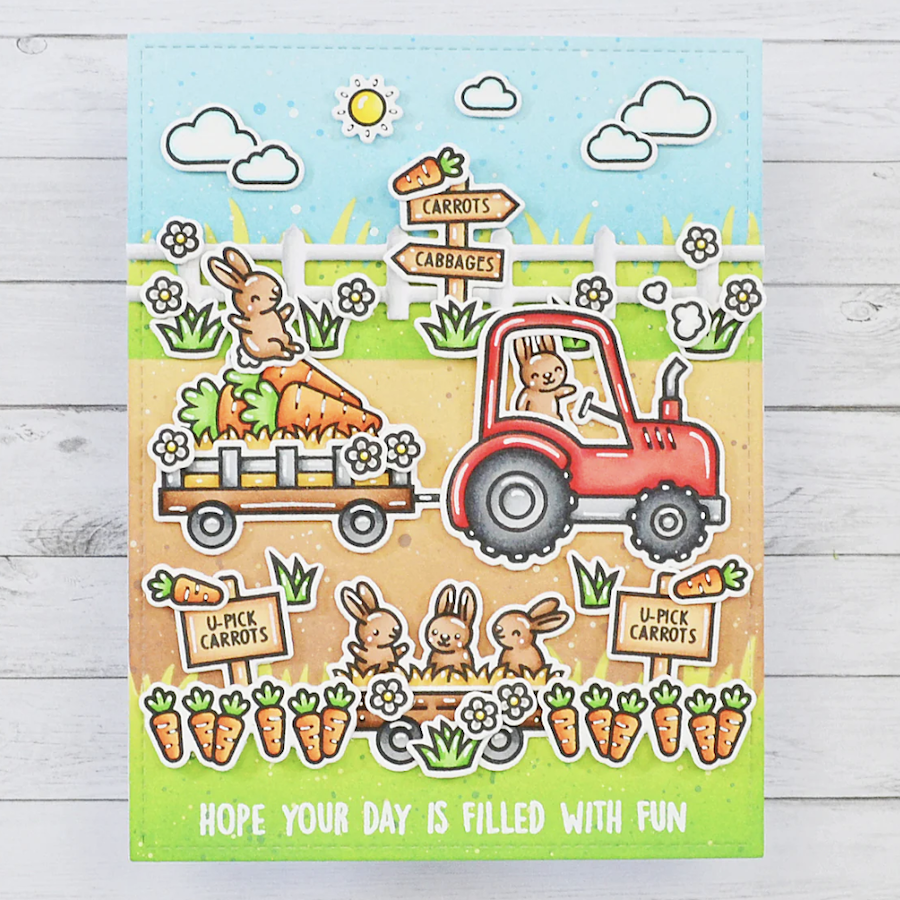
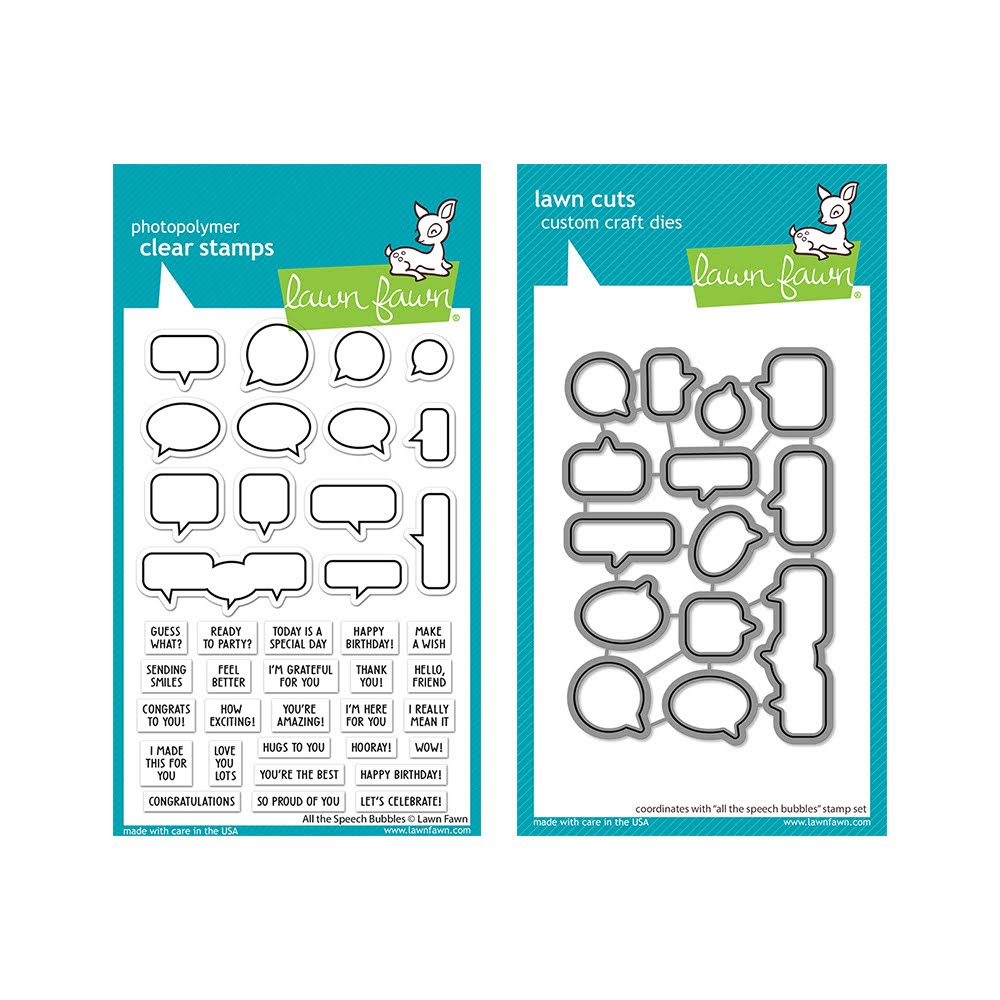
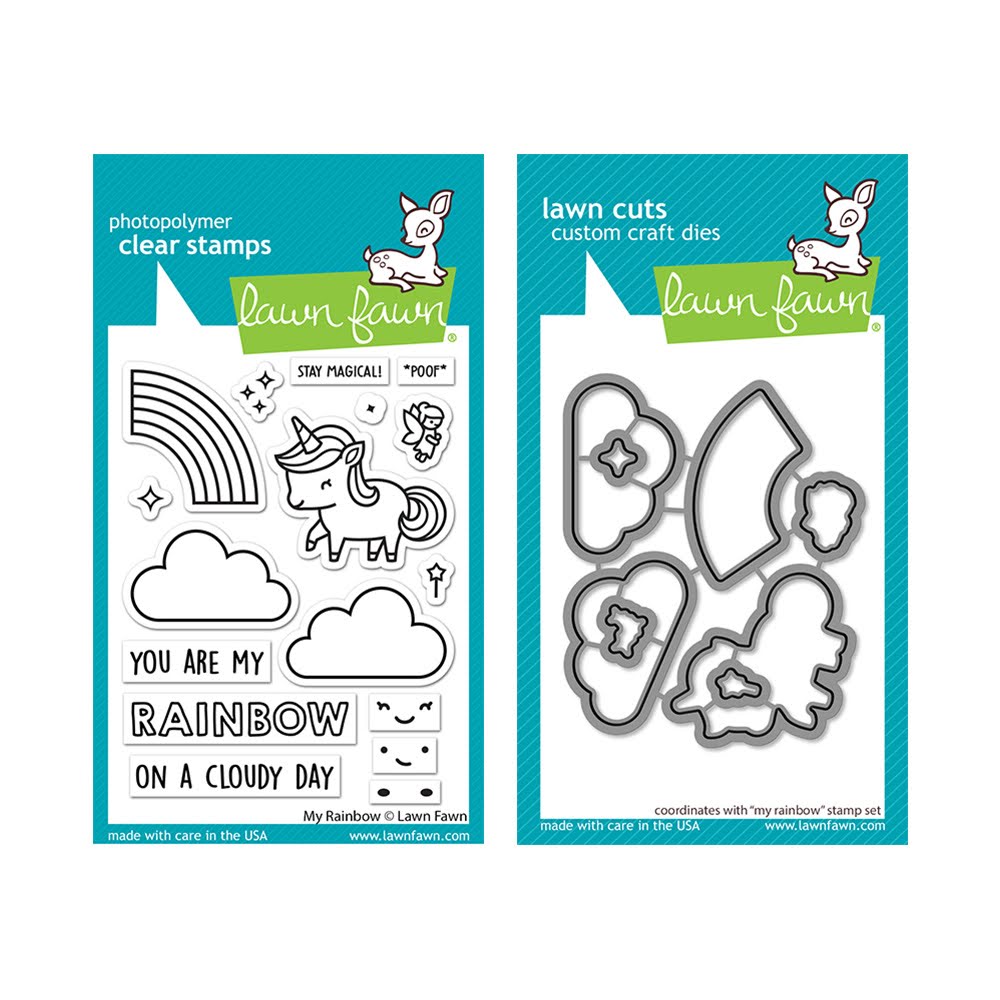
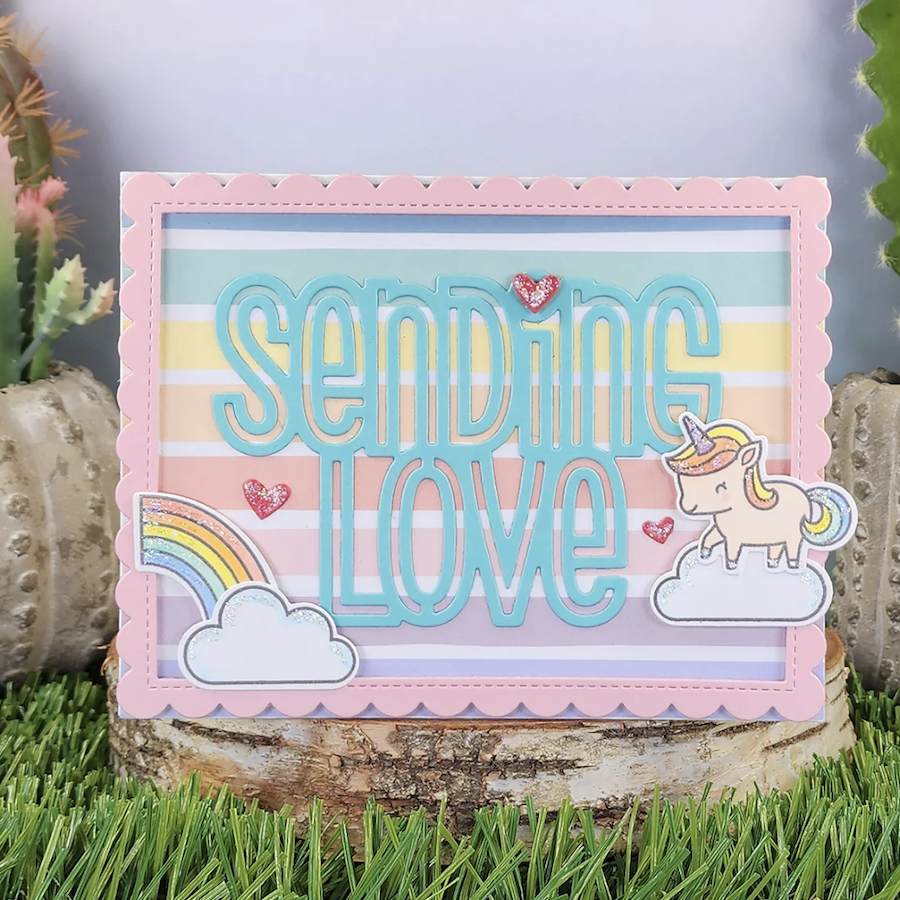
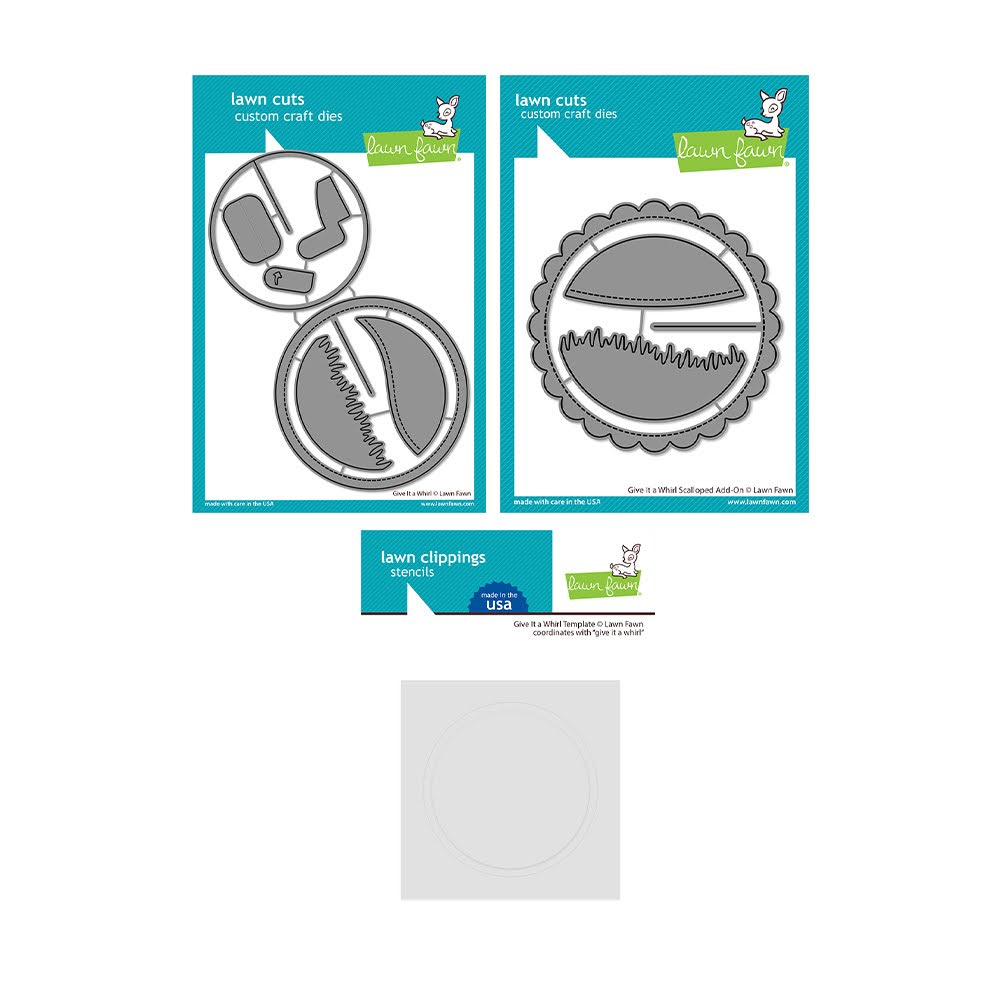
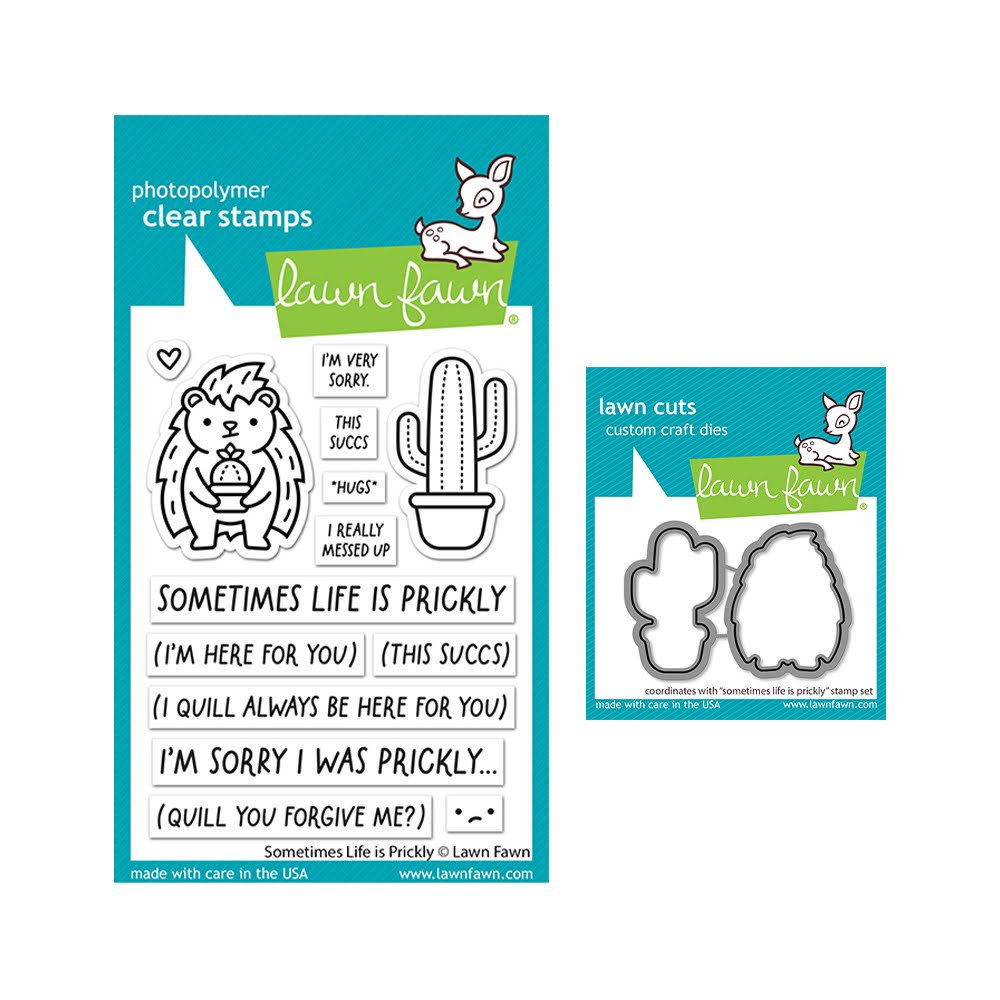
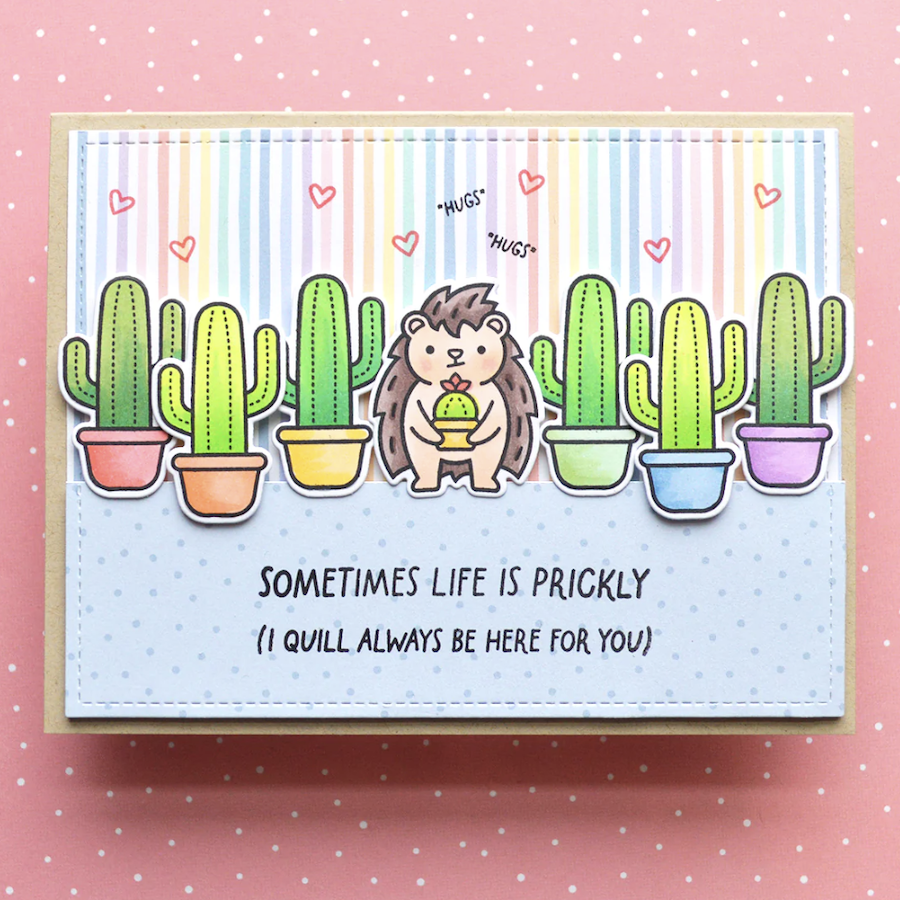
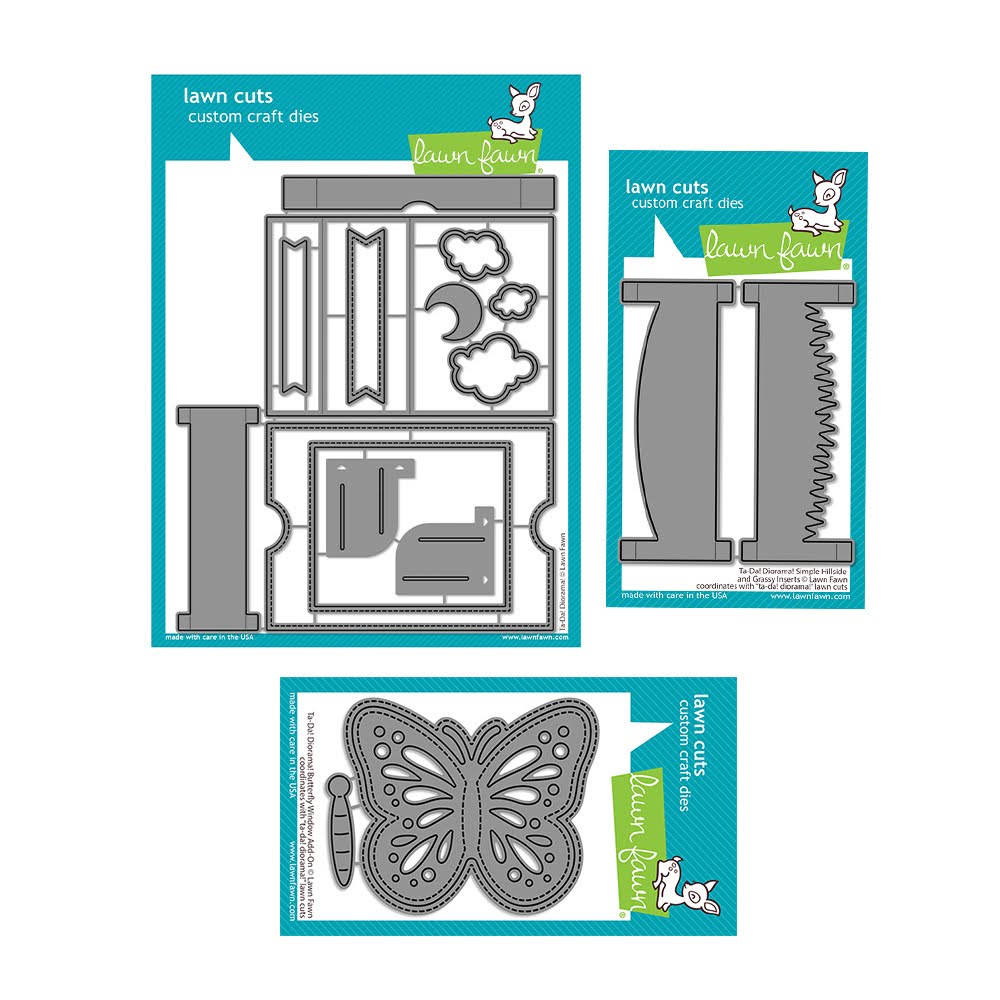
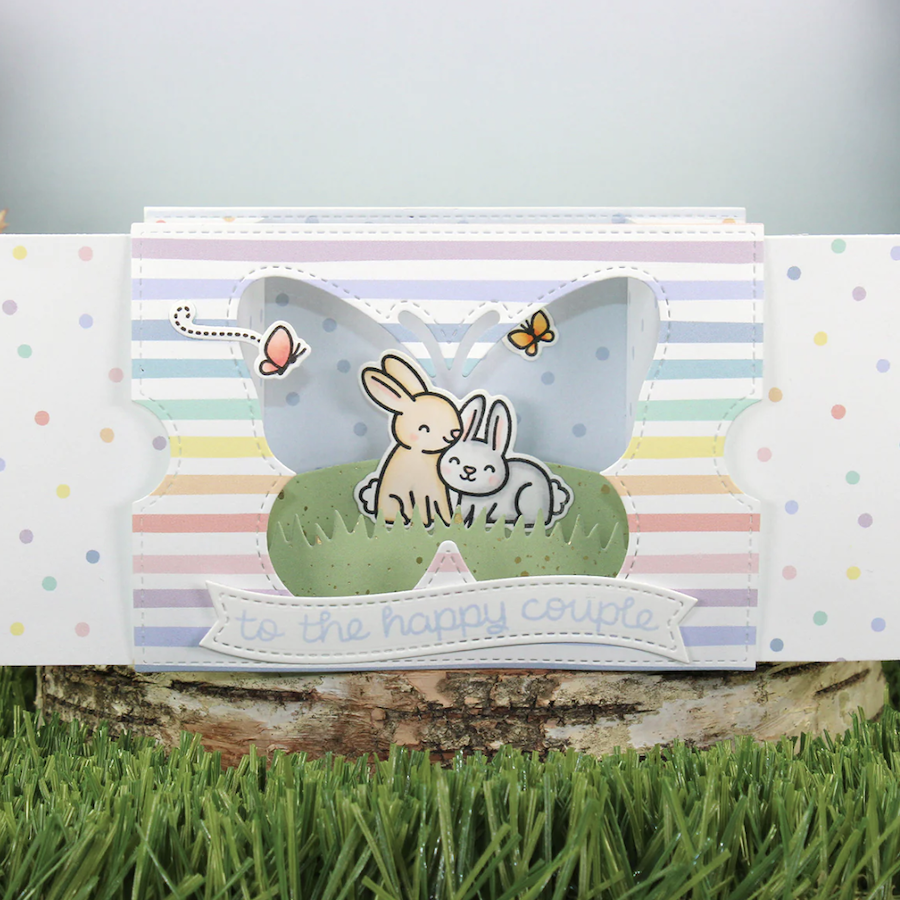
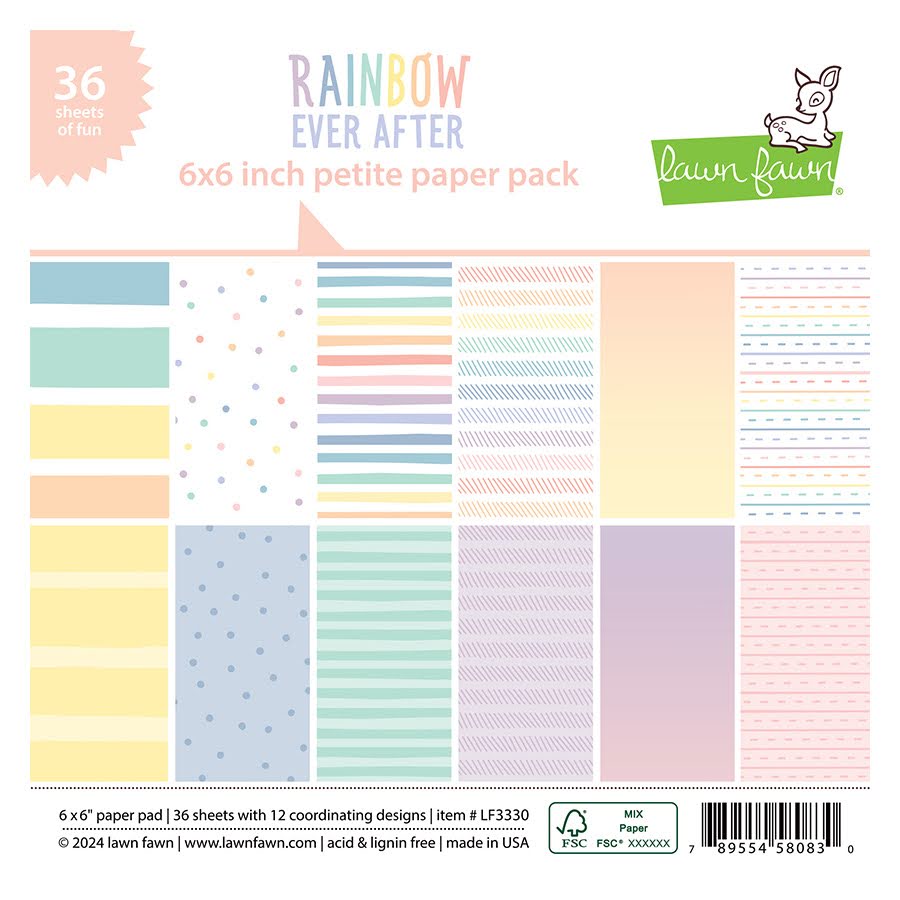
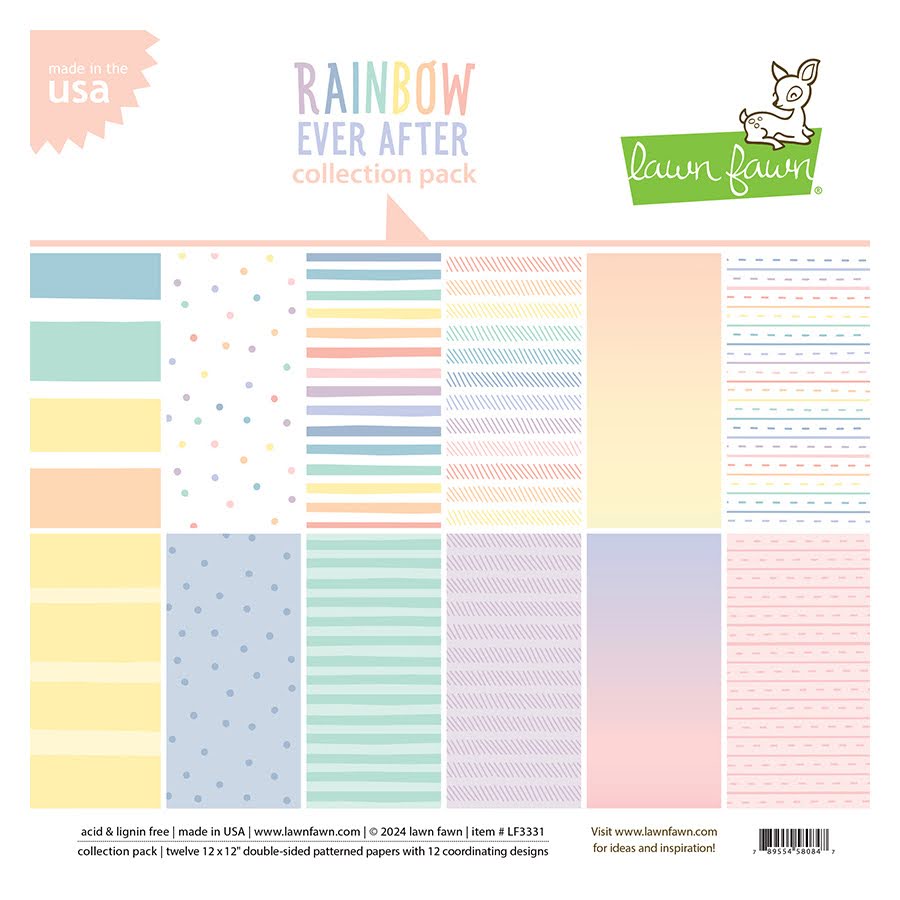
NEW Spring 2024 Lawn Fawn is HERE!
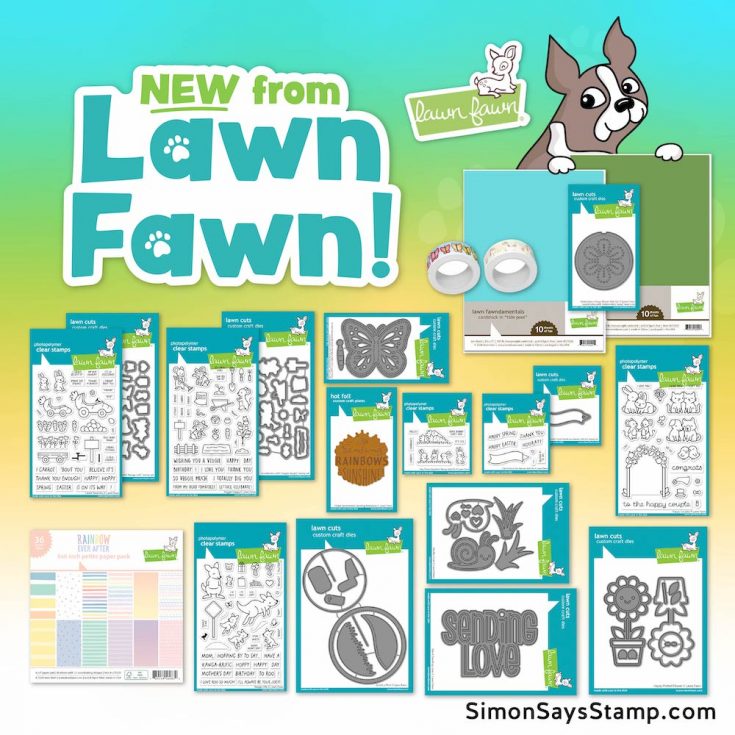
Oh happy day! We are SO excited to share that Lawn Fawn’s Spring 2024 collection is HERE and shipping NOW! WOOHOO! We gathered up a few cuties to spotlight by some FAB designers but be sure to peruse the entire collection to shop and find a new favorite!