Clean & Simple Faux Mini Envelopes Card with Kristina Werner
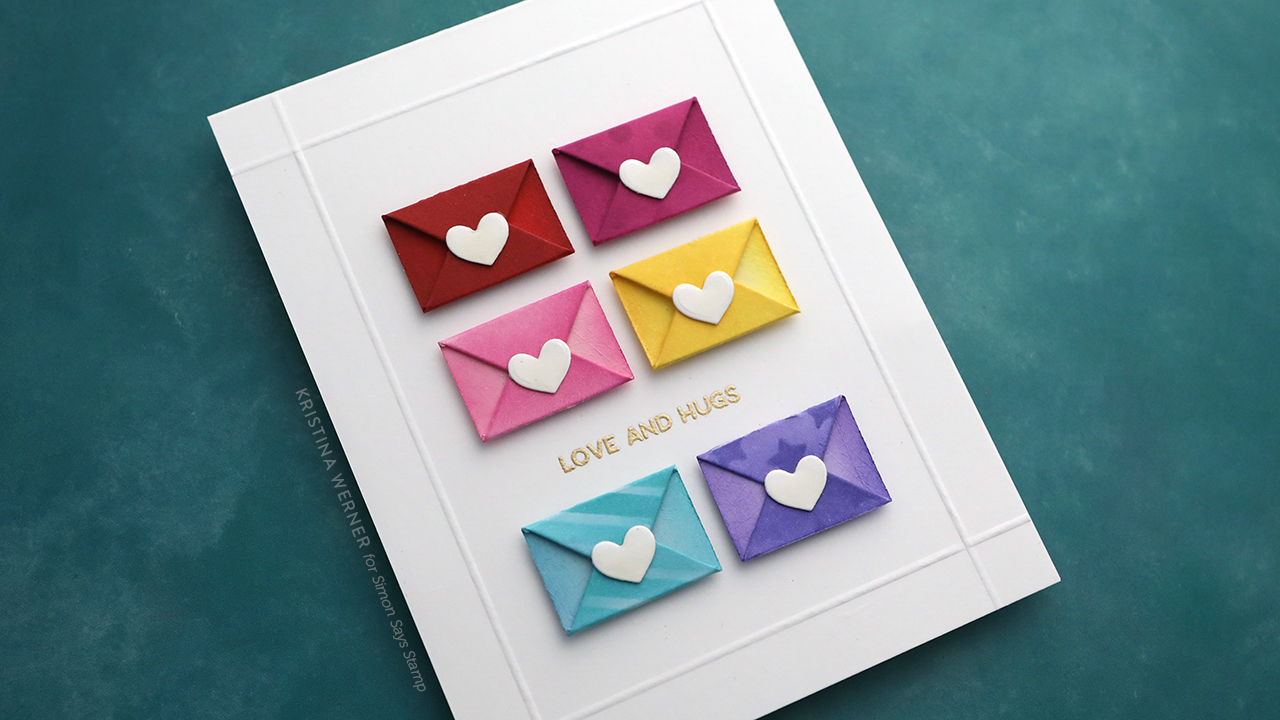
Hi all! Kristina here! The holiday season has passed and were heading right into Valentine’s Day and love cards! For my first card of the year, I created a clean and simple design using the new Faux Mini Envelope die. This little die really packs a punch when you create multiple envelopes!
I cut six envelopes out using the Faux Mini Envelope die, each in a different color of cardstock: Lipstick Red, Doll Pink, Cotton Candy, Lemon Chiffon, Surf Blue, and Lavender. Then I used the Slimline Patterns stencil set from CZ Design to add some patterns onto three of the envelopes. The others I kept plain.

For all of the ink blending, I used a slightly dark ink than the cardstock color. In the same relative order, I used Sangria, Taffy, Peony, Sunbeam, Surf, and Iris.
The card was finished off with a greeting from the My Love Greetings stamp set.
Thanks for stopping by!
Supplies
|


Get FIRST in line to get the NEWEST Tim Holtz Distress Color!
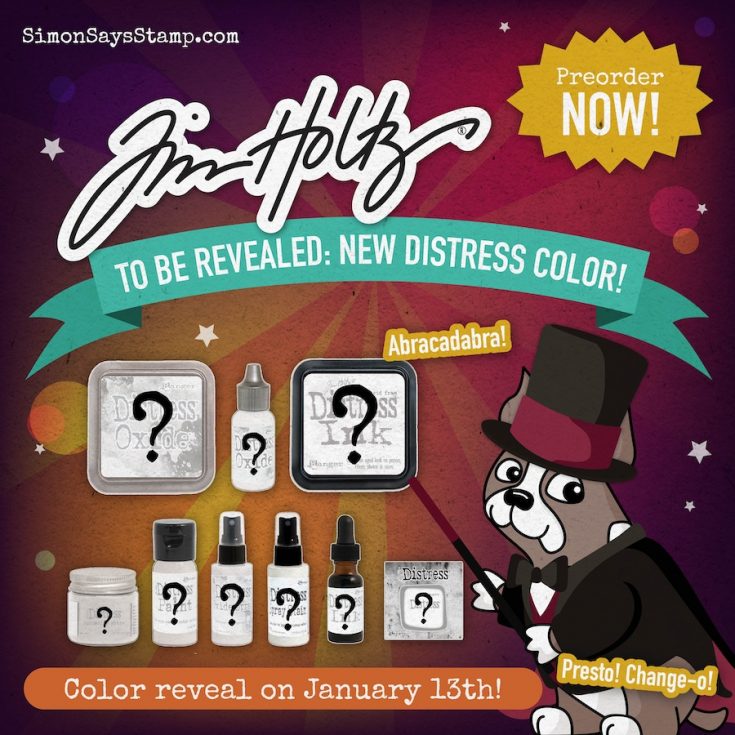
Hi friends! We’re are SO excited to see that the brand NEW Distress color is, and let’s face it, we know we will love it! If you’re like us, then feel free to be the FIRST in line to receive the new color in your medium of choice –or– get them all by preordering NOW!


Copic Coloring Tips and Tricks! Crafty with Caly

Hi friends! Happy Wednesday, and Happy New Year! Please join me in welcoming back special guest Caly Person back to our blog! Read on and be sure to watch the video for all the information! Enjoy!
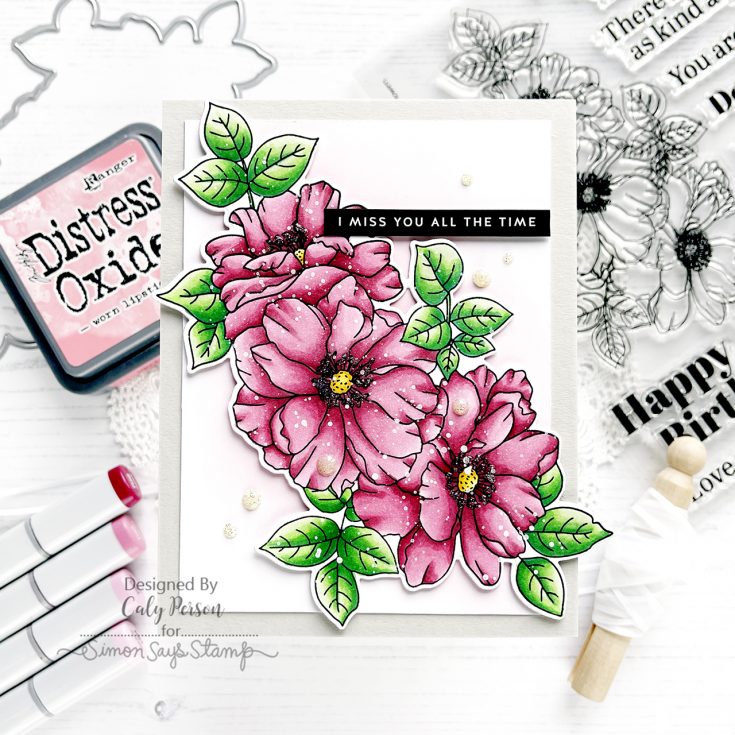
Hi there! I hope everyone had wonderful holidays! It’s a new year and I’m thrilled to be sharing more spring cards. Today’s card uses the Mom’s Spring Flowers set. It’s an older set, but she’s a beauty!
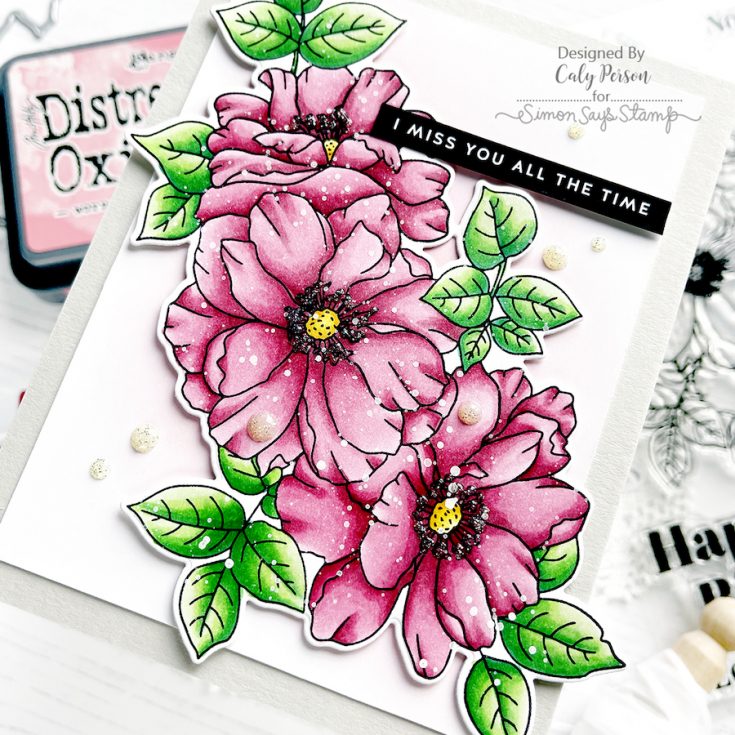
I stamped my image in black and colored with Copic markers.
- Flowers: R81, R83, R85, R56
- Flower Centers: Y11, Y15, YR24
- Foliage: G40, YG06, YG09, G17
WATCH THE VIDEO:
Coloring can take your time, but if you’re patient, it will be worth it! After coloring, I die-cut it and splattered it with white paint.
For the background, I ink-blended with Worn Lipstick Distress Oxide ink. Next, I adhered the image with 3D Foam Squares and matted the panel over Fog cardstock.
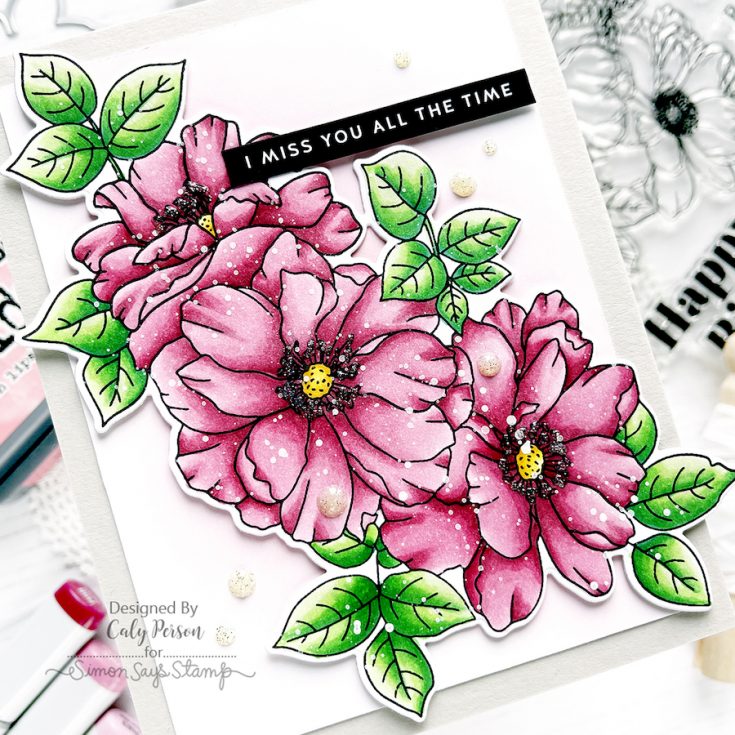
To finish my card, I added a sentiment from the Thinking of You Sentiment Strips and added some glitter using Nuvo Glitter Drops in Gold Coast. I hope you like it!! Thanks so much for joining me today! ~Caly
SUPPLIES:
|


Thanks so much for stopping by, and thanks to Caly for being our guest!


