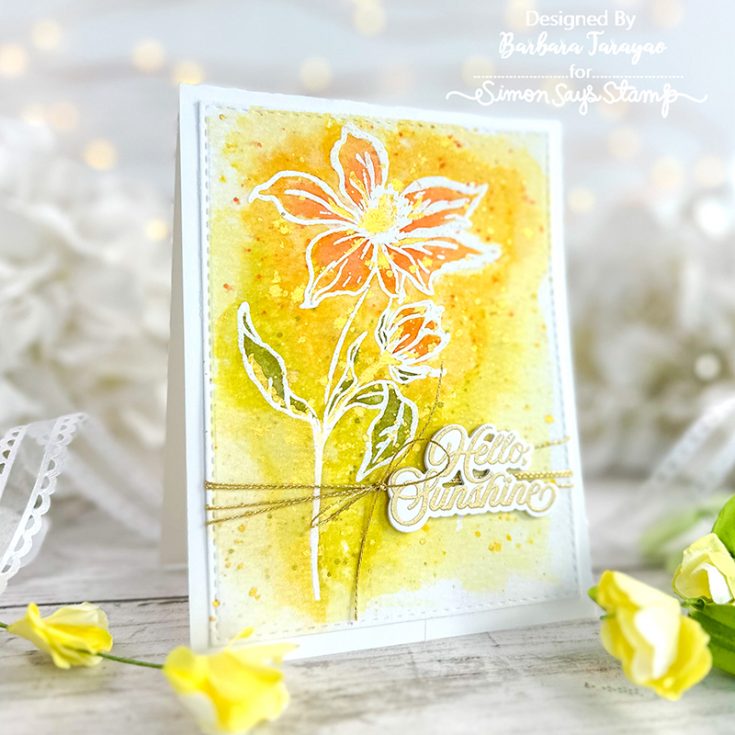
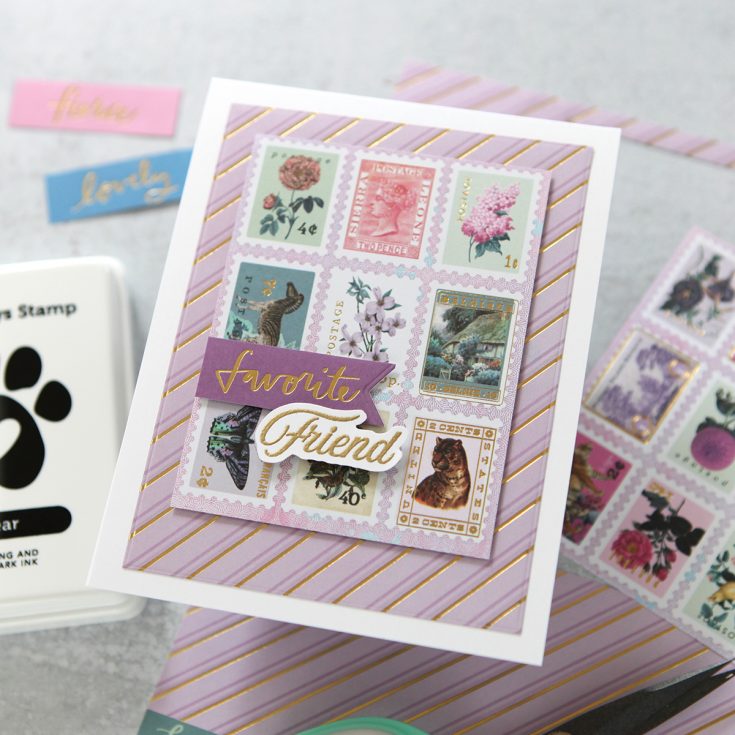
Card Kit Reveal and Inspiration: Wild and Free Flowers
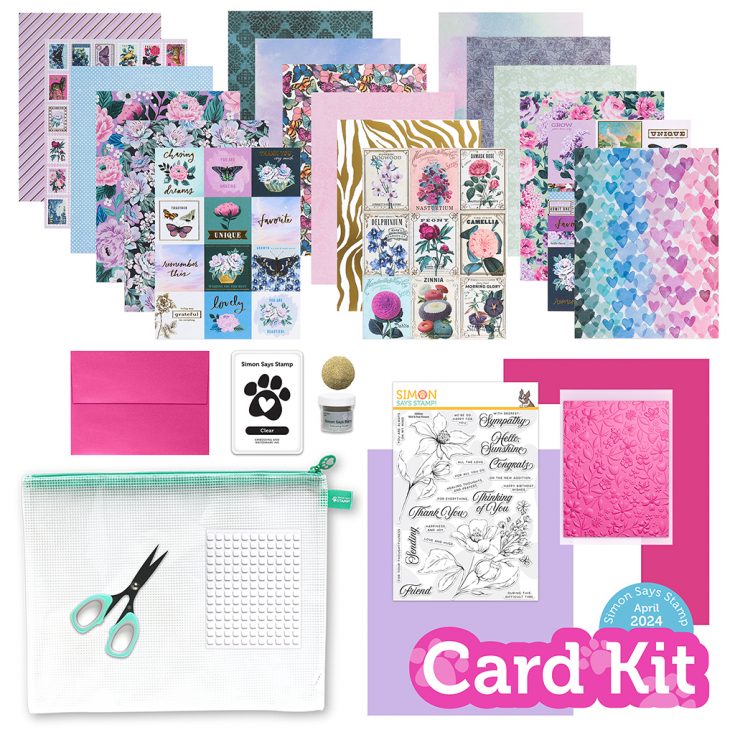
Our April 2024 Card Kit—Wild & Free Flowers—is bursting onto the scene like a fresh breath of spring!
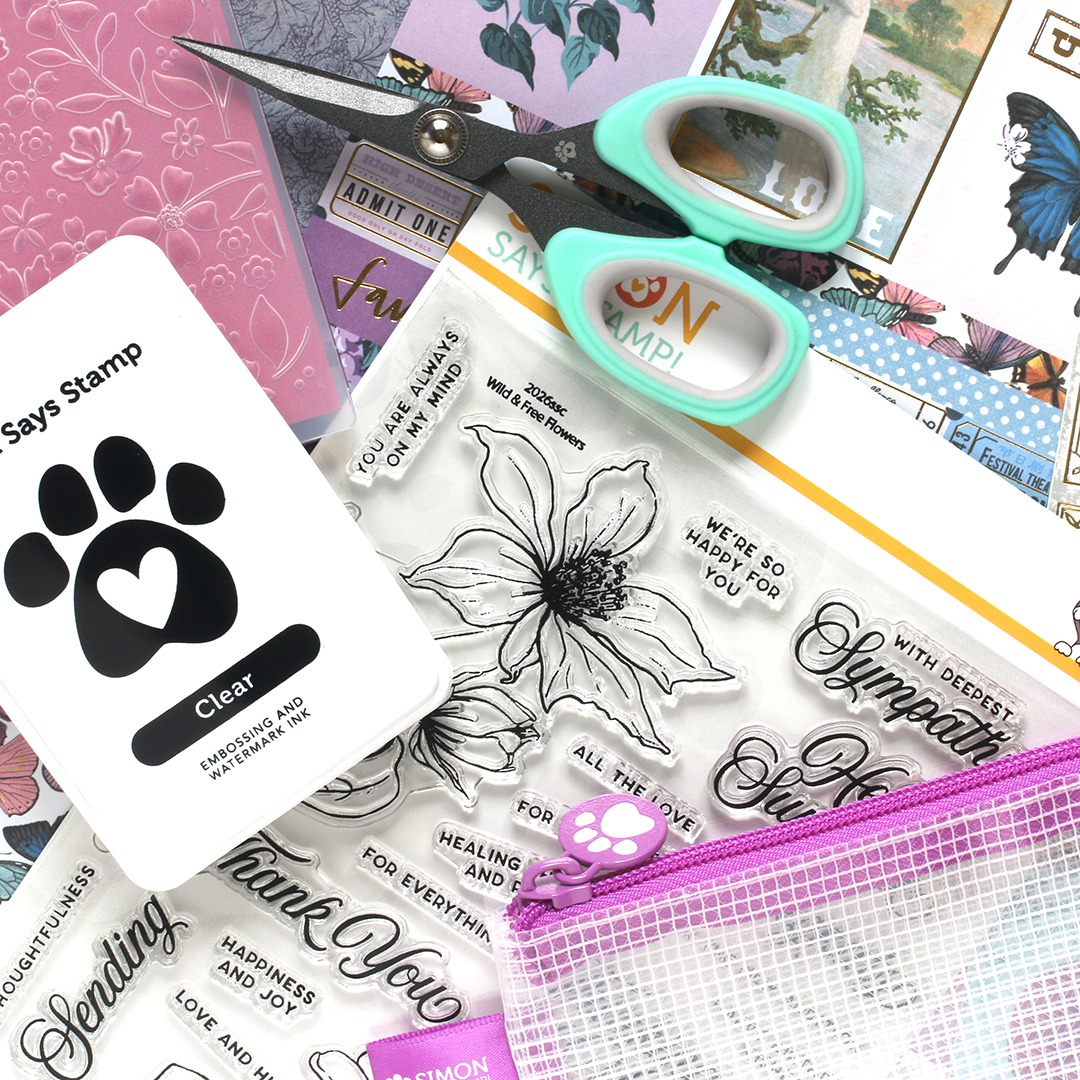
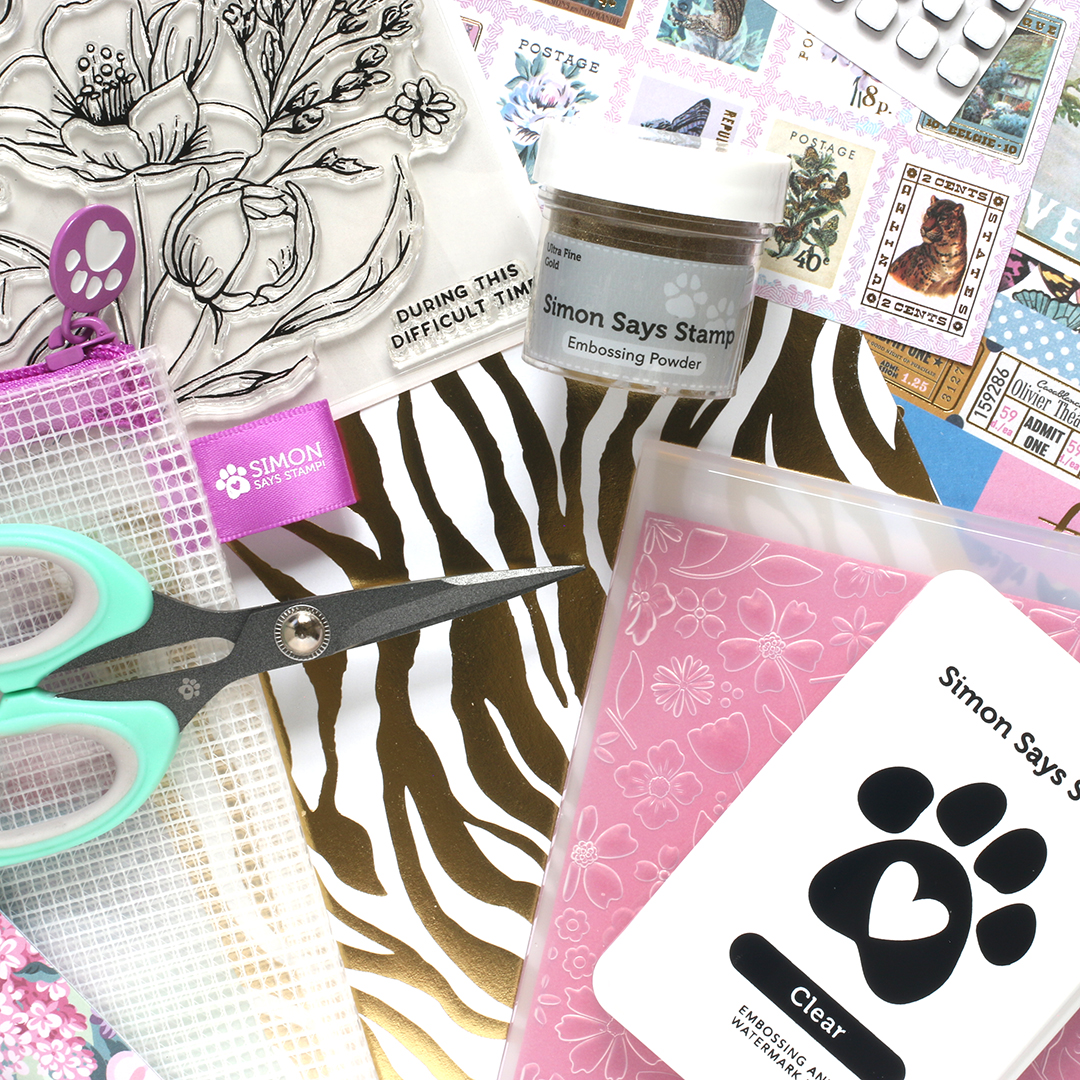
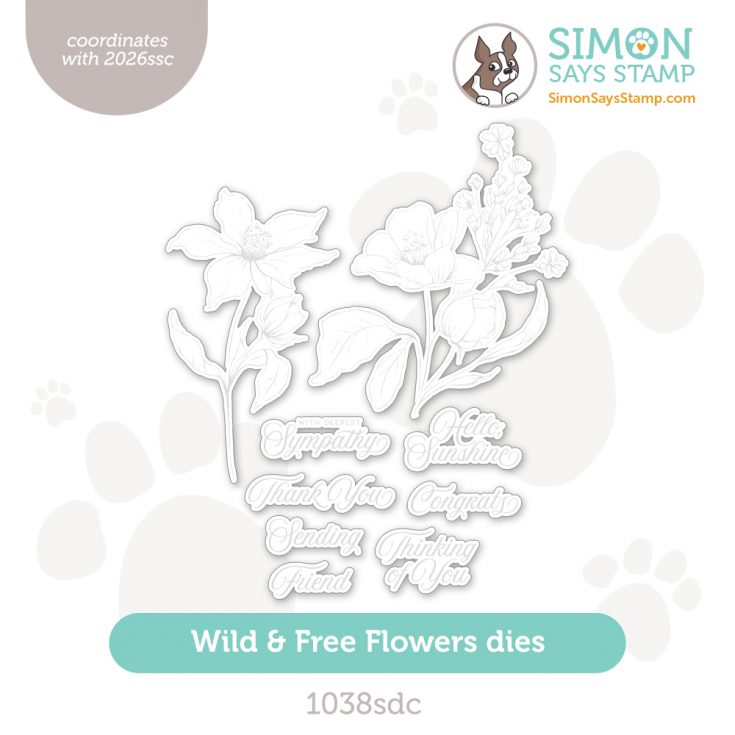
This carefully curated kit includes brand new exclusive products from SimonSaysStamp.com: the Wild & Free Flowers 6×8 stamp set and the Floating Flowers embossing folder.
We’ve included 18 sheets of 6×8 patterned papers from American Crafts that shimmer with metallic gold accents and trendy colors. To enhance your creative experience, you’ll also receive the following Simon branded products: Fine Detail scissors, one full size Clear Embossing ink pad, Ultrafine Gold embossing powder, and one sheet of 3D Foam adhesive squares.
Complementing all the kit components are 1 sheet each of Simon exclusive coordinating cardstock in Doll Pink and Lavender, 1 sheet of Neenah Solar White cardstock and an A2 Metallic Doll Pink envelope! The whole kit fits perfectly in the Mesh Zipper Bag provided!
WATCH THE VIDEO:
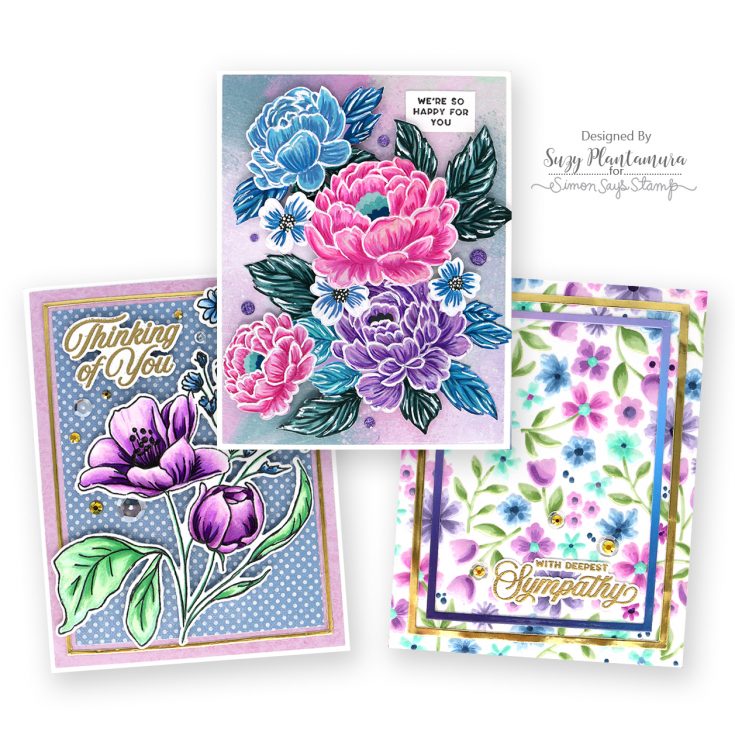
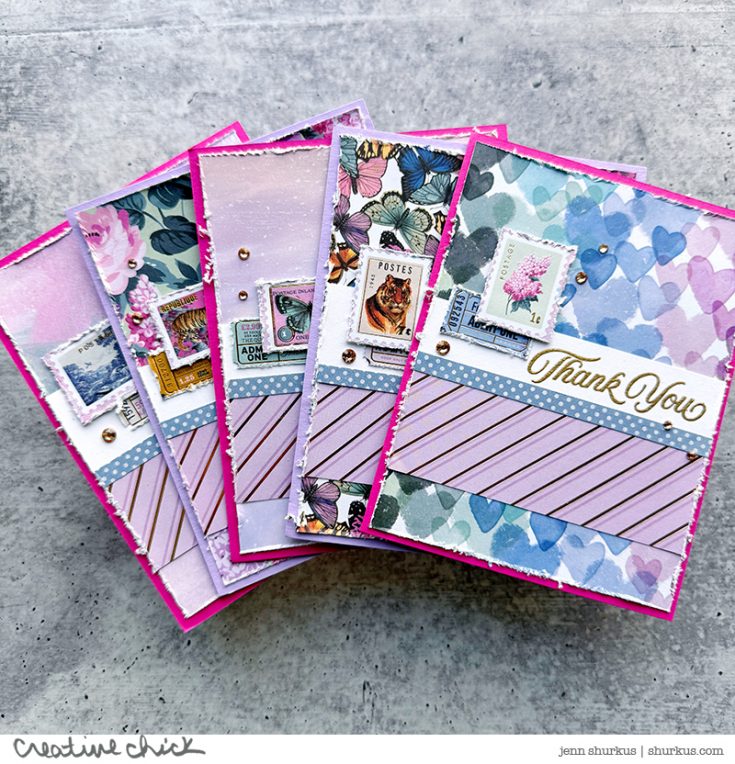
Ideas to INSPIRE!
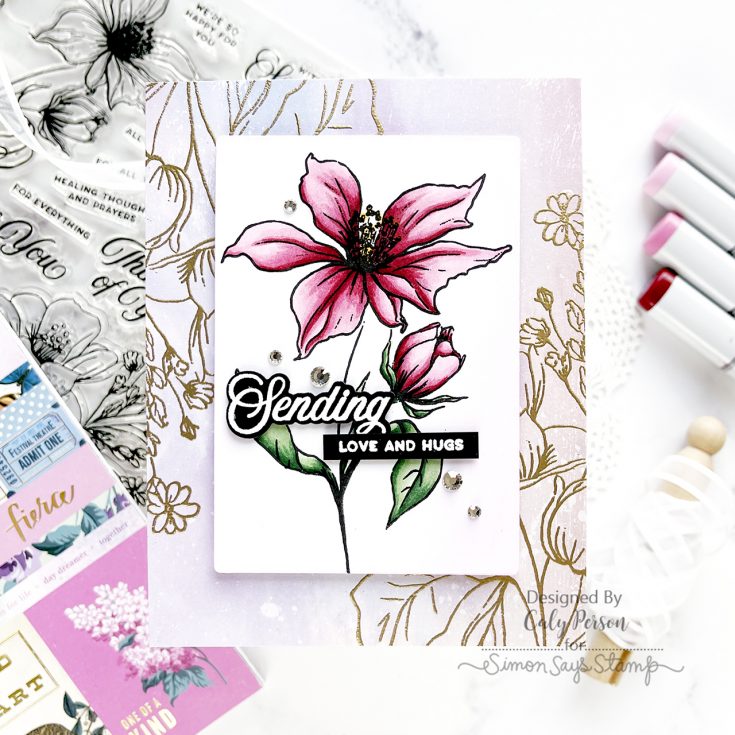
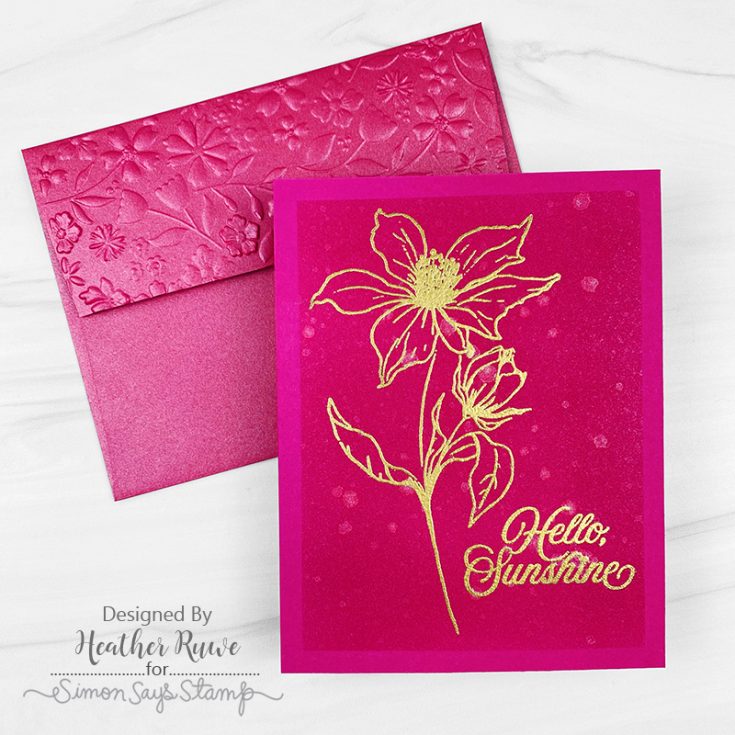
Enhance your kit with this a la carte coordinating die set (sold separately!)
Did you know?! We’ve made our card kit subscription BETTER THAN EVER!
Learn more:
Here’s what makes our new service a crafting paradise:
? Exclusive Access: As a subscriber, you get first dibs! Each month, you’ll get an exclusive sneak peek at our new kit, with the option to add more coordinating items to your cart, including handy replenishable supplies, all shipped together for your convenience.
? Hassle-Free Payments: Say goodbye to monthly billings! Our automated system smoothly charges your preferred card, ensuring an uninterrupted flow of crafty goodness – unless you decide to pause, of course!
? $5 Off Magic: Enjoy a special $5 discount off our kit’s retail price, exclusive to our beloved subscribers – no codes needed, just automatic savings!
? Crafting Inspirations: Dive into a sea of creative ideas monthly, all tailored around your kit, to keep your inspiration flowing endlessly.
? Flexibility First: Fear of commitment? Not here! Our subscription is as flexible as it gets – pause or cancel anytime, no strings attached.
Why wait? Step into the realm of our NEW Simon Says Stamp Monthly Card Kit service. Welcome a box full of crafting marvels, right to your doorstep. Craft with ease and let creativity come to you!
? Ready to elevate your craft? Subscribe Now and open the doors to boundless creativity!
We’re thrilled to have you in our crafting community and can’t wait to embark on this renewed creative adventure together! ?✂️?
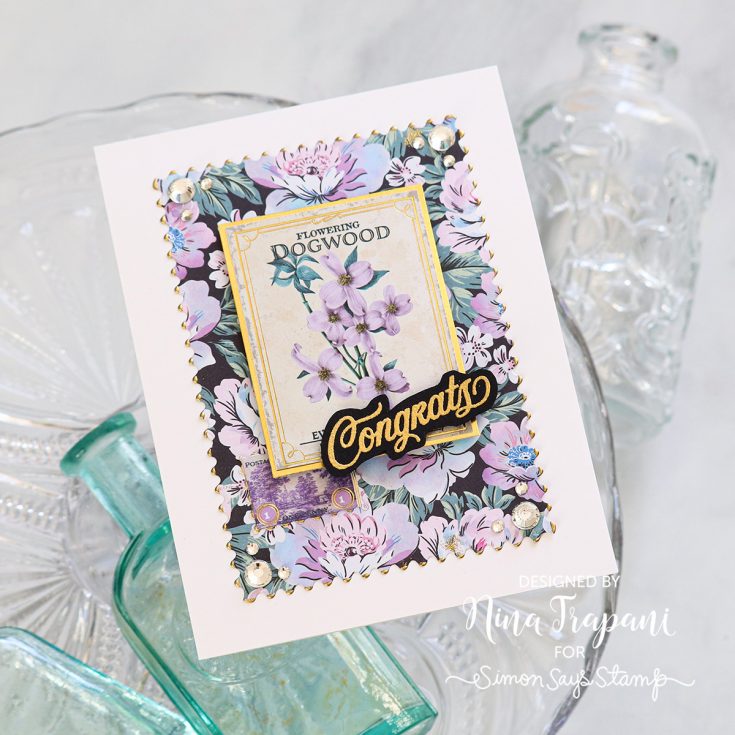
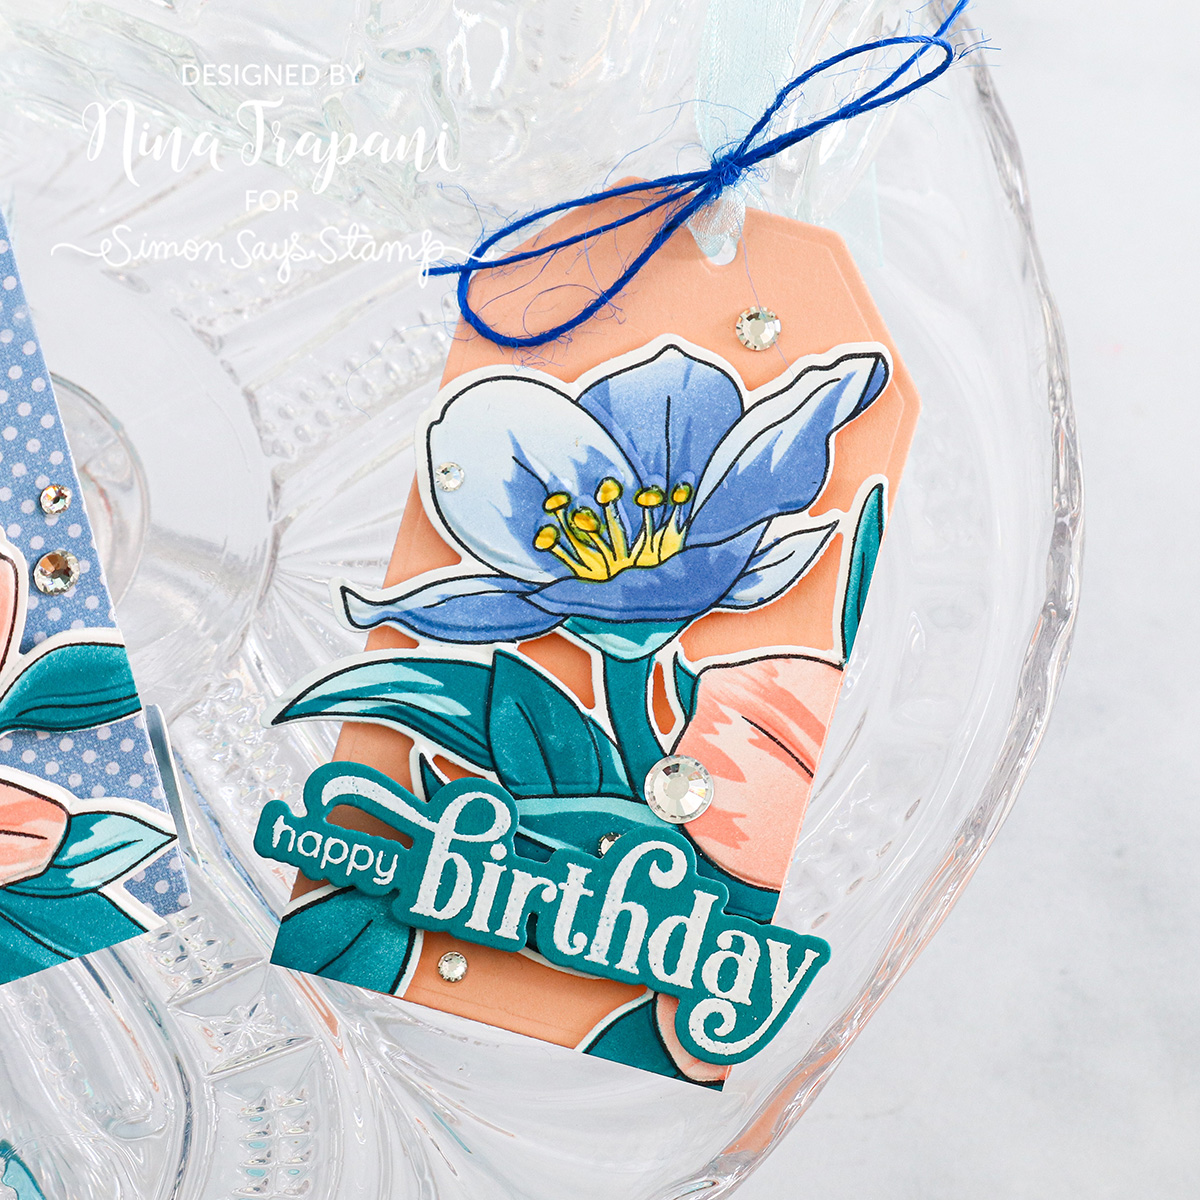
Stunning Gift Bag and Tag Idea: Elevate Your Gifting Game!
Hey there friends, it’s Nina-Marie Trapani here with you and I have a gift giving idea to share using Altenew’s Splendid Bouquet Craft Your Life Project Kit!
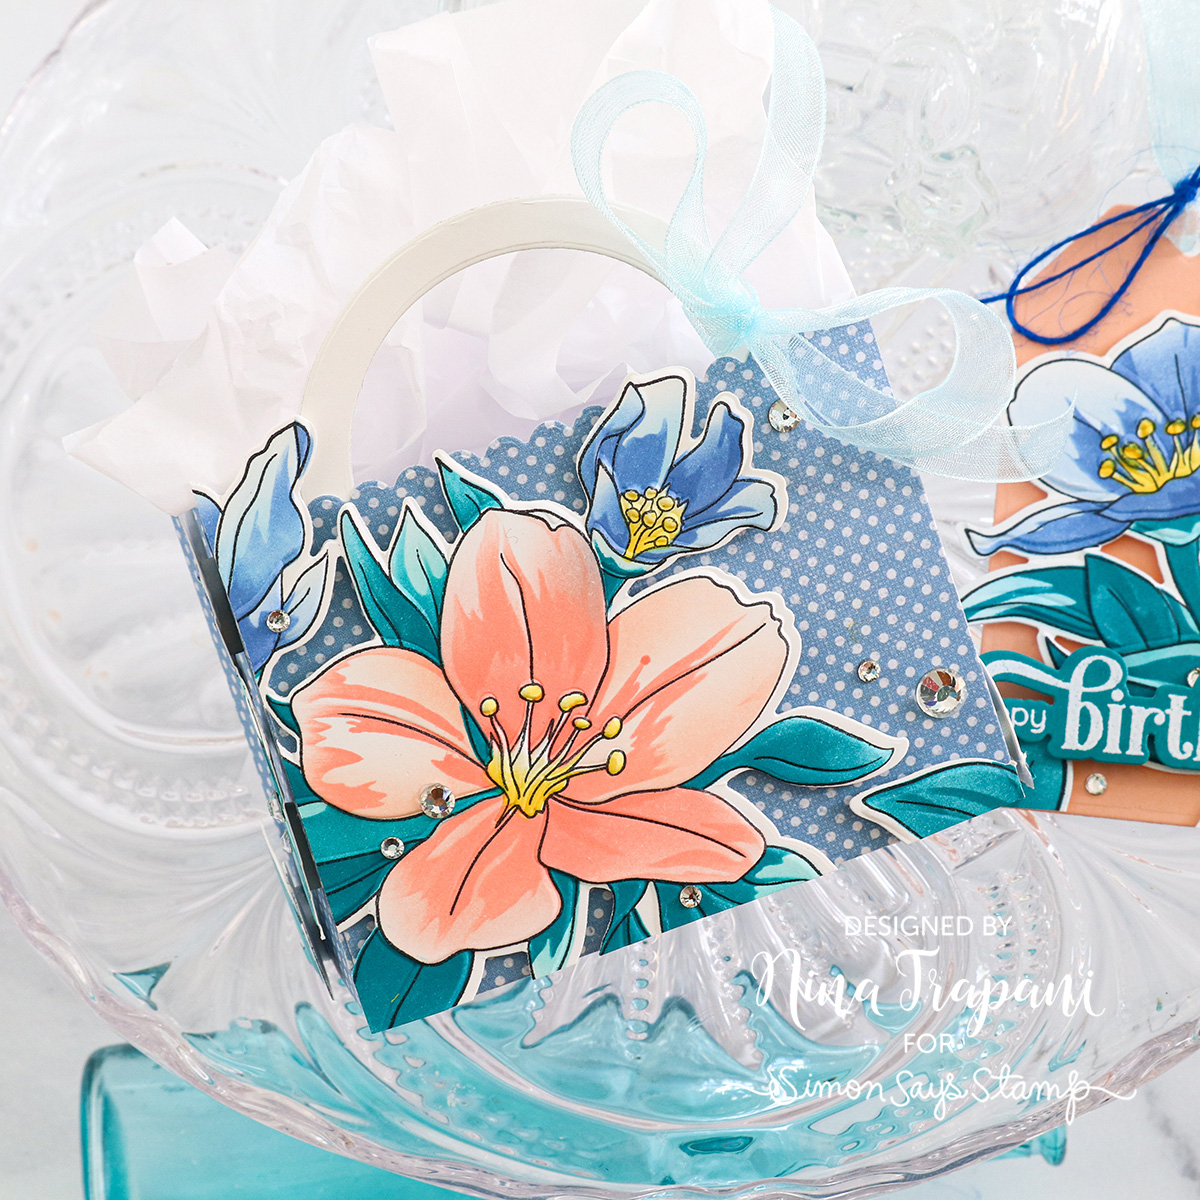
I used our Simon exclusive Gift Bag and Nested Tag die sets to make the base pieces. The Splendid Bouquet products decorate both of these beautifully and the addition of some Clear Dazzling Gems really elevate the design. These would be a perfect birthday, wedding, anniversary or baby shower gift giving set!
Want to learn how I made this gift bag and tag combo? Watch the video below for all the details!
WATCH THE VIDEO
SUPPLIES
|


Make a Simple Shaker Card: EZ with CZ!

Hi friends! Happy Tuesday! I’m delighted to welcome back special guest Cathy Zielske to our blog as a guest with this super fun gift box shaker card idea that’s perfect for Birthday card making! Be sure to watch the video for all the details and enjoy!

Hey everyone, it’s Cathy Z and if you are new to shaker cards or find them a bit intimidating, I have a very simple shaker style to share which is more of a mini element for any card project. You can do this with any small shape die but I’m going to turn mine into a gift package using my CZ Design Gift Builder Dies.
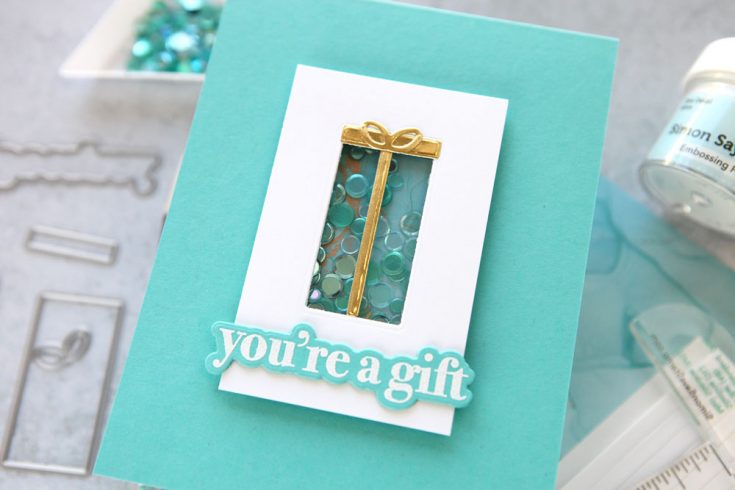
I used a piece of pretty patterned paper for the back of the shaker and a sequin mix to match. This mini shakers are so fun to create!

Top it with a fun stamped and die cut greeting and you’re good to go!
Here’s how my card came together:
WATCH THE VIDEO:

SUPPLIES:
|


Thanks so much for stopping by, and thanks to CZ for being our guest!


