See-Through Double Fold Birthday Card: Yippee for Yana!

Hi friend! Please join me in welcoming back the oh-so-talented and amazing Yana Smakula! (Please note: our dear friend Yana is Ukrainian. To show support to our brothers and sisters in Ukraine, please see Yana’s post HERE.)
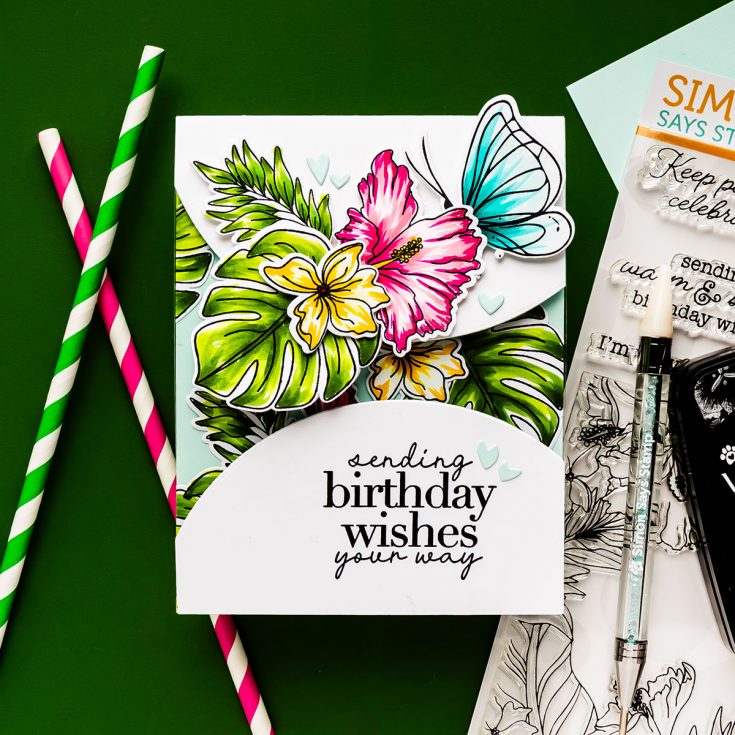
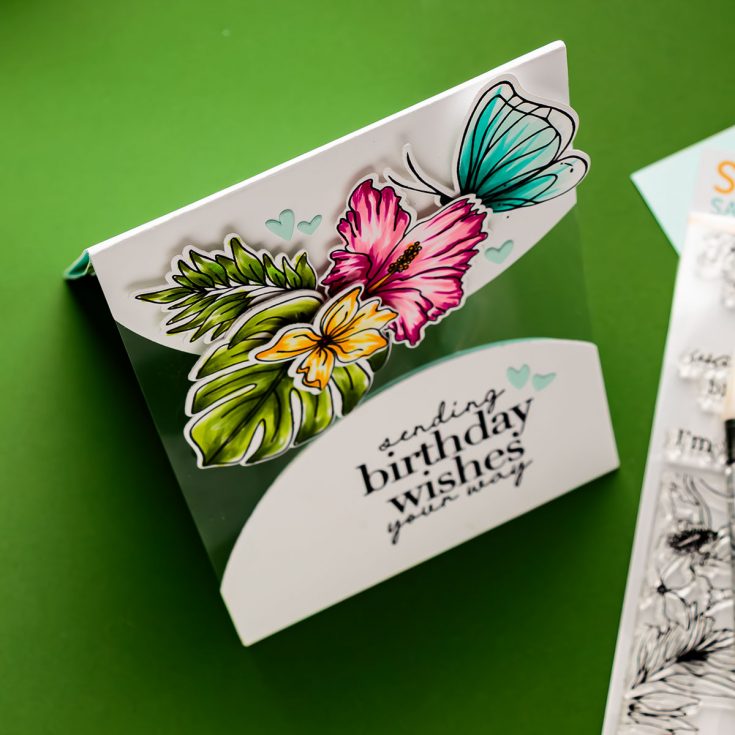
Hello, friends! Welcome back to another Yippee for Yana video! Today I’m sharing a fun card design that combines a unique card construction with colorful stamping and Copic coloring. The card features a see-through front panel that allows you to peek inside before even opening it, creating a fun interactive element that’s surprisingly easy to make.
I’m calling this a “see-through double fold card,” although I’m not entirely convinced that’s the best name for it! If you have a better suggestion, I’d love to hear it in the comments.
The construction starts with two A2 top-folding card bases and a sheet of acetate. To create the transparent section, I used the largest circle die from the Basic Shapes Circles set from Simon Says Stamp to cut away portions of the front panel. The top and bottom cardstock sections remain intact while a clear acetate panel fills the center section, allowing the inside of the card to show through.
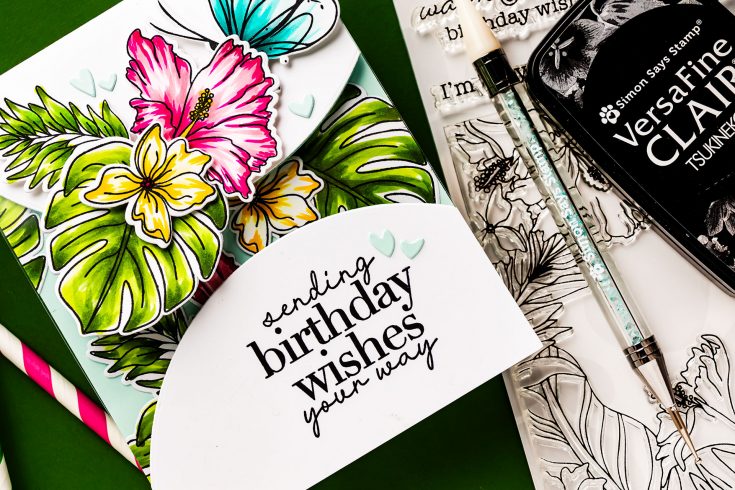
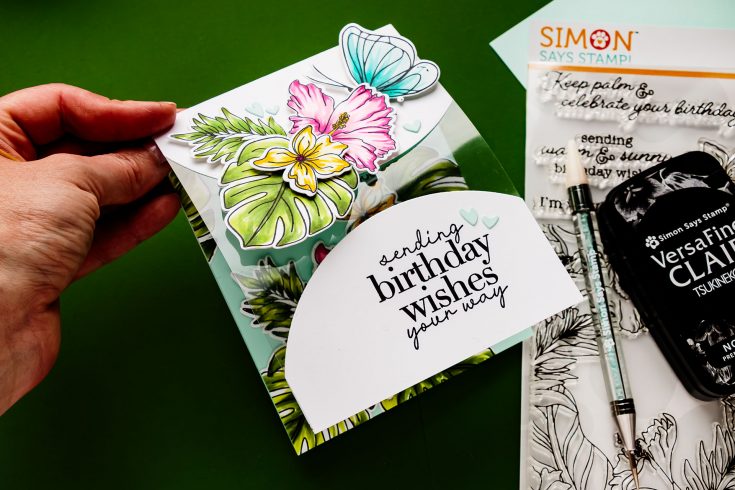
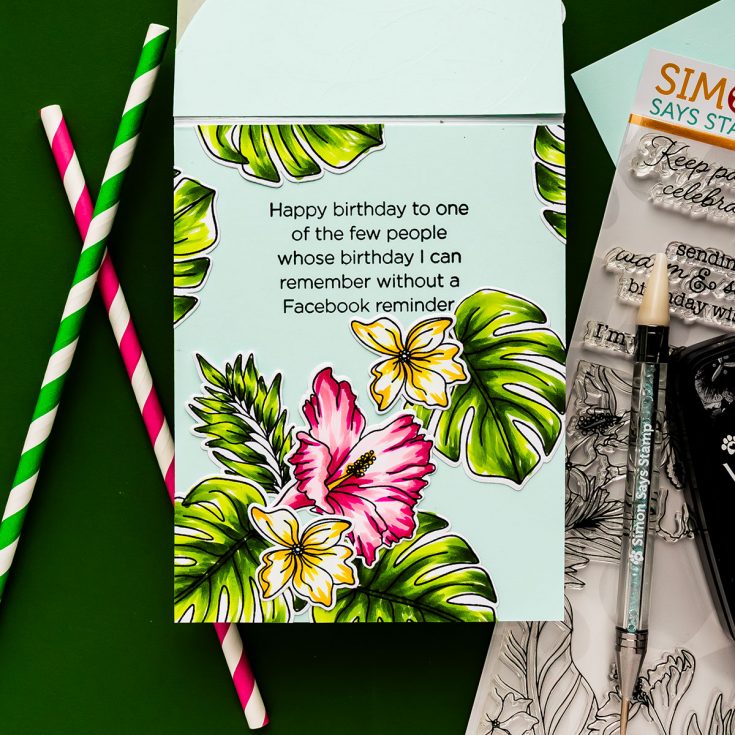
This design creates a beautiful layered effect. When the card is closed, you can see portions of the decorative elements inside the card through the acetate window. Once opened, the card reveals additional stamped sentiment and plenty of space for a handwritten message.
One of my favorite things about this card design is how versatile it is. I used a circle die to create curved edges, but you could easily substitute rectangles, squares, or any other shape you have in your stash. You can even create a similar effect using only a paper trimmer.
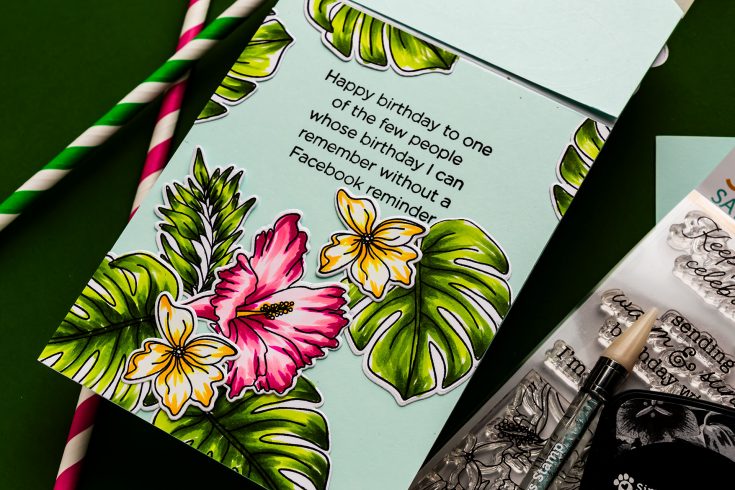
For the greeting, I stamped a large birthday sentiment from the Inside Greetings Birthday set on the front panel. Inside the card, I added one of Cathy’s wonderfully witty birthday sentiments, carefully positioning it so it remains hidden when the card is closed but becomes visible when opened.
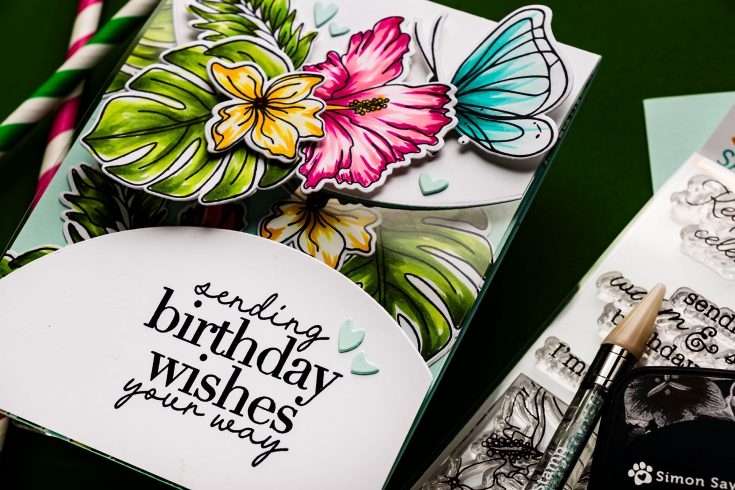
To decorate the card, I used images from the Keep Palm stamp set along with a butterfly from the Artsy Butterflies stamp set. After stamping with alcohol-marker-friendly ink, I colored everything with Copic markers using a simple flicking technique to create texture and dimension.
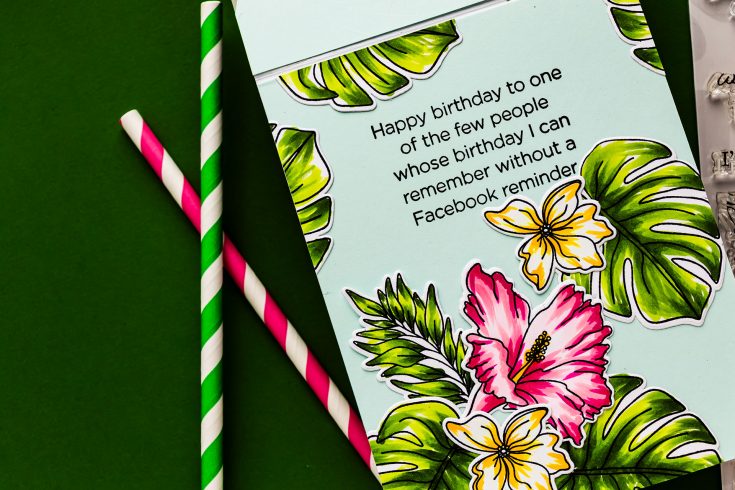
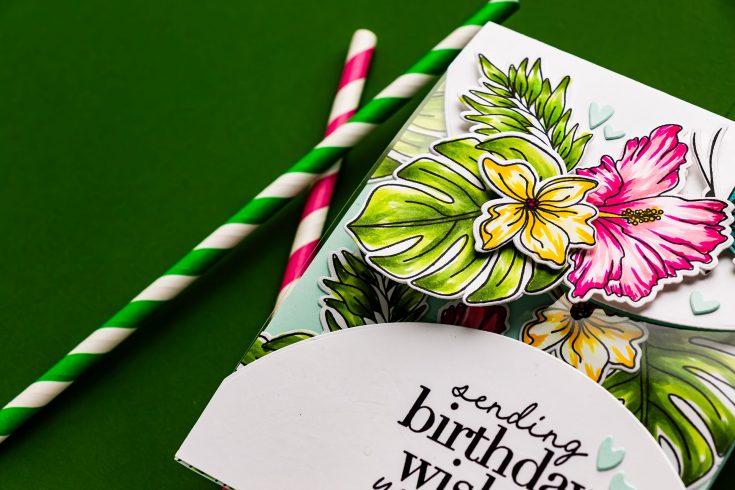
The tropical foliage and flowers add so much life to this project. I especially love the large monstera leaves paired with the bright hibiscus blooms. The butterfly ties all of the colors together beautifully and helps guide the eye across the design.
After coloring, I die cut all of the images using the coordinating dies and attached them with foam adhesive squares for plenty of dimension. Because portions of the card can be viewed from both sides, I took extra care to cover the backs of some of the die cuts with additional white die cuts. This creates a cleaner finished look and hides any marker bleed-through.
To finish the card, I added several paper hearts die cut from Seafoam cardstock using the Drawn Hearts die set. I love using paper embellishments like these when I want to add interest without introducing additional bulk from gems or sequins.
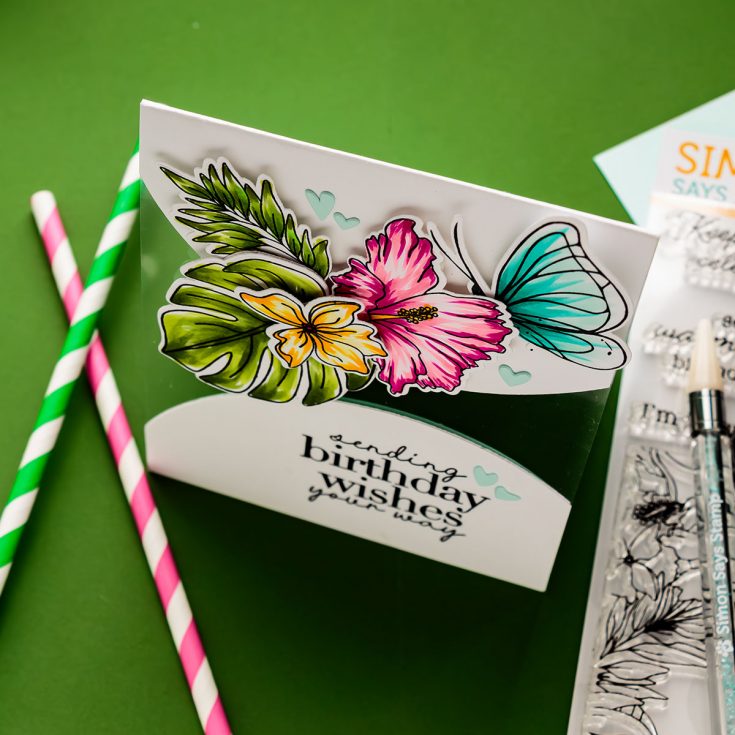
The finished card features three distinct sections: the decorative front panel with the acetate window, a second fold that reveals the hidden sentiment, and an inside panel with room for a personal message. It stands beautifully on display and offers plenty of opportunities for customization.
I hope this project inspires you to experiment with card constructions and create your own version of this see-through design. If you give it a try, be sure to share your creation and tag Simon Says Stamp and me so we can see what you make!
As always, thanks so much for stopping by today. Happy crafting!
WATCH THE VIDEO:

SUPPLIES:
|


Ways to support Ukraine:
If you are looking for ways to support Ukraine, we encourage you to visit this page on Yana’s blog:

A big thank you to YOU, our reader — and to Yana for being our guest!
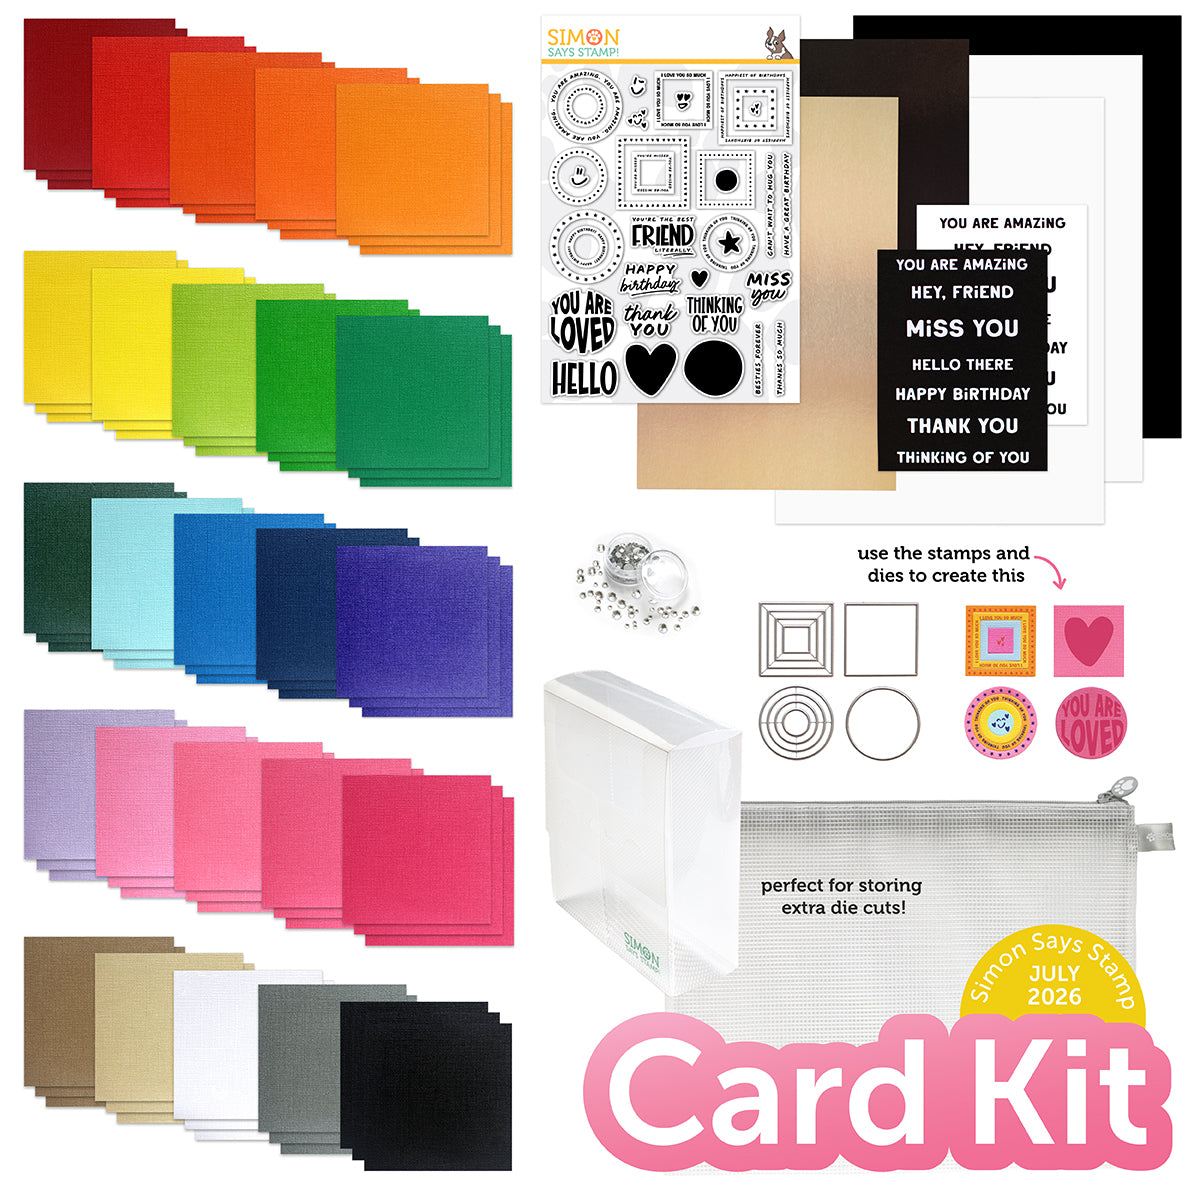
Full of Smiles Cards Two Ways featuring the July 2026 Card Kit
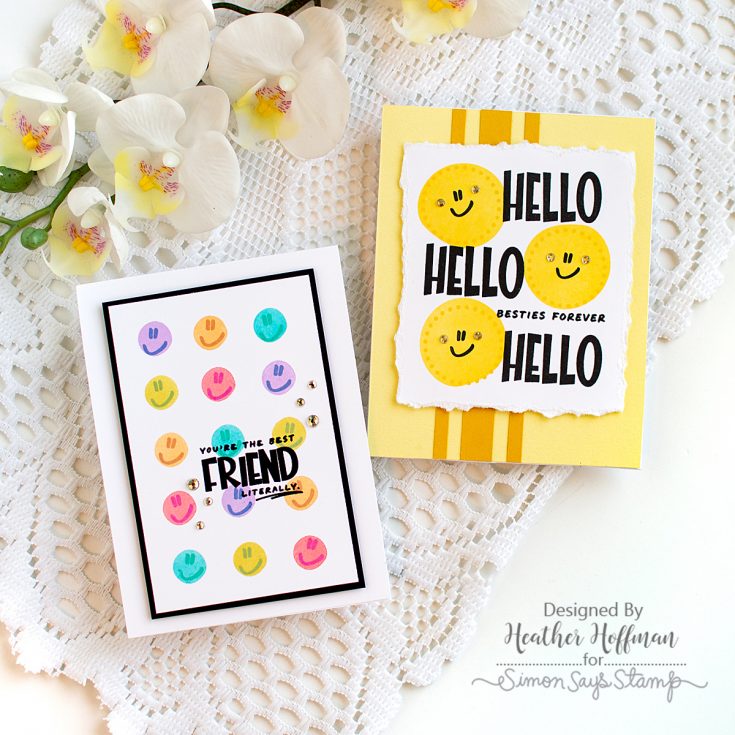
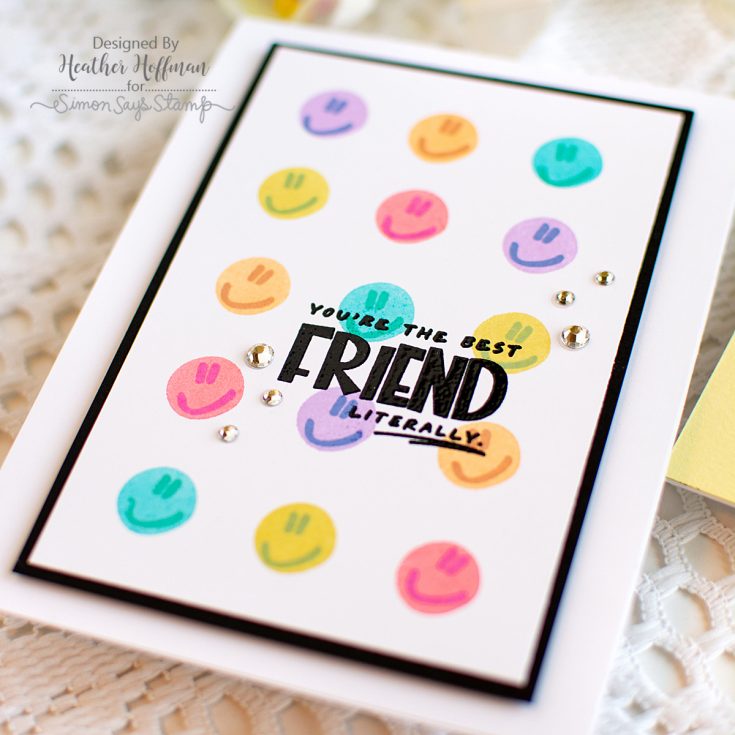
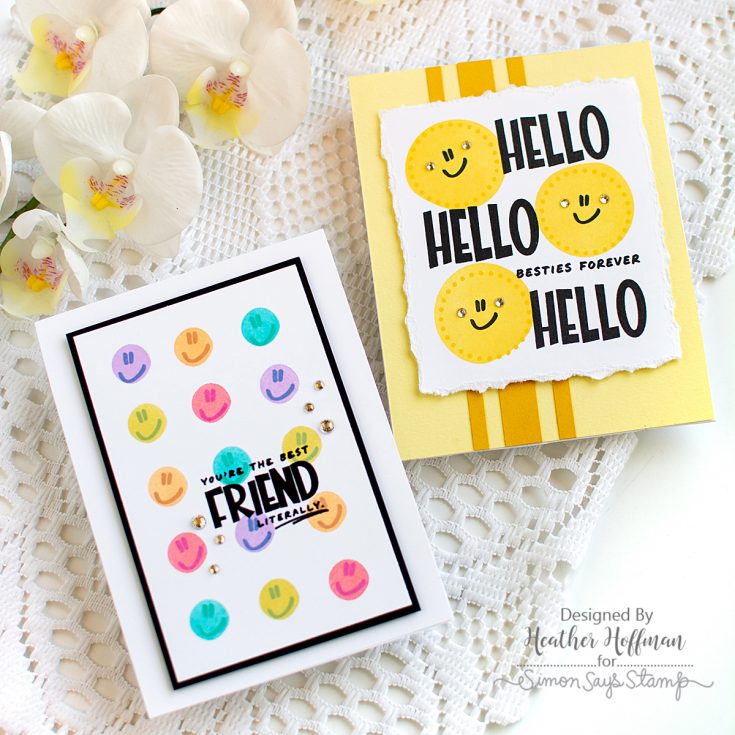
Hi friends! Heather Hoffman here to share two different ways to fill a card full of smiles to let your friend know how much you love them! One version is monochromatic and uses larger circles, and one is full of fun colors and uses tiny circles. Would you believe they both use the same smiley face? They look so different! Both feature the fun Pop Art stamp set from the July 2026 Card Kit – Pop Art!
Card kits generally come with a stamp set, and while the coordinating dies are often available as an add-on (as is the case with this month’s kit), there are so many ways to use stamp sets without any die cutting needed. Repeating images and/or sentiments is one of the best ways!
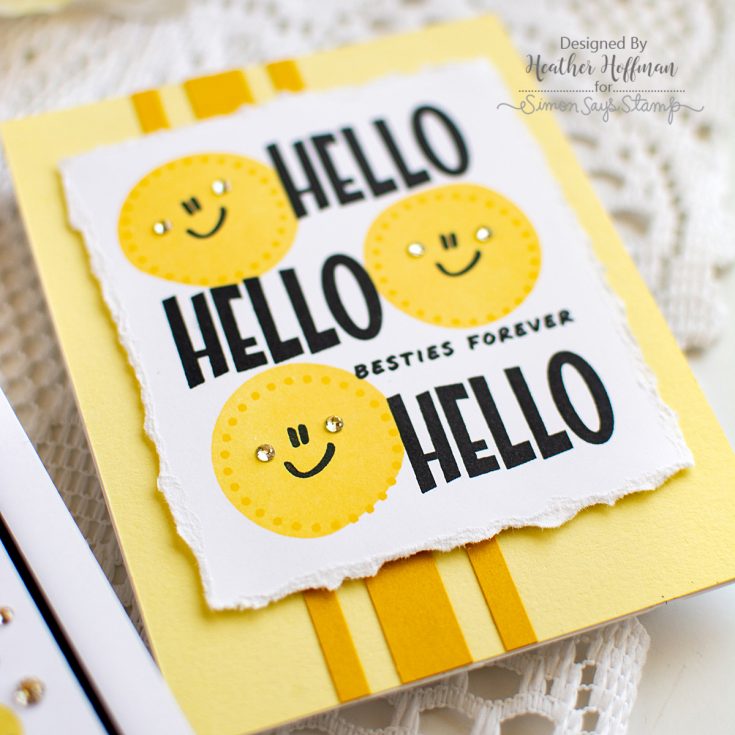
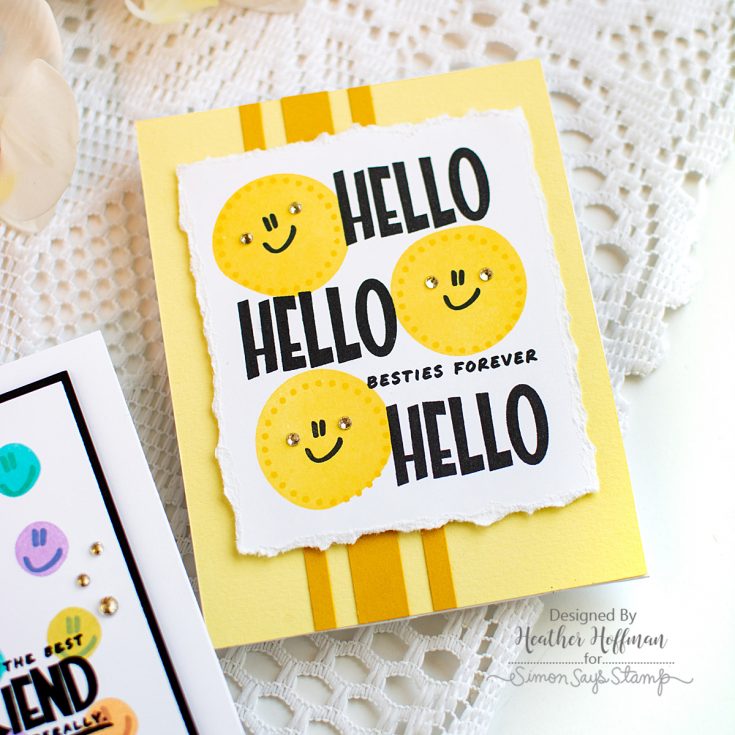
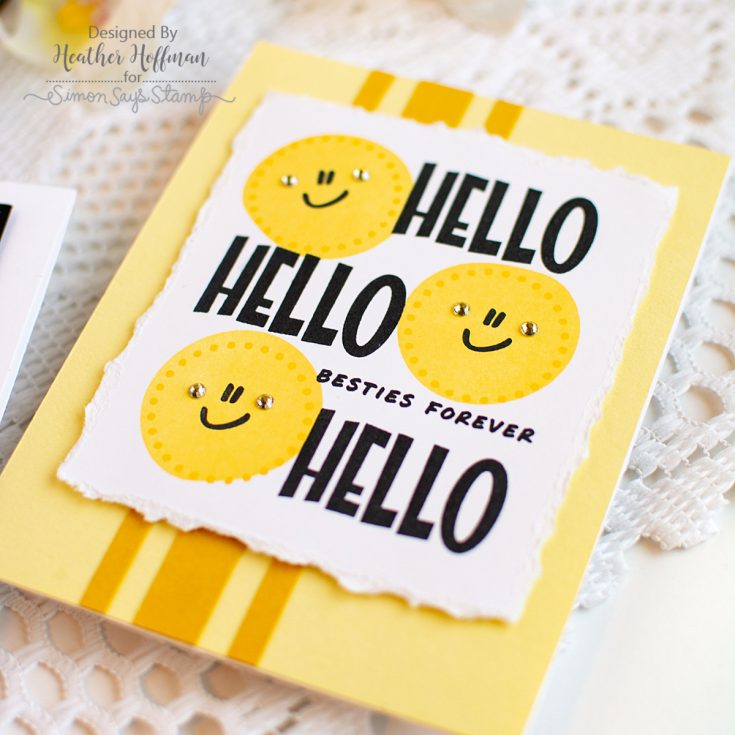
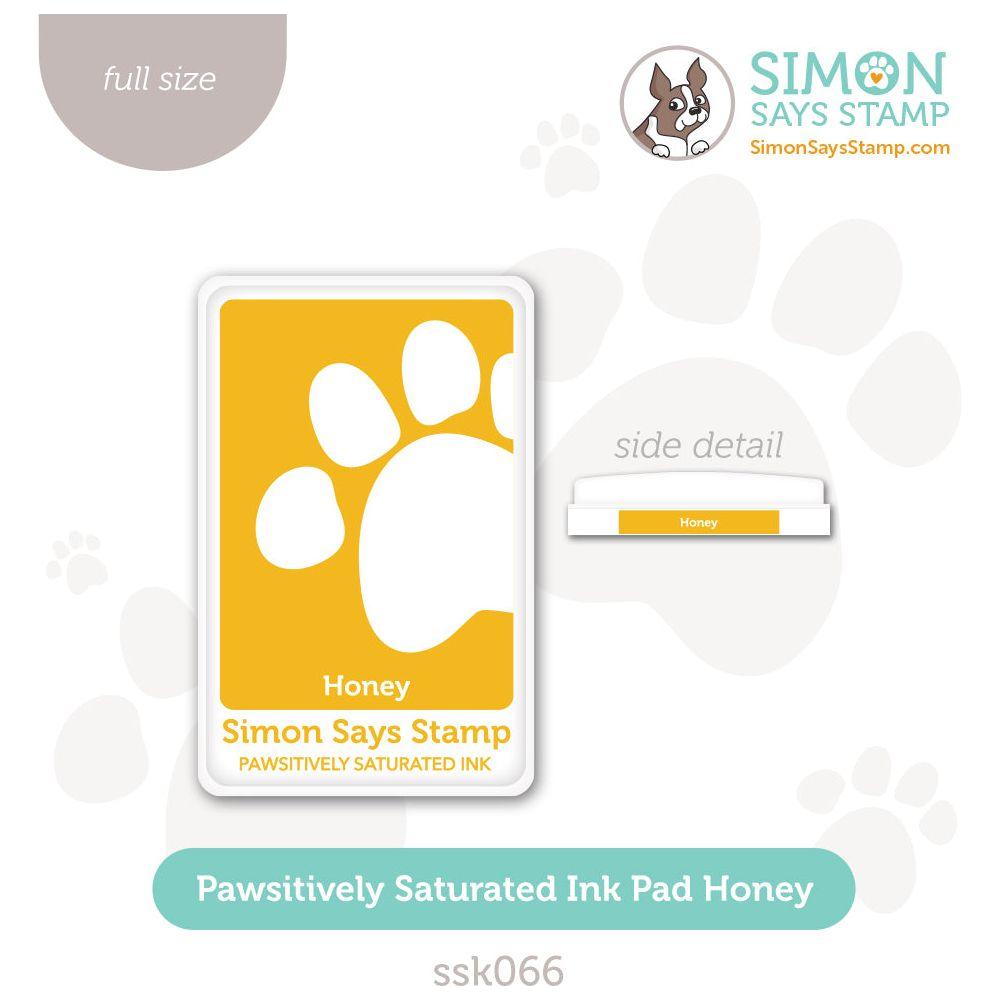
For the first card I went with the stereotypical yellow smiley faces! I grabbed the larger circle from the Pop Art stamp set and stamped it 3 times on a panel of white cardstock with Zest ink, then grabbed the dotted circles and stamped that with Honey ink – not bothering to line up perfectly so it kept a bit abstract. I then stamped the smiley faces and sentiments with Nocturne ink. I tore the edges of that panel, then mounted on a background of Banana Yellow cardstock with some strips of Honey cardstock to pull it all together. And finally, I added a few of those Dazzling Clear Gems in the kit to the smiley faces!
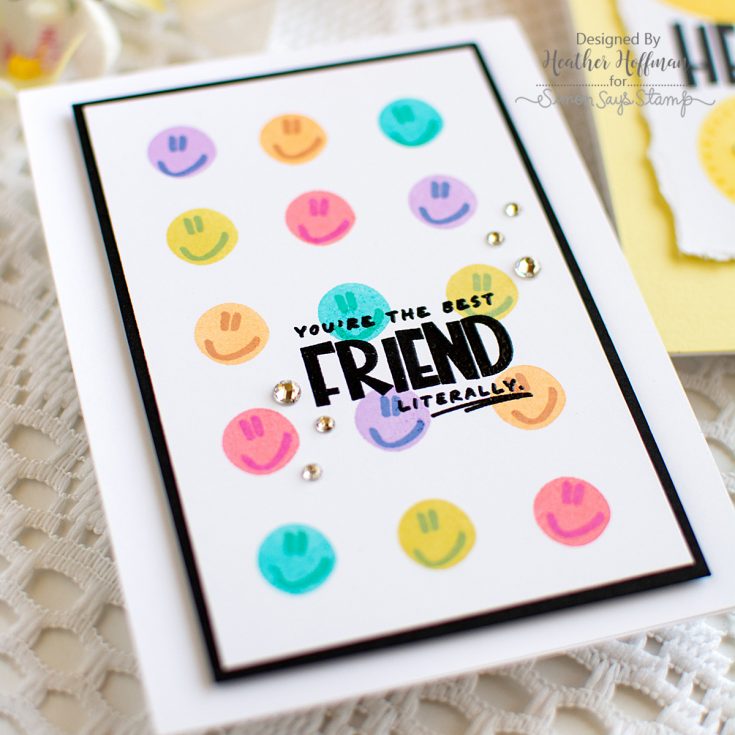
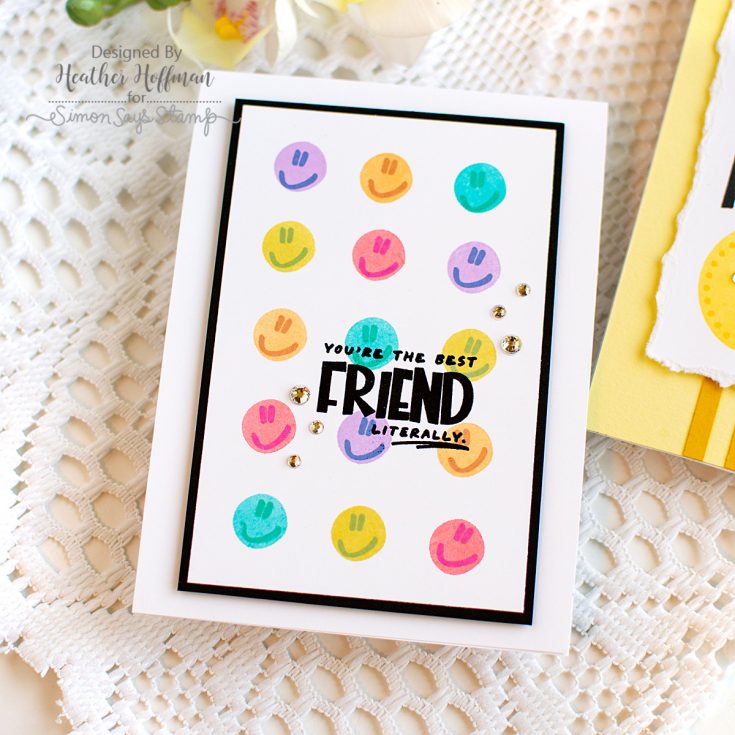
For the second card I broke out the tiny circle and an entire rainbow of fun ink colors. I stamped the circles with alternating Lilac, Cantaloupe, Surf, Wheat, and Blush inks, then added the SAME smiley face over each one with Twilight (on the Lilac), Nutmeg (on the Cantaloupe), Tropic (on the Surf), Artichoke (on the Wheat), and Sweets (on the Blush). The layering of somewhat tone on tone colors makes these look entirely different! I stamped a sentiment directly over the background with Nocturne ink again, then added clear heat embossing to make it pop a bit more over the background. I trimmed that panel down, matted it with some black cardstock, then mounted on a white cardbase. Added another sprinkle of those Clear Dazzling Gems around the sentiment on this card as well!
I can’t get over how cute and different both of these look! The first one looks more like little chubby smiley faces, and the second one reminds me of a smiley face version of candy hearts!
Which version do you like best? Have you ever challenged yourself to focus on a stamp set without the coordinating dies?
SUPPLIES:
|


Thanks so much for stopping by!
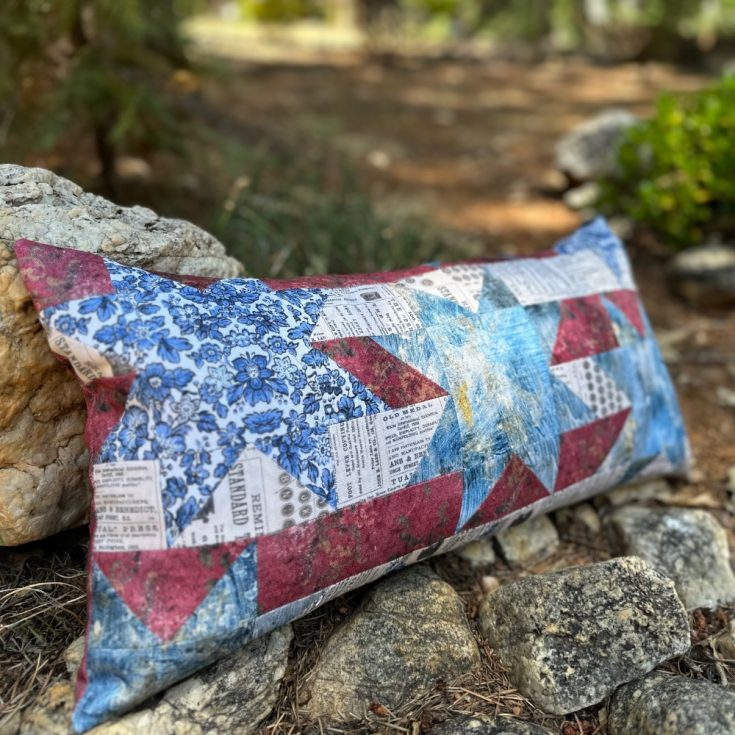
Stars and Stripes Pillow by Richele Christensen
Hi friend! Happy Friday! I’m delighted to welcome back special guest Richele Christensen with this gorgeous patriotic pillow tutorial in honor of our upcoming 250th Birthday! Read on and enjoy!
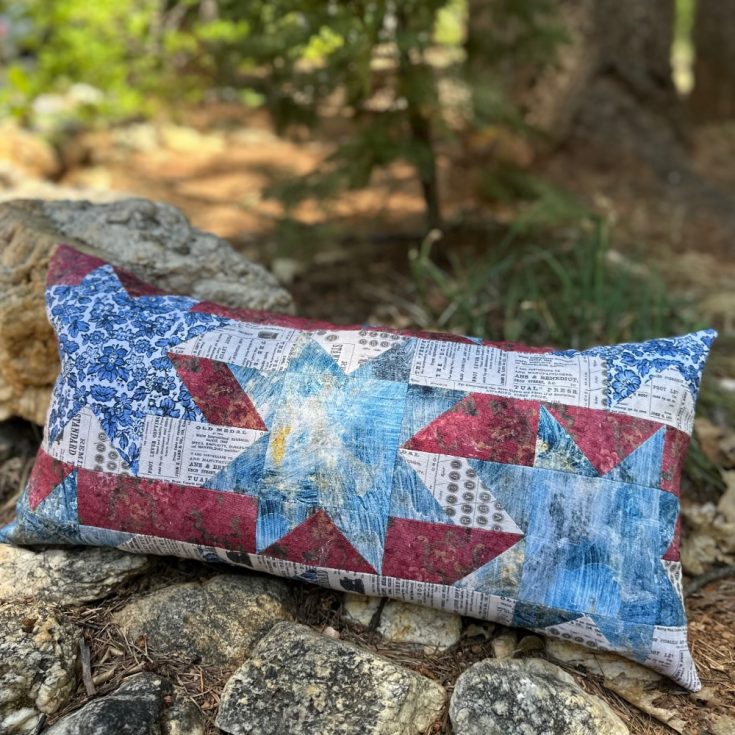
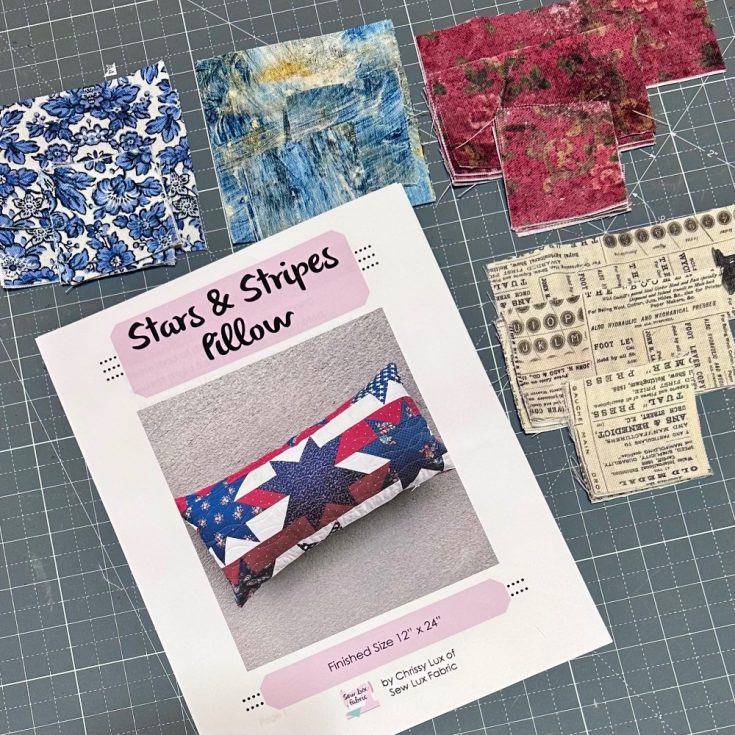
Hello friends! Today I’m sharing a fun pillow for the Fourth of July using the gorgeous Palette Canvas Cloth by Tim Holtz. The Palette Canvas Cloth is a thicker weave fabric and adds beautiful texture to any project. Its also very soft and easy fabric to work with. This fabric comes in 16 of my favorite prints from the Palette collection. You can use Canvas Cloth for pillows, decor pieces, clothes, journals, mixed media and so much more. The pattern for the Stars and Stripes Pillow is by Chrissy Lux of Sew Lux Fabric.
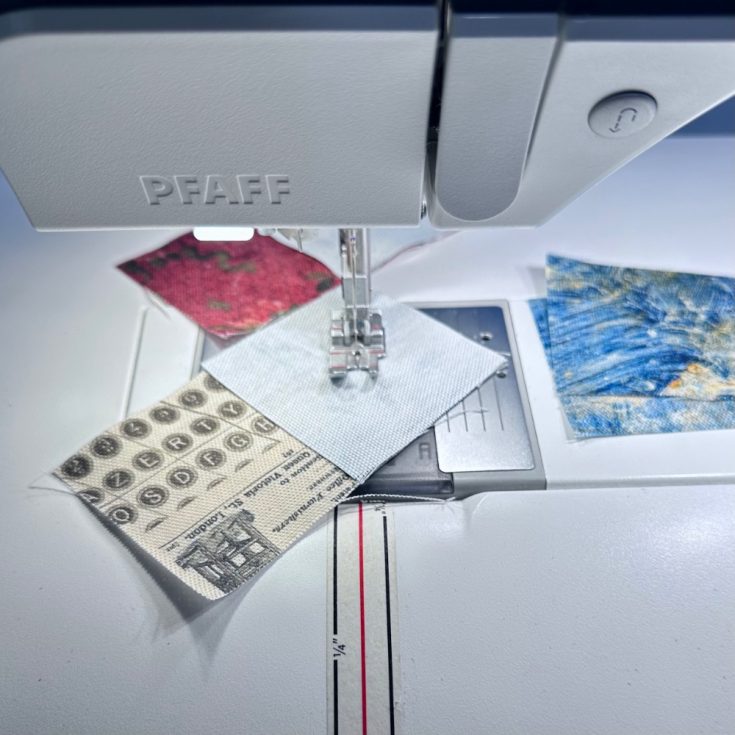
- Start with Palette Fabric Canvas Cloth in Red Tapestry, Neutral Typewriter, Blue Vintage and Indigo Wallpaper. Cut the pieces out as directed in the pattern.
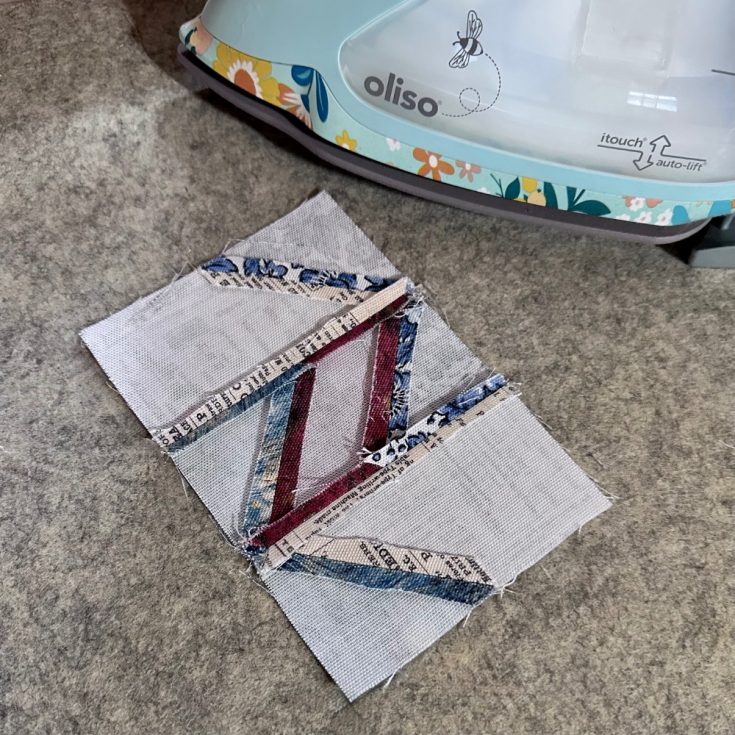
- Sew the flying geese units and the half square triangles together which make up the star points.
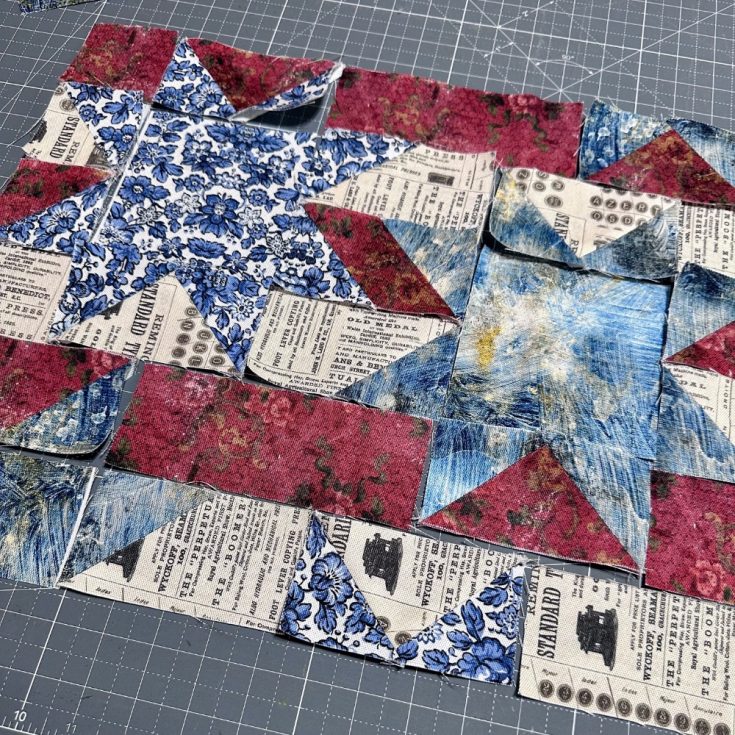
- Its very helpful to lay out the pieces as you go.
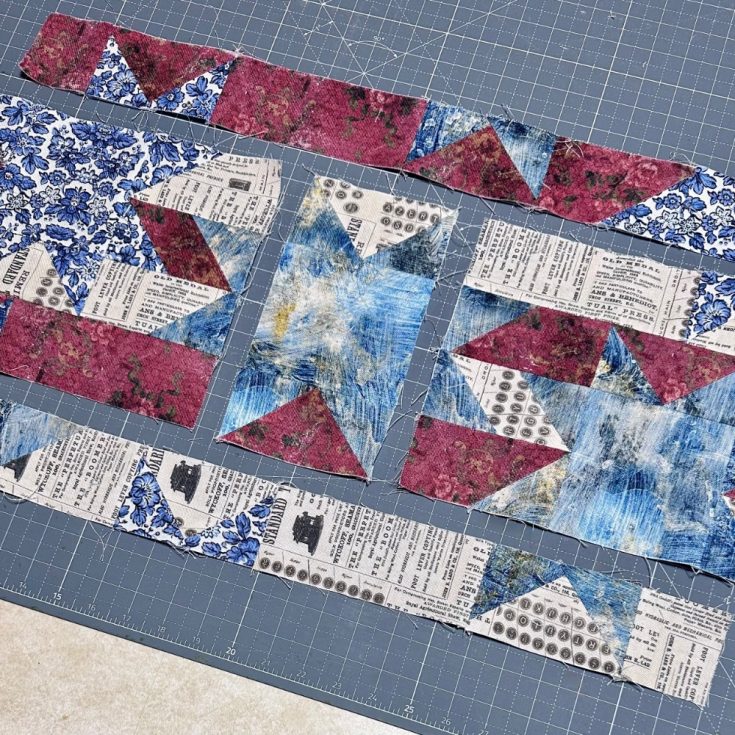
- Once you have all your star points sewn together you will start sewing the sections together as directed in pattern.
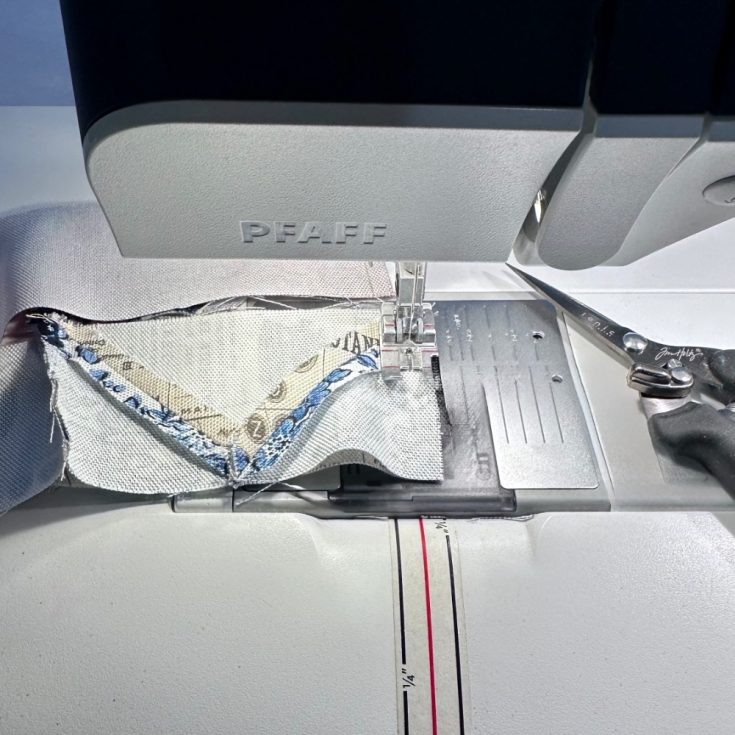
- Press your seams open to help with bulk and don’t forget to pin and match up your seams.
- Continue sewing the sections together.
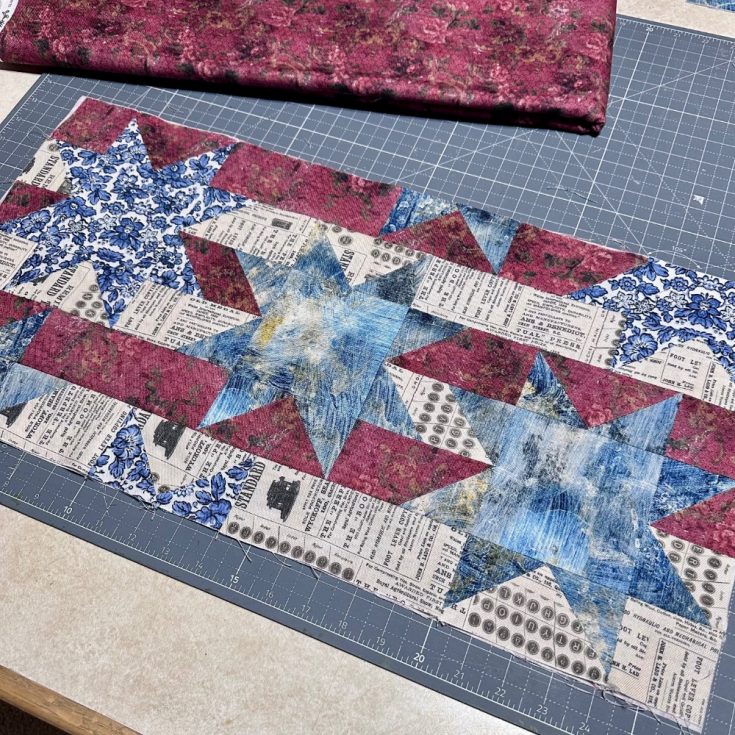
- Once you have all the pieces sewn together give it a good press from both sides. If you want to quilt the pillow top now is the time.
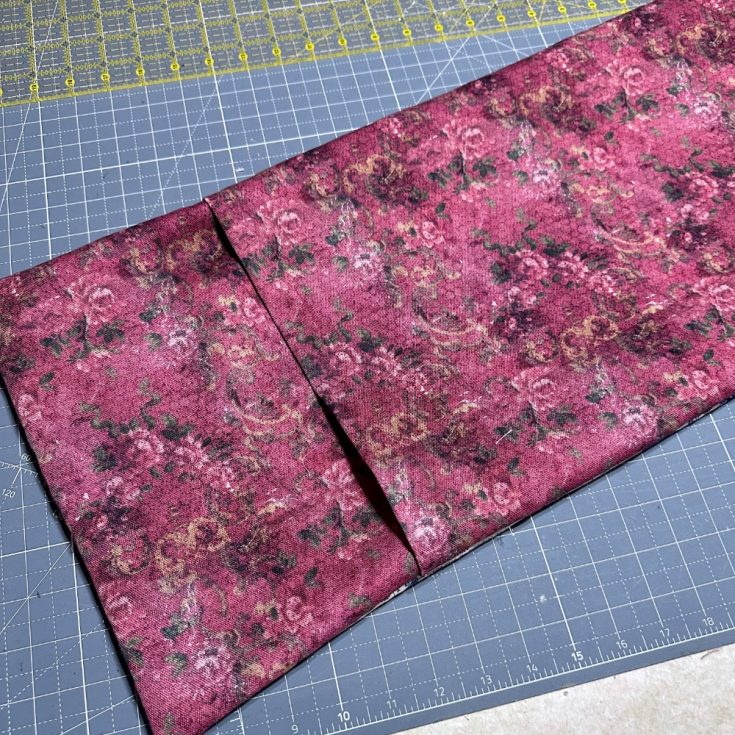
- Create your pillow. I made an overlap backing so I can take the pillow out and wash the cover.
Creating with Palette Canvas Cloth adds beauty and texture to your projects. The fabric has a very soft feel and is easy to work with. Because it has a larger weave it can fray a little so I iron the Canvas Cloth with a spray starch to help.
Thanks so much for stopping by and happy sewing. –Richele
SUPPLIES:
|


