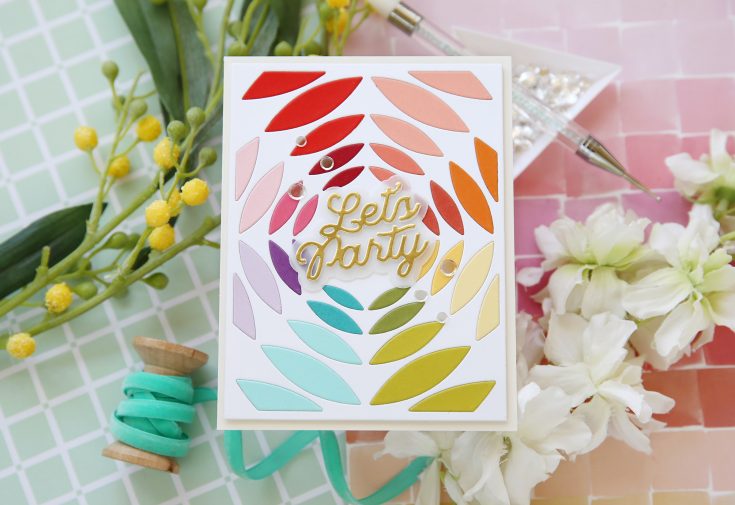
All the Luscious Rainbow Colors in a Die-Cut Masterpiece: Amore Laurafadora


Hi friends! Happy Friday! Is this card a party or what? It almost gives me the thought of streamers which is just so FUN! Please join me in welcoming back special guest Laura Bassen in the latest edition of Amore Laurfadora where she is showcasing our NEW Nested Leaves Plate die and the Let’s Party die set! That perfect gold cardstock is our Matte Gold metallic for the perfect pop! For the perfect sprinkle of embellishment try the Pretty Pink Posh Sparkling Clear Confetti Mix! Be sure to watch the video for all the details, and enjoy!
WATCH THE VIDEO:
SUPPLIES:
|


SALE ALERT!

Thanks so much for stopping by, and thanks to Laura for being our guest!
SPRING into the Weekend with SAVINGS!

Hi friends! Happy Friday! Have you been eyeing a newly released crafty product? In need of more cardstock, ink, or more adhesive to keep your crafty stash going? Now is the time to grab those goodies! This weekend only, save $10 on any purchase* of $75 or more with code TNBKS at checkout! Enjoy and happy shopping!
*discount not applicable on already mega discounted card kits and card kit subscriptions :)
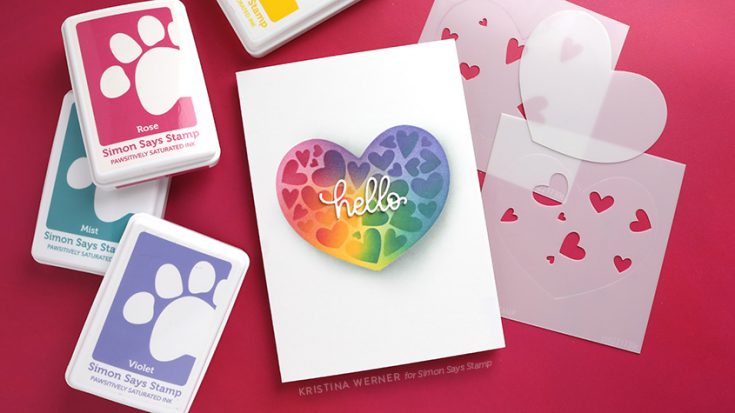
Colorful & Easy! Layered Stencil Ink Blending with Kristina Werner

Hi all! Kristina here! Today I have an easy and simple card for you featuring the Hearts in a Heart layering stencil set. For this card I wanted to try out a slightly different style of ink blending. In the past I’ve loved to do tone-on-tone ink blending by increasing the ink intensity on the second blend through a stencil. However, for this card, I slightly altered the color placement to achieve a new look!

I used only four colors of ink for a full rainbow spectrum: Rose, Sunbeam, Mist, and Violet. I also used Flannel ink to add a shadow beneath the heart. I also finished off the card by stacking the “hello” diecut from the Hello Beautiful Gorgeous dies.
Thanks for stopping by! Be sure to watch the video to see how this colorful look came about!
Supplies
|


