Make a Simple Shaker Card: EZ with CZ!

Hi friends! Happy Tuesday! I’m delighted to welcome back special guest Cathy Zielske to our blog as a guest with this super fun gift box shaker card idea that’s perfect for Birthday card making! Be sure to watch the video for all the details and enjoy!

Hey everyone, it’s Cathy Z and if you are new to shaker cards or find them a bit intimidating, I have a very simple shaker style to share which is more of a mini element for any card project. You can do this with any small shape die but I’m going to turn mine into a gift package using my CZ Design Gift Builder Dies.
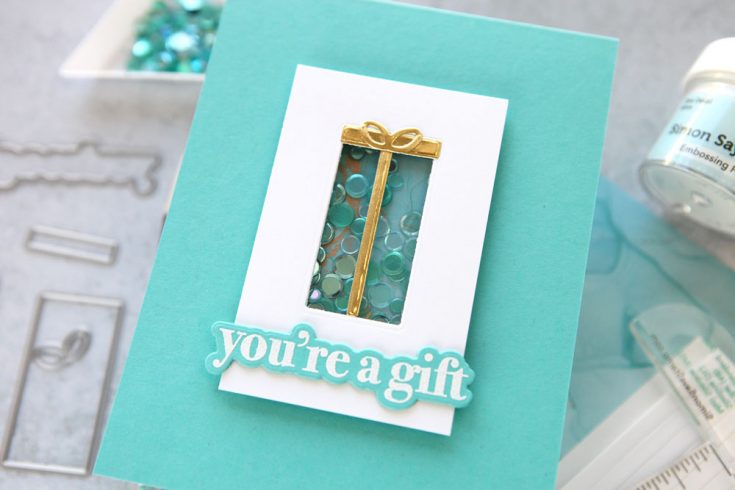
I used a piece of pretty patterned paper for the back of the shaker and a sequin mix to match. This mini shakers are so fun to create!

Top it with a fun stamped and die cut greeting and you’re good to go!
Here’s how my card came together:
WATCH THE VIDEO:

SUPPLIES:
|


Thanks so much for stopping by, and thanks to CZ for being our guest!
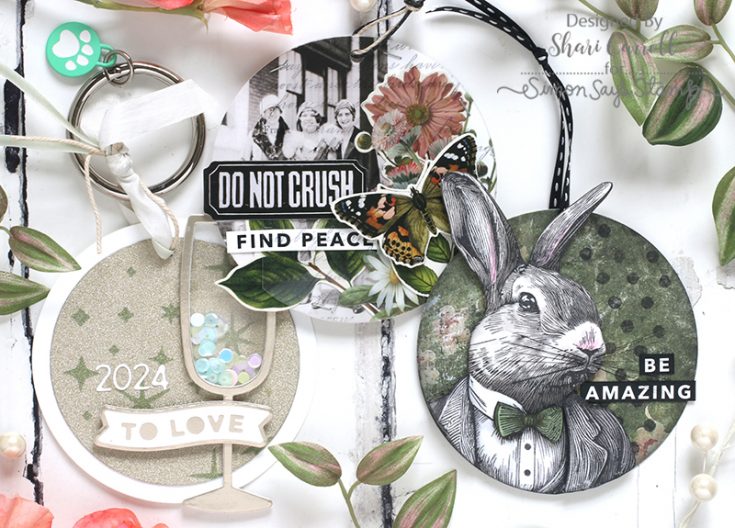
Art Journaling with Shari Carroll: Mr. Rabbit!

Welcome, everyone! It’s that time again to share another art journal entry. This year, I’m working in the round by cutting my cardstock with a circle die.
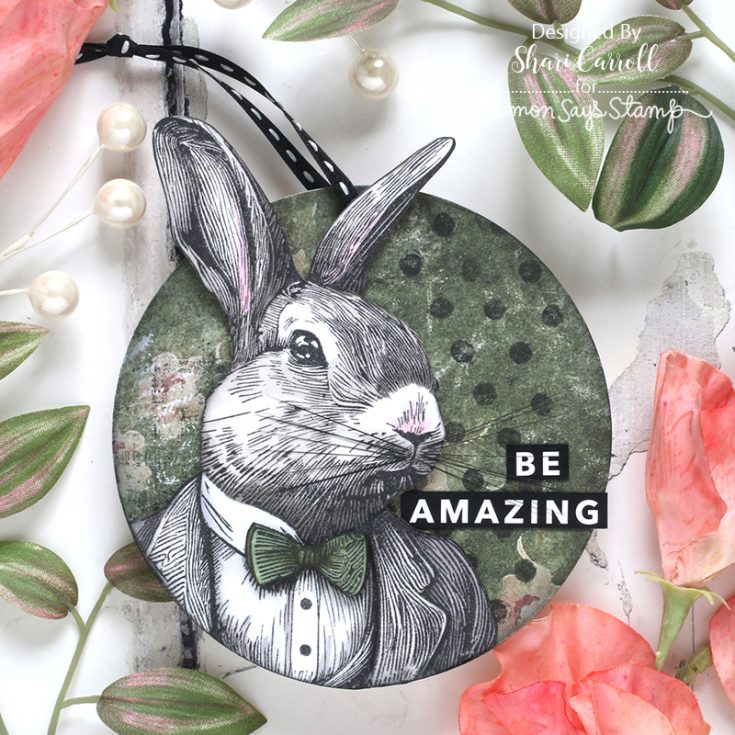
I’m enamored with the Tim Holtz Mr. Rabbit stamp set. He is gorgeous! He is alao a great example of how you can use a larger stamp on smaller projects. Let a portion of the image overhang the base for a strong impact.
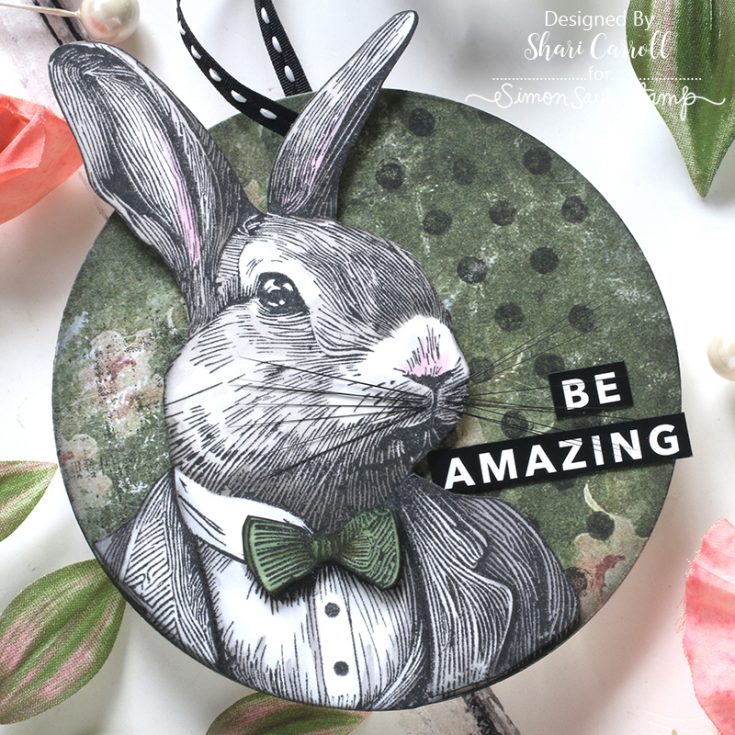
I recently used Mr. Rabbit on a project where I added my own whiskers, I hadn’t filmed that project, so I took this opportunity to show you how I did it.
Check out my video below for all the details. Enjoy!
SUPPLIES:
|


Create and Share: Artist Trading Cards

Hi friends! Happy Sunday! Please join me in welcoming back special guest Cheiron Brandon to our blog! Have you ever made ATC’s (Artist Trading Cards)?! It’s kind of like Baseball/Sports card trading but with our crafty friends and if you go to a crop you can come back with a gorgeous assortment of ATC’s from new and old friends! Cheiron is showcasing a really lovely design she made using the new Love Notes design! Read on to learn more and enjoy!
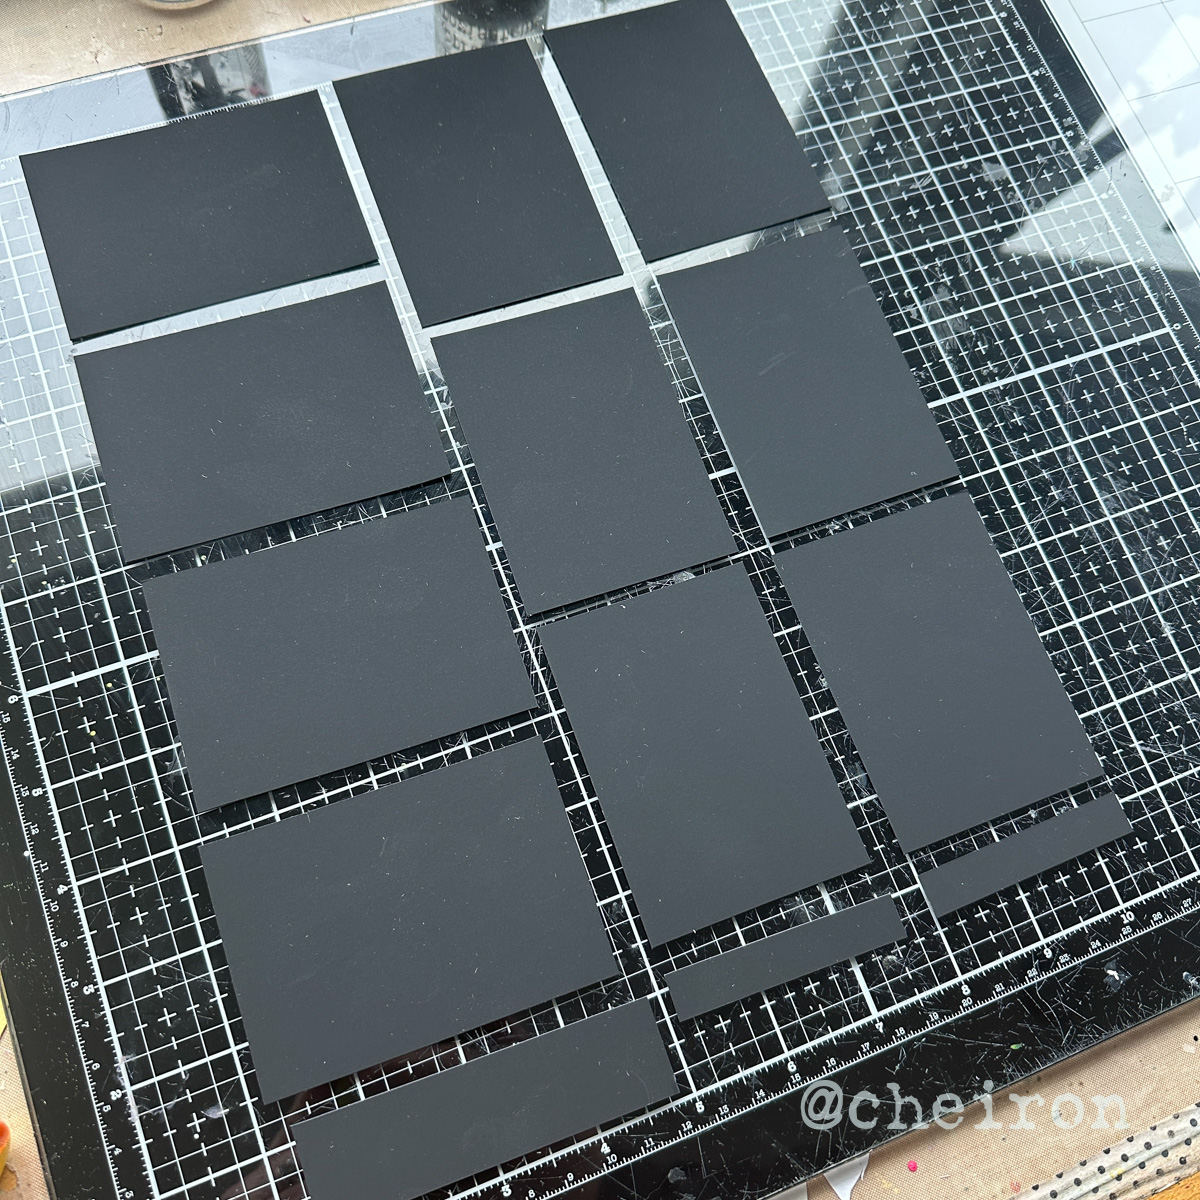


Hi there crafty friends, it’s Cheiron Brandon here with another Tim Holtz project for you. This month I am joining an ATC (Artist Trading Cards) swap with some other artists, and I thought it would be fun to show you how my ATCs came together! What is an artist trading card you might ask? It is a small piece of art that is traded by artists either in person or online. There is really only one specification for these cards and that is that they are sized 2.5″ x 3.5″.


I wanted to play around my Tim Holtz Love Notes set and make a set of cards that I hope would be inspiring to other artists as well. To create my cards I cut the bases of my ATCs from Distress Black Heavystock. It is possible to get 10 cards from one sheet of 8 ½ x 11 cardstock if you cut your paper in three strips lengthwise. One strip will be 3 ½ inches wide and the other two will be 2 1/2 inches wide. (Remember, the dimensions of ATCs are 2-1/2 x 3-1/2 inches). Next, cut four 2 1/2 inch pieces from your 3 ½ inch strip. Cut three 3 ½ inch pieces from each 2 ½ inch strip. You’ll have just a tiny piece of extra paper at the end of each strip.


I cut 10 white cards to go on top of the black ATCs from Distress Watercolor cardstock and made these 2 3/8 x 3 3/8. To add color to my Distress Watercolor Cardstock I sprayed some Speckled Egg Distress Stain and some Snow Flurries Distress Mica Stain onto my glass mat and sprayed it with water using a Distress Sprayer. I picked up the color by pressing my paper into the mat, drying it with a heat tool and then picking up some more color and drying again. You can do this until you are happy with the layers.


Once all my cards were dry, I stamped a sentiment from the Tim Holtz Stampers Anonymous Love Notes stamps. Then I inked the edges of each card with Black Soot Distress Ink using a foam blending tool and then adhered them to the Distress Black Heavystock. To finish my cards, I stamped one of the hearts from the Love Notes set with Picked Raspberry Distress Oxide and then embossed it with Picked Raspberry Distress Embossing Glaze. I cut all of the hearts out and adhered them to the ATCs with foam squares. Now all that is left to do is sign the backs. Have you traded ATCs before? I hope you will try these out for yourself!

SUPPLIES:
|


Thanks so much for stopping by, and thanks to Cheiron for being our guest!


Learn MORE about Crayons from Tim Holtz!