More June 2024 Card Kit Inspiration with Kristina Werner
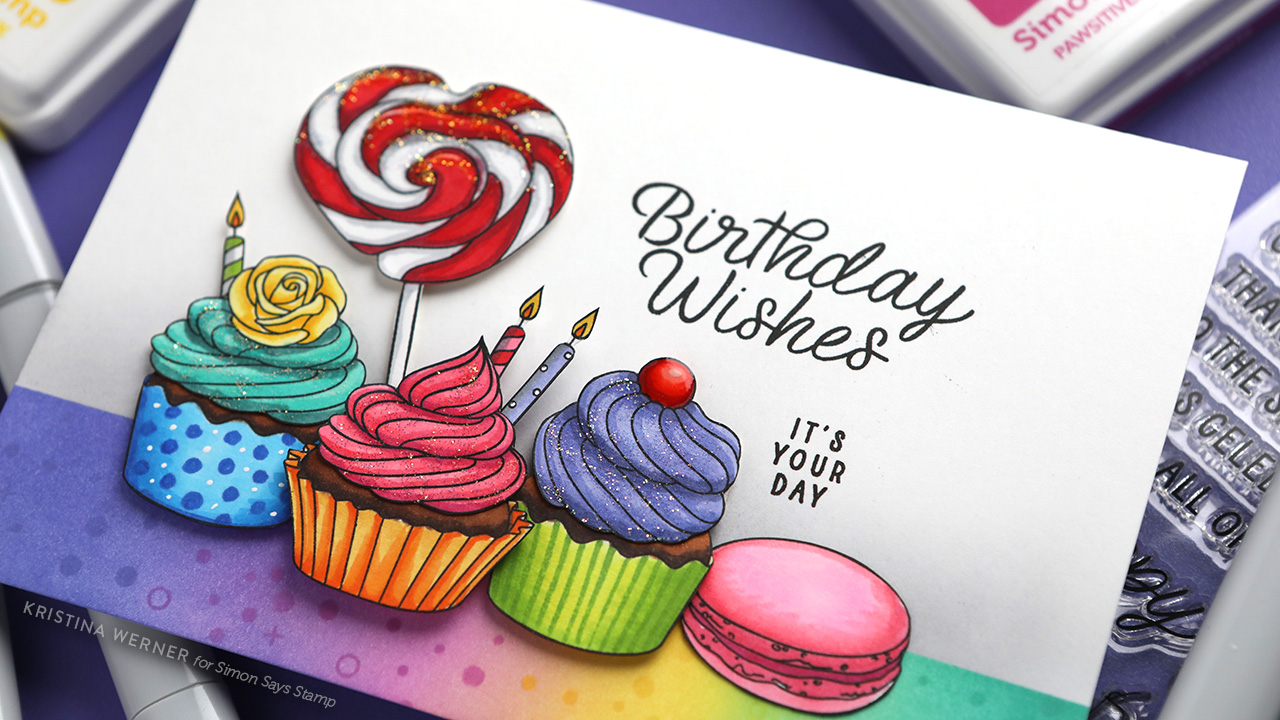
Hello, all! Kristina here! Today I have a fun card created with the Sweet Birthday stamps set included in the June 2024 Card Kit. I colored all of the sweet treats to create a happy scene!

I used Copic Markers for all the coloring, and then added more color by masking off the top of the card to ink blend and stamp additional colors on the bottom of the card.

To finish off the card, I added Stickles glitter glue to the treats and smeared it across for a light application, plus some Glossy Accents on the cherry on the far right cupcake.
You can pick up the June 2024 Card Kit HERE, or subscribe to receive this kit and future kits HERE.
Enjoy the video!
Supplies
|


Simon Says Stamp CREATE 2024 Recap!
Hi friends! In case you missed it, we wanted to share this fun recap of our super fun and whirlwind of Simon Says CREATE 2024! Big thanks to ALL of you who attended classes, stopped by for some Create it Take it(s), or came to do a bit of shopping! Also, we couldn’t have hosted this event without the help from the amazing designers and vendors that participated!
Thank you so much!! A big hug of appreciation to Kristina Werner for compiling this video! Enjoy!
NEW Summer 2024 Lawn Fawn Collection + NEW Card Idea by Elise Constable!

Hi friends! Happy Thursday and Happy Lawn Fawn Release Day! This Summer 2024 collection is sure to have a few gems included that will bring a smile to your face! Keep on scrolling to peruse the new bundles AND a brand new card tutorial featuring the new collection! A huge thanks to the AMAZING Lawn Fawn designers for this gorgeous inspiration! Enjoy!


And now, please welcome Elise Constable for a brand new card tutorial below!

Hi everyone! It’s Elise from the Lawn Fawn design team and I’m so excited to share a card with you all that features some fun, new products from Lawn Fawn!
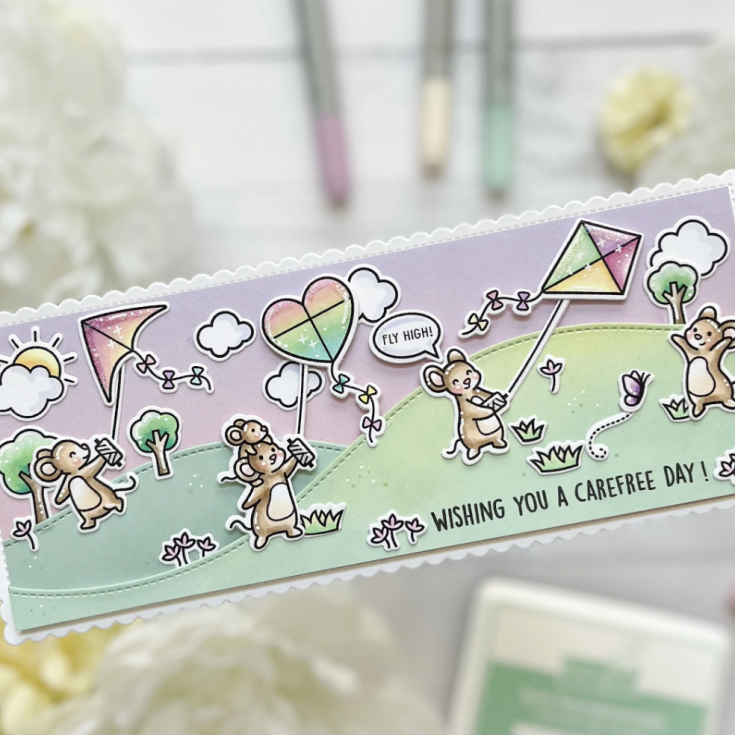
For this card, I started by creating the background for the scene. I used Merman ink and the Cloudy stencil to ink-blend clouds onto a piece of Bristol smooth cardstock. I next trimmed the background panel and set it aside while I created the kites.

One of my favorite stamp sets from the new Lawn Fawn release is the Whoosh Kites set! It’s so cute and perfect for summer! I started by stamping the kites onto patterned paper from the new Pint Sized Patterns Summertime paper pack, and then die-cutting them with the coordinating dies.
To add some extra dimension and texture to the card, I used the new twine colors and tied a string onto each kite! I attached a piece of foam tape to the back of the kites and arranged them onto the background in rainbow order. In order to secure the twine to the card, I gently pulled the twine, folded it over the bottom edge of the background panel, and secured it with a piece of washi tape on the back. Once the strings were secured, I used double-sided tape to secure the background panel to a piece of patterned paper. I even placed the double-sided tape over the twine to make sure that the twine couldn’t move!
The sentiment I used is also from the Whoosh Kites stamp set. I heat-embossed with black embossing powder onto a piece of Ballet Slipper cardstock. Next, I used my die-cut machine to cut the sentiment out with the new Stitched Sentiment Banners, and attached it to the scene with double-sided tape. To finish the card, I attached everything to a white card base and added a few clear sequins in the sky.
Thanks so much for stopping by and I can’t wait to see what everyone creates with the new Lawn Fawn release! –Elise

SUPPLIES:
|


Thanks so much for stopping by, and thanks to Elise for being our guest!


