Peeking Poinsettia Festive Card Design: Amore Laurafadora
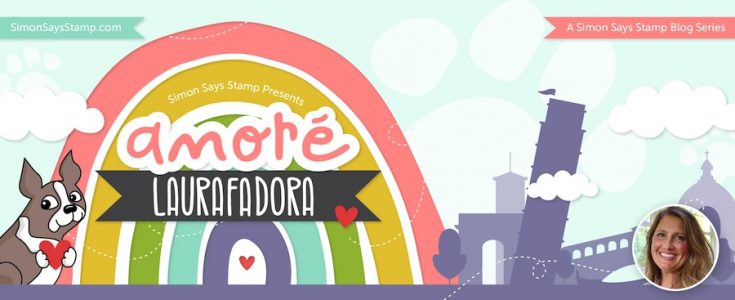

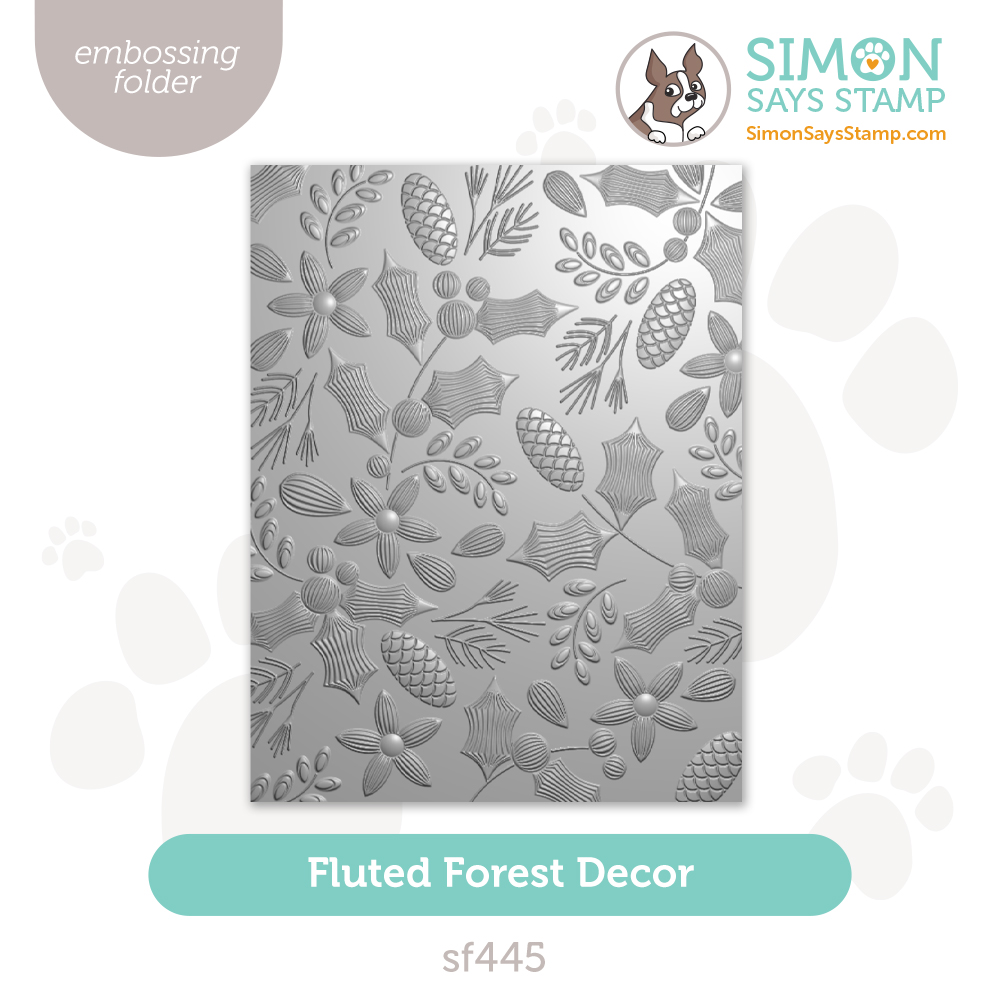
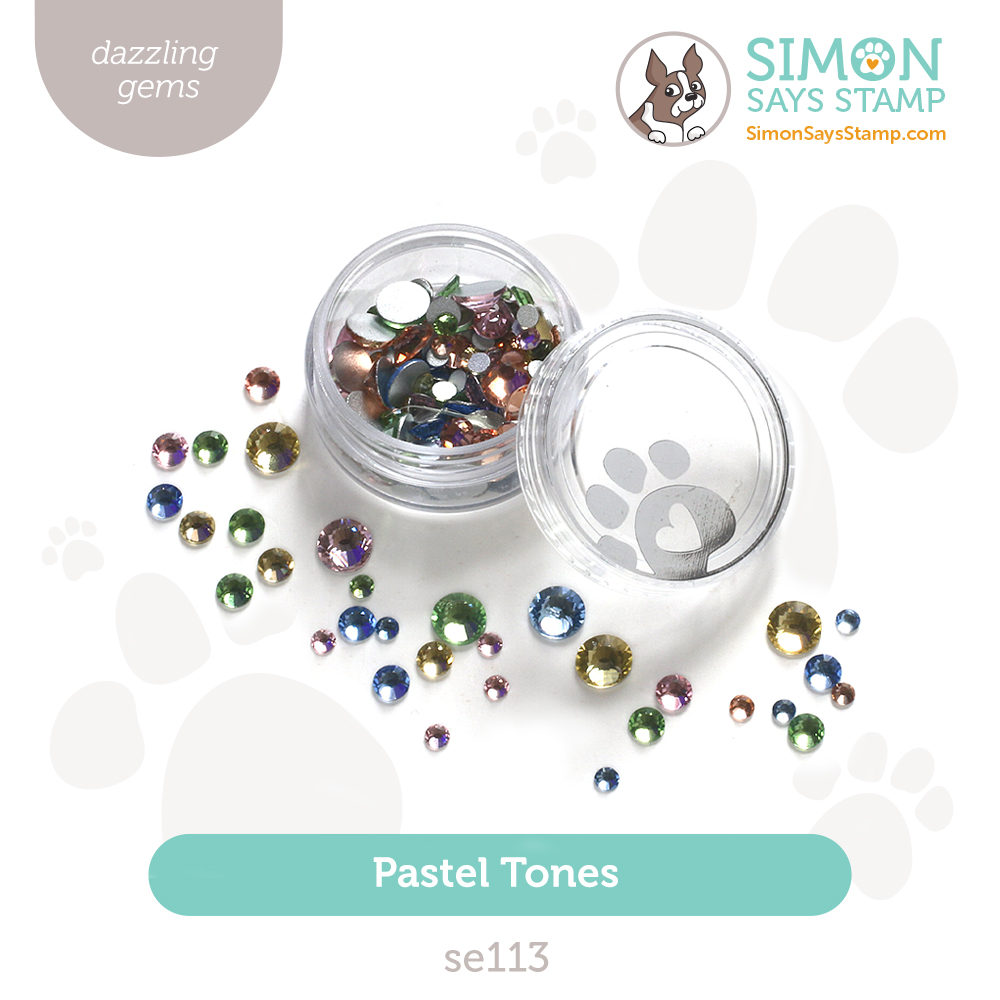
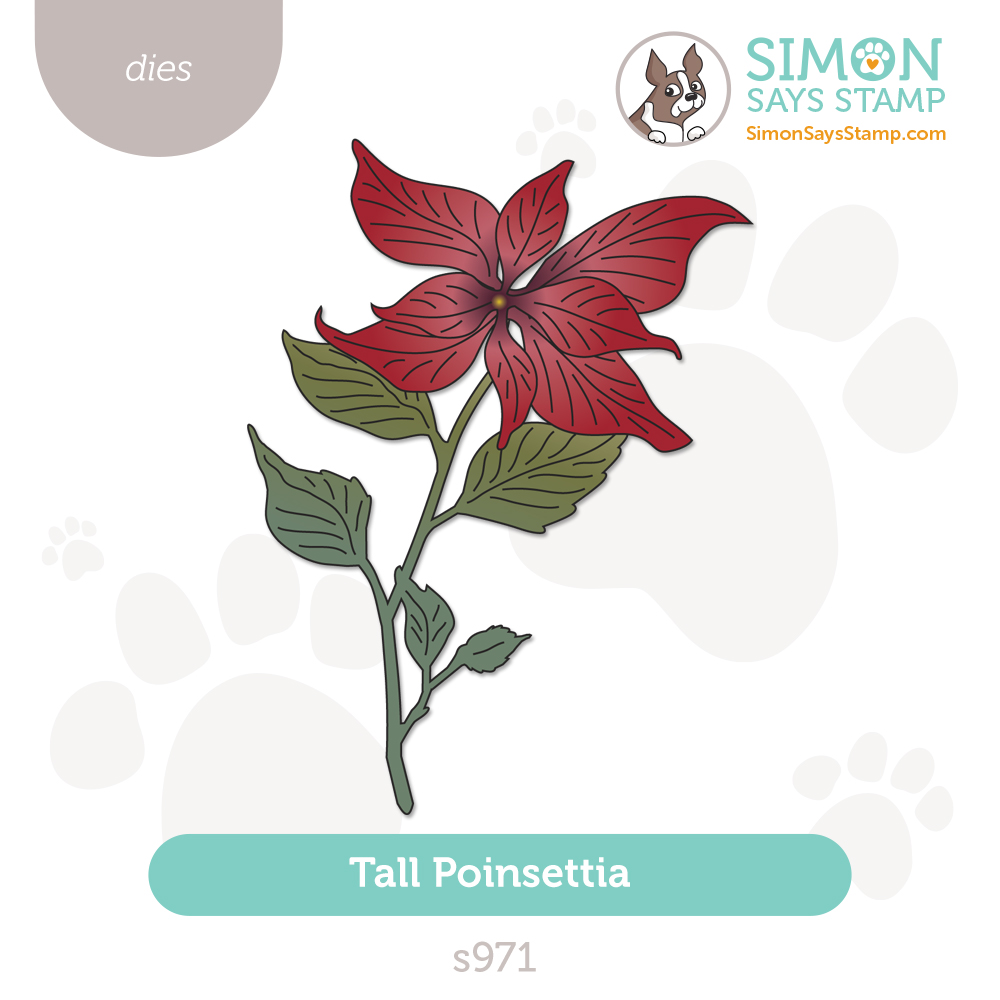
Happy Friday, friends! We’re delighted to welcome back special guest Laura Bassen in our bi-monthly edition of Amore Laurafadora where she showcases our brand new Tall Poinsettia die set, Fluted Forest Embossing Folder, Pawsitively Dazzling Gems in Butter, and a Nested Circle die to make a fun peeking look! Be sure to watch the video for all the details and enjoy!

WATCH THE VIDEO:

SUPPLIES:
|


Thanks so much for stopping by, and thanks to Laura for being our guest!
Join us LIVE for a special SURPRISE on Wednesday, November 13th at 12 NOON ET!

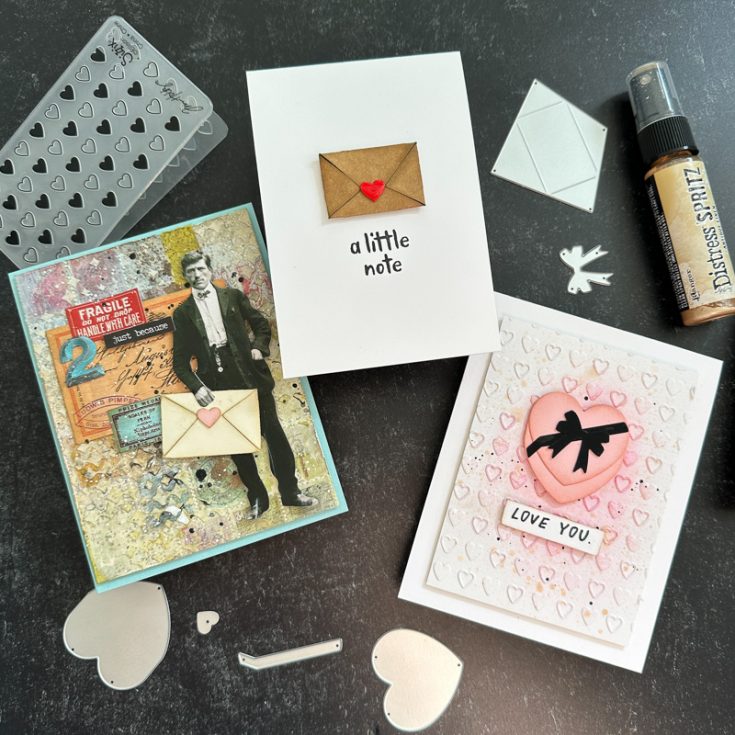
3 Cute Cards Featuring NEW Tim Holtz Side-Orders!
Hi friends! Happy Sunday! You may have seen last week a new collection of five darling NEW Side-Order die and embossing folder sets to perfectly fit the Sidekick® machine! Today, I’m delighted to share 3 sweet ideas by special guest Cheiron Brandon using the new Love Notes set! Read on and enjoy!
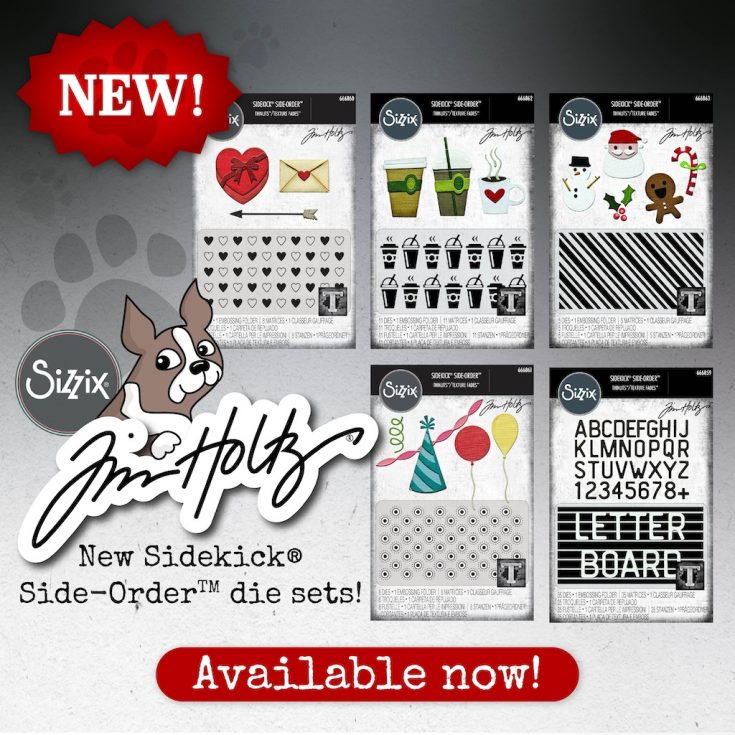
Hello there crafty friends! It’s Cheiron with my monthly post using Tim Holtz products. This month I wanted to create some fun cards with the new Tim Holtz Sizzix Side-Orders. The Sideorders are small but mighty die + embossing folder sets that are sized to fit perfectly through your Sidekick (but you can certainly use them in your regular size die cutting machine too). I also think these little sets would make the perfect holiday gift for a crafty friend.
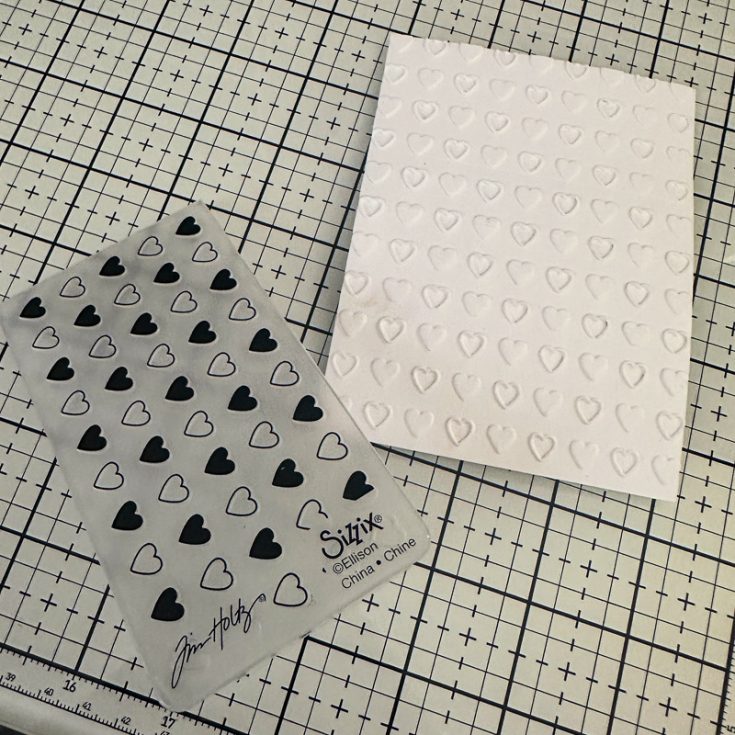
Today I am going to show you 3 different card ideas using the Love Notes Side-Orders and Texture Fade.
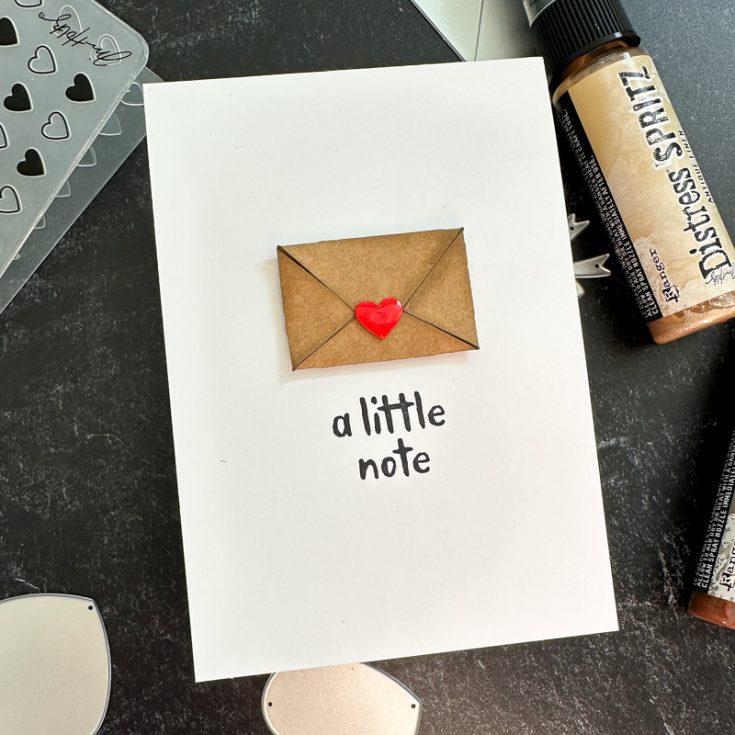
For the first card, I kept it small (3 1/2 x 5), sweet and simple with one of the envelopes cut from Dina Wakley Kraft Cardstock. I inked the edges of the envelope with Frayed Burlap Distress ink, assembled it and added it to my card with some foam tape. Then I added a tiny heart that I covered with glossy accents and a sentiment from the Note Quotes set. This one would be so fun to recreate a batch of!


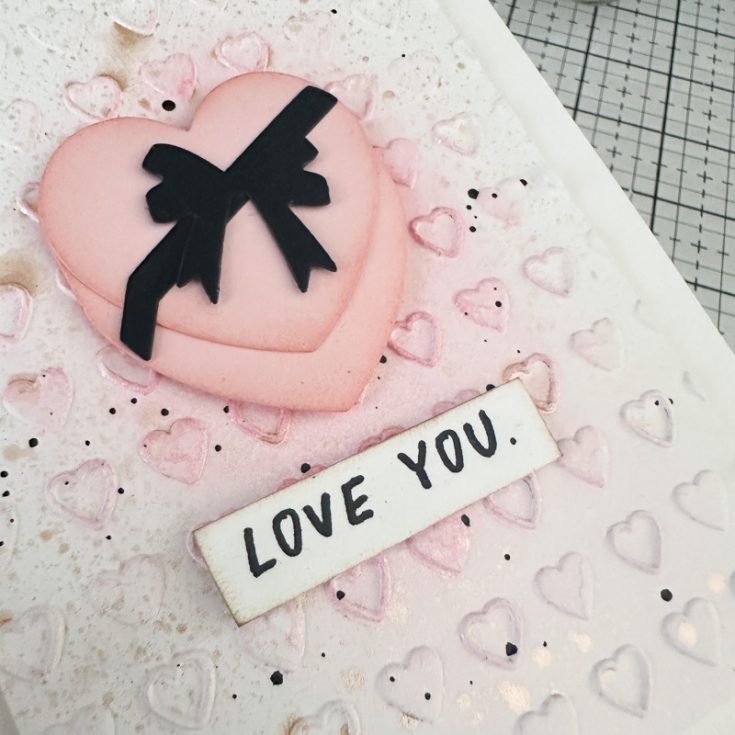
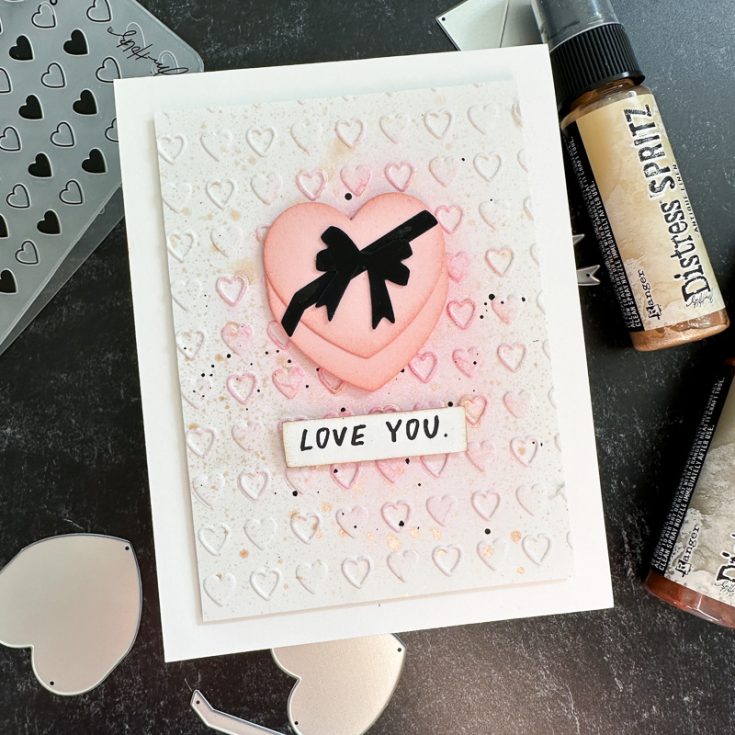
For my second card, I took a panel of Distress Watercolor Cardstock and ran it through the embossing folder 3 times repeating the pattern to add texture. I inked the panel with Tattered Rose Distress Ink then sprayed over it with Tattered Rose Distress Spritz for extra shine. I gave it a tiny bit of black splatter as well using Black Soot Distress Paint. I cut the candy heart box out of Cotton Candy cardstock and added a black bow. Then I adhered it to the card along with a sentiment from the Noteworthy stamp set.

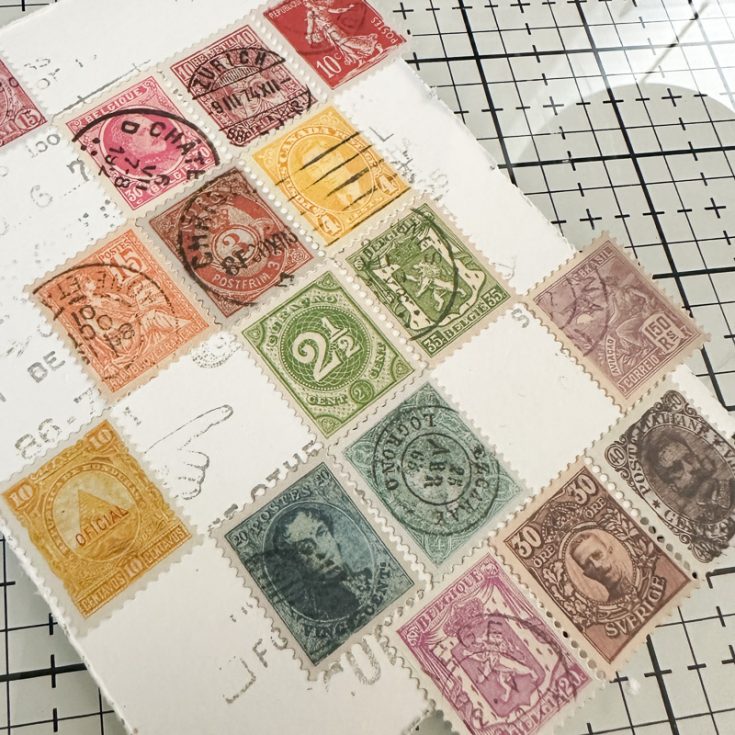
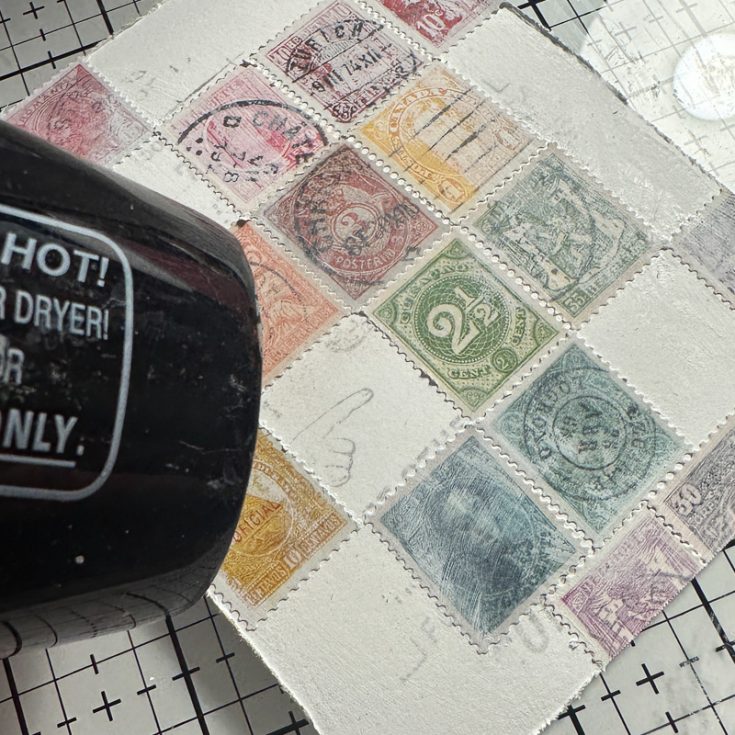
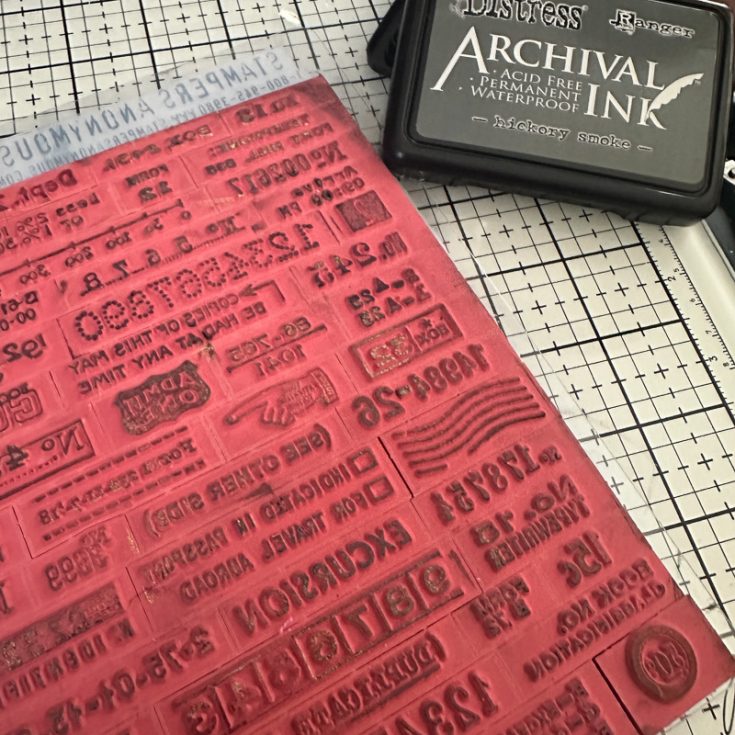
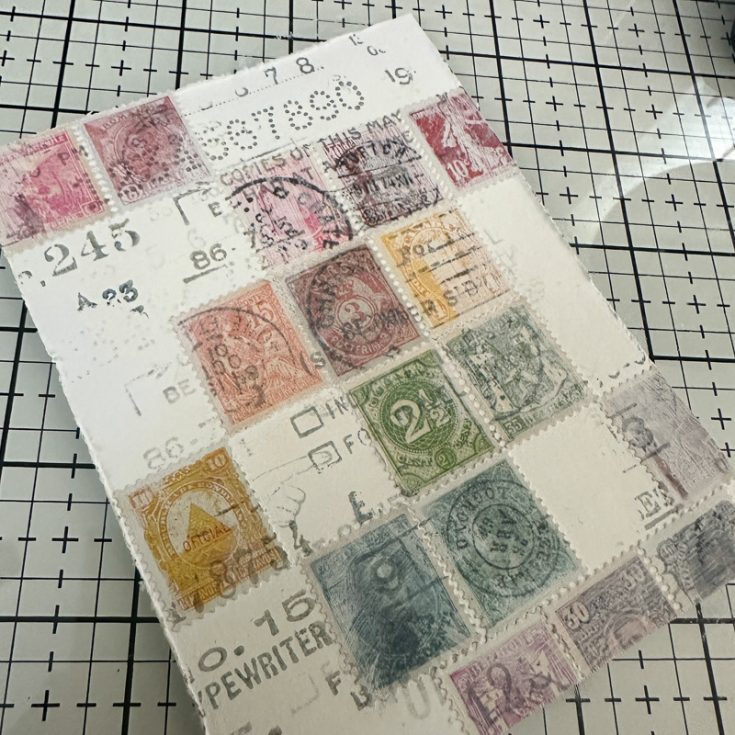
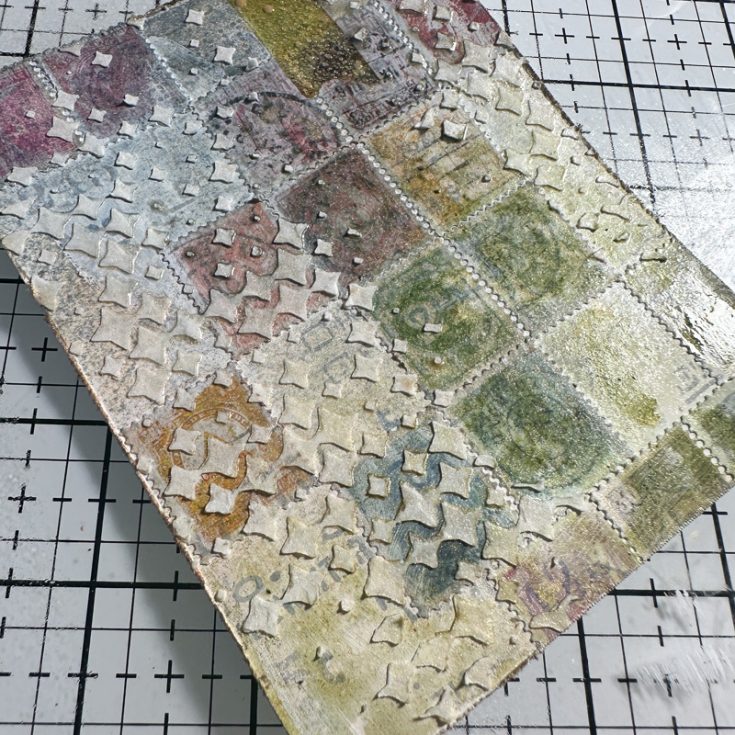
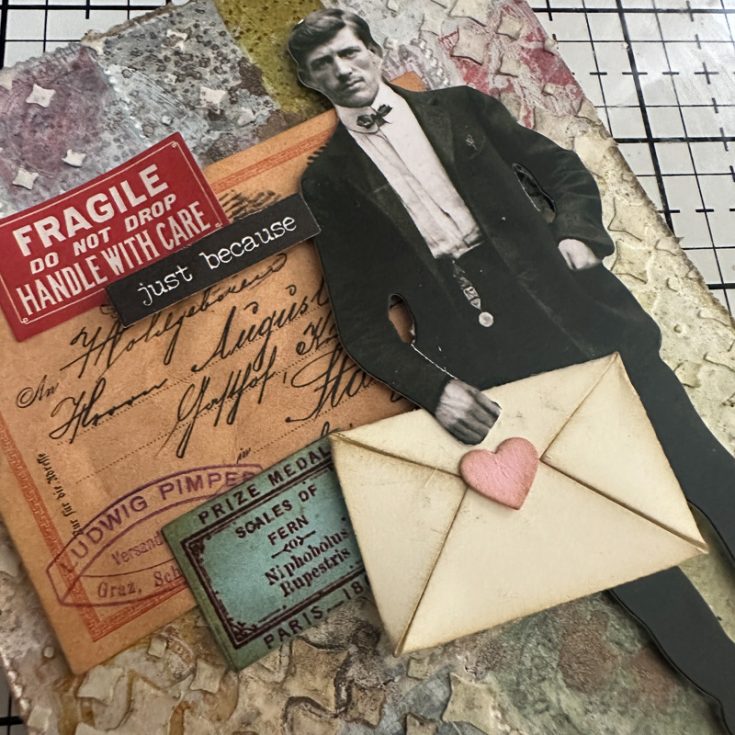
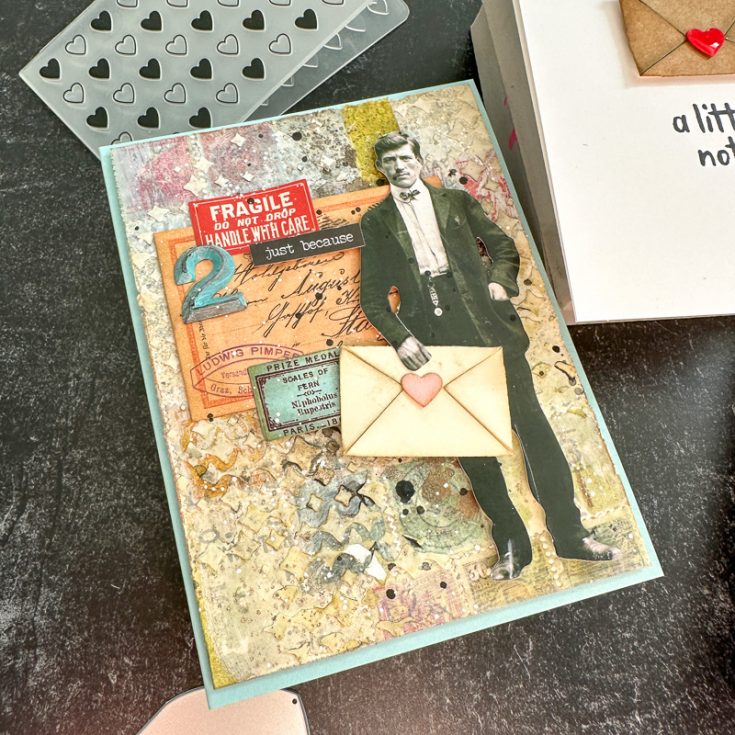
For the third card, I played around with some mixed media techniques by filling the background of my card panel with stamps from the Postmark sticker book. I painted a very thin layer of gesso over the eniter panel. Then using Hickory Smoke Distress Archival Ink I inked up the Tidibits stamp by turning the stamp over flat on my table and adding ink to it and stamping on to my panel, pressing down just in some places. I added Opaque Texture Paste through the Sparkle fade stencil and let it dry. Then I sprayed over the panel with Antique Linen Distress Spritz and let that dry. I added a some Ephemera, a Small Talk sticker, and a Paper Doll holding that Love Note along with a painted numeric number. I gave it just the tinest splatter of black and white paint to finish it.
SUPPLIES:
|


Thanks so much for stopping by, and thanks to Cheiron for being our guest!
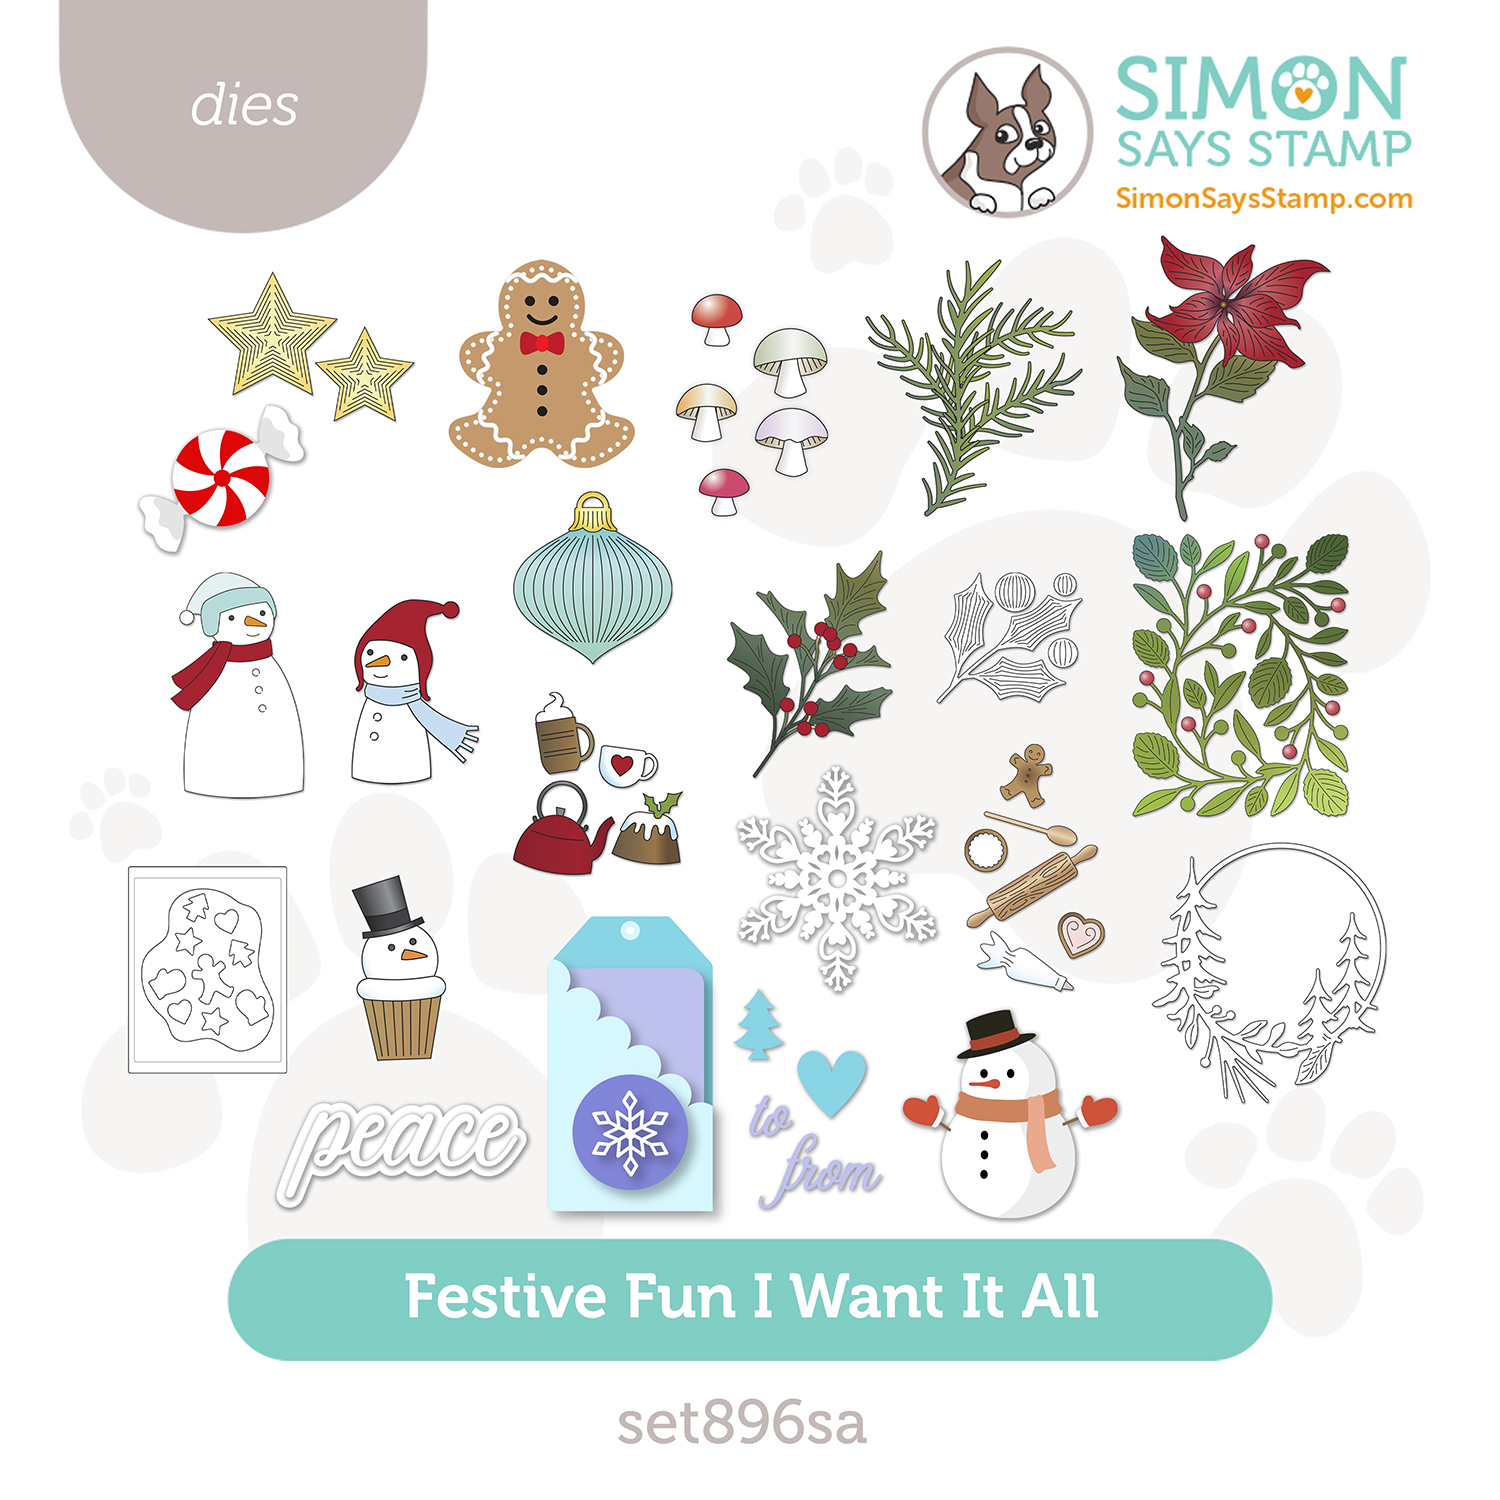
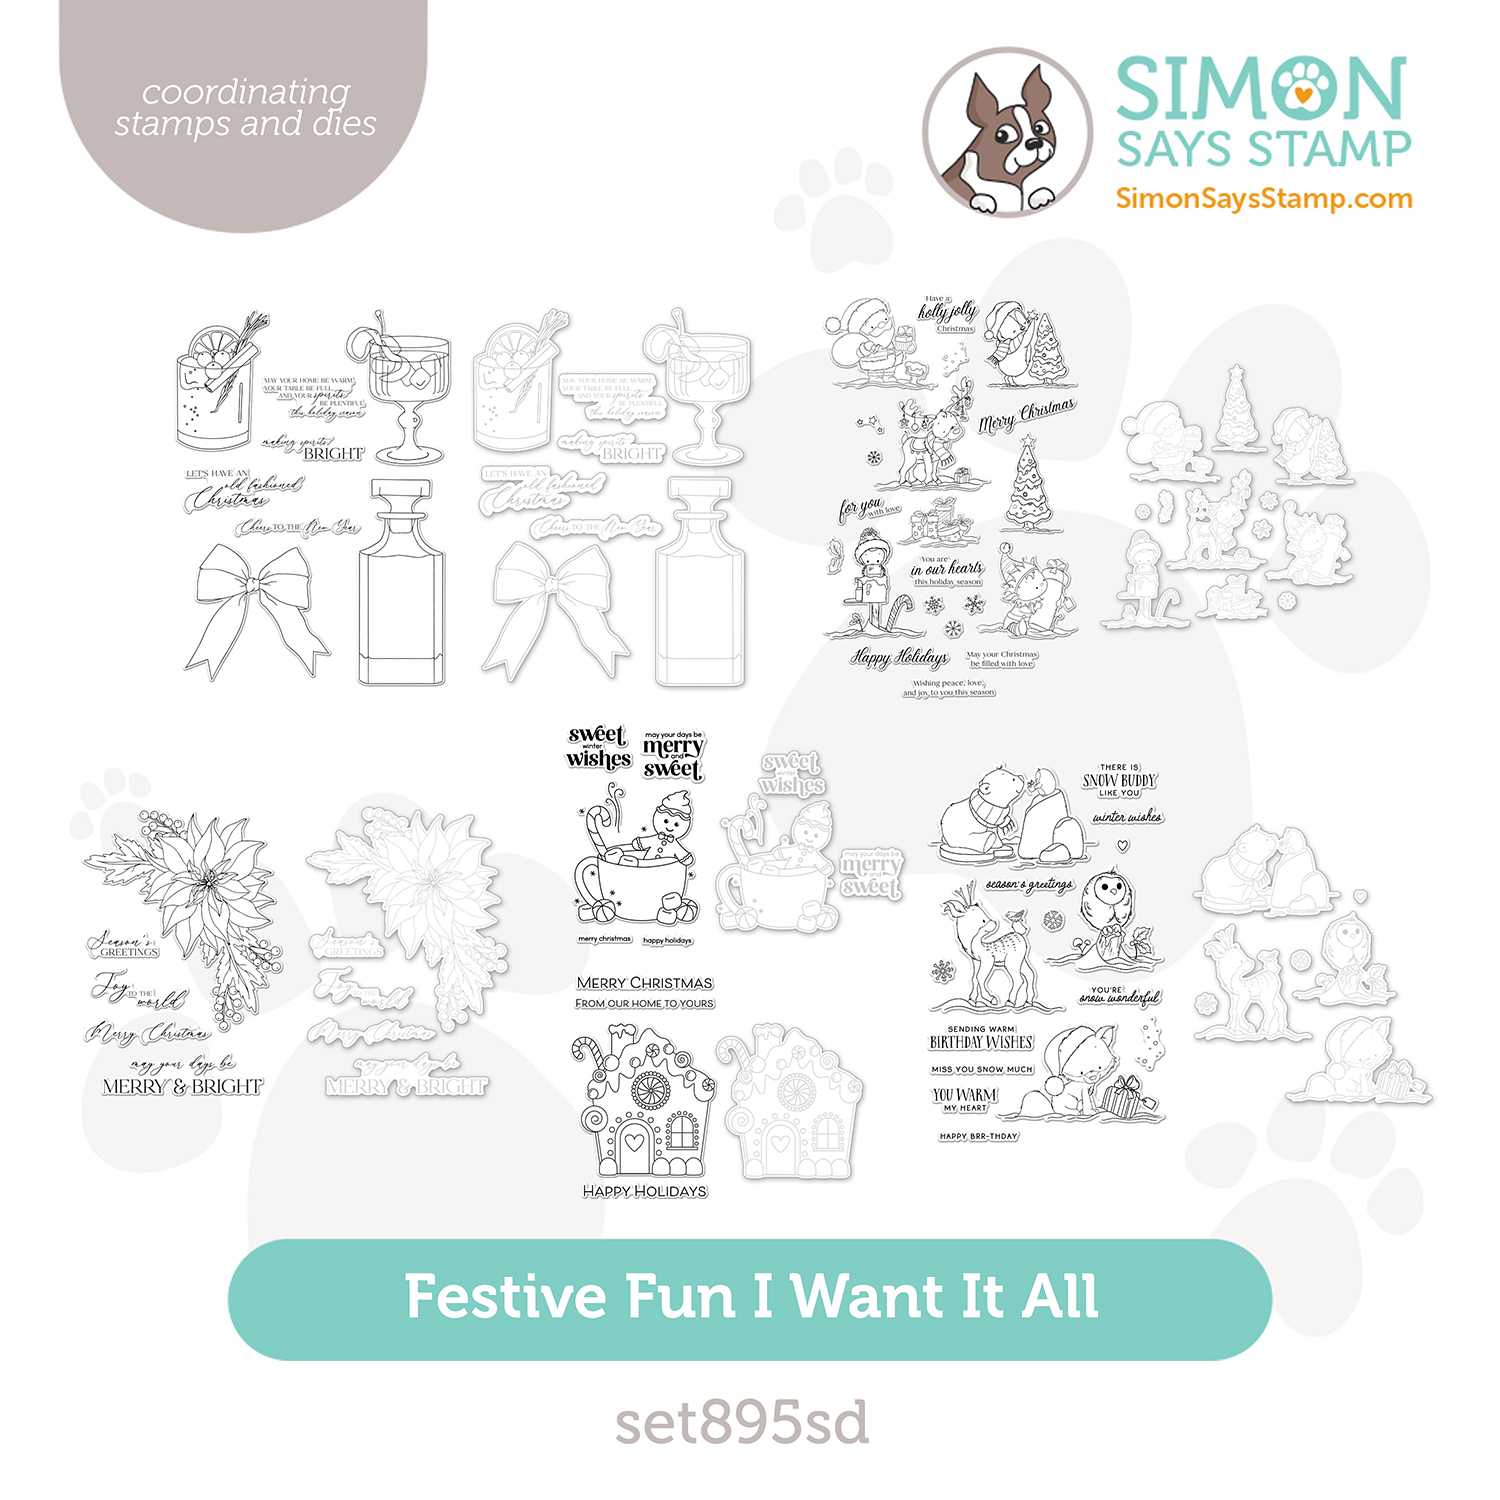
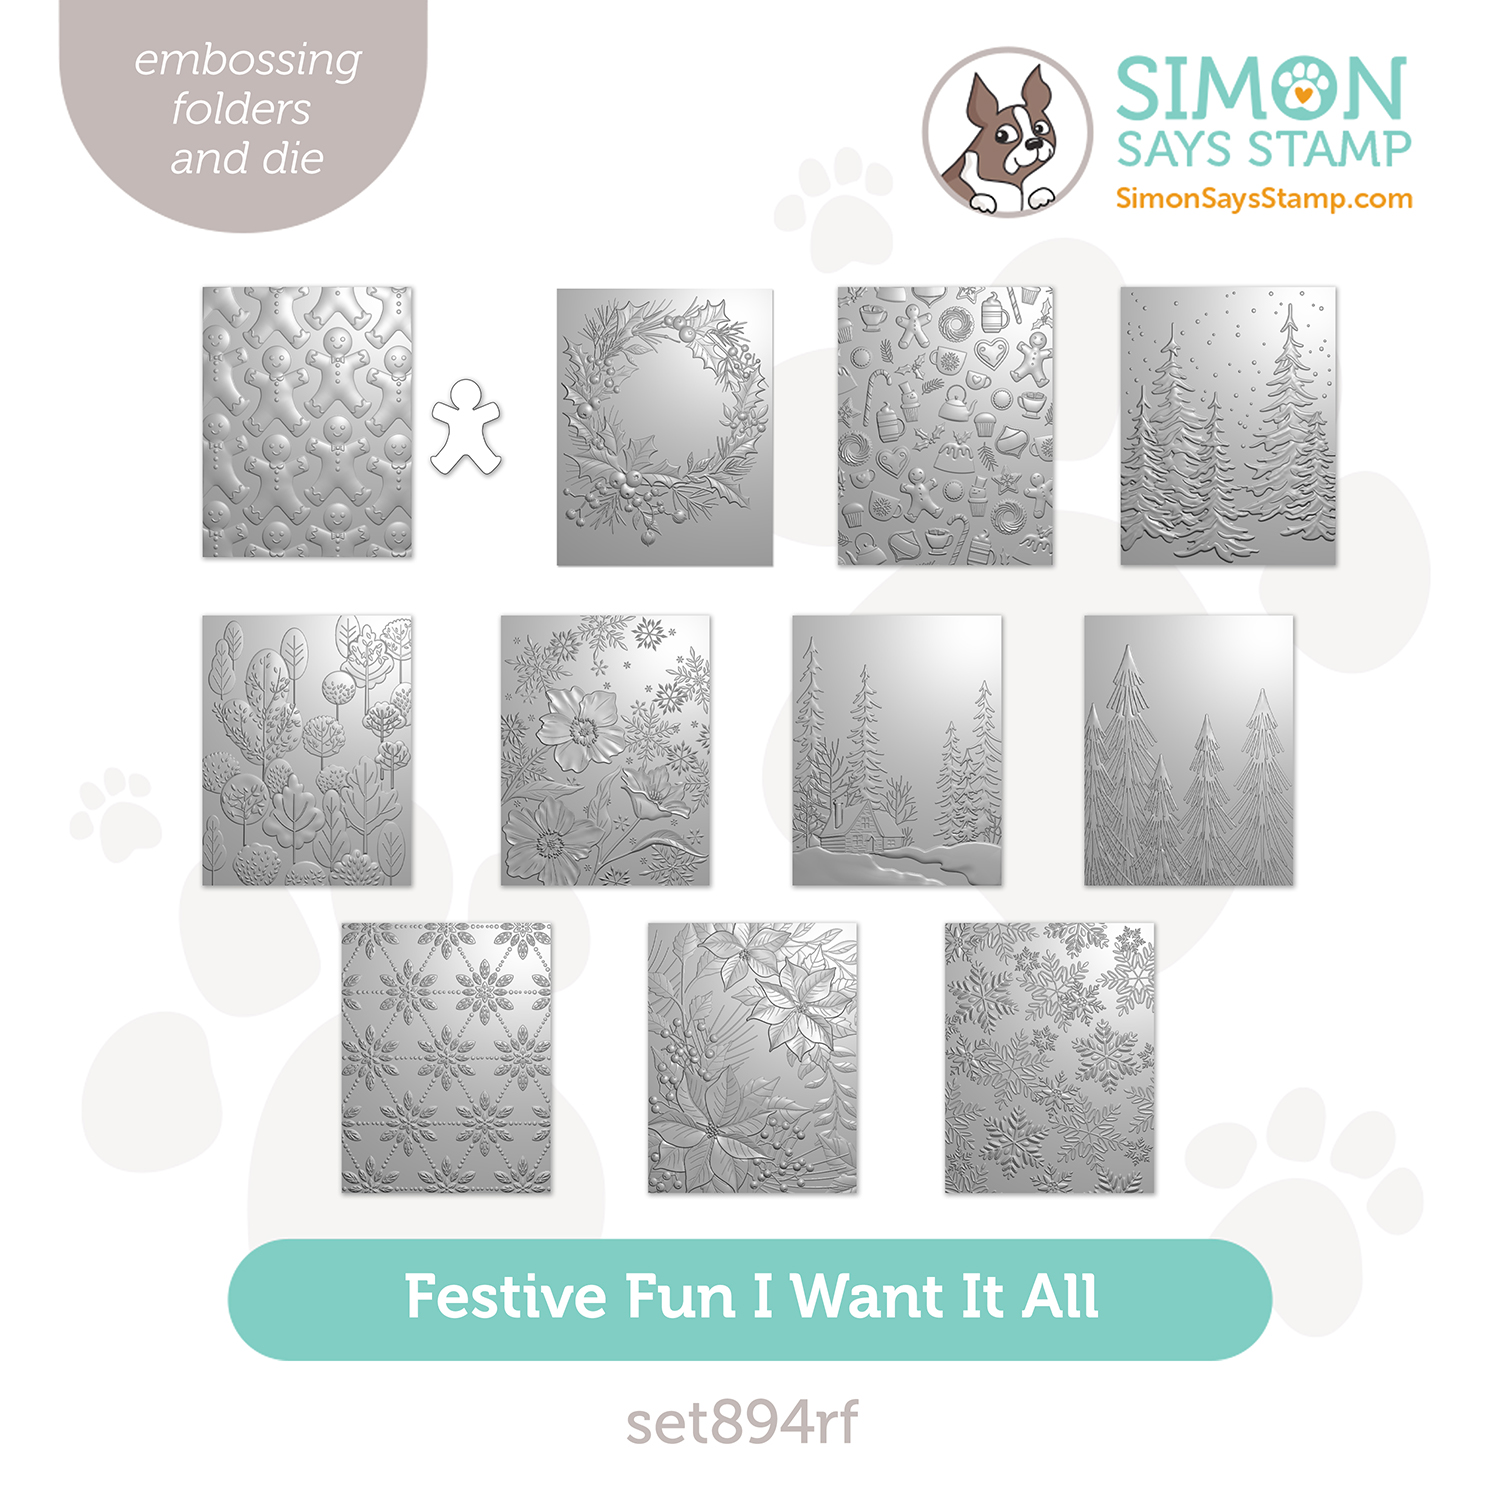
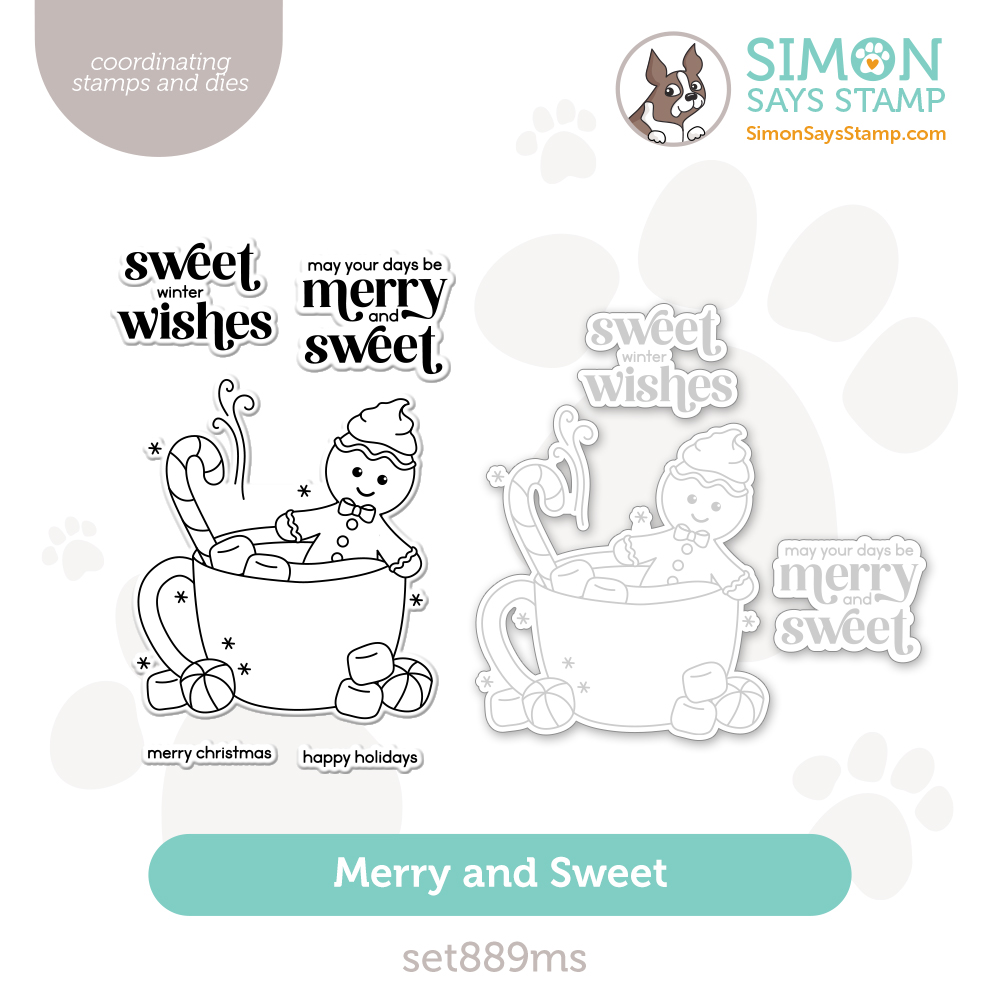
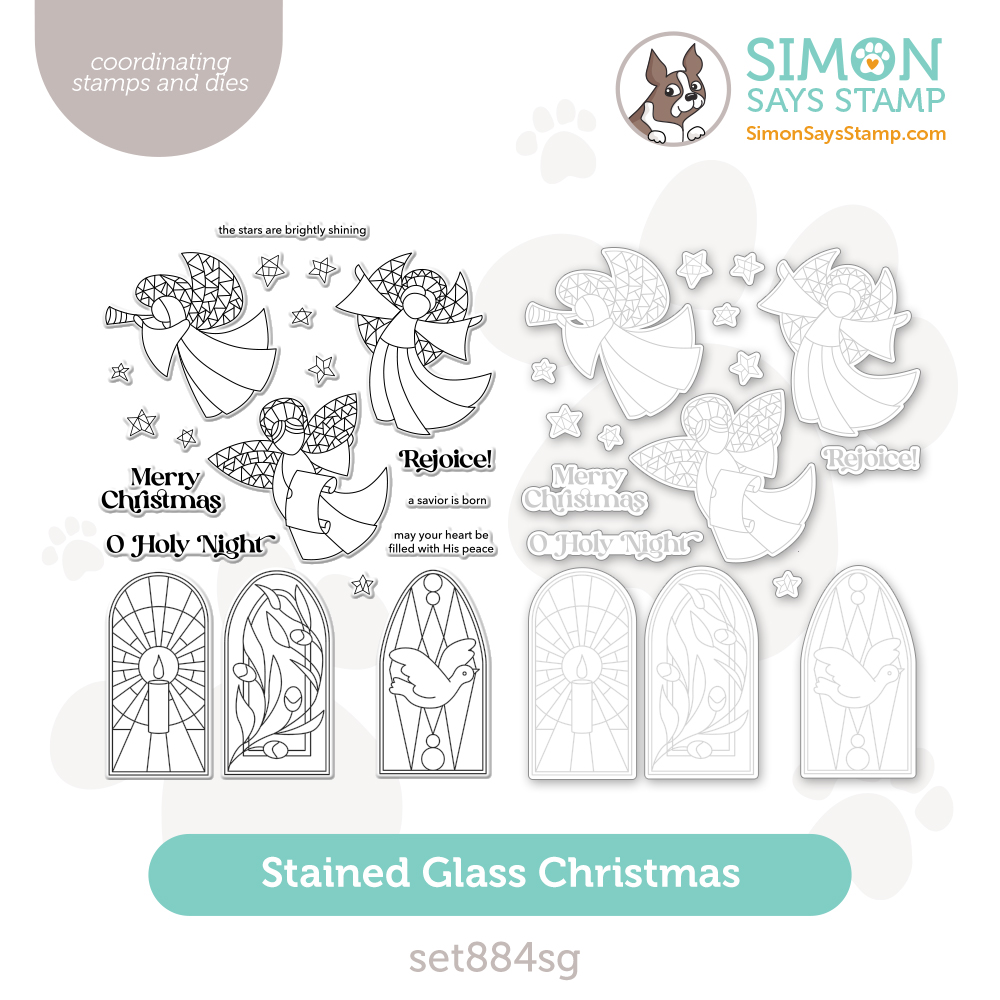
Simon Says Stamp Festive Fun Release Blog Hop 2!
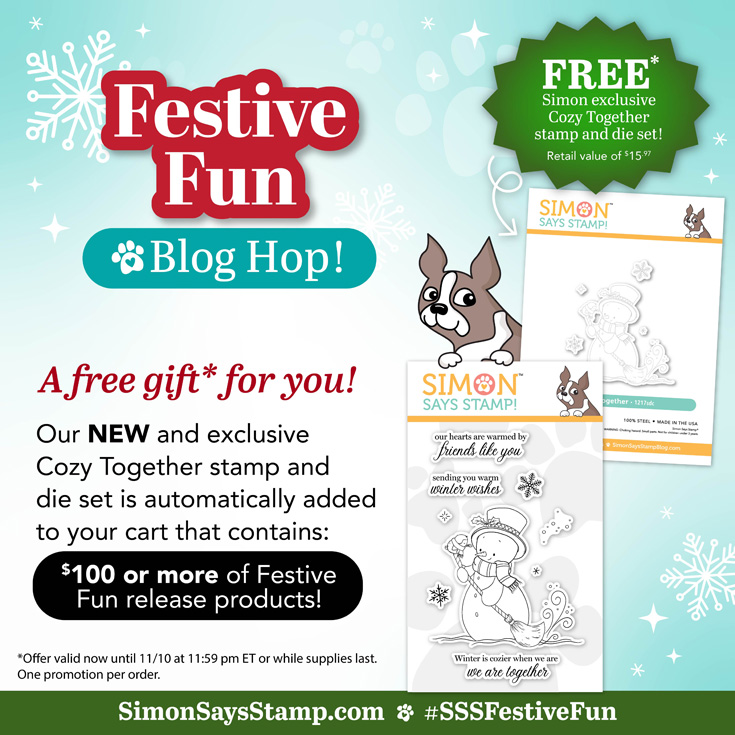
Hello, friends, and welcome to day two of our Festive Fun release blog hops! If you missed yesterday’s hop, be sure to circle back and check it out HERE.
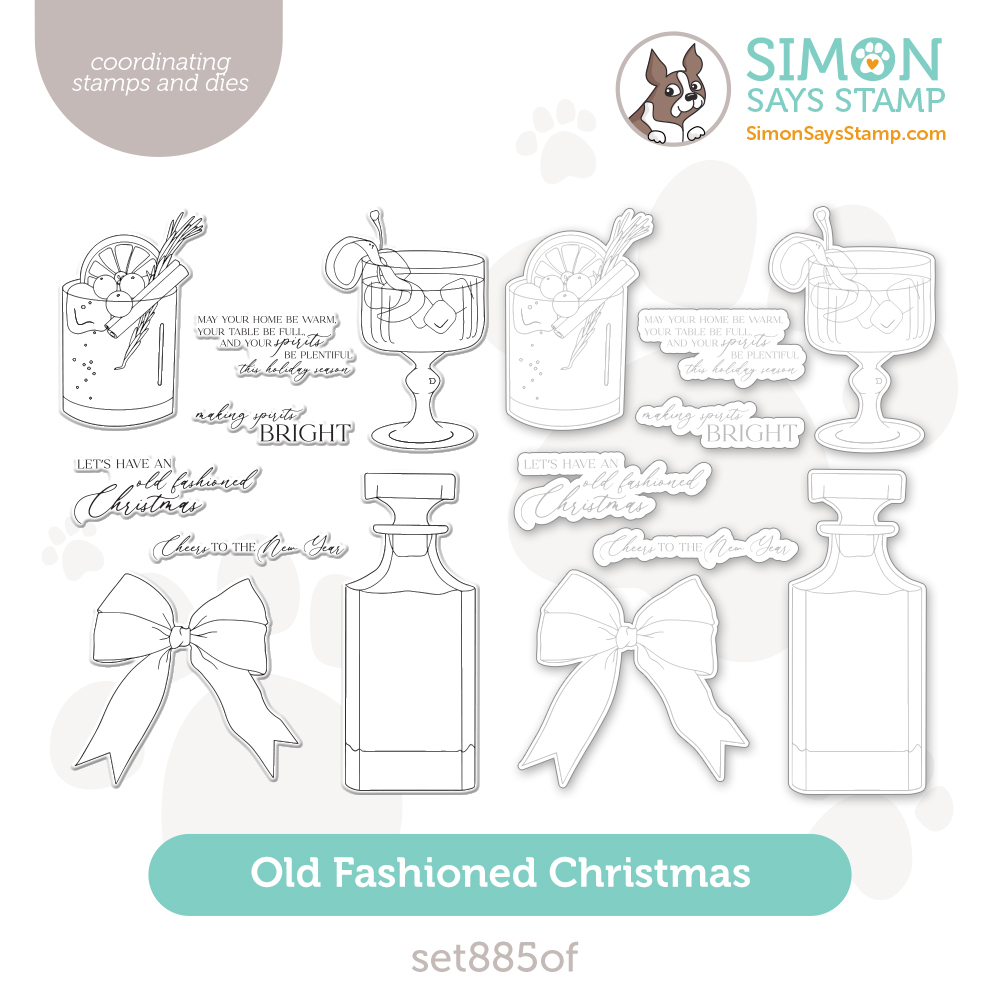
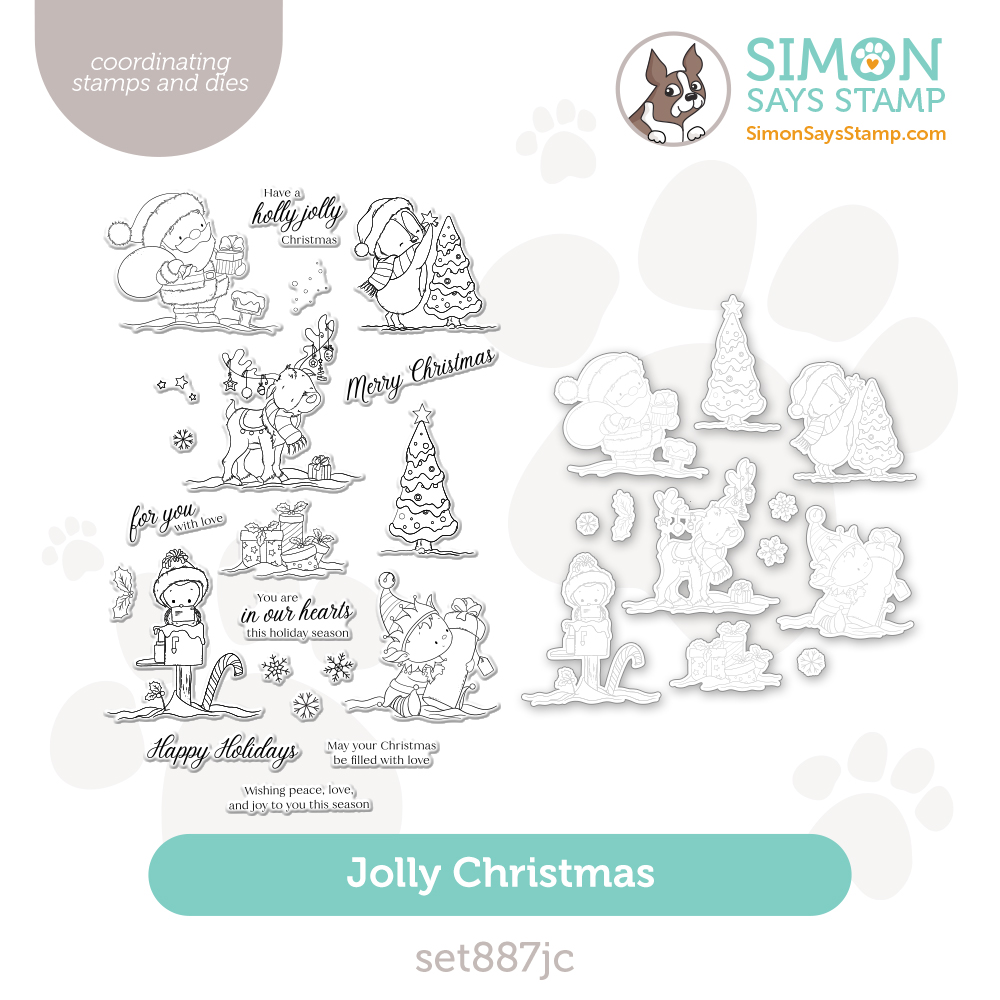
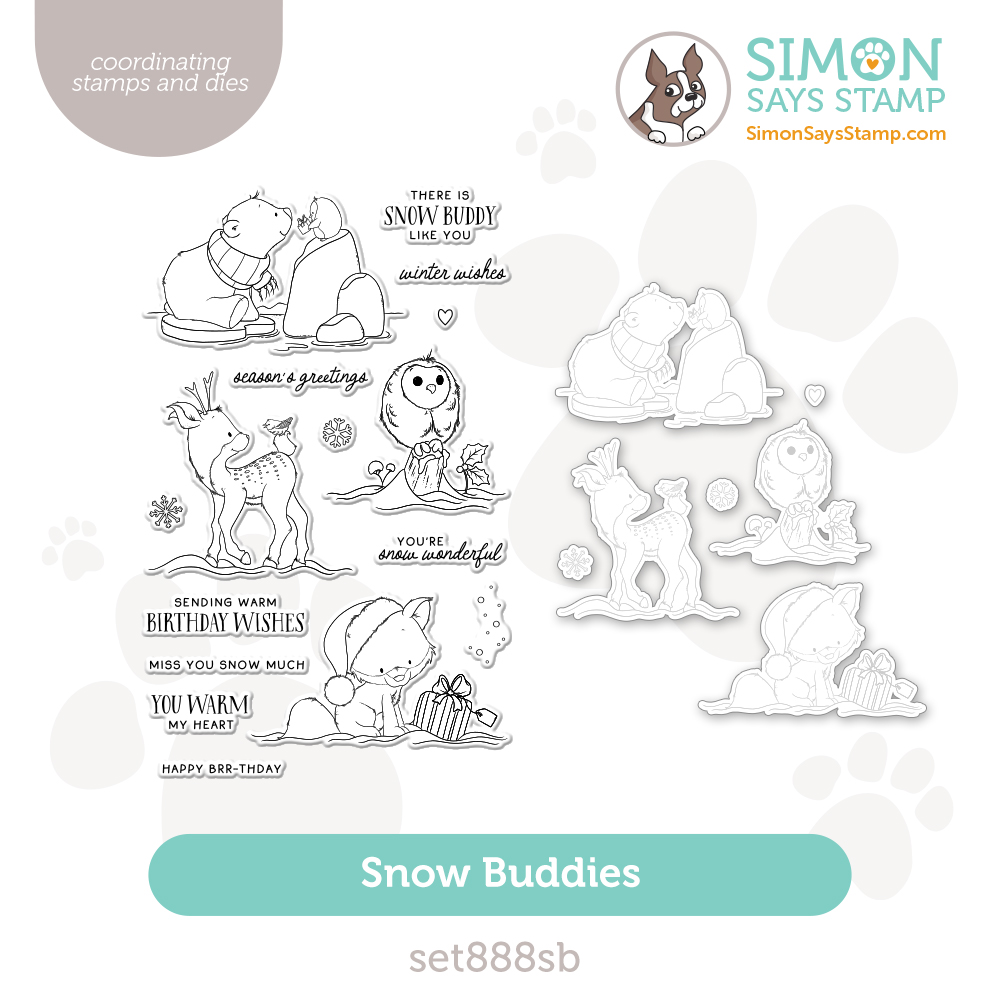
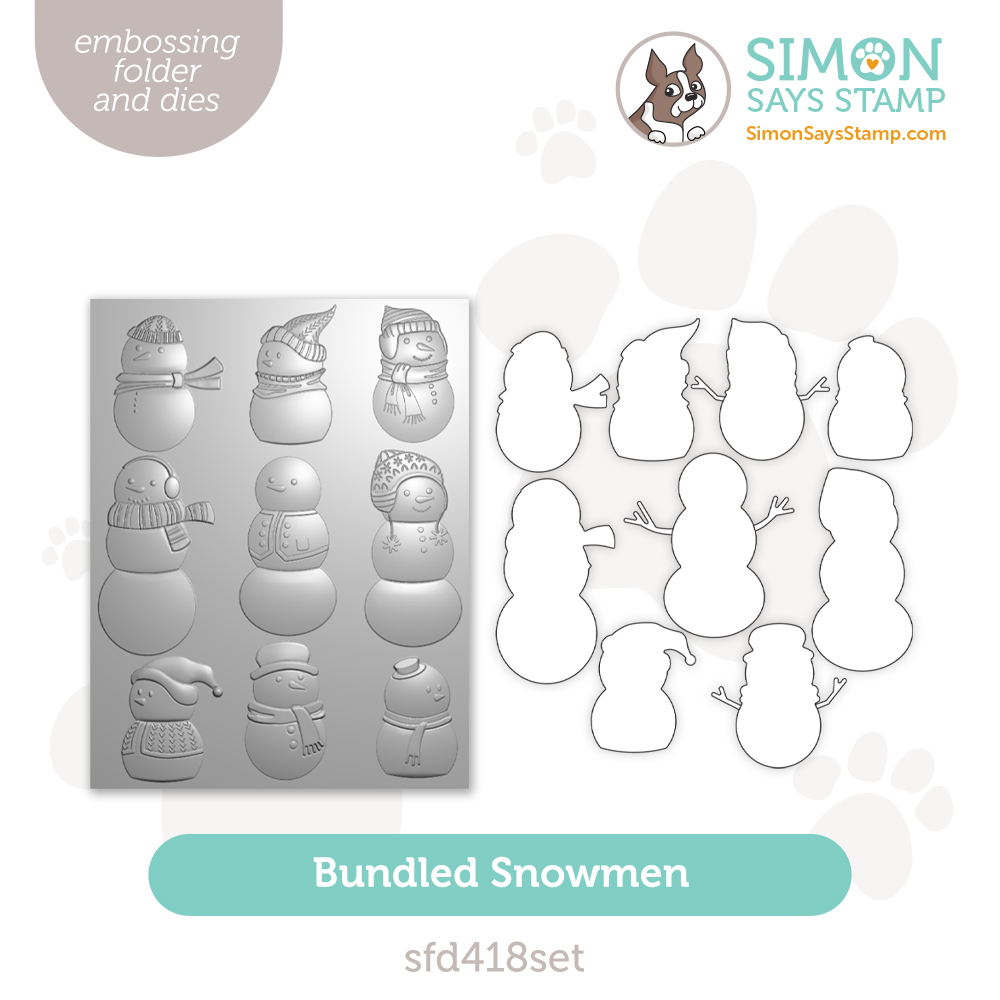
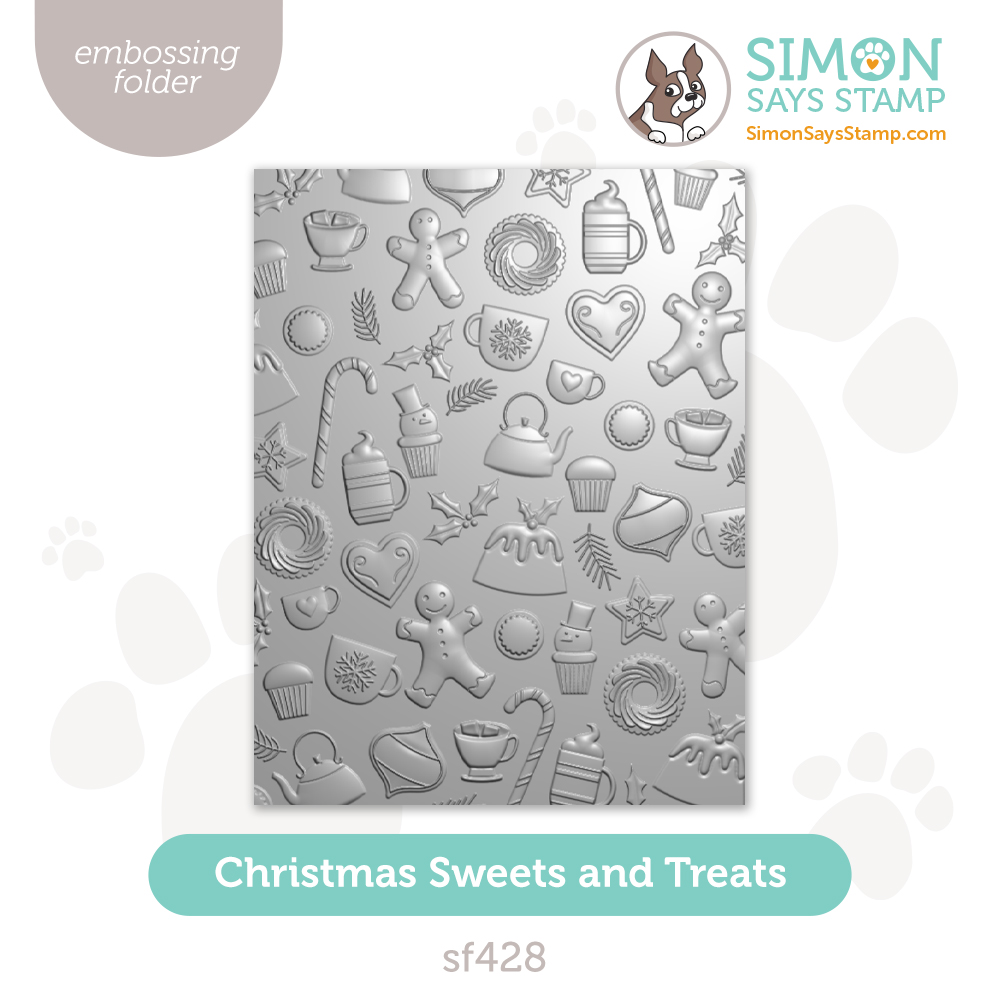
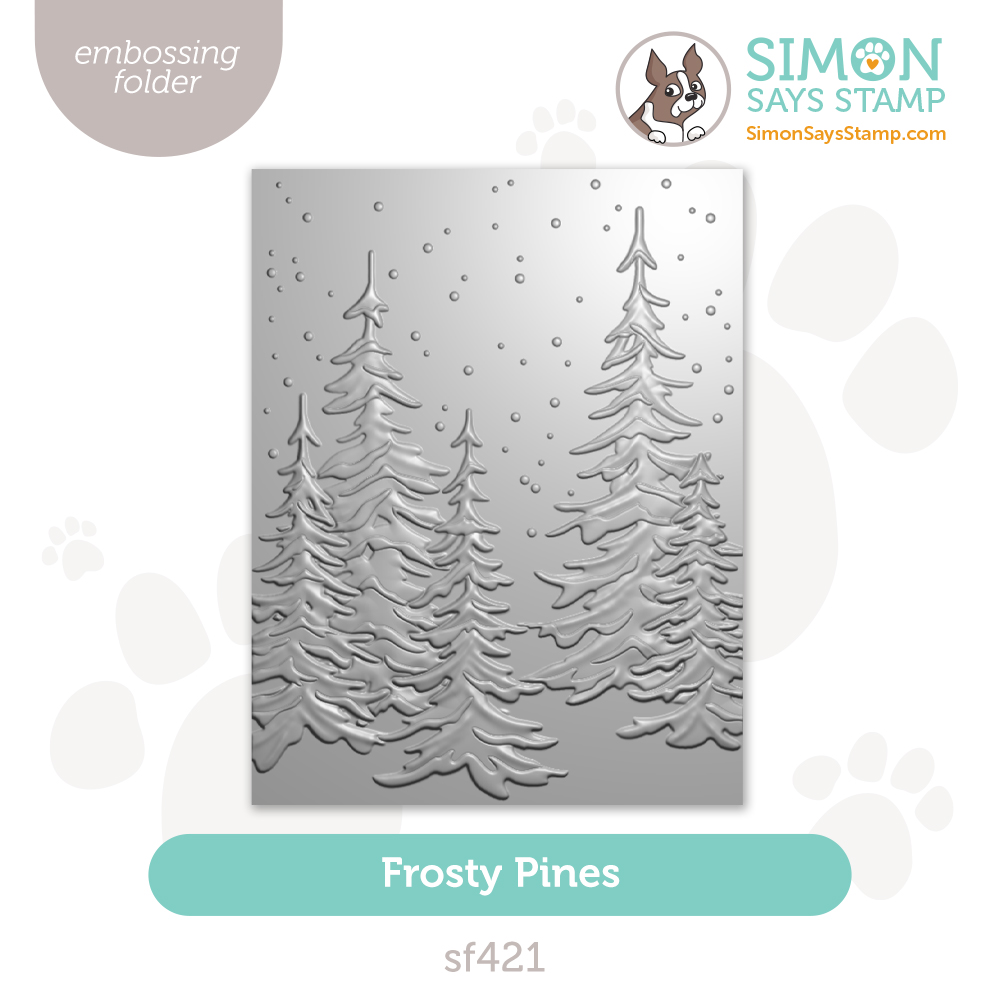
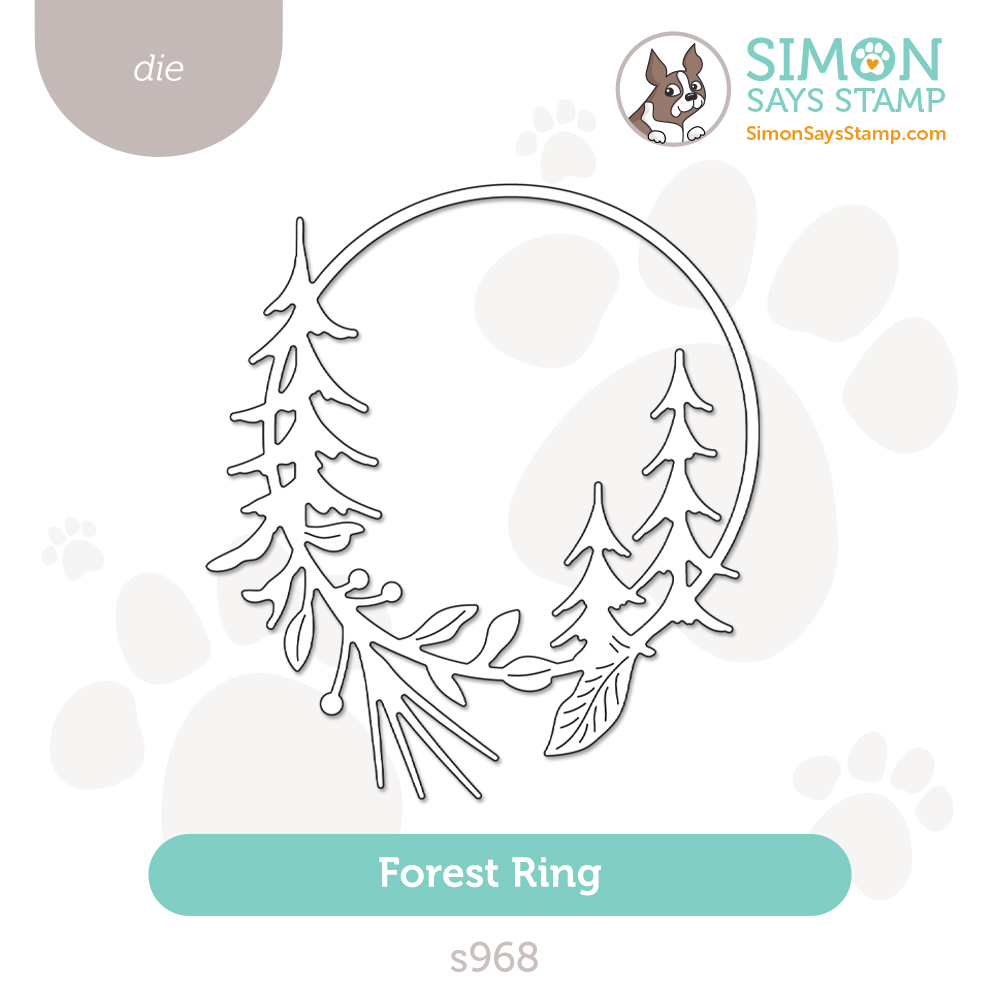
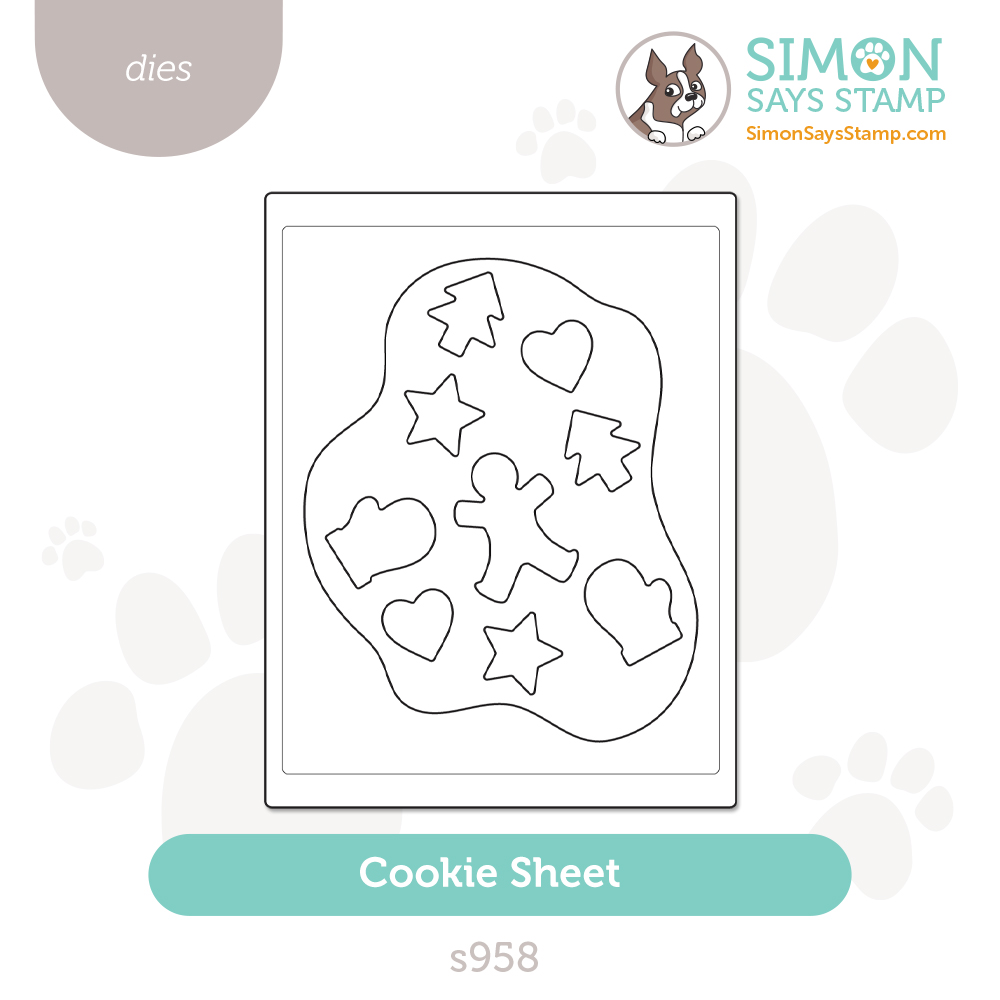
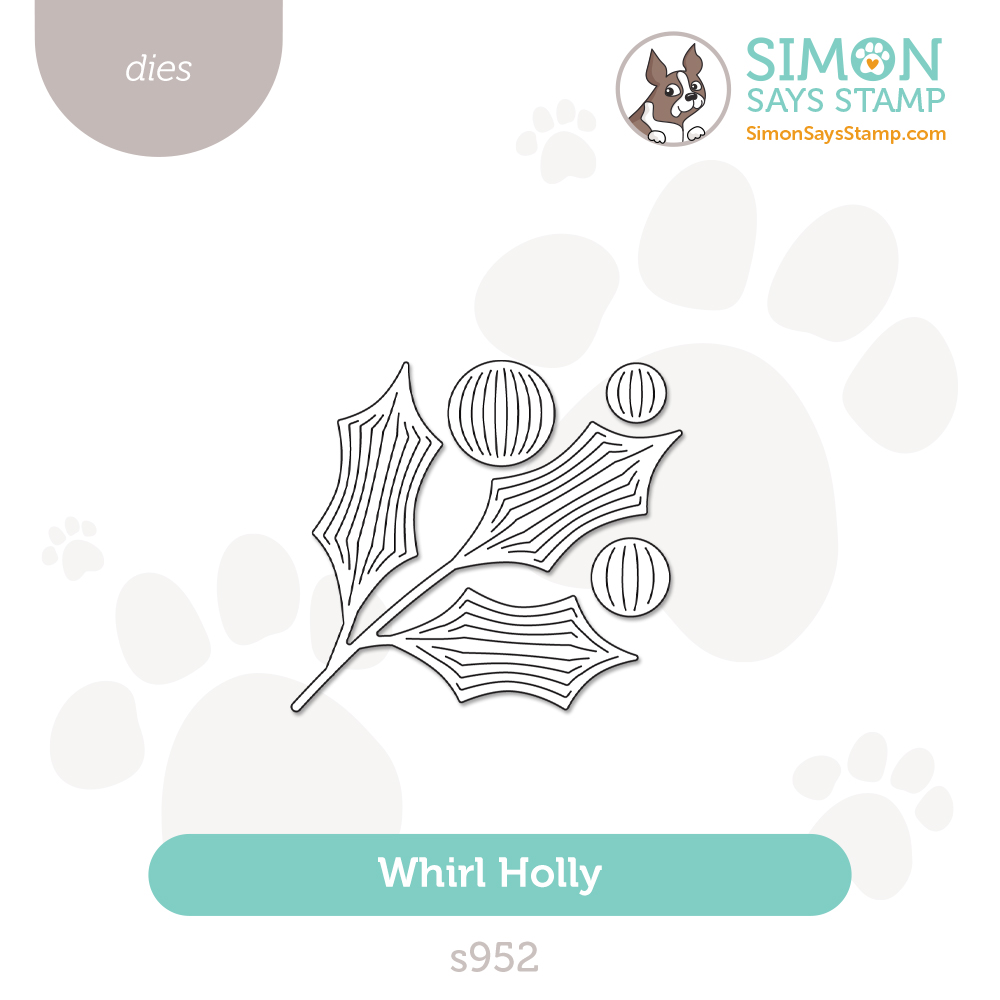
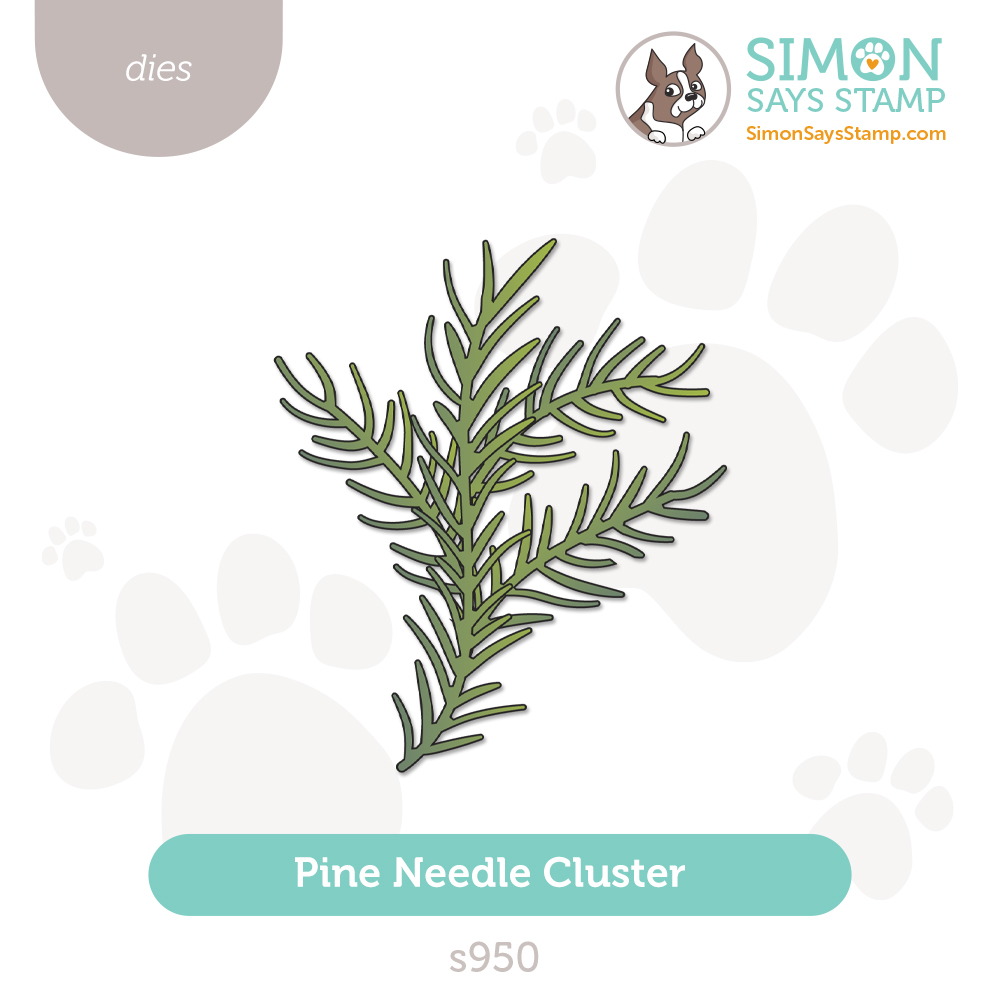
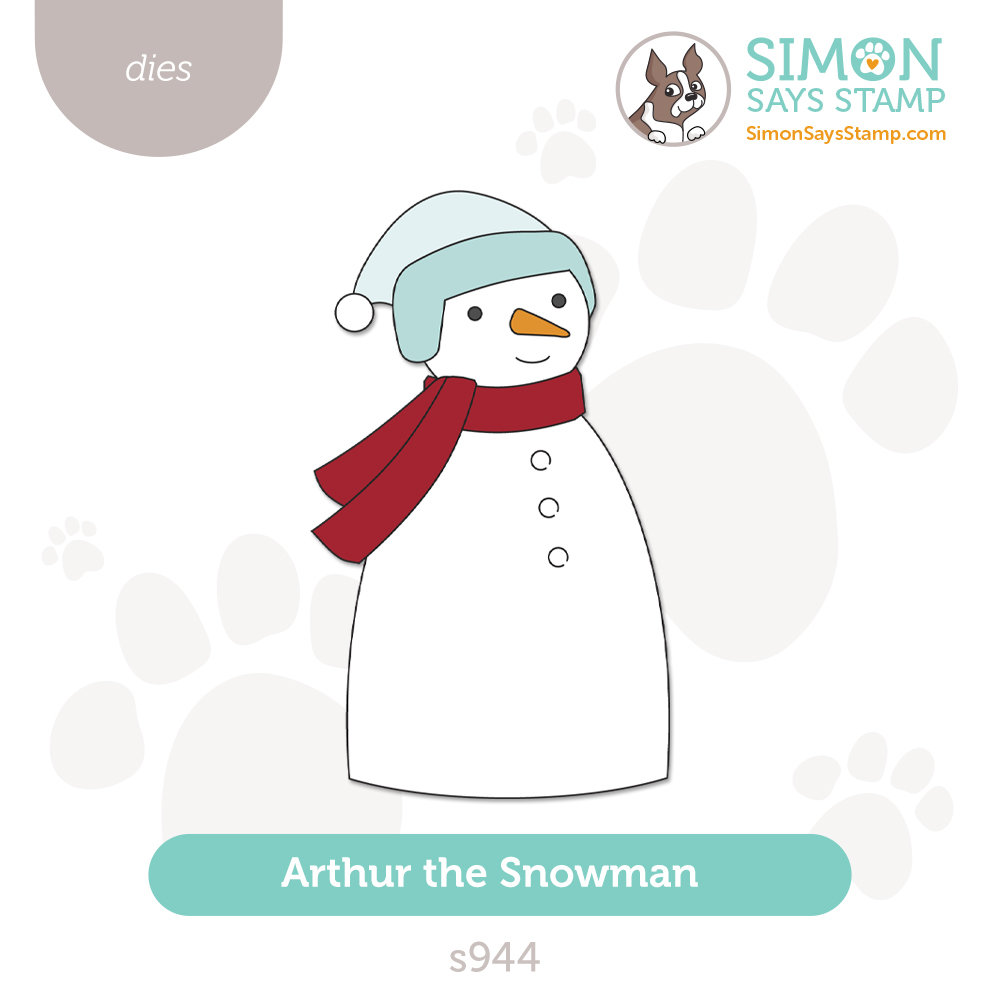
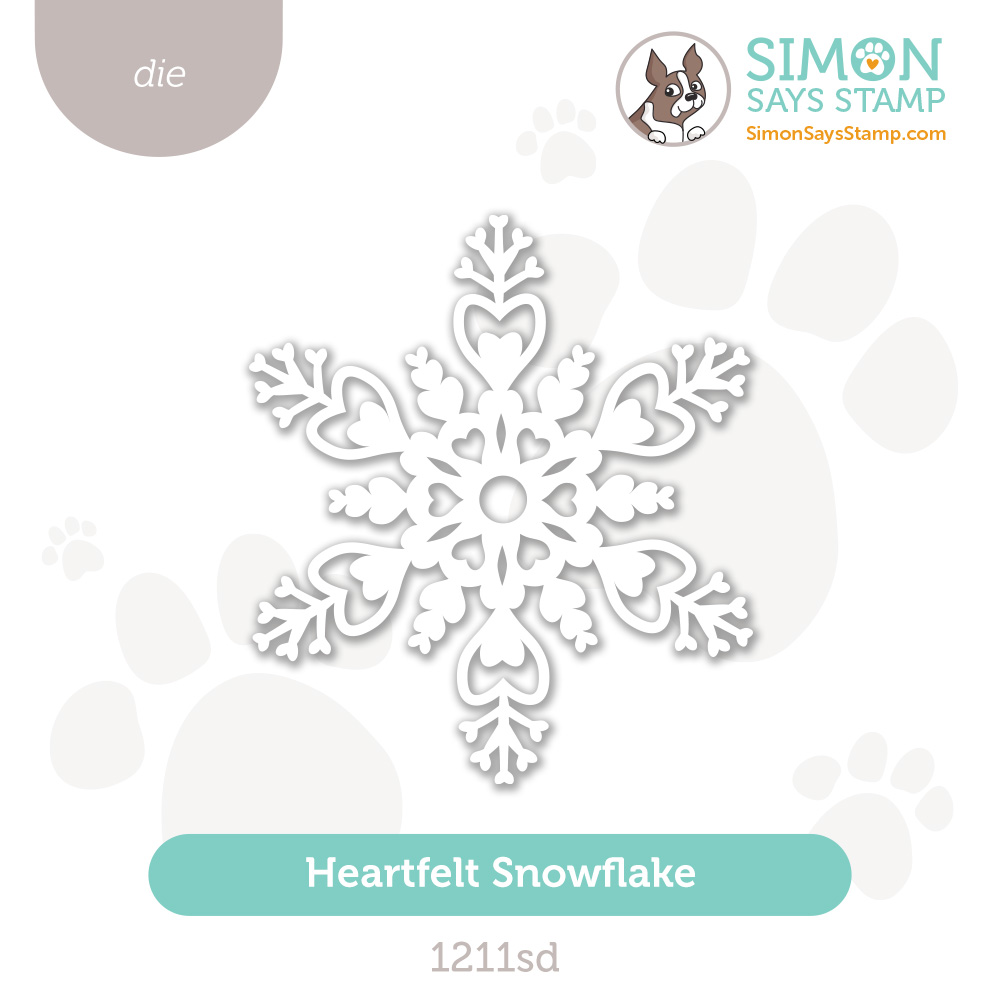
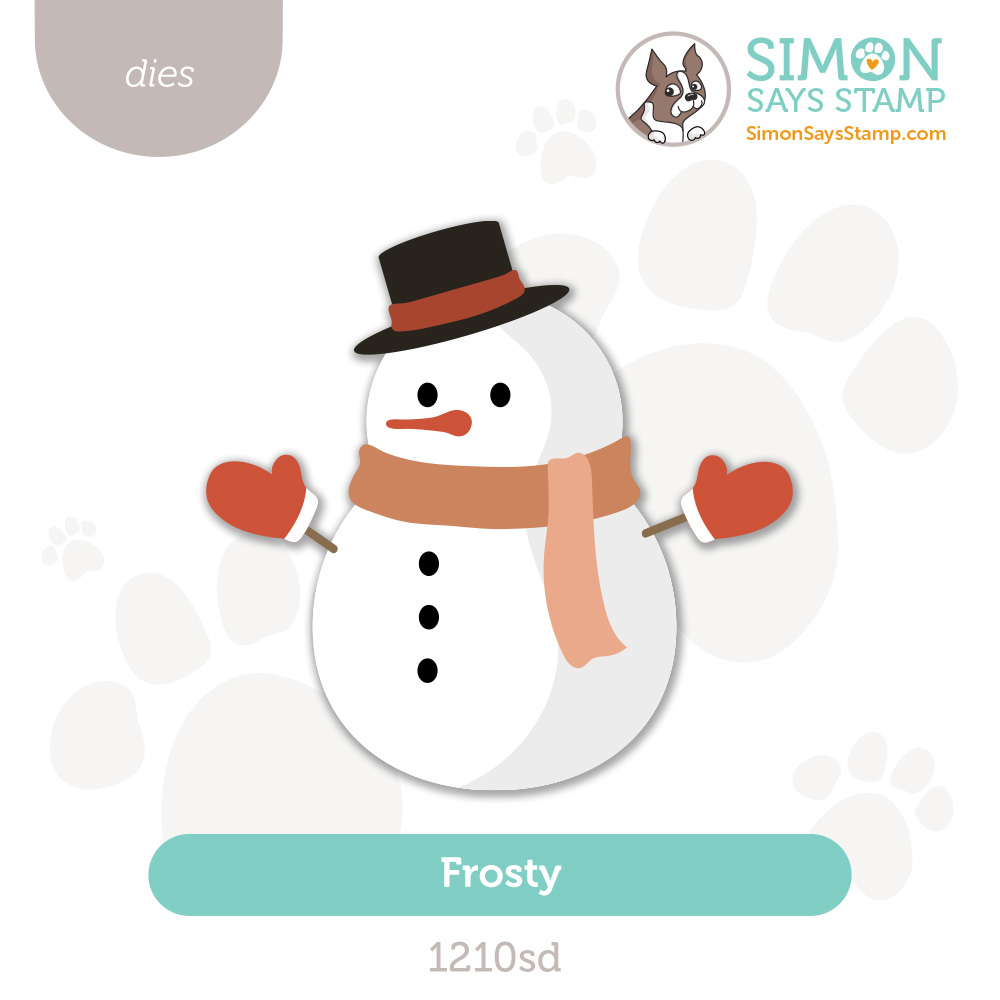
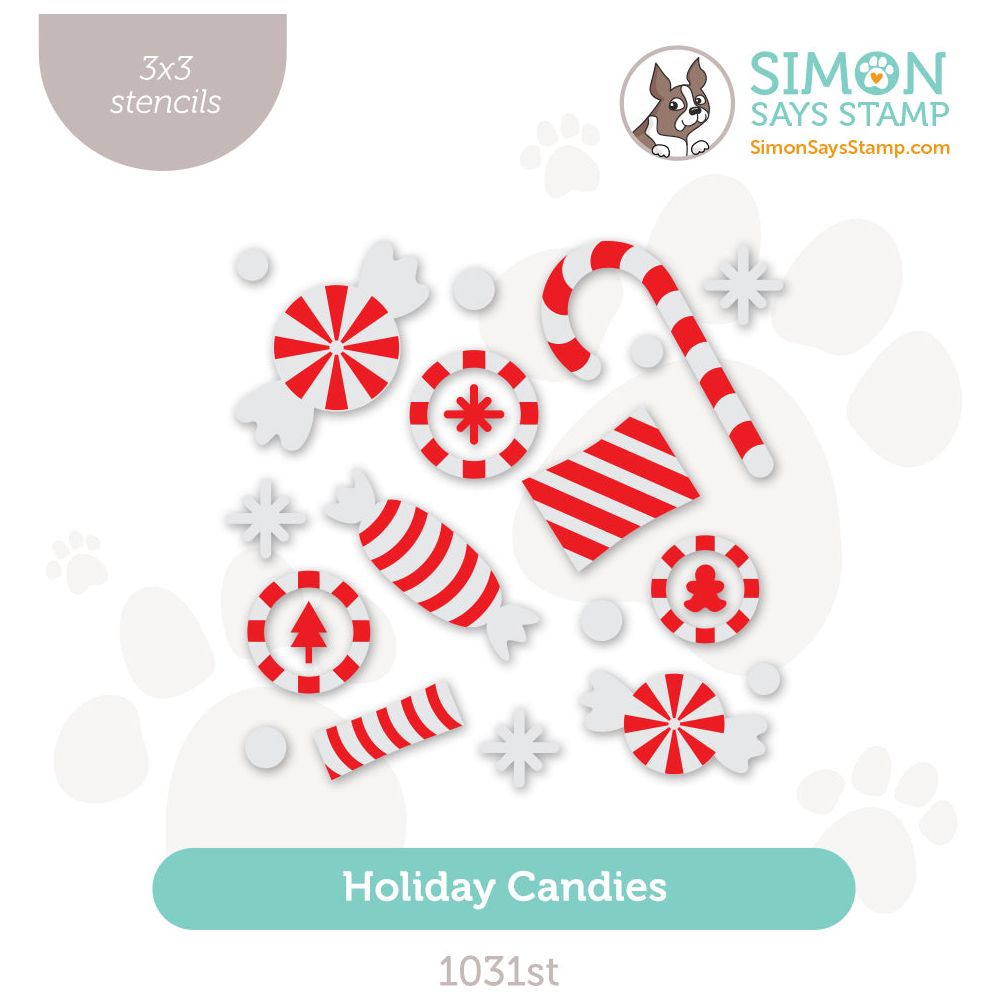
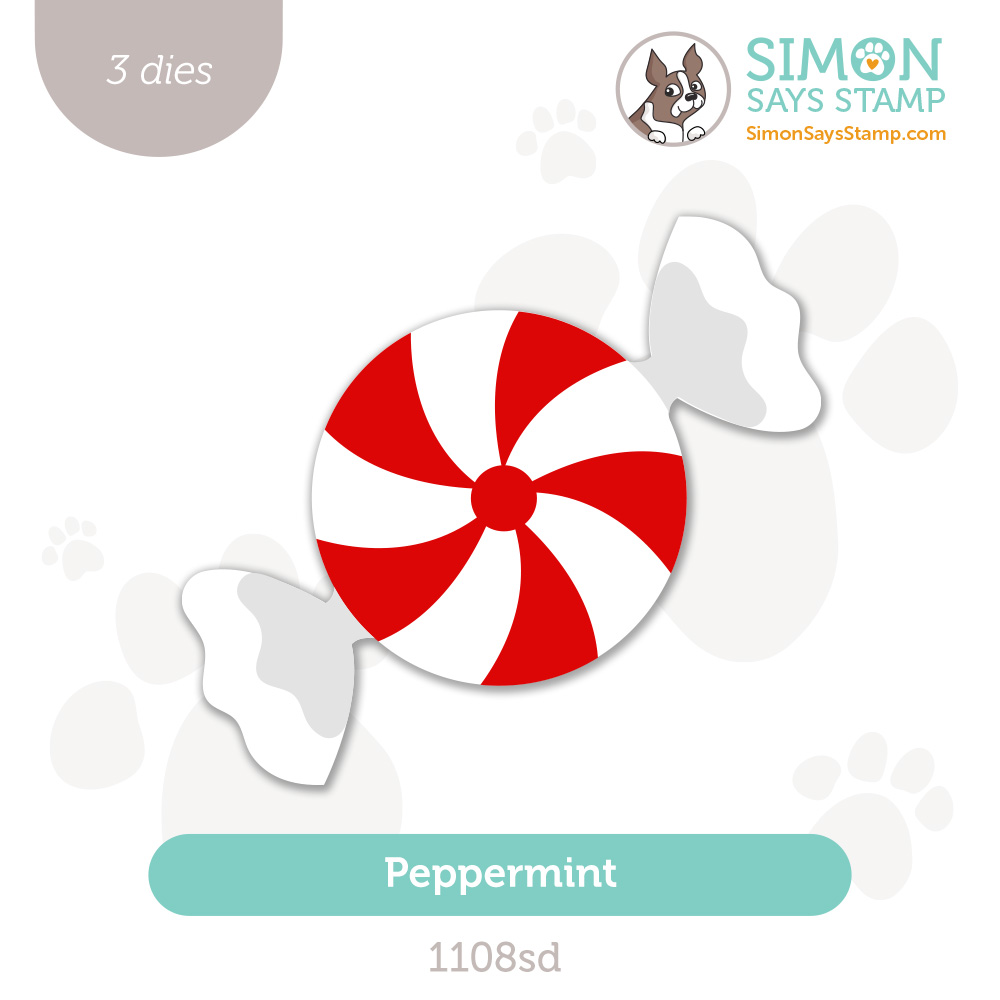
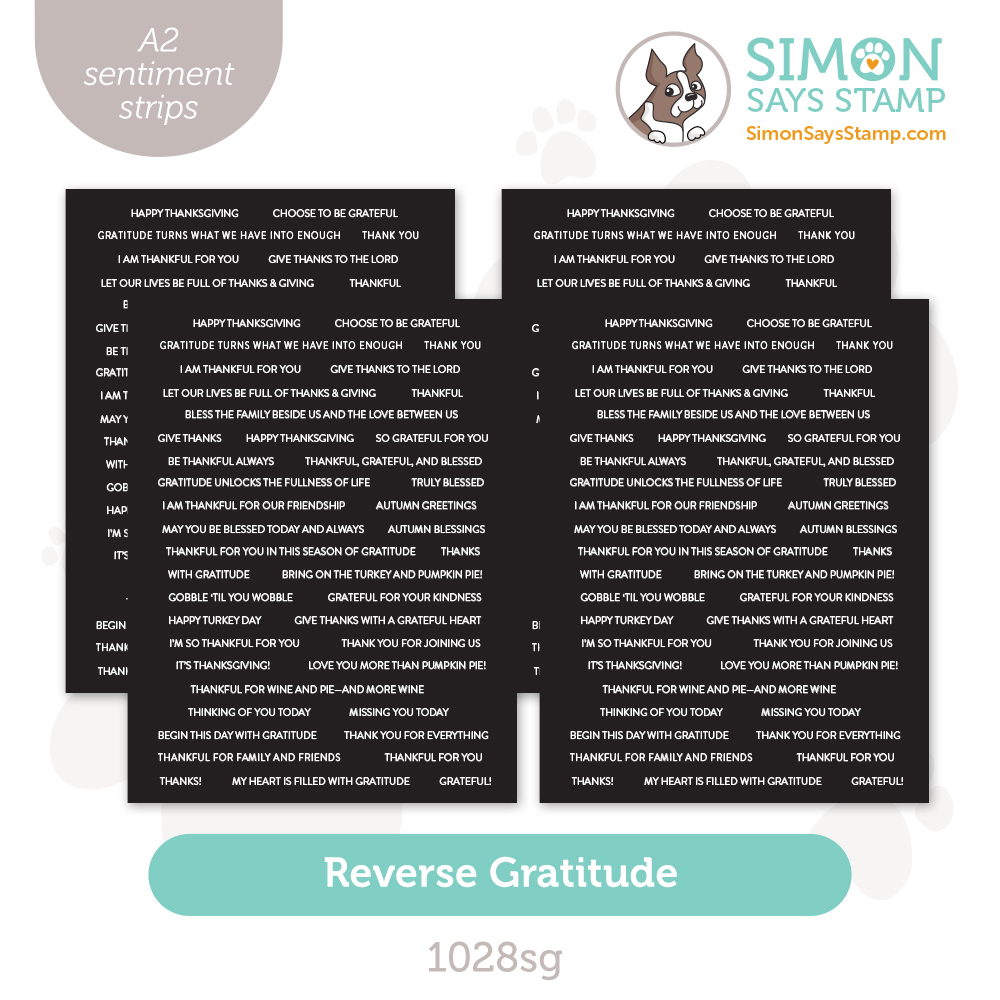
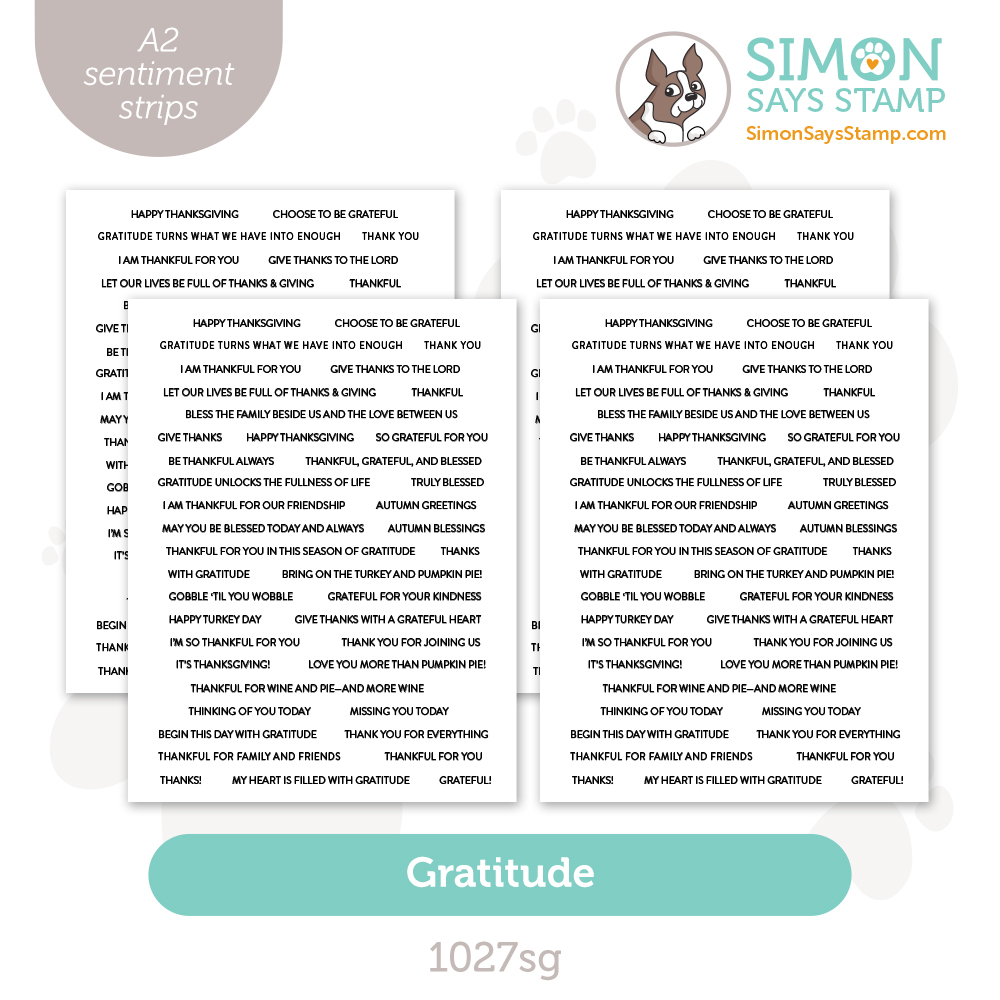
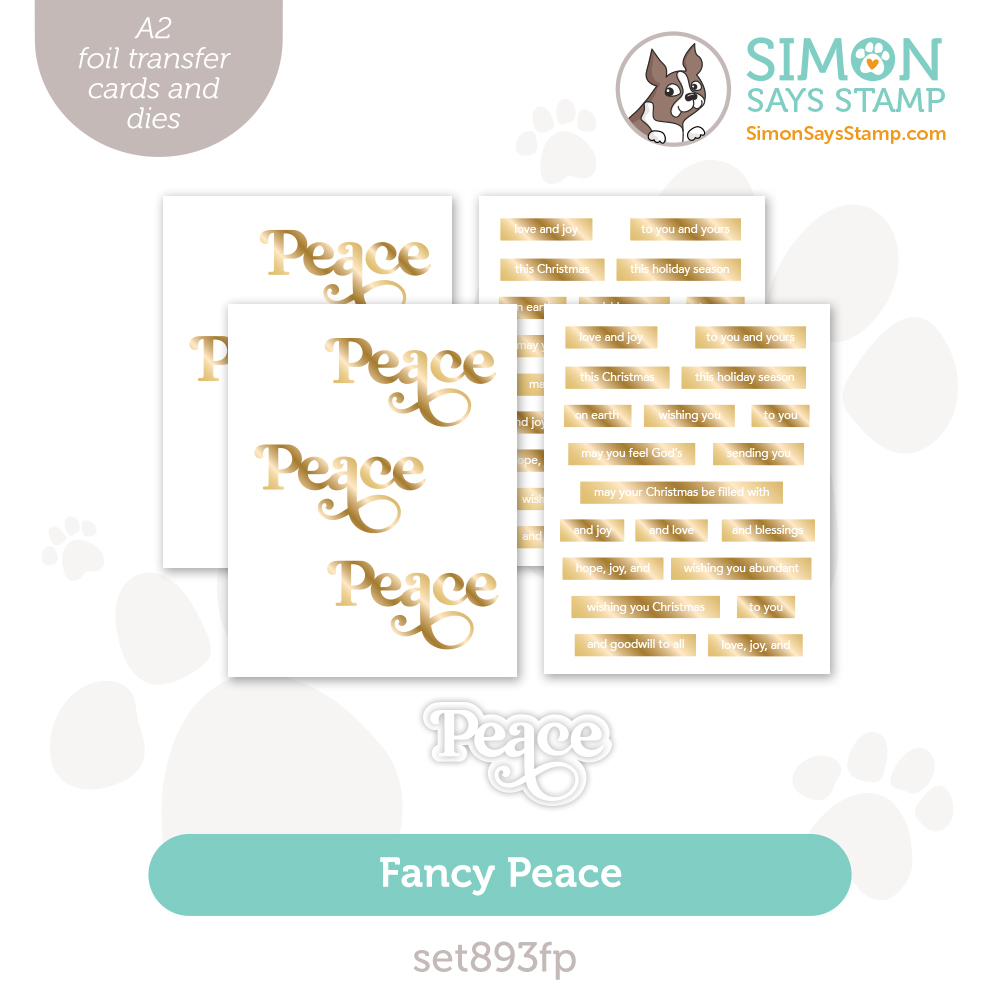
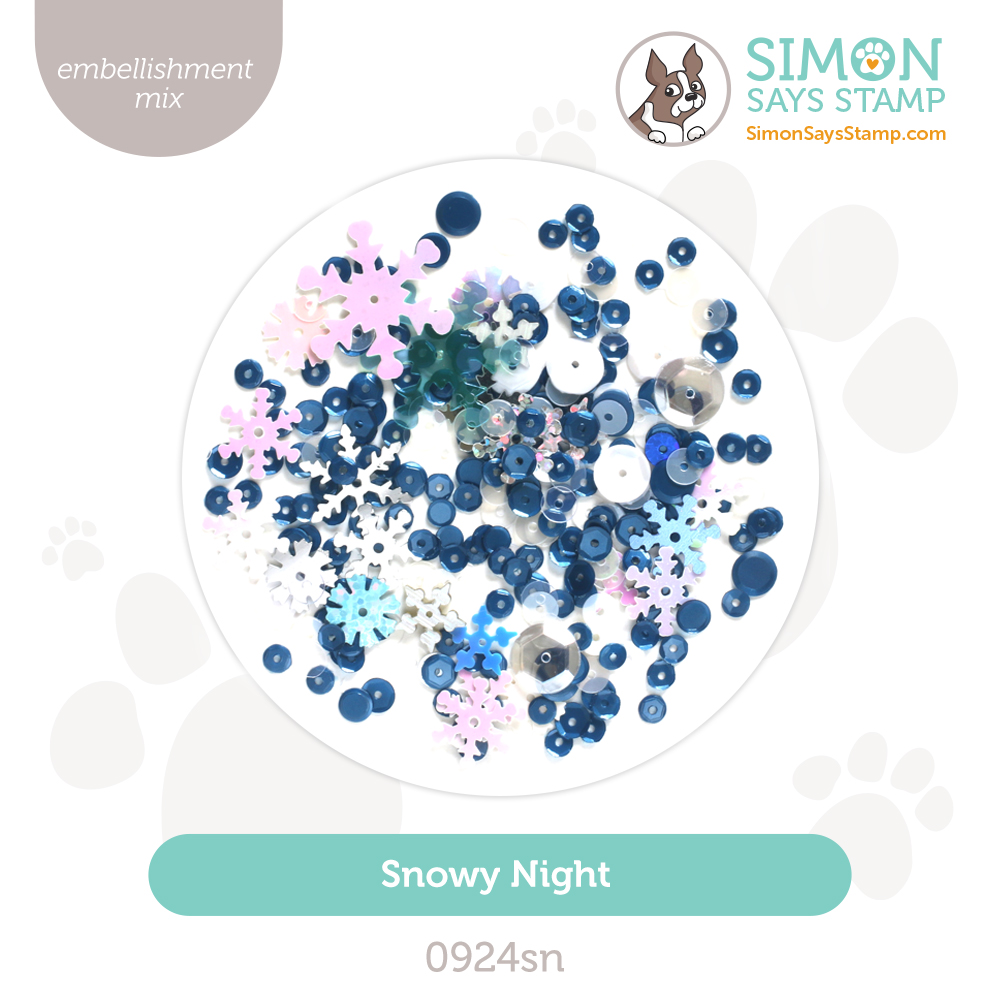
Get into the holiday spirit with our Festive Fun collection! Step into a winter wonderland with our Forest Ring and Heartfelt Snowflake dies, Frosty Pines embossing folder, and Falling Snowflakes foil transfer cards; evoke the nostalgia of a holiday home with our Cookie Sheet dies, Old-Fashioned Christmas stamps and dies, and Christmas Sweets and Treats embossing folder; and delight in new snowman products like our Snow Buddies set and Arthur, Oliver, and Frosty dies!
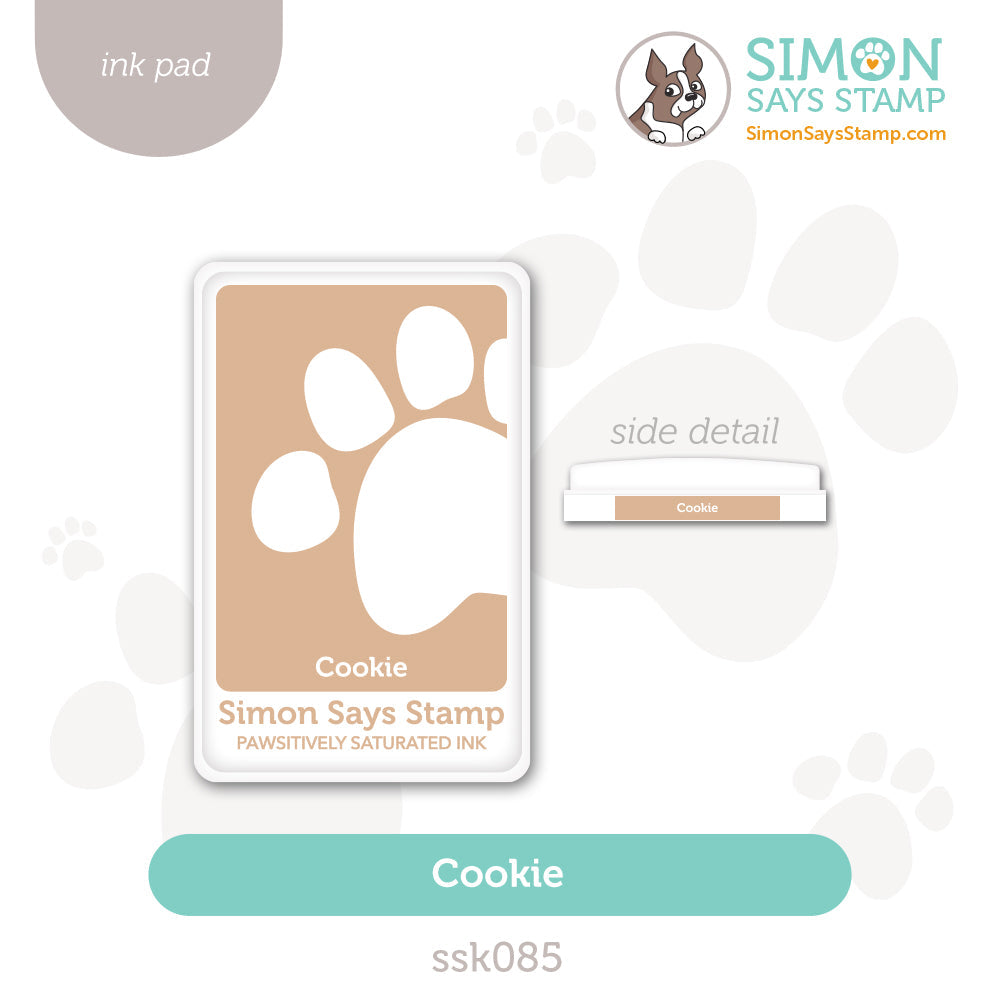
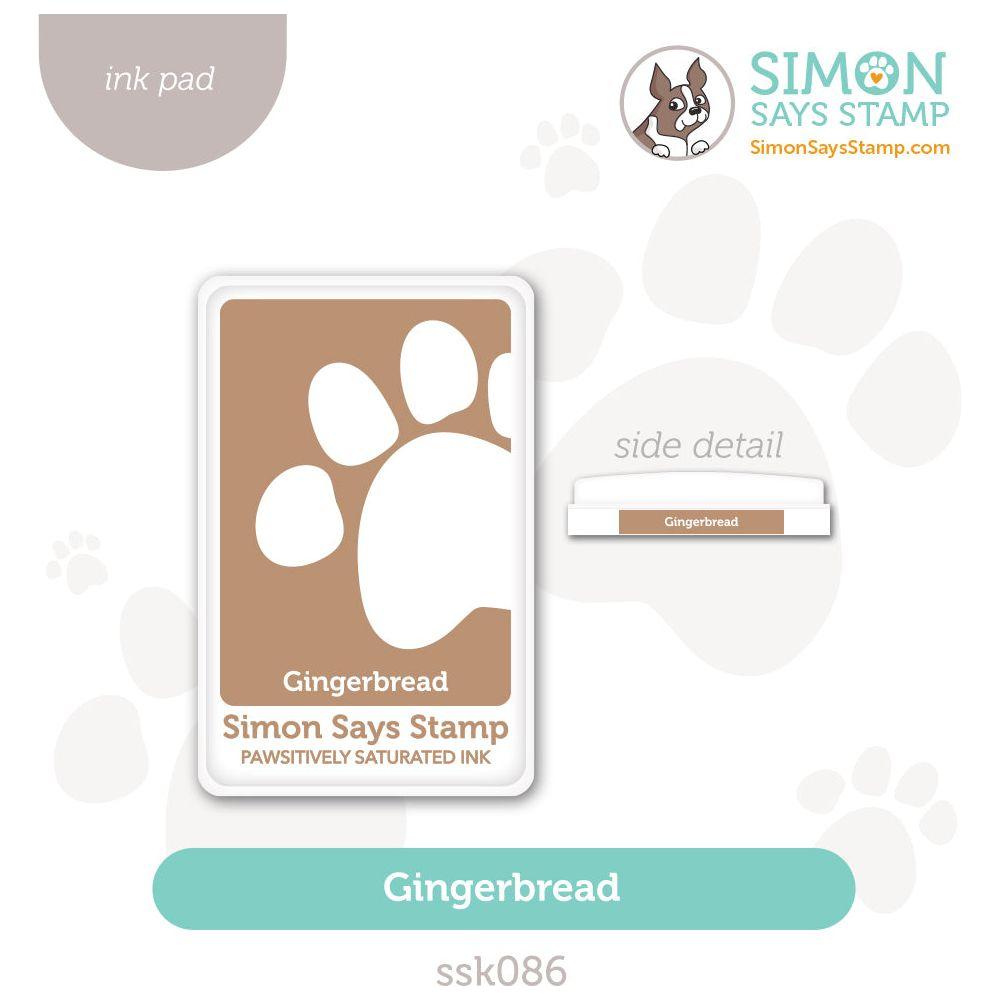
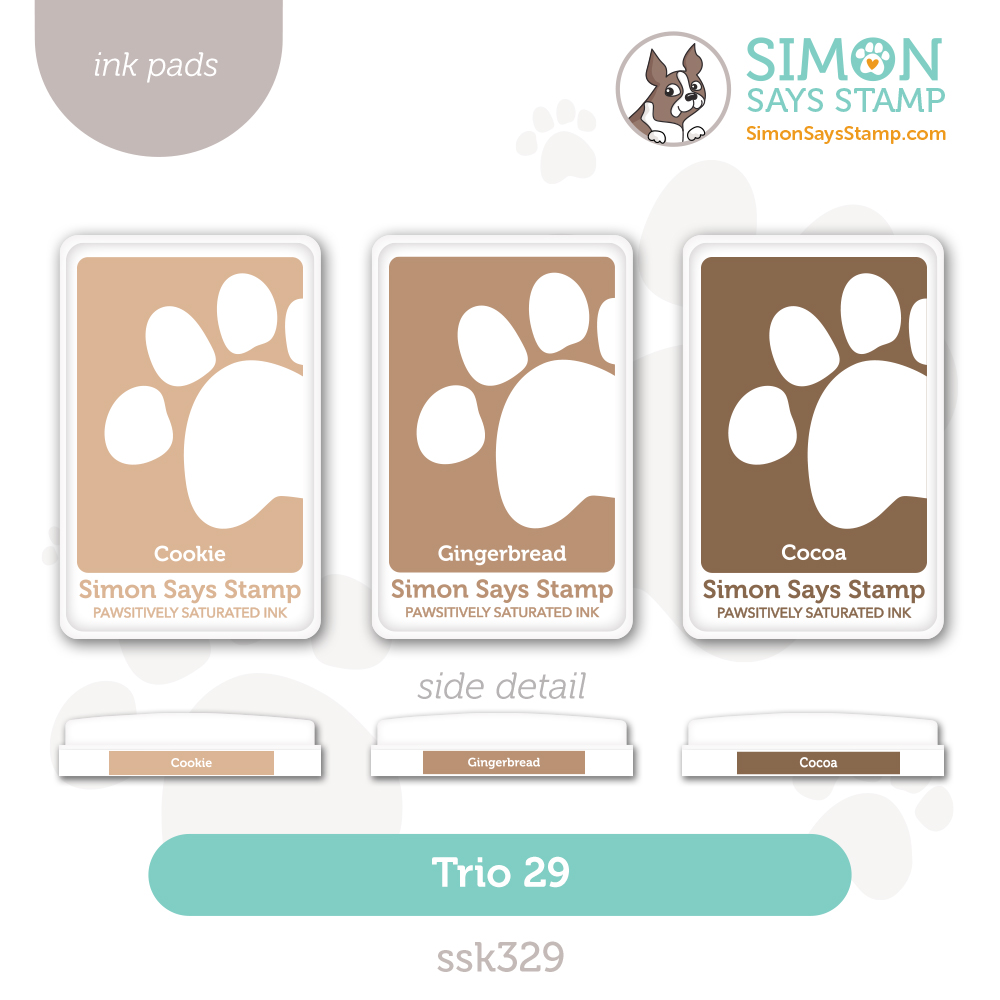
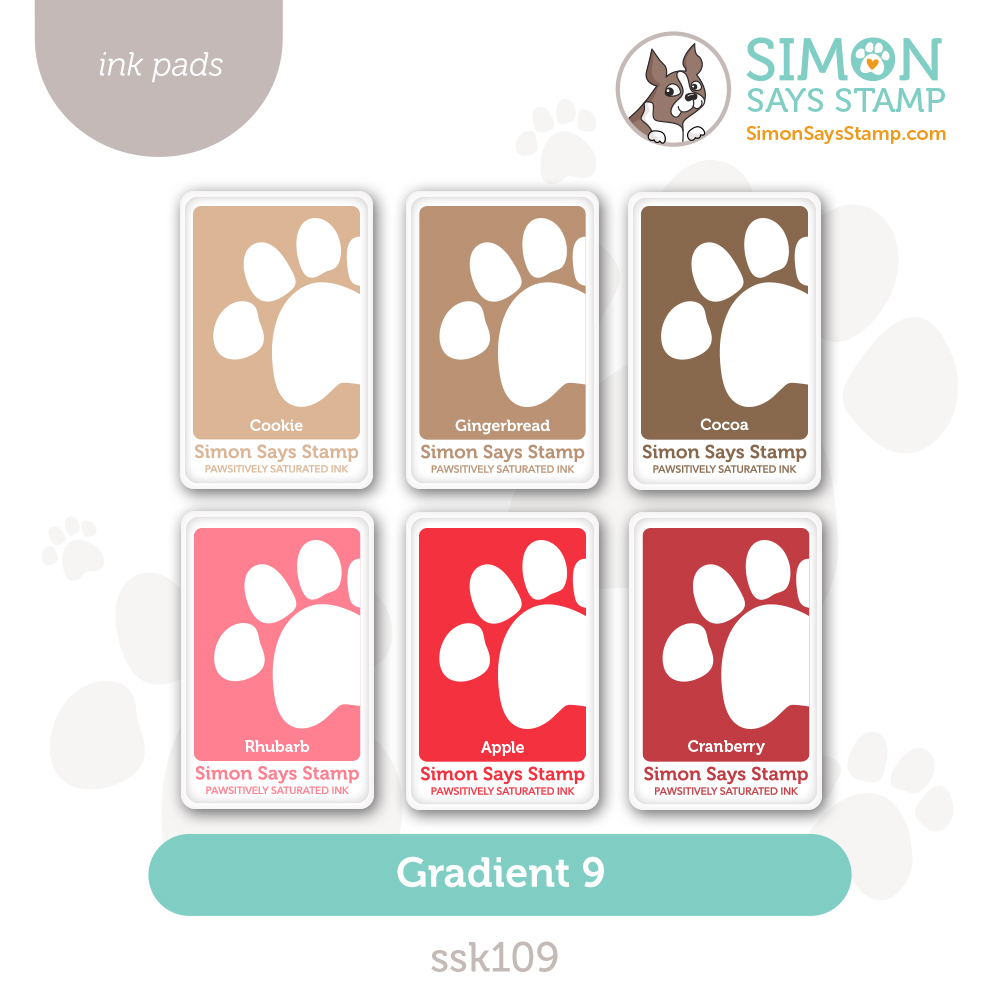
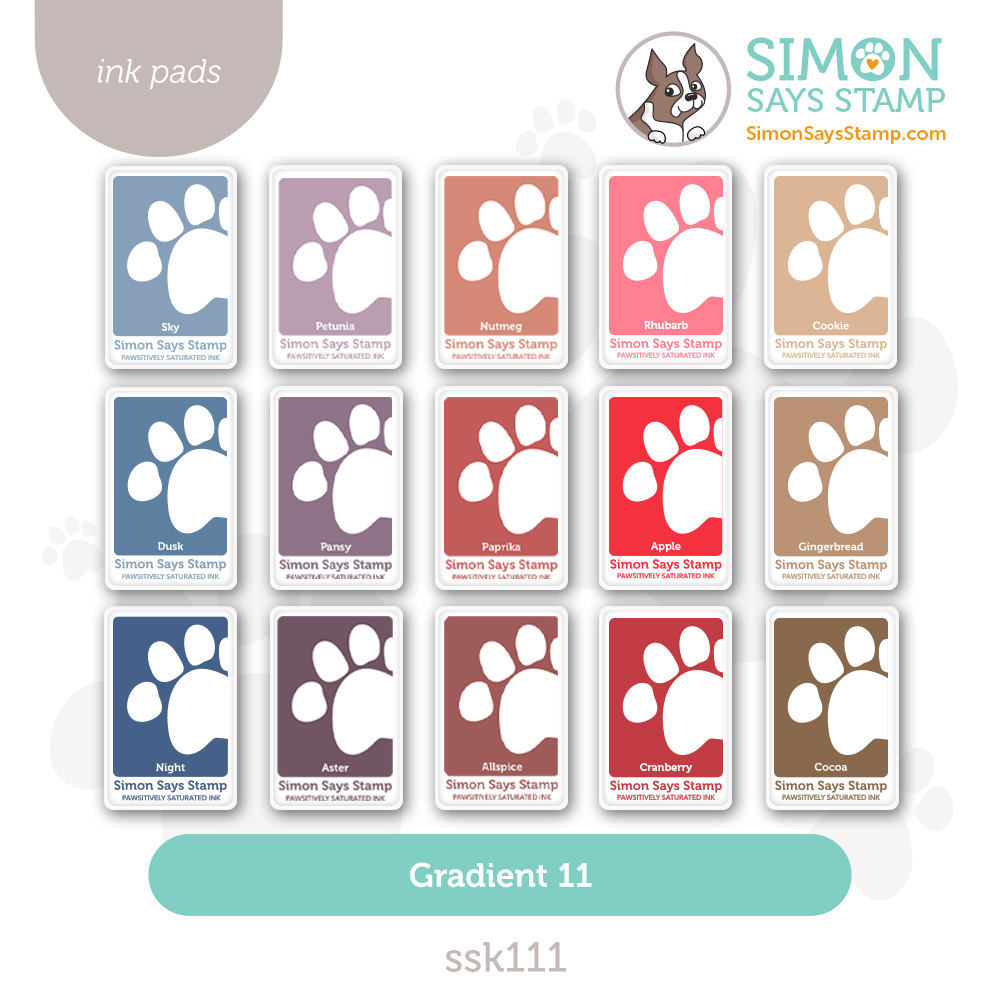
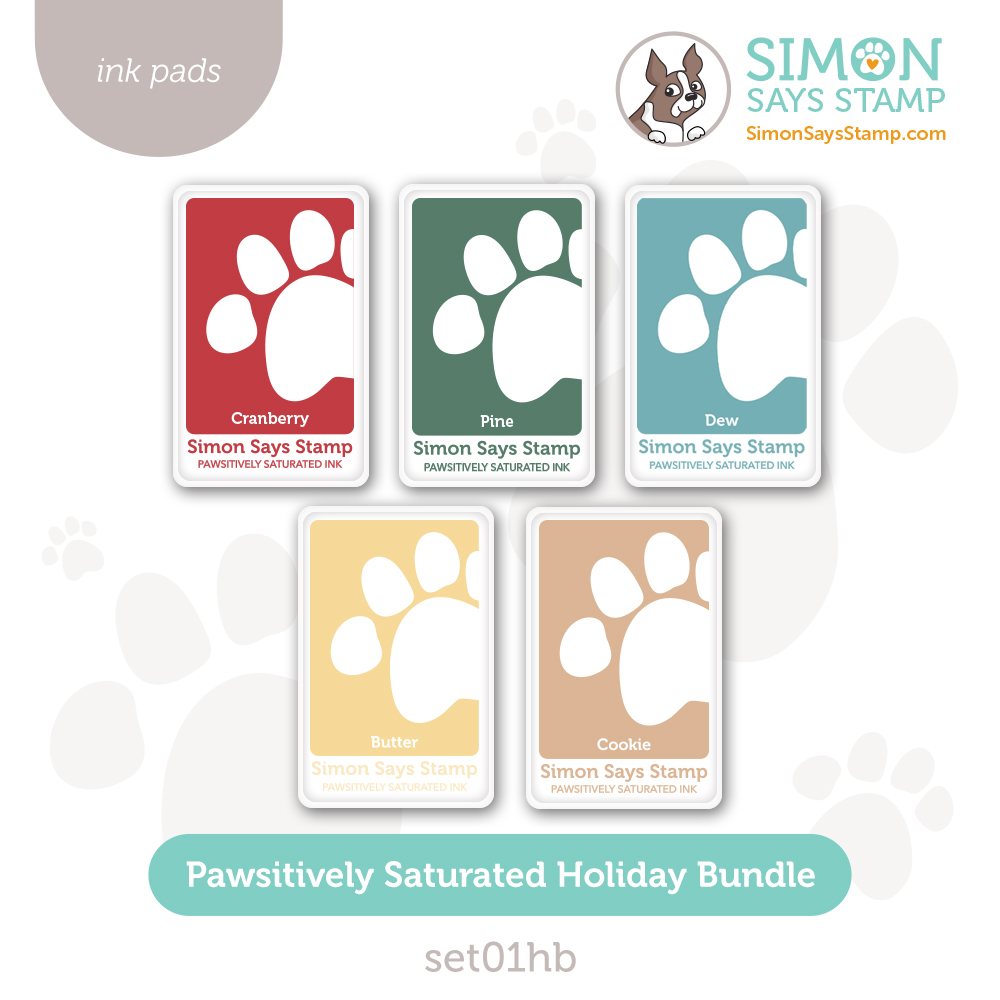
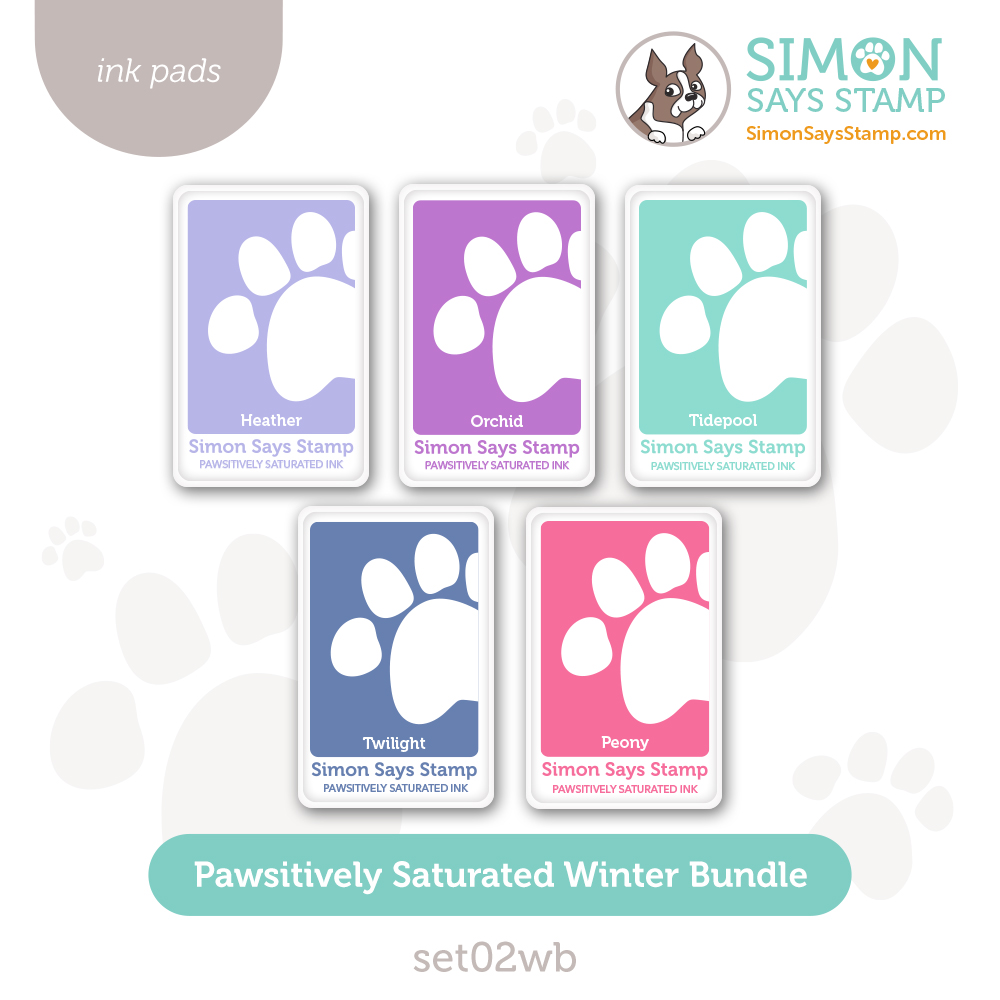
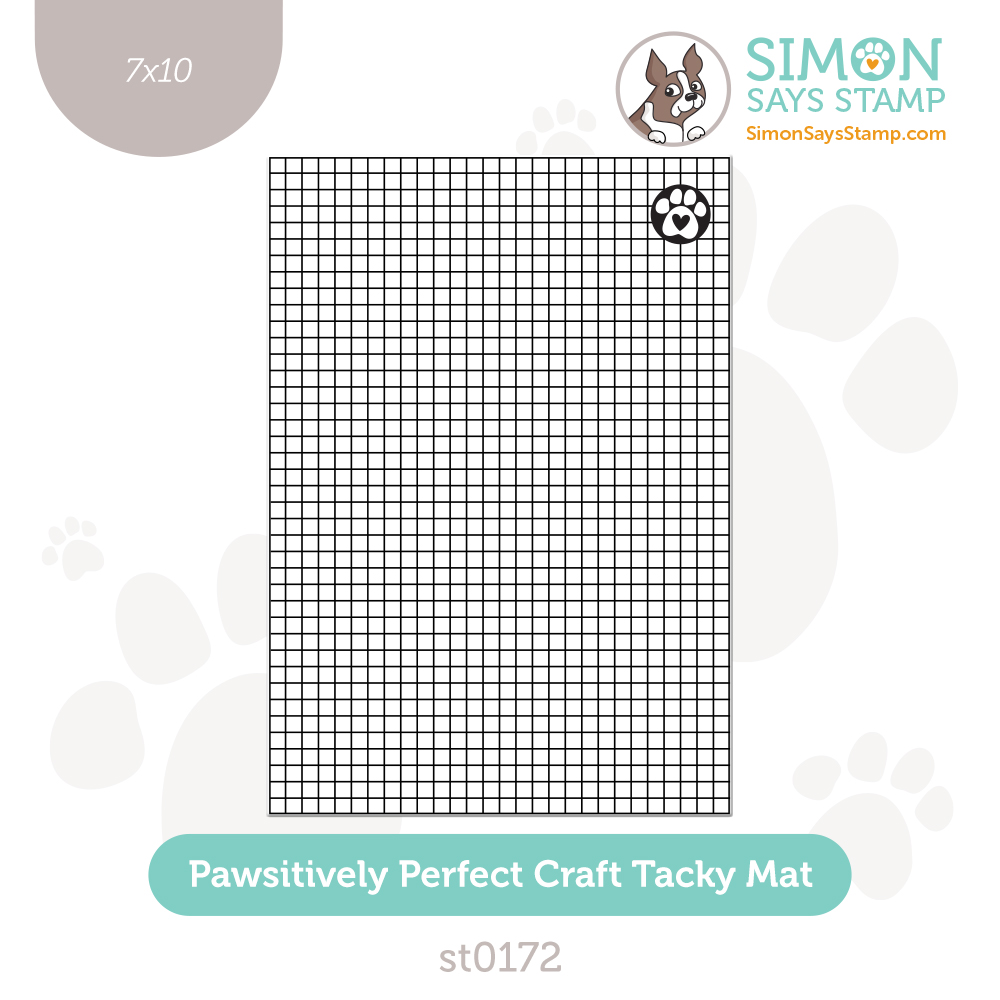
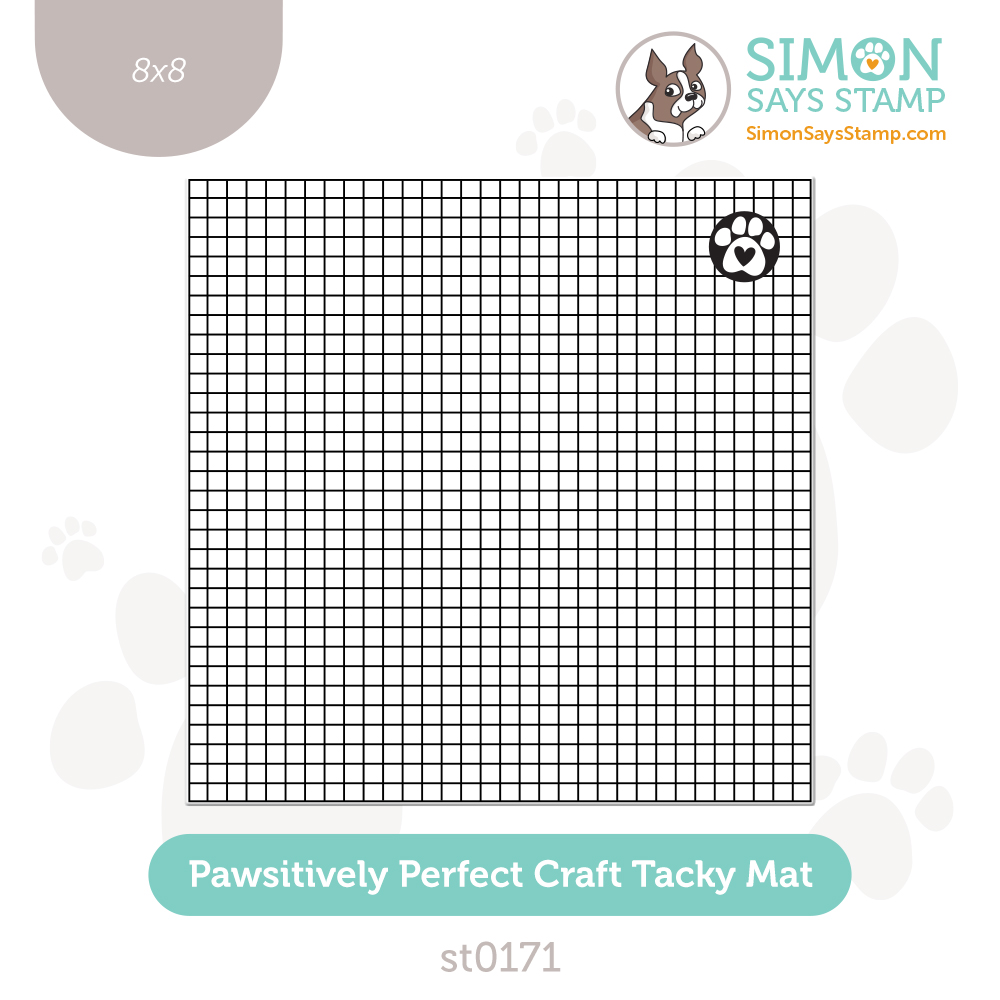
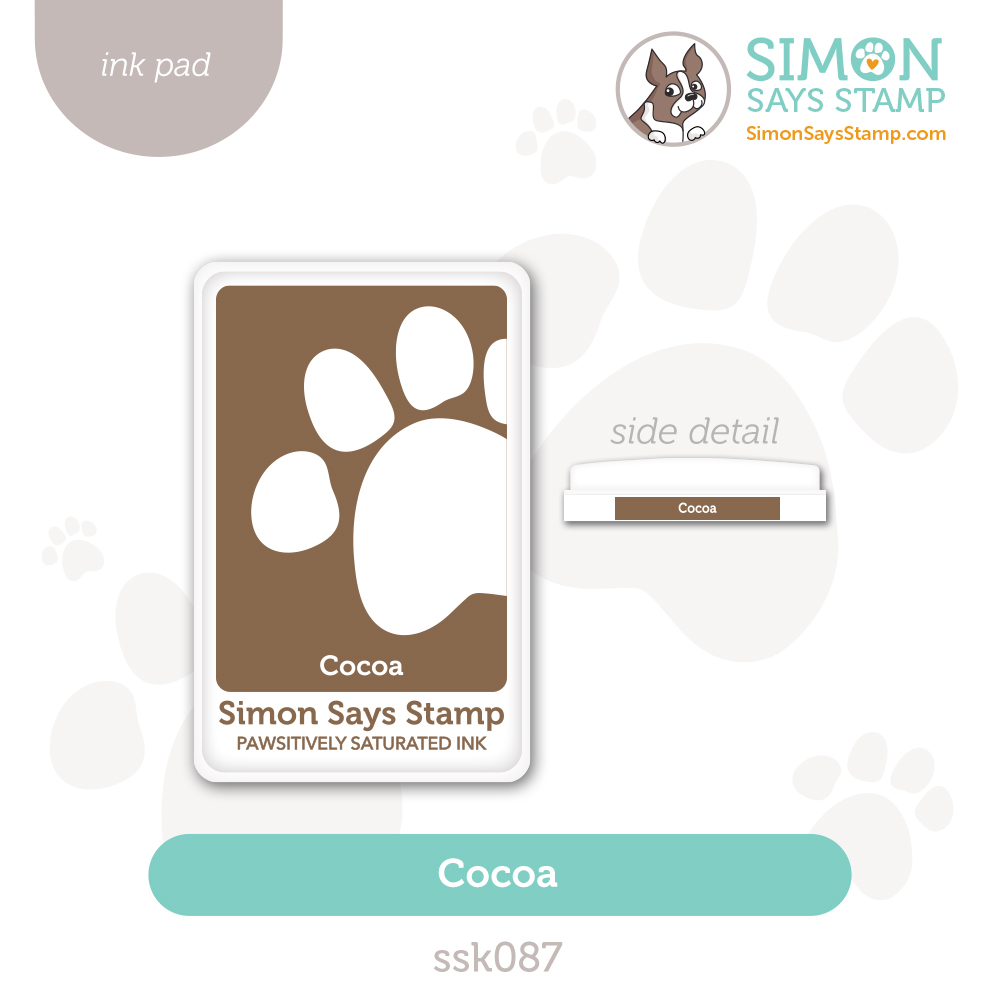
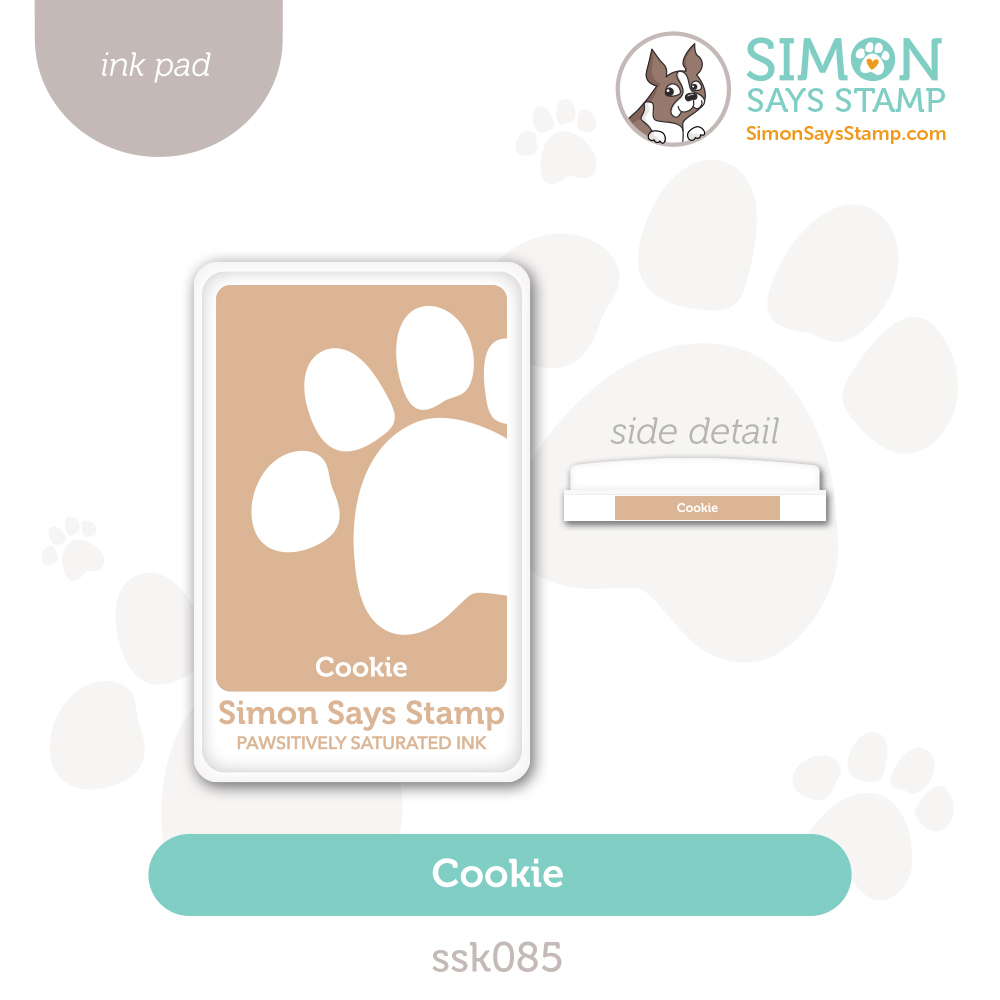
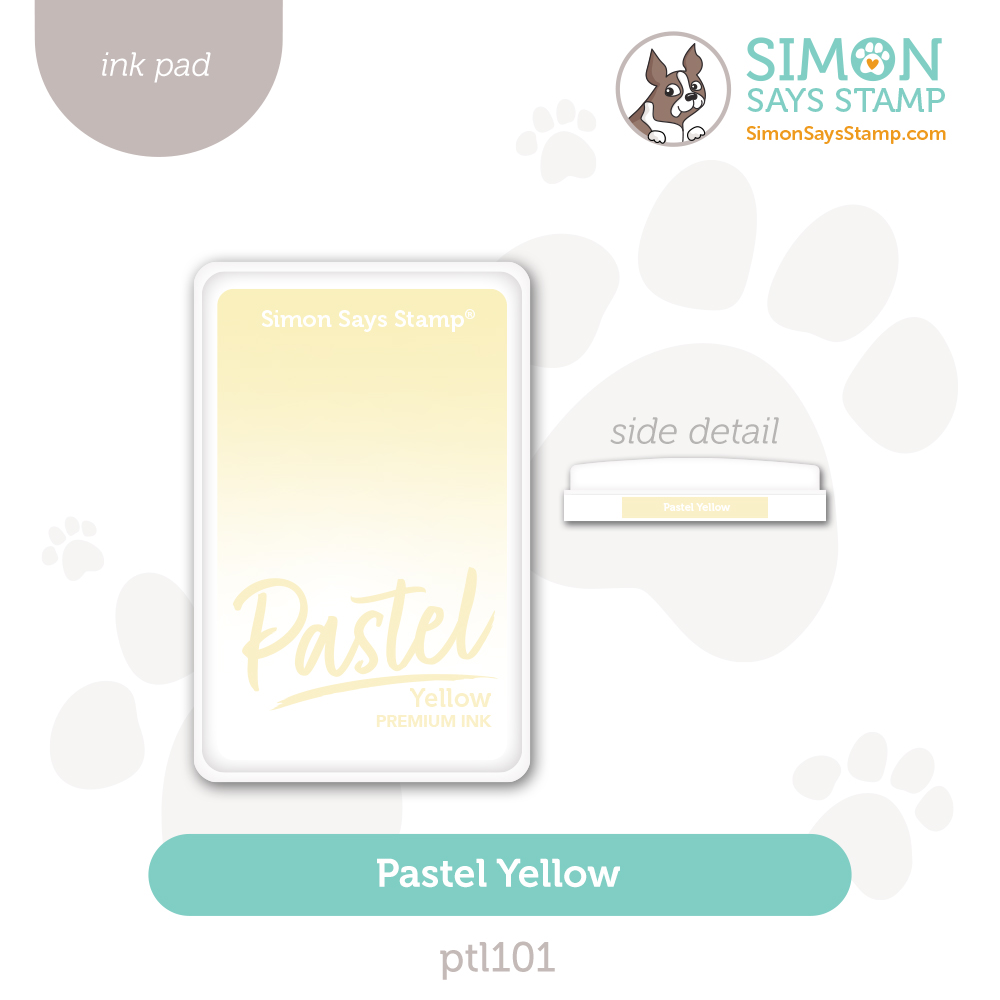
What’s more, you’re going to have great options for color schemes with NEW Pastel Inks; NEW Cookie, Gingerbread, and Cocoa Pawsitively Saturated Inks; and our perfectly curated Holiday Ink Bundle and Winter Ink Bundle. And don’t miss TWO more sizes of our indispensable Craft Tacky Mats.
Before we hop, let’s take a look at some fabulous inspiration from Caly Person and Beth Opel:


We love our customers! And we love your enthusiasm for our exclusive releases and blog hops. To celebrate, Simon has set aside a free gift just for you! Our NEW and exclusive Cozy Together stamp and die set is automatically added to your cart that contains $100 or more of Festive Fun release products! This gift with purchase will expire 11/10 at 11:59 pm EST or while supplies last. Check out the details on the banner at the top of this post for information about claiming your gift.
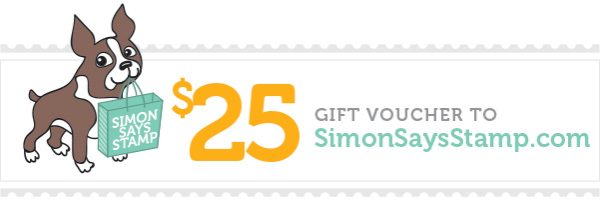
Ready for even more Festive Fun inspiration? Hop along with these talented designers! You’ll be inspired AND for every comment you leave on each blog, you’ll earn a chance to win a $25 Simon Says Stamp store shopping spree. YAY!
- Simon Says Stamp Blog <<YOU ARE HERE!
- Nina-Marie Trapani
- Laura Bassen
- Cathy Zielske
- Barbara Tarayao
- Mindy Eggen
- Heather Ruwe
- Keisha Charles
- Yana Smakula
- Alberto Gava
- Lorraine Aquilina
- Tracy Ware
- Barb Engler
- Jessica Vasher
- Daniel West
Please share some feedback with these creative artists who work hard to inspire and excite us! Your comments mean so much to them.
Thanks again for joining us today!
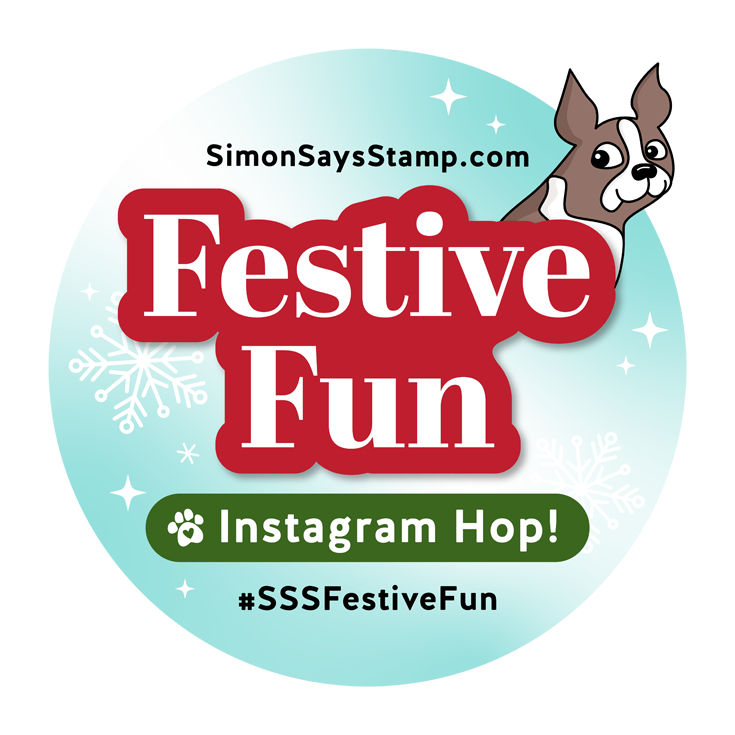
We hope you will join us on Instagram on Monday, November 18, for an Instagram Hop featuring our Festive Fun release! We are excited to share awesome ideas from several creative minds using these fantastic products.
You’ll love browsing our Festive Fun gallery on our blog for loads of additional inspiration, and you can add your projects to these galleries as well!
You can check out the entire Festive Fun collection here:


Can’t pick a favorite? Shop our NEW Bundles: