Make a Card Full of Texture and Color + Embossing Folder Sale!
Exciting NEWS! We’re revisiting some FAN favorite embossing folder techniques and card designs AND having a very special (and rare!) 25% off discount (with code EFLDR at checkout) on our exclusive Simon Says Stamp embossing folders this week! Now is the time to try out our beautiful 3D embossing folders (or pick up one you’ve had your eye on!) Read on and enjoy!


Hi friends! Please join me in welcoming back special guest Caly Person to the blog today with a super gorgeous and textured Support card idea, but really, you could swap this card easily for a Thank you, Birthday, Wedding, or MORE! Read on and be sure to watch the video for all the details! Enjoy!
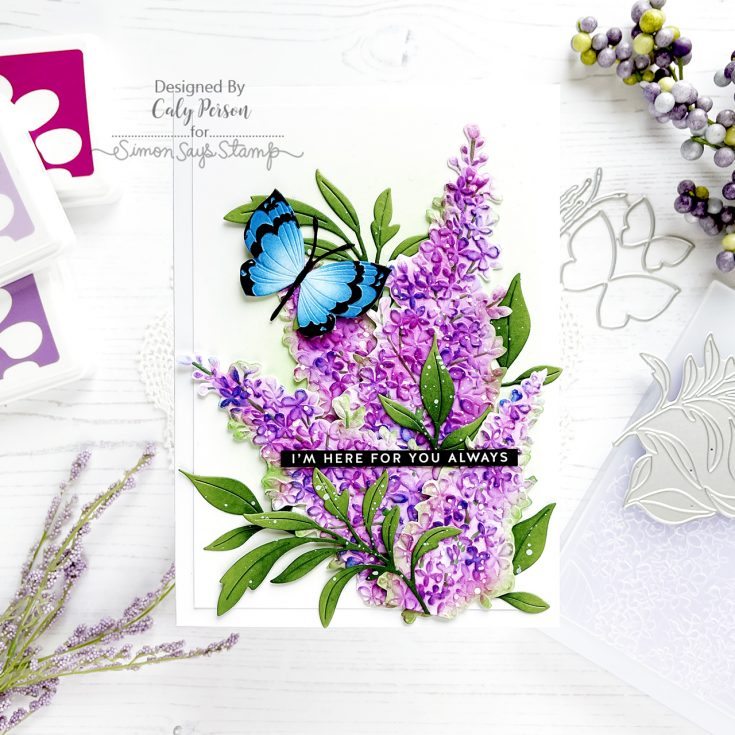
Hello! Thanks so much for joining me today! I’m using embossing folders today to create a card that’s full of texture and color. The latest Simon Says Stamp release brings new embossing folders that are beautiful and I wanted to combine the Lilac Clusters with the Fantasy Butterflies for today’s card.
Be sure to check out the video to see how I used these embossing folders to add color and bring these images to life!
WATCH THE VIDEO:
I began by embossing the Lilac Clusters on two panels and ink-blended them with purple ink. I wanted to add some depth too, so I added some pink and blue ink as well. I had ink-blended the foliage at the bottom of the panel with green ink, but decided to fussy-cut around all the lilac clusters to get individual clusters for my card.

My card is 5” x 7” to accommodate the 4 large lilac clusters. To add foliage, I die-cut some Windswept Leaves with green cardstock and ink-blended them with dark green ink to give them some shading. I also prepared a single butterfly from the Fantasy Butterflies embossing folder and coordinating die set.
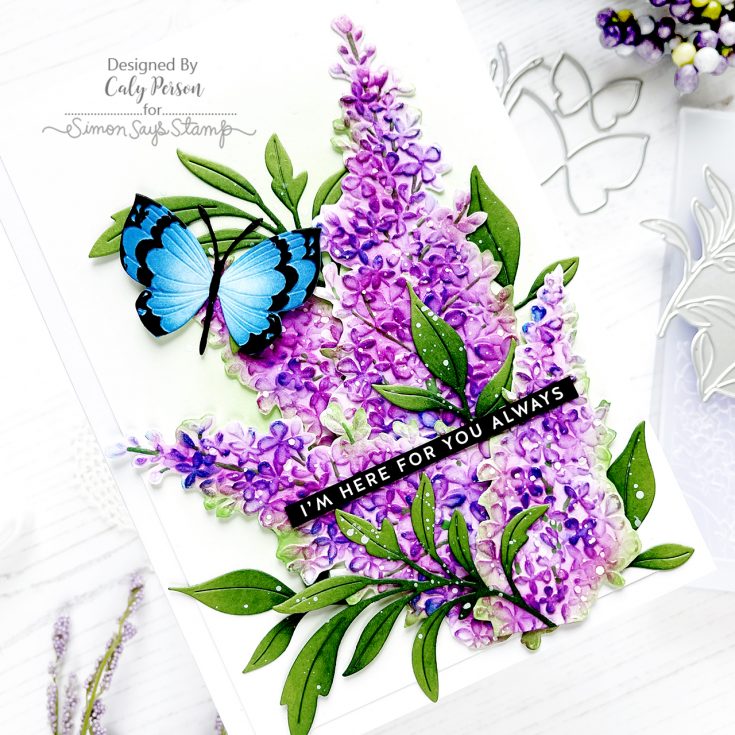
On the background, I ink-blended some green to add a soft glow. Once I arranged and adhered my lilac clusters and leaves, I splattered the panel with white paint to give it additional texture. I then finished with a simple sentiment strip from the Thinking of You Sentiment Strip set.
I hope you enjoyed this project! Thanks so much for being here today! ~Caly
SUPPLIES:
|


Thanks so much for stopping by, and thanks to Caly for being our guest!
MUST TRY Technique with Ink Cubes + SSS Embossing Folder Sale!
Exciting NEWS! We’re revisiting some FAN favorite embossing folder techniques and card designs AND having a very special (and rare!) 25% off discount (with code EFLDR at checkout) on our exclusive Simon Says Stamp embossing folders this week! Now is the time to try out our beautiful 3D embossing folders (or pick up one you’ve had your eye on!) Read on and enjoy!
Hello friends, it’s Nina-Marie Trapani here with you! Today I am going to show you how to use our Simon Says Stamp Pawsitively Saturated Ink Cubes with embossing folders to make brightly colored backgrounds!
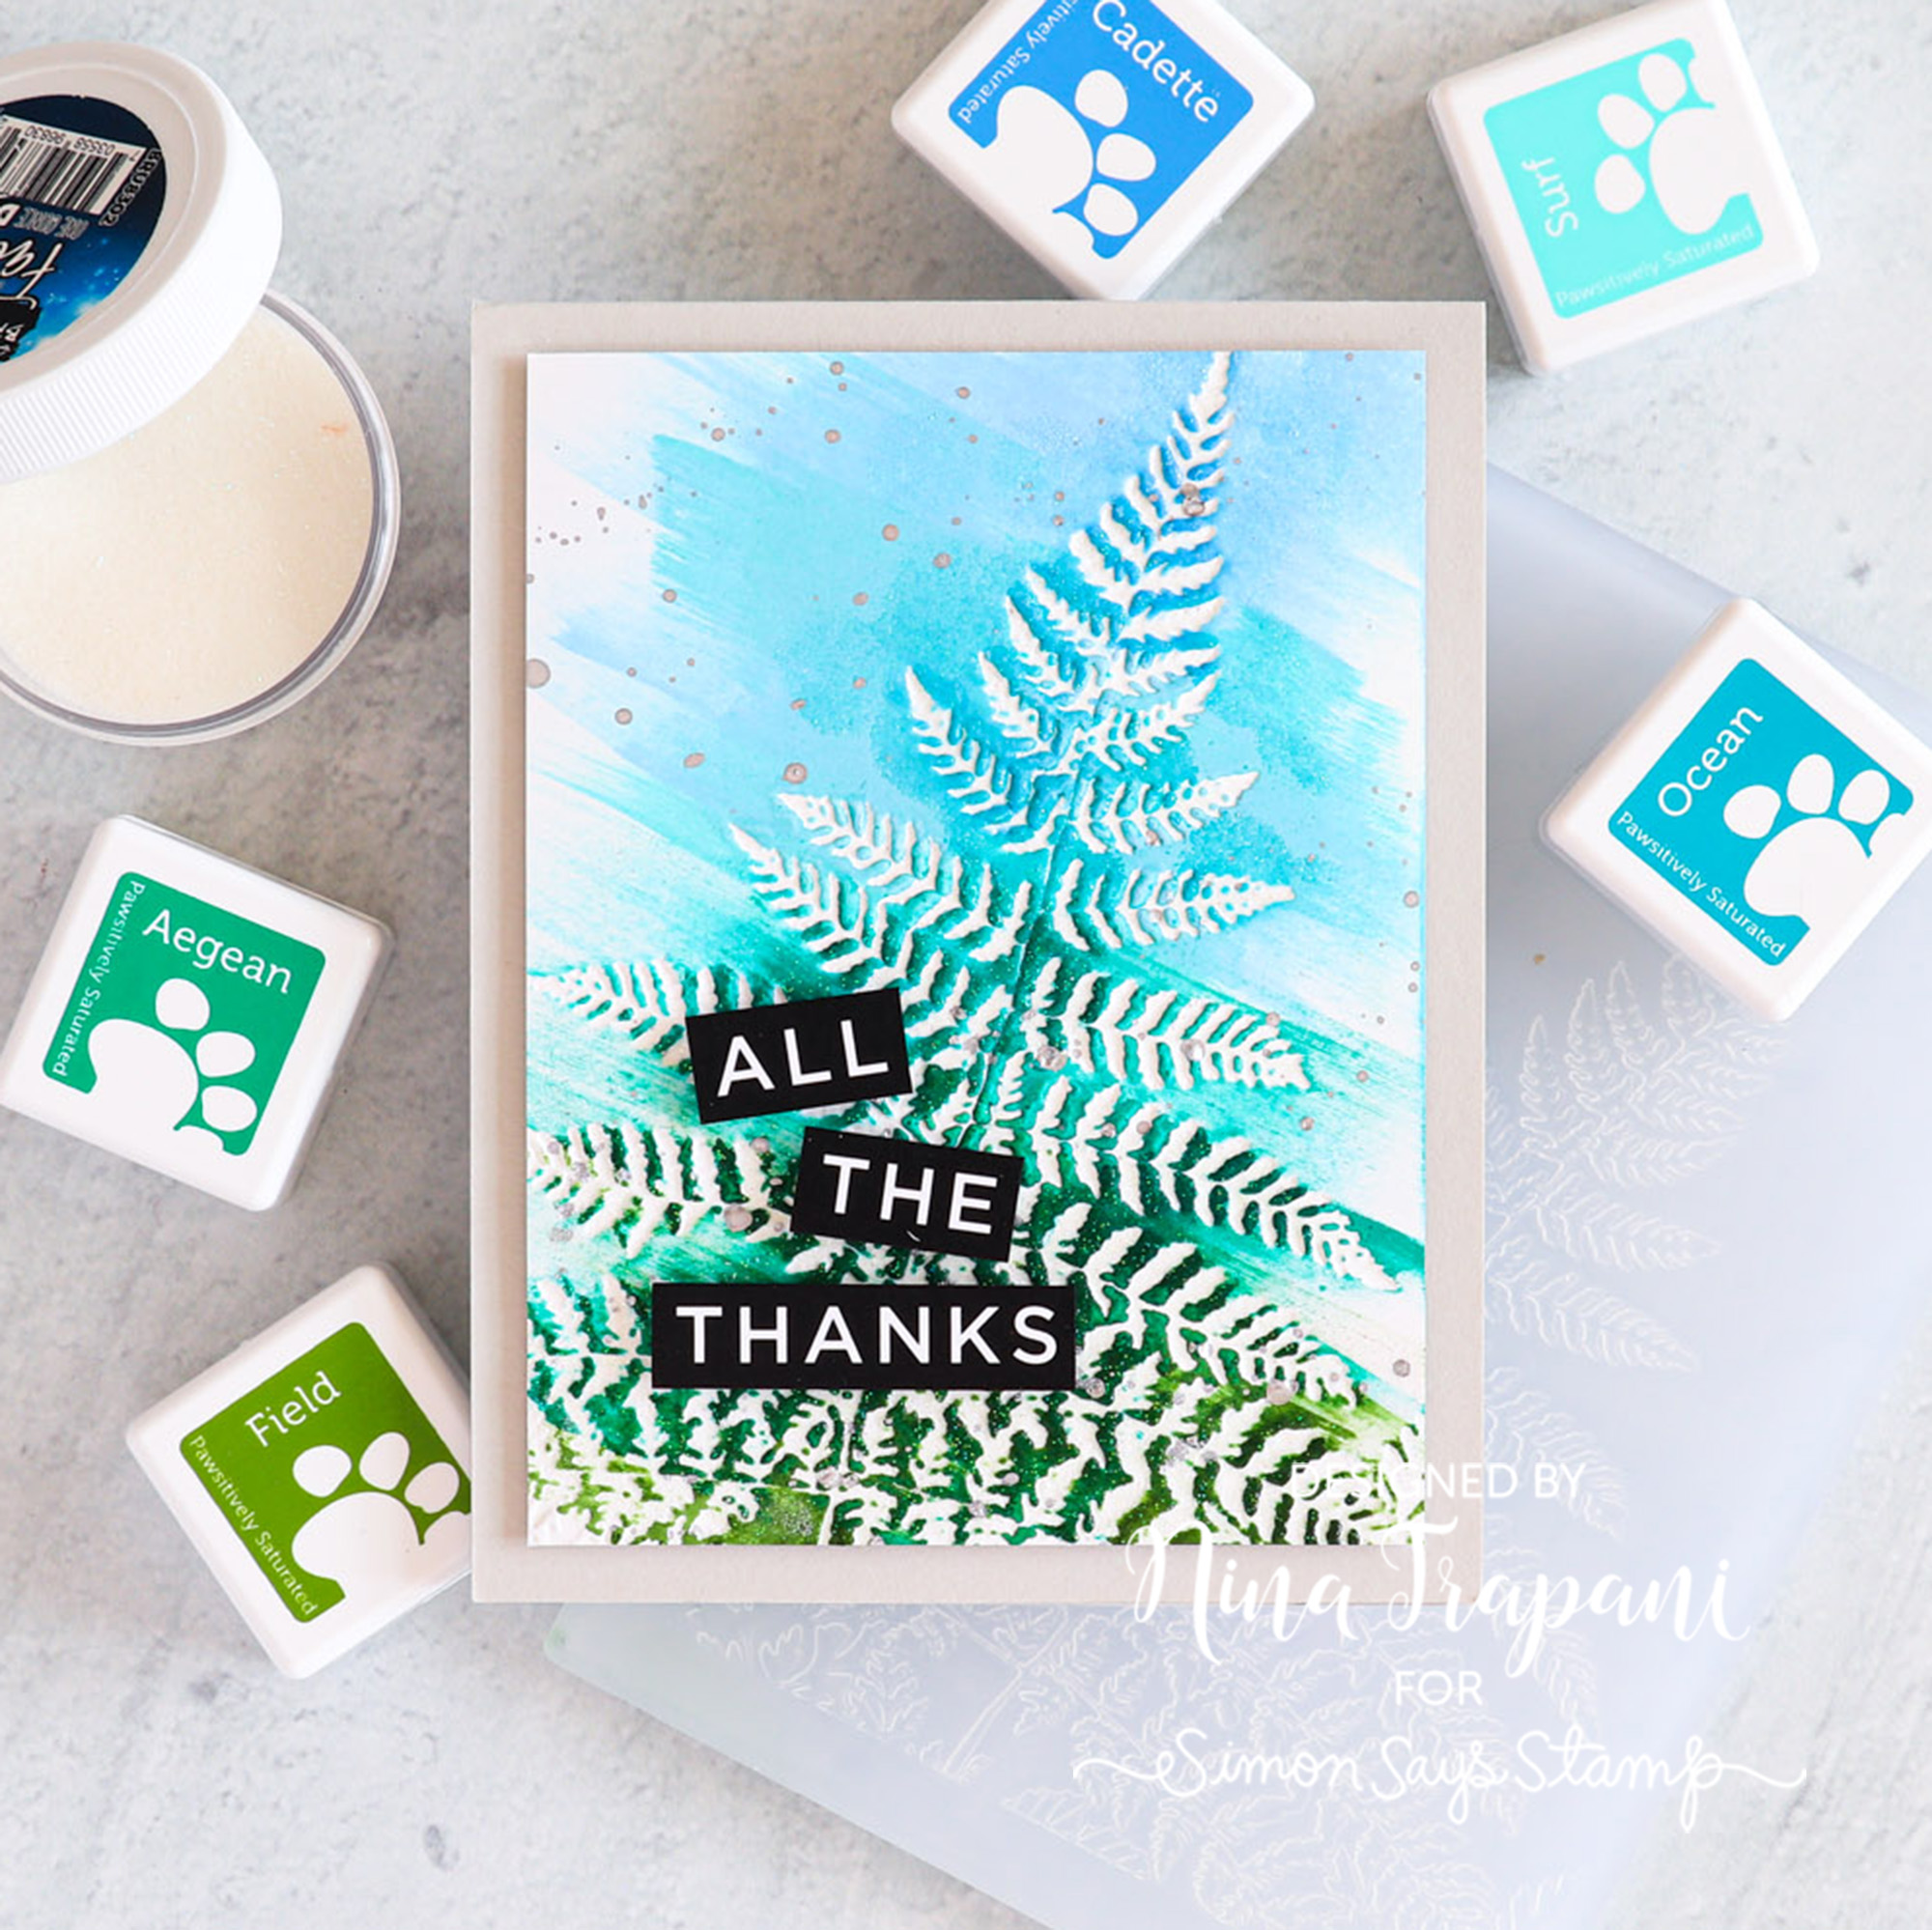
The Golden Fern embossing folder used Field, Aegean, Ocean, Surf, and Cadette.
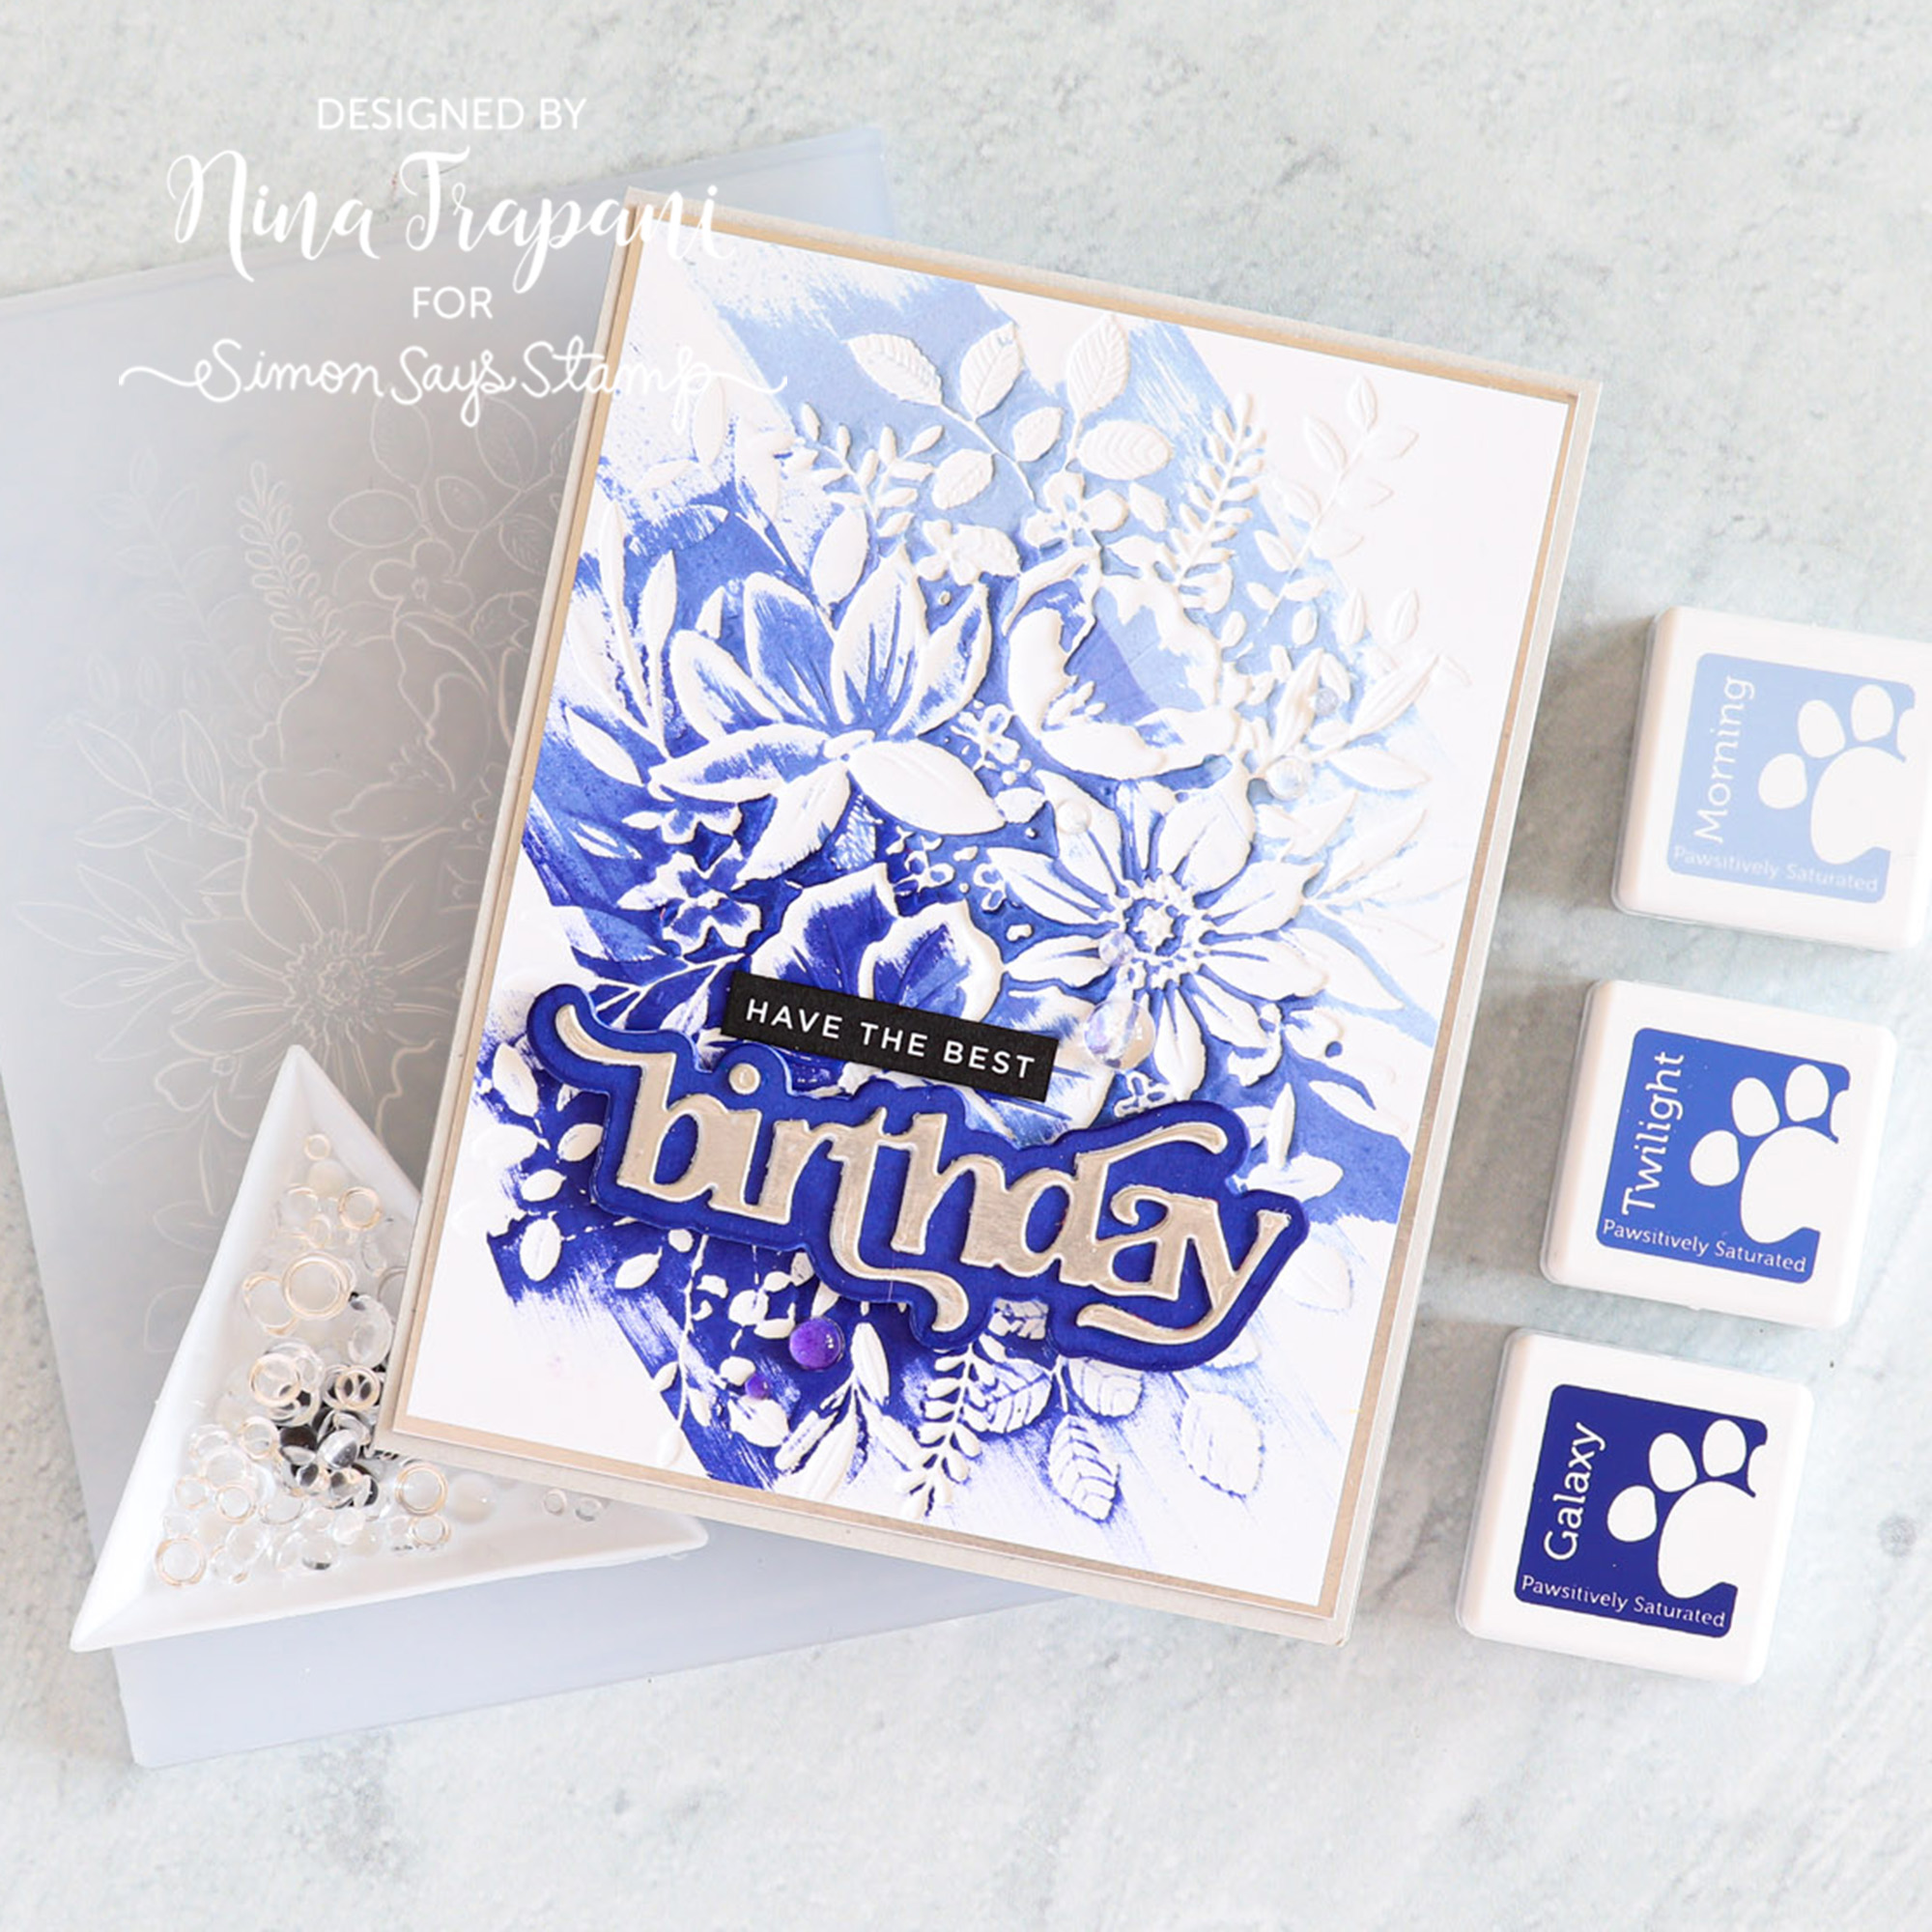
For the Darcy Bouquet color combo, I use monochromatic colors in Galaxy, Twilight, and Morning.
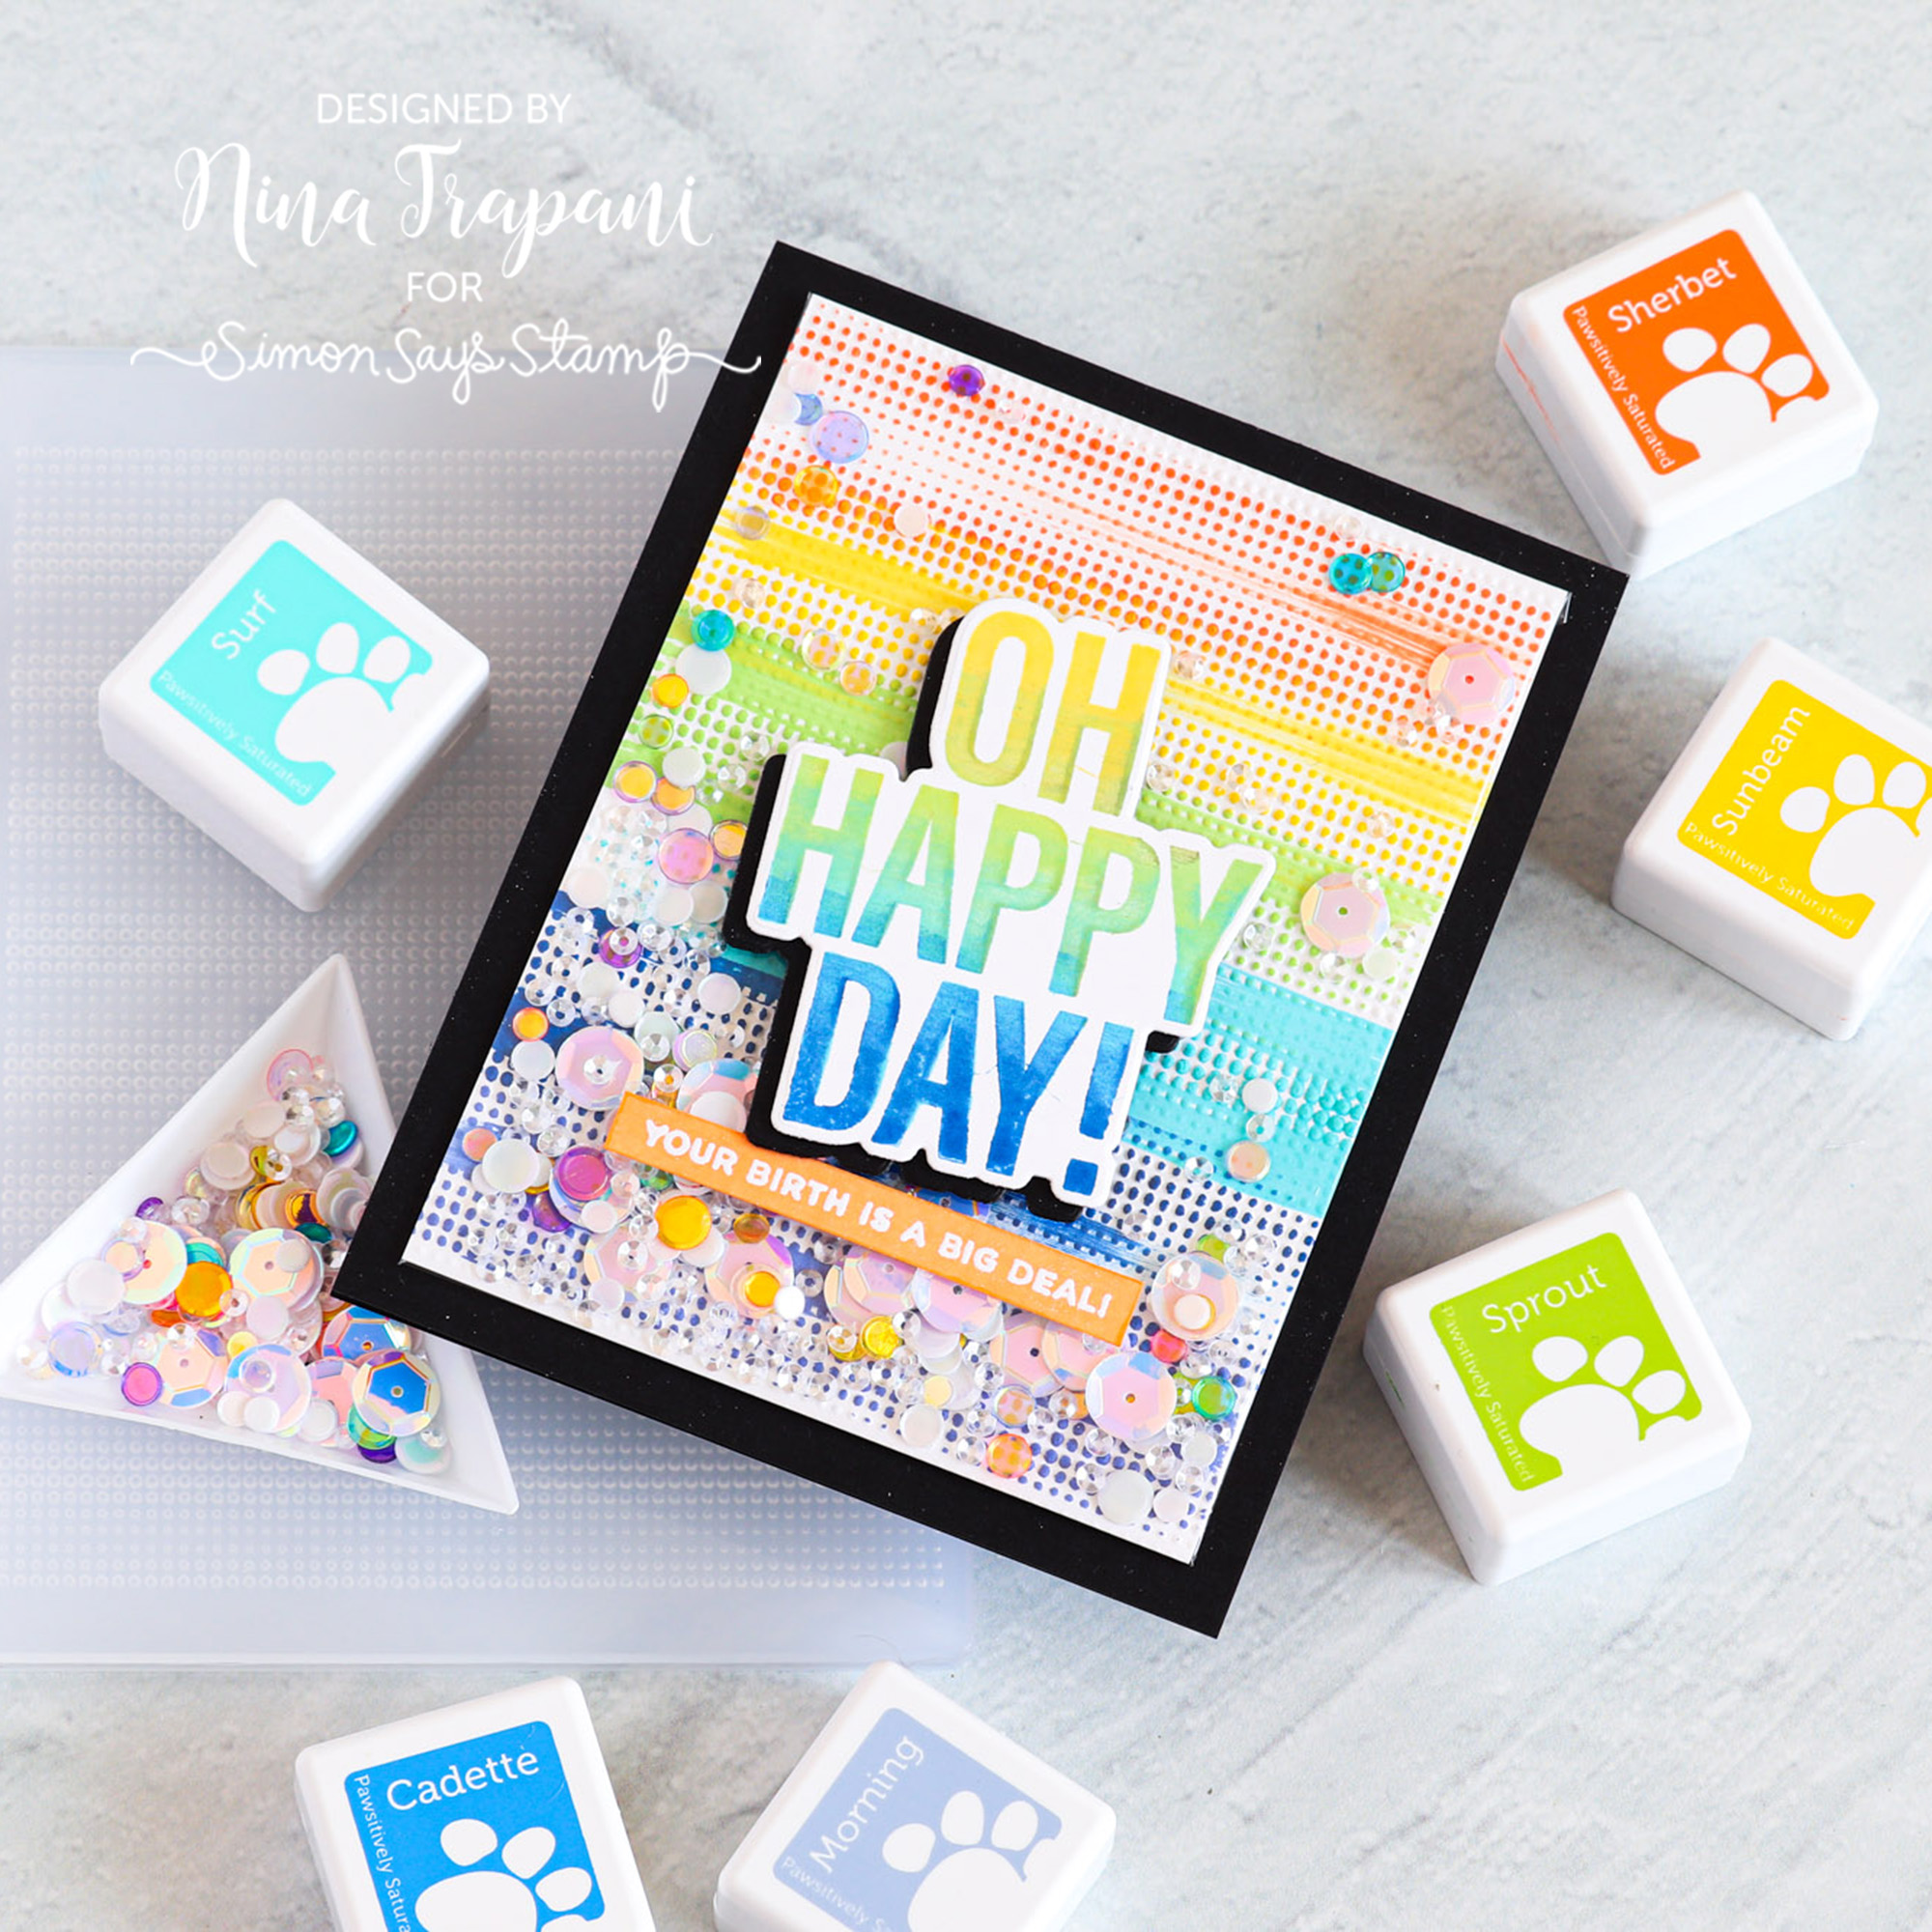
The rainbow background on the Gradient Dot embossing folder features the colors Sherbet, Sunbeam, Sprout, Surf, Royal, and Twilight.
You’ll want to watch the video below to see how I created these super cool backgrounds! It’s a fun technique that really enhances your embossed designs!
WATCH THE VIDEO
SUPPLIES
|


Break Out the Balloons for the Class of 2024 Graduation Card: Yippee for Yana

Hi friends! Please join me in welcoming back the oh-so-talented and amazing Yana Smakula! (Please note: our dear friend Yana is Ukrainian. To show support to our brothers and sisters in Ukraine, please see Yana’s post HERE.)

Hello, crafters, this is Yana Smakula for Simon Says Stamp! Welcome back for another Yippee For Yana video!

In today’s video I’m creating a Graduation Card with the Simon Says Stamp Grad Balloons stamp set. Begin by heat embossing the Congrats Grad sentiment in Antique Gold embossing powder on Simon’s Mega Thick cardstock. Set it aside and work on stamping the graduation caps next. I used 7 for my card and I feel this is the optimal number – 4 in the top row (on the “congrats”) and 3 in the bottom row (on the “grad”).

Next, use Copic makers to color. I went with Y17, Y15 for the tassel, and B99, B97, and B45 for the cap. There are coordinating dies available for this image, so use yours to cut both the “Congrats Grad” and the graduation caps out.
To create a background panel cut a sheet of Soft Navy cardstock to 3 ¾ x 5”, foam mount “Congrats Grad” in the center using regular thickness foam adhesive squares. Fill the background in by stamping the confetti image using watermark ink for a tone-on-tone look. Next, add your graduation caps. I opted to add another thin foam adhesive square to each cap to have it slanted on the card – partly adhered to the background and partly onto the sentiment. Alternate the orientation of the hats making it look as if they are tossed in the air.

Embellish your card front using gold sequins and don’t forget to add a white cardstock panel to the inside of the card with a stamped additional sentiment.
Have fun stamping!
WATCH THE VIDEO:
SUPPLIES:
|


Thanks so much for stopping by, and thanks again to Yana for being our guest!
Ways to support Ukraine:
If you are looking for ways to support Ukraine, we encourage you to visit this page on Yana’s blog:


