How To: Shortcut Layered Backgrounds featuring our October Kit!
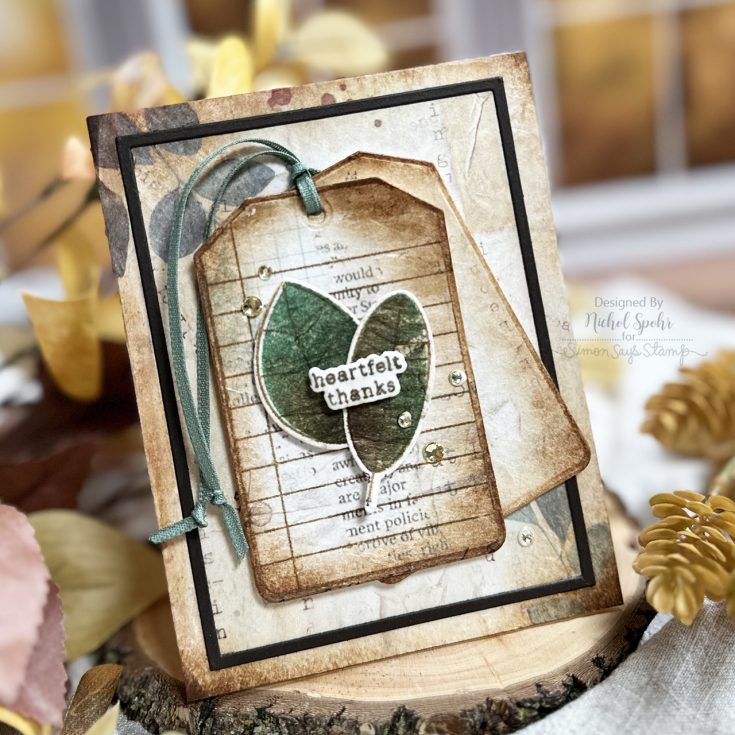
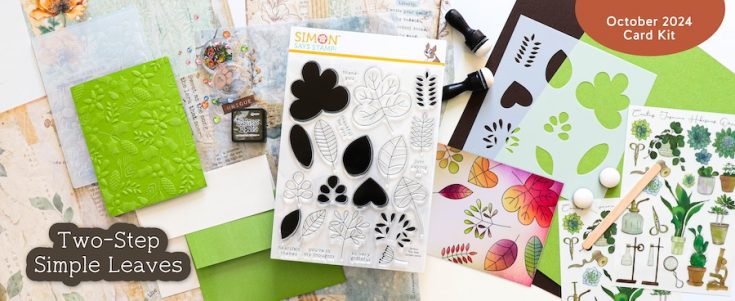
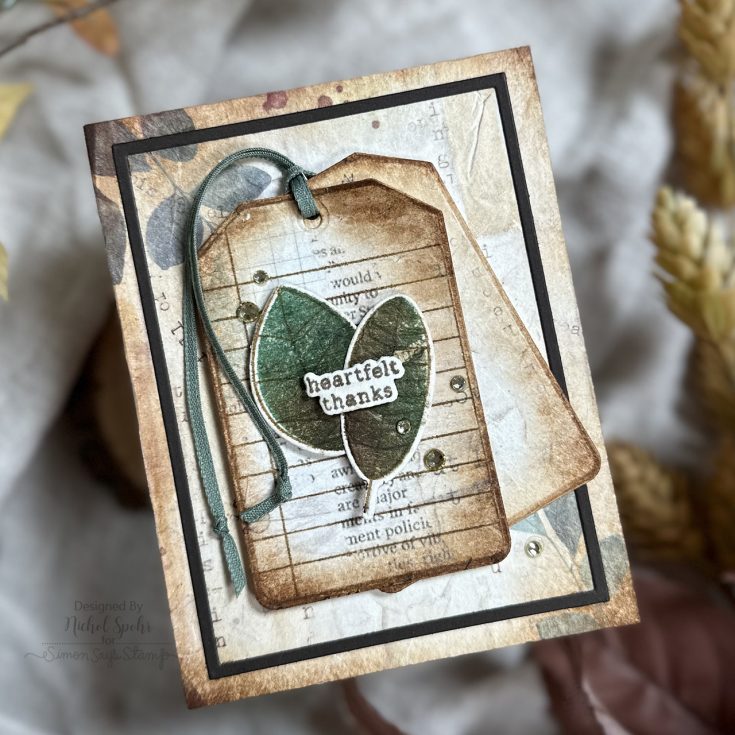
Hi friends! Happy Thursday! I’m delighted to welcome back special guest Nichol Spohr to our blog today! She’s showcasing a gorgeous card using lots of components of our October 2024 Two-Step Simple Leaves kit PLUS some fun ideas using the rice paper in the kit, which is a unique ingredient! Be sure to watch the video for all the details and enjoy!
WATCH THE VIDEO:

SUPPLIES:
|


Thanks so much for stopping by, and thanks to Nichol for being our guest!
Did you know?! We’ve made our card kit subscription BETTER THAN EVER!
Learn more:
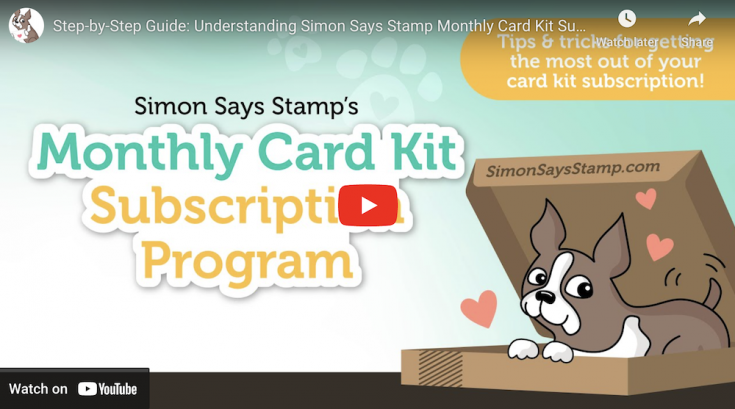
Here’s what makes our new service a crafting paradise:
Exclusive Access: As a subscriber, you get first dibs! Each month, you’ll get an exclusive sneak peek at our new kit, with the option to add more coordinating items to your cart, including handy replenishable supplies, all shipped together for your convenience.
Hassle-Free Payments: Say goodbye to monthly billings! Our automated system smoothly charges your preferred card, ensuring an uninterrupted flow of crafty goodness – unless you decide to pause, of course!
$5 Off Magic: Enjoy a special $5 discount off our kit’s retail price, exclusive to our beloved subscribers – no codes needed, just automatic savings!
Crafting Inspirations: Dive into a sea of creative ideas monthly, all tailored around your kit, to keep your inspiration flowing endlessly.
Flexibility First: Fear of commitment? Not here! Our subscription is as flexible as it gets – pause or cancel anytime, no strings attached.
Why wait? Step into the realm of our NEW Simon Says Stamp Monthly Card Kit service. Welcome a box full of crafting marvels, right to your doorstep. Craft with ease and let creativity come to you! Ready to elevate your craft? Subscribe Now and open the doors to boundless creativity!
CREEPY Art Journal with Shari Carroll

Welcome, everyone!! Wow, it’s OCTOBER!! I’m in the mood to spook so I’m taking it out on my art journal page. I have a creepy one for you today using some new Tim Holtz Halloween Ideaology. I love putting things together to create something significant.

I’ve used my die-cut circle base, then layered it up with a window frame, a spooky witch, a cracked window, and more.
This year, I’ve been creating pieces for my circle journal using many different techniques. All these ideas can be used for cards or mixed media projects.

To see how todays page came together, check out my video below. Enjoy!
WATCH THE VIDEO:

SUPPLIES:
|


2024 STAMPtember® $500 Shopping Spree WINNER!

CONGRATULATIONS to Beth Bettes! You are the lucky winner of our randomly drawn subscriber list for the $500 STAMPtember® Shopping Spree! Check your inbox for an email from us!


