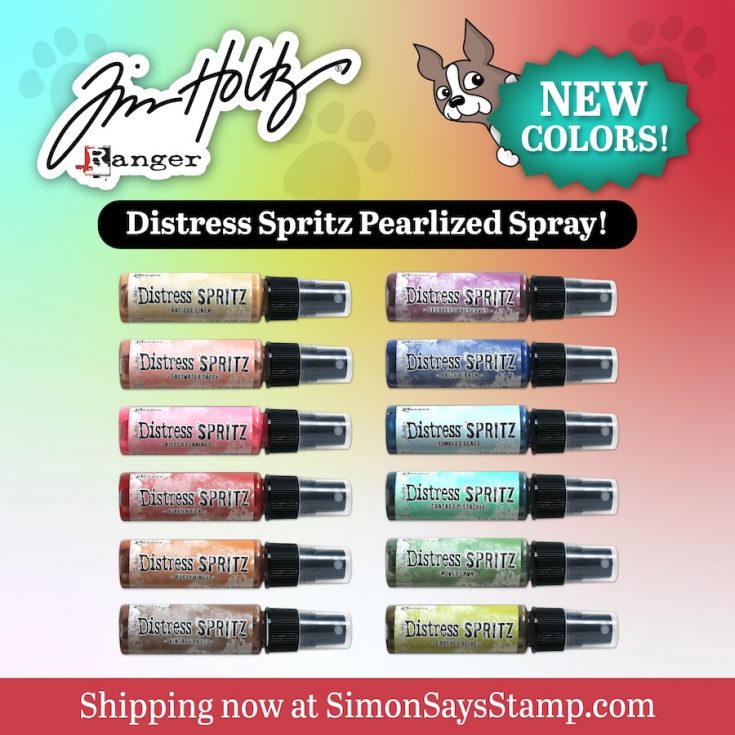
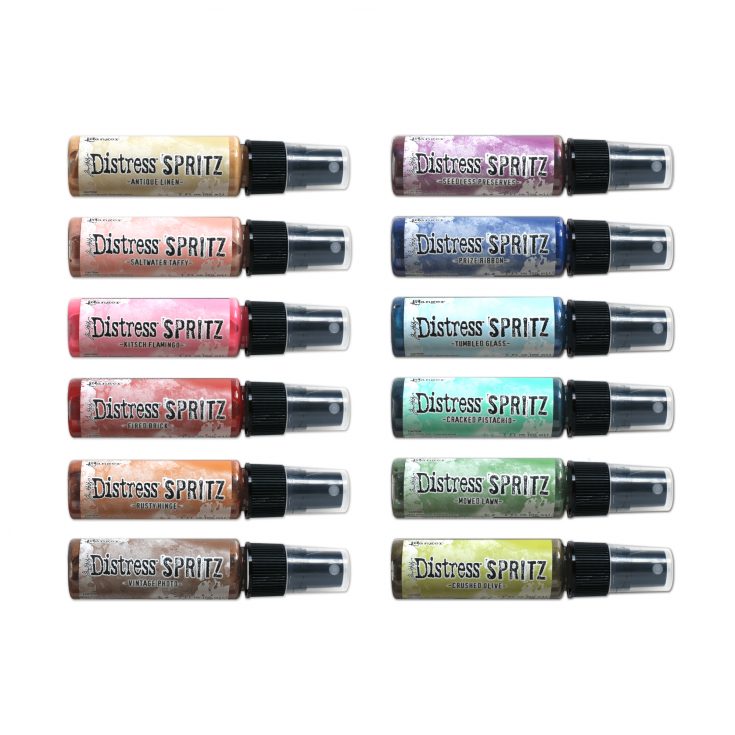
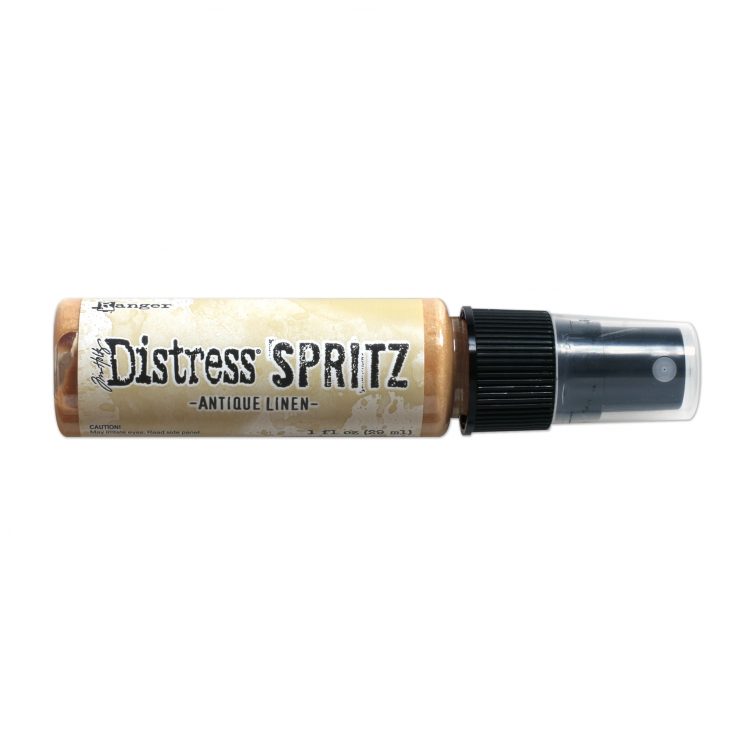
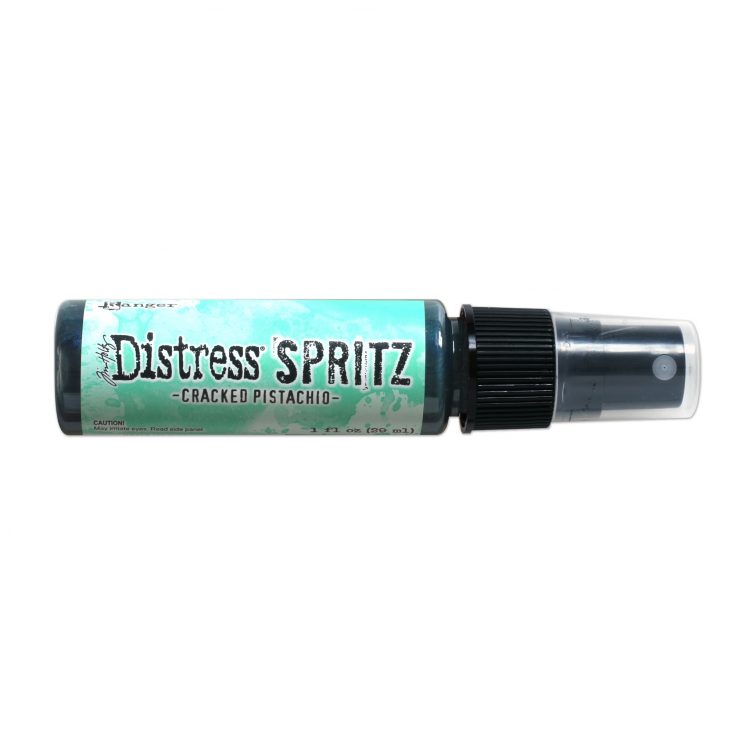
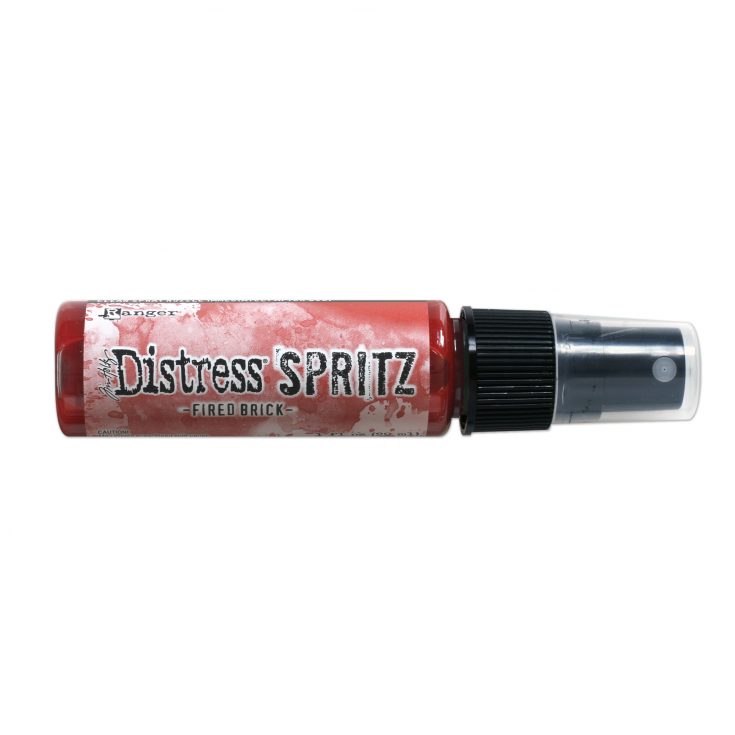
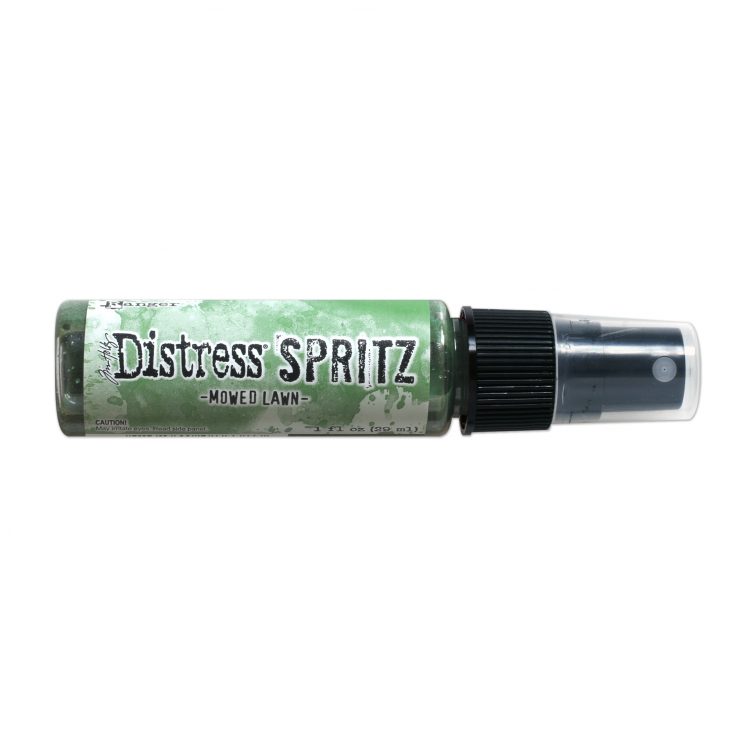
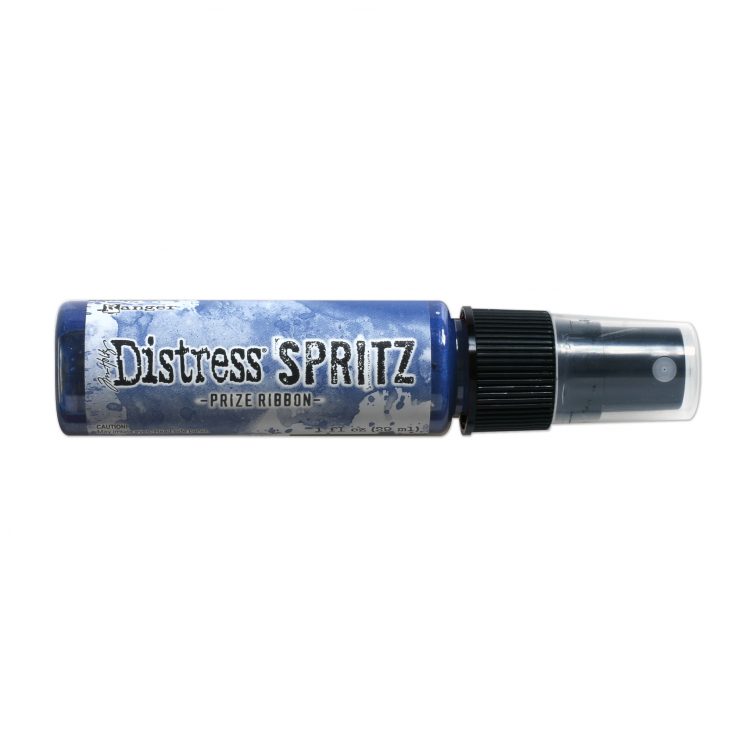
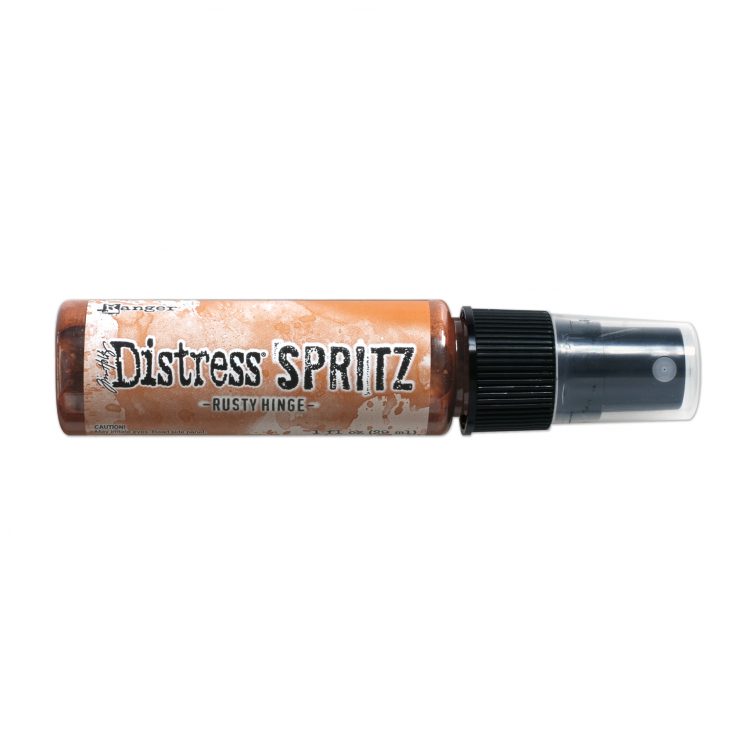
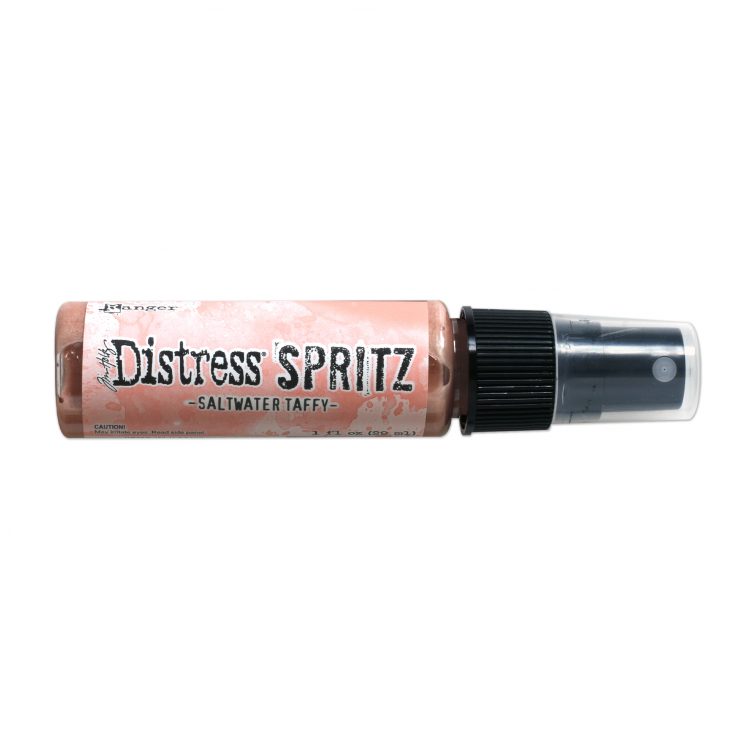
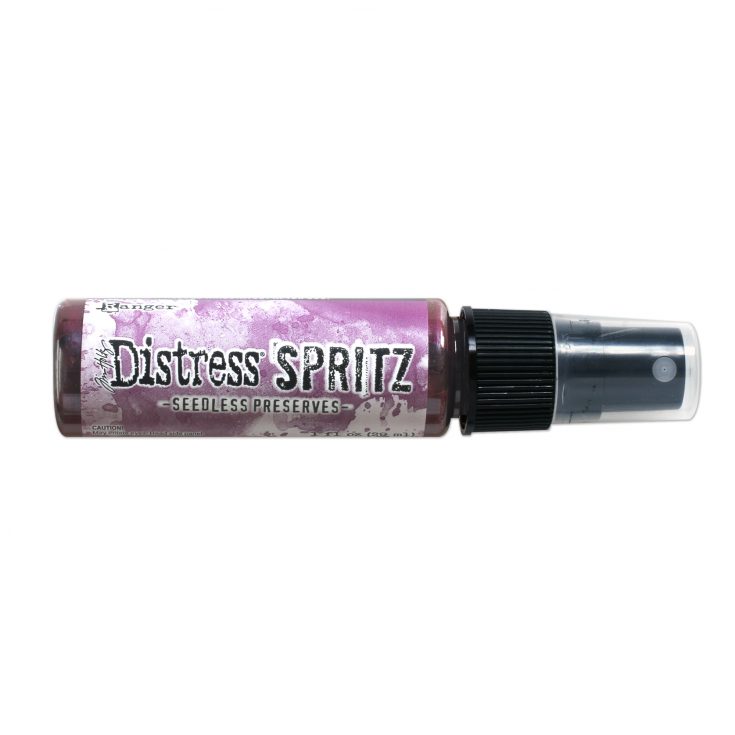
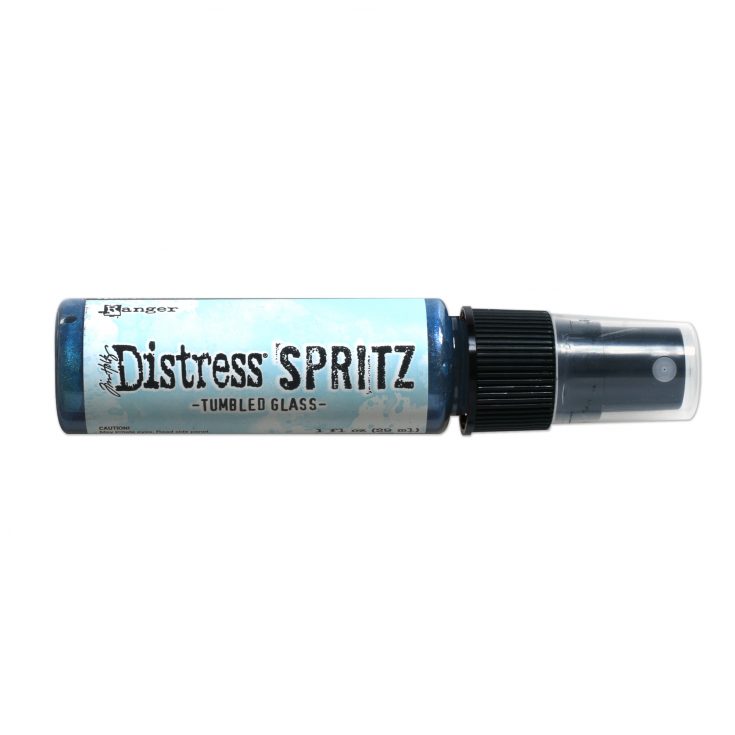
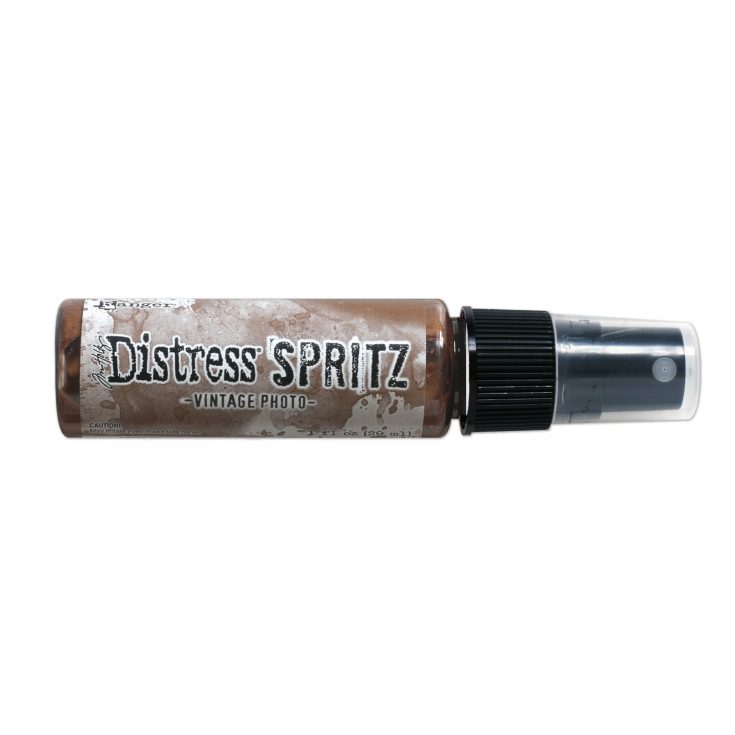
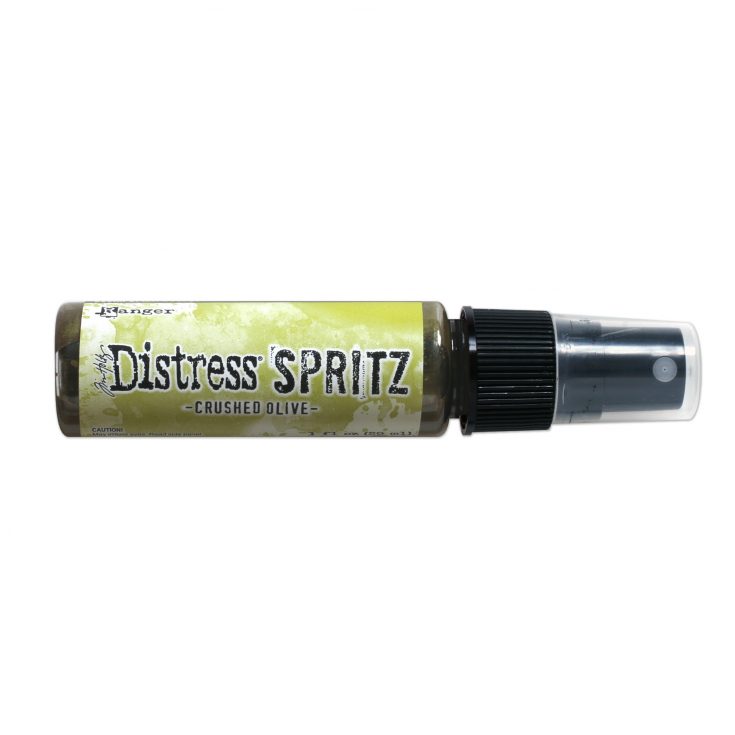
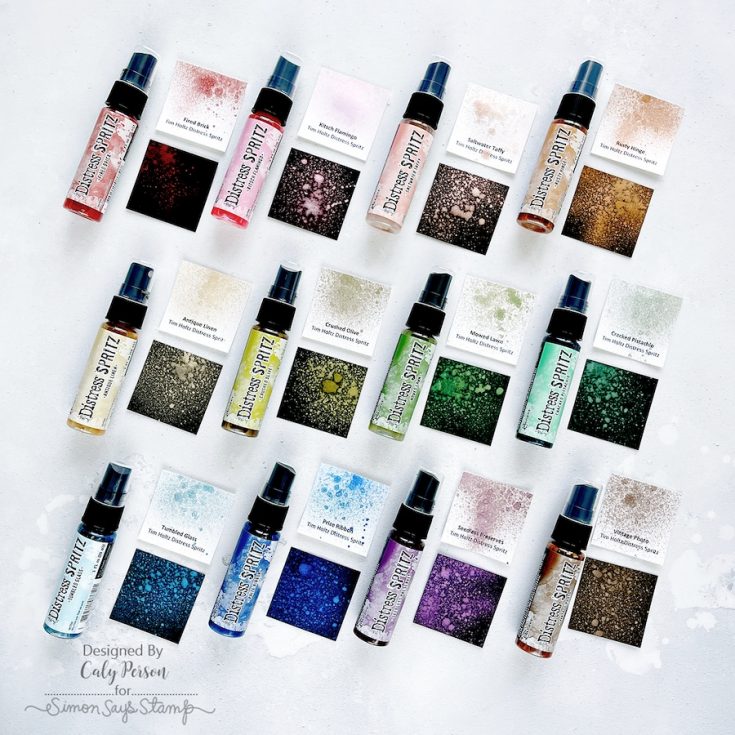
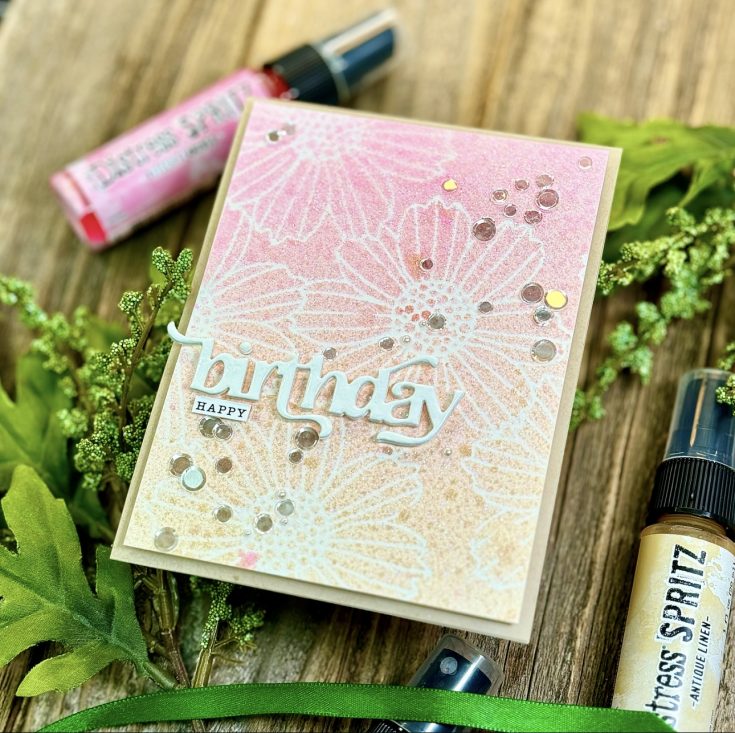
12 NEW COLORS✨ of Distress Spritz!
Looking for our World Card Making Day post to link up your make for a chance to win $100? Click or tap HERE!


New to Distress Spritz? Learn from Tim Holtz!

In other news…
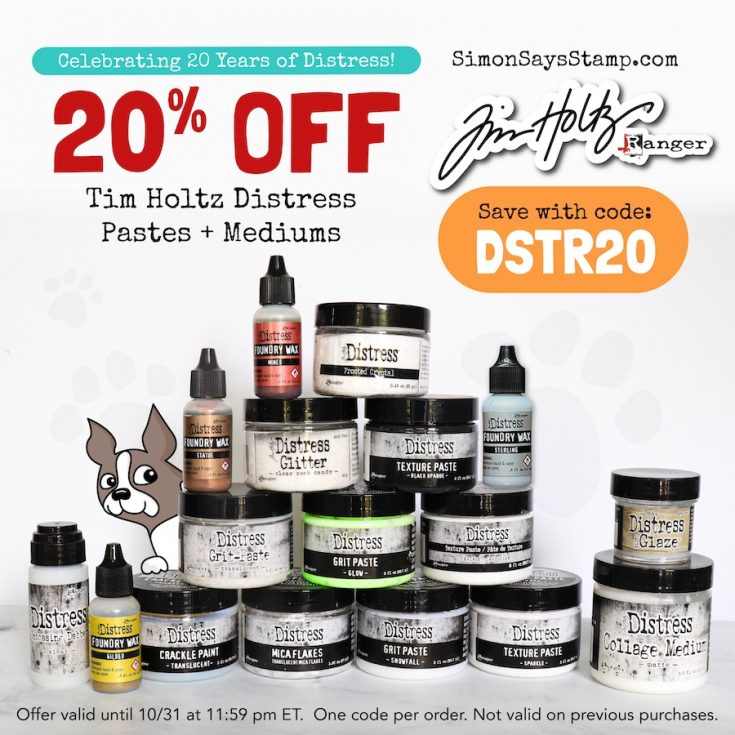
Don’t miss this great deal in October!
Happy World Card Making Day from Simon Says Stamp!
Happy World Card Making Day from Simon Says Stamp—It’s a holiday created just for all of us! A few years ago we shared this epic video, and it’s too good not to share again!
The best thing about World Card Making Day is not only making cards, but the idea that there are people all over the WORLD making cards, too. These people share our passion for creativity and happy mail. In the spirit of this connective nature and to celebrate our favorite holiday, we’ve compiled a video featuring designers from around the world. Meet your favorite designers, peer into their worlds, and hear what they love about making cards (in 8 different languages)!
How fun was that? And now we want to hear from you… tell us your name, where you live, and what YOU love about card making!
World Card Making Day was created in 2006, and the original purpose was to kick-start the holiday card making season. Chances are you make lots of cards for Christmas, but we all know that those beautiful cards don’t come together in one night. So grab your scissors and adhesives and cardstock and stamps and make some cards today! Your family can fend for themselves, right? You deserve to celebrate.
And of course you are looking for inspiration to get those Christmas cards started, so here are some beautiful projects from Caly Person, Mindy Eggen, and Joe Sysavath using some products from our STAMPtember® 2024 release!
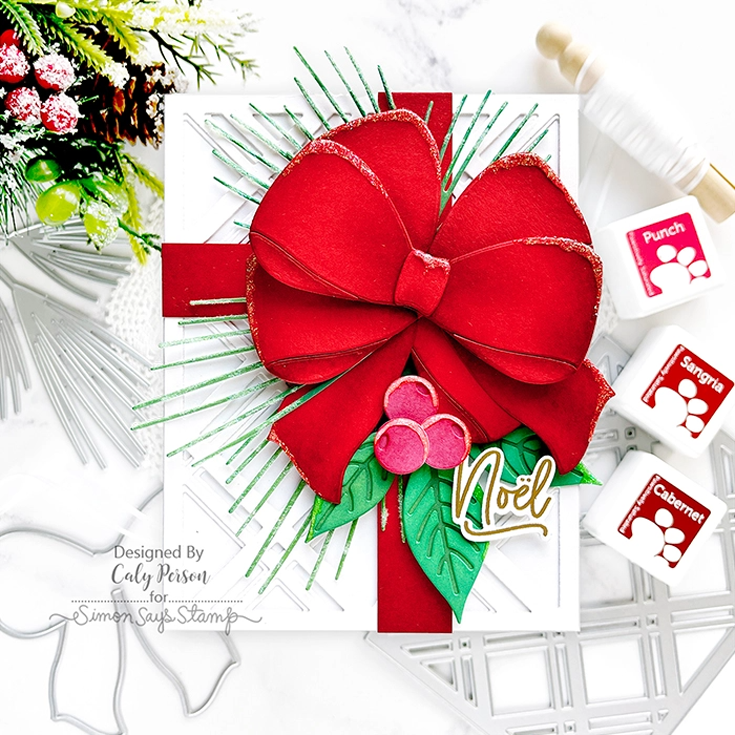
Caly used the Big Bow and Double Plaid Cover dies, the Big Holiday Words stamp and coordinating die, and Red Earth ink cubes for this lush Christmas card.
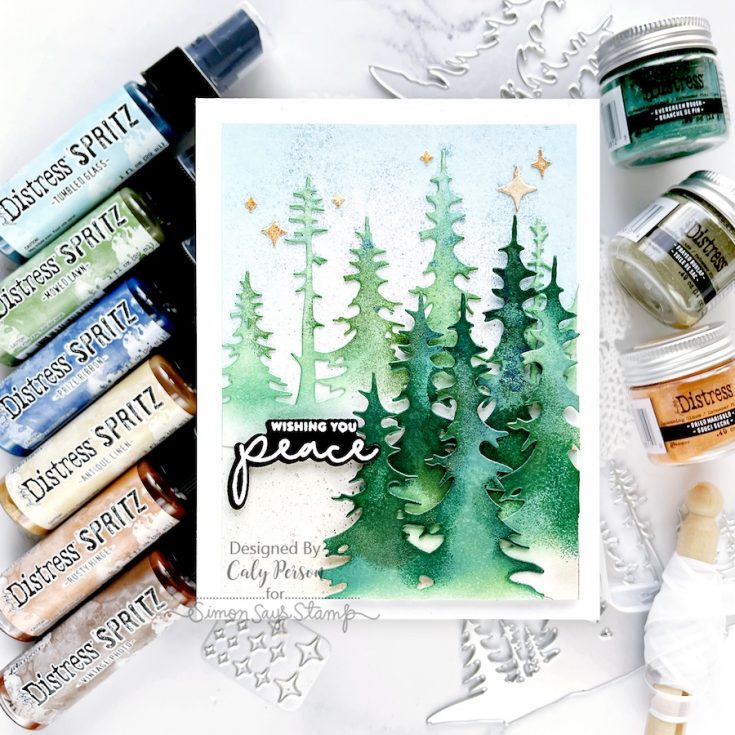
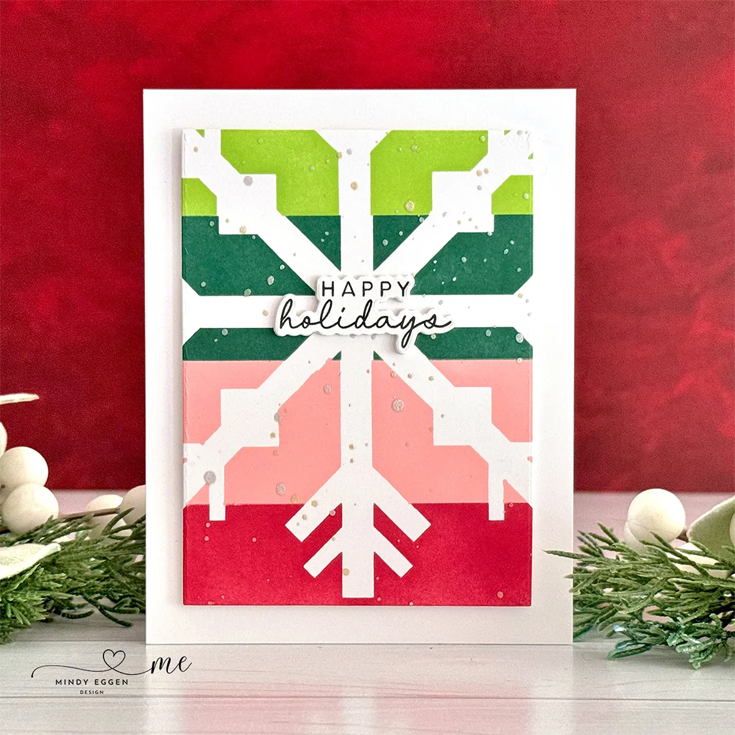
Mindy used the Snowflake Stripes stencils and Peaceful Trees stamp set for this eye-catching holiday card.
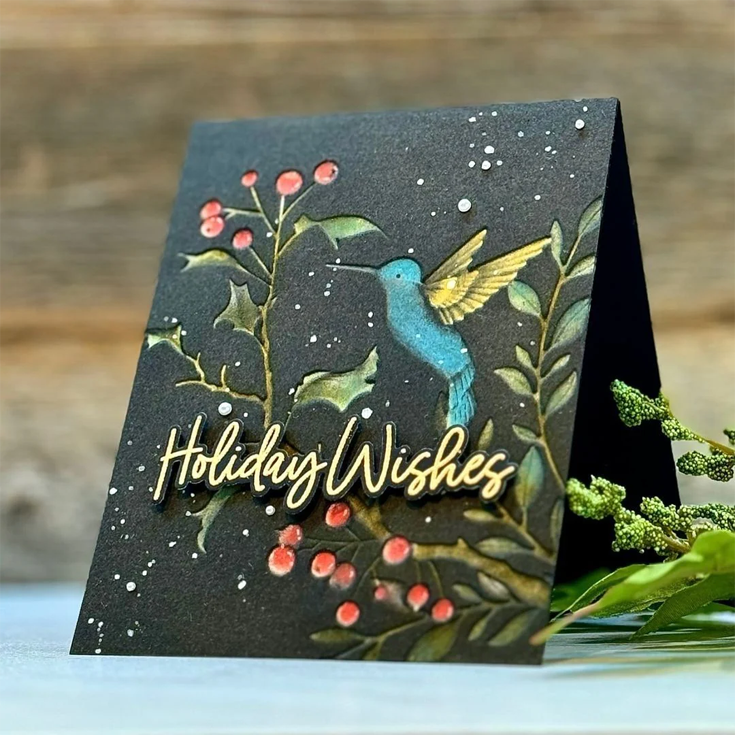
Joe used the Berry Happy Hummingbird embossing folder and Big Holiday Words stamp and coordinating die to create this stunning Christmas design.
What would World Card Making Day be without prizes? Show us what you’re making today for World Card Making Day! Upload your cards at the InLinkz below by 11:59 pm on Saturday, October 12th, and we will choose 1 random winner to receive a $100 gift card from Simon Says Stamp!
Merry Christmas, Joyeux Noël, Buon Natale, Feliz Navidad, щасливого Різдва, Wesołych Świąt, 메리 크리스마스, Vrolijk Kerstfeest, καλά Χριστούγεννα, Fröhliche Weihnachten, 聖誕節快樂, and Geseënde Kersfees to you all!
Have an awesome World Card Making Day, and we can’t wait to see what you’re making!
Bright and Happy Christmas Card: Amore Laurafadora

Happy Friday, friends! We’re delighted to welcome back special guest Laura Bassen in our bi-monthly edition of Amore Laurafadora where she’s showcasing the new CZ Design Peaceful Trees stamp set in her classic Laura rainbow order! She used our Stitched Slopes and Hills die set to set up this scene beautifully and topped it off with our Northern Lights embellishment mix for the perfect touch of sparkle! Be sure to watch the video for all the details, and enjoy!

WATCH THE VIDEO:

SUPPLIES:
|


Thanks so much for stopping by, and thanks to Laura for being out guest!


