Embrace the Creepy Side of Halloween: Mixed Media Reprise With Shari Carroll: Wicked!

Welcome, everyone!! It’s Shari here to creep you out with a bit of Halloween spook! I’ve heard it’s AUG-tober, and we can start decorating, so let the fun begin!!
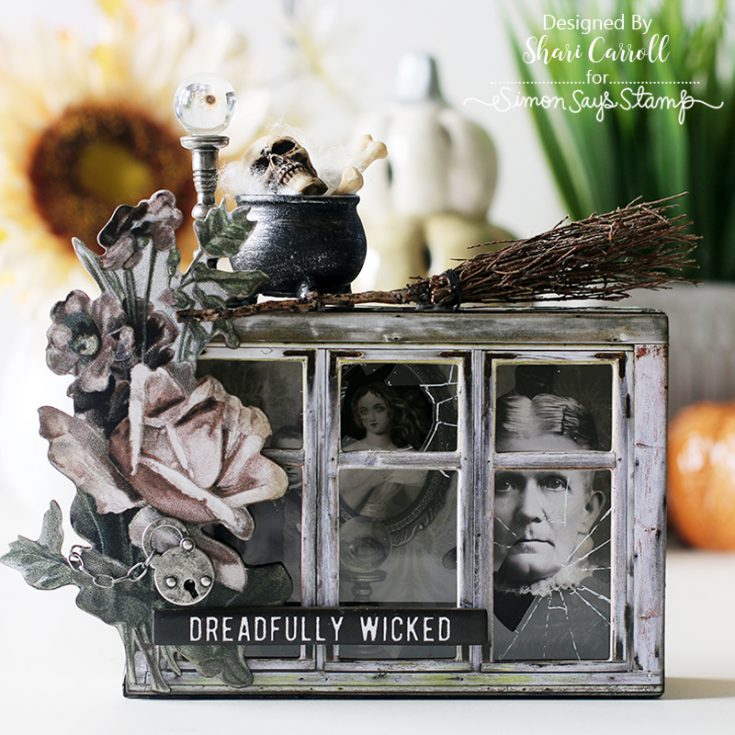
I was enamored with some of the new Tim Holtz Halloween goodies and decided to give them a spin. The first intriguing piece is the Shattered Windows acetate sheets… how cool are these? They fit perfectly behind the Baseboard and Transparencies window frames (which include a few sheets.)
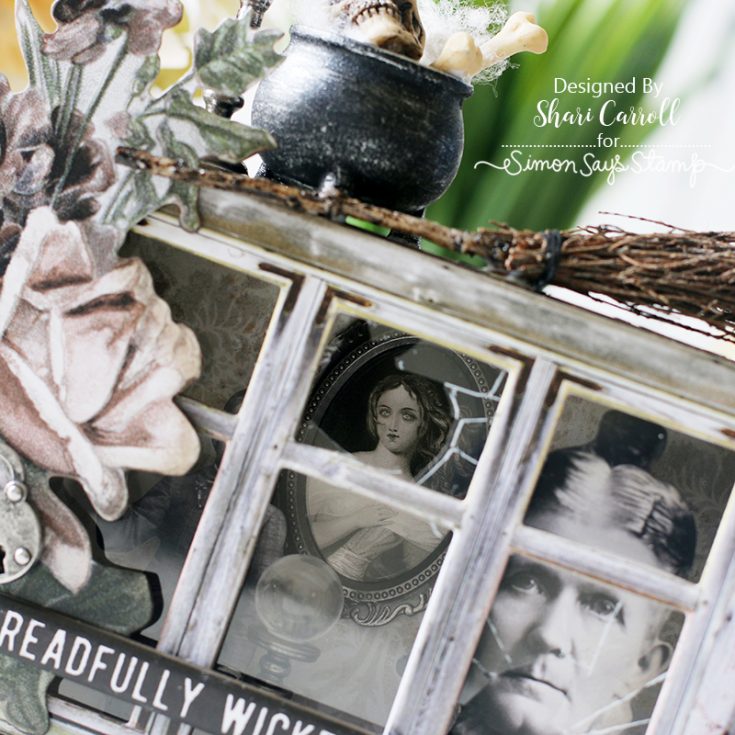
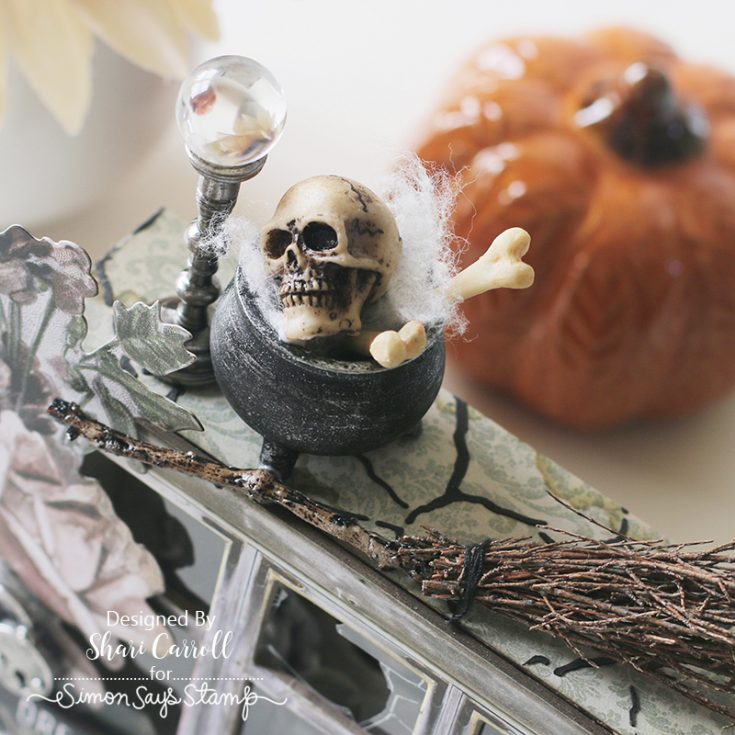
The creepy lady from the Halloween Layers and Paper Dolls was a must-use. I positioned her to where you could see her eyes peeing from below with the window frame. And finally, adding some elements to the top of the box balances everything out.
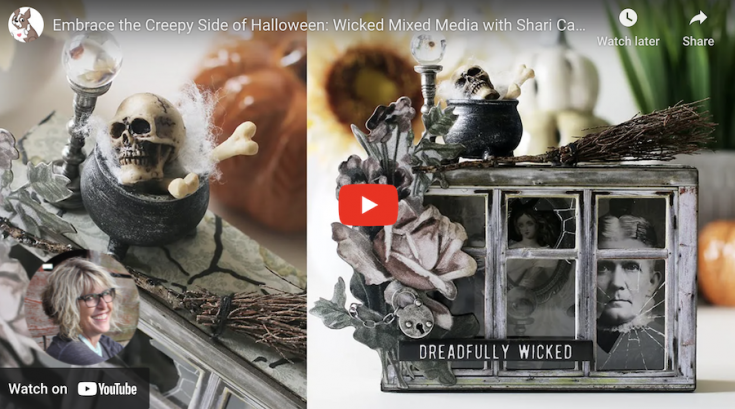
To see how this all came together, check out my video below. Enjoy!
WATCH THE VIDEO:
SUPPLIES:
|


NEW Paper Artsy JOFY Cards and Tag Inspiration!
Hi friends! We’re beyond delighted and excited to have special guest Jo Firth-Young who not only created these beautiful creations you see below, but also designed the stamps that they were made with!

I’m thrilled to be here with you today to share several projects I made with one of my recent PaperArtsy JOFY stamp sets. The flowers on this set, JOFY135, were inspired by dried seed heads – in particular grains and poppy seedheads, but these seed heads certainly don’t look dried! I gave them a lovely fresh look by colouring them in gorgeous juicy colours – bright pinks and purples.
The projects all include many of my ‘go-to’ techniques and embellishments – stamping, stencilling, gel printing, tags and sewing – and the colour scheme is totally swoon-worthy!

The first thing I did to prepare for these projects was to gel print background pages. A gel plate is such a great tool for creating bespoke one-of-a-kind prints! I used a limited selection of PaperArtsy’s Fresco Finish paint colours and combined them to print a variety of pages using stencil PA396. These paints dry quickly and have a lovely surface that is perfect for stamping onto and colouring.

Nature/Nurture Card
The prints chosen for the base of this card are a selection of first-pull prints and clean-up/ghost prints – the ghost prints are often my favourites as the pattern is subtler and there’s lots of grungy detail (middle panel on card).
I coloured the seedheads with coloured pencils and finished with a light shading of grey around their edges to give them dimension and lift them off the surface.


Little tags! Always a nice way to add detail to a project, as are little touches of white gel pen.

Tag
One of my favourite things to create is a tag and this one is quite large (size 10, 8.5x4in). It is ideal for the long stems of these stamps – the grain stems look like Lavender when coloured in pinks and purples as I’ve done on this tag.


I added more detail to some of the plainer gel prints by stamping the squiggle motif in Gold Fresco paint – the metallic finish catches the light and is a lovely contrast to the matte finish of the Fresco paint.
Hexagons are another of my favourite motifs and on this tag I die cut several from the gel printed pages and sewed them onto the tag with my sewing machine. I added pompom trim – a velvet trim/ribbon would also look lovely along the bottom of the tag.

Mandala
I’ve wanted to create a mandala with these images for a while and the Sizzix Stamp and Spin is such a great tool for this!! It makes it so easy to create a precise repeated design – perfect for wreaths and mandalas.


This ‘mandala’ uses only 3 stamps – the seedhead, the wispy stem and the 3 leaf stem. I decided to keep the mandala fairly uncluttered – stamping the wispy stems in a pale colour (rather than black) helps with this. I chose Distress Oxide in Antique Linen for a natural look.
I build up the mandala by starting with the biggest motif (the seedhead) and slot in small motifs around that.
I die cut circles from plain white and kraft card, and topped those with a circle cut from a gel print.

SUPPLIES:
|


Thanks so much for stopping by, and thanks to Jo for being our guest!
Make A Colorful Floral Card that POPS: Amore Laurafadora


Hi friends! Happy Monday! We’re so happy you’re here and sending lots of love and hugs your way to start your week off right! The always entertaining and educational Laura Bassen is back with her bi-monthly feature and showcasing our gorgeous Graceful Flowers stamp and die set in a fun way featuring a plethora of our Pawsitively Saturated inks, as well as our pretty Starshine embellishments pack! Be sure to watch the video for all the details and enjoy!

WATCH THE VIDEO:

SUPPLIES:
|


Thanks so much for stopping by, and thanks to Laura for being our guest!


