It’s our 15th ANNUAL STAMPtember®!

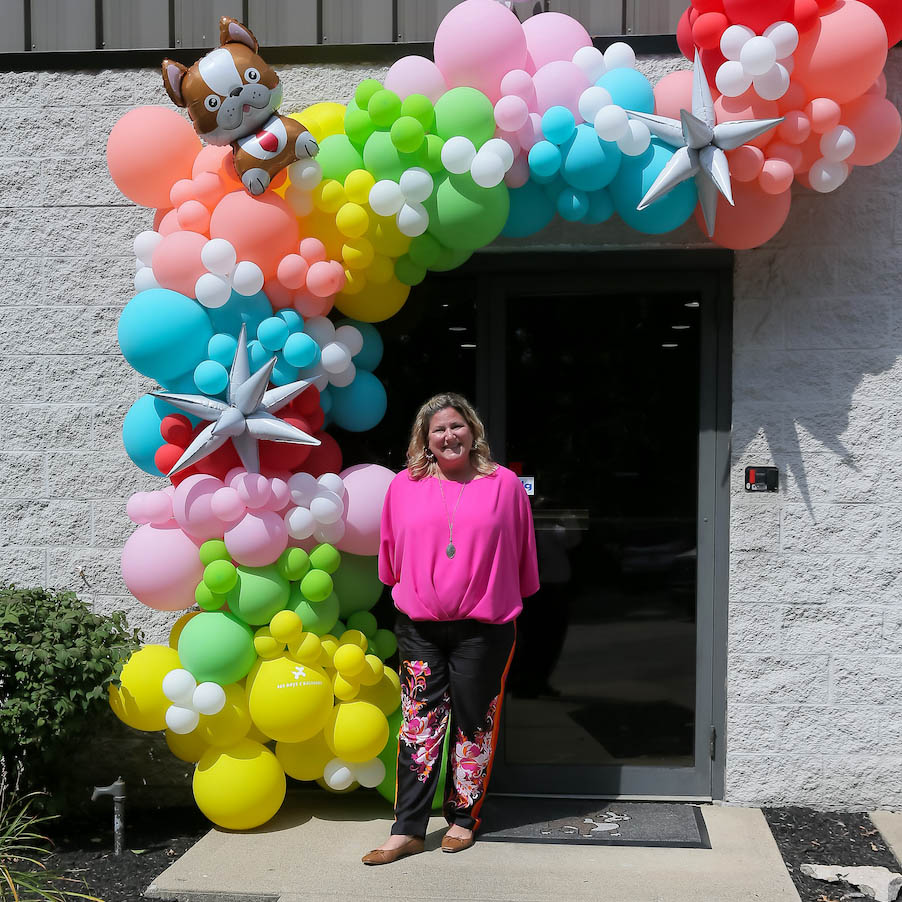
Today marks the start of our 15th annual STAMPtember®! We look forward to teaching and inspiring you during this exciting month as we celebrate the fun of stamping and creating!
Simon Says Stamp was founded in 2002 selling rubber stamps. However, it didn’t take long until we became a one-stop shop offering resources and materials for a wide variety of crafty techniques and projects. While stamps remain the heart of our business, Simon Says Stamp is so much more than stamps!
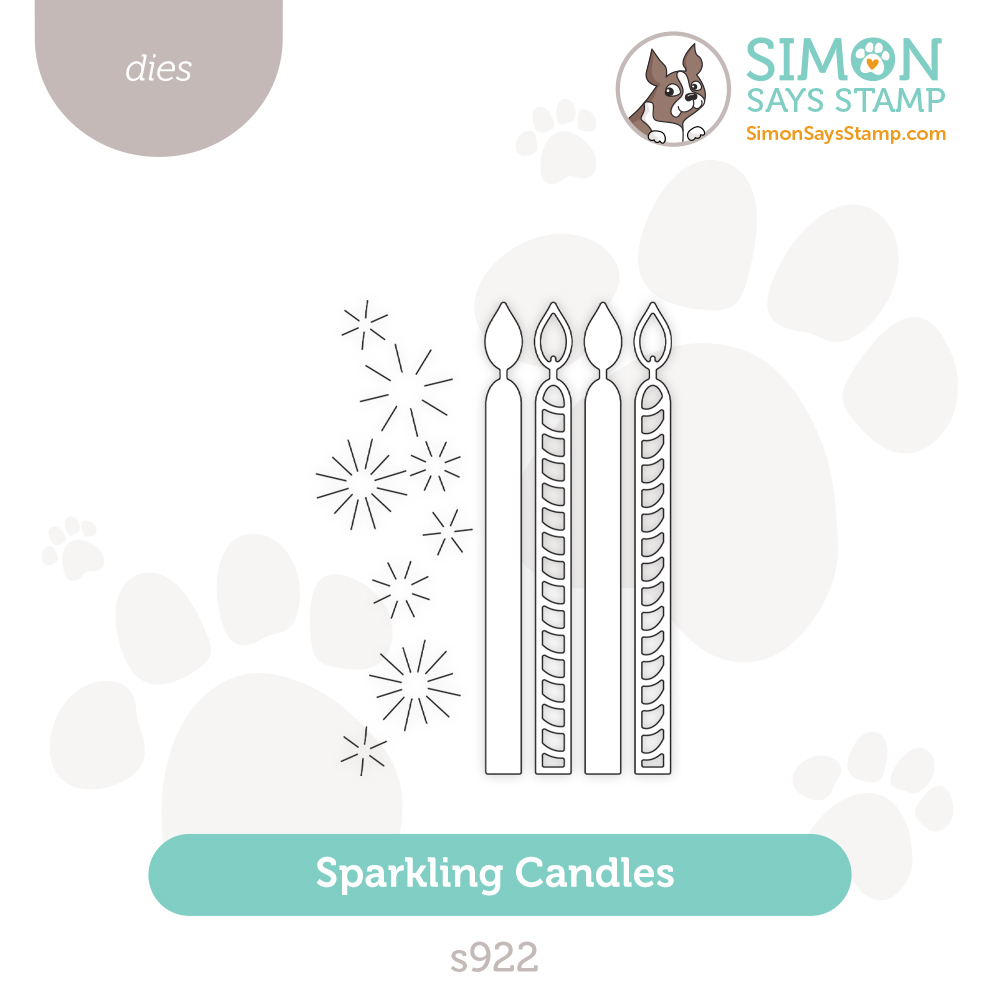
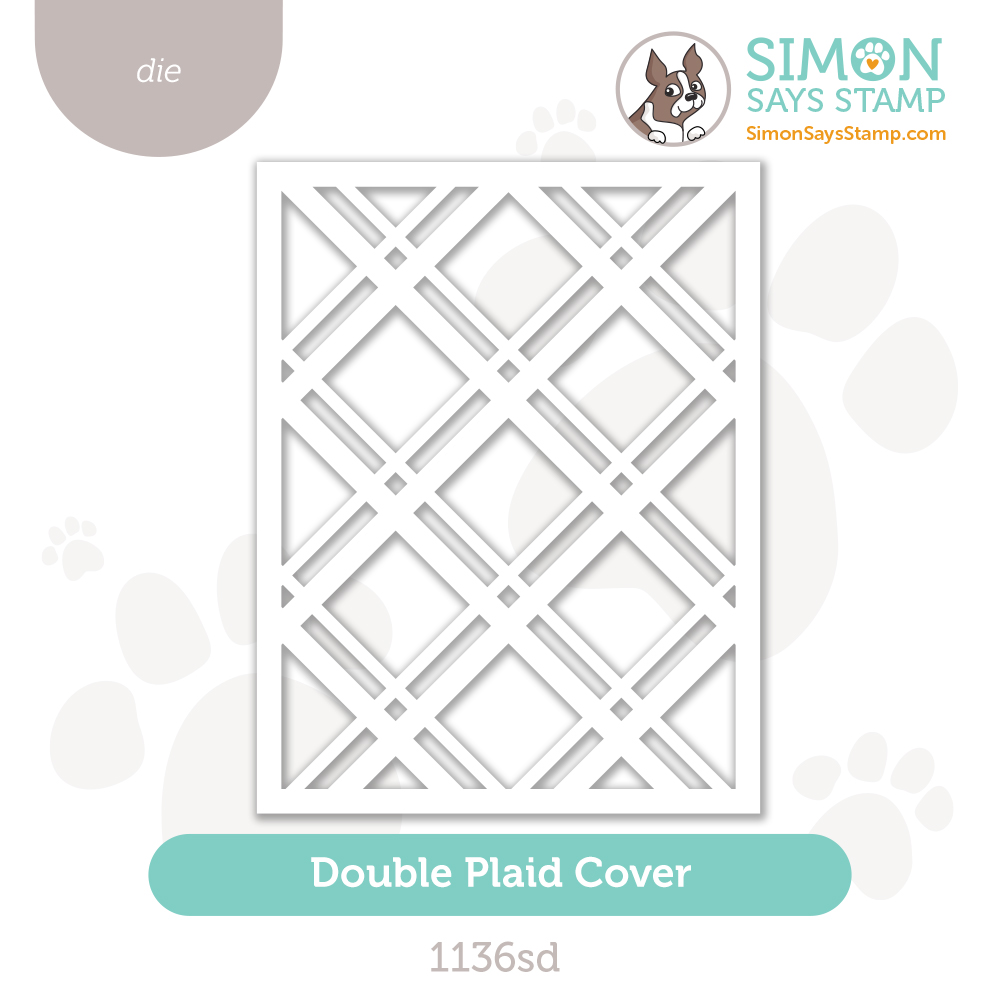
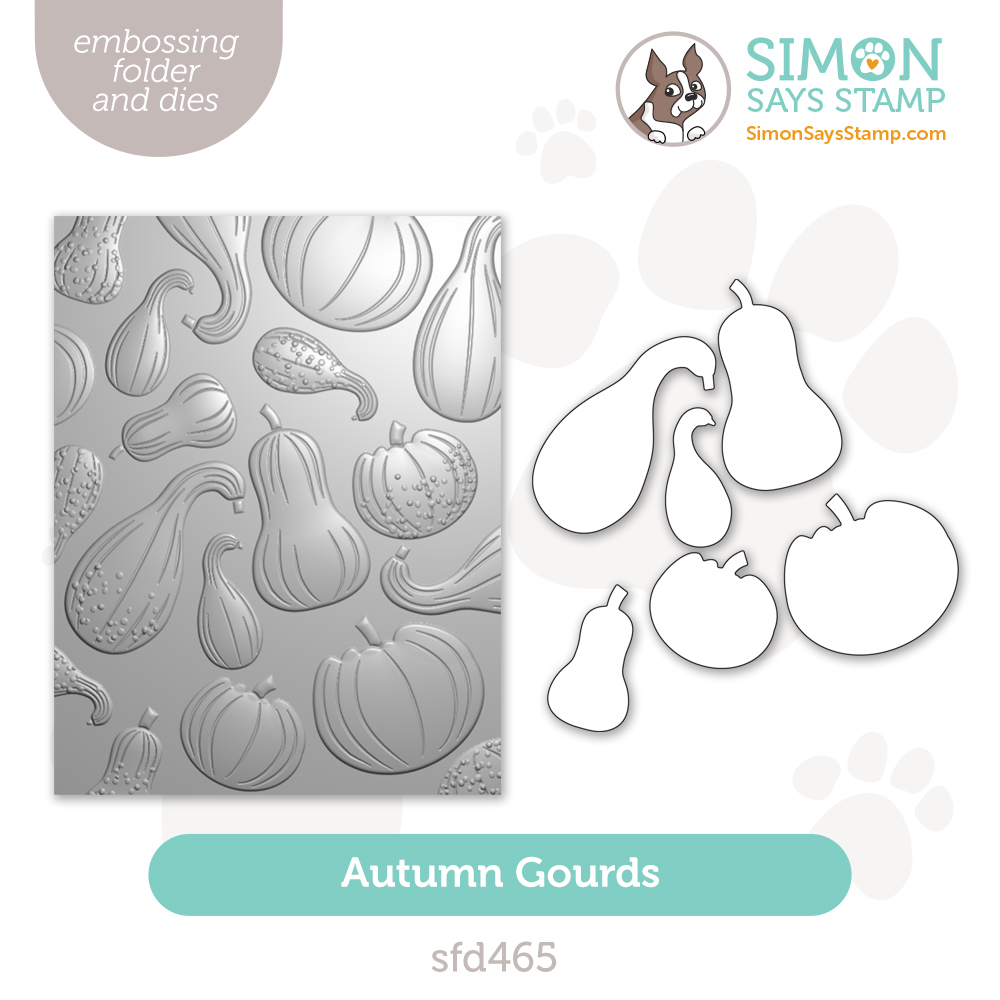
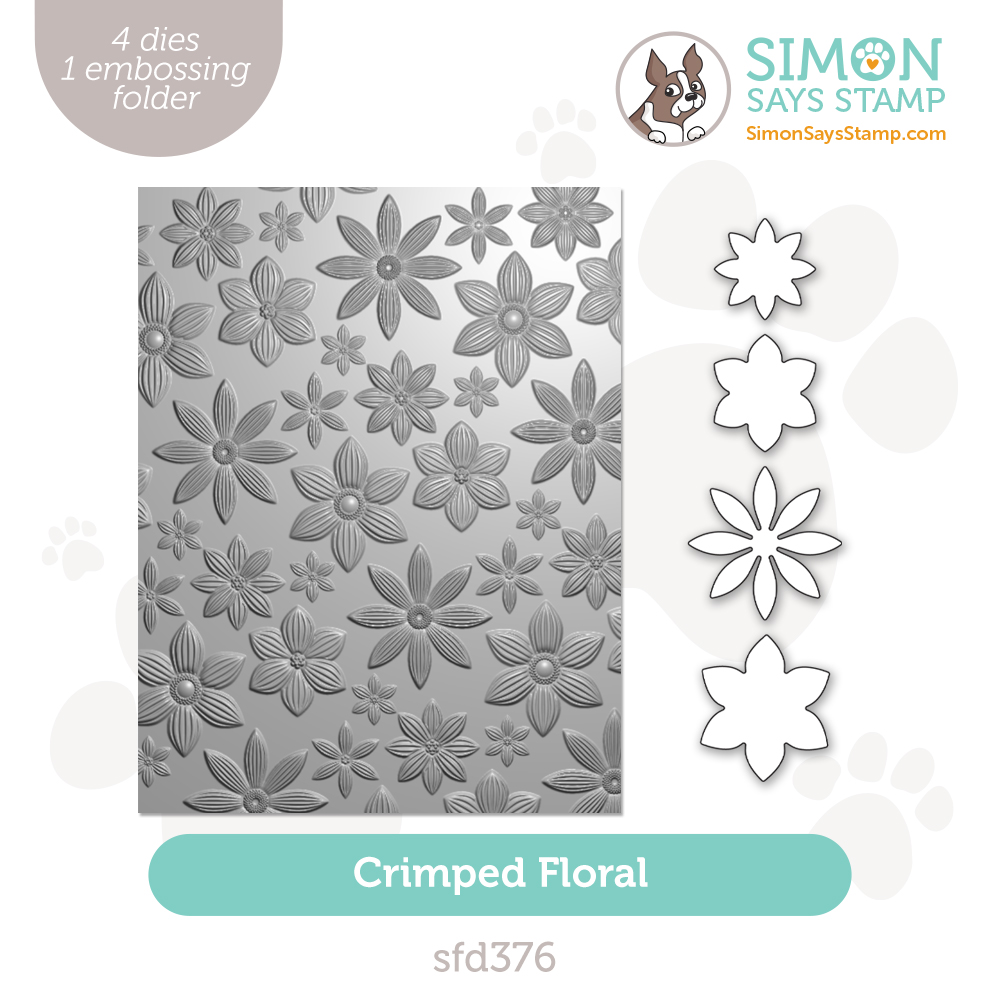
Today we are revealing NEW Simon-branded products we’ve designed to inspire and delight you. All are available exclusively at SimonSaysStamp.com. You’ll see intriguing new stamps (of course), inks, dies, embossing folders, and stencils, as well as some other fun surprises. We hope to enhance your crafting experience!
During STAMPtember®, we will also be releasing EXCLUSIVE products made in partnership with many of the industry’s finest brands and ONLY available at SimonSaysStamp.com!
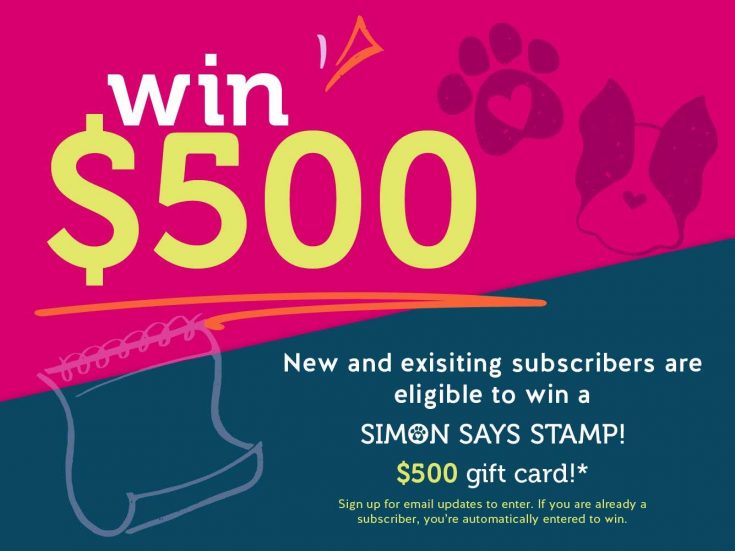
Our blog is the home base for the festivities, so be sure to visit EVERY DAY! Trust me when I tell you that the excitement this year is OVER THE TOP, and we are planning fun surprises to keep you on your toes all month long! Speaking of surprises . . . check out this INCREDIBLE prize we are giving away with FOUR chances to win . . .

The always amazing Laura Bassen has made a gorgeous video walk-through to give you an up close and personal look at all the goodies, but for even more information, please be sure to scroll to the bottom of the post!
WATCH THE VIDEO:

Shop the Collection:


Learn MORE about our new tool!

Can’t pick a favorite? Shop our NEW Bundles:


Get INSPIRED!


Join us LIVE! Go there now and tap the bell to be notified when it starts!

Did You Know? August 2024 Edition: STAMPtember®!
Hi friends! Happy STAMPtember® eve! Today I have a new edition of our popular Did You Know series!

With STAMPtember® just a day away, we’re gearing up for the year’s biggest celebration of stamping!! To get you ready, we thought it would be fun to give you a sneak peek into what you can expect for the month ahead—it all starts September 1st!
STAMPtember® 1st is a big deal!
We kick off this special, month-long celebration with a GIANT Simon Says Stamp brand release on the 1st! These exclusive products are not limited edition; all of the Simon branded products released on STAMPtember® 1st (like all Simon branded releases) become a part of the Simon catalog and are restocked as needed.
STAMPtember® 3rd is Heidi’s birthday!
Our beloved founder and fearless leader, Heidi Crowl’s birthday is on Stamptember® 3rd! To celebrate her birthday, we give YOU gifts! Stay tuned to our Simon blog and store starting 9/2 to find out what gifts we’re unveiling (there are LOTS)!
All month we’re revealing surprises!

All STAMPtember® long exclusive collaboration stamp sets (many with coordinating dies) will be unveiled—designed by your favorite brands! These special sets are limited edition and only available while supplies last, so if you love it you’ll want to make sure to order it right away! Each collaboration set release date is a secret. This is what makes STAMPtember® so fun—every day is like a new present to unwrap!
Plus extra-specials surprises, too!


*examples of previous STAMPtember® Limited Edition Kits
On select days throughout the month, special limited edition kits will be released! These kits are not part of our usual monthly kit subscription and there are limited quantities available. Each one is jam-packed with crafty goodies that you can use to make cards, tags, mixed media projects, and more!
You could win a Golden Bone!
We place one Golden Bone (kind of like the golden ticket in Willy Wonka!) in a random order each week during STAMPtember®! If YOU find a Golden Bone in your order, you will win an assortment of Simon Says Stamp products from EVERY release for an entire year!
We’re going LIVE tomorrow!
Hopefully by now you are REALLY excited for STAMPtember® to begin—we sure are! We can’t wait to celebrate the love of stamping with you and look forward to a month of sharing that joy together!
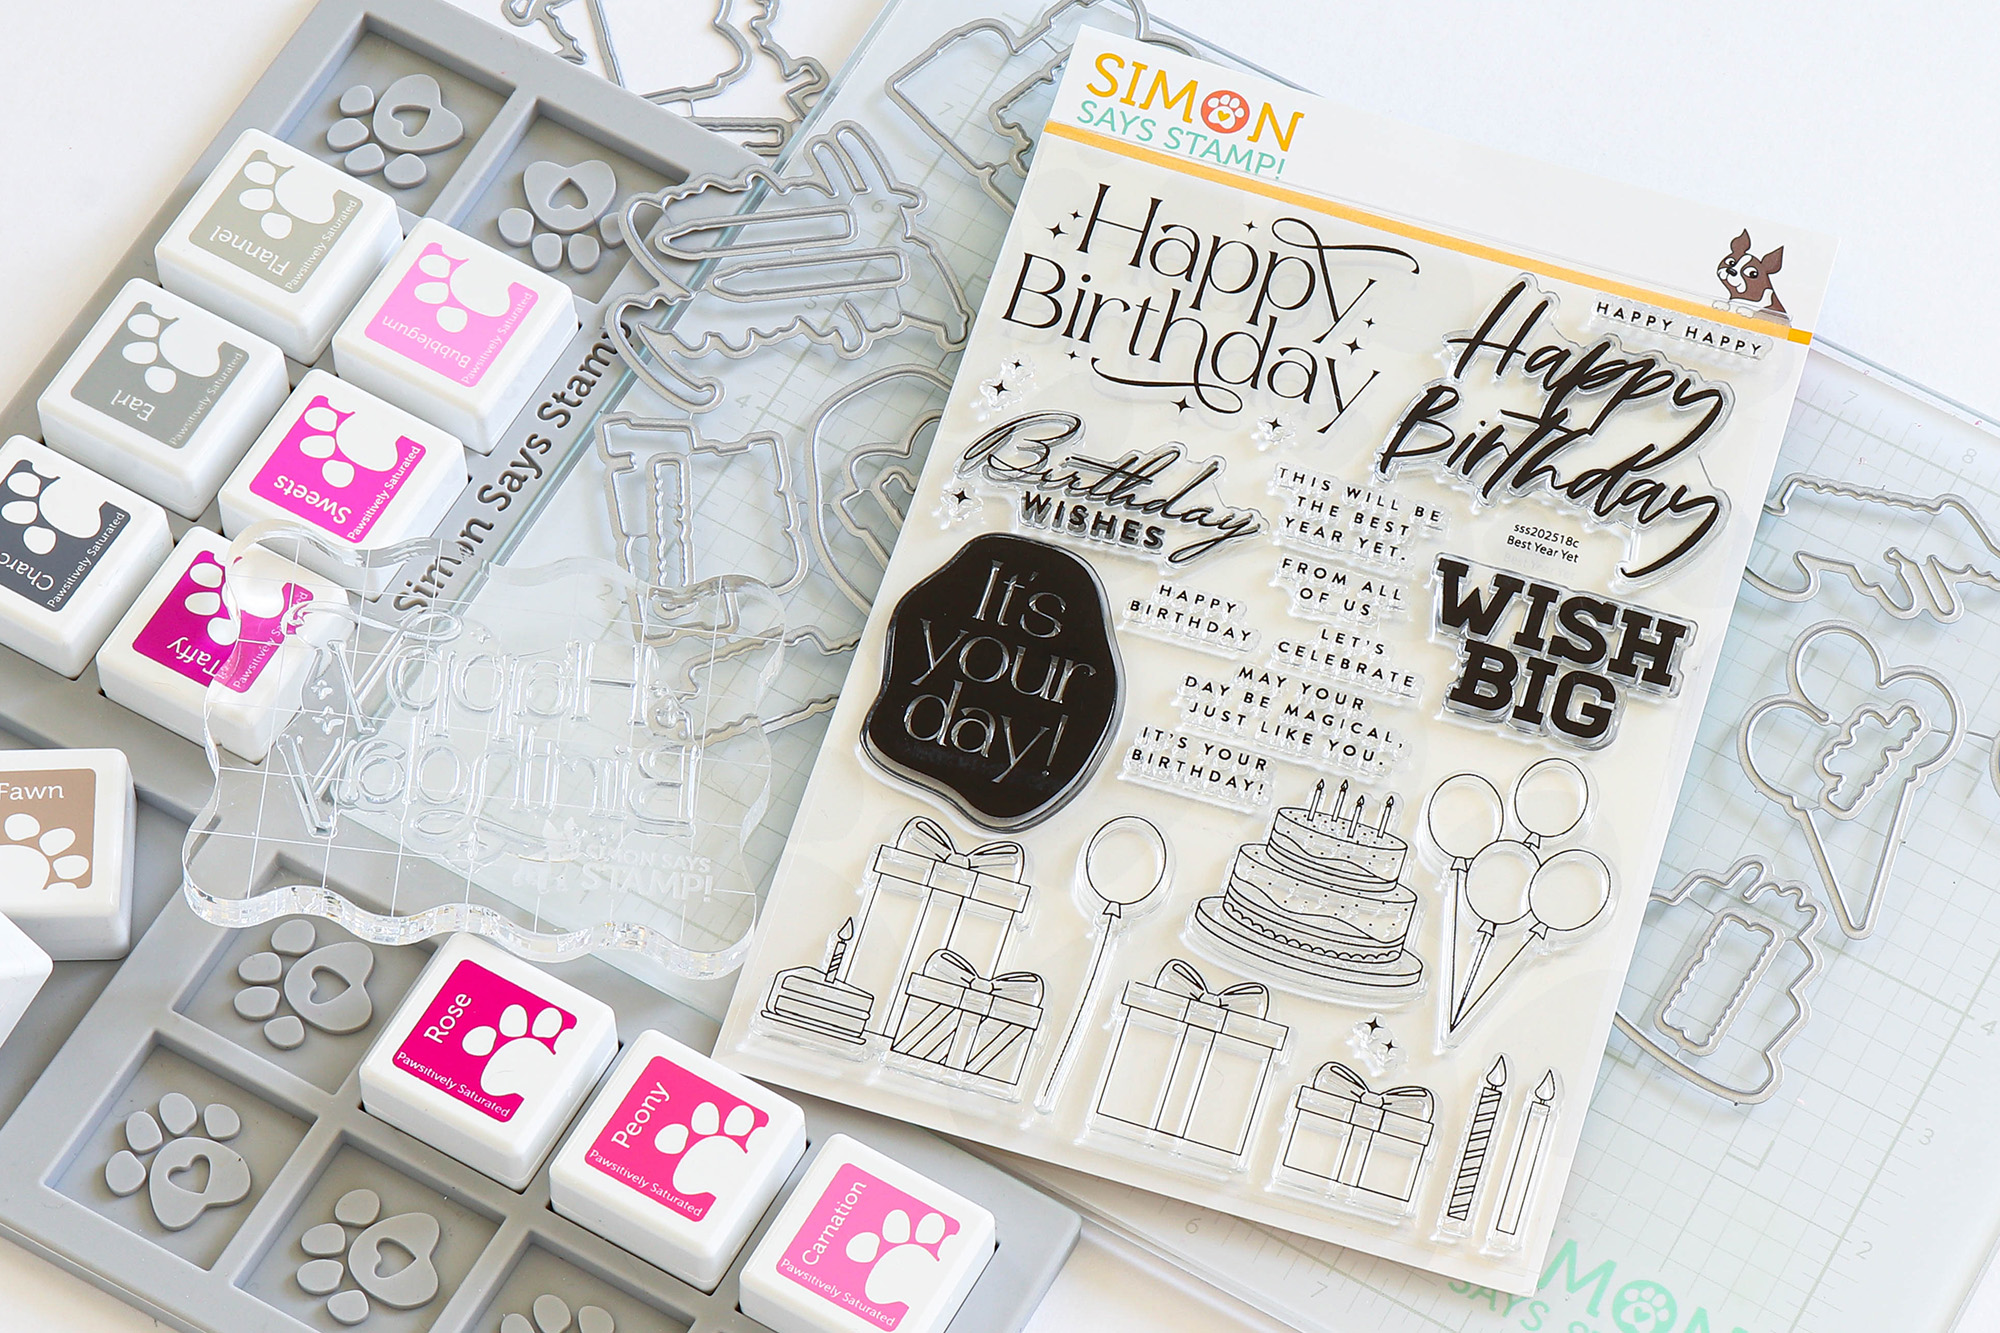
One Stamp, Five Ways: Spooky Sweets!
Hi friends! Happy Friday! Can you believe it’s almost September STAMPtember®? Time is flying! Please join me in welcome back special guest Suzy Plantamura with a colorful and inspiring assortment of 5 cards! Read on and enjoy!

My “one stamp, five ways” post for today uses another Halloween stamp set also from the Cheering For You release. That makes two months in a row of Halloween cards from me! I tried to shake it up a bit today by making some projects that are NOT cards to show other ways this stamp set can be used. It is called Spooky Sweets and it will for sure spook those kids, but if sweets are attached, I think they will accept the spooks!

When I saw these cupcake stamps, I immediately thought of cupcake toppers. I will admit that I should have made my cupcakes as these are not the best-looking ones in the world, but my grocery store didn’t have a lot of options for this last minute girl. I started by stamping all the images in the Spooky Sweets stamp set with Intense Black Ink on white cardstock. I then colored the images in with Copic Markers and a mix of colored pencils for shading.

I added lots of Nuvo Drops to the details on my stamped images as I love to add sheen and texture to them. I also used Tonic Crystal Glaze on the eyeballs. I attached the Happy Halloween greeting to one of the cupcake papers. I then attached bamboo skewers to the backsides with tape. I added some sprinkles to my cupcakes and bought some cute matching wrappers. I stuck the toppers in each matching cupcake. I can’t wait to take these to my grandkids today as it was their first day of school!

I stamped the images from the stamp set with Intense Black Ink. I then colored them in with Copic Markers. I used Nuvo Drops over the decorations and Crystal Glaze over the eyeballs again. I die-cut them all out with the matching dies.

I used the new Starry Sky Foil Transfer Cards for the background. I ran it through my Fuse Machine using dark purple foil. I die-cut this piece out with a SSS Basic Rectangle Die and attached it to a white card base. I then attached a piece of gray paper that I die-cut with a Layered Hill die and attached that over the bottom. Of the background. I added all the stamped images using foam tape behind the tops of the cupcakes and the items in the foreground. I attached the sentiment from the stamp set right in the center. I love that the dies included sentiment dies!

I had a small kraft gift bag in my stash from one of my past SSS card kits (I think a Halloween one!). I decided it would make a cute gift bag for Halloween treats. I die-cut a piece of black cardstock with a SSS Basic Rectangle Die and attached it to the front of the bag. I then stamped images from the stamp set with black ink. I also stamped the Boo! Stamps from the Halloween Friends stamp set. I colored them all in with Copics.

I added some Nuvo drops to my stamped images. I attached them all to the front of the black rectangle. I added the Boo sentiment to the top and a sentiment from the Spooky Sweets stamp set to the bottom. I used some Chalk Stick Nuvo Drops around the background. Last, I tied an orange gingham bow to the handle and added some tissue paper. Now the sweets need to be put in there!

I used my “random-stamping” technique on this card since the stamp set has so many small images in it. I stamped them all topsy turvy using black ink on a piece of white cardstock. I die-cut it out with a Basic Rectangle Die. I colored the images in with Copic Markers and added gray shadows behind all the images to make them pop.

I attached this to a black card base. I die-cut the hey, boo die from the CZ Big Bat dies from black and white cardstock and attached the white letters over the black set. I attached it to the bottom of the card and added the -yah! from the Boo-Yah! stamp. I used Nuvo Drops around the background of the card to fill in all the open spaces. I added some orange/white twine to the top.

I used the CZ Nested Tag dies in the largest size and the second largest size for this tag. I die-cut a tag hold using purple cardstock. I stamped the images I used from the stamp set with black ink. I colored them in with Copics and colored pencils.

I attached the white tag over the black tag and added the purple circle to the center. I then stamped some ribbon to the top. I attached the stamped images to the white tag. I used a silver Uniball over the stars and some glitter Nuvo drops over the frosting. I also added some Nuvo drops to the background. I hope these projects help you think out of the card-making box to use our stamps for other projects as well. When it comes to holidays, gift bags, wrapping paper, gift tags, and even cupcake toppers can be great uses for stamps! Thanks for visiting today and I hope when Halloween gets here, you all have a wonderful holiday full of chocolate goodness! –Suzy
SUPPLIES:
|


Thanks so much for stopping by, and thanks to Suzy for being our guest!


