6 Card Making Tips That Instantly Improve One Layer Cards: Yippee for Yana

Hi friend! Please join me in welcoming back the oh-so-talented and amazing Yana Smakula! (Please note: our dear friend Yana is Ukrainian. To show support to our brothers and sisters in Ukraine, please see Yana’s post HERE.)

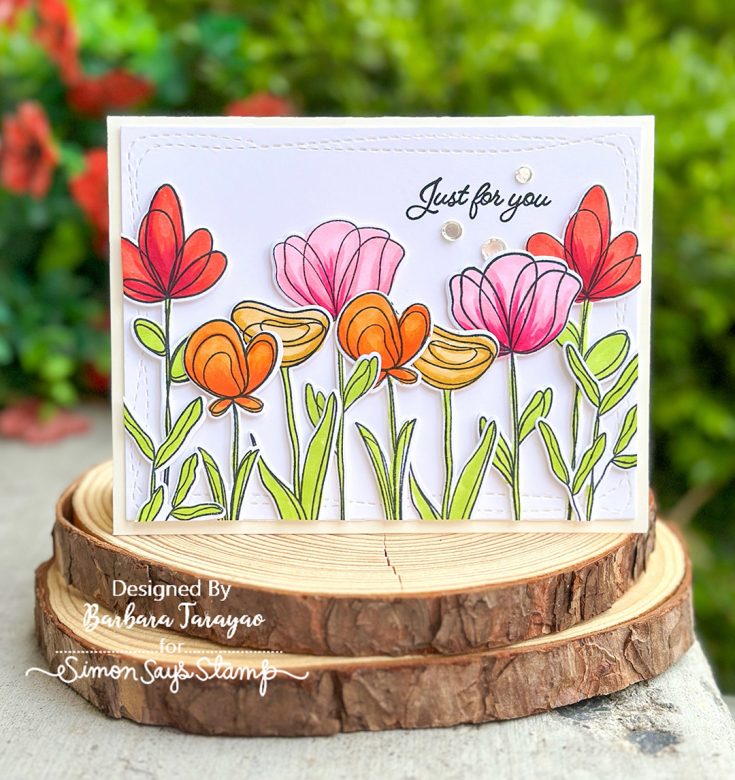
Hi everyone! Welcome back for another Yippee for Yana episode. One-layer cards are often described as simple. And they are. But they can also be surprisingly tricky to get right.
Without die cuts, foam adhesive, or layers to rely on, every decision you make matters more. Placement, balance, spacing, and detail all play a role in whether your card looks polished or unfinished.
Today I’m sharing a simple formula I use when creating one-layer cards. I call it the anatomy of a one-layer card. Once you understand these steps, you can apply them to any stamps you already have in your stash and create clean, professional-looking designs every time.
You can watch the full process in the video below.
Step 1: Start with the Sentiment
The most important decision on a one-layer card is where your sentiment goes.
Because you are not adding layers later, you need to plan your layout from the very beginning. I like to place my sentiment slightly above center to create a natural visual balance and leave room for the design to build around it.
If your card ever feels “off,” chances are it’s not your stamping, but your placement.
Step 2: Create the Illusion of Layers
Even though this is a one-layer design, you can still create the look of dimension.
One of my favorite tricks is to mask the panel edges with tape to create a clean border. This frames the design and instantly makes the card feel more finished and intentional.
You can use tape, draw light pencil lines, or simply visualize the border if you prefer.
Step 3: Plan Before You Commit
Before stamping anything onto your panel, take a moment to plan your layout.
I like to stamp my images onto scrap paper, cut them out roughly, and move them around on my panel. This allows me to test different arrangements, balance the composition, and avoid awkward gaps.
Once I find a layout I like, I take a quick photo with my phone so I can easily recreate it.
This extra step can save you from making mistakes and gives you much more confidence as you build your design.
Step 4: Build Your Background
Now it’s time to bring your design to life. Work around your sentiment and build your background using your images. Start with larger elements first, then fill in with smaller ones.
Rotate and angle your stamps to create movement. If an image feels too long or too large, you don’t have to use all of it. Fading or partially stamping images can create a more natural, organic look.
Whether you’re stamping or ink blending as I did here, the goal is to create a balanced composition that flows around your focal point.

Step 5: Add Detail and Depth
Once your base layer is complete, go back and add detail stamping.
This step brings everything together and gives your images more definition. Don’t worry about lining everything up perfectly. A slightly offset look can actually add interest and dimension to your design.
This is where your card starts to feel finished.
Step 6: Fill the Gaps
Take a step back and look at your background.
If you notice any empty areas, fill them in with small details. This can be tiny stamps, dots, or simple textures that complement your main images.
These small additions help unify the design and eliminate any areas that feel incomplete.
Once your background is finished, remove any masking tape to reveal a clean border and mount your panel onto a card base.
That’s it. No die cutting, no layering, and no bulk.
Here’s a quick recap of the anatomy of a one layer card:
- Start with your sentiment
- Create a faux border or frame
- Plan your layout
- Build your background
- Add detail
- Fill the gaps

This approach takes the guesswork out of designing and gives you a repeatable process you can use again and again.
If you give this technique a try, I’d love to see what you create.
WATCH THE VIDEO:

SUPPLIES:
|


Ways to support Ukraine:
If you are looking for ways to support Ukraine, we encourage you to visit this page on Yana’s blog:

A big thank you to YOU, our reader — and to Yana for being our guest!
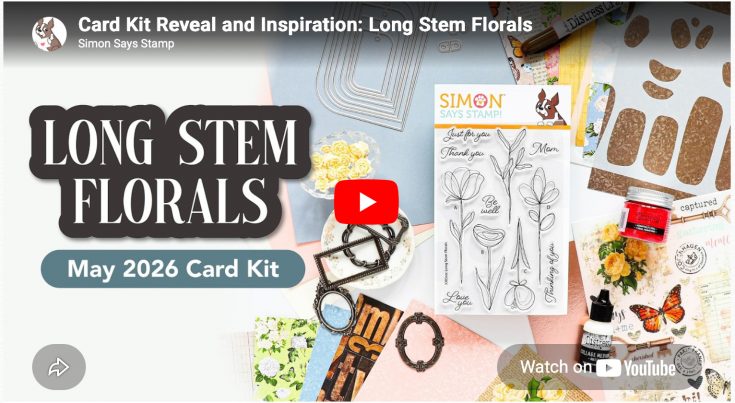
Card Kit Reveal and Inspiration: Long Stem Florals


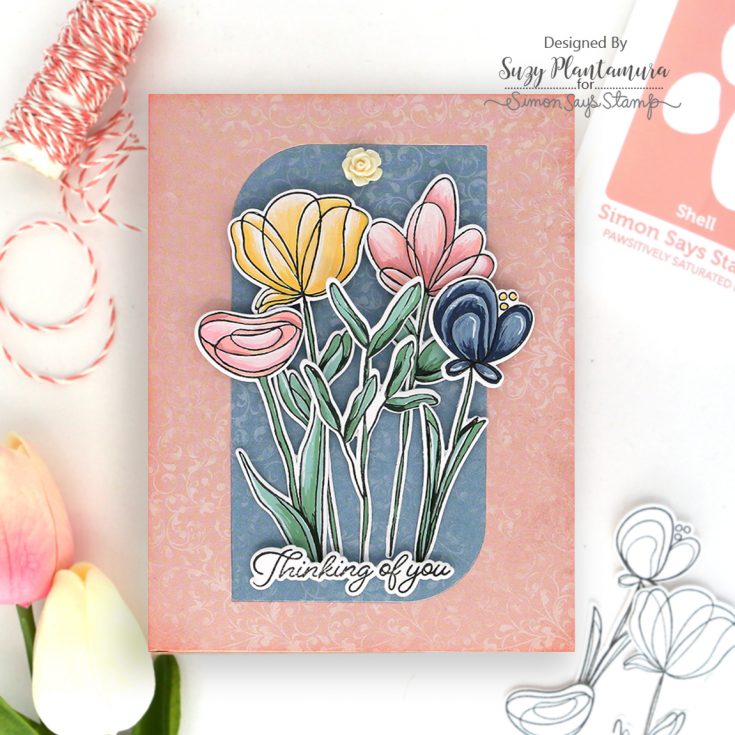
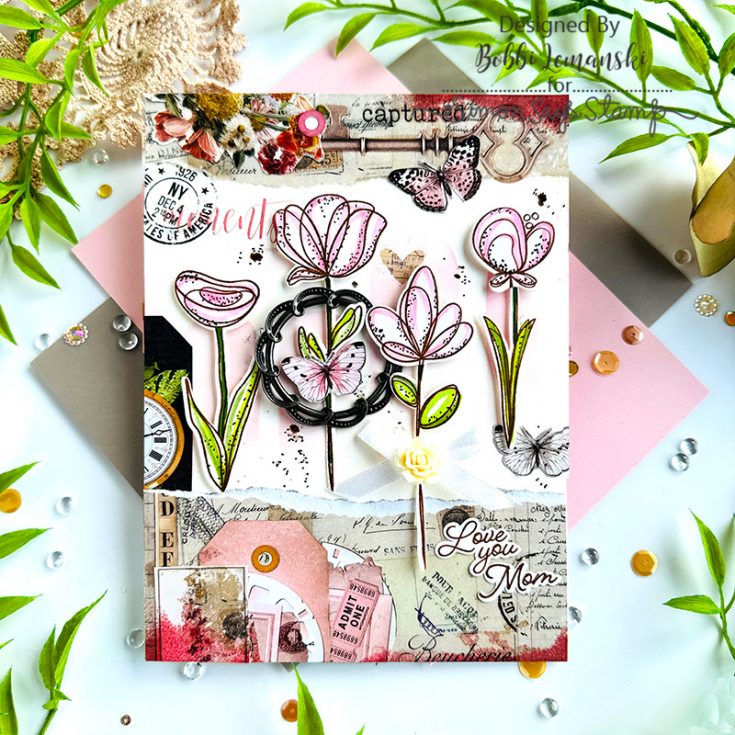
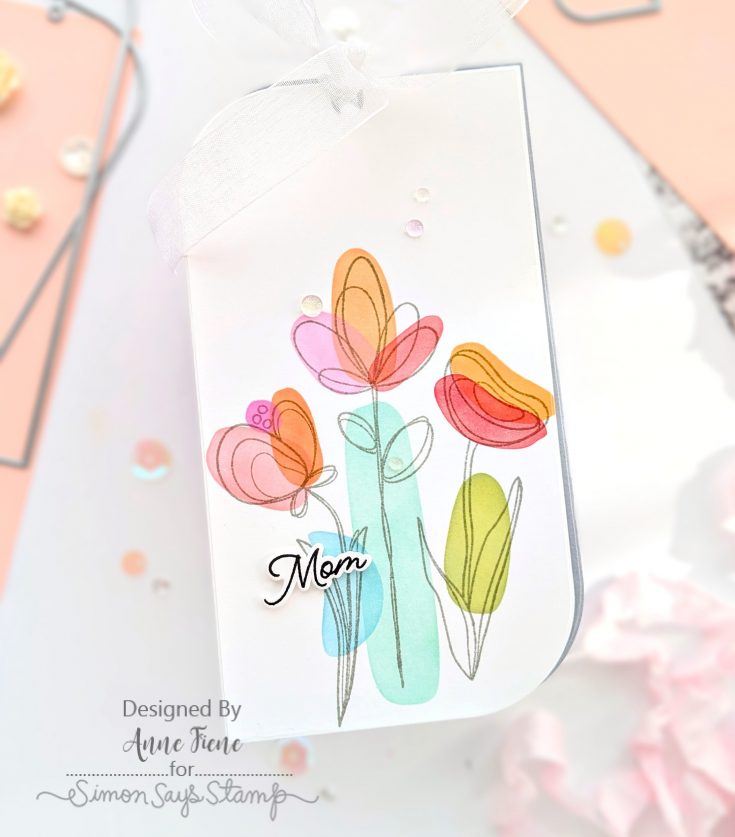
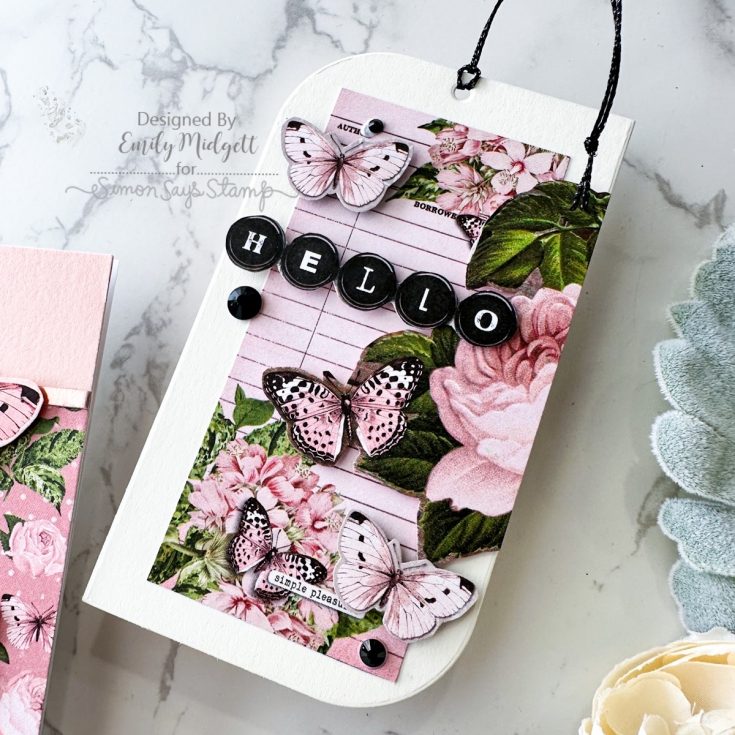
We’re proud to introduce our May 2026 Card Kit—Long Stem Florals!
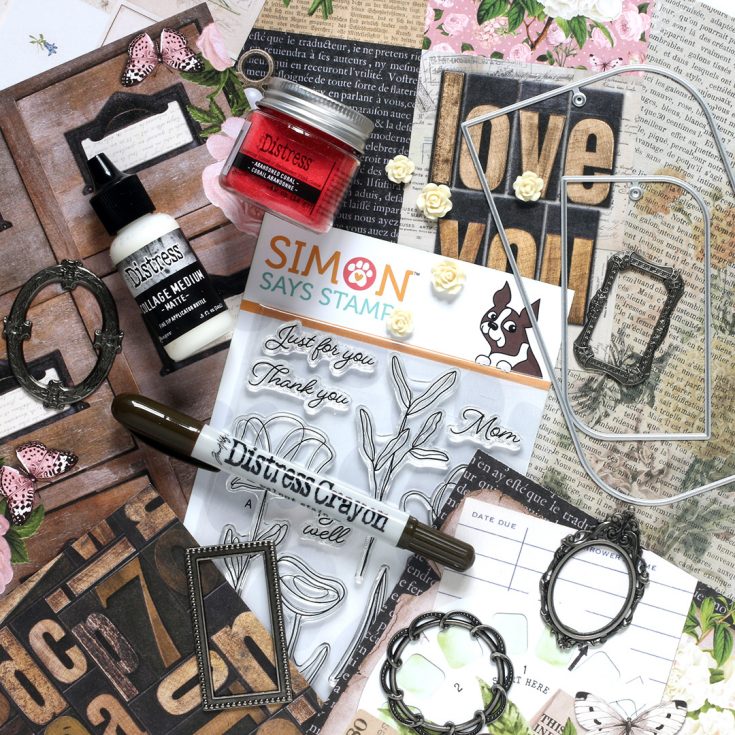
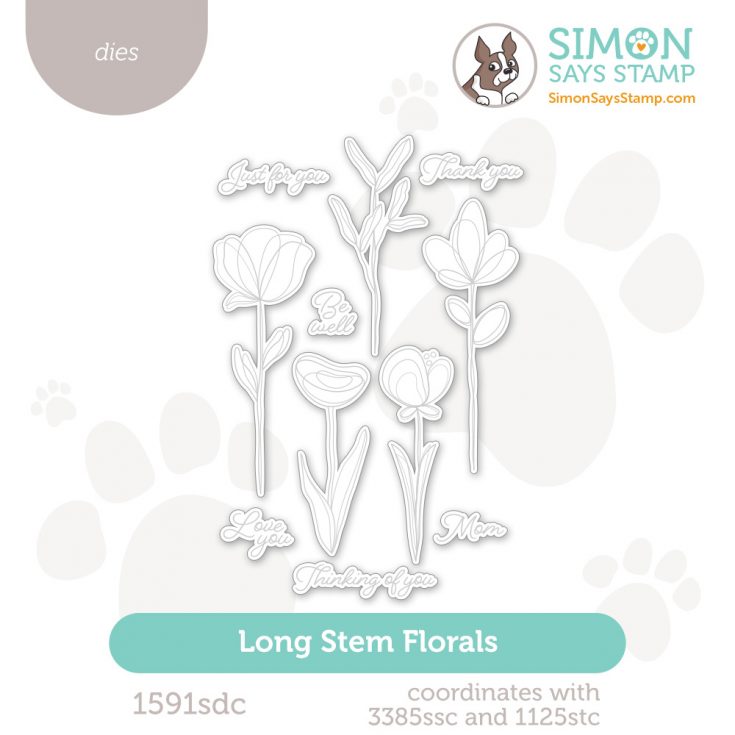
You’ll fall in love with this amazing kit curated with you in mind! It includes three awesome NEW exclusive products from Simon Says Stamp: the Long Stem Florals 4×6 stamp set and Long Stem Florals Color Blocks coordinating 6×6 stencil set, and the versatile Squoval Tags die set which includes 8 different sizes of tags as well as reinforcer dies!
We’ve included 12 sheets of pretty, double-sided patterned papers and rub-ons from Simple Stories to enhance the kit. You’ll love the creative options for techniques with the following Tim Holtz/Ranger products: 1 jar Distress Embossing Glaze, 1 bottle Mini Distress Matte collage medium, and 1 Walnut Stain Distress crayon, and also these terrific Tim Holtz/Idea-ology products: 1 package Deco Frames metal adornments, 1 package of Heirloom Roses, and 1 sheet of Rose Gold 6”x9” metallic kraft stock.
Rounding out this awesome kit are 1 sheet each of Simon Says Stamp Apricot, Steel and Ivory cardstock. We can’t wait to see how you will be inspired by this kit!
WATCH THE VIDEO:
Enhance your kit with the coordinating die set (sold separately!)
Quick Tip:

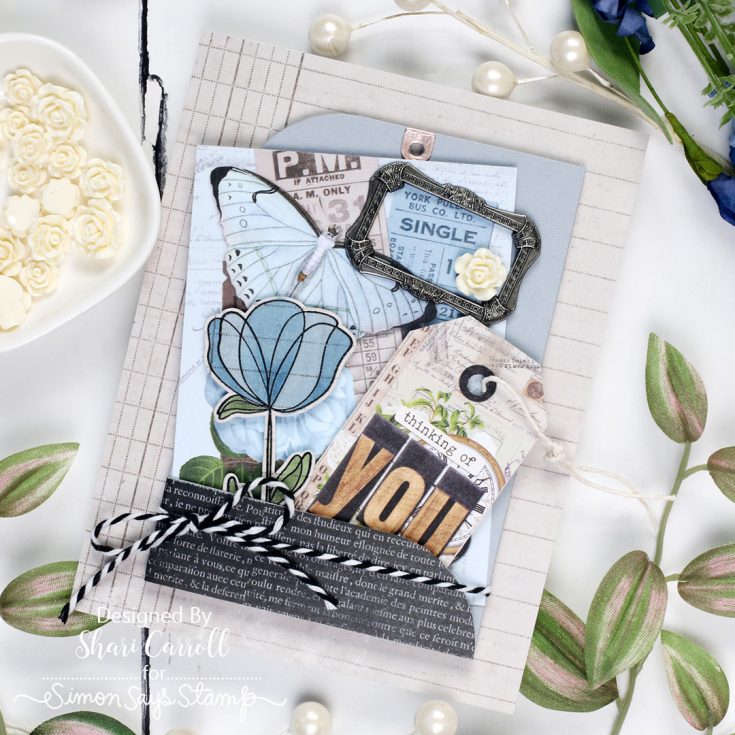
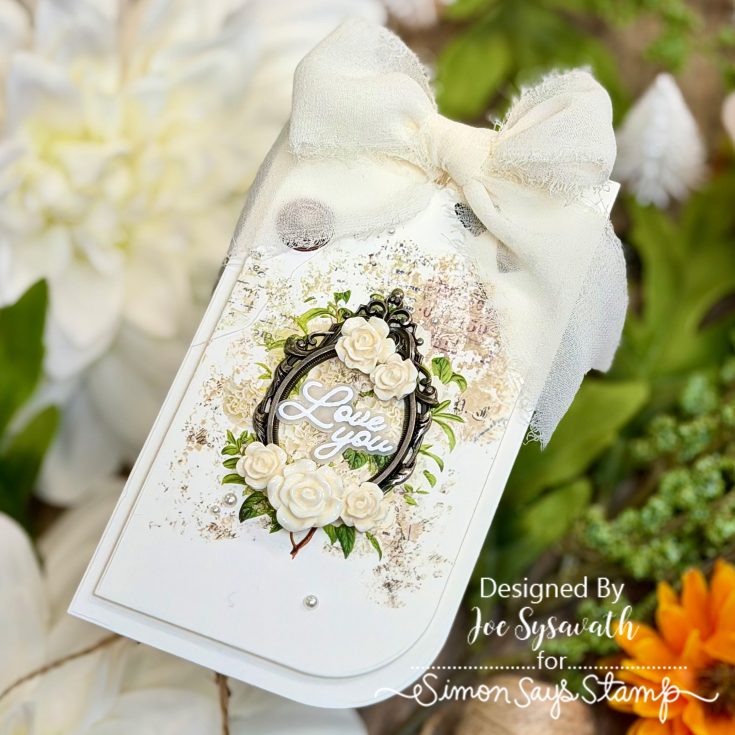
Ideas to INSPIRE!

SET A REMINDER!
We’re going LIVE on Tuesday, April 16th at 12 PM ET!

Did you know?! We’ve made our card kit subscription BETTER THAN EVER!

Here’s what makes our new service a crafting paradise:
Exciting new perk! USA Subscribers can get free shipping on their recurring subscriptions!
Free or Discounted Shipping Opportunity: Love Free Shipping? Us too!! Valued subscribers have a chance each month to receive free USA Shipping on a card kit subscription purchase! Simply login to your account, click “manage subscriptions” and add additional products to your subscription shipment so the order total is $100 or more before 11 PM ET on the 15th of the month. International customers will receive $7.99 off their cost of shipping – no code required! (Existing subscribers only)
Exclusive Access: As a subscriber, you get first dibs! Each month, you’ll get an exclusive sneak peek at our new kit, with the option to add more coordinating items to your cart, including handy replenishable supplies, all shipped together for your convenience.
Hassle-Free Payments: Say goodbye to monthly billings! Our automated system smoothly charges your preferred card, ensuring an uninterrupted flow of crafty goodness – unless you decide to pause, of course!
$5 Off Magic: Enjoy a special $5 discount off our kit’s retail price, exclusive to our beloved subscribers – no codes needed, just automatic savings!
Crafting Inspirations: Dive into a sea of creative ideas monthly, all tailored around your kit, to keep your inspiration flowing endlessly.
Flexibility First: Fear of commitment? Not here! Our subscription is as flexible as it gets – pause or cancel anytime, no strings attached.
Why wait? Step into the realm of our NEW Simon Says Stamp Monthly Card Kit service. Welcome a box full of crafting marvels, right to your doorstep. Craft with ease and let creativity come to you!
Ready to elevate your craft? Subscribe Now and open the doors to boundless creativity!
We’re thrilled to have you in our crafting community and can’t wait to embark on this renewed creative adventure together!
Quick & Beautiful Mother’s Day Card Idea (So Easy!): EZ with CZ

Hi friends! Happy Monday! Please join me in welcoming special monthly Guest *CZ herself*, Cathy Zielske in the latest of our EZ with CZ blog series! Be sure to watch the video to learn all the details on this pretty card and enjoy!
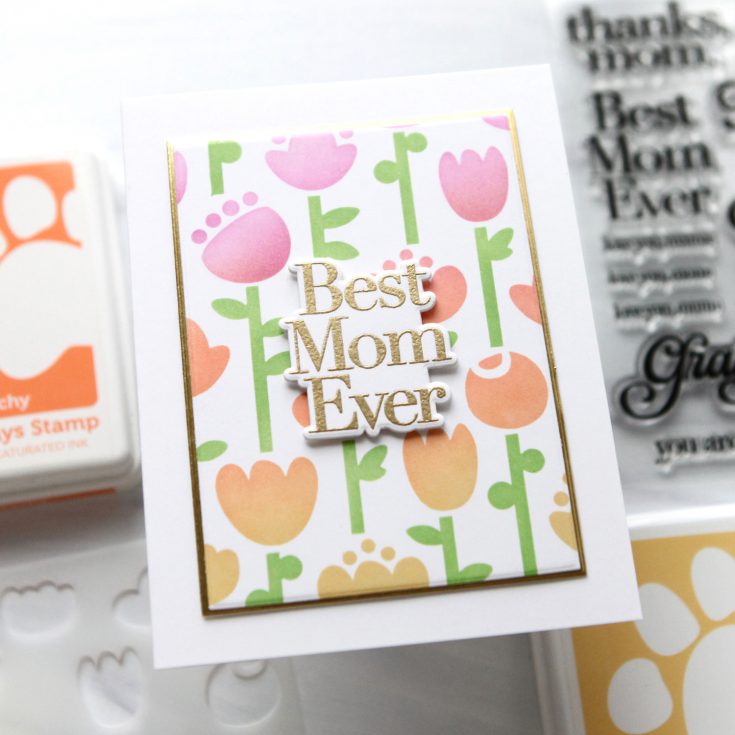
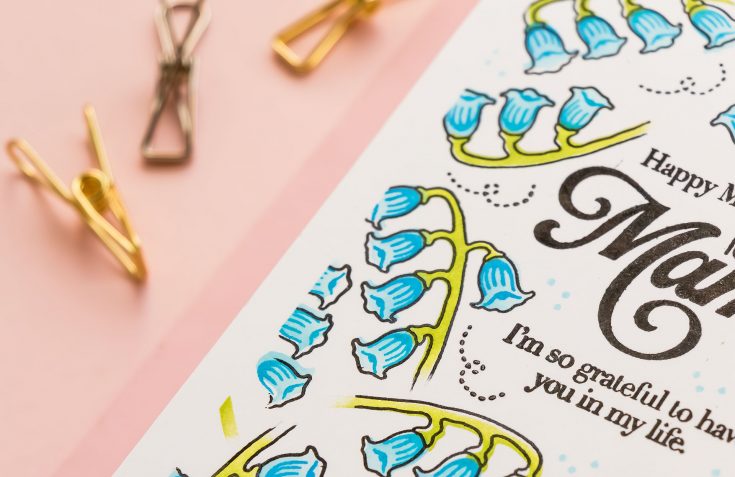
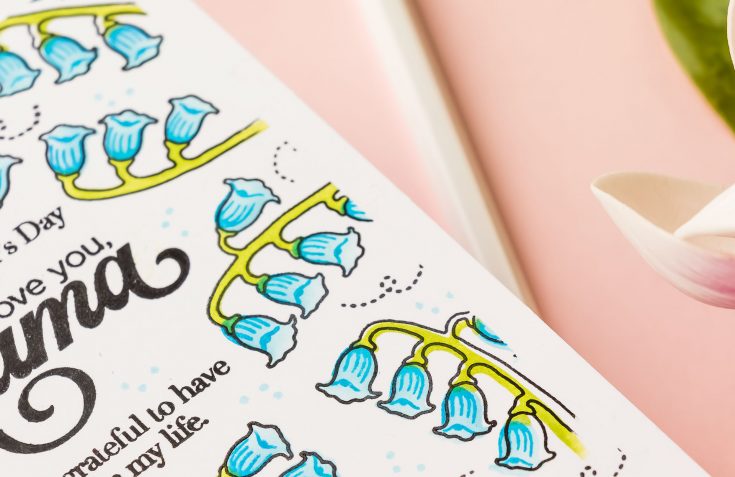
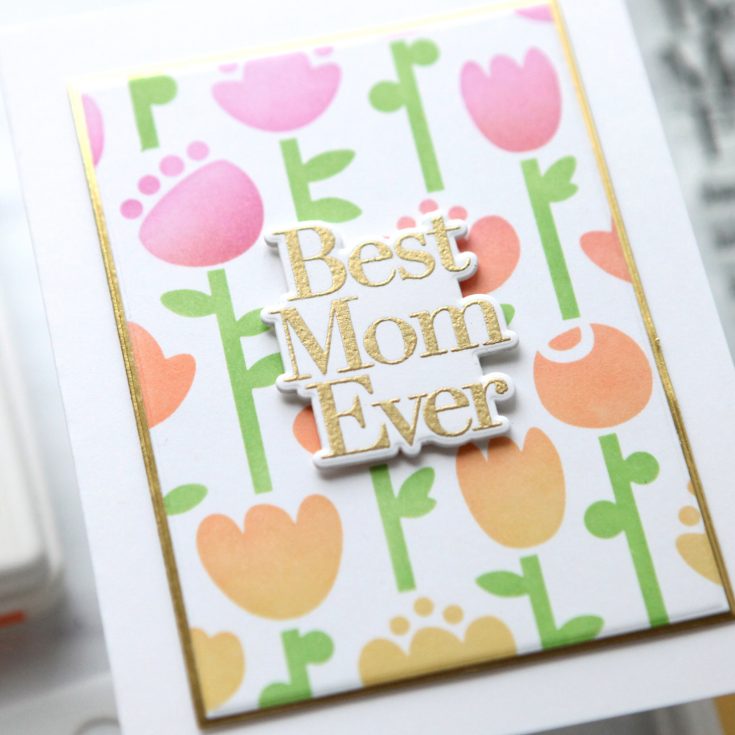
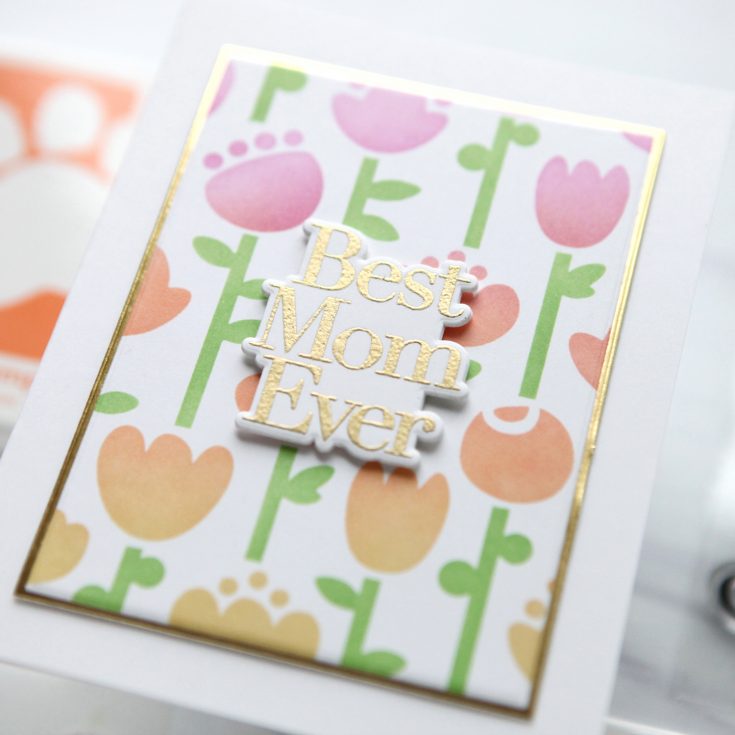
Today I’m sharing a very simple idea that would work beautifully for a Mother’s Day Card, or truly, any simple theme with a large greeting. I’m using my Thanks, Mom Stamps & Dies for the greeting and the Folk Flowers Stencil set to create a simply blended panel.
Even though this design is for Mother’s Day, this simple panel approach could work for so many different card themes. Here is the video showing you how to keep it simple:
WATCH THE VIDEO:

As I said in the tutorial, you could isolate flowers and mix up the colors but it’s so much easier to just create an analogous color blend, following the rainbow order. The Folk Flowers stencil has only two layers, which makes it very intuitive to use. Yes, there are coordinating stamps, but I opted for just the stencil.
Look for easy stencil sets to have at the ready anytime you need to create a quick and simple card! Thanks for stopping by and I’ll see you back here next month.
SUPPLIES:
|


A big thank you to YOU, our reader — and to CZ for being our guest!
Join us LIVE tomorrow!