Stay Curious and Explore Etcetera Panel by Emma Williams
Hi friends! Happy Sunday, (and if you are in the USA, Happy Mother’s Day to ALL the wonderful Mom’s out there!!) I’m delighted to welcome back special guest Emma Williams with this stunning mixed media project! Read on for all the details and enjoy!
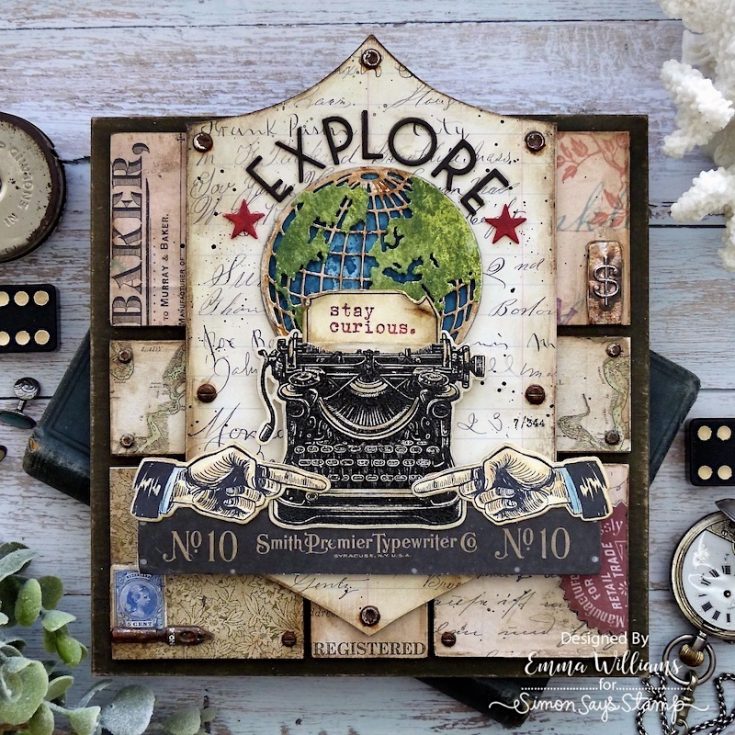
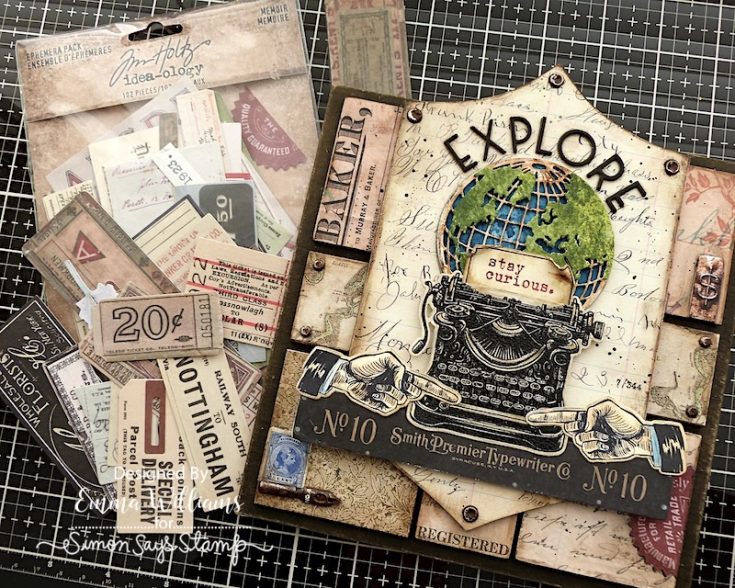
Hello everyone! I’m so happy to be back on the SSS blog today and can’t wait to share my latest project with you! On this post, I will guide you through all the details of how I made this dimensional, layered home decor panel using some new Tim Holtz products from Sizzix, and the new Curiosity Shop stamp set from Stampers Anonymous, that coordinates with SSS dies ~ so, no more fussy cutting!
Also, the ideas I’m sharing with you today, can also be used in so many different ways, so whether you use them for masculine cards, or for home decor pieces. I’d be really excited to see what you make.
So, let’s get started and here’s how I made this project…
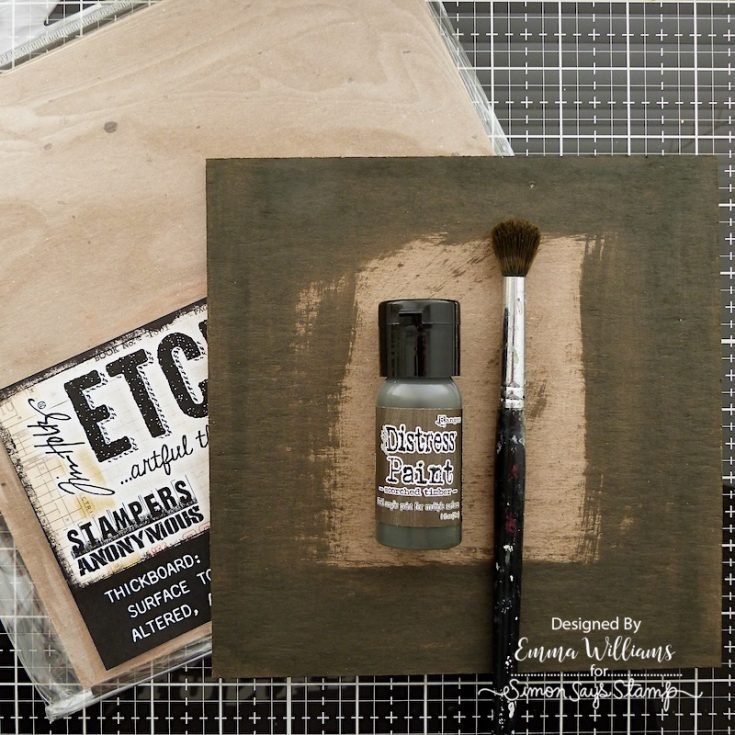
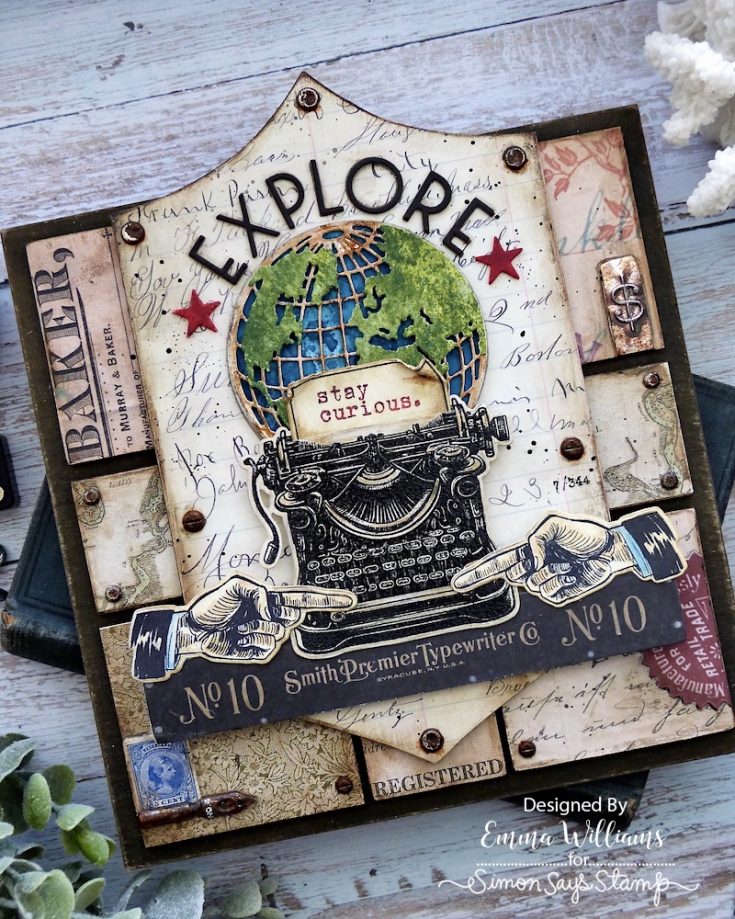
For this make, I used a square Etcetera Panel. These flat panels come in a pack of 4, two small and two large, and I began by painting the surface of the smaller panel with Scorched Timber Distress Paint. Allow the paint to dry.
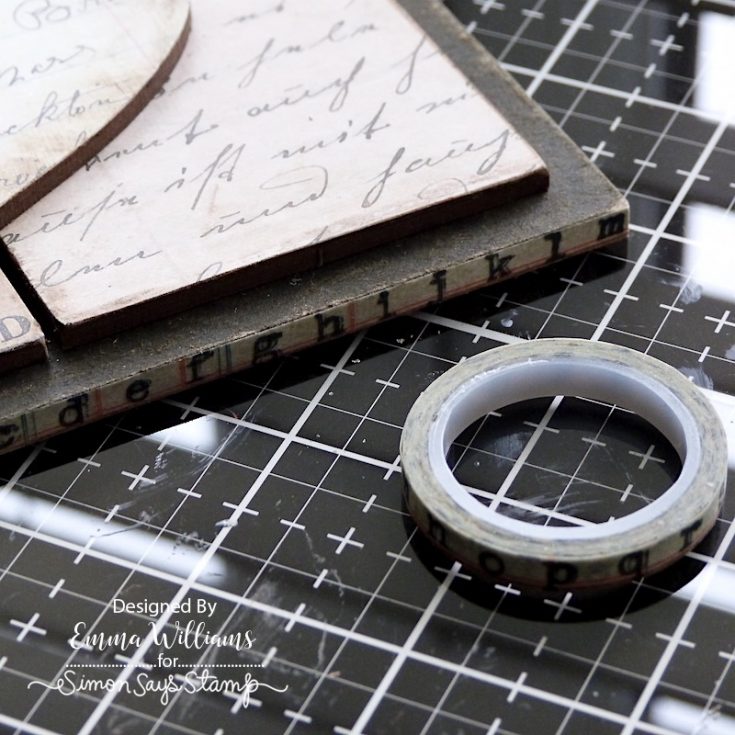
Around the edges of the panel, I applied Design Trim Tape, adding a little Matte Collage Medium to secure the tape in position.
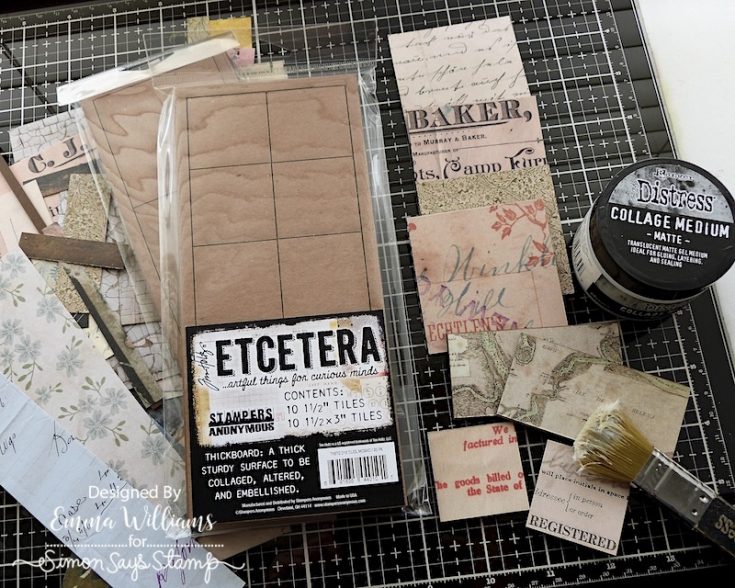
To create the tiled background on the panel, I used a combination of the large square Etcetera Tiles, and the rectangular shaped tile from the Mosaic Tiles pack. I covered each tile with papers from the Backdrops packs ~ this is such a fabulous way to use up the scraps that we all store because we can’t bear to part with them. I covered 4 large square tiles, and 4 rectangular with a selection of the papers, all in the same neutral tones and adhered the paper with Matte Collage Medium, applying a coat of the medium over the top of each covered tile. Set the tiles to one side for the medium to dry whilst moving onto the next stage.
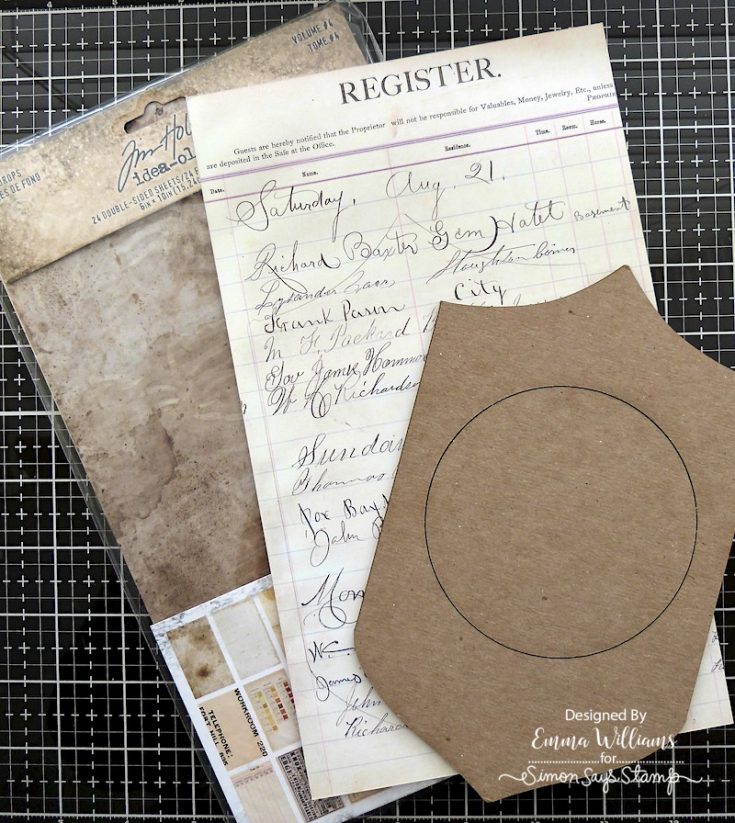
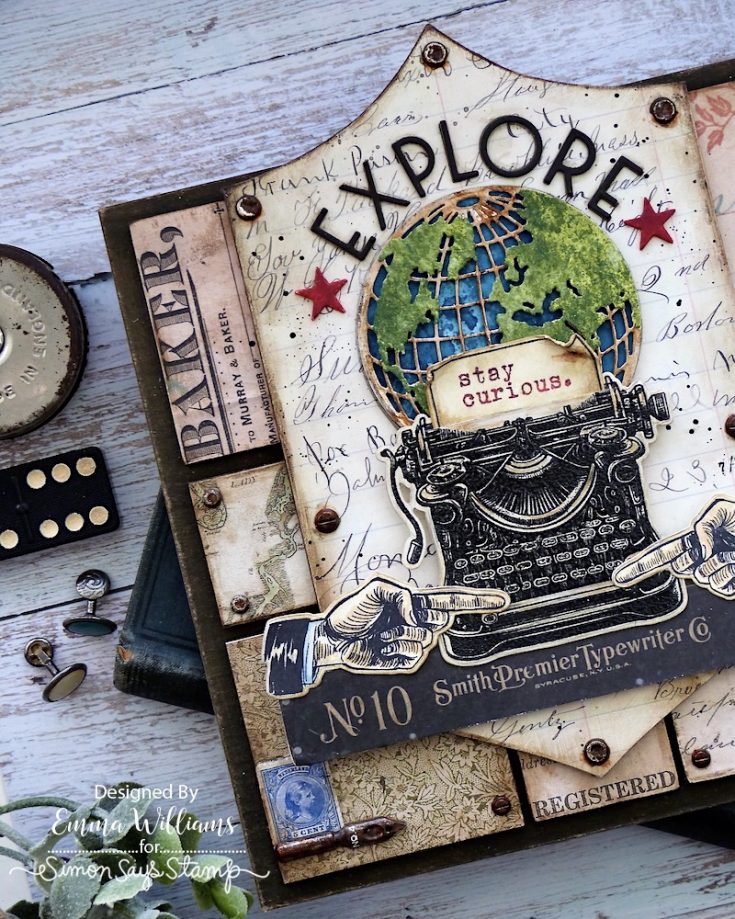
In the centre of the panel, I used the shield shape facade from the Etcetera Facade pack. Without removing the circular piece in the centre in the facade, I covered the surface with a piece of paper from Backdrops Vol 4, again keeping the color as neutral as possible.
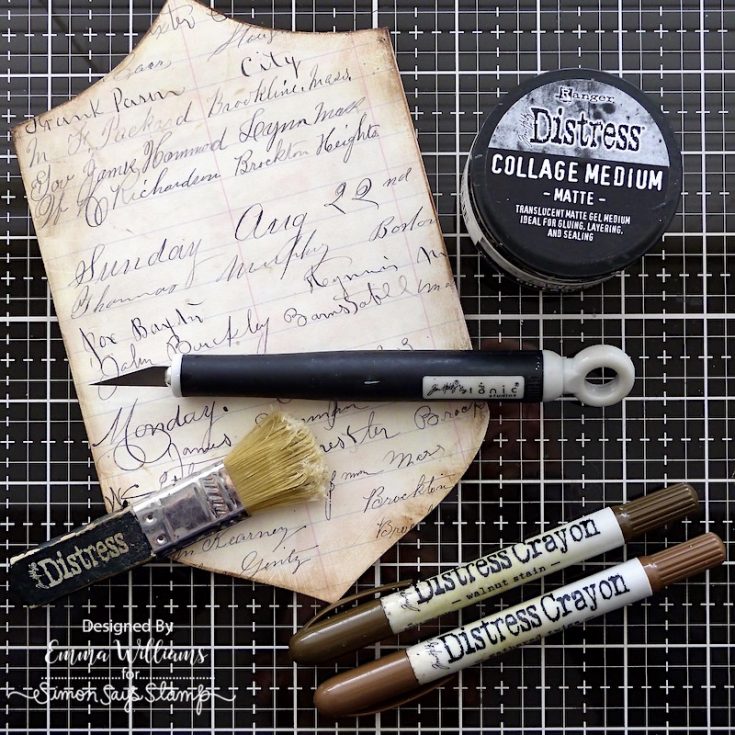
Sand the edges of the facade and then apply a coat of the medium over the top. Once dry, run the Walnut Stain and Gathered Twigs Distress Crayons around the edge, blending out any harsh lines with your fingertips, or using a semi dry wipe.
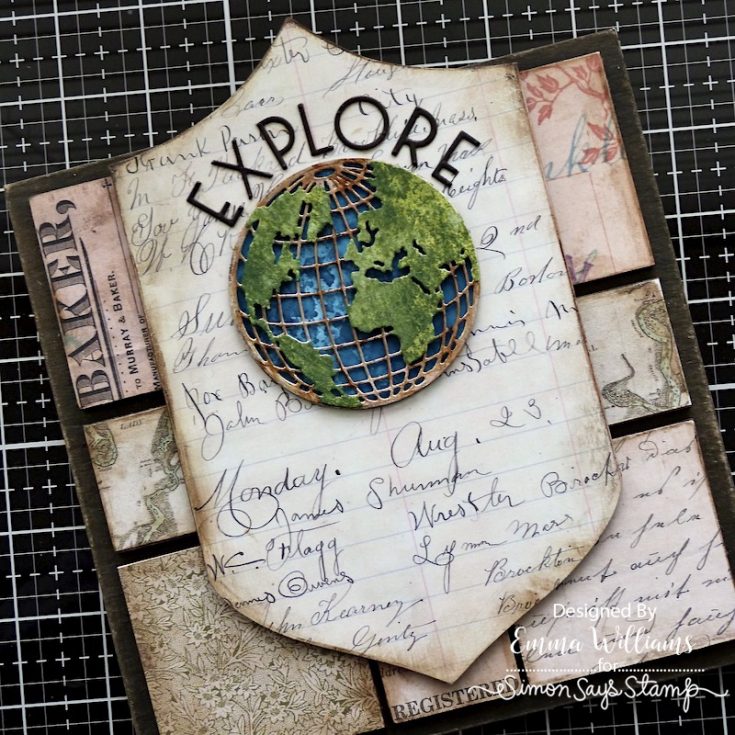
I attached the covered square tiles and the mosaic tiles, onto the panel with Collage Medium, placing the four larger squares in each corner and the remaining tiles in between. There will be a slight gap in the centre, but this won’t show. After running the Walnut Stain Distress Crayon around the edges of each of the tiles, I then attached the facade onto the centre of the panel, allowing the top to slightly overhang the edge.

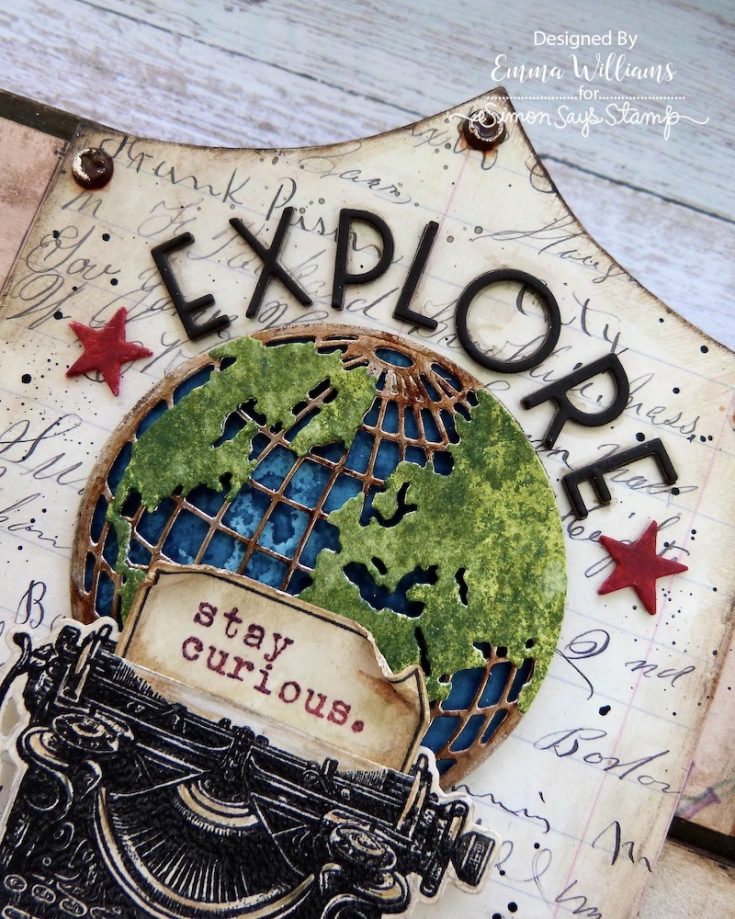
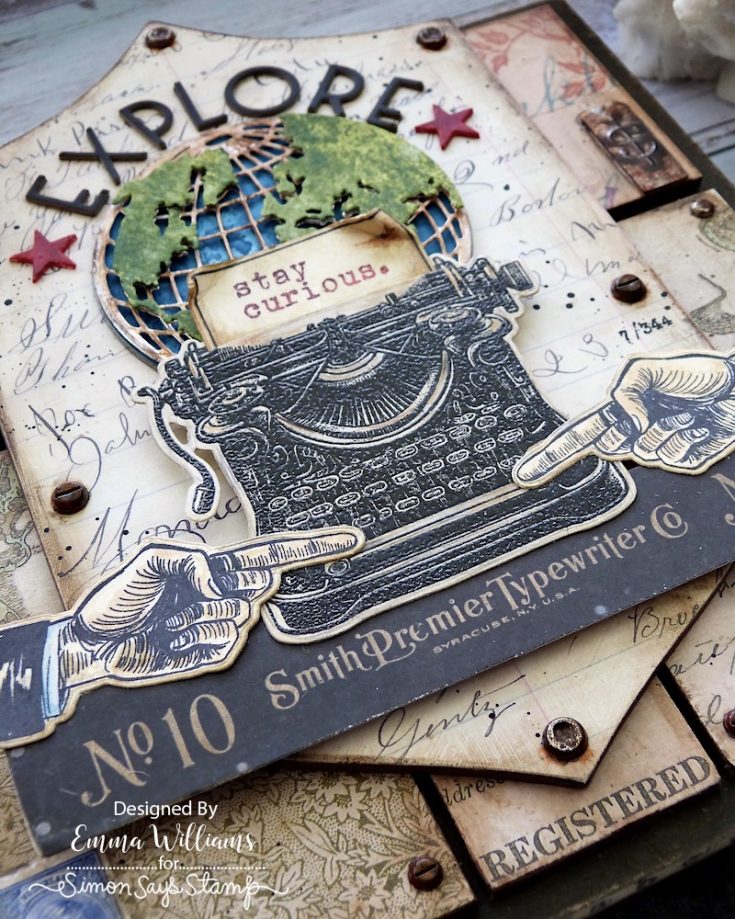
For the word “EXPLORE” that curves around the top of the globe, I cut three layers of each letter from black kraft card, using the alpha die in the Sizzix World Travel Die Set by Tim Holtz. I then layered them over the top of one another to form letters resembling the thickness of chipboard. Set to one side.
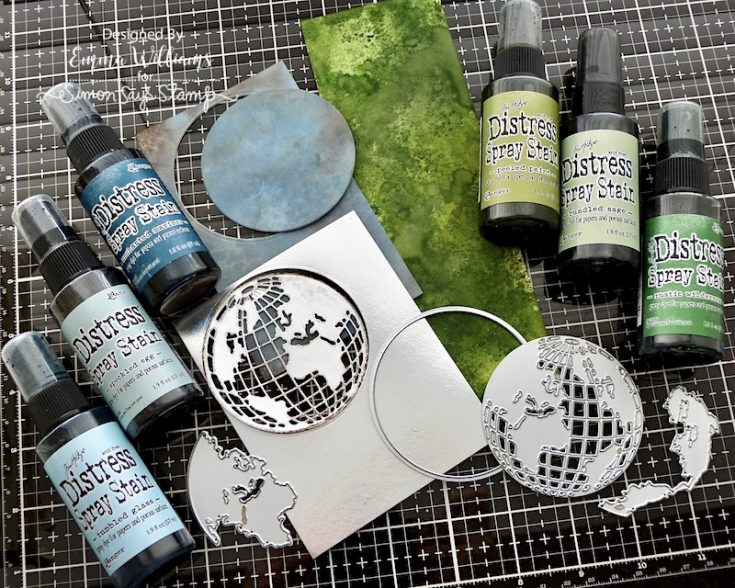
Moving onto the globe, which again is die cut using the Sizzix Vault World Travel Die Set by Tim Holtz. I cut each of my pieces from a combination of Metallic Card, and Watercolour Distress cardstock which I coloured with the following Distress Spray Stains;
- BLUE SEA: Speckled Egg, Uncharted Mariner, Tumbled Glass
- EARTH: Peeled Paint, Bundled Sage, Rustic Wilderness
- LONGITUDE/LATITUDE LINES: Die cut this piece from silver metallic kraft card before inking the surface with Rust Alcohol Ink applied to an alcohol blending tool.
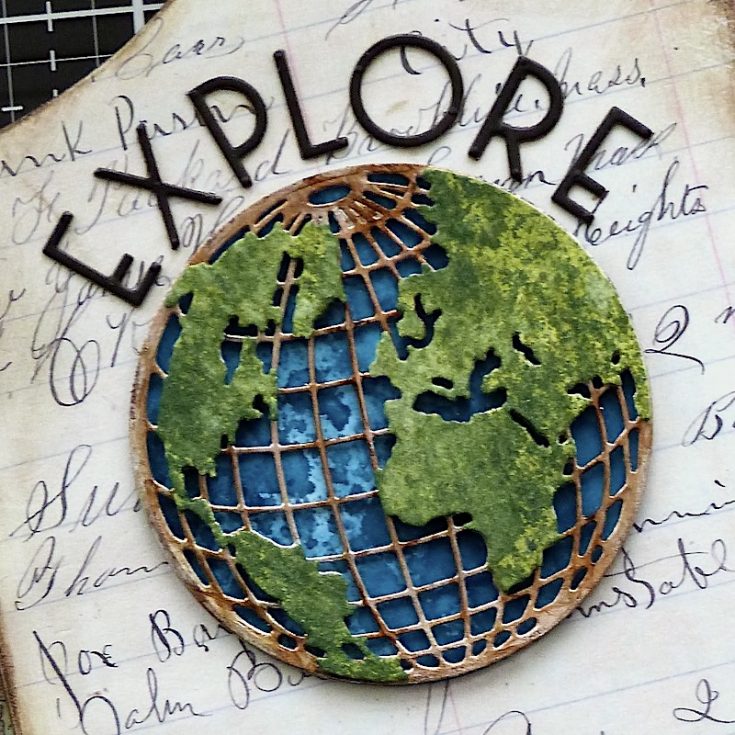
I assembled all the die cut pieces to form the globe and used foam pads on the green earth layer to add dimension. Attach the globe directly to the facade using Collage Medium and then attach the alpha letters, arranging them at the top to curve around the edge of the circle.
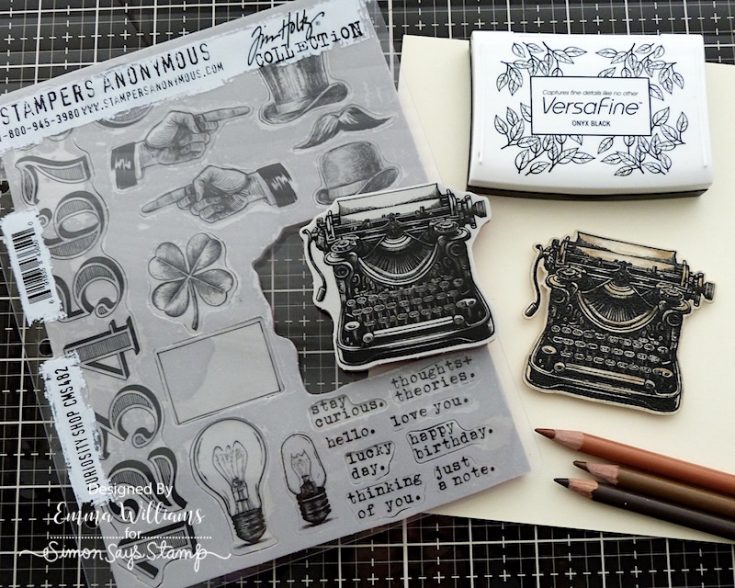
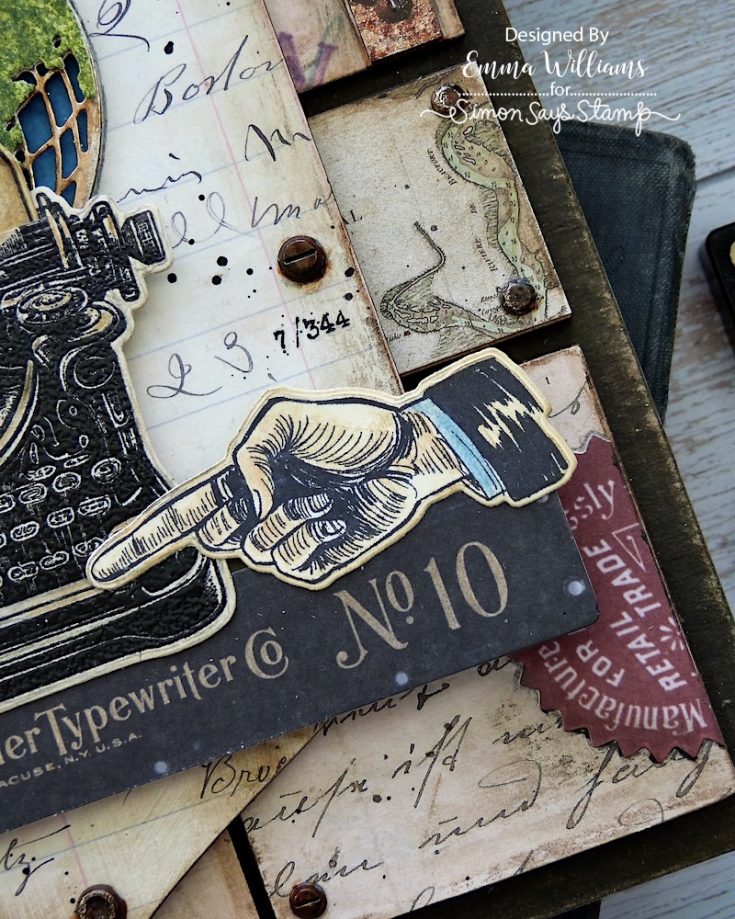
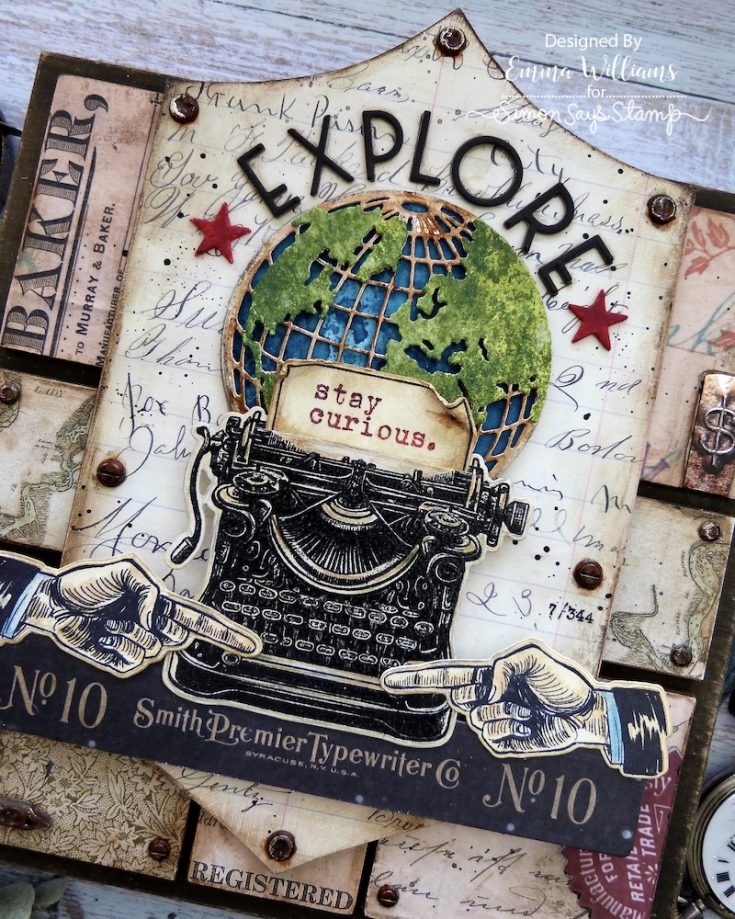
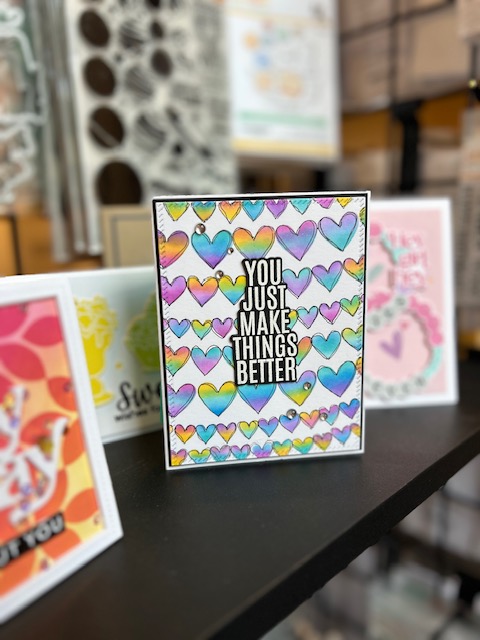
Stamp the image of the typewriter from the Tim Holtz/Stampers Anonymous Curiosity Shop stamp set onto Mixed media Heavystock card using Black Onyx Versafine Ink. I sprinkled clear embossing powder over the image, heat embossed until shiny and then lightly coloured the image with Polychromos pencils, again keeping to neutral tones. To cut the image, I used the co-ordinating Simon Says Stamp Curiosity Shop die set from the bundle and then inked the edges of the die cut with Walnut Stain Distress Ink.

Attach the typewriter to the facade using foam pads, placing it underneath the globe, and slightly overlapping the bottom edge.

Using Black Soot Archival Ink, stamp the pointy fingers, in both directions and the note to fit into the typewriter onto a piece of Mixed Media Heavystock card. At this stage, also stamp the message, ‘stay curious’, onto the note using Barn Door Archival Ink.
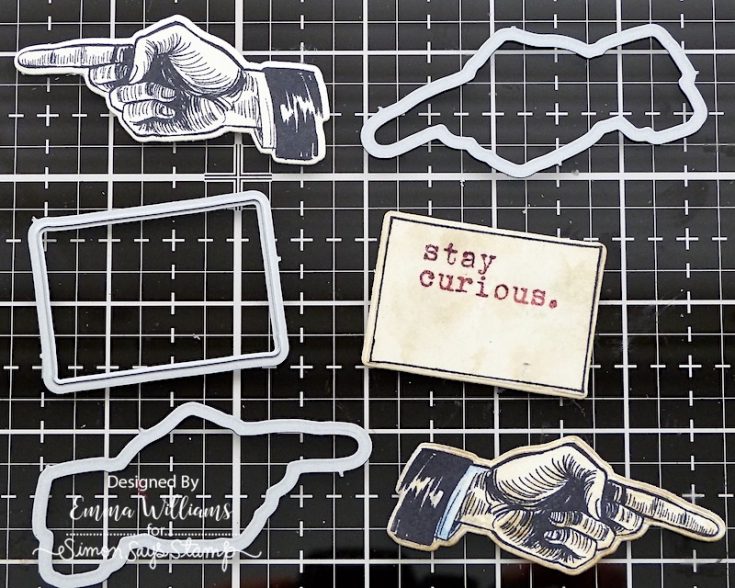
Once again, die cut each of the images with the SSS die set before inking the edges with Walnut Stain Distress Ink and coloring the images with Polychromos Pencils.
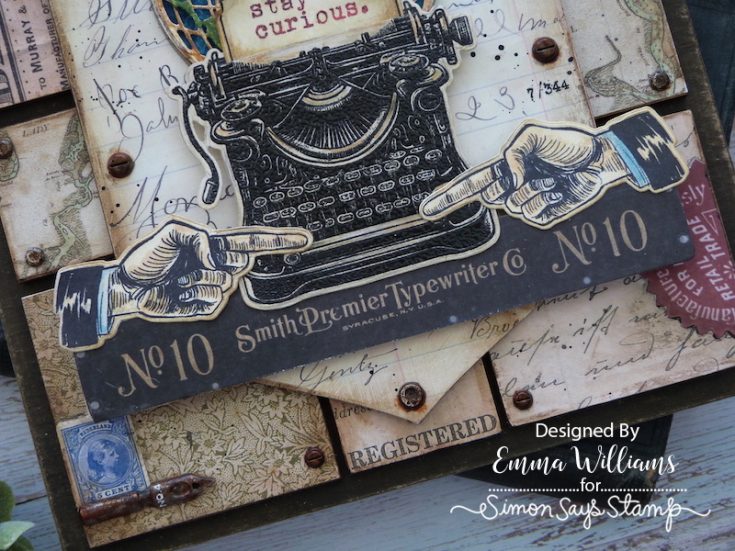
Underneath the typewriter, I used the perfect ephemera strip from the Memoirs Ephemera pack ~ “Smith Premier Typewriter” and after mounting the strip onto a piece of chipboard to strengthen it, I attached it to my project, tucking the top edge underneath the typewriter. Attach the two pointy fingers to either side of the strip and place the “Stay Curious” note into the typewriter.
To add more interest to the tiles around the outside, I used more of the Ephemera pieces from the Memoir pack and adhered them directly onto the surface with Matte Collage Medium, before adding some shadowing around the edges with the Walnut Stain Distress Crayon, blended out with my fingertip.
I also added a Type Chip, cut in half and adhered to the top right hand tile, again adding shadowing around the edge of the chip with Walnut Stain Distress crayon.
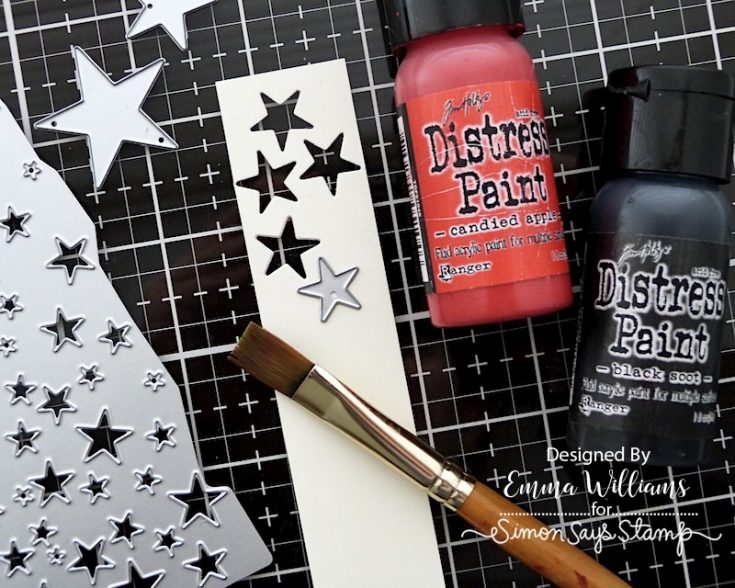
On either side of the word EXPLORE, I placed a red die cut star. For each star I used the Tim Holtz/Sizzix Falling Stars Die set to cut four layers from Mixed Media Heavystock card. I then layered the individual die cuts together to form the star and repeated this to make a second star. I painted the stars using a combination of Candied Apple and Black Soot Distress Paint.
Once dry, I placed them either side of the wording.
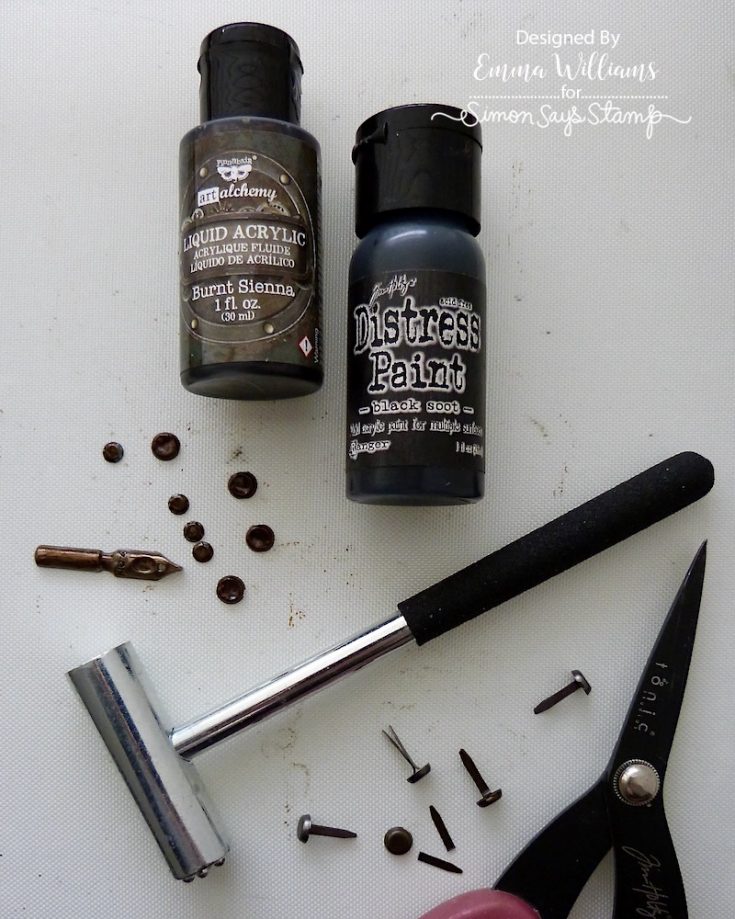
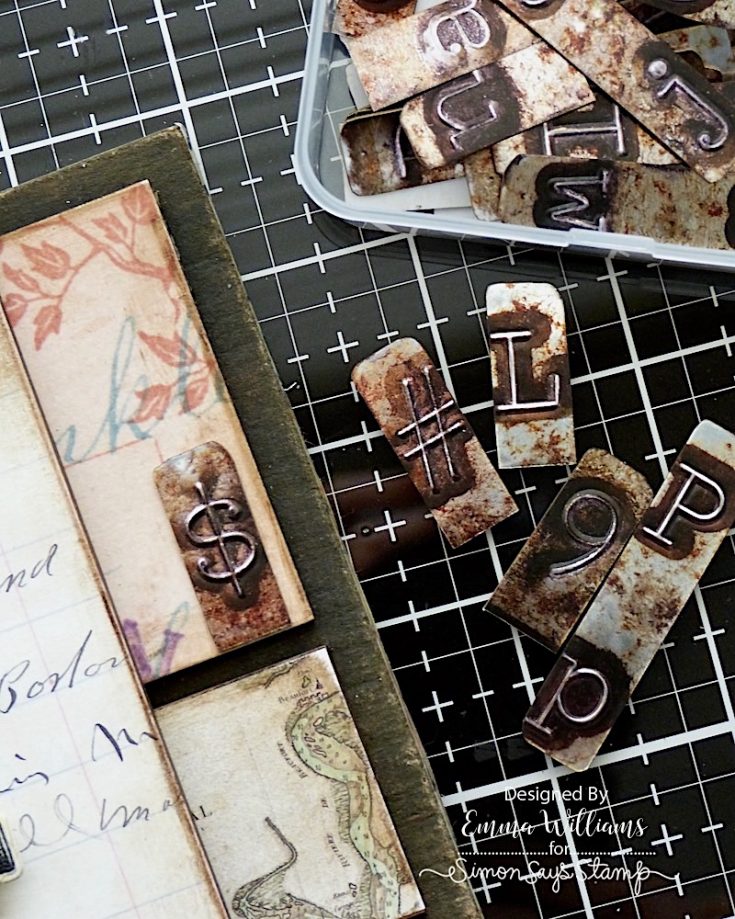
To complete the piece, I added some idea-ology metal hardware pieces, including a pen nib from the Odds and Ends pack, some Hardware Heads and Long Fasteners. I altered each of the metal pieces using a combination of Burnt Sienna Art Alchemy Acrylic Paint and Black Soot Distress Paint, applying each layer of paint separately, and allowing to dry in between the paint layers.
Once dry, I lightly sanded the surface of the metal to create more of a worn, vintage feel and then attached the fasteners, and hardware heads onto my panel. To attach the large fasteners to the project I used my Tim Holtz Scissors to snip of the legs of each one and then attached them direct to the panel with a dot of medium.
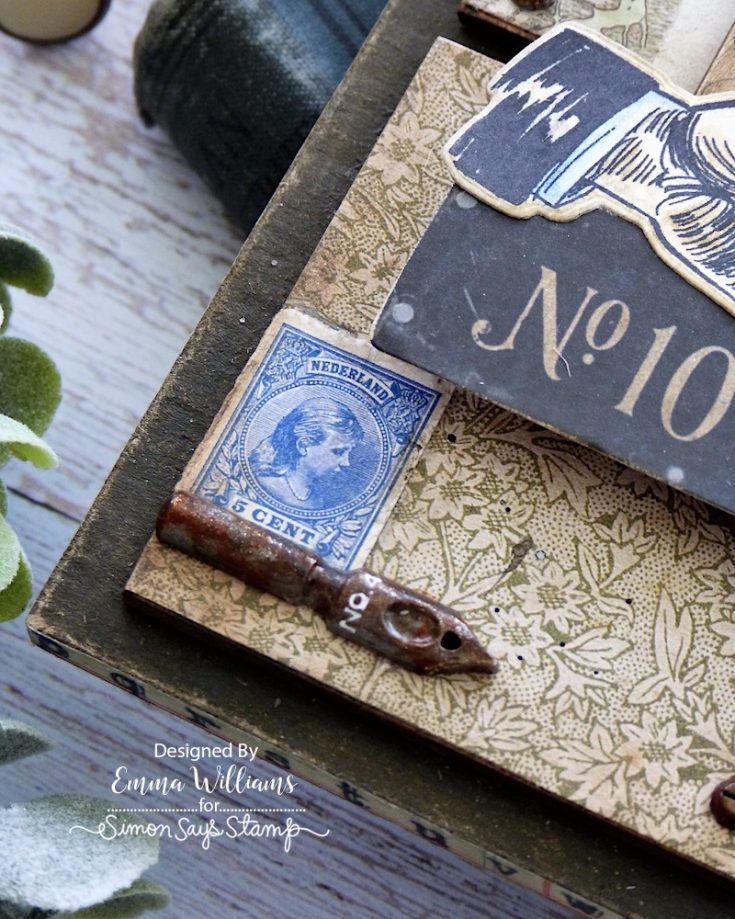
Finally, I attached the pen nib in the bottom left hand corner of the project, placing it underneath one of the ephemera pieces I adhered to the tile, in step 15.
So, that’s my project complete and I really hope you’ve enjoyed this tutorial and been inspired by the techniques.
I’ll leave you all with a few close ups of all the details of my project….

Thanks so much for stopping by today and see you again soon… –Emma x
SUPPLIES:
|


Thanks so much for stopping by, and thanks to Emma for being our guest!
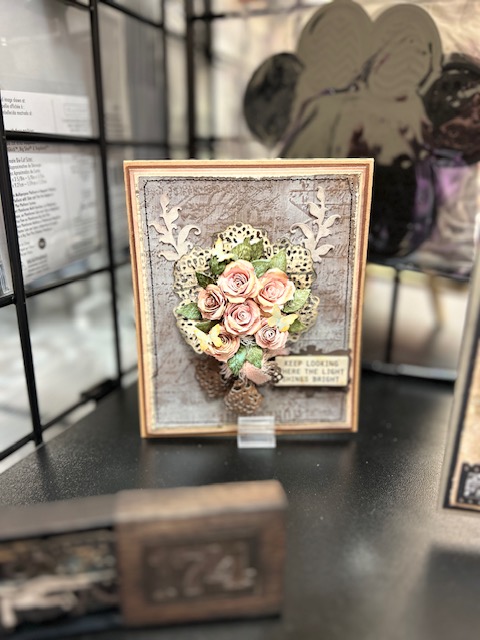
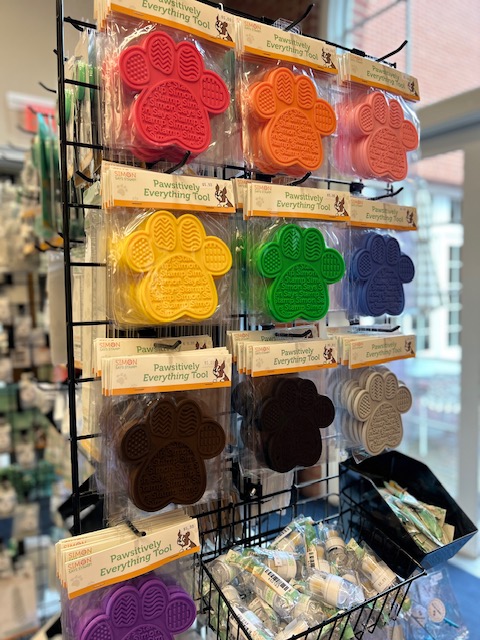
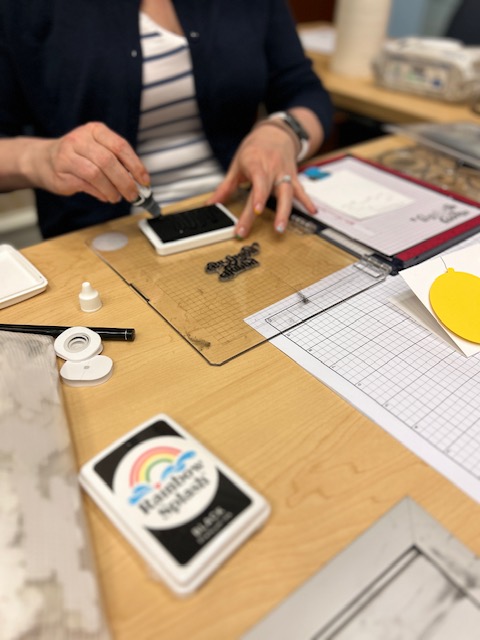
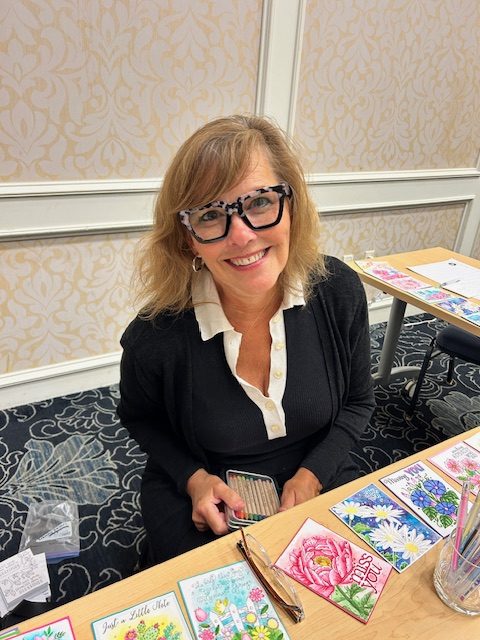
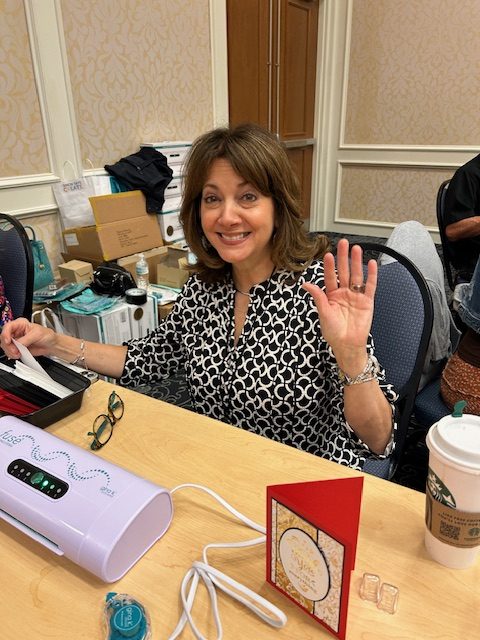
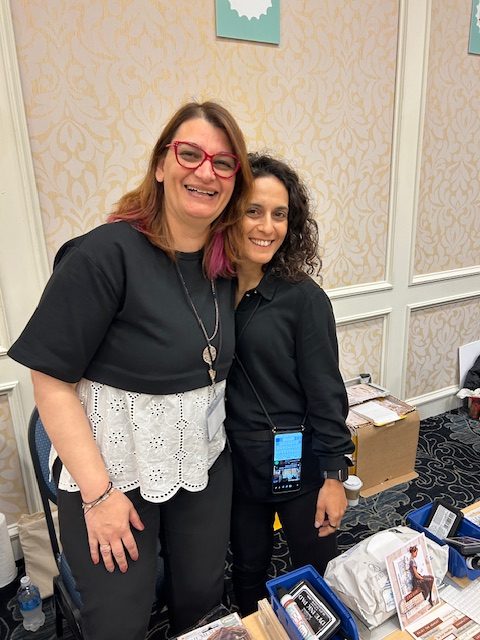
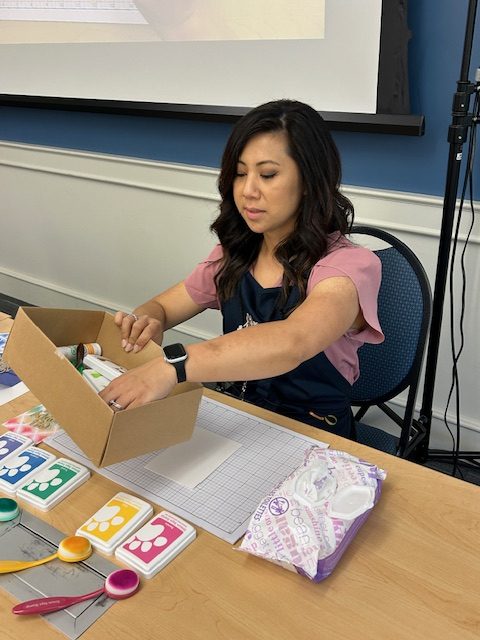
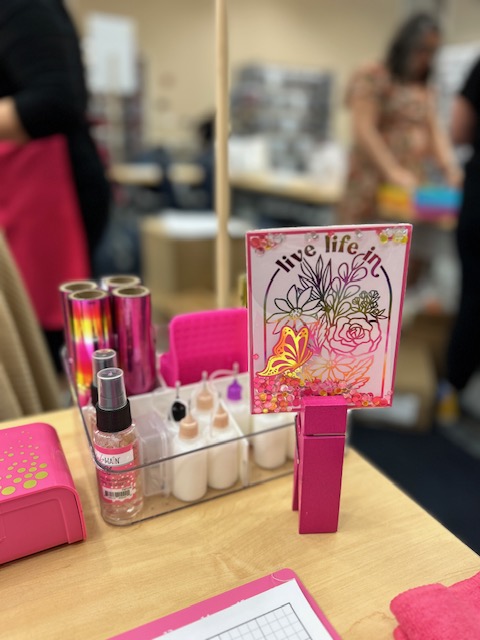
CREATE 2024 Behind the Scenes!
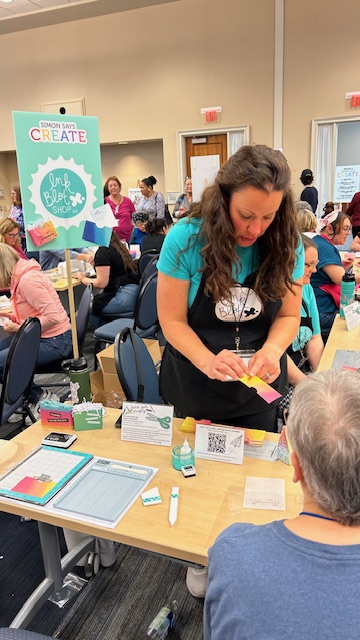
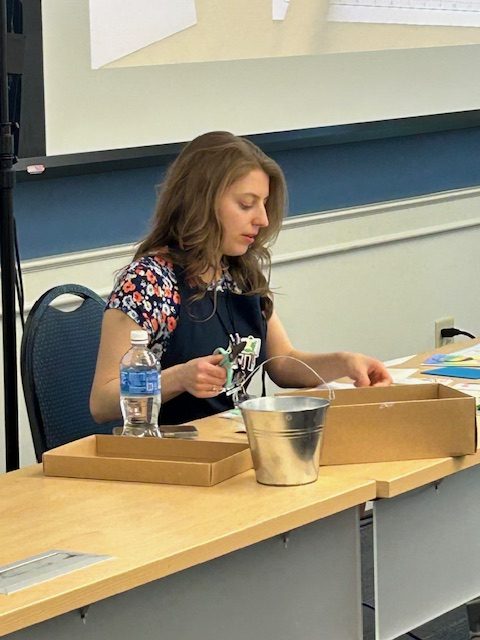
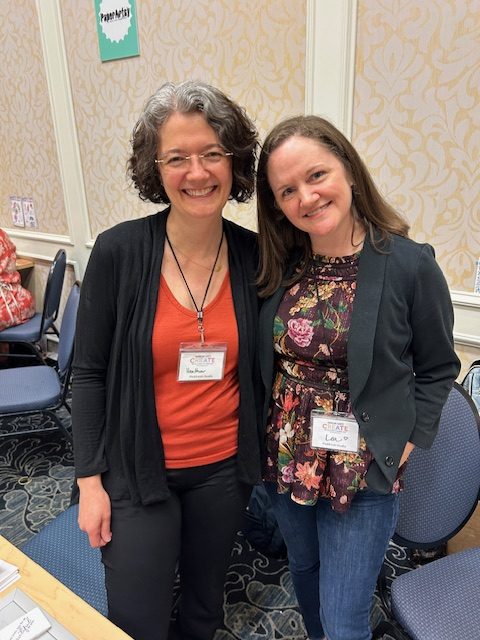
Our exciting CREATE event is under way and we are so excited to share a few sneak peek images of the event so far! Lots of CREATING, smiles, hugs, and shopping! We’re so delighted to reunite with old friends and make new ones! What a joy this event is!
Please be sure to subscribe or follow our social channels on Facebook, Instagram, Youtube, and TikTok for fun behind the scenes footage and more!
As a friendly reminder, this is a sold out event! If you are a student or general admission ticket holder, we look forward to seeing you today!


Our CREATE Event Starts Today!
Today’s the day! We’re super excited that our Create event is here! Please note: we are sold out, no additional tickets will be available at the door. If you have a general admission ticket or student ticket, we’ll see you there!
If you’re not joining us this year, but are curious to see and learn more about our event, please be sure to subscribe or follow our social channels on Facebook, Instagram, Youtube, and TikTok for fun behind the scenes footage and more!
Not familiar with our special event? Check out the video below to get a taste of all of the fun we had at our 2023 Create event:


