Join us! We’re Going LIVE with Cathy Zielske TODAY at 12 PM ET!
Join us live Friday, June 5th at 12 PM ET! Click or tap the bell by ‘Notify Me’ to be notified when we begin!
Create an Encouragement Card Full of Soft Texture & Color: Amore Laurafadora
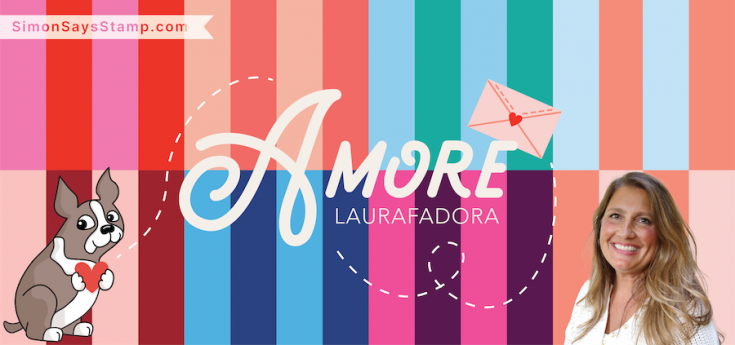
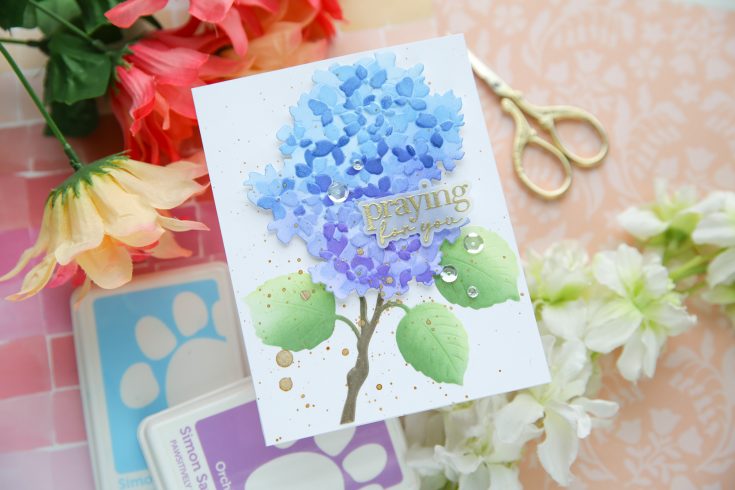
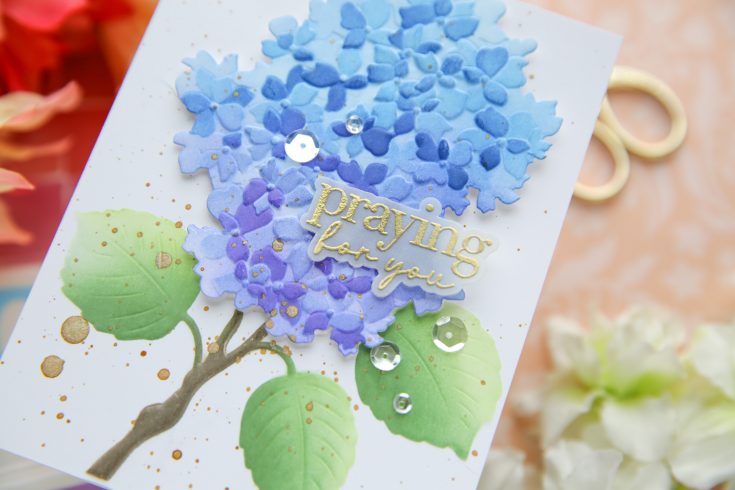
Hi friend! Happy Thursday! Please join me in welcoming back special guest Laura Bassen to showcase this very lovely and textured Gorgeous Hydrangea Embossing Folder, Die, and Stencils set as well as a pretty sentiment from the Inside Greetings 1 set. To get that beautiful blend on the hydrangea Laura used Marine, Royal, Lilac, and Amethyst in our exclusive inks! Read on to learn more and enjoy!
WATCH THE VIDEO:

SUPPLIES:
|


A big thank you to YOU, our reader — and to Laura Bassen for being our guest!
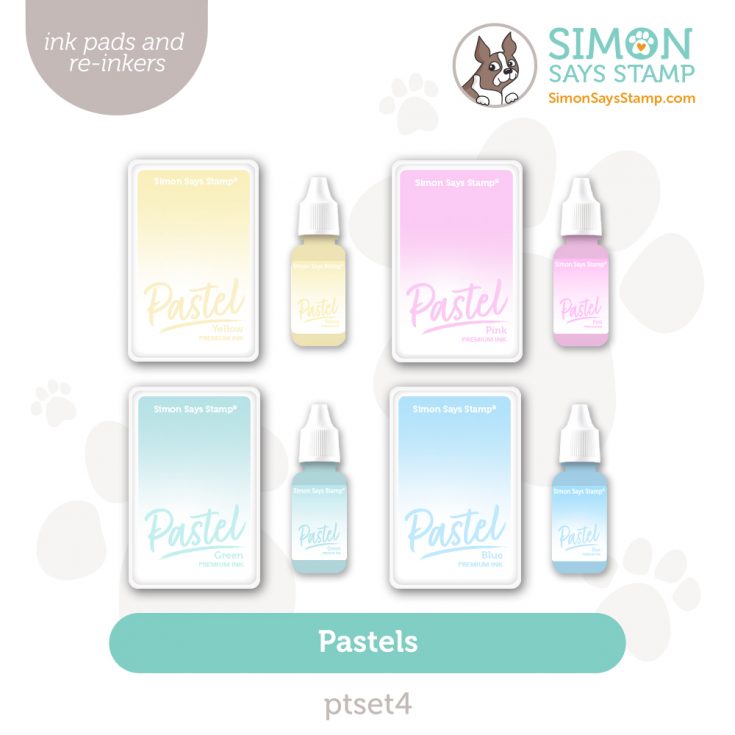
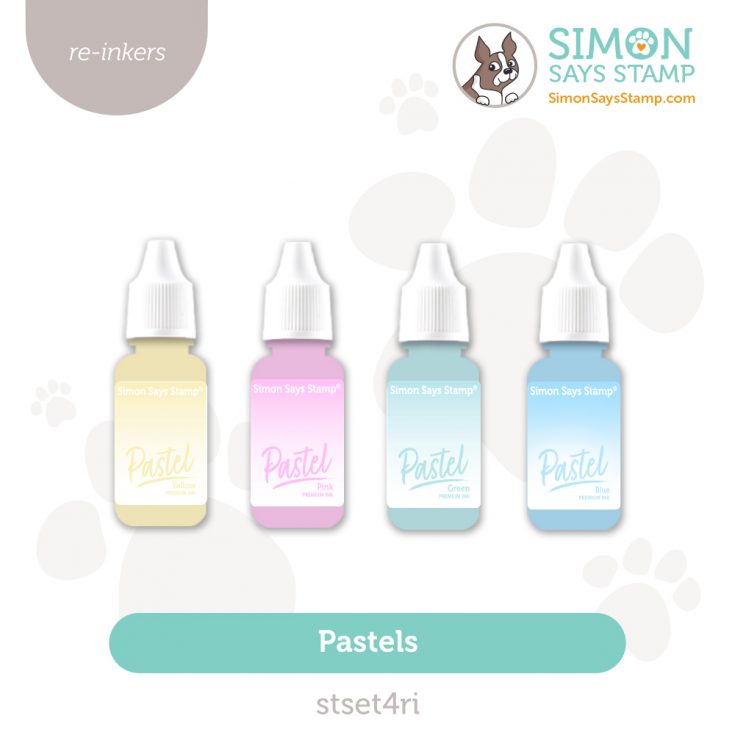
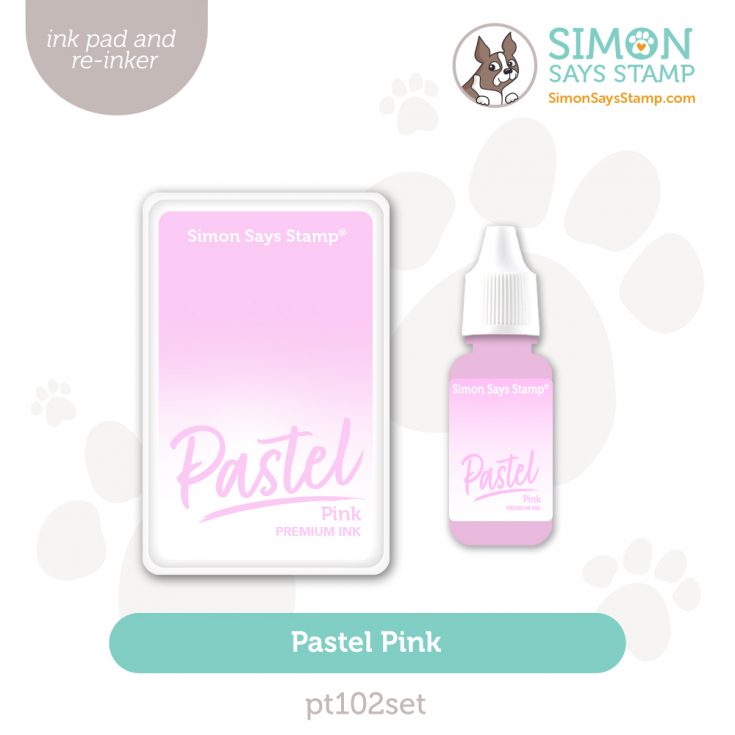
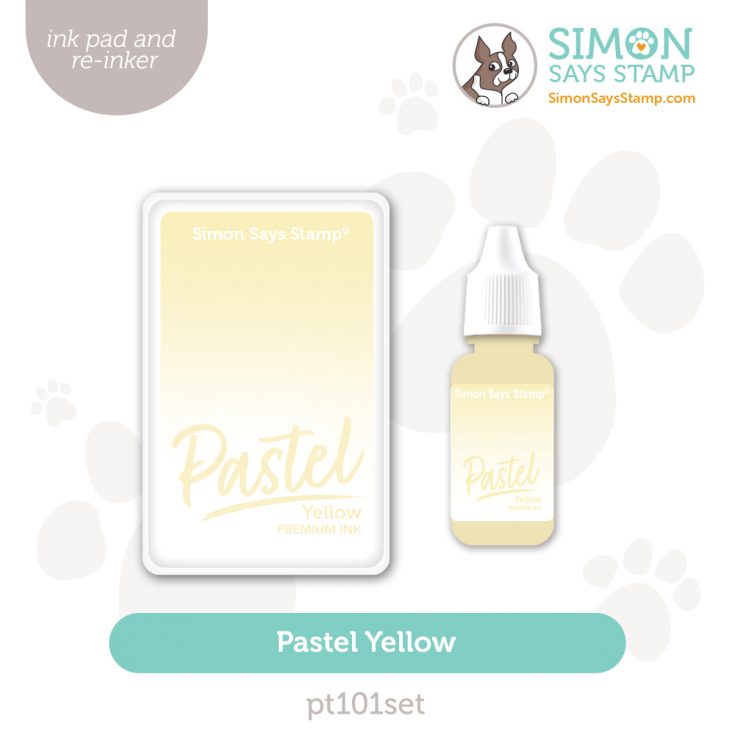
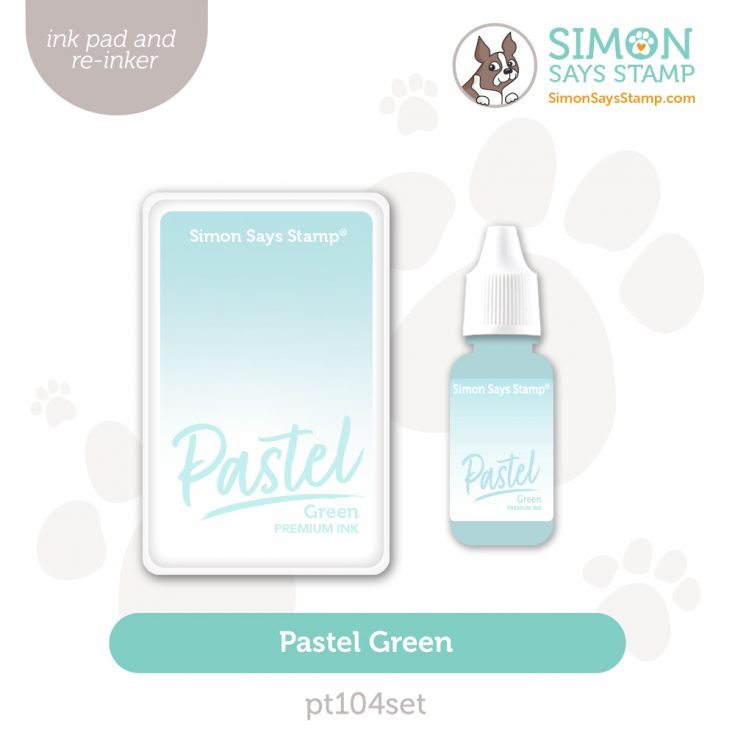
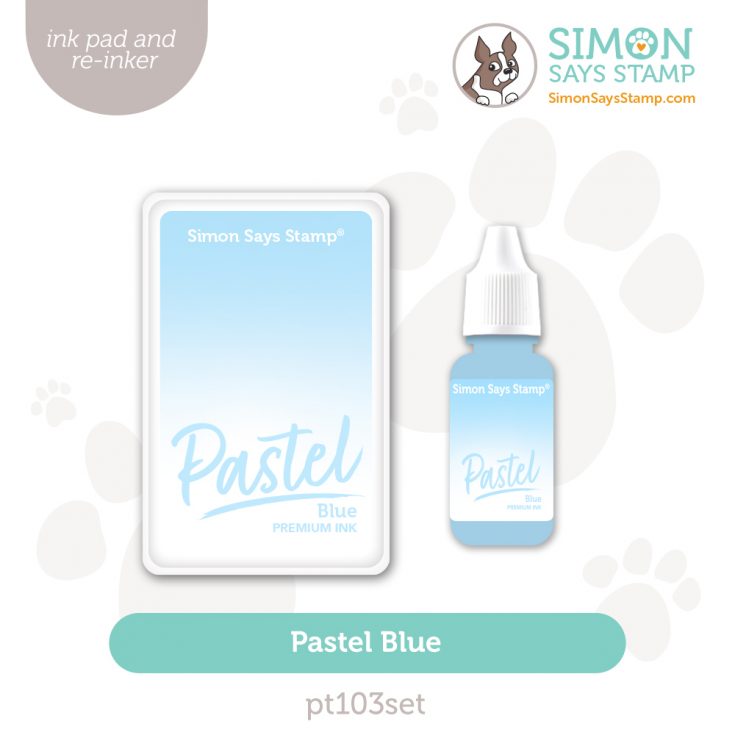
NEW! Refills for Your Favorite Pastel Inks
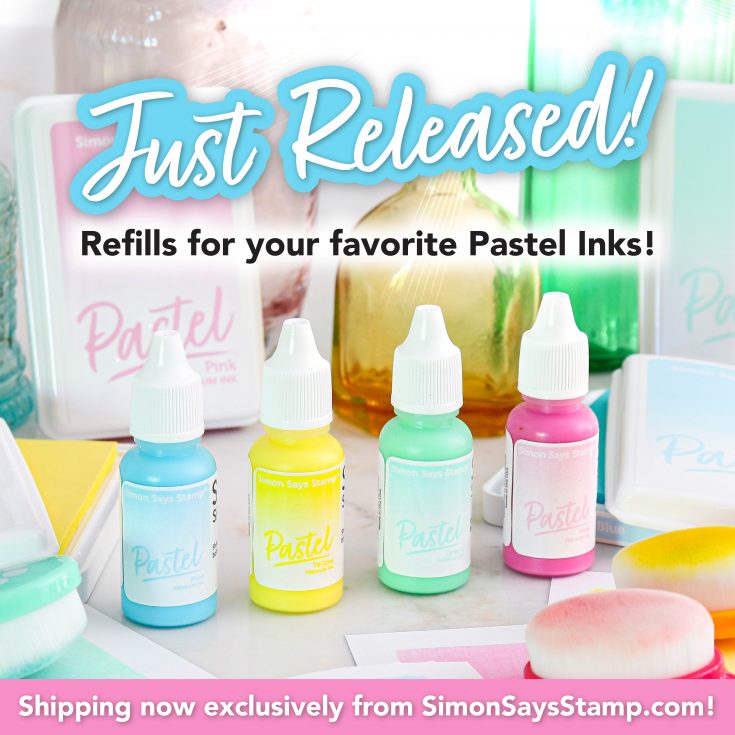
Just Released! Keep your favorite pastel inks fresh and ready to create with our brand NEW ink refills in Blue, Yellow, Green, and Pink! These dreamy colors are a must-have for soft blending, stamping, and springtime crafting fun. Shipping now—exclusively from Simon Says Stamp!
Learn more about our pastel inks:

Ideas to inspire!