Simon Says Stamp Favorite Things Release Blog Hop 1!

Hi, friends! Welcome to day one of two special release blog hops celebrating our Favorite Things release! Come back tomorrow for more amazing inspiration!
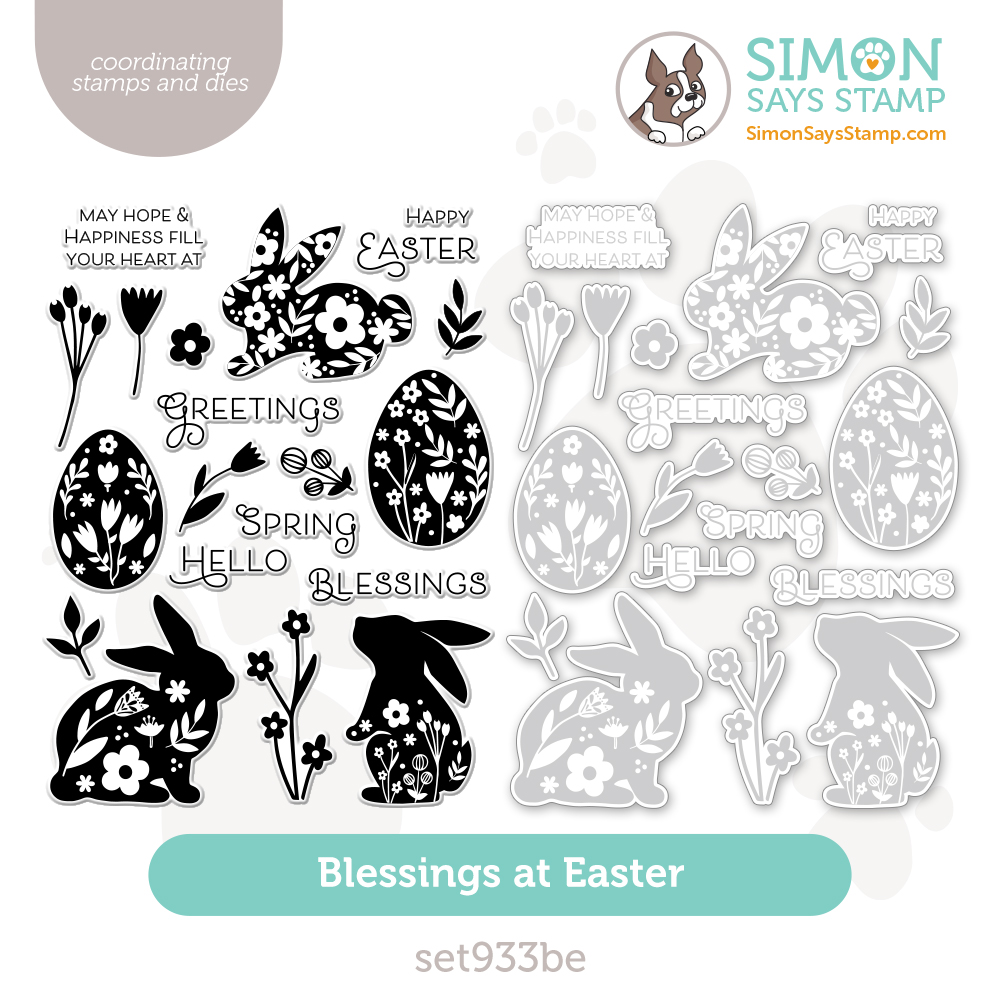
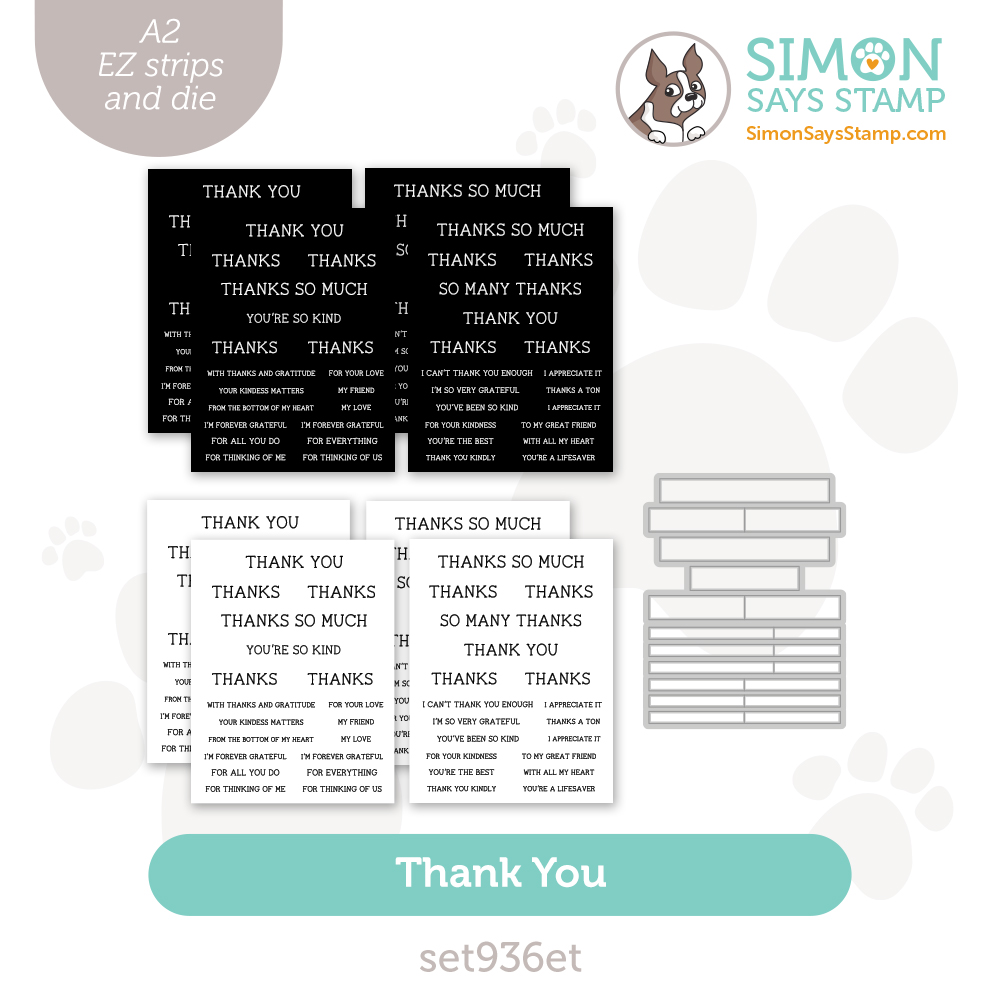
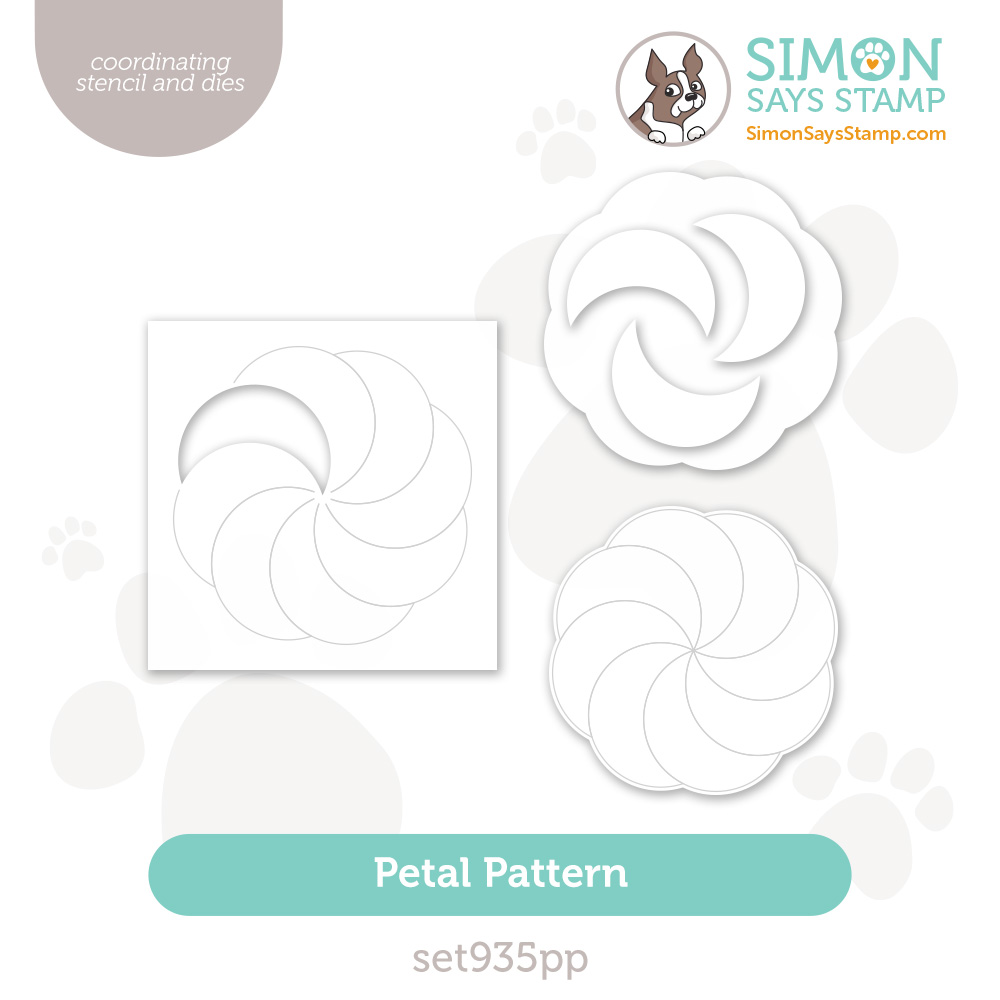
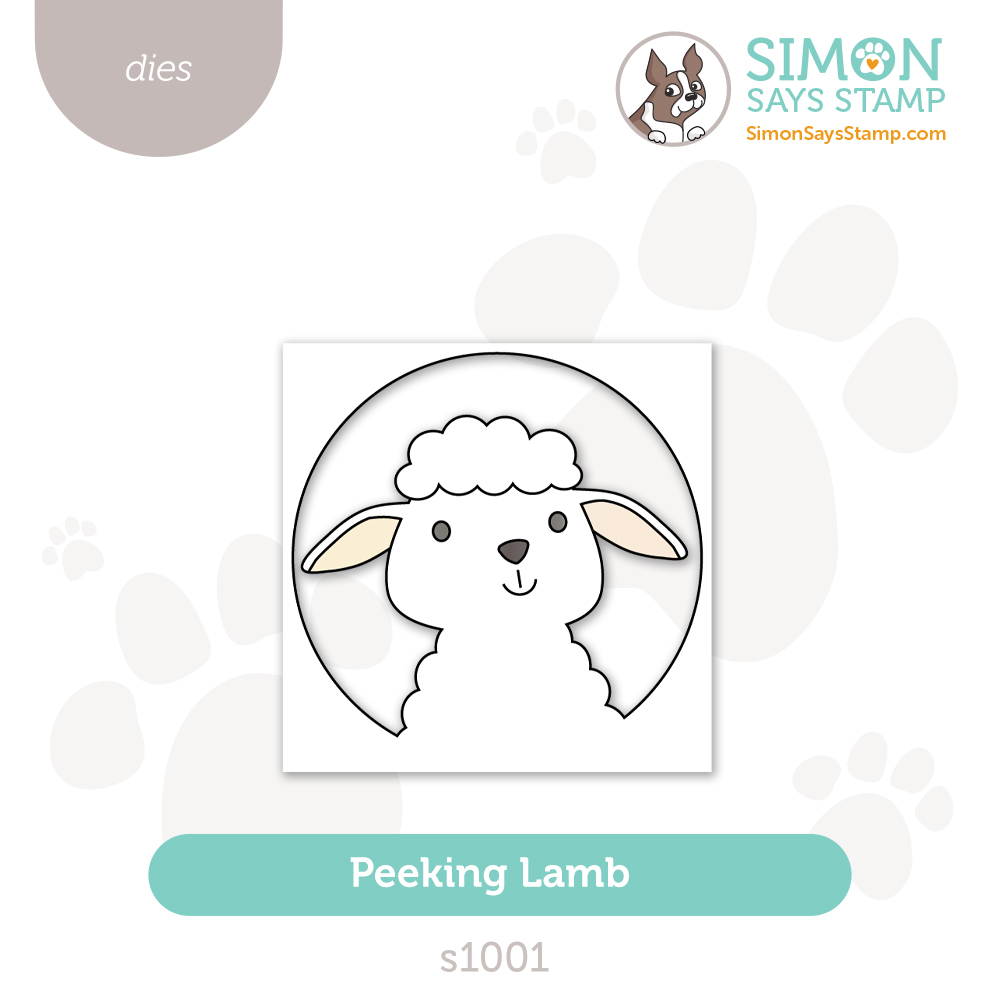
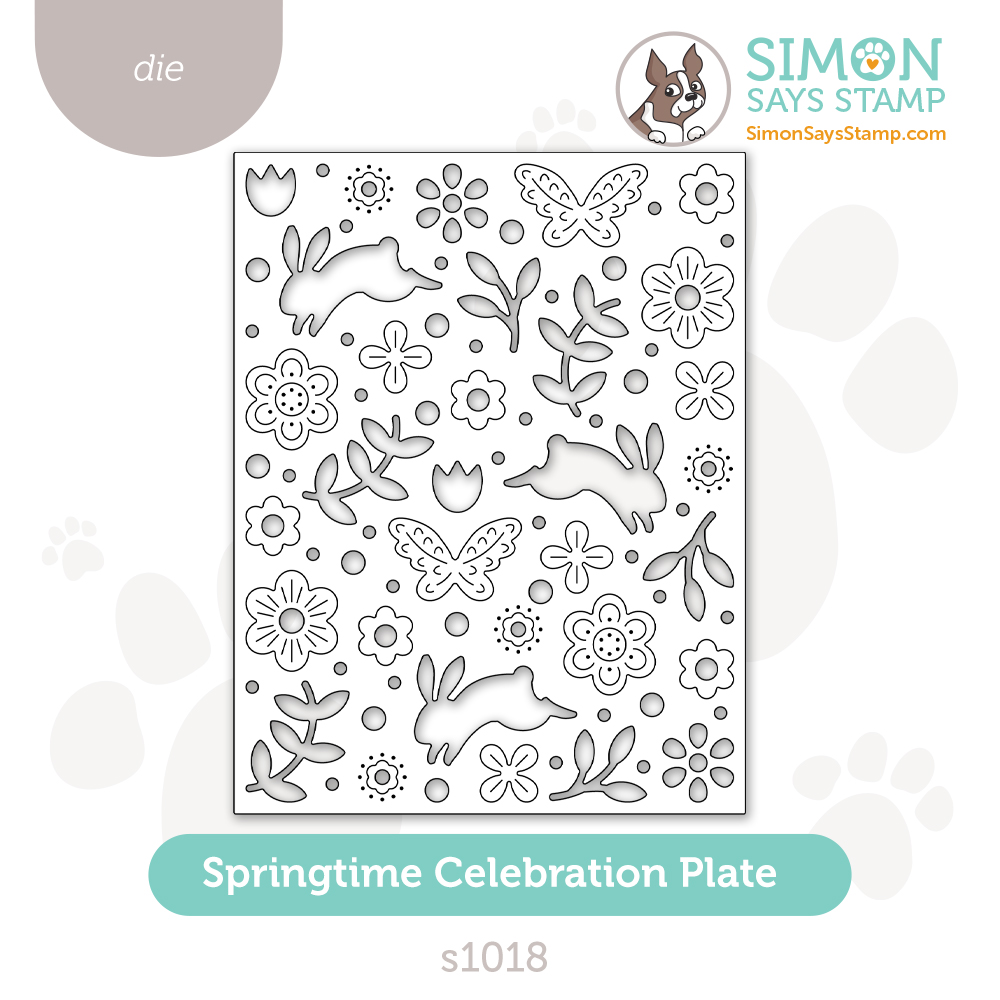
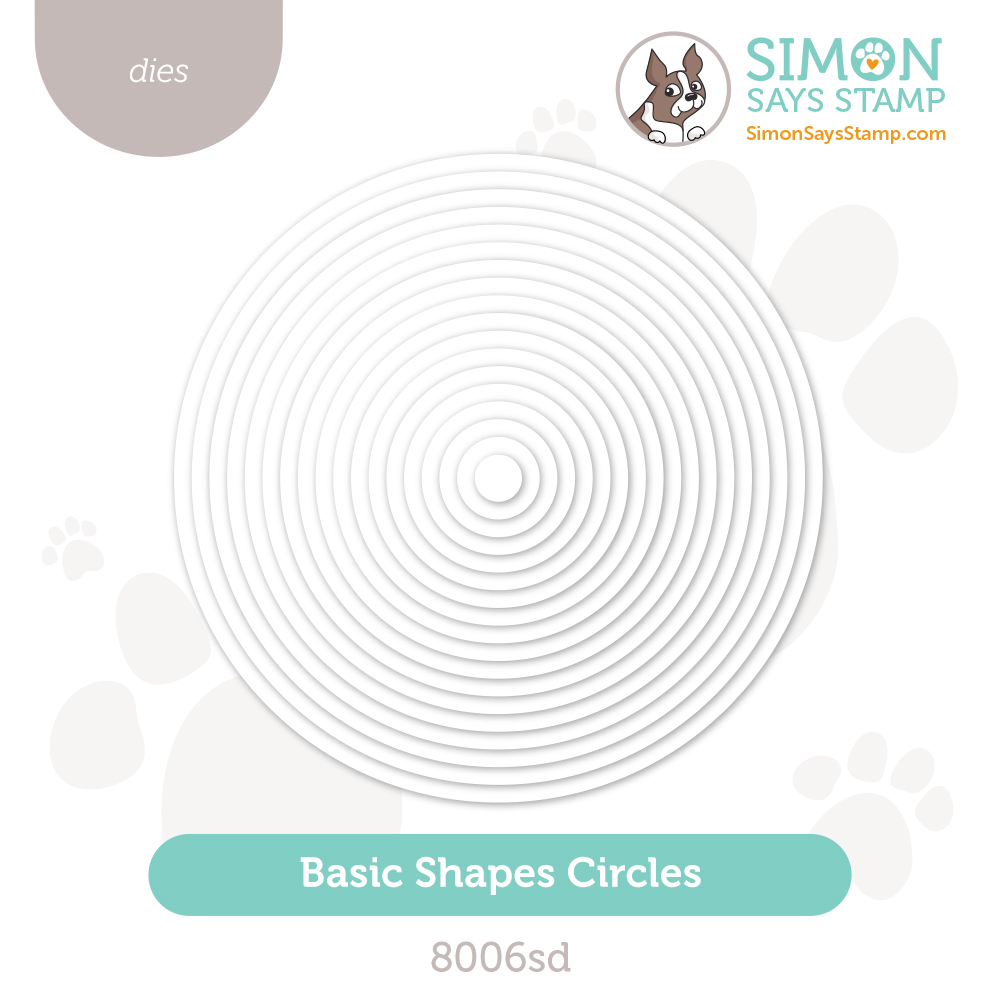
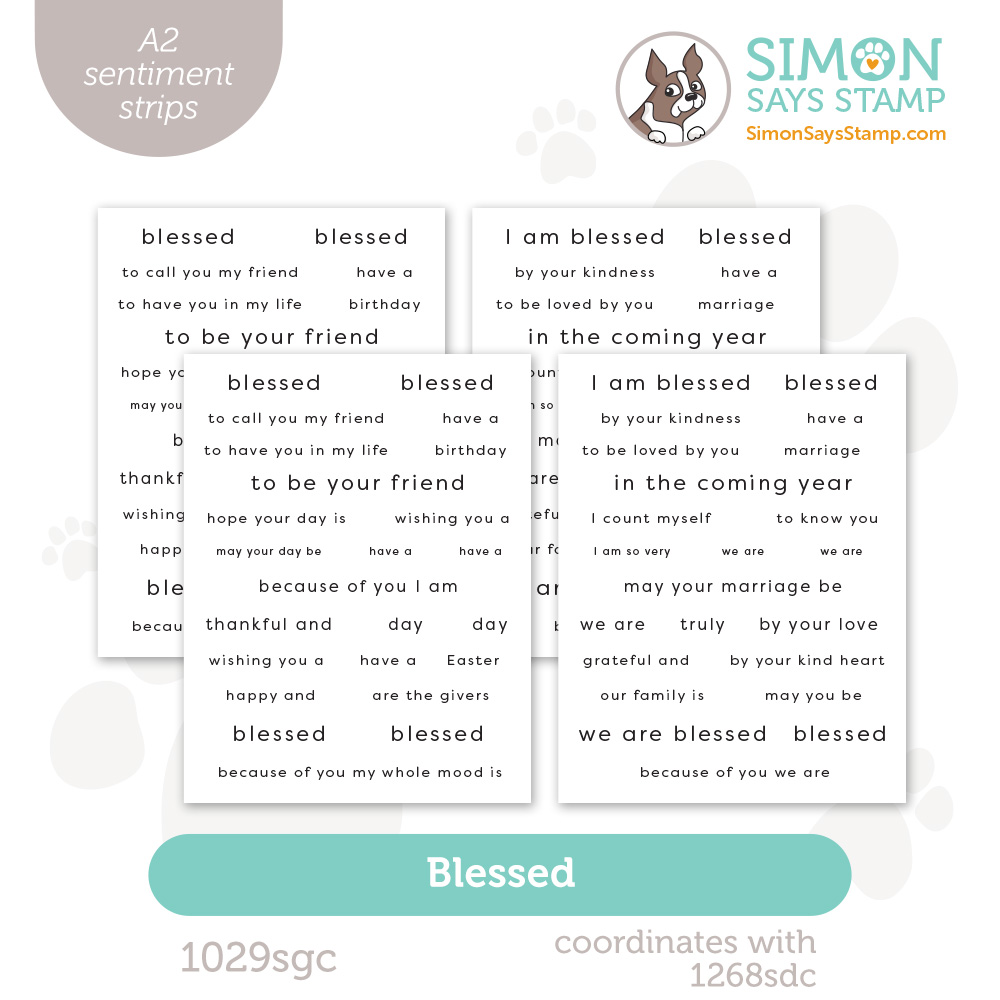
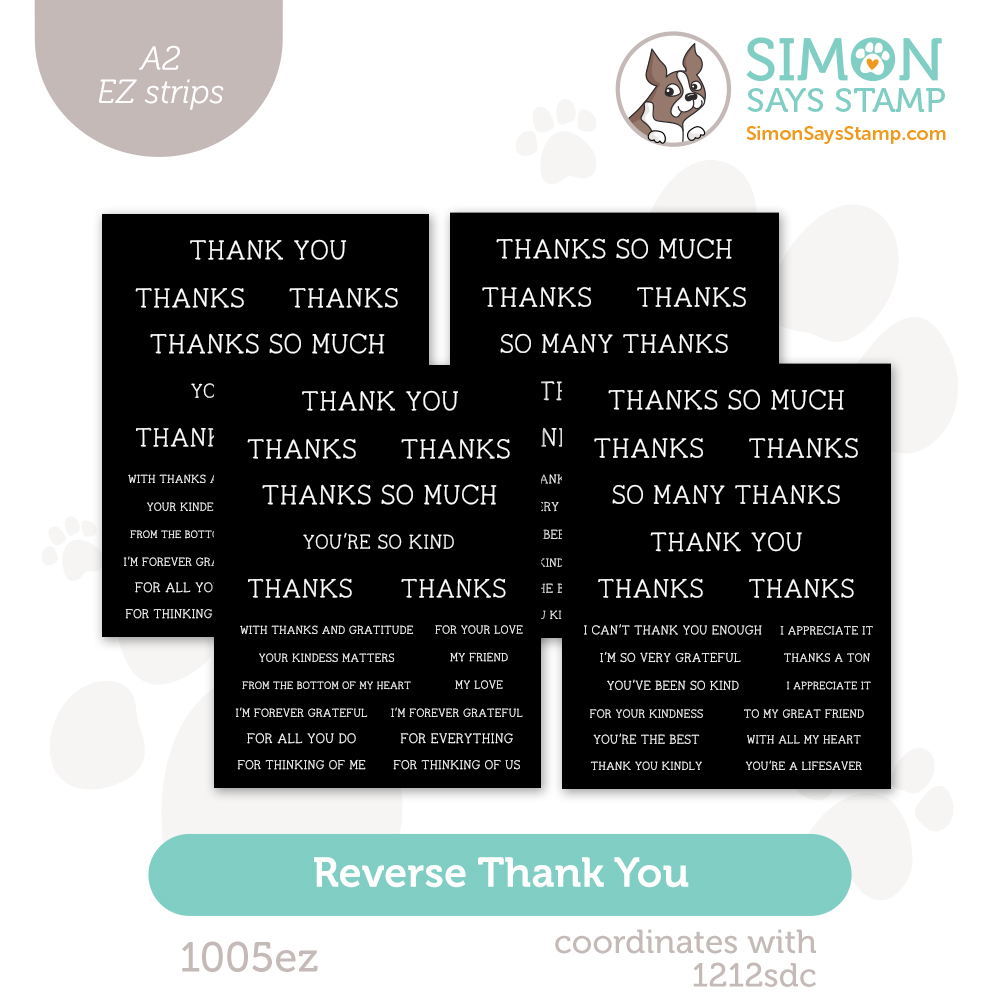
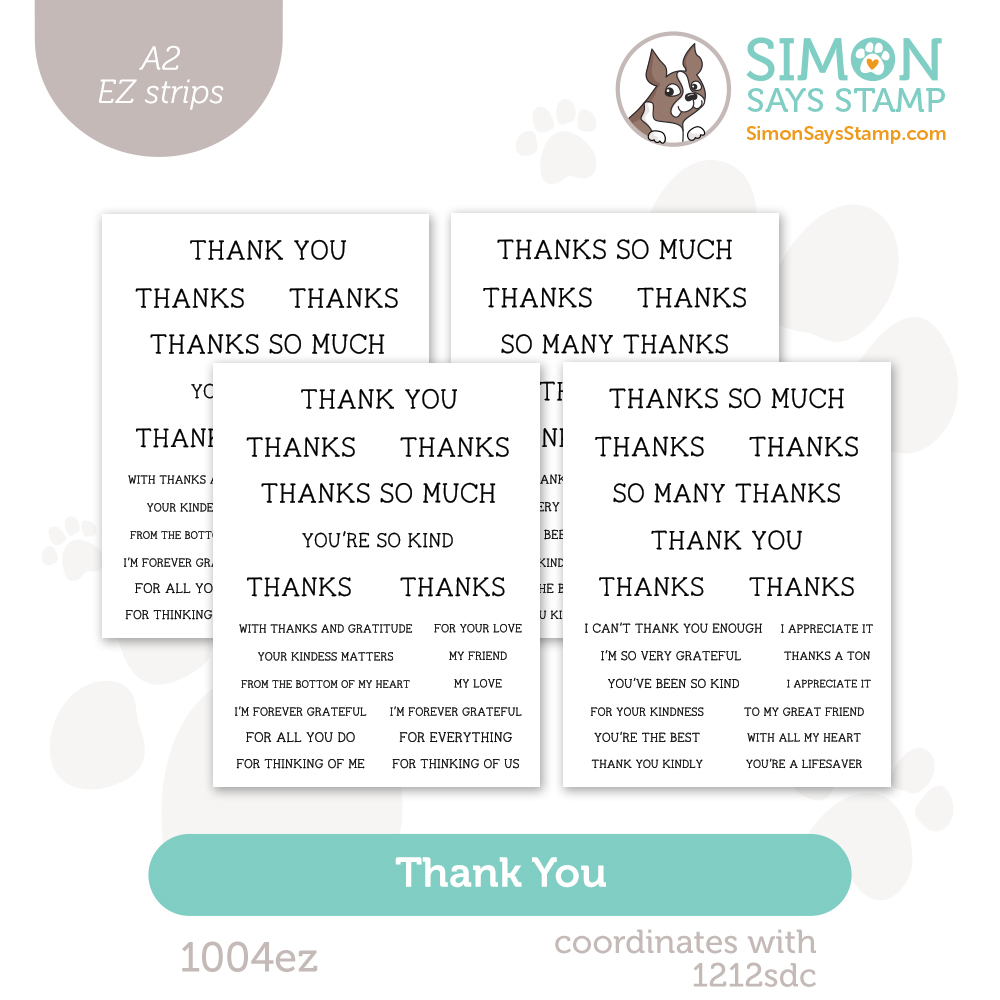
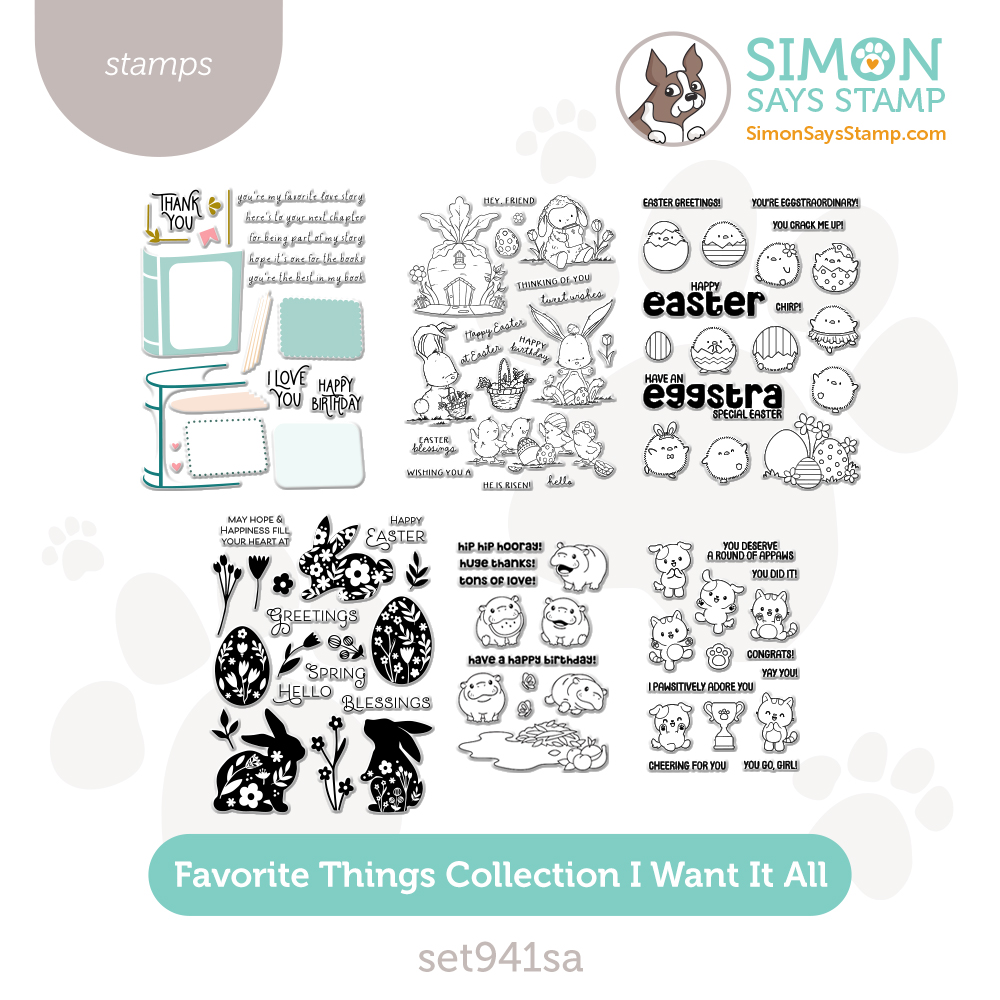
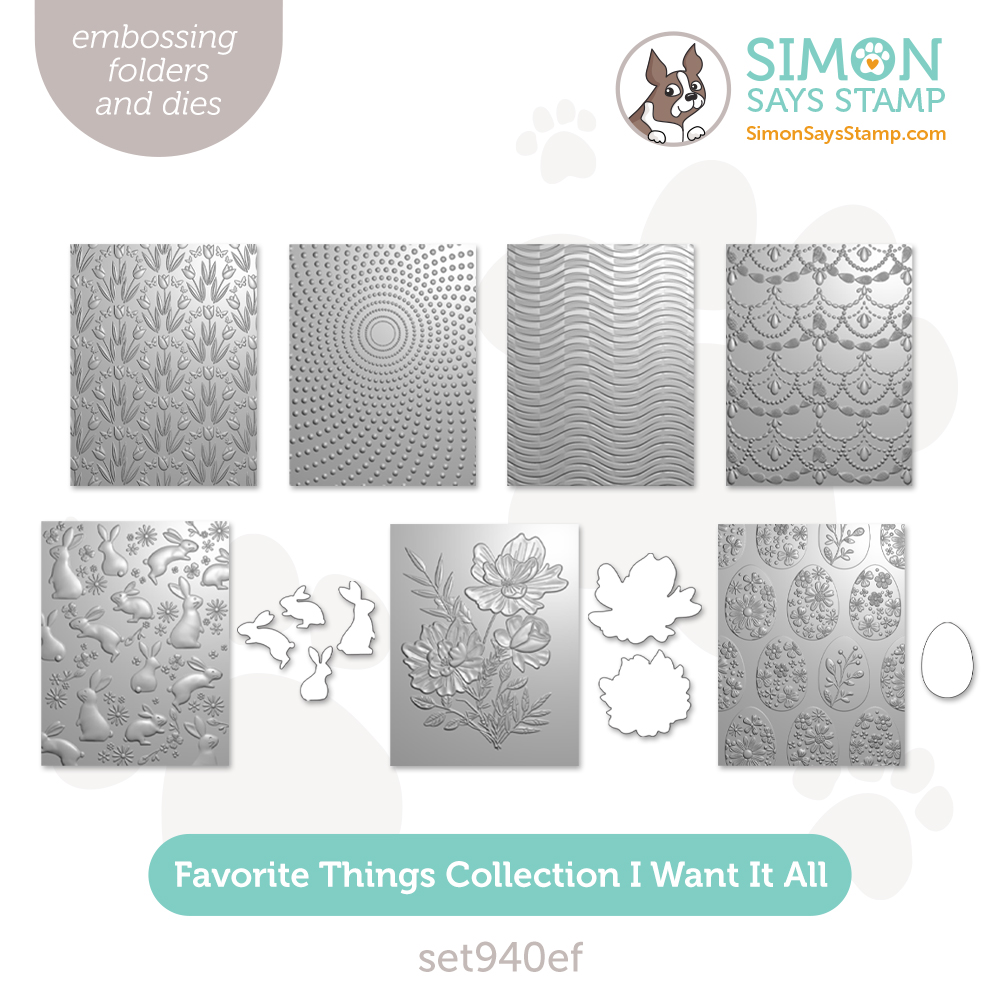
Our new release is called Favorite Things because we think you’re going to find products you’ll reach for time and time again! Leap into spring with our Blessings at Easter set, Peeking Lamb dies, and Springtime Celebration Plate die; and stock your stash with Basic Shapes Circles dies, EZ Strips Thank You sentiment strips, and the Petal Pattern bundle. Plus so much more!
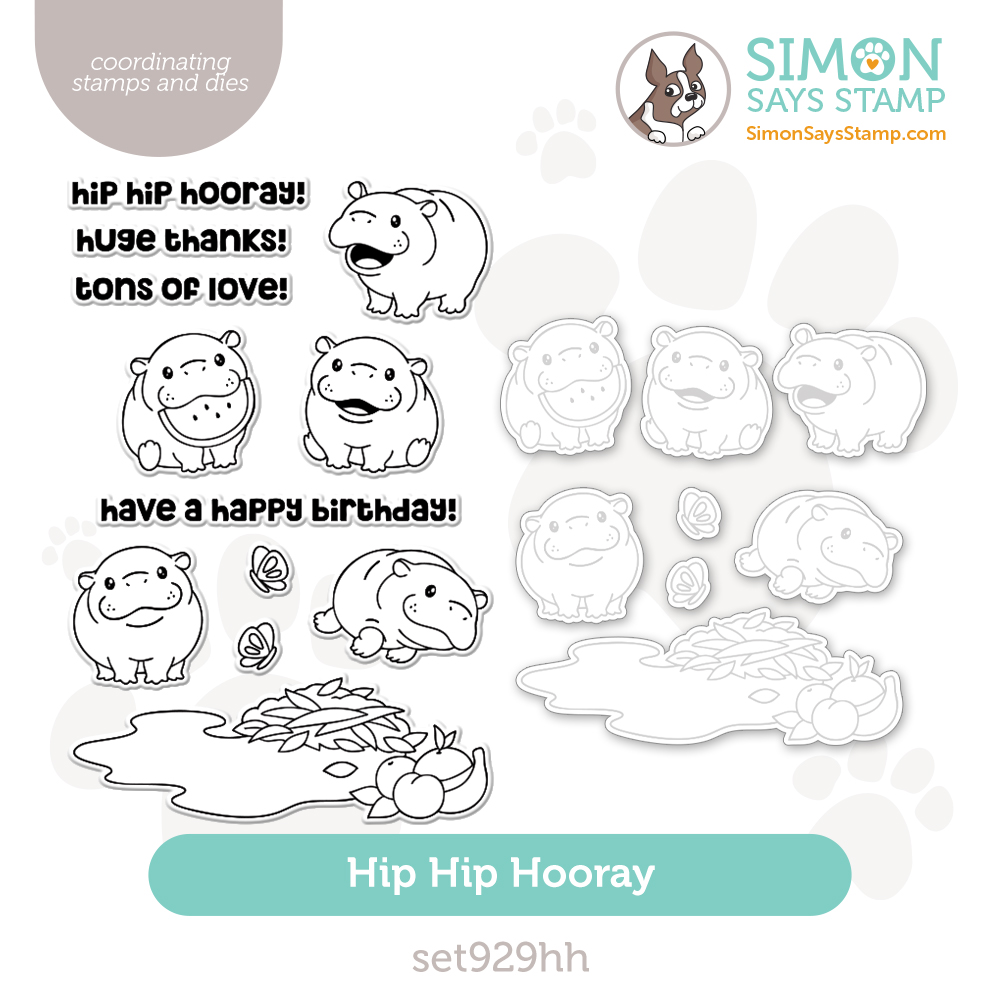
We think you’ll be shouting Hip Hip Hooray, because this release is One for the Books!
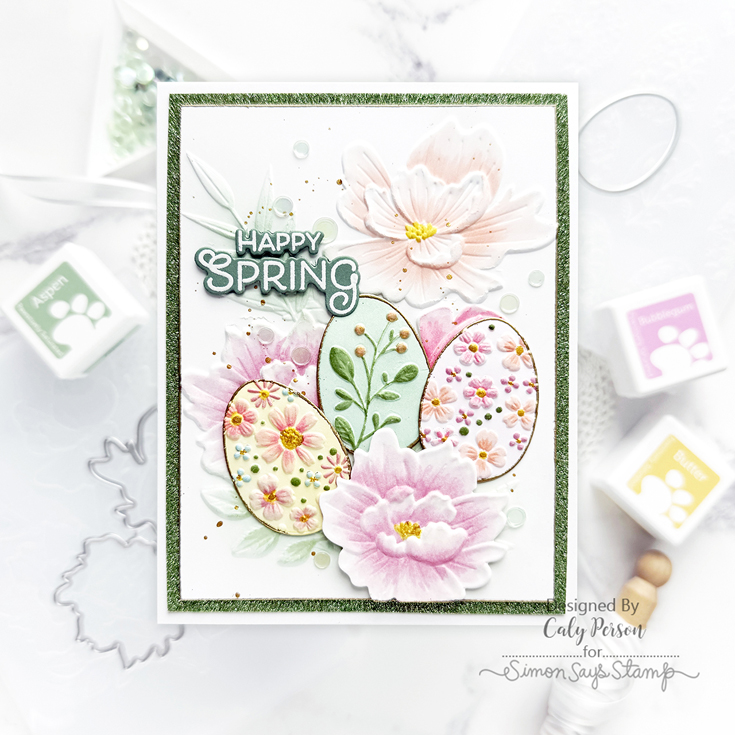
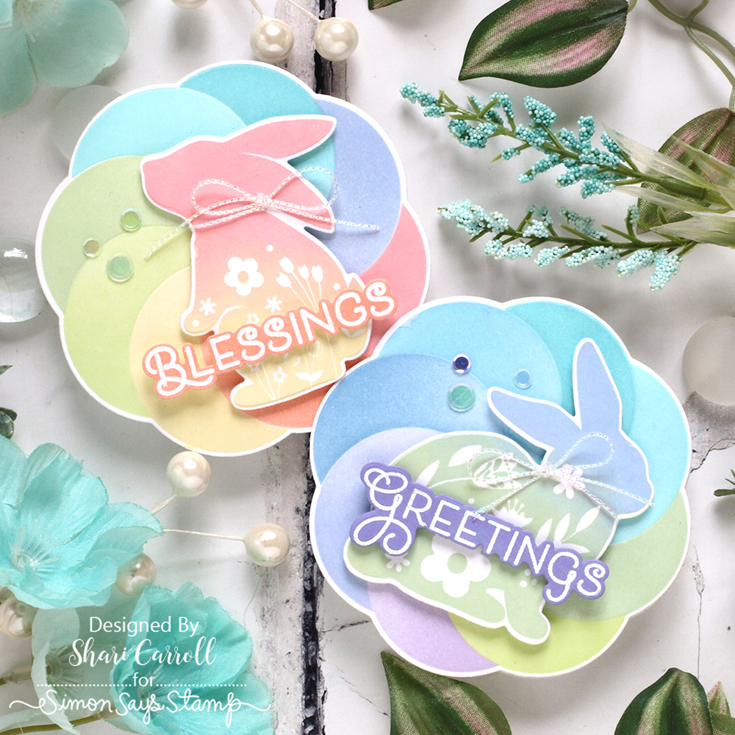
Let’s get a sneak peek of what’s in store for our blog hop today with inspiration from Caly Person and Shari Carroll! They used products from our Favorite Things release to make these fantastic projects:
We love our customers! And we love your enthusiasm for our exclusive releases and blog hops. To celebrate, Simon has set aside a free gift just for you! Our exclusive Happy Bee Day stamp and die set is automatically added to your cart that contains $50 or more of Favorite Things release products! This gift with purchase will expire 3/2 at 11:59 pm EST or while supplies last. Check out the details on the graphic at the top of this post for information about claiming your gift.
Ready for even more Favorite Things inspiration? Hop along with these talented designers! You’ll be inspired AND for every comment you leave on each blog, you’ll earn a chance to win a $25 Simon Says Stamp store shopping spree. YAY!
- Simon Says Stamp Blog <<YOU ARE HERE!
- Nina-Marie Trapani
- Nichol Spohr
- Cathy Zielske
- Barbara Tarayao
- Keisha Charles
- Heather Ruwe
- Alberto Gava
- Kulbir Kirkland
- Caryn Davies
- Emma Williams
- Allison Frazier
- Bobbi Lemanski
- Jessica Vasher
- Mary Reiner
- Melissa Phillips
Please let these talented designers know how much you appreciate their designs. They work hard to inspire and excite us!
Thanks again for joining us today!
We hope you will join us on Instagram on Thursday, March 6, for an Instagram Hop featuring our Favorite Things release! We are excited to share awesome ideas from several creative minds using these fantastic products.
You’ll love browsing our Favorite Things gallery on our blog for loads of additional inspiration, and you can add your projects to these galleries as well!
You can check out the entire Favorite Things collection here:


Can’t pick a favorite? Shop our NEW Bundles:
Quick tips!
Learn the features and benefits of these NEW items!


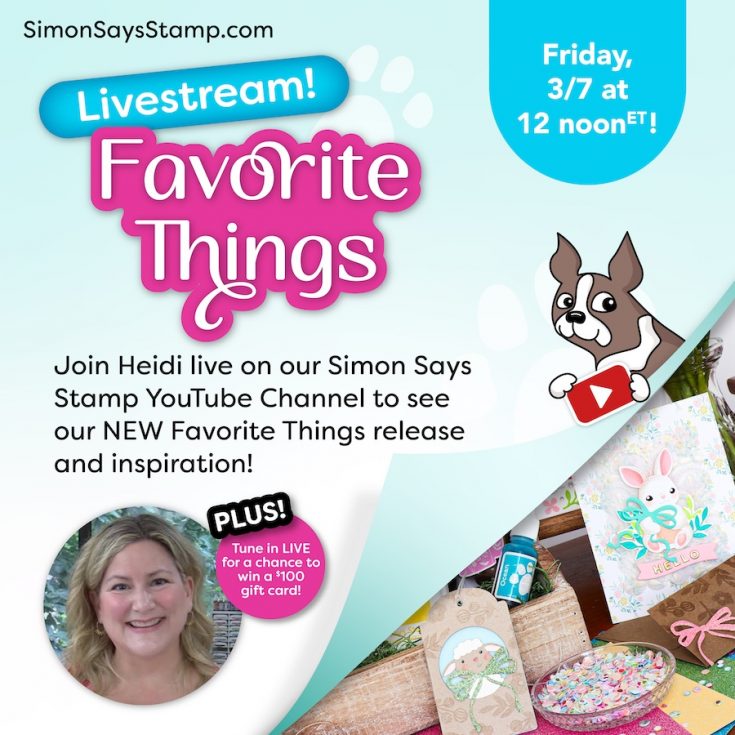
Mark your calendar!
Join us live next week! Click or tap the bell by ‘Notify Me’ to be notified when we begin on Friday, March 7th at 12 AM ET!
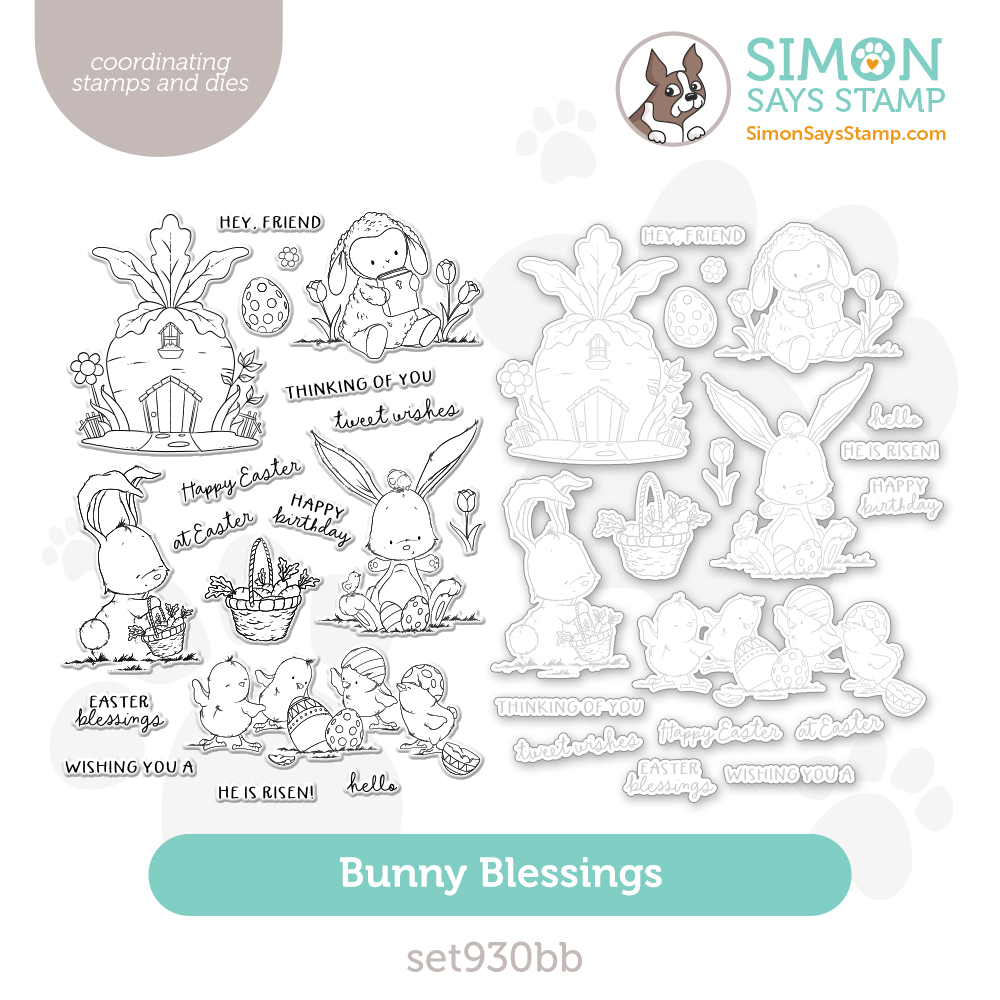
One Stamp, Five Ways: Bunny Blessings

Hi friends! Please join me in welcoming back special monthly guest Suzy Plantamura with a super and HOPPY rendition of “One Stamp, Five Ways” featuring our newly released Bunny Blessings set! Read on and learn more! Enjoy!
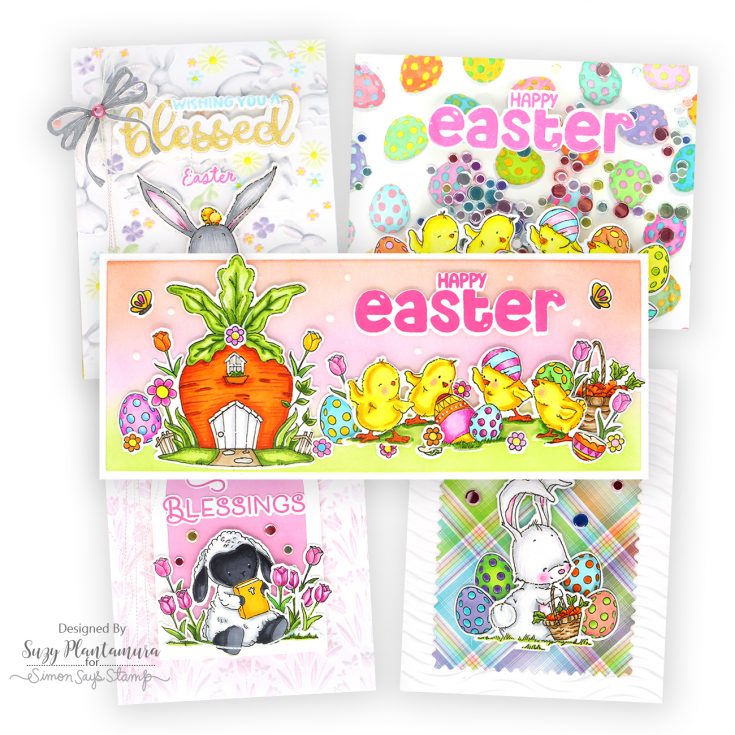
I’m very happy that we have entered the Spring/Easter card making season as it is my favorite! I love the images and the colors and of course the weather! My “one stamp, five ways” post today uses the Bunny Blessings stamp and die bundle from the Favorite Things release. I have also incorporated a lot of the other spring products in this new release!
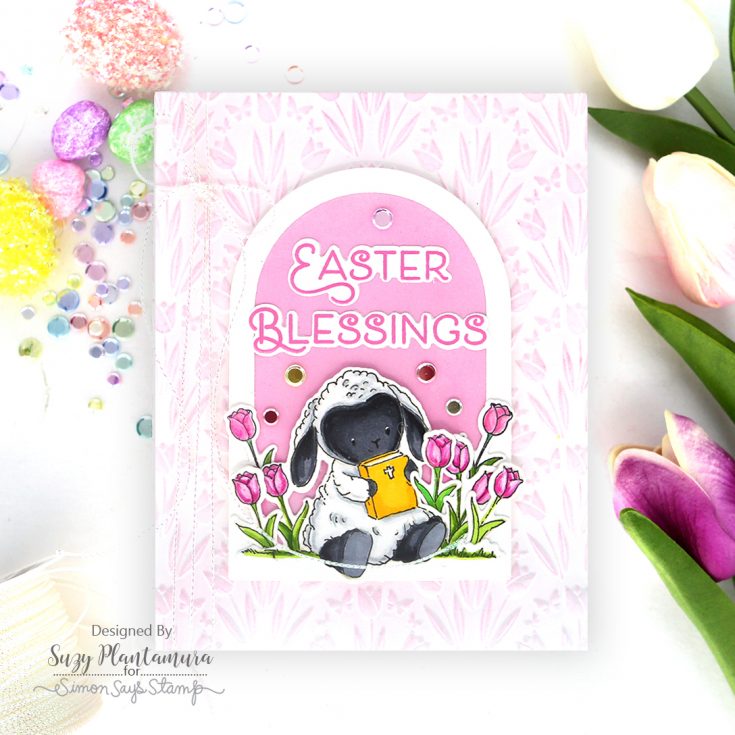
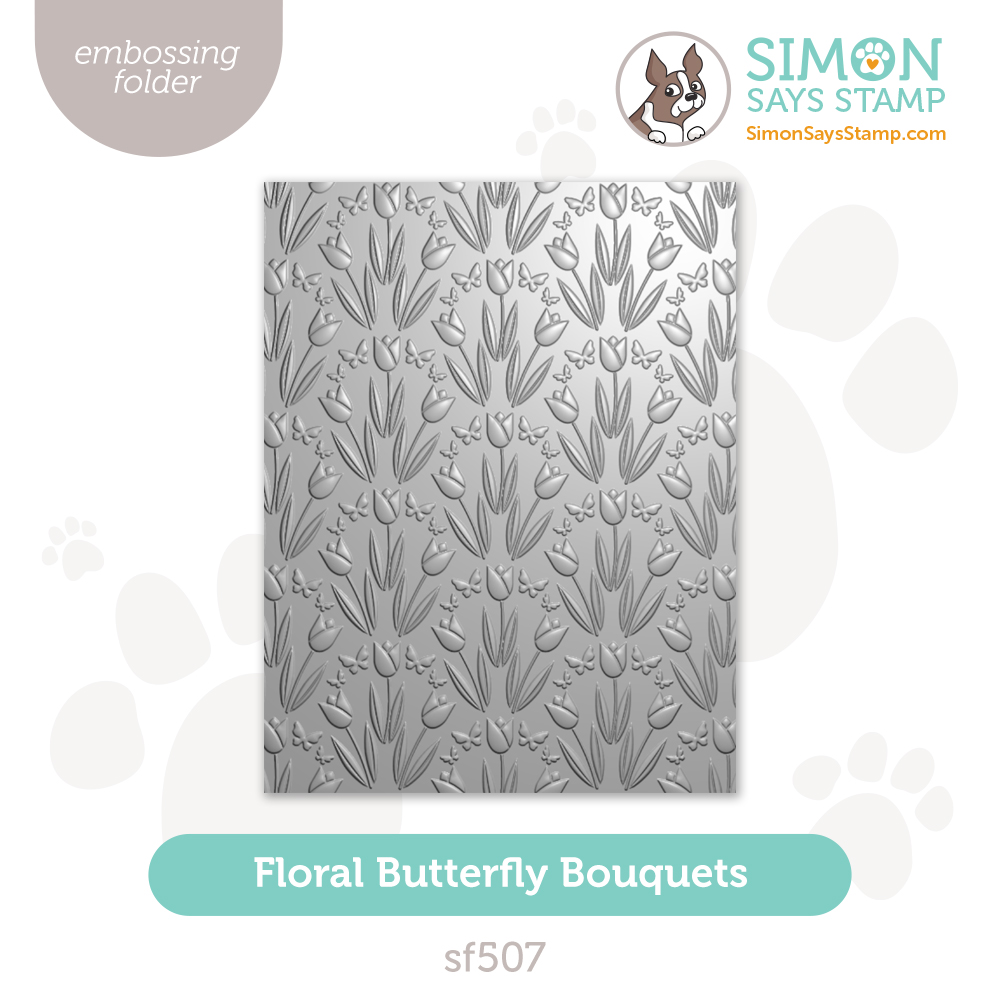
I embossed the new Floral Butterflies Bouquet embossing folder using white cardstock. I rubbed a Carnation Pawsitively Saturated Ink Pad over it lightly I die-cut a frame using the Nested Domed Arches Dies from white cardstock. I attached it over a piece of shimmery pink cardstock. I glued the arch over the center of the embossed card front. I stamped ALL of the images in the stamp set with Latte Pawsitively Saturated Ink as well as with Versafine Ink. I wanted some images to have no-lines, but I ditched that plan and outlined them all with a black pen after I colored them! I used Copic Markers as well as colored pencils to add shading on all of them. I colored a bunch of the flowers and eggs as I knew I would need multiples for my 5 cards.
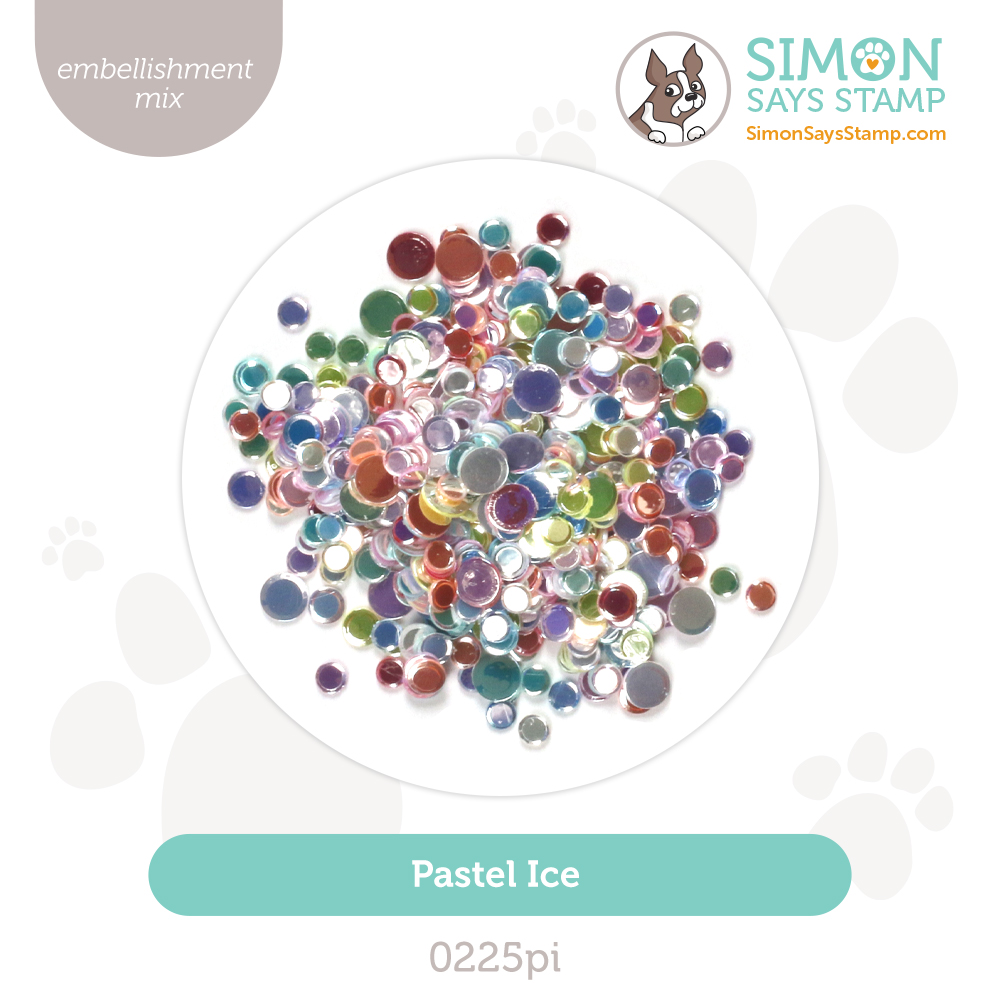
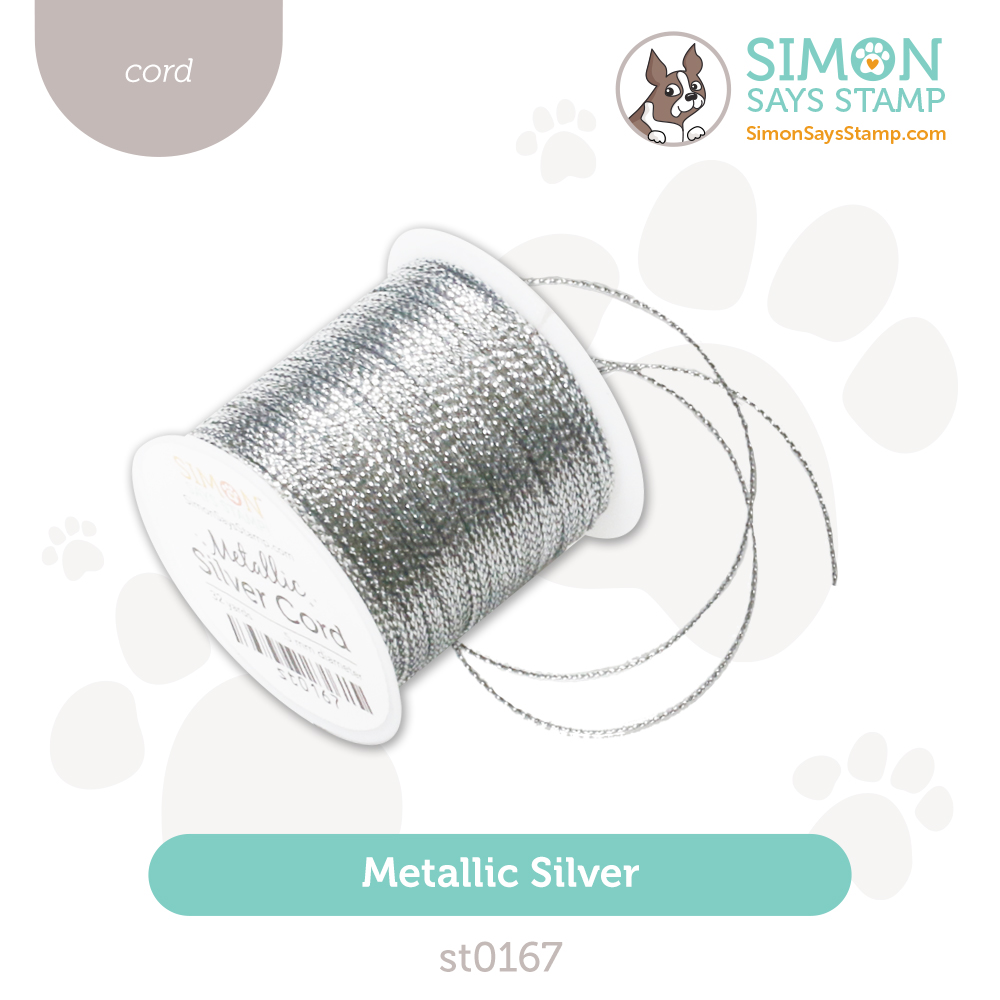
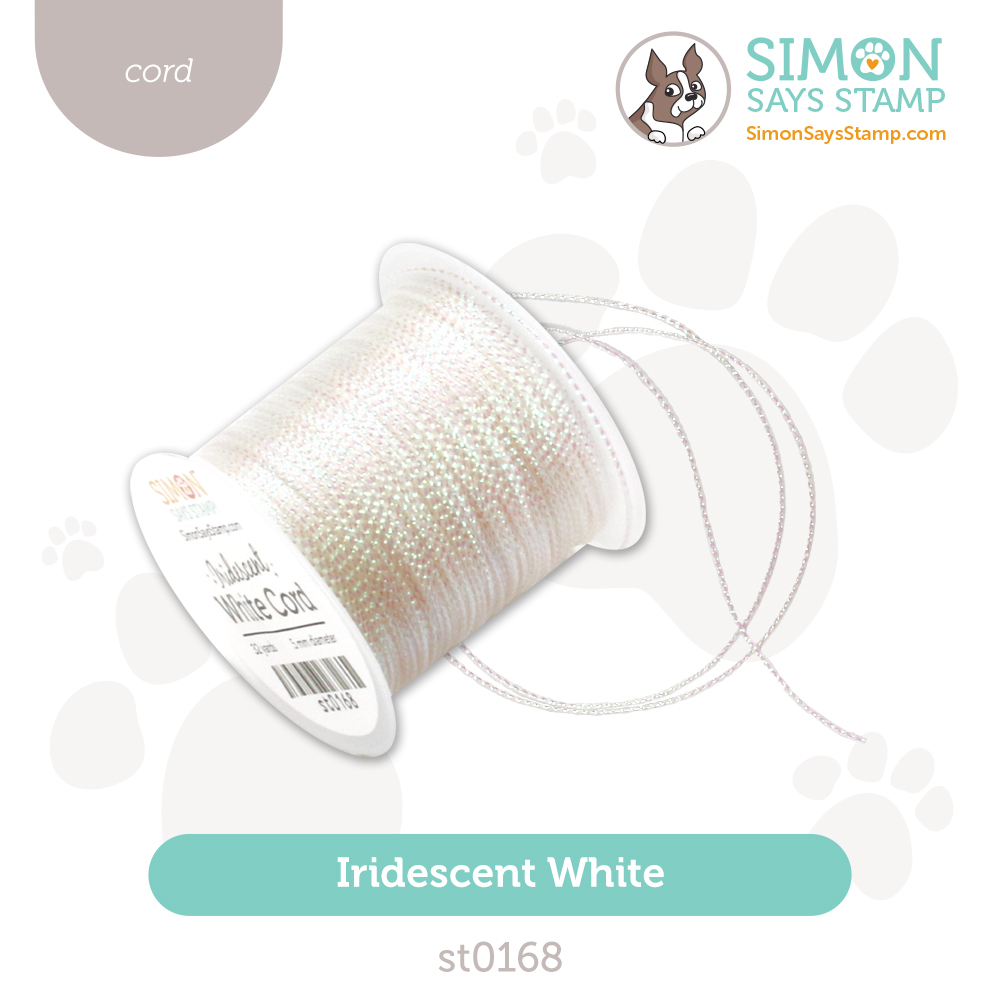
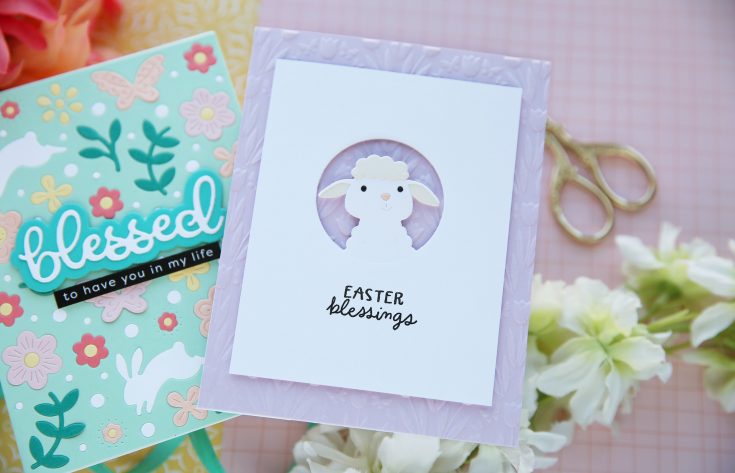
I used my sheep image that was outlined for this card colored with Copic Markers. I gave him little eyeballs with a white Uniball. I glued him to the bottom of the dome and added several tulips around him. I stamped a sentiment using the Blessings at Easter stamp and die bundle and Carnation PSInk. I attached those to the top of the dome. I used some of the new Pastel Ice Embellishment Mix sequins around the background. I tied some of the new Iridescent White Cord into a bow after wrapping it around the card 3 times on the left side.
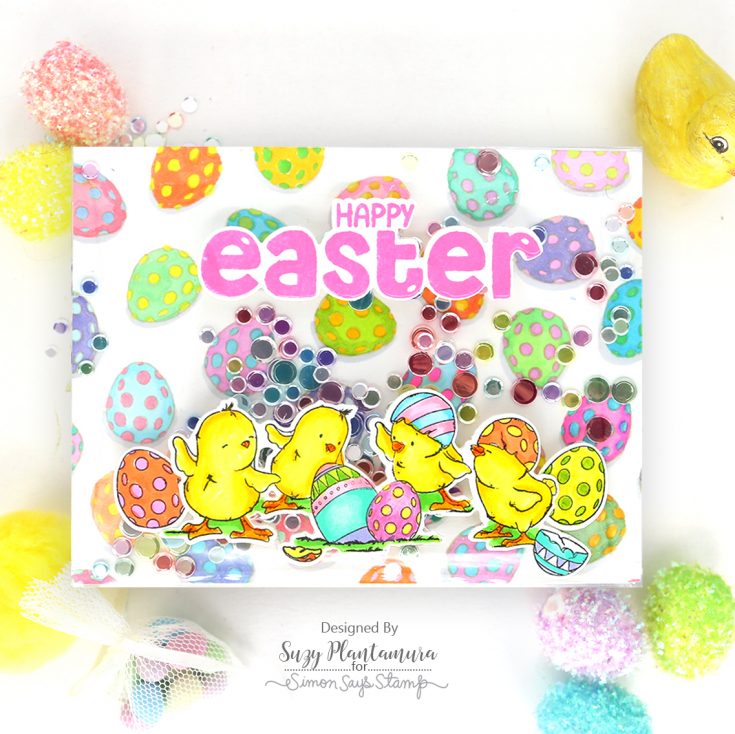
I stamped just the egg stamp from the Bunny Blessings stamp set using Latte PSInk over and over the front of an A2 piece of white cardstock. I colored them all in with Copic Markers and added a gray shadow to each. I created a shaker card with acetate over the background using a bunch of the new Pastel Ice Embellishment Mix.
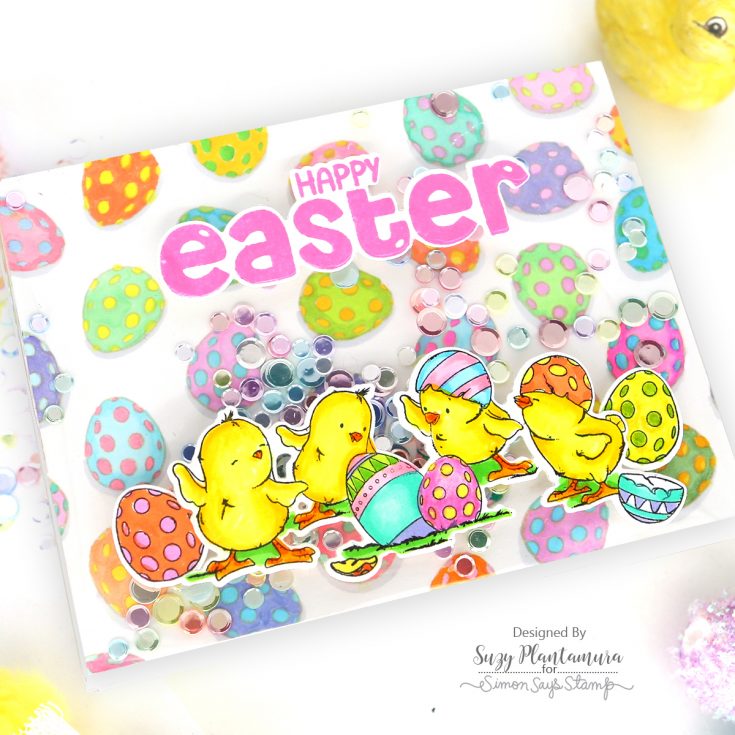
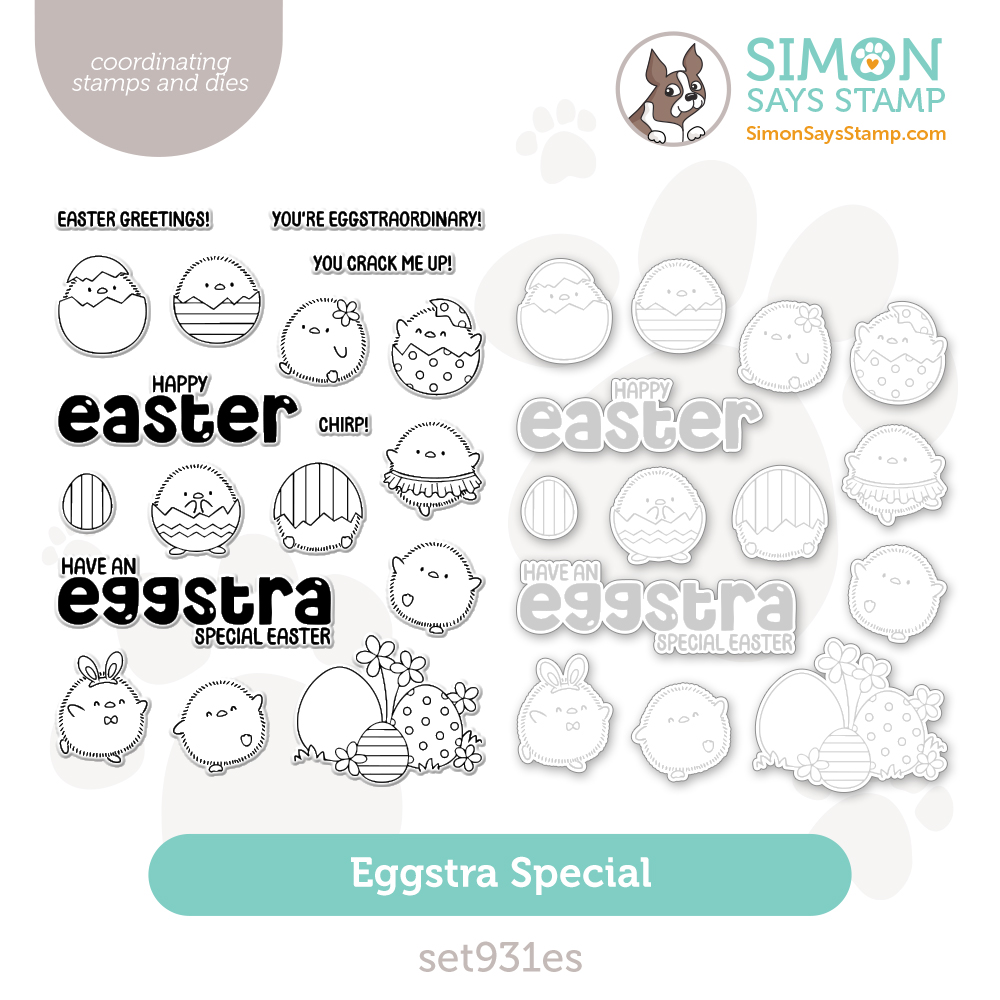
I stamped a sentiment from the Eggstra Special Stamp Set with Carnation PSInk and attached it to the top of the shaker. I added one of my colored chick images to the front of the card and added an egg stamp to each side.

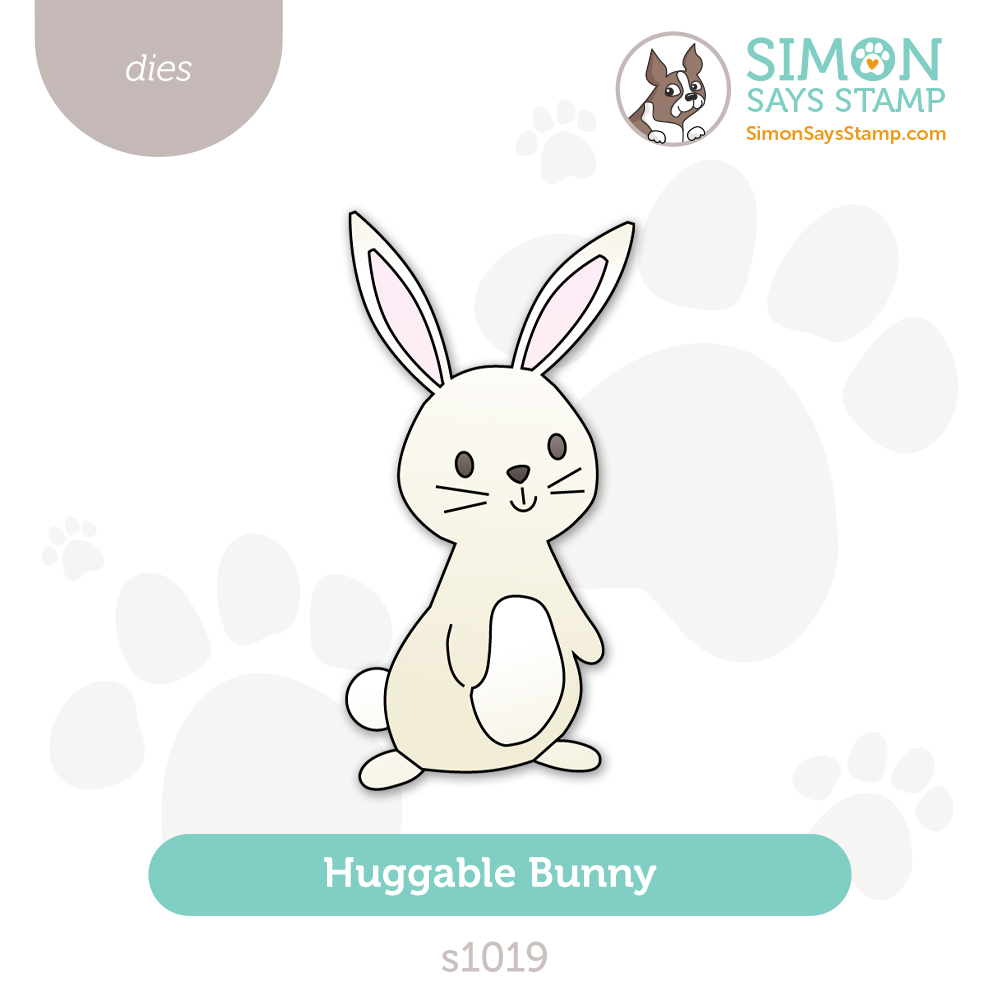
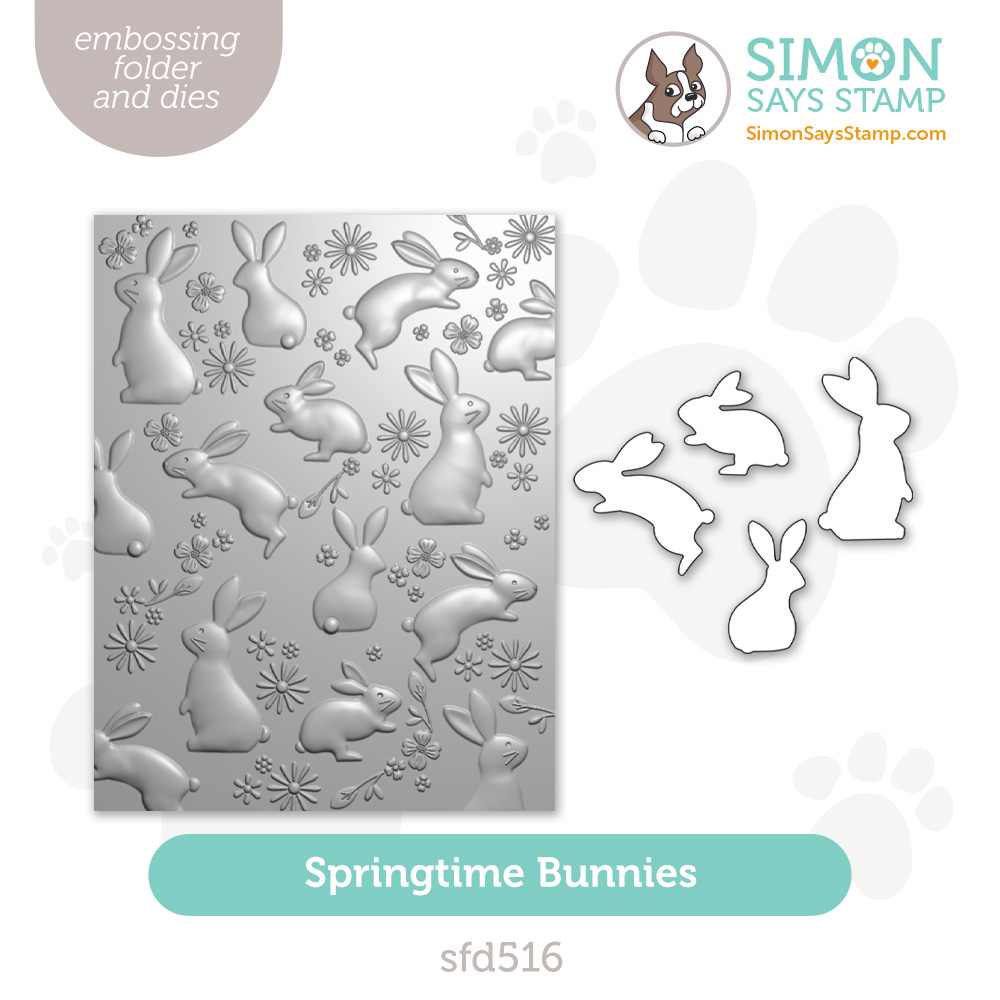
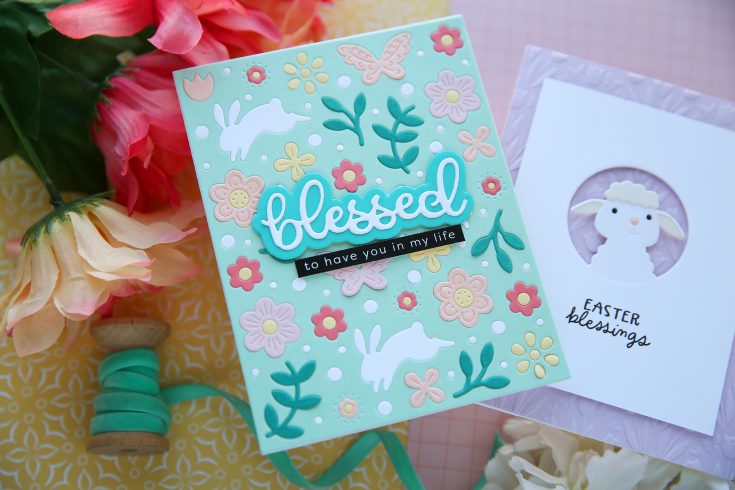
I embossed the Springtime Bunnies embossing folder using white cardstock. I colored it with Copic Markers using light colors as I wanted it to be subtle. I attached one of my colored bunnies from the stamp set to the bottom using foam tape.
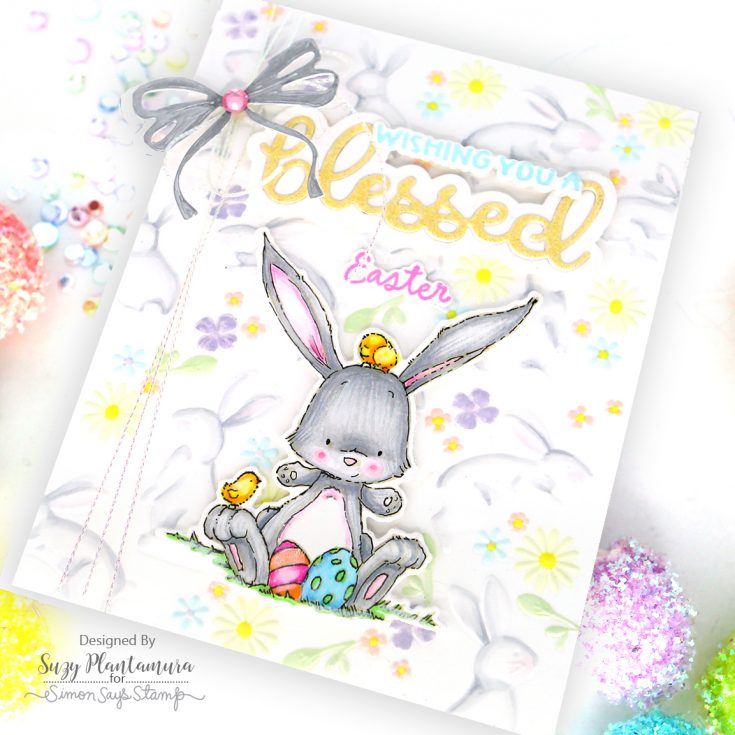
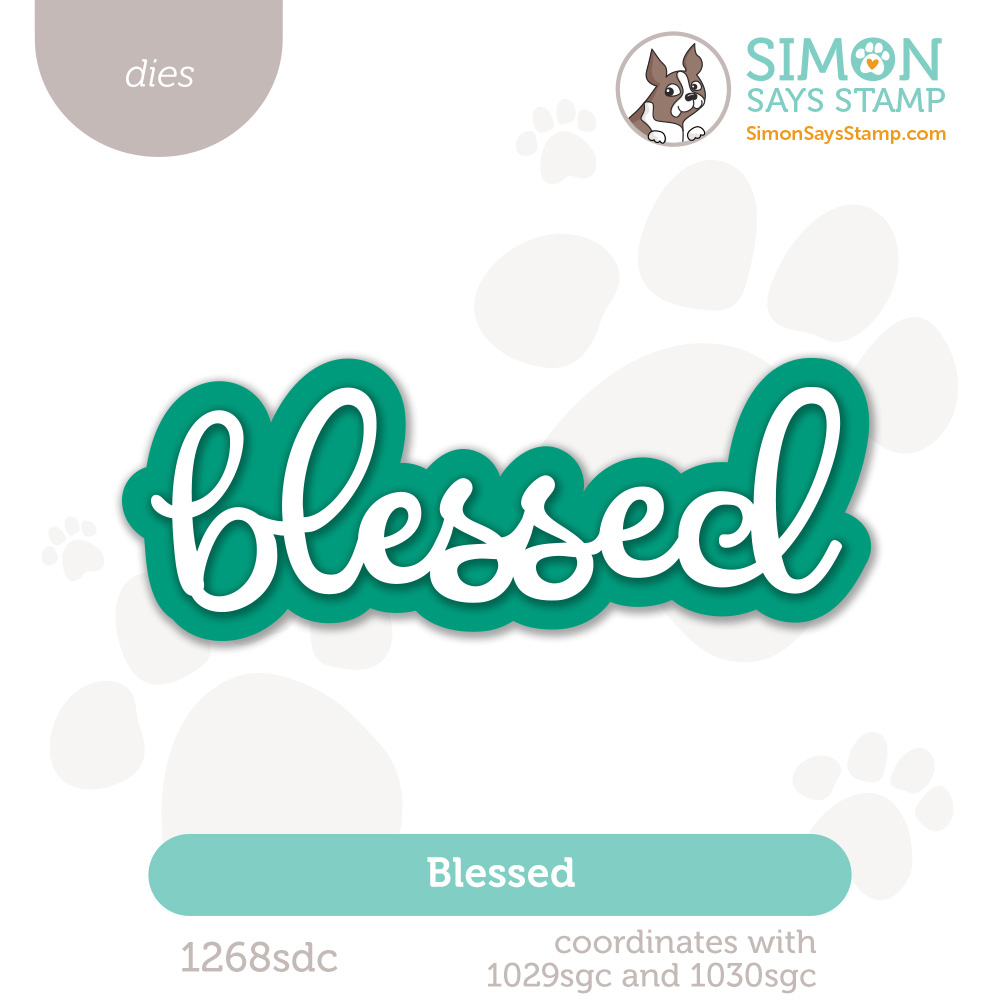
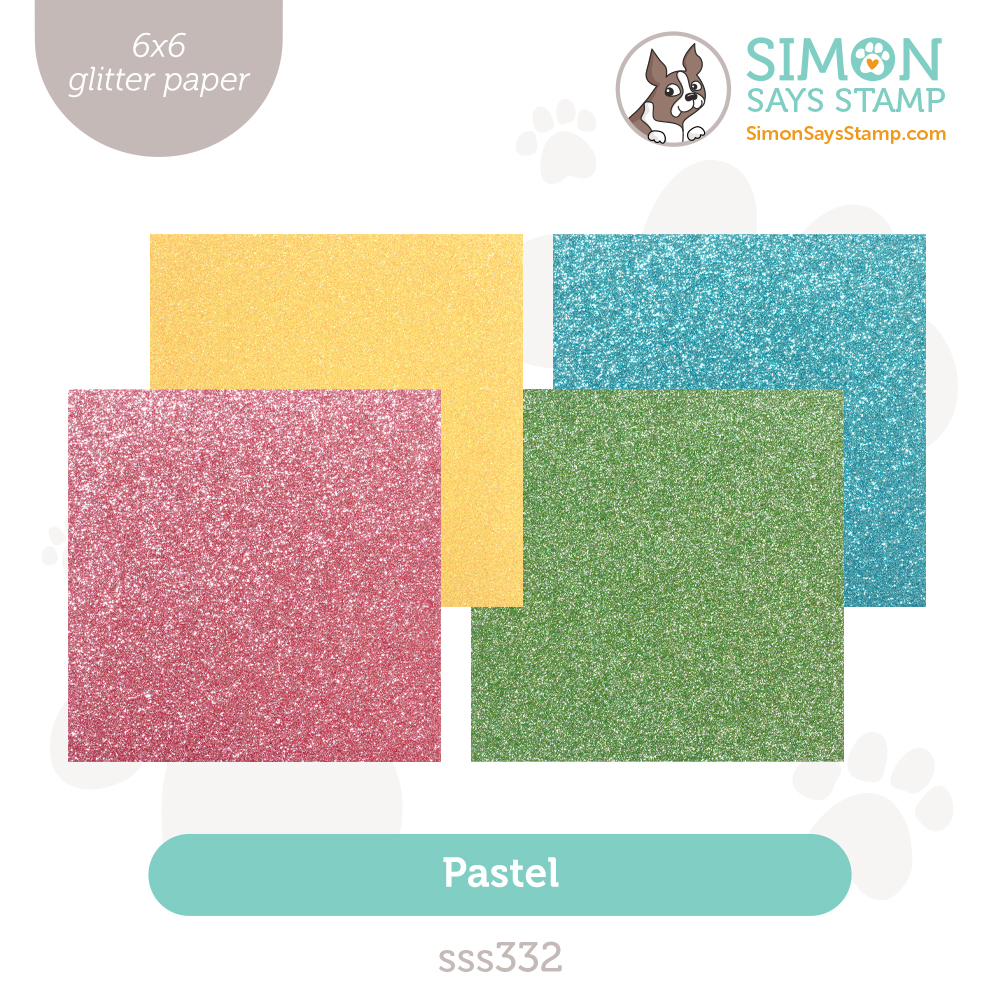
I die-cut the Blessed die from white cardstock and yellow glitter paper (from the new Pastel 6×6 glitter pack). I glued the yellow letters over the white one and attached it to the top of the bunny with foam tape beneath it. I stamped the two smaller sentiments from the Bunny Blessings stamp set with Marine and Carnation Ink and attached them to the top and bottom of “blessed”.
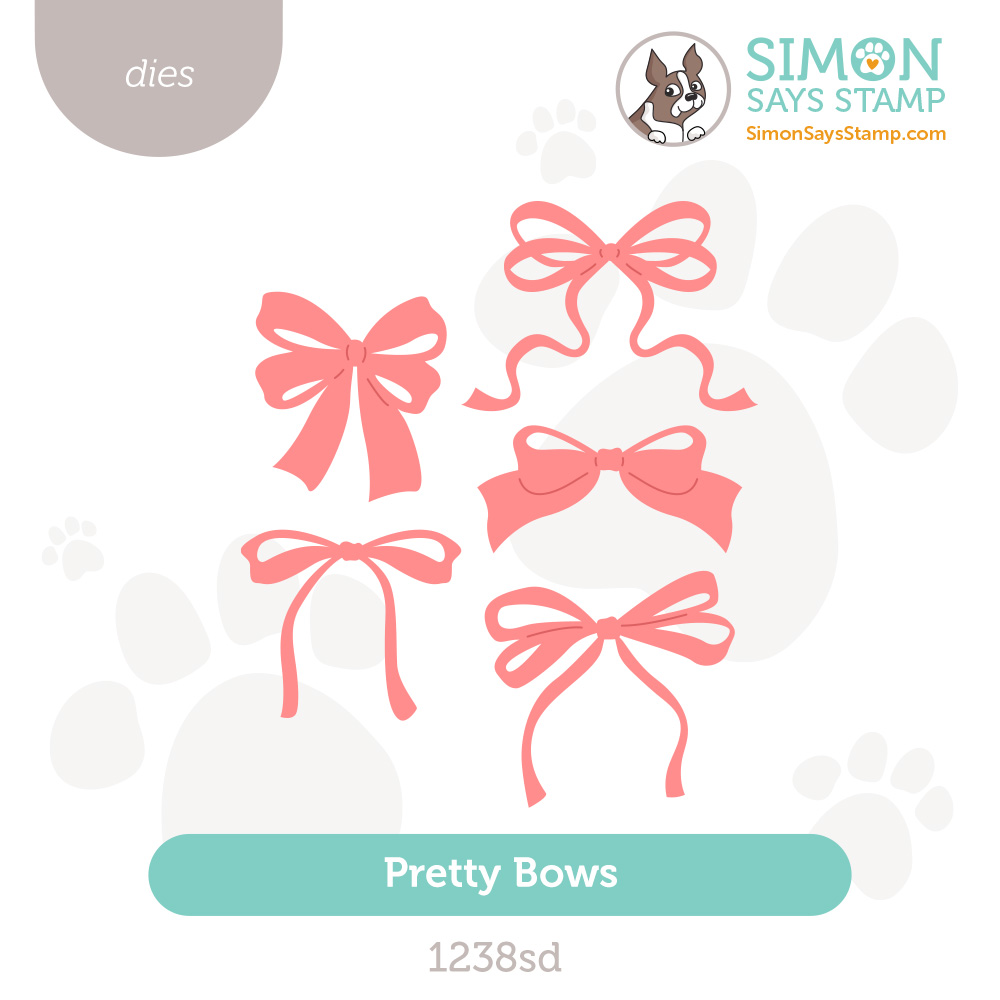
I tied some of the new Iridescent White Cord around the left side of the card into a bow at the top. I die-cut one of the bows from the Pretty Bows Die using white cardstock and then colored it with a silver Uniball gel pen. I glued that over the top of my tied bow. I added a light pink rhinestone from the Rainbow Splash Gem Stickers to the middle of the bow.
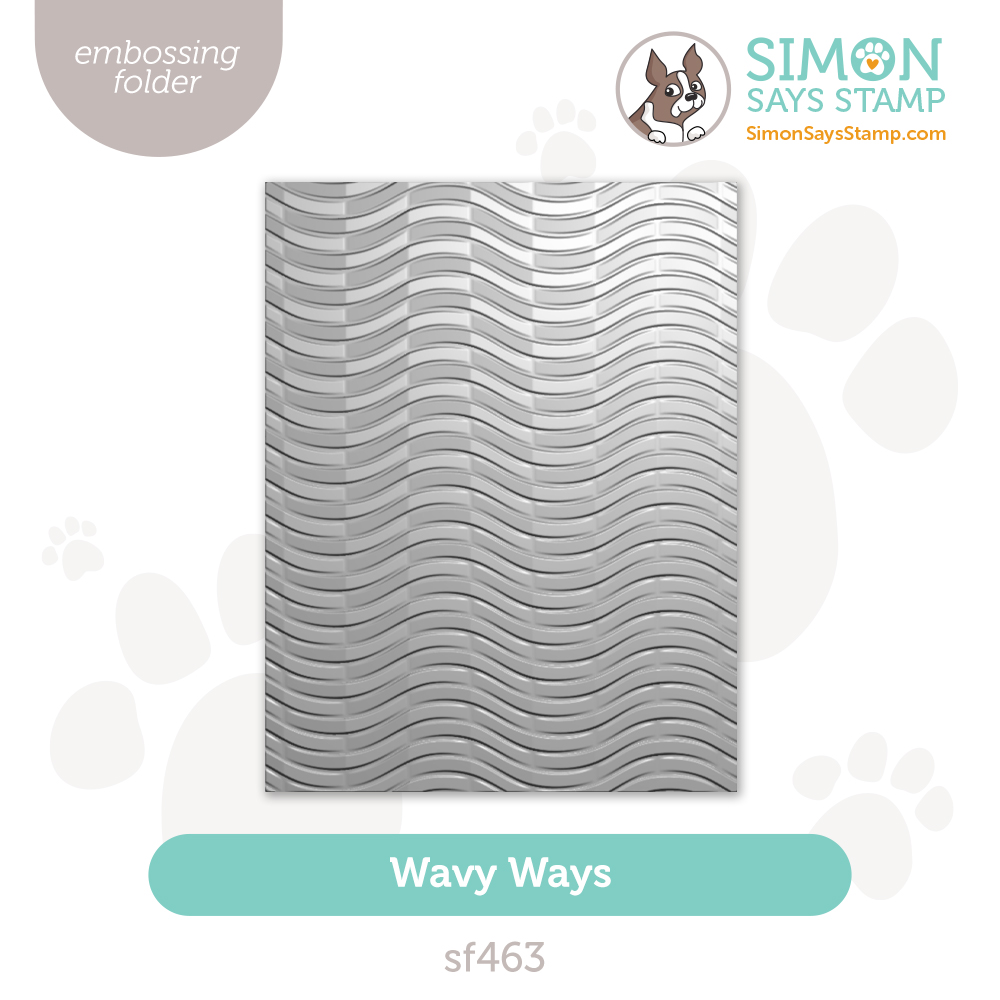
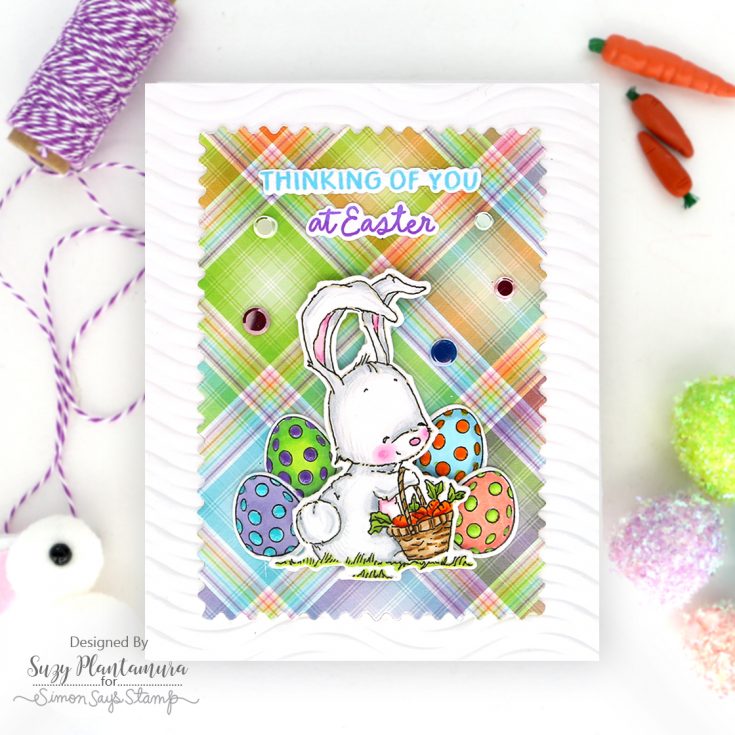
I embossed the new Wavy Ways embossing folder using white cardstock. I die-cut a piece of Lawn Fawn plaid patterned paper (from a very old pad!) using the Modern Rectangle Postage Stamp Dies and attached that over the embossing folder.
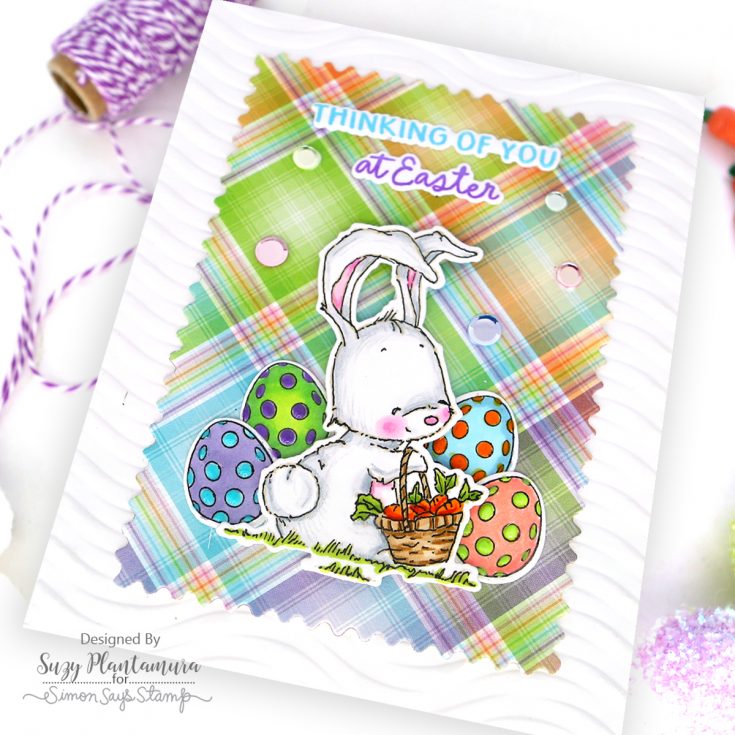
I used one of my colored bunnies and four colored eggs over the front of the patterned paper. I added Nuvo Drops over the spots on the eggs. I stamped two sentiments from the Bunny Blessings stamp set using Marine and Orchid PSInks and attached them to the top of the paper. I added some of the new Pastel Ice Embellishment Mix around the background.

I die-cut a rectangle using the SSS Nested Slimline Rectangle Dies. I rubbed PSInks over it using Peachy, Carnation, and Limelicious. I arranged a bunch of my colored images from the Bunny Blessings stamp set over it using foam tape behind the top of many of them. I just kept adding more and more flowers as I had a lot of extra-colored ones!
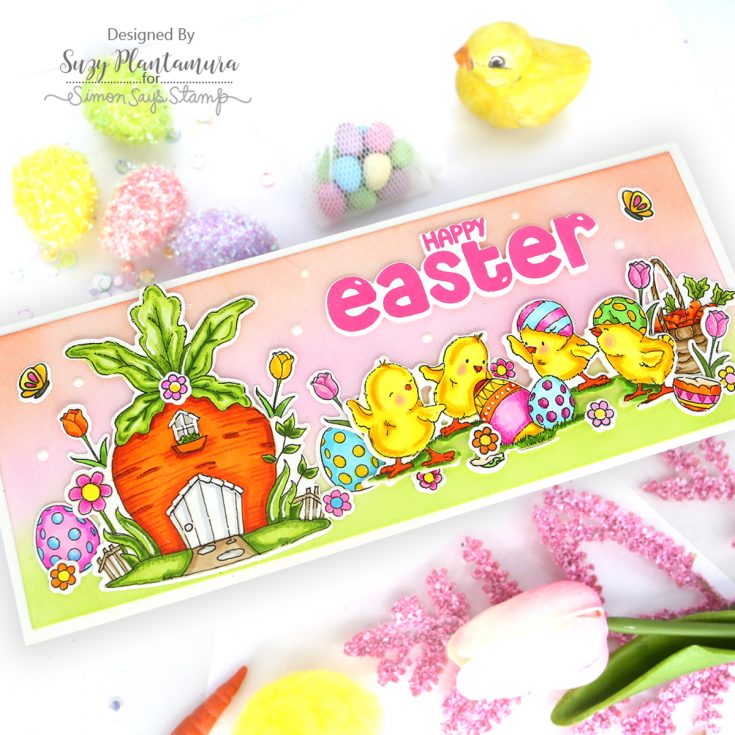
I stamped two butterflies from the Hip Hip Hooray stamp set and added them to the sky. I stamped Happy Easter with Peony PSInk using the Eggstra Special stamp and die set. I really liked this bold Easter greeting as I used it twice!
If you aren’t in an Easter mood after all these cards, I’m not sure what it would take haha. I had so much fun creating all this spring goodness with the Bunny Blessings stamp set and other new products from the Favorite Things release. Thanks so much for stopping by today!
SUPPLIES:
|


Thanks so much for stopping by, and thanks to Suzy for being our guest!
Mark your calendar!
Join us live next week! Click or tap the bell by ‘Notify Me’ to be notified when we begin on Friday, March 7th at 12 AM ET!
NEW EXCLUSIVES! Find YOUR Favorite Things!
Our new release is called Favorite Things because we think you’re going to find products you’ll reach for time and time again! Leap into spring with our Blessings at Easter set, Peeking Lamb dies, and Springtime Celebration Plate die; and stock your stash with Basic Shapes Circles dies, EZ Strips Thank You sentiment strips, and the Petal Pattern bundle. Plus so much more!
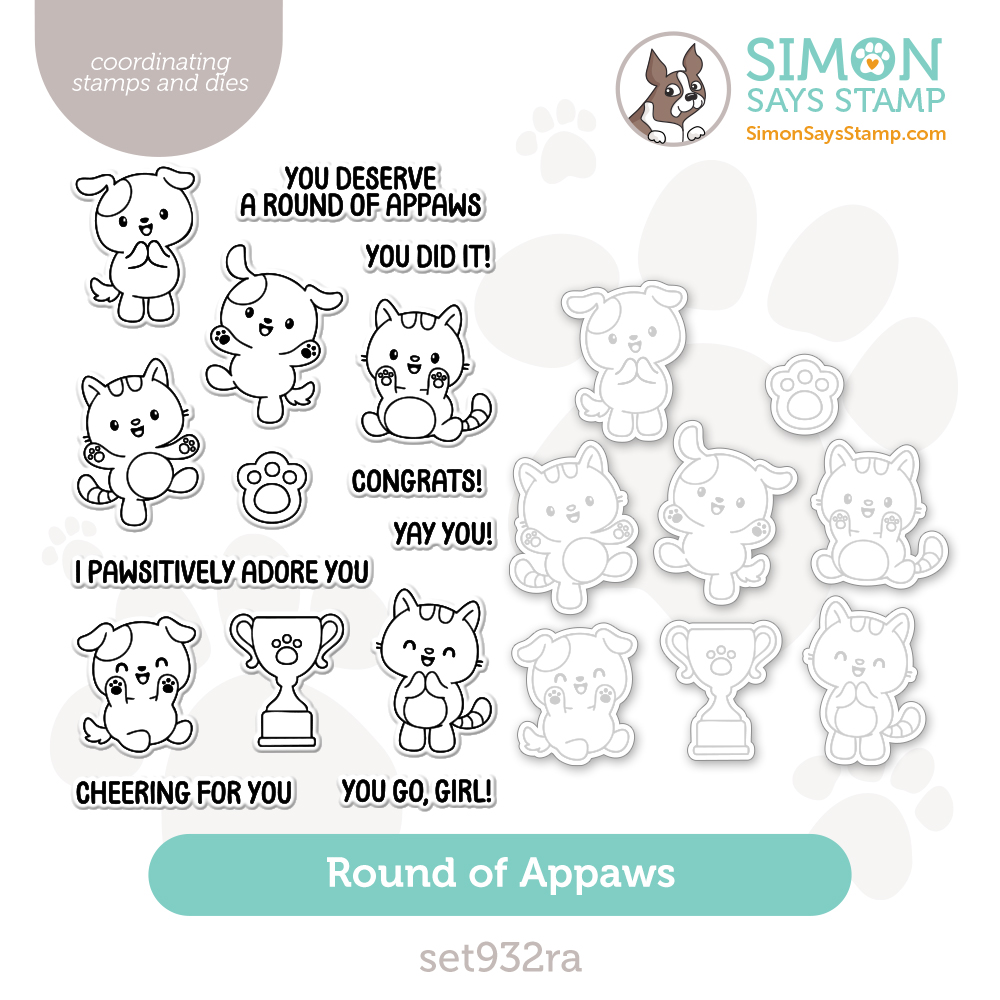
We think you’ll be shouting Hip Hip Hooray, because this release is One for the Books! Let’s give Laura Bassen a Round of Appaws as she walks you through these treasures (see video)!

Shop the entire collection:
Can’t pick a favorite? Shop our NEW Bundles:
Quick tips!
Learn the features and benefits of these NEW items!
Get INSPIRED!
STAY TUNED for a 2-Day blog hop starting tomorrow (Friday, February 28, 2025 at 8 AM ET) right here on our blog for TONS of inspiration + fun prizes, surprises, and gifts!
Mark your calendar!
Join us live next week! Click or tap the bell by ‘Notify Me’ to be notified when we begin on Friday, March 7th at 12 AM ET!


