So Fun to CREATE: Primula Artist Trading Cards
Hi friends! Happy Thursday! As we are on the eve of our big Simon Says CREATE event, I thought it was the perfect time to reshare this gorgeous inspiration by Anna-Karin Evaldsson for a fun share of 3 artist trading cards! For those attending the event, I hope to see some trading going on! ;) Read on to learn more and enjoy!
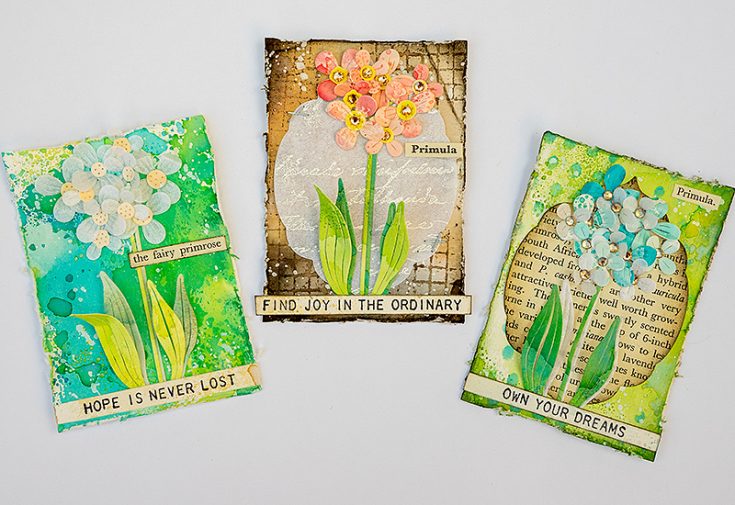
Hi everyone! Spring is here and flowers are appearing everywhere. I am happy to be back on the Simon Says Stamp store blog with a tutorial. Today, I made three Artist Trading Cards, with easy techniques. If you have never made an Artist Trading Card before, I hope you will do so.
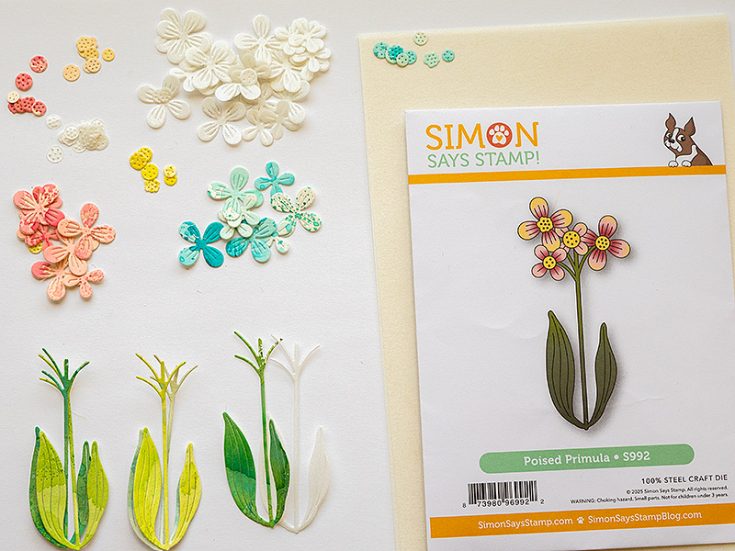
Sometimes it is fun to make projects in a different size than what you normally do, either larger or smaller. Artist Trading Cards are 2.5 x 3.5 in and it is such a fun surface to work on. ATCs are also great if you want a small design, such a small stamp or a small die, to be the focal point of a project. On a small surface, the small design looks bigger. I really like the new Simon Says Stamp Poised Primula flower die set, from the You Are My Favorite release. It is a fairly small flower, which made me switch from the art journal page I planned to make first, to ATCs.
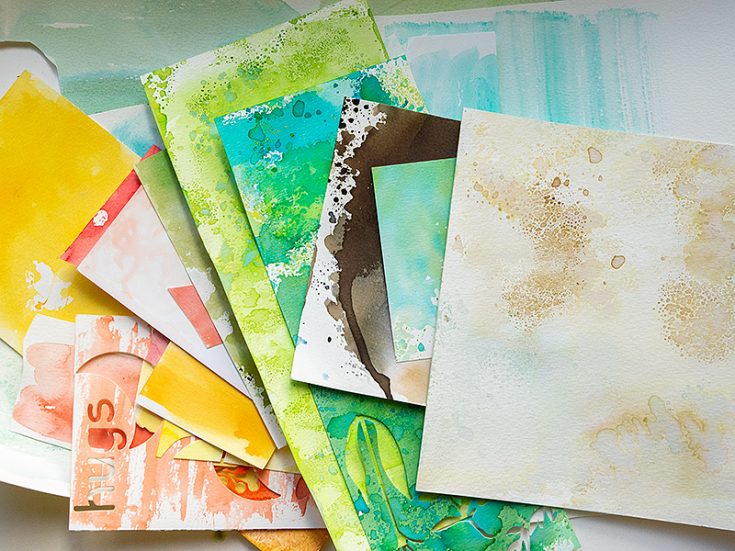
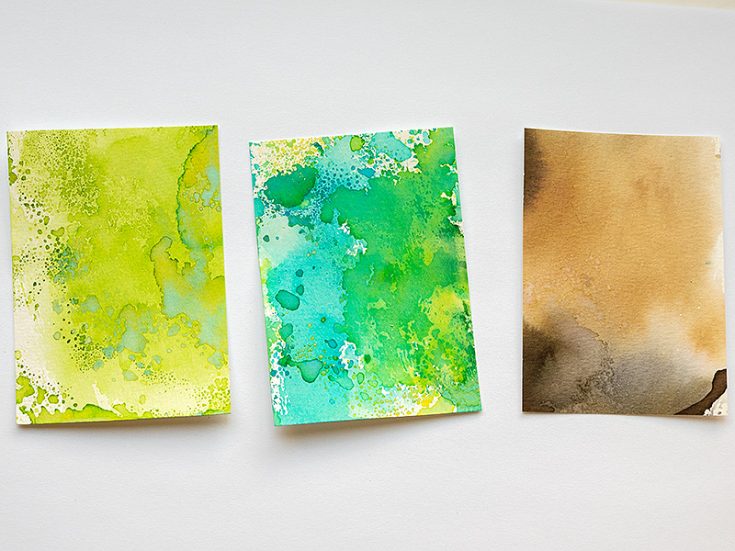
I decided to use mainly inky scraps for this project. Most of these were made with Distress Ink and, in some cases, also Distress Oxide Ink. Some of the papers are watercolored. I love digging into my pile of colorful scraps.
Die cut the Poised Primula from scrap papers and from Simon Says Stamp Ice Vellum. If you don’t have enough inky scrap papers, you can easily make some by smearing Distress Ink on a non-stick craft sheet, misting with water and pressing watercolor paper or Ranger Heavystock paper into the ink.
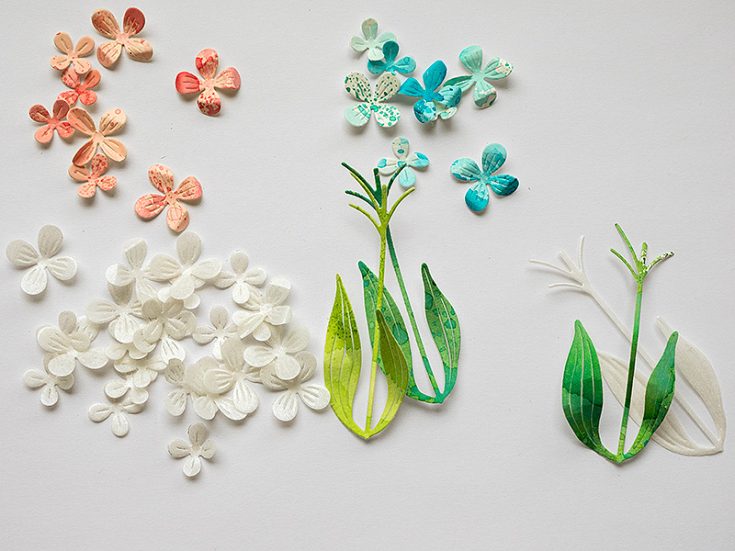
Shape the flowers and leaves with Tim Holtz Shaping Tool Kit.
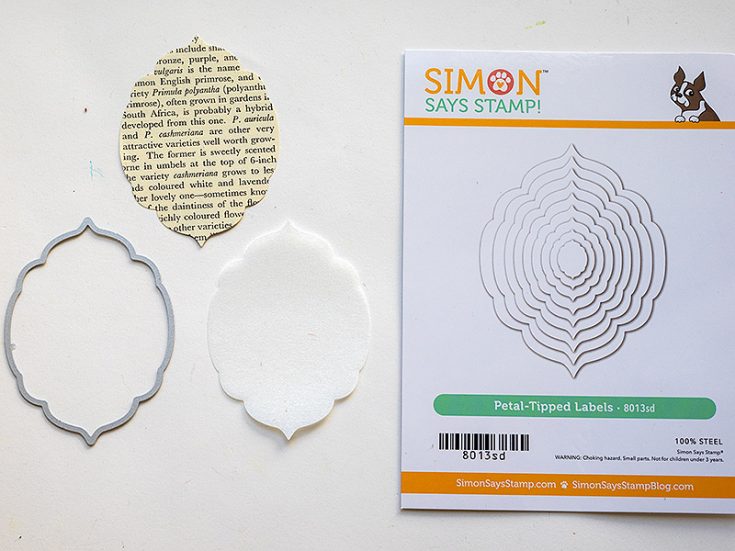
I used the pretty Simon Says Stamp Petal-Tipped Labels on two of the ATCs. One of the labels was die cut from Ice Vellum and the other one from old book paper.
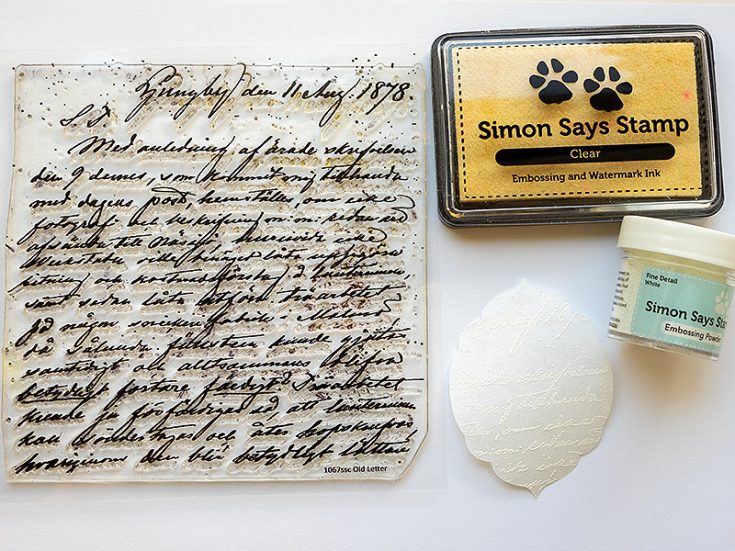
Stamp the Ice Vellum die cut with Simon Says Stamp Old Letter Background and white emboss. Don’t worry about perfection, we are just aiming for a nice, distressed texture.
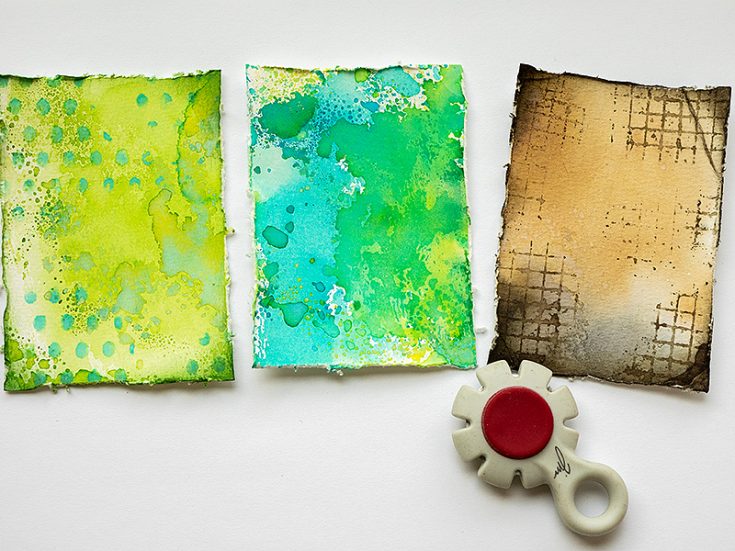
Cut three ATCs from the scrap papers (2.5 x 3.5 in).
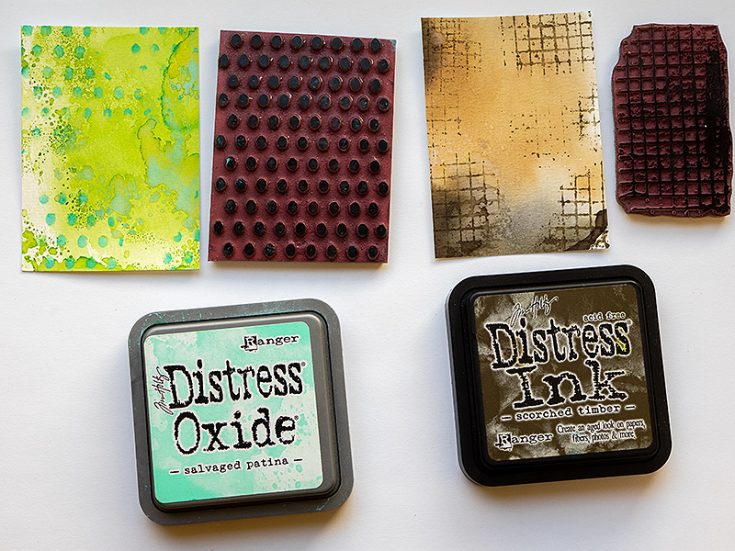
I stamped two of the papers with texture stamps. The first stamp is from Tim Holtz Tiny Textures and the second from Tim’s Ultimate Grunge. The stamps were misted with water before stamping.
Ink the edges of one or two of the cards and then distress.
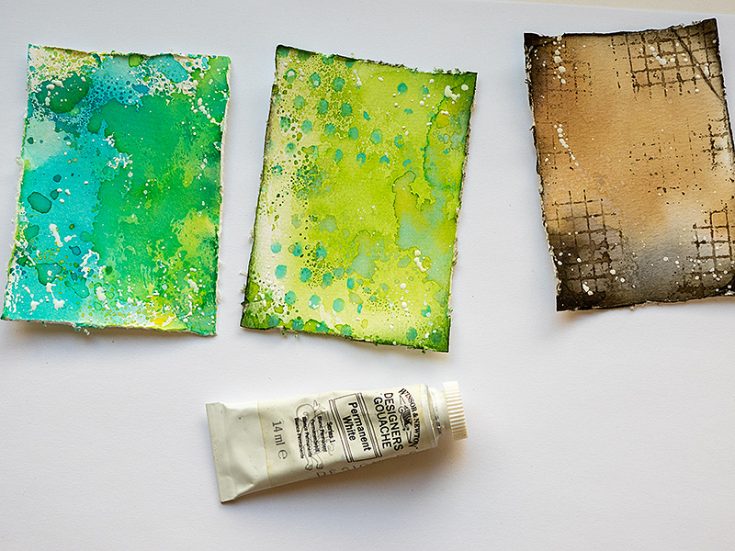
Mix a little water into Winsor & Newton Permanent White gouache and splatter on the backgrounds using a paint brush. Tap the brush to create the splatters.
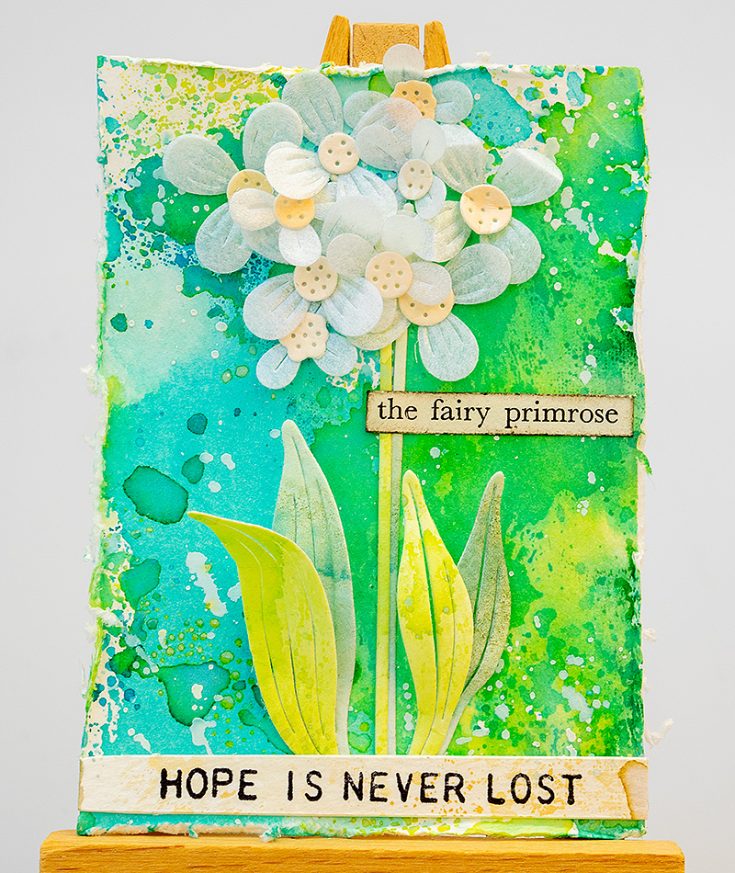
For the first card, I used only flowers die cut from Ice Vellum. Glue the stems to the background and then arrange and glue the flowers. Add the centers.
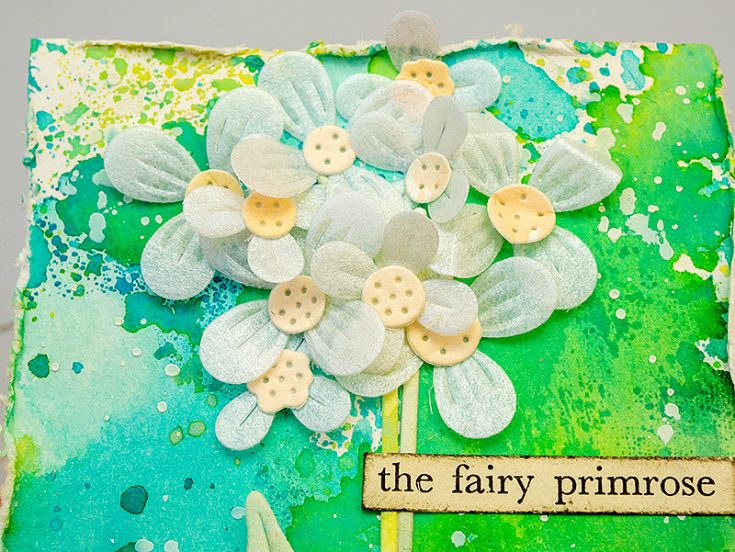
Since the flowers and leaves were shaped, the card has dimension.
The Ice Vellum is really pretty, with a sparkly, pearlescent look. I am fond of vellum and this version will be a new favorite. The words were cut from an old book about flowers.
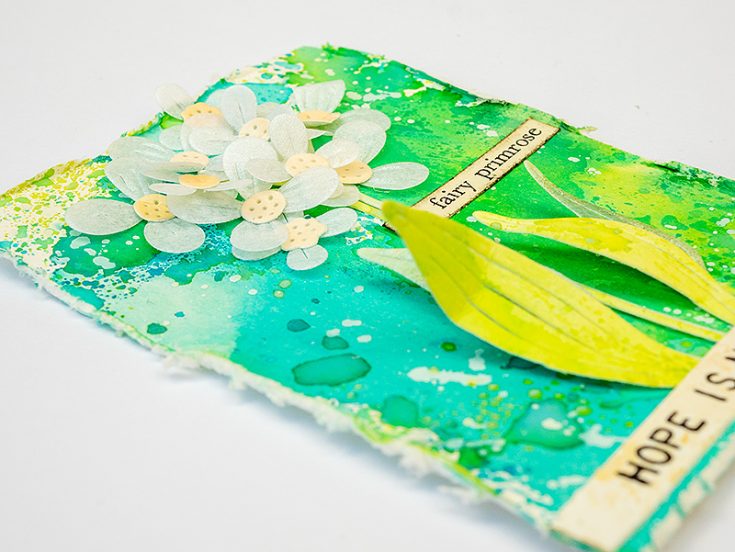
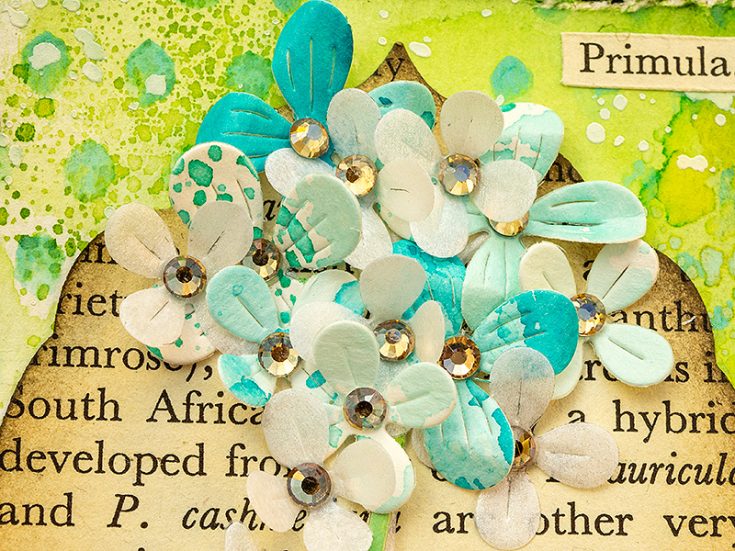
The second ATC uses the brown background and the label die cut from Ice Vellum.
I added Simon Says Stamp Pawsitively Dazzling Peachy Gems to each flower center.
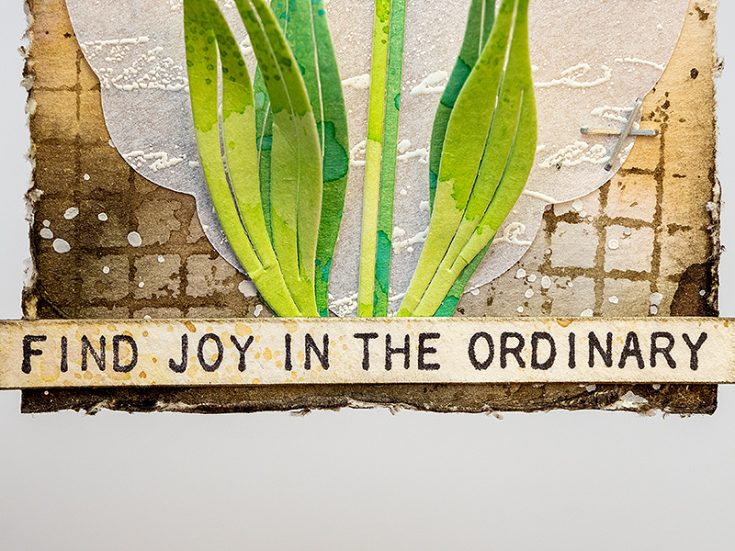
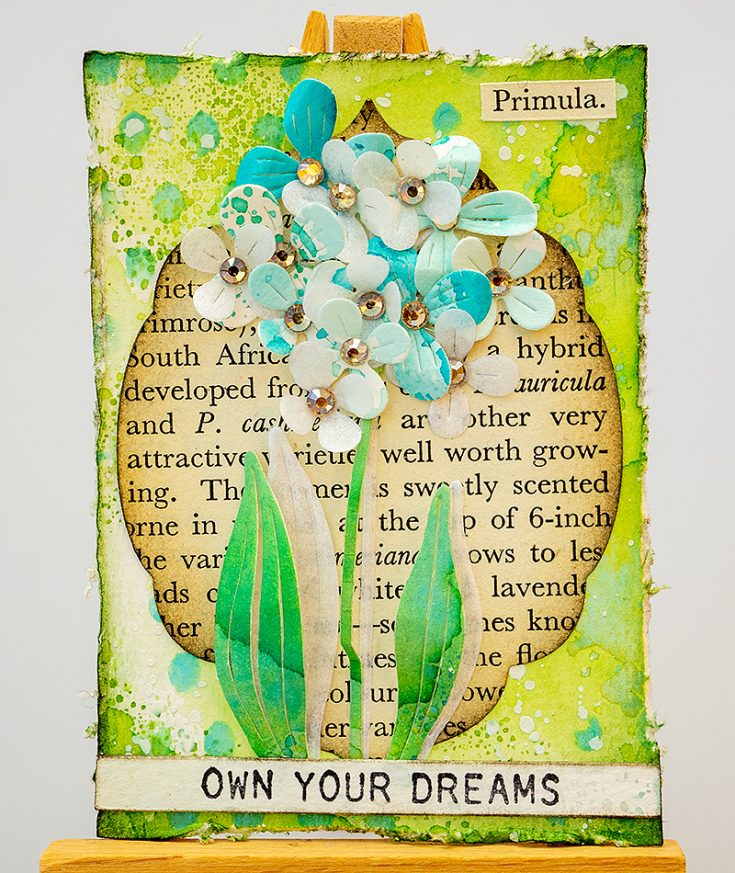
The sentiments at the bottom of each card come from Tim Holtz Tiny Text.
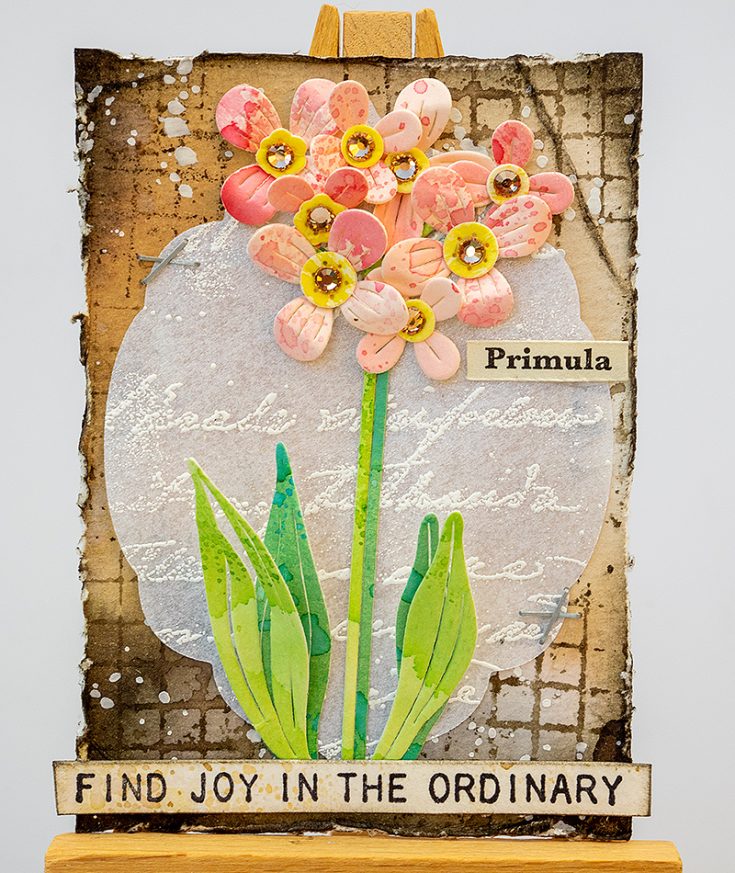
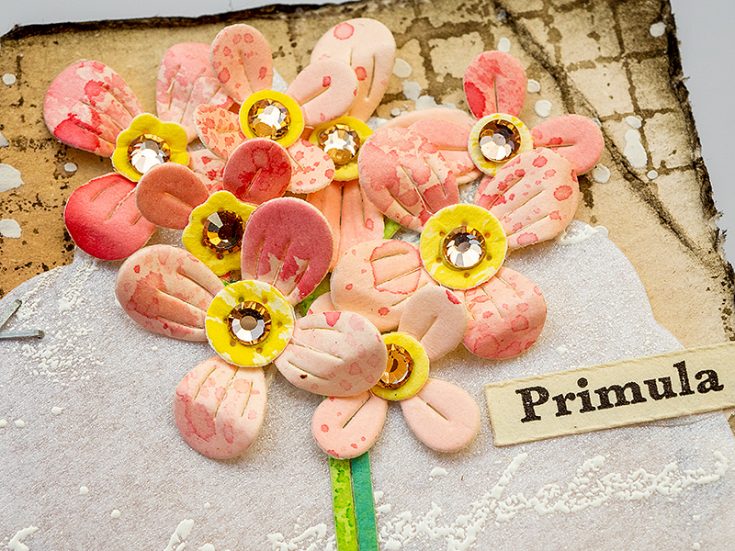
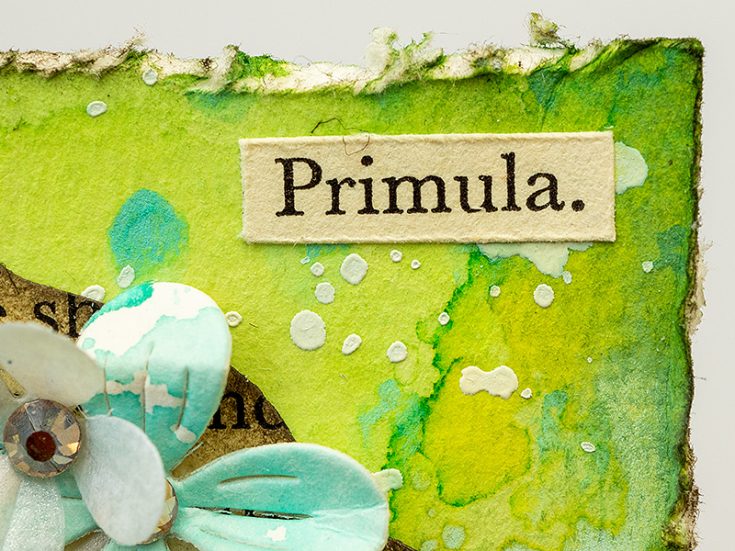
The third ATC uses a label die cut from a page in an old book about flowers describing Primulas. I like such little details.
I used a mix of blue and Ice Vellum flowers for this card, with Simon Says Stamp Pawsitively Dazzling Gold Gems as flower centers.
Splattering adds texture without overwhelming the background.
I hope you enjoyed this tutorial and that it inspired you to make Artist Trading Cards. However, if you don’t want to make an ATC, you can of course turn it into a small folded card instead, by adhering the ATC to a folded card base. Thank you so much for looking! Happy crafting! –Anna-Karin
SUPPLIES:
|


Thanks so much for stopping by, and thanks to Anna-Karin for being our guest!
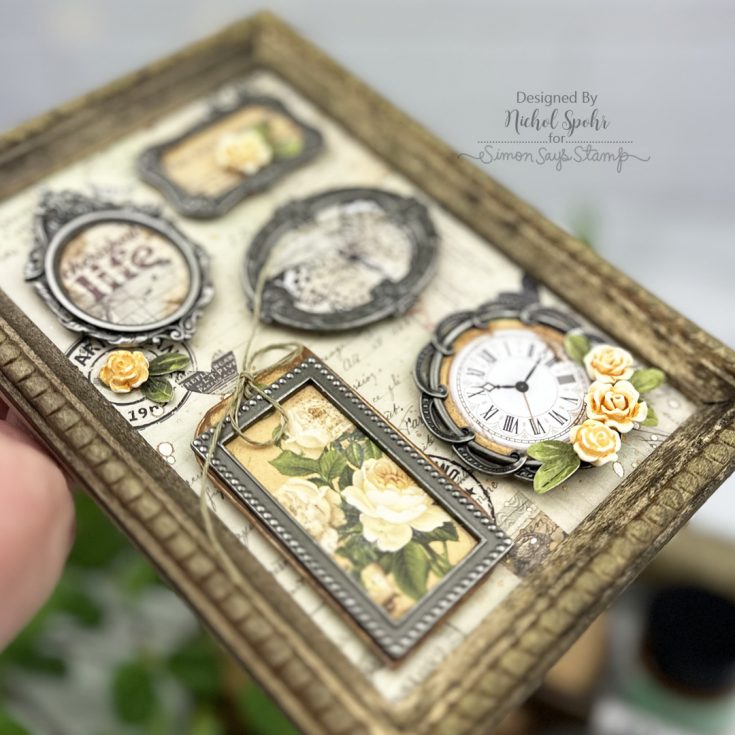
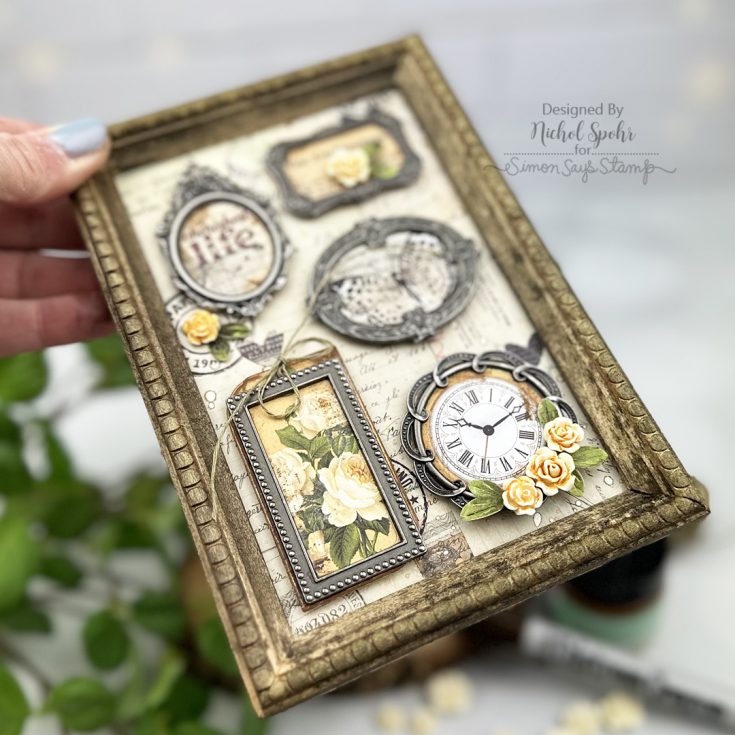
Turn Your Card Kit Into Framed Decor | Mixed Media DIY

Hi friend! Happy Wednesday! We’re delighted to welcome back special guest Nichol Spohr with this pretty card featuring components of our May 2026 Card Kit, Long Stem Florals! This kit sold out super fast! We’re so excited you loved it! If you missed it, you can still purchase individual components to create what Nichol made! Be sure to watch the video for all the details, and enjoy!
WATCH THE VIDEO:

SUPPLIES:
|


Thanks so much for stopping by, and thanks to Nichol for being our guest!
Did you know?! We’ve made our card kit subscription BETTER THAN EVER!
Learn more:

Here’s what makes our new service a crafting paradise:
Exclusive Access: As a subscriber, you get first dibs! Each month, you’ll get an exclusive sneak peek at our new kit, with the option to add more coordinating items to your cart, including handy replenishable supplies, all shipped together for your convenience.
Hassle-Free Payments: Say goodbye to monthly billings! Our automated system smoothly charges your preferred card, ensuring an uninterrupted flow of crafty goodness – unless you decide to pause, of course!
$5 Off Magic: Enjoy a special $5 discount off our kit’s retail price, exclusive to our beloved subscribers – no codes needed, just automatic savings!
Crafting Inspirations: Dive into a sea of creative ideas monthly, all tailored around your kit, to keep your inspiration flowing endlessly.
Flexibility First: Fear of commitment? Not here! Our subscription is as flexible as it gets – pause or cancel anytime, no strings attached.
Why wait? Step into the realm of our NEW Simon Says Stamp Monthly Card Kit service. Welcome a box full of crafting marvels, right to your doorstep. Craft with ease and let creativity come to you!
Ready to elevate your craft? Subscribe Now and open the doors to boundless creativity!
We’re thrilled to have you in our crafting community and can’t wait to embark on this renewed creative adventure together!
NEW Gina K Designs April 2026 Collection is HERE!
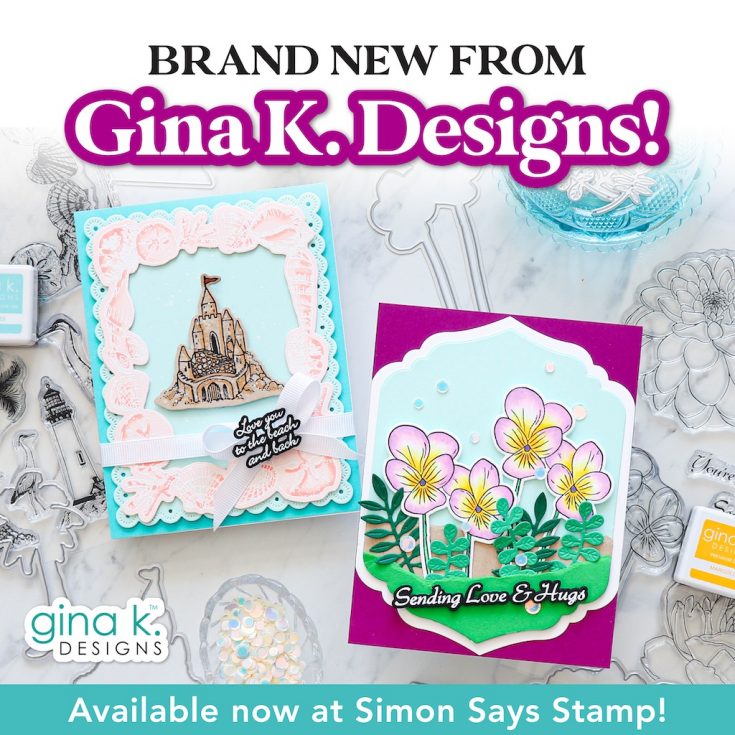
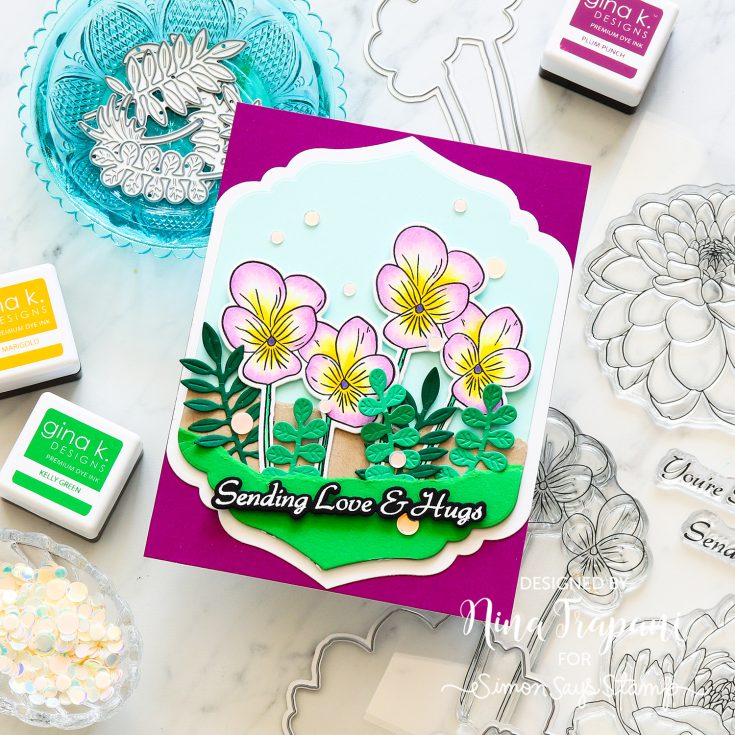
Hey crafty friends! It’s a happy day—the brand-new Gina K Designs April 2026 Collection has arrived! Click or tap here to see all the fresh, fabulous finds!
Need a little creative spark? Scroll on—new inspiration waiting for you!