MAGICAL Cardmaking Secrets with Vellum: Making the Cut (reprise!)


Hi friend! Happy Tuesday! We’re delighted to welcome back special guest Nichol Spohr in special reprise of our Making the Cut series of our blog that celebrates the love of die cutting! This gorgeous card is so nice we have to share it twice! Get inspired and make a unique card for a Mom in your life! This pretty card showcases our Pristine Lilac embossing folder, Squovals nesting die set, Exquisite Butterfly die, Mother’s Day stamp and die set, as well as Silver Vellum! Be sure to watch the video for all the details, and enjoy!


WATCH THE VIDEO:

SUPPLIES:
|


Thanks so much for stopping by, and thanks to Nichol for being our guest!
Going on NOW for a limited time BoGO gift cards!

Give the Gift of Creativity + Enjoy a Bonus on Us!
Mother’s Day is just around the corner, and we’ve got a gift idea that’s sure to make her smile. Treat Mom to a crafty shopping spree with a gift card from Simon Says Stamp—and here’s the fun part: when you purchase a gift card of $100 or more, you’ll receive a FREE $20 bonus gift card!
Give a little, get a little… and if you decide to keep that bonus for yourself, we won’t tell. ;)
Enjoy and happy crafting!
Bold Overlay Thank You Cards

Hi friends! Heather Hoffman here today with a pair of cards featuring some bold ink blending, and tons of interesting detail, but with minimal effort! Keep reading to find out the secret that makes it so easy!
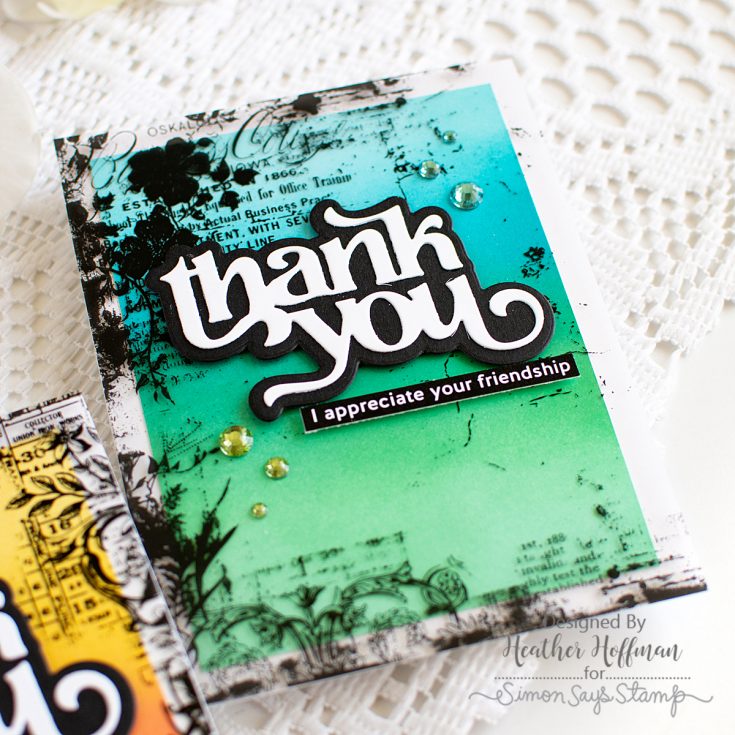
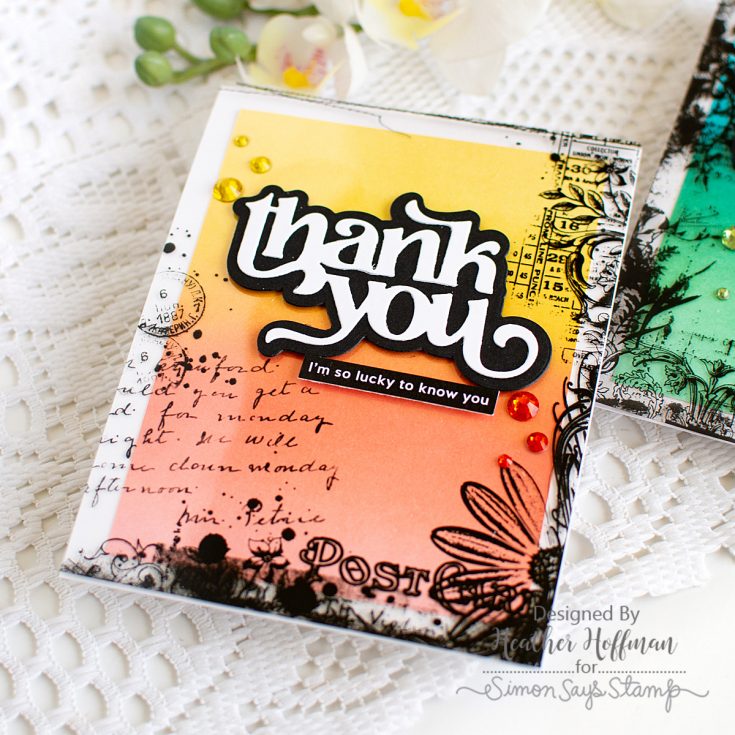
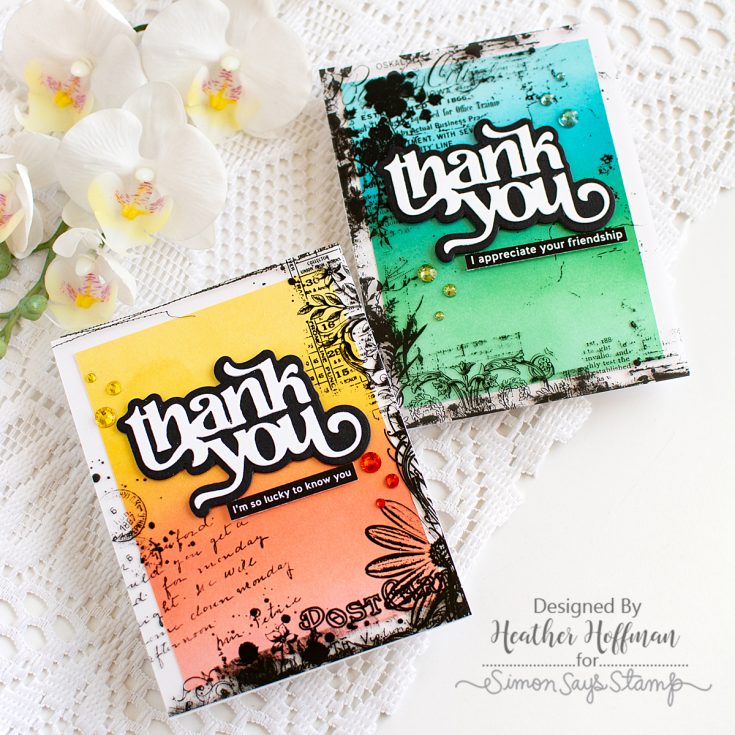
I started off with an itch to do some ink blending in some pretty color combos. On some white cardstock panels I blended lots of Pawsitively Saturated inks. For the cool tones I used top to bottom Surf, Ocean, Lucky, and Dublin. For the warmer tones I used top to bottom Zest, Honey, Pucker, and Blush. I then trimmed those panels down slightly and mounted them centered on white cardbases.
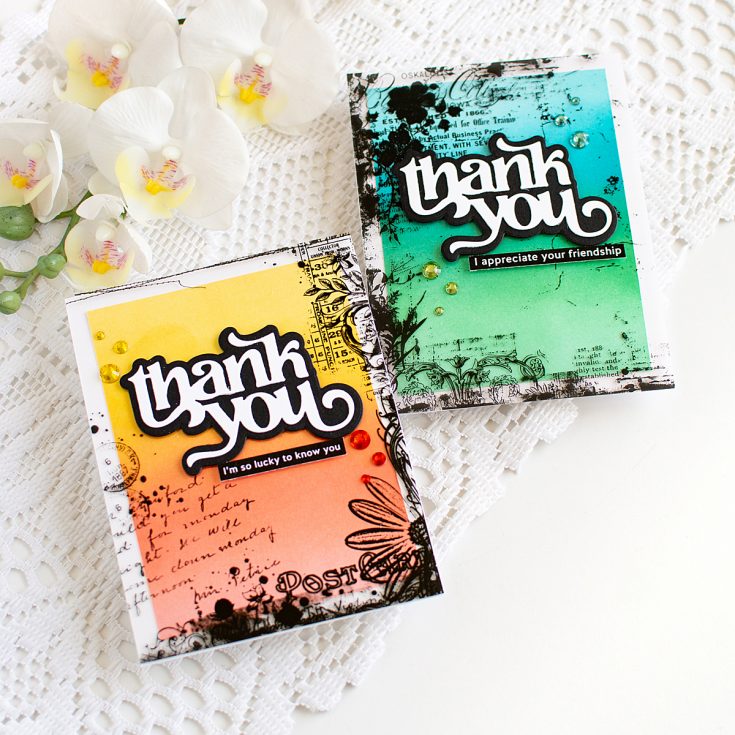
Next, I had picked up a pack of the fun Creative Overlays Transparencies. A recent card kit included one random of the set, and I loved it so much I had to get a full pack! They are bold and fun prints on acetate, and they just popped on these colors! Since they were acetate, I knew I had to be a bit creative with hiding the adhesive – there are lots of options to make that easy!
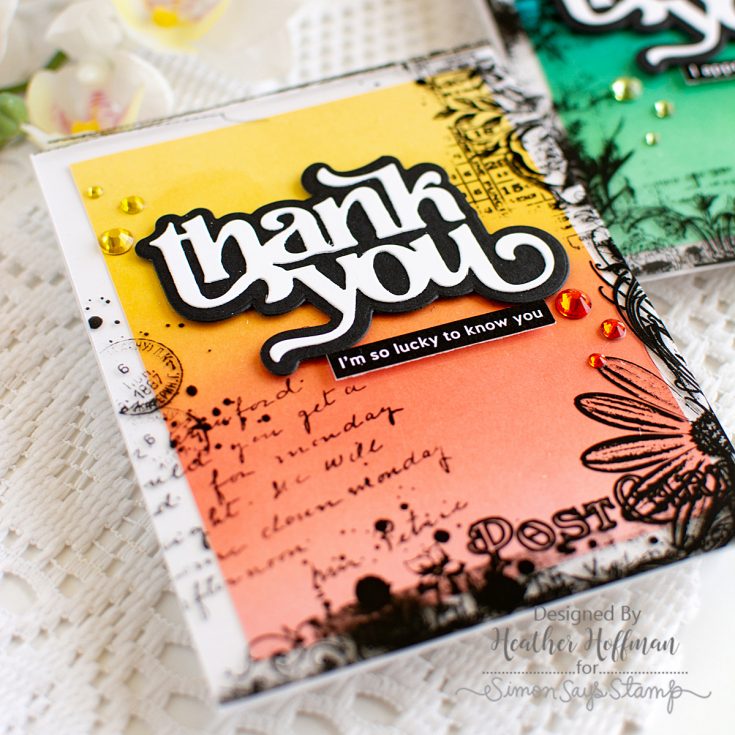
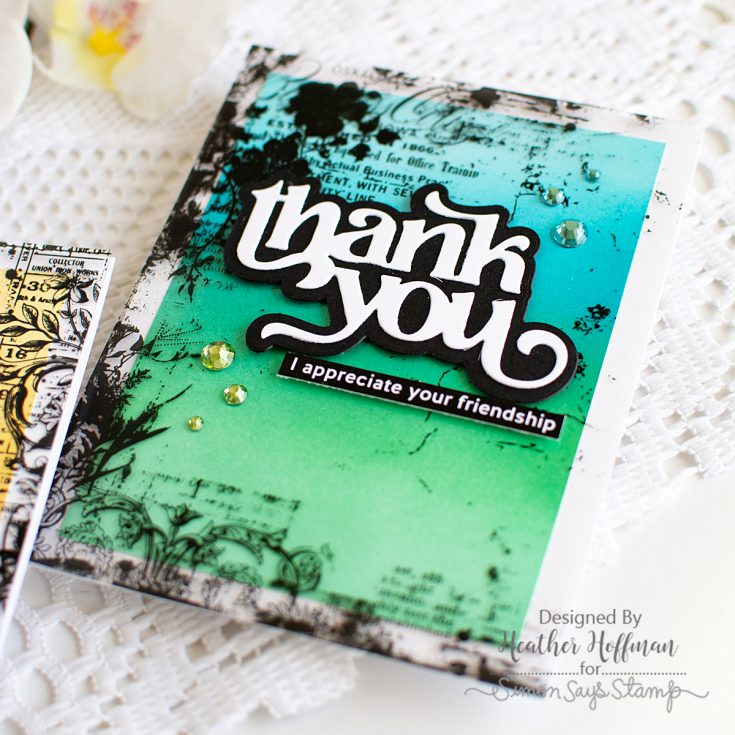
I chose to hide it behind a die cut sentiment! So I die cut the Fancy Thank You die once for each card, using black cardstock for the shadow layer, and white for the main layer. I popped it up with foam adhesive on the acetate, and also added a touch of liquid glue to make sure it wouldn’t come off down the road. Then, I used some sturdy adhesive tape hidden behind the large sentiment, and a little more liquid glue, and and added it to my cardbases. This way it is held very securely behind the sentiment, and floats free around the edges, which adds its own lovely effect!
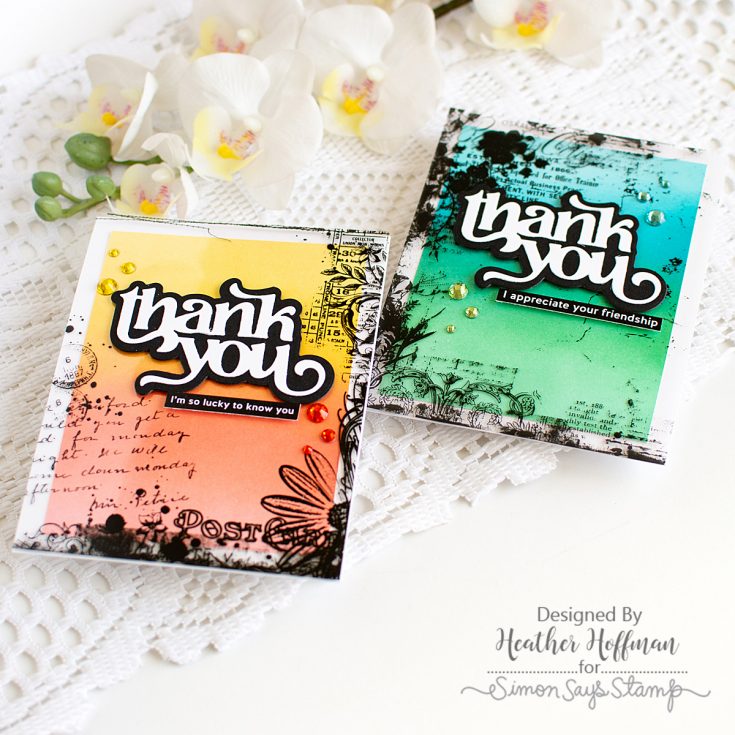
I added secondary sentiments from the EZ Strips Reverse Beautiful Friend sentiment strips, trimmed down into thin strips. The coordinating EZ Strips dies are easy to use with these sentiments strips, but they also trim down so easily with a paper trimmer, and then you can get them nice and slim like these cards. I also added some tone on tone Dazzling gems for extra sparkle. I used Surf, Sprout, Sunbeam, and Mandarin.
Have you played with acetate overlays? What is your favorite way to use them?
SUPPLIES:
|


Thanks so much for stopping by!


