Treasure Everyday Moments
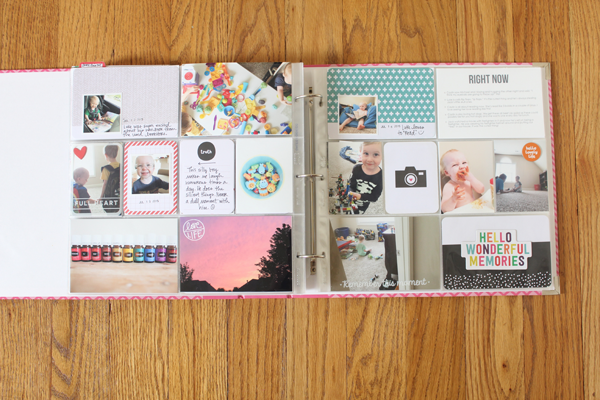
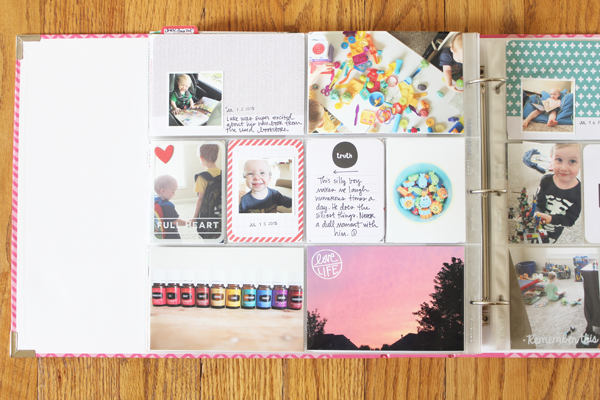
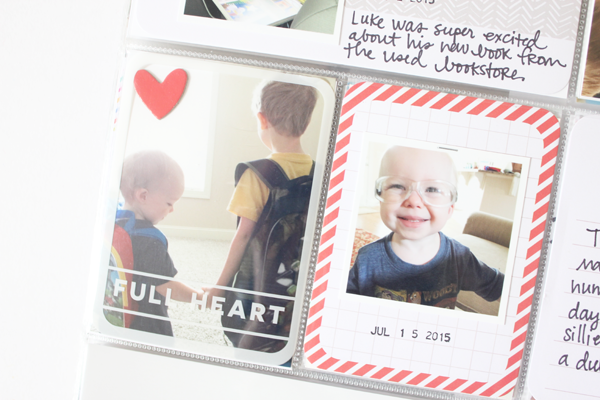
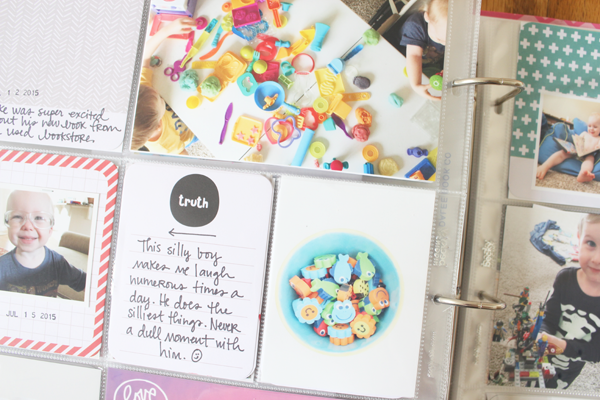
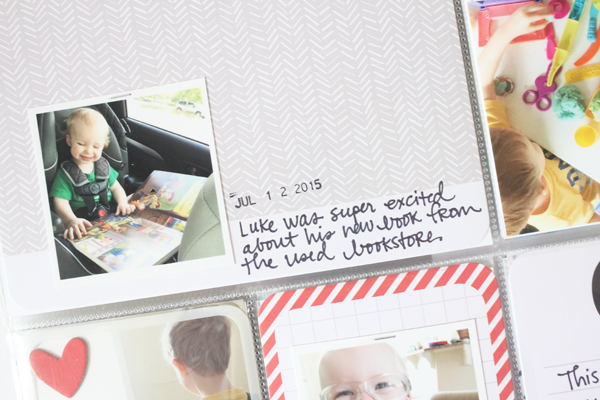
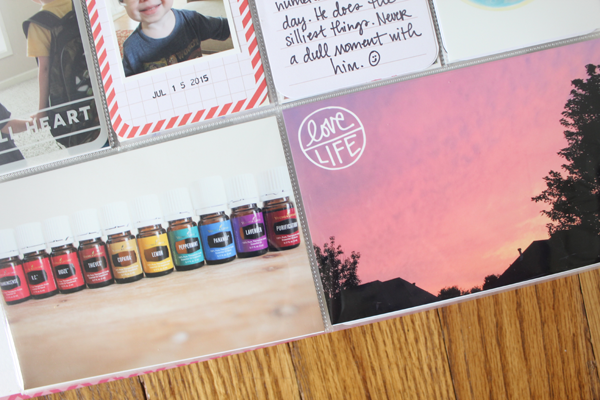
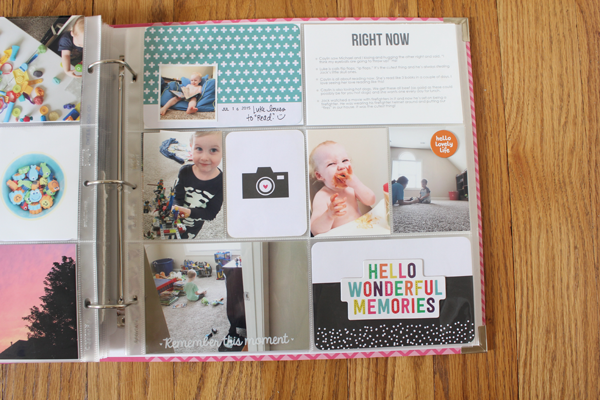
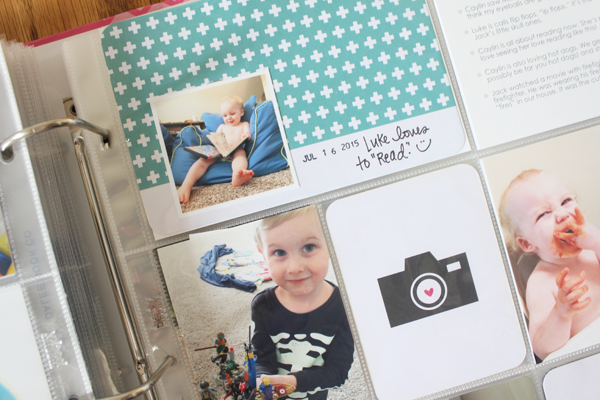
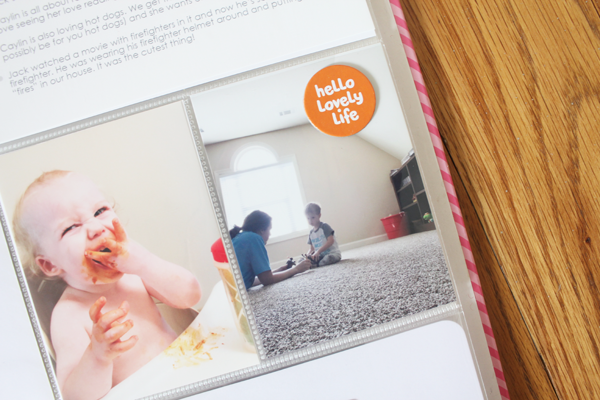
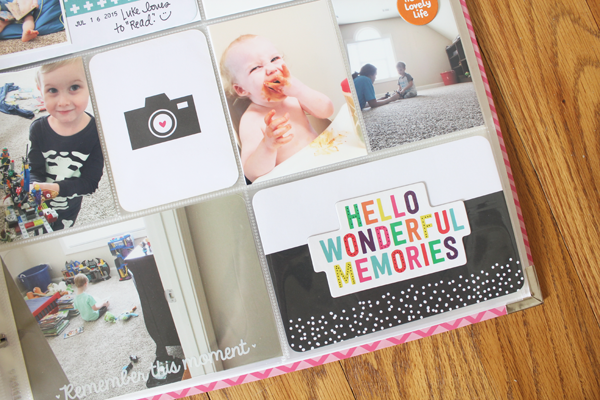
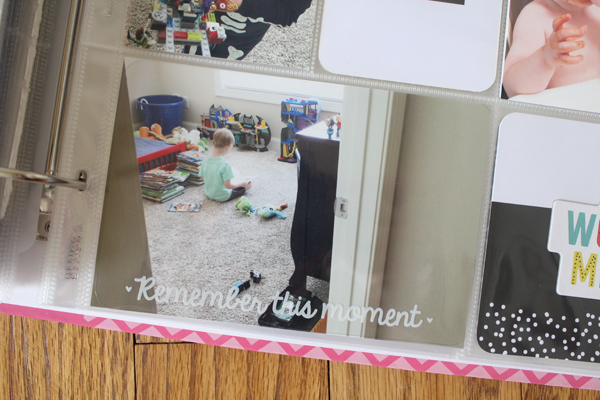
Hi readers! Happy Wednesday! Please join me in welcoming back the sweet Kristina Proffitt to our blog as a guest! She’s archiving up a storm, and I hope you enjoy taking a peek into her scrapbooking style as much as I do! It’s just so great to be able to capture everyday moments in addition to special occasions. Sometimes the everyday moments are the sweetest as you can see from these pages!
Did you know we just got a SWEET shipment of NEW Becky Higgins products? I’m loving the Sweet Edition, although I must admit it’s making me a bit hungry! ;) Check out some of the new stuff, then enjoy Kristina’s lovely pages!
BRAND NEW:
 |
 |
 |
 |
 |
 |
 |
 |
 |
 |
 |
 |
 |
 |
 |
SUPPLIES:
 |
 |
 |
 |
 |
 |
 |
 |
 |

Blog Candy Alert!! Follow our blog via email and comment on this post for a chance to win a special blog candy!
Congrats! Blog Candy Winners!
From: Gift Giving with Deco Foil!: Becky Smith!
From: Monday Challenge: Citrus with a Twist: Beverly Jordan!
Please email Samantha ([email protected]) with your mailing address and the name of the blog you won from to claim your prize!
Memory Box Sale!
Hi readers! Happy Wednesday! Just popping in quickly to let you know that this week we have a special limited time sale on all items from Memory Box! Use code MBSALE to take 20% off!
Shop early for the best selection! :)

Gift Giving with Deco Foil!
Hi readers! Happy Tuesday! Please join me in welcoming a first time guest to our store blog; Alice Golden! She’s crafting up some fabulous tags and a card to give homemade gift giving that extra WOW factor! Read on…

Hi there! I’m so happy to be joining you as a guest today sharing a few ideas for using DecoFoil™. Have you tried using foil yet? There are so many ways to apply foil to your crafting! Today I will be showing you three different techniques. The first project I have for you is a set of gift tags made using a hot melt adhesive. As much as I enjoy making handmade gifts, I think I like packaging them up even better.
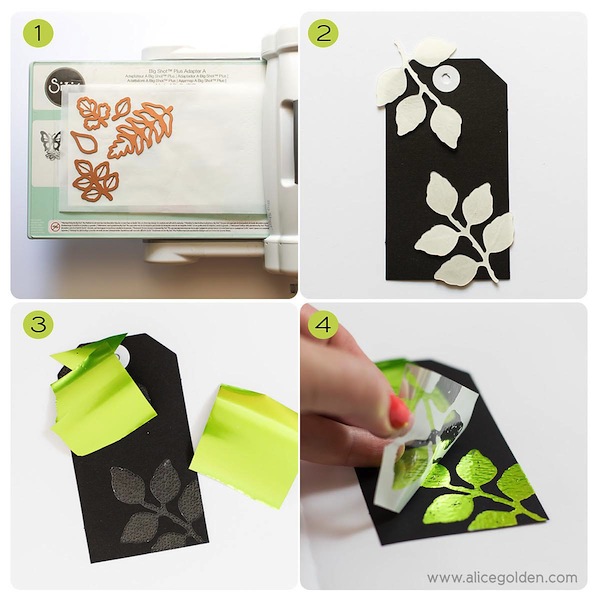
To make these tags you will need iCraft® DecoFoil™ Hot Melt Adhesive, die cuts or an electronic die cutting machine, and a laminator or iron. The laminator works best, but an iron will do in a pinch. The steps to add the foundation layer of foil is the same on all three tags.
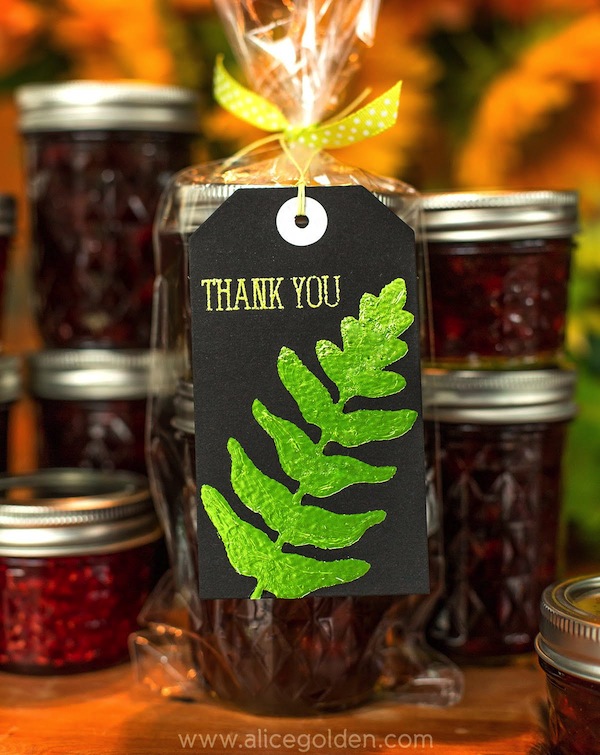
First, place the adhesive sheet on your die cutting platform with the rough (adhesive) side facing up. Place a piece of parchment over the top and then die cut as usual. The parchment helps prevent the adhesive from getting stuck in the die. Next, remove the die cut adhesive from your machine and place it on the tag with the rough side facing down. Run through the laminator and then trim any overhang. Peel off the protective layer from the adhesive and cover with a piece of foil color side up, as shown in figure 3. Run through the laminator again and then peel up the foil transfer sheet. The foil will be permanently transferred to the adhesive. This adhesive can also be used to foil fabric – it can even be quilted and washed.
The next two tags take the foiling a bit further with a technique I am calling “painting with foil”. To do this you will need iCraft® DecoFoil™ Liquid Adhesive, an inexpensive paint brush, and assorted colors of foil. This is a great project for using scraps of leftover foil.
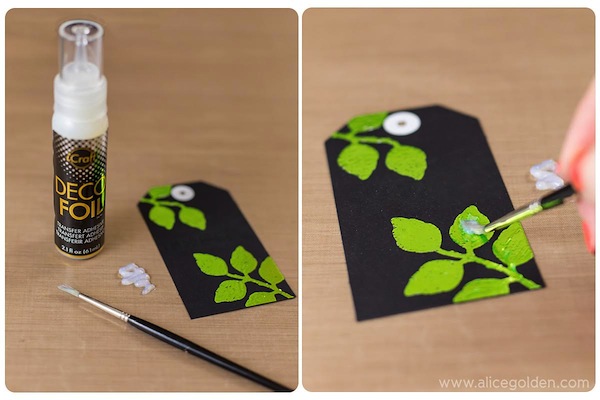
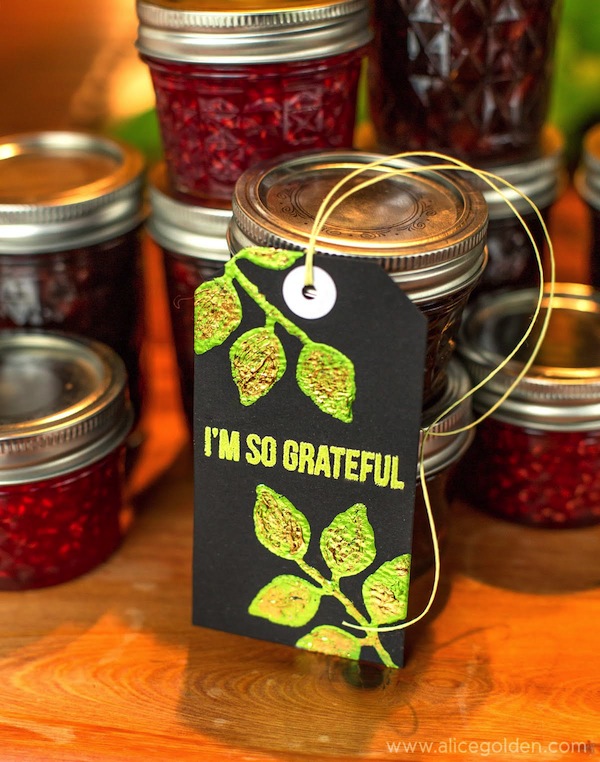
Put some liquid adhesive on a nonstick sheet and then paint it on where you want to add additional colors. When it dries the adhesive will be tacky to the touch and you are ready to start “painting with foil”. Simply press small pieces of foil over the adhesive to add detail and highlights. Apply the adhesive in a thick coat to add dimension and make visible brush strokes, or a thin, even coat for all over coverage. For these leaves, I wanted to add streaks that would mimic veining in leaves so I applied the adhesive quite heavily. “Paint” with scraps of foil that are partially used to add even more dimension.
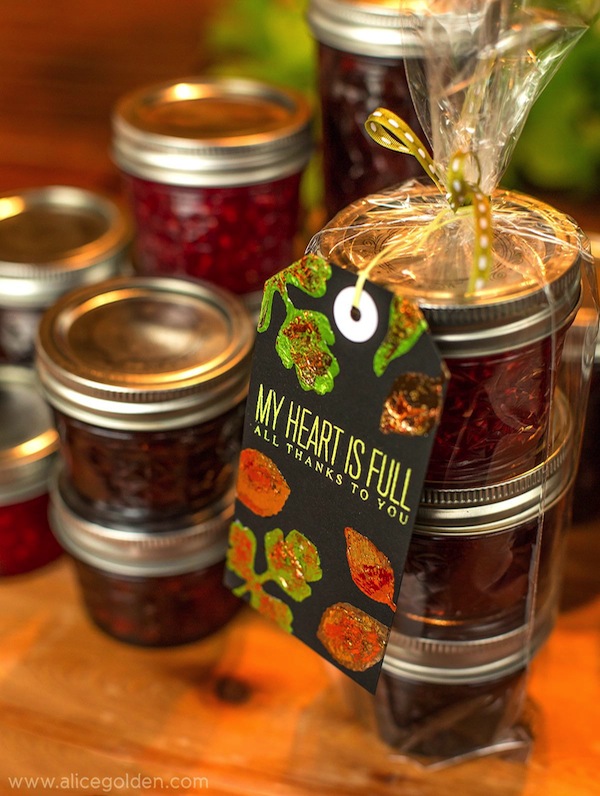
The last tag was created the same way as above, except instead of covering all the leaves with a base layer of lime foil, I used a combination of gold, rose gold, pumpkin, as well as lime. In addition to these colors, I added red foil “paint” to create the feel of autumn leaves. The only thing I really don’t like about foil is photographing it! In person, these look so much more dynamic – especially when the foil catches the light… very hard to capture in a still photograph.
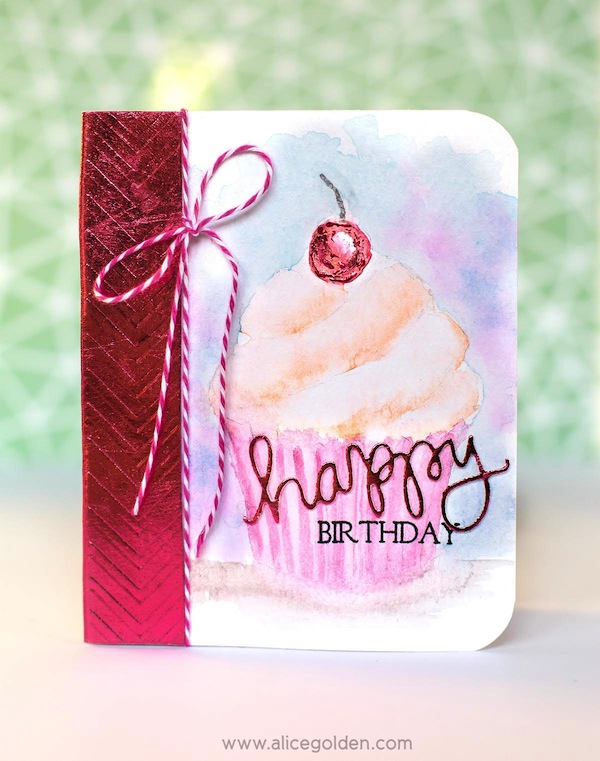
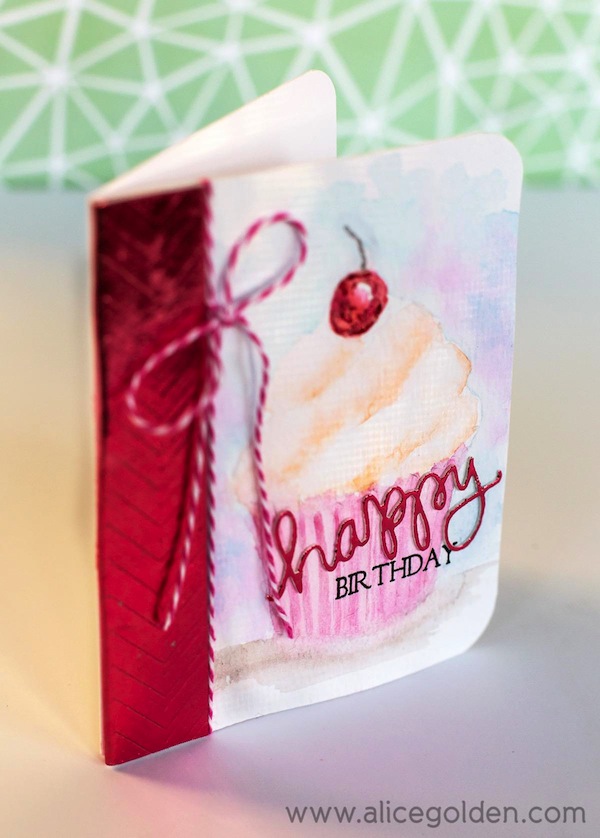
I have one last project to share which doesn’t require any heat – perfect if you don’t have access to a laminator or iron (or since it’s August, prefer not to!)
iCraft® DecoFoil™ White Foam Adhesive was used two ways on this card. First, I placed a piece of Pink Melon foil directly on one side of the foam adhesive and rubbed it all over to transfer the foil to the foam. After peeling up the foil transfer sheet, I used an embossing folder and die cut machine to add the chevron design directly to the foam.
One of my favorite things about this double sided foam adhesive is how well it die cuts. It is a great way to adhere intricate die cuts whether or not you are using foil.
After adhering the die to the front of the watercolored card, I removed the protective liner and applied foil. There is also a tiny bit of red and pink foil “painted” on the cherry.
I hope these have given you some ideas for ways to use foil on your projects. Thanks so much to everyone at Simon Says Stamp for inviting me to be a guest today.
Supplies:
 |
 |
 |
 |
 |
 |
 |
 |
 |
 |
 |
 |
 |
 |
 |
 |
 |
 |
 |
 |
 |
 |
Thanks so much to Alice for being our guest today, and thanks to YOU our readers for tuning in! :)
Blog Candy Alert!! Follow our blog via email and comment on this post for a chance to win a special blog candy!


