Treat Yourself to Something Special This Weekend ✨

You make magic every single day—pouring your creativity, care, and heart into everything you do. Now it’s time to turn that magic inward and create something just for you.
Whether it’s a fresh stack of cardstock, that stamp set you’ve been eyeing, or a few new tools to spark your next idea, this is your moment to indulge in what inspires you most.
Enjoy $15 off your $100+ purchase with code MOM and treat yourself to supplies that fuel your creativity and bring your ideas to life. Because you deserve a little crafty joy, too.
The Easiest Way to Create Custom Card Backgrounds (So Addicting!): Amore Laurafadora
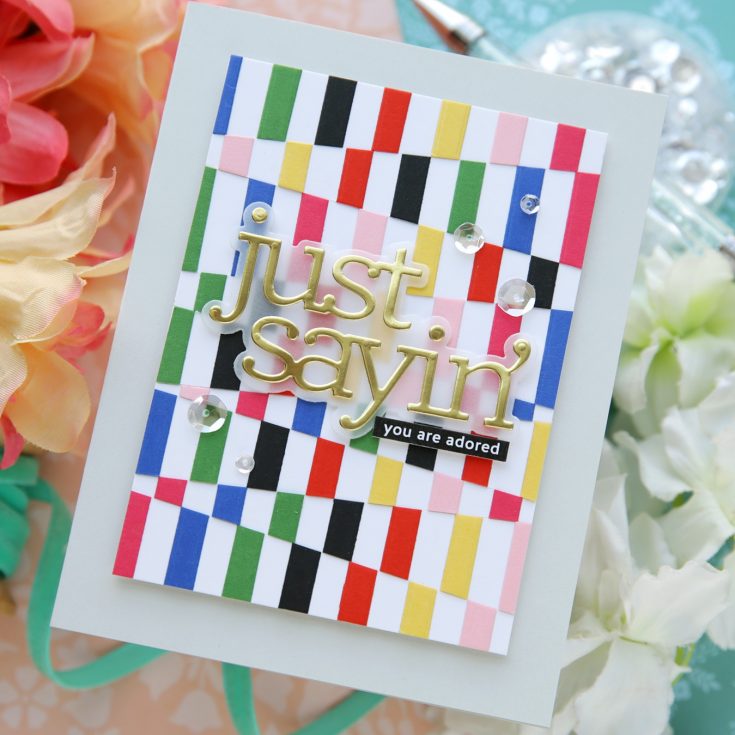
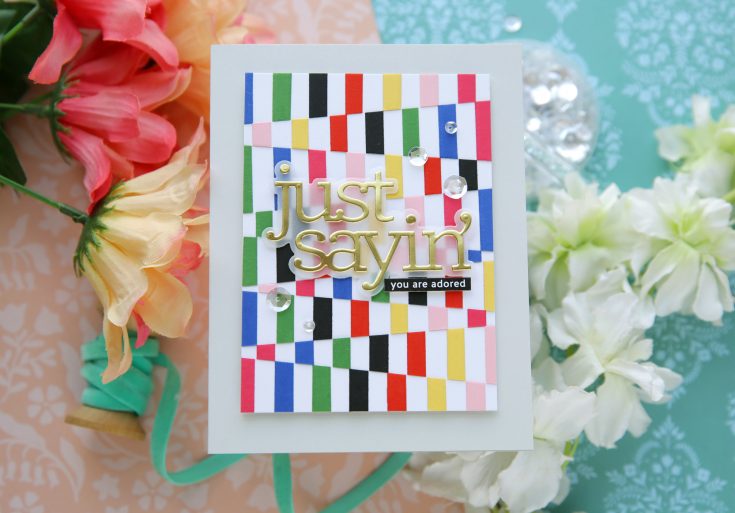
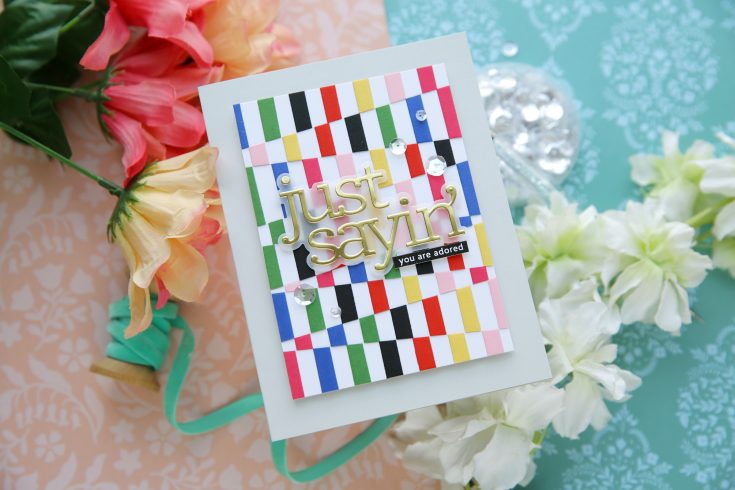
Hi friend! Happy Thursday! Please join me in welcoming back special guest Laura Bassen to showcase this very cool custom patterned card inspired by the print shown below called ‘Bauhaus Blocks‘. In this fun design Laura is using our Sentiment Labels 2.0 die set, CZ Design’s Just Sayin’ die set, Reverse Beautiful Friend sentiment strips, and a plethora of cardstock! Be sure to watch the video for all the details, and enjoy!

WATCH THE VIDEO:

SUPPLIES:
|


A big thank you to YOU, our reader — and to Laura Bassen for being our guest!
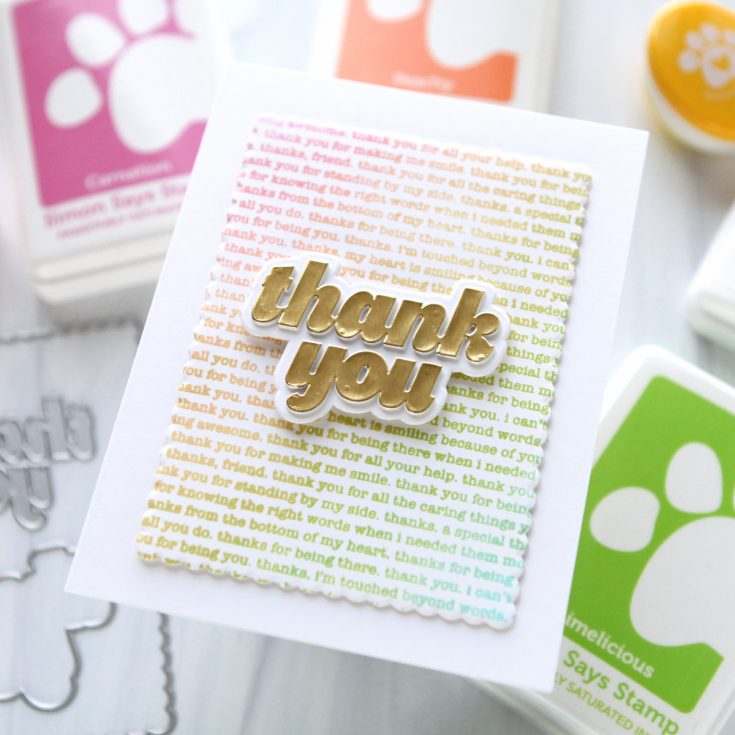
EASY Multi-Color Stamping: EZ with CZ

Hi friends! Happy Wednesday! Please join me in welcoming special monthly Guest *CZ herself*, Cathy Zielske in the latest of our EZ with CZ blog series! Be sure to watch the video to learn all the details on this pretty card and enjoy!
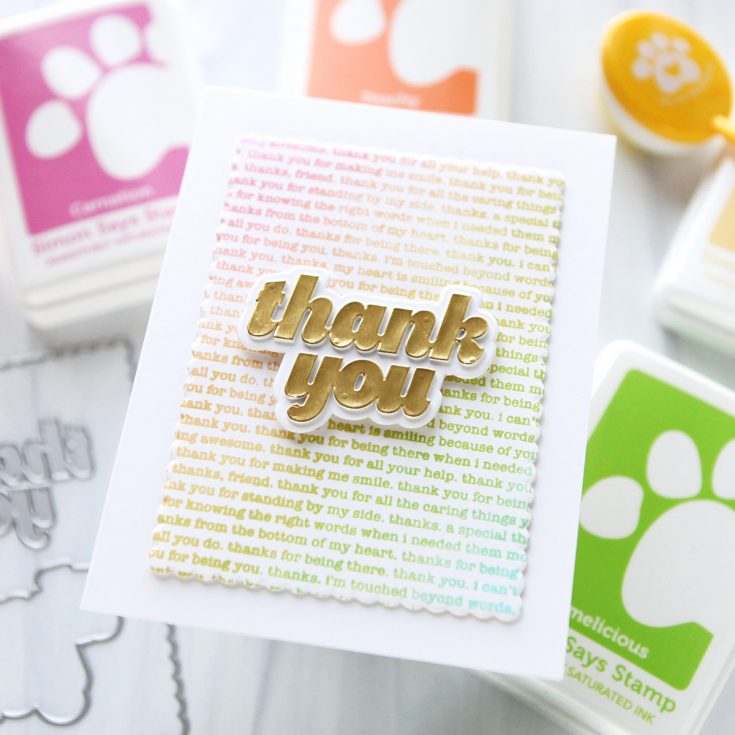
Today’s card is easy and fun to make if you have a background stamp with a text design! Grab a handful of colors in rainbow order, and you’re ready to create a pretty, stamped background.
The key is soften each layer with a blending brush, so the colors overlap and blend! You can use both full-sized ink pads, or ink cubes. Check out my tutorial here:
WATCH THE VIDEO:

This is a really easy technique to try with any background stamp. You can also just go with a monochromatic scheme, as well, just using a light, medium and dark ink in one color family.
I hope you’ll give this technique a try today and I will see you back here next month.
SUPPLIES:
|


A big thank you to YOU, our reader — and to CZ for being our guest!
HURRY! ENDS TONIGHT!


