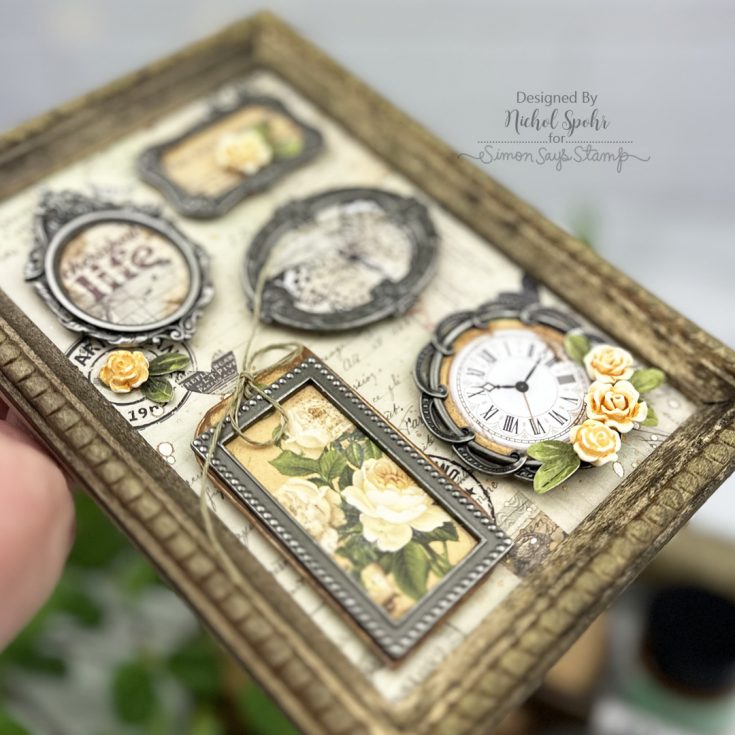
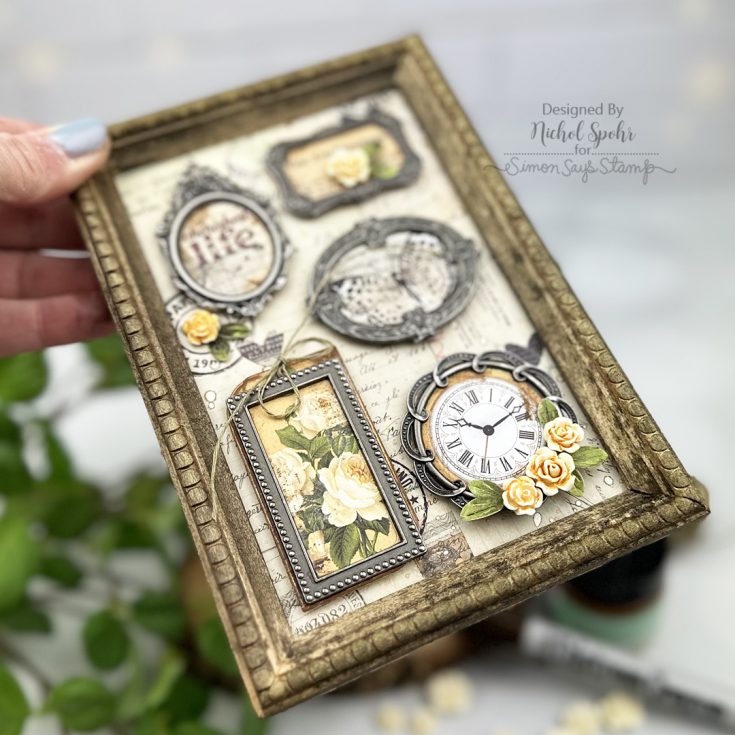
Turn Your Card Kit Into Framed Decor | Mixed Media DIY

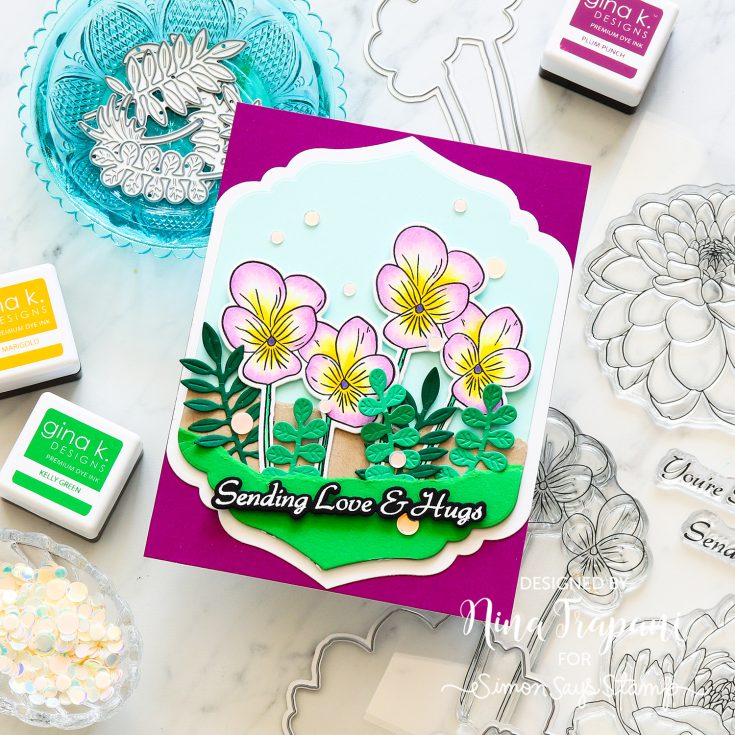
Hi friend! Happy Wednesday! We’re delighted to welcome back special guest Nichol Spohr with this pretty card featuring components of our May 2026 Card Kit, Long Stem Florals! This kit sold out super fast! We’re so excited you loved it! If you missed it, you can still purchase individual components to create what Nichol made! Be sure to watch the video for all the details, and enjoy!
WATCH THE VIDEO:

SUPPLIES:
|


Thanks so much for stopping by, and thanks to Nichol for being our guest!
Did you know?! We’ve made our card kit subscription BETTER THAN EVER!
Learn more:

Here’s what makes our new service a crafting paradise:
Exclusive Access: As a subscriber, you get first dibs! Each month, you’ll get an exclusive sneak peek at our new kit, with the option to add more coordinating items to your cart, including handy replenishable supplies, all shipped together for your convenience.
Hassle-Free Payments: Say goodbye to monthly billings! Our automated system smoothly charges your preferred card, ensuring an uninterrupted flow of crafty goodness – unless you decide to pause, of course!
$5 Off Magic: Enjoy a special $5 discount off our kit’s retail price, exclusive to our beloved subscribers – no codes needed, just automatic savings!
Crafting Inspirations: Dive into a sea of creative ideas monthly, all tailored around your kit, to keep your inspiration flowing endlessly.
Flexibility First: Fear of commitment? Not here! Our subscription is as flexible as it gets – pause or cancel anytime, no strings attached.
Why wait? Step into the realm of our NEW Simon Says Stamp Monthly Card Kit service. Welcome a box full of crafting marvels, right to your doorstep. Craft with ease and let creativity come to you!
Ready to elevate your craft? Subscribe Now and open the doors to boundless creativity!
We’re thrilled to have you in our crafting community and can’t wait to embark on this renewed creative adventure together!
NEW Gina K Designs April 2026 Collection is HERE!
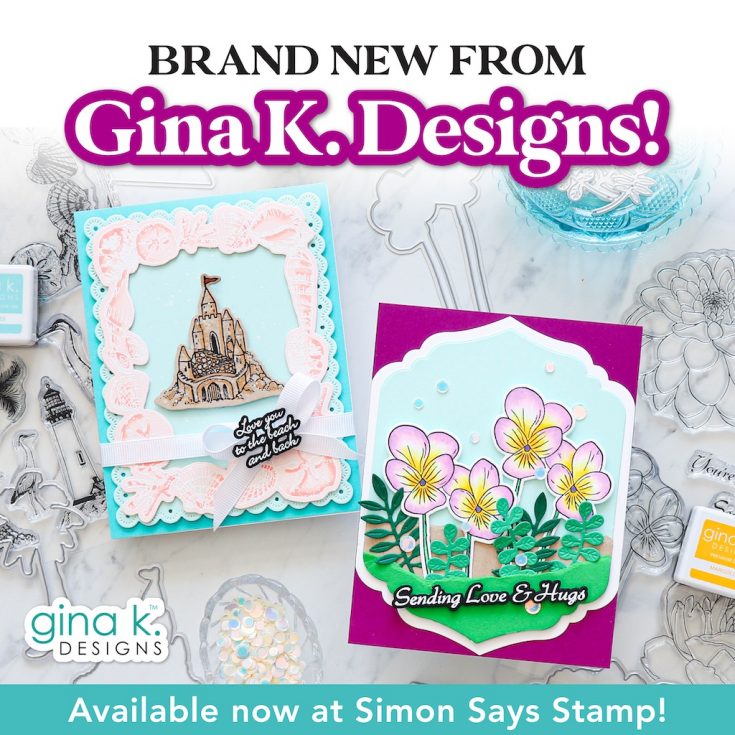
Hey crafty friends! It’s a happy day—the brand-new Gina K Designs April 2026 Collection has arrived! Click or tap here to see all the fresh, fabulous finds!
Need a little creative spark? Scroll on—new inspiration waiting for you!

One Stamp, Five Ways: Folk Flowers

Hi friend! Please join me in welcoming back special monthly guest Suzy Plantamura with a BONUS fun rendition of “One Stamp, Five Ways” featuring our newly released Folk Flowers stencil and stamp set! Read on and learn more! Enjoy!
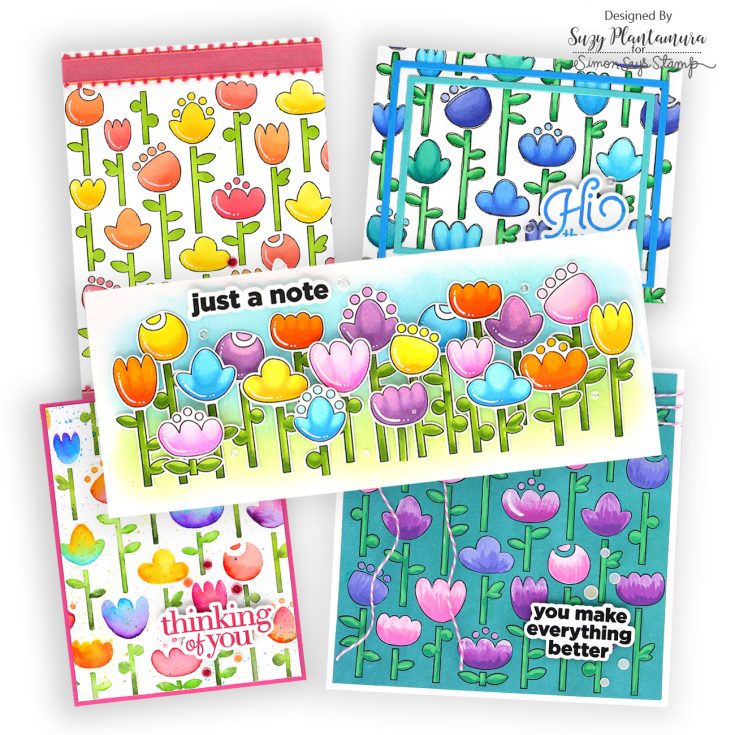
We are in the middle of Spring with lots of flower’s blooming where I live in Southern California. When picking a stamp set for my “One Stamp, Five Ways” series, I wanted it to be able to represent all the beautiful colors of the flowers around me. I picked the Folk Flowers stamp set from the In My Heart release as it is a 6×6” stamp with matching stencils! I also used one greeting stamp for all 5 of my cards called the CZ Good Greetings 1 stamp.
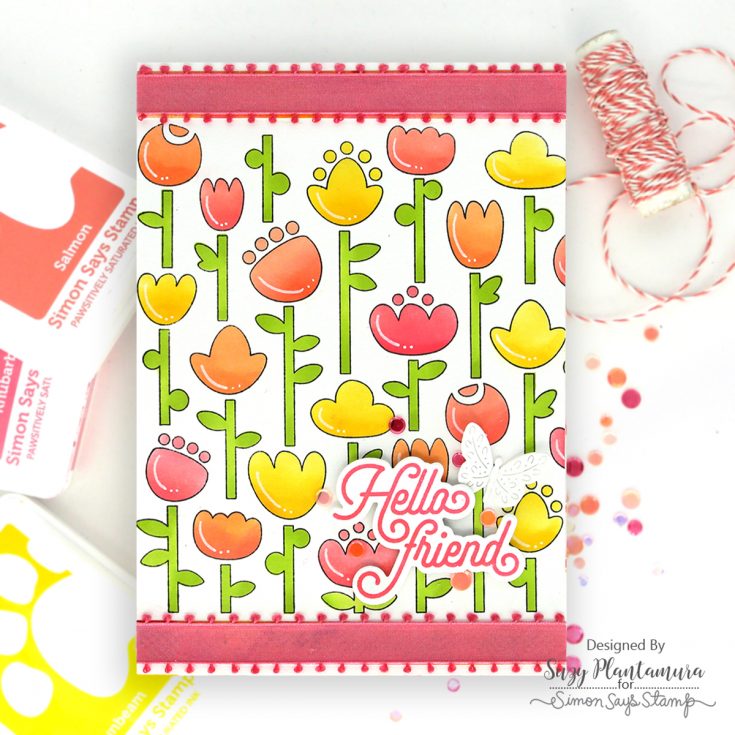
This is a 5×7 card as I wanted to use as much of the stamp as possible on it. I stamped the Folk Flowers stamp set with black ink on a 5×7” background. This is a 6×6” stamp so it left some room on the top and the bottom of my card. I used Pawsitively Saturated Inks and the matching stencil to color it.
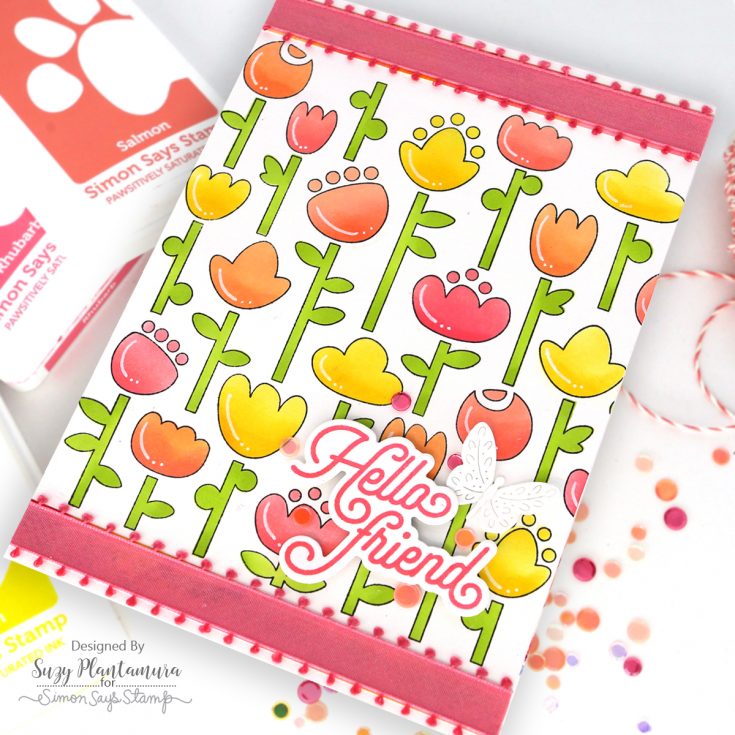
I stamped a sentiment using the CZ Good Greetings stamp and die bundle. I used Rhubarb as it is one of the darker inks I had used in my design. I attached it to the bottom of the card with foam tape behind it. I added a small butterfly leaving it white to the bottom right side of the card. I attached some ribbon I had in my stash to the top and bottom where the stamp didn’t reach. I added a few sequins from the Summer Sunset and Peach Bellini Embellishment Mixes.
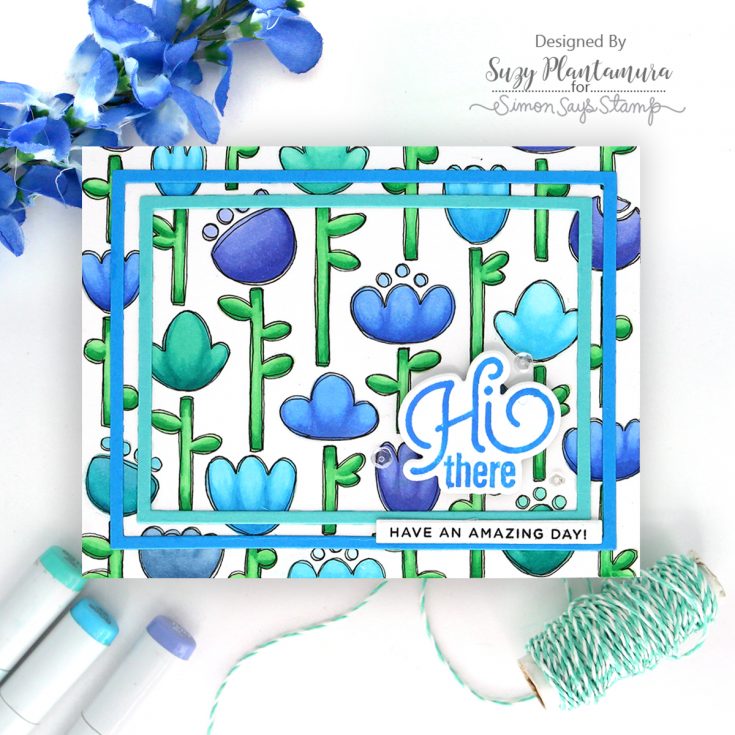
I stamped the Folk Flowers with Latte PSInk this time for no-line coloring. I colored in the designs with Copic Markers. After that, I decided to outline the flowers using a fine tip black marker. I outlined them two times to give it a doodled look which I think goes well with the flowers.
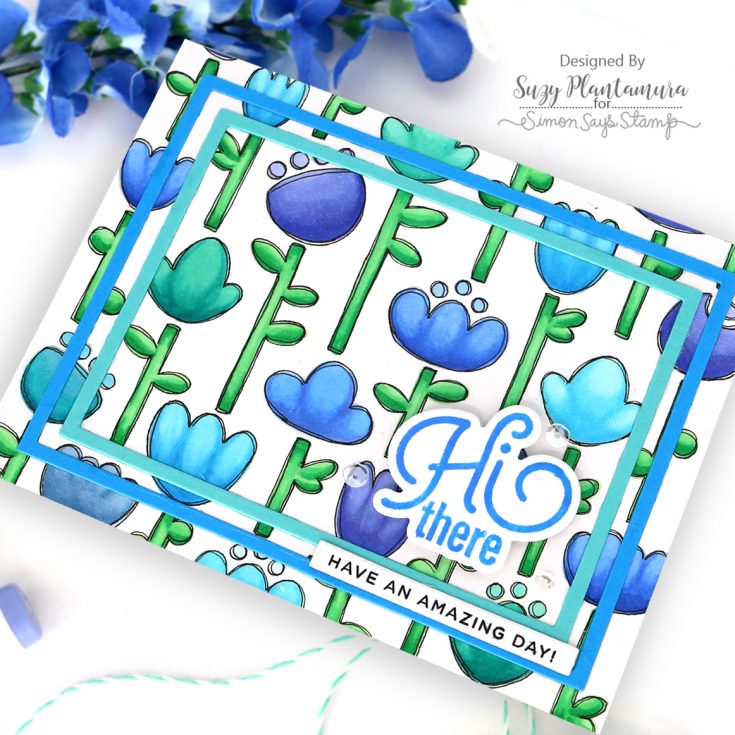
I stamped a sentiment from the CZ Good Greetings 1 stamp set with Marine PSInk (stamped it twice so it was darker). I die-cut two of the A2 Frame Dies out of two of the colors of cardstock I used in my design. I glued both on and then added the greeting inside the smaller one. I stamped another smaller greeting with black ink and used the SSS Banner Dies to die-cut it. I attached it over the center of my two frames. I used some sparking clear sequins around the greeting.
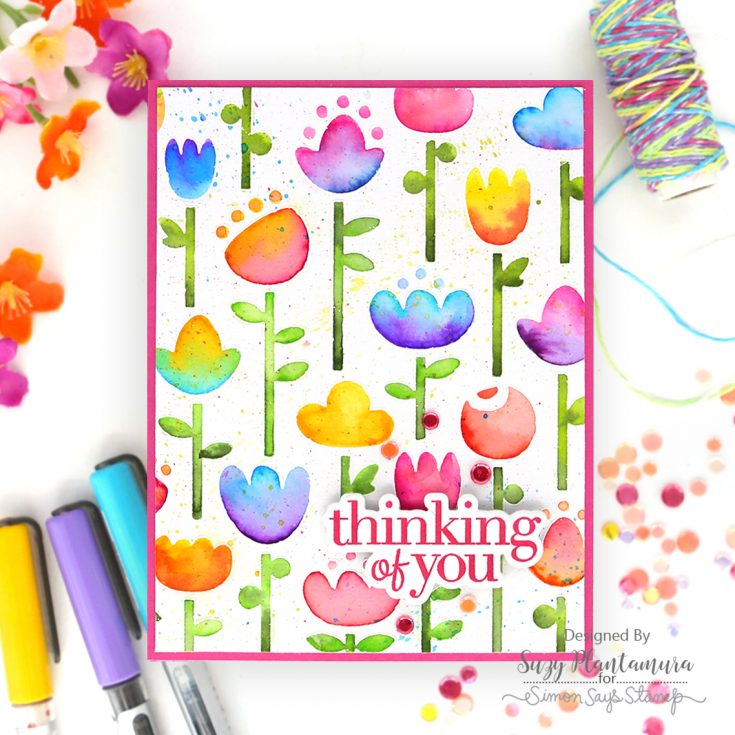
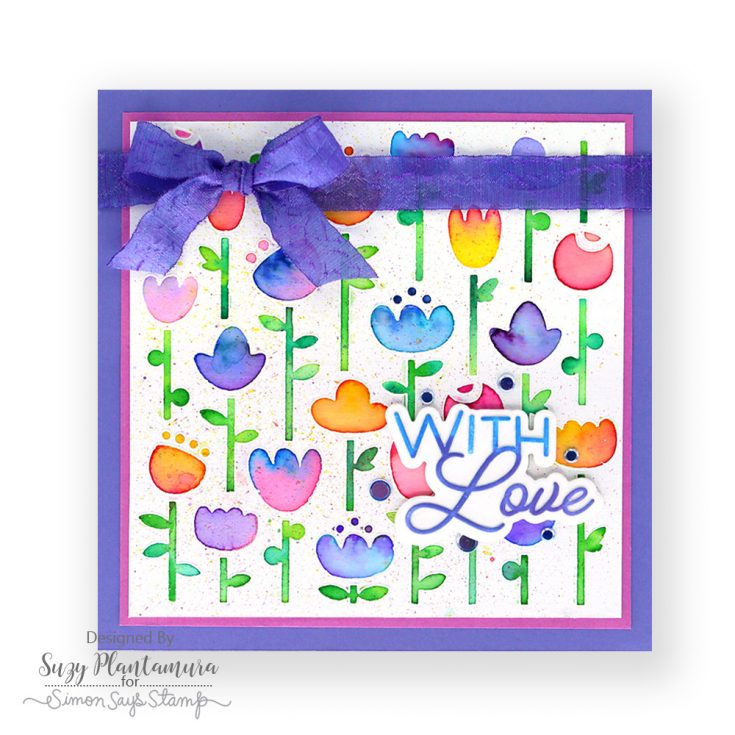
I embossed the Folk Flowers stamp on Tim Holtz watercolor paper using white embossing powder. I watercolored it with Karen Brushmarkers. I love how vibrant they are! I used two colors inside each flower by adding water first and then touched my water brush to the tip of the markers. I prefer to emboss stamps that I am going to watercolor (especially with these markers as they are reactive and easily run out of the lines) so I can keep the color where it belongs! I splattered some of the markers by tapping them over my finger over the card.
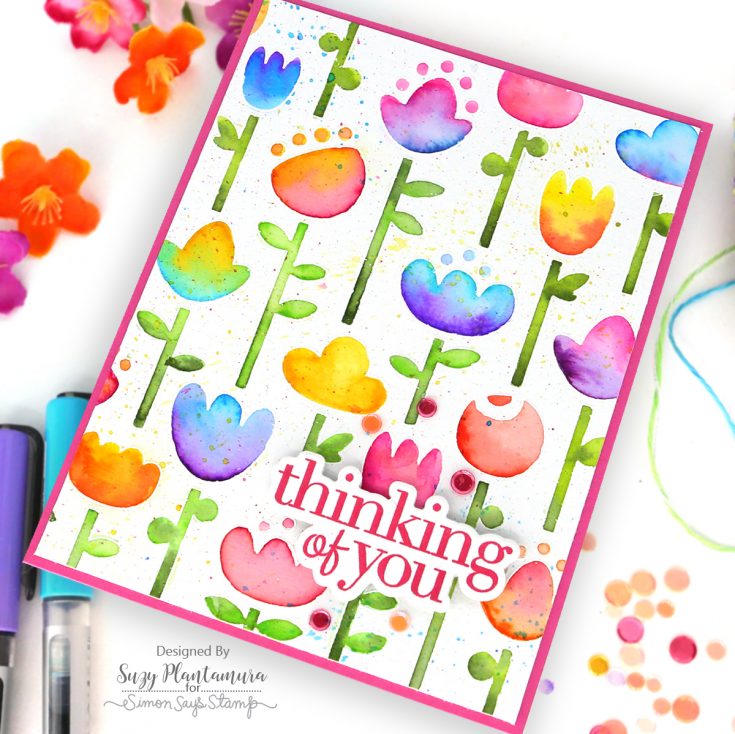
I cut my A2 sized card to be a little smaller, so it fit on a bright pink card base. I stamped a sentiment from the CZ Good Greetings 1 stamp set using Watermelon PSInk and die-cut it out. I attached that to the bottom of the card with foam tape behind it. I used a mixture of Peach Bellini and Summer Sunset Embellishment Mixes around the greeting.
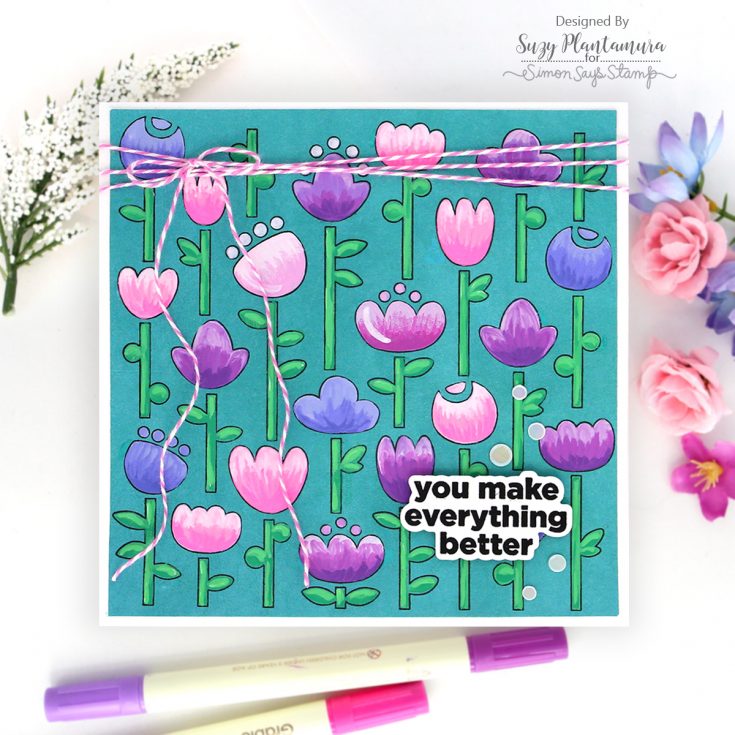
I stamped the Folk Flowers stamp set on Teal Cardstock with black ink. This time I wanted to keep my card 6×6” so I could use the entire stamp on it. I colored the flowers in with Acrylic Markers – I just bought two different brands to paint shells and rocks with and I love using them on my cards. They give you a very vibrant opaque look so they will show up on dark cardstocks.
I wanted to show this card using the Folk Flowers stamp set that I made for the In My Heart blog hop. It uses the stamp for a 6×6” card also embossed and colored with Karin Brushmarkers. I showed this card in the blog hop for this release. My directions for this card are on my blog post HERE.
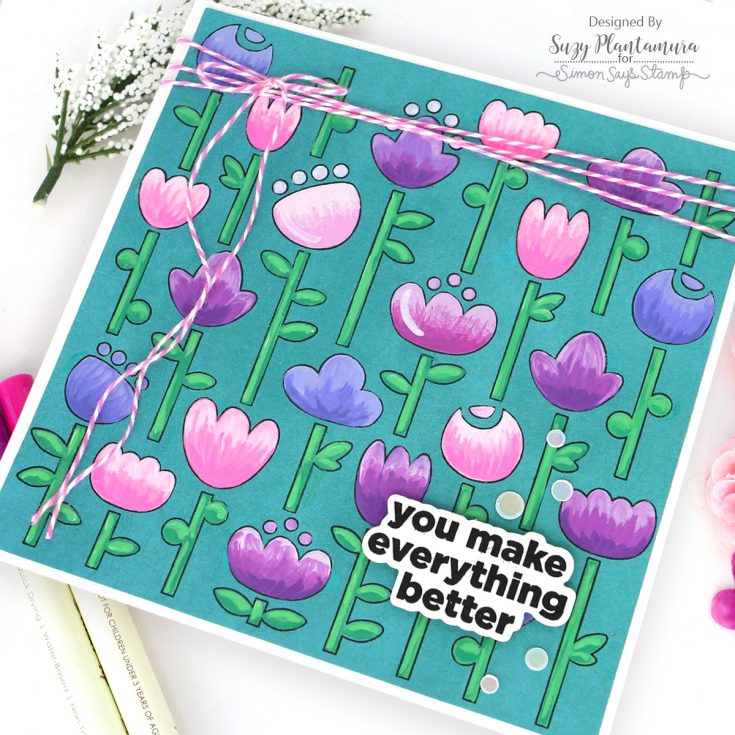
I cut my colored piece down a little and mounted it on a white cardstock card base. When I make 6×6” cards, I cut two pieces of white cardstock, one 6×6” and one 7×6”. I fold the larger piece over, so it has a 1” border. I glue the top piece over this folded area. I stamped a sentiment using the same CZ Good Greetings 1 stamp set and Versafine ink. I attached it to the bottom and then added some Marshmallow Embellishment Mix around the sentiment. I also tied some pink and white twine to the top of the card wrapping it around three times.
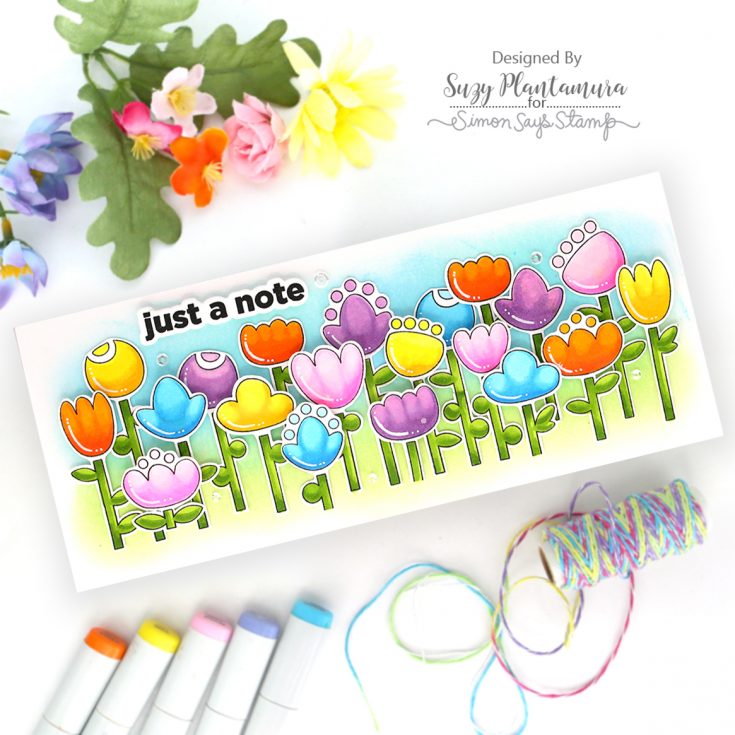
I was trying to think of one more way to use the stamp set, so I stamped it in black and cut all the flowers out. I colored them with Copic Markers and used a white gel pen to add lines to each one. For each flower, I used 3 colors of Copics with the darkest on the bottom and the lightest on the top.
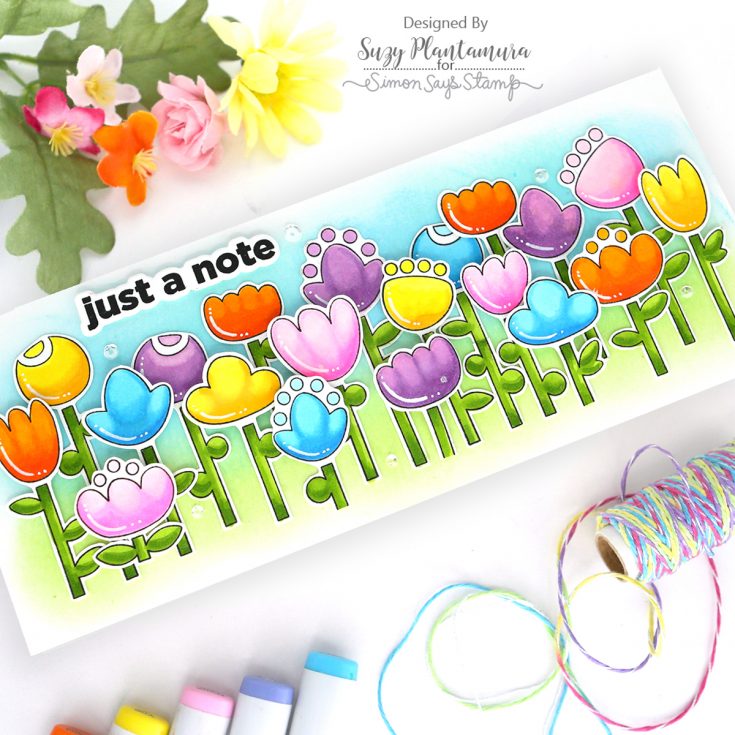
I made the background by applying PSInks in Marine on the top and Sprout on the bottom of a 3.5×8.5”. I attached all the flowers over the background using foam tape behind just the top of each flower for the ones in the front. I stamped a sentiment using the CZ Good Greetings stamp set and Versafine Ink. I attached it to the top of the card.
I think this blog post should be called “Two Stamps, Five Ways” haha. I have so many greeting stamp sets or dies that I could have used on my cards but I wanted to show how versatile a greeting stamp set can be as well. I asked my two grand-daughters which card they liked the best and they both picked the last one above, Just a Note. I would love to hear which one is your favorite! Thanks for visiting the SSS blog today! -Suzy
SUPPLIES:
|


Thanks so much for stopping by, and thanks to Suzy for being our guest!


