Pretty Mixed Media Card by Cheiron Brandon featuring NEW Tim Holtz idea-ology Blue Palette Paper!
Hi friend! Happy Monday! I’m delighted to welcome special guest Cheiron Brandon as our guest today showcasing the newly released Blue Palette Paper collection from Tim Holtz idea-ology! Read on and enjoy!

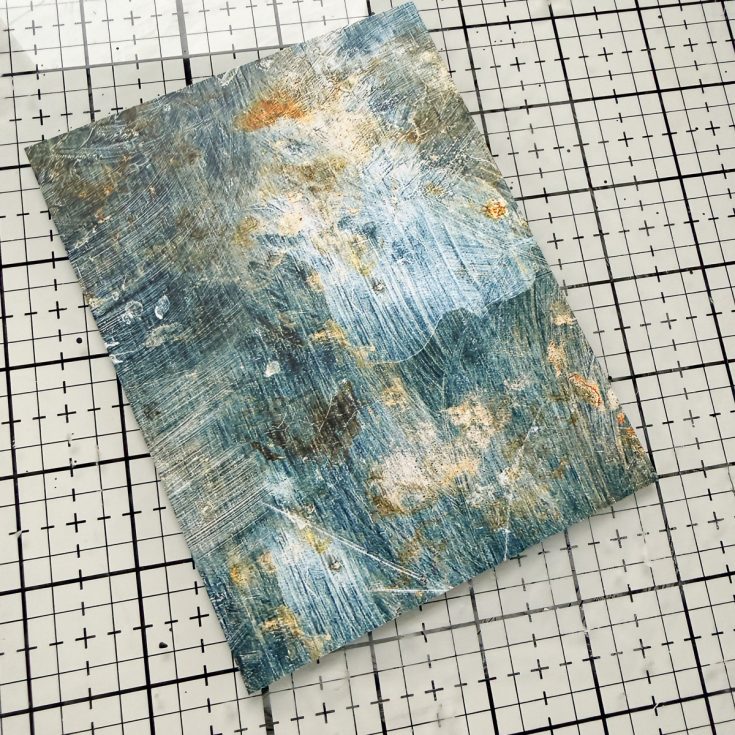
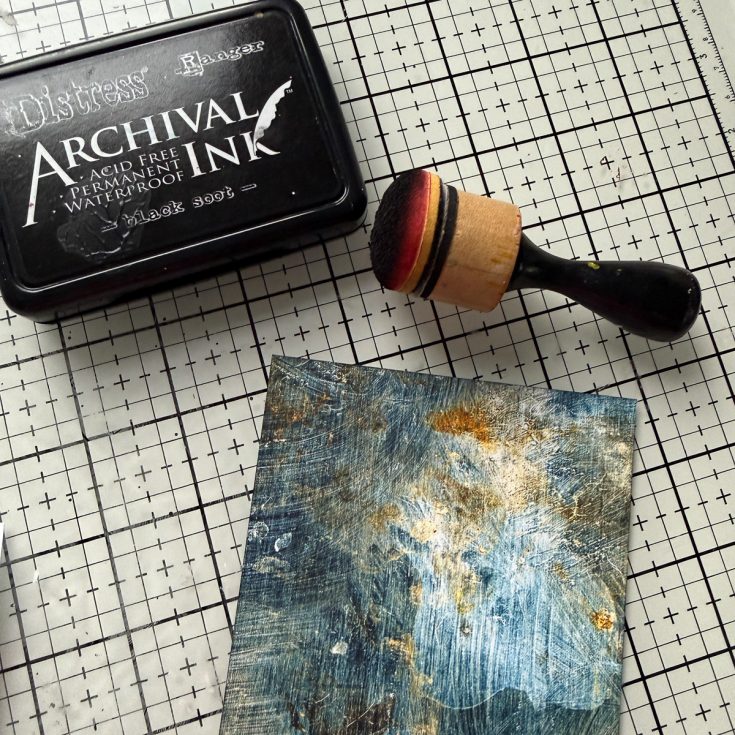
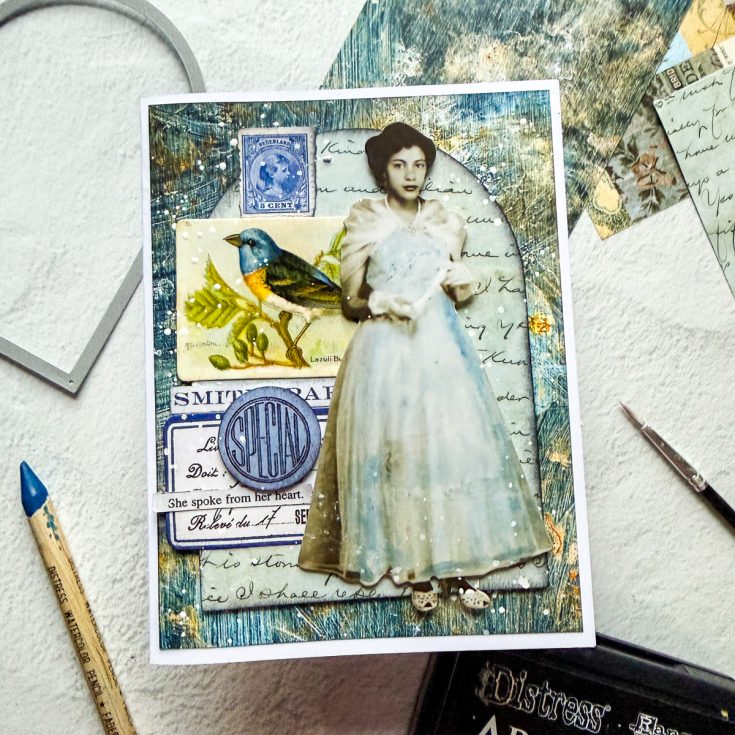
Hi there, it’s Cheiron Brandon with another fun card project for you using the Tim Holtz idea-ology Palette Paper Collection. Today I am using the new Blue collection to create my card. To create the foundation of my card, I selected 3 fun papers from the 8 x 8 size pack to work with. When selecting papers for a card, I like to choose a big bold print like this one with the brushstrokes for my base and then something in a different color with a much smaller print to coordinate with it. For this card, I picked a lighter blue with a script. I inked the edges of the large panel with Black Soot Distress Archival Ink, then adhered the panel to my card base.
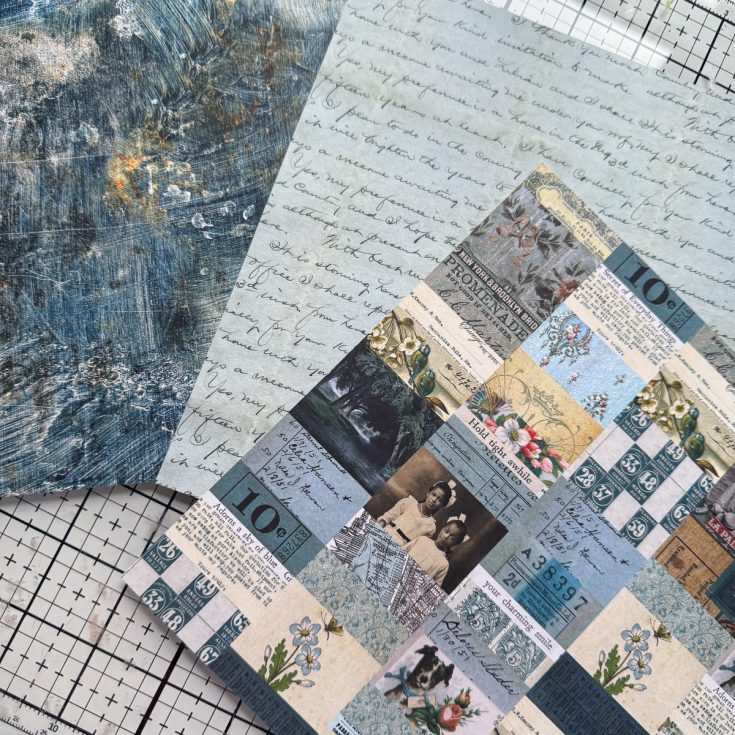
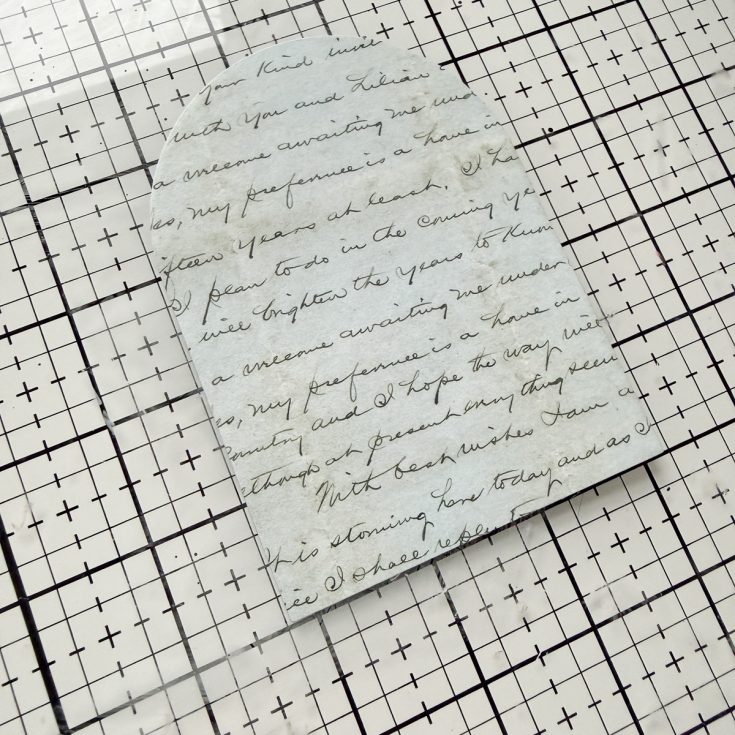
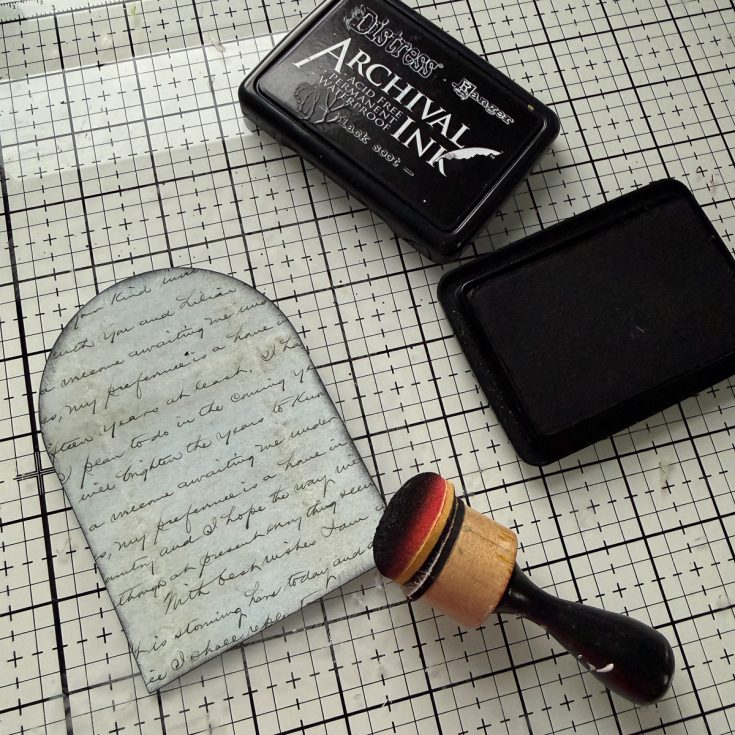

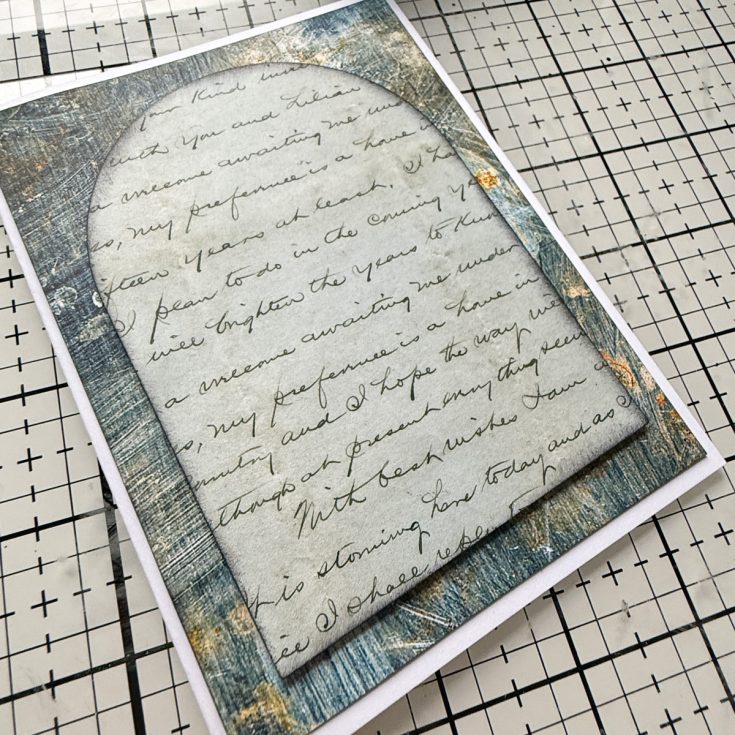
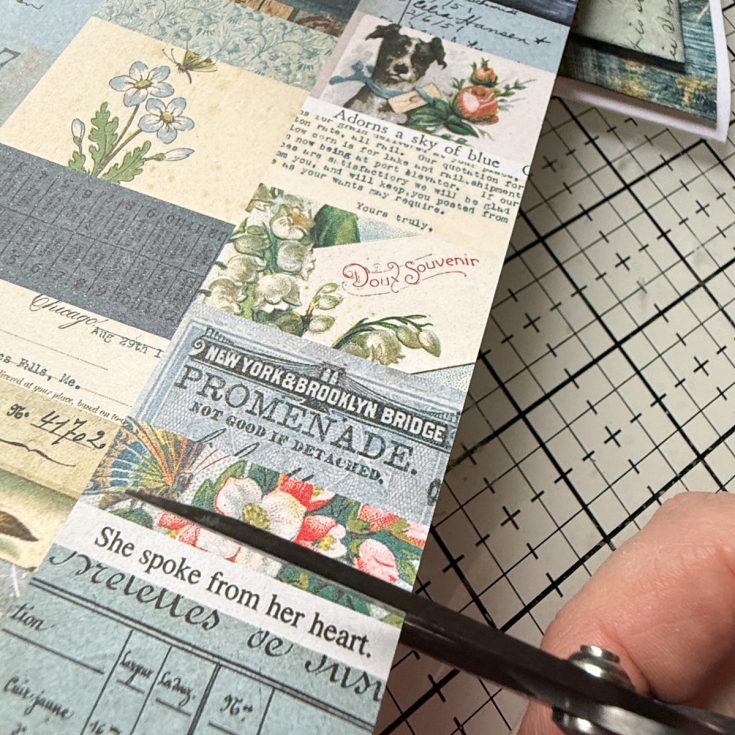

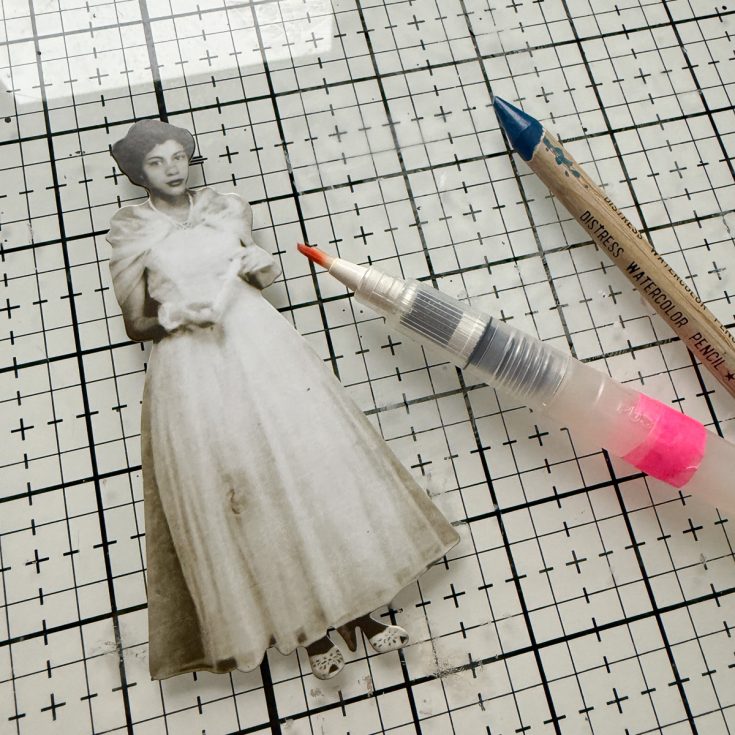
For the script panel, I cut it out with the Simon Says Stamp Nested Domed Arches. I inked the edges with Black Soot Distress Archival Ink and then adhered it to the card with foam tape to pop it up. Then I took out the Paper Doll and Palette Ephemera too look through it to pick some pieces that would coordinate with my card. I layered some of the Ephemera and then decided to add some color to the Paper Doll using Distress Watercolor Pencils and a Tim Holtz Detailer water brush. I picked up pigment from the Faded Jeans pencil with my water brush and colored in the dress of the Paper Doll. I added the Paper Doll to the card using some foam tape.
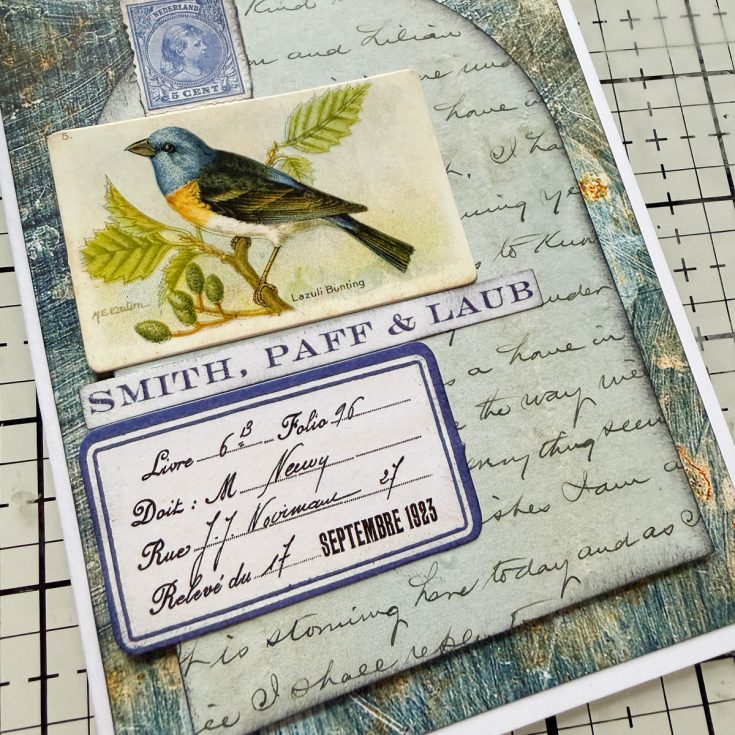

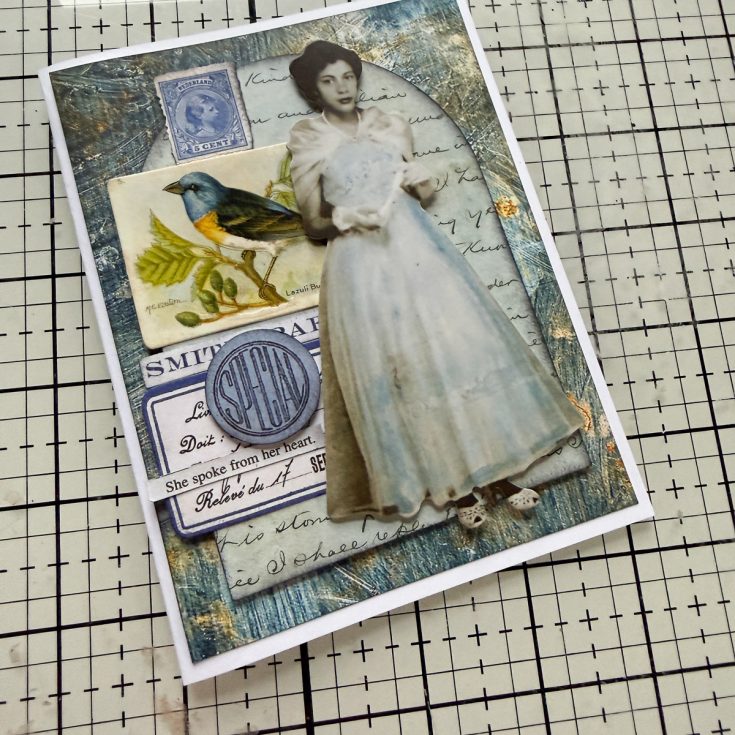
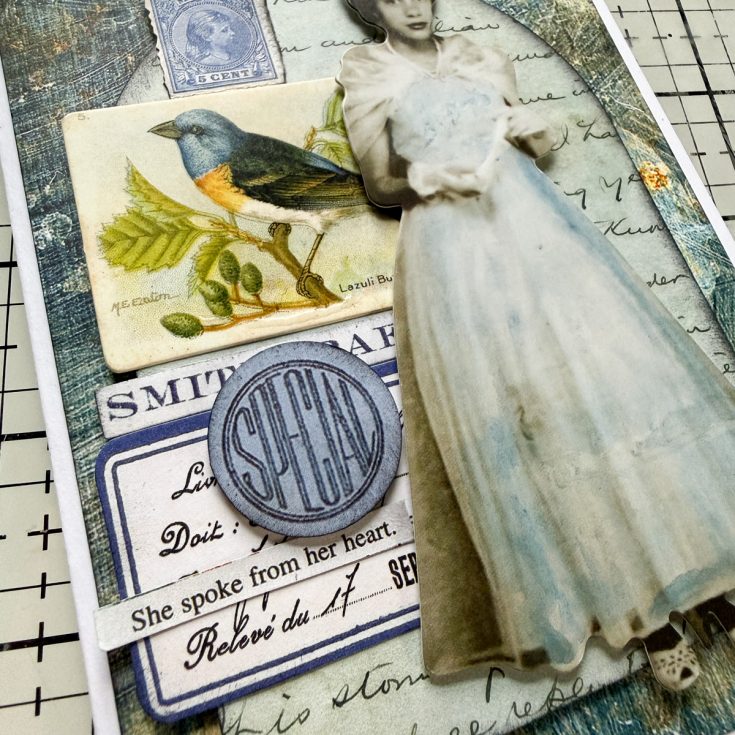
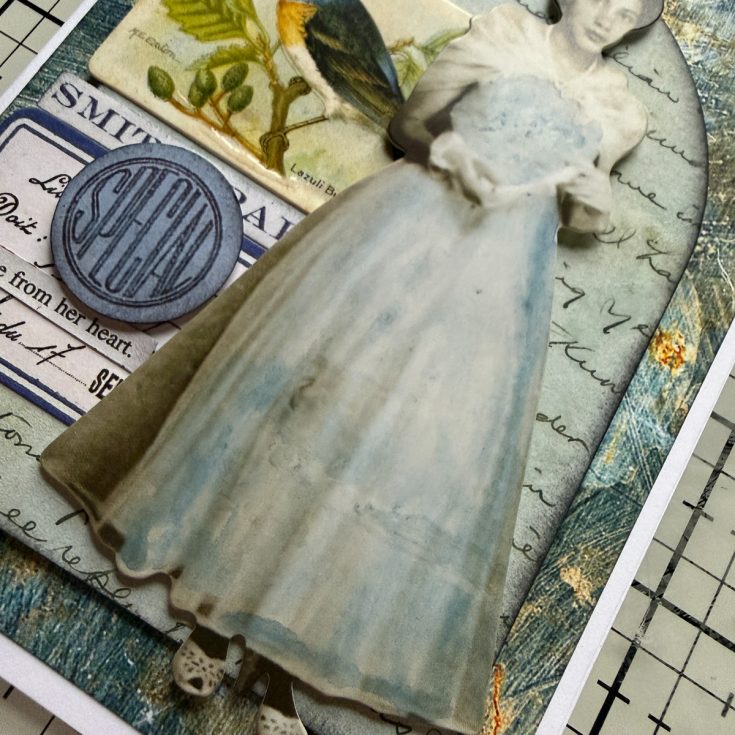
I placed the remaining ephemera onto my card, then I used Picket Fence Distress Paint and a paintbrush to add splatter to the entire card, being careful not to get it on the face of the Paper Doll or the sentiment. I hope you had fun creating this collage style card with me. These beautiful patterned papers make it so easy to add layers and texture!
SUPPLIES:
|


Thanks so much for stopping by, and thanks to Cheiron for being our guest!
Popcorn, Texture & Fun! Hello Card with Our Exclusive June 2026 Card Kit by Tina Smith
Hi friend! I’m delighted to welcome back special guest Tina Smith to our blog today with fresh and gorgeous inspiration showcasing our brand new June 2026 Card kit! Be sure to watch the video for all the details, and enjoy!

Get your tickets ready, crafters! Tina here, today, we are creating a popcorn explosion with the Simon Says Stamp June 2026 Card Kit: Step Right Up. I used my easy 5-step card-making formula to create a card that is literally bursting with flavor.
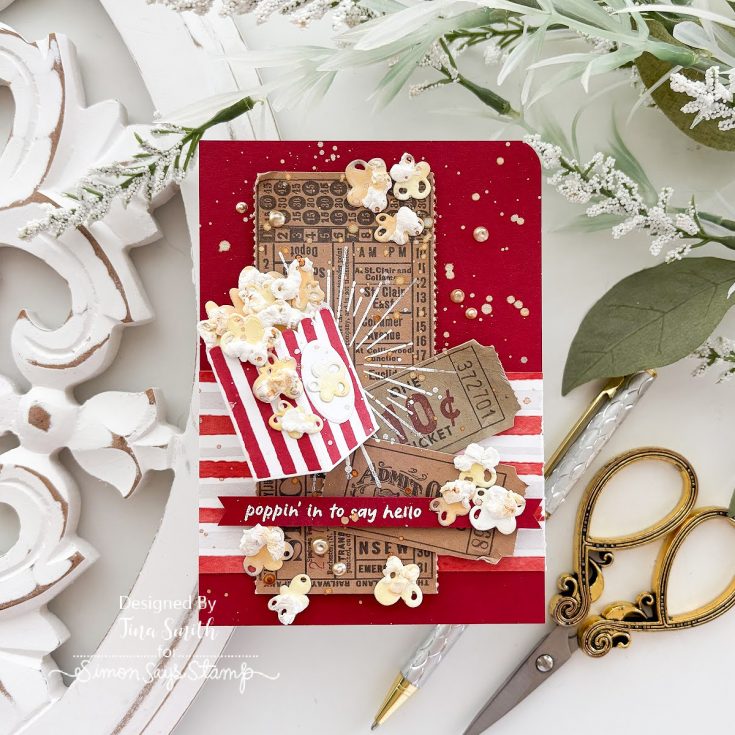
I wanted the popcorn to look real, so I used the White Heat and Fluff over every single piece. It puffed up beautifully! I then blended Scattered Straw Distress Oxide over the top for a movie-theater buttery finish. I finished my project with a few drops of Ranger Liquid Pearls and a generous spatter of shimmer using SSS Pawsitively Perfect Gold Splatter.
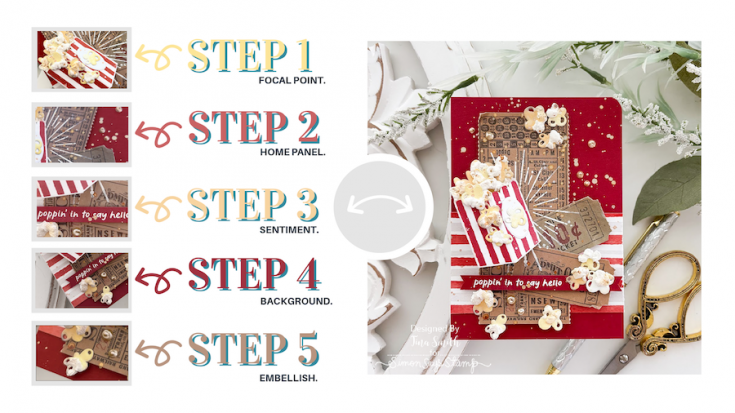
Here is how this buttery popcorn explosion came together:
Step 1: The Focal Point: I used the kit’s exclusive die set to construct a 3D popcorn box. It sits proudly on the card, looking ready for showtime.
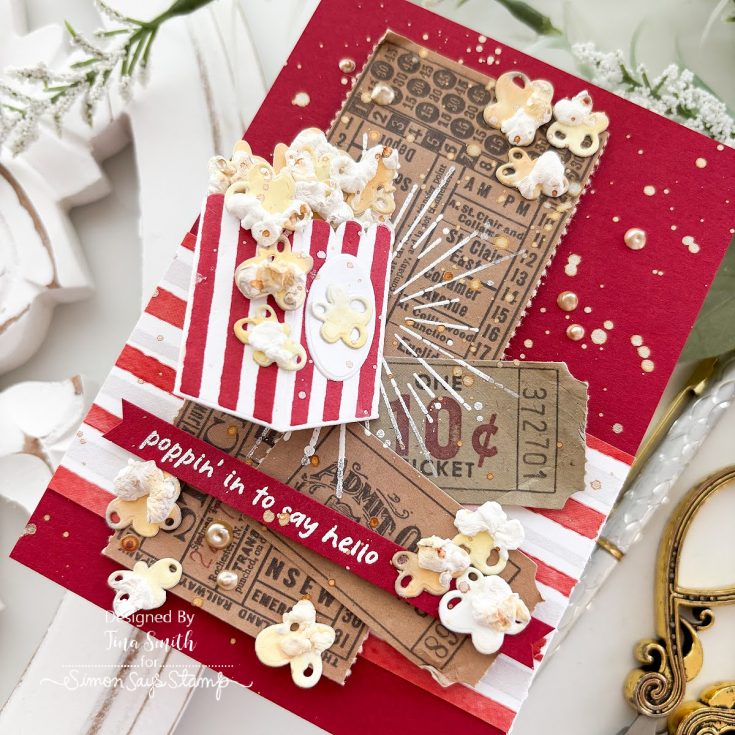
Step 2: The Home Panel: Every star needs a stage. I crafted a dedicated panel using the a few tickets from the ticket book to ground the popcorn box so it does not look like it is floating away in mid-air.
Step 3: The Sentiment: No card is complete without the perfect sentiment. I stamped a fun, coordinating greeting from the included Having Fun stamp set.
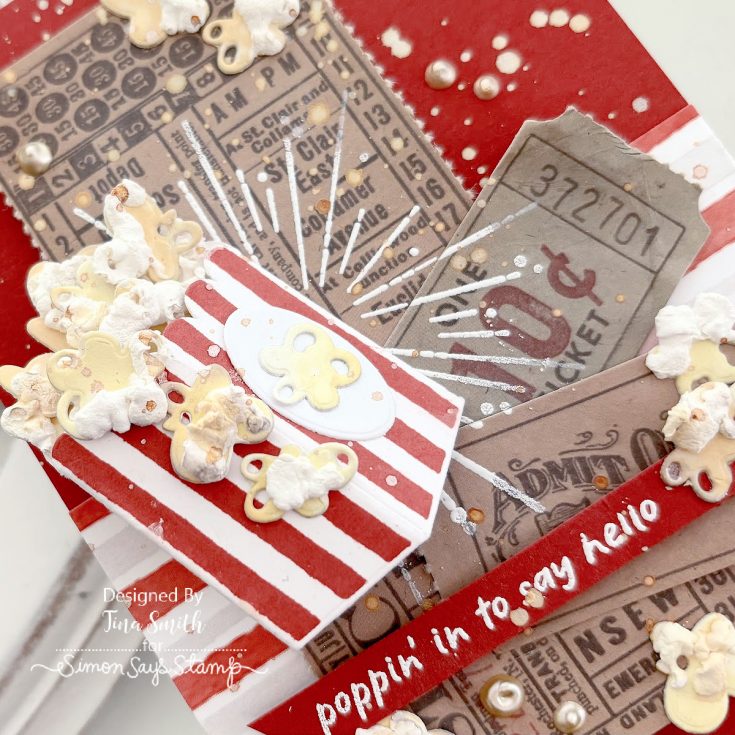
Step 4: The Background: To capture that vintage carnival vibe, I used the kit’s patterned card panels to create a classic red and white striped background.
The final card turned out so fluffy and realistic, I might need to add a “Do Not Eat” warning label on the envelope! It is tactile, interactive, and was an absolute blast to create. I hope you give this a try, it is so much fun to create! Thanks for stopping by and have a lovely day!
WATCH THE VIDEO:

SUPPLIES:
|


A big thank you to YOU, our reader — and to Tina Smith for being our guest!
Did you know?! We’ve made our card kit subscription BETTER THAN EVER!

Here’s what makes our new service a crafting paradise:
Exclusive Access: As a subscriber, you get first dibs! Each month, you’ll get an exclusive sneak peek at our new kit, with the option to add more coordinating items to your cart, including handy replenishable supplies, all shipped together for your convenience.
Hassle-Free Payments: Say goodbye to monthly billings! Our automated system smoothly charges your preferred card, ensuring an uninterrupted flow of crafty goodness – unless you decide to pause, of course!
$5 Off Magic: Enjoy a special $5 discount off our kit’s retail price, exclusive to our beloved subscribers – no codes needed, just automatic savings!
Crafting Inspirations: Dive into a sea of creative ideas monthly, all tailored around your kit, to keep your inspiration flowing endlessly.
Flexibility First: Fear of commitment? Not here! Our subscription is as flexible as it gets – pause or cancel anytime, no strings attached.
Why wait? Step into the realm of our NEW Simon Says Stamp Monthly Card Kit service. Welcome a box full of crafting marvels, right to your doorstep. Craft with ease and let creativity come to you!
Ready to elevate your craft? Subscribe Now and open the doors to boundless creativity!
We’re thrilled to have you in our crafting community and can’t wait to embark on this renewed creative adventure together!
Fabulous Fabric Cards by Richele Christensen!

Hi friend! Happy Saturday! I’m delighted to welcome back special guest Richele Christensen with this super trio of fabric cards! Read on for all the details and enjoy!
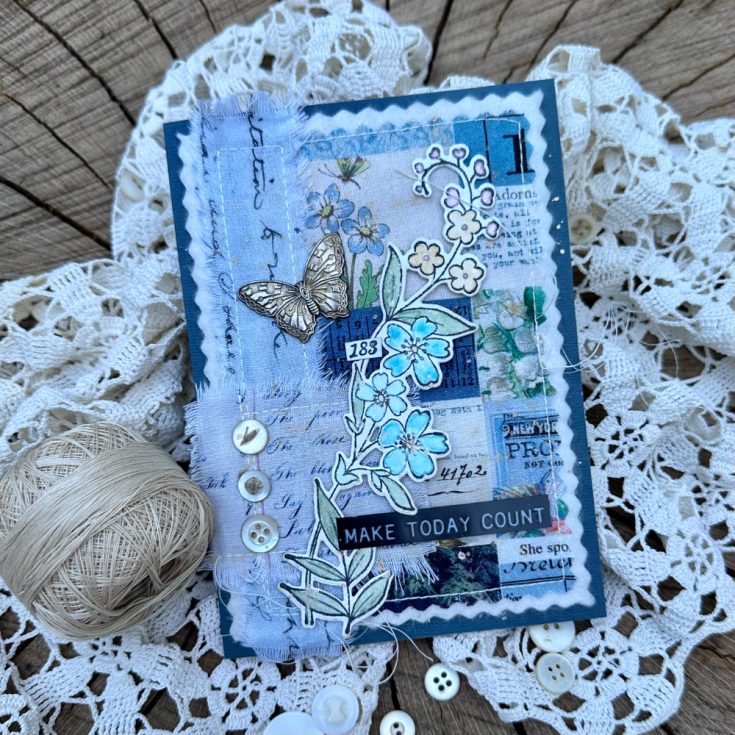
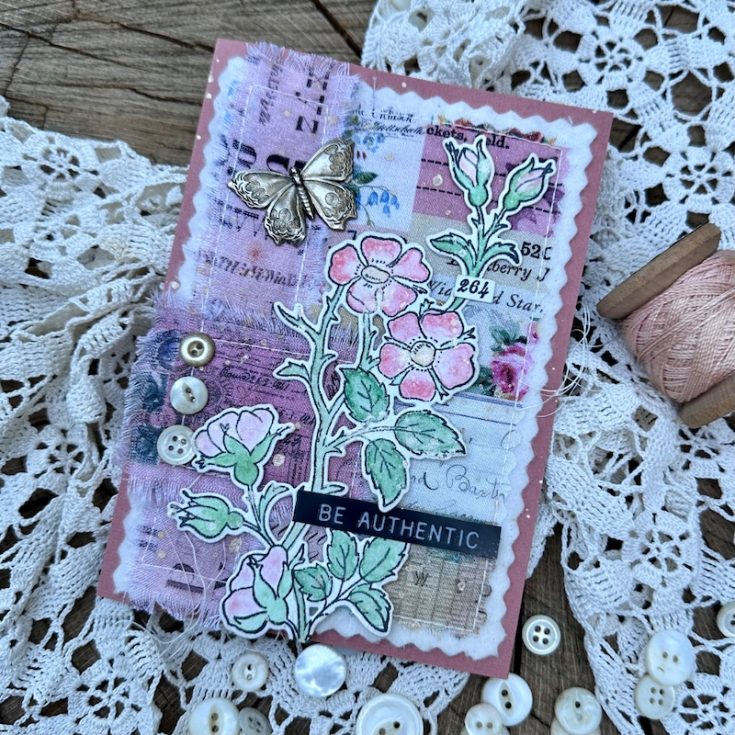

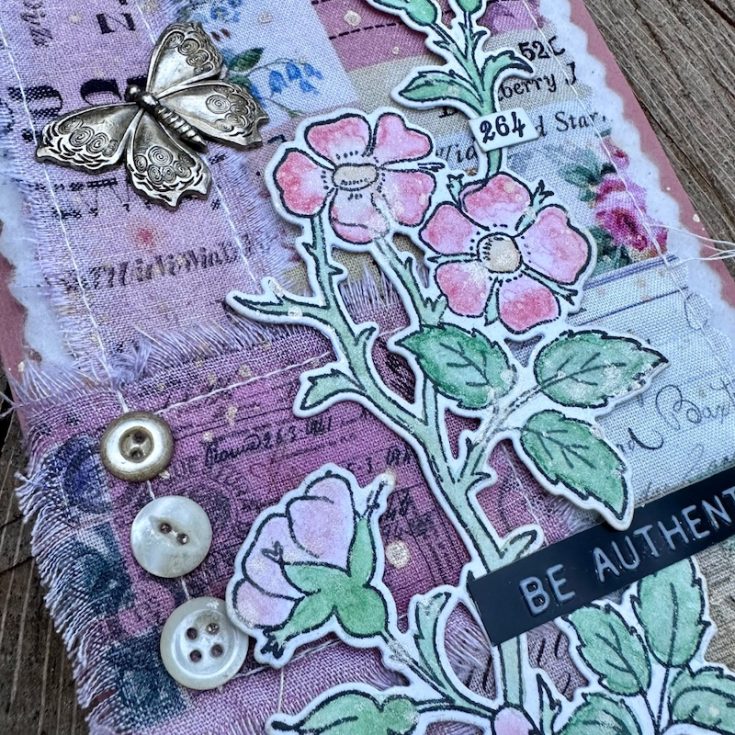
Hello Friends! You all know how much I love the Tim Holtz Palette Collection! But instead of sewing today I wanted to create some cards. I think the fabric adds a certain soft texture and if you add stitching its even better. The Tim Holtz Embroidery Stamp Set seemed perfect to pair with the fabric and the set has coordinating dies from Simon Says Stamp.
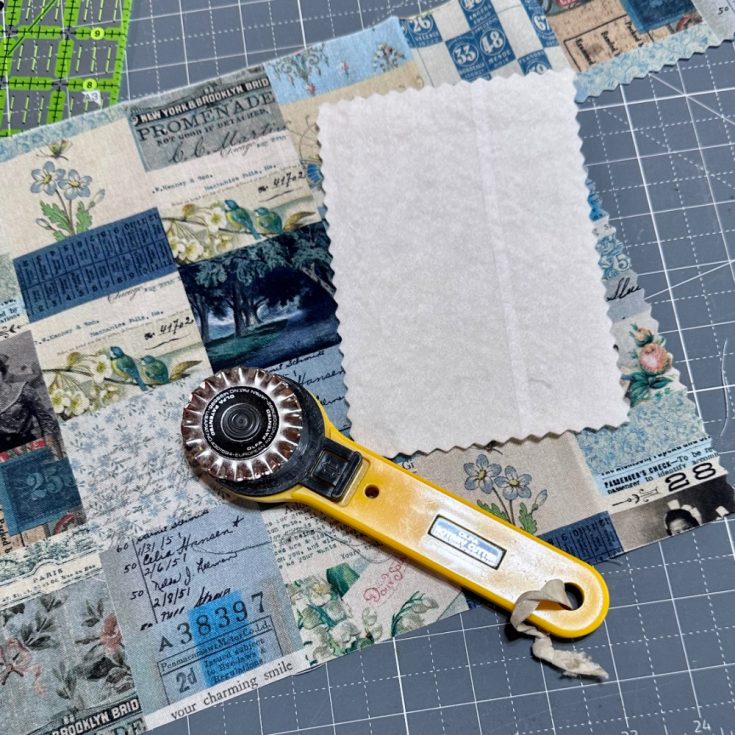
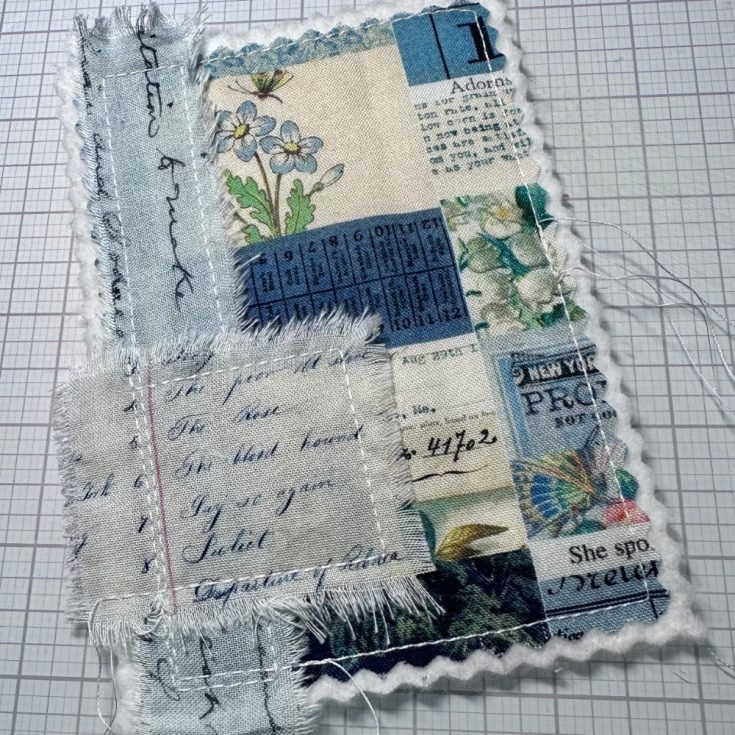

Cut your fabric for your background about 1/2” smaller then the card base. I’ve used a pinking edge buy you could cut it straight too. Cut a piece of batting a little larger to layer under the fabric.
Tear a few pieces of fabric to add to your card background and stitch together.
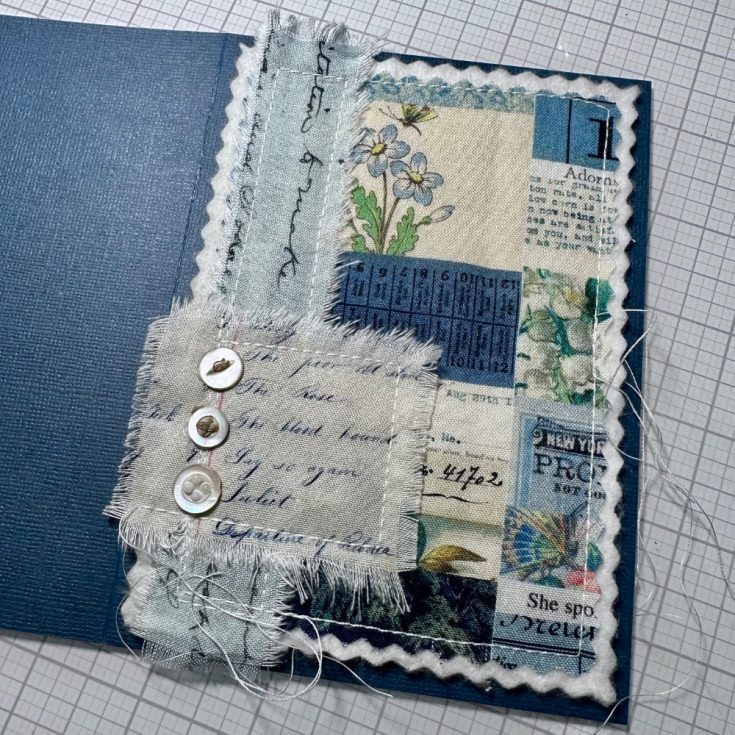
Adhere the sewn piece to the card using Collage Medium or SSS Craft Glue.
Add a few vintage buttons if you’d like.
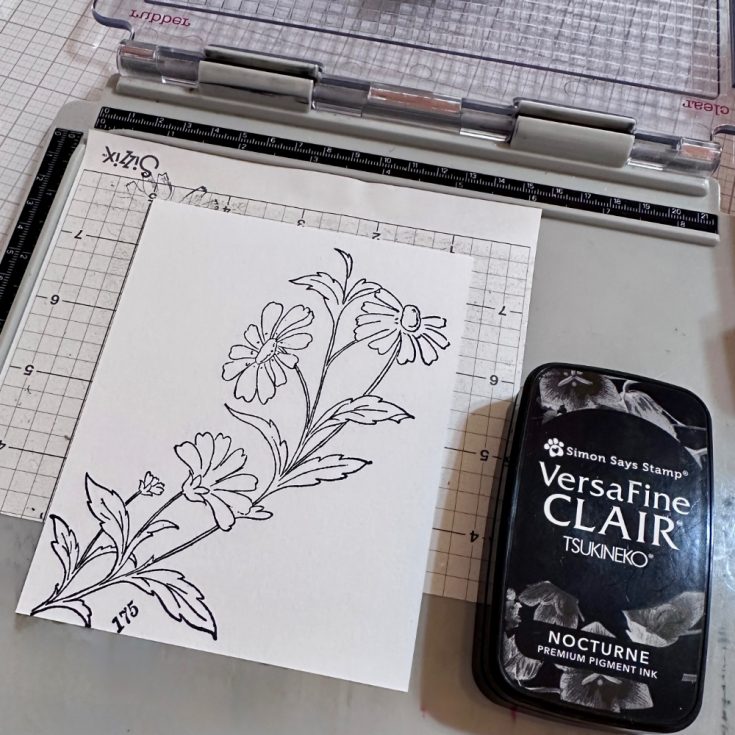
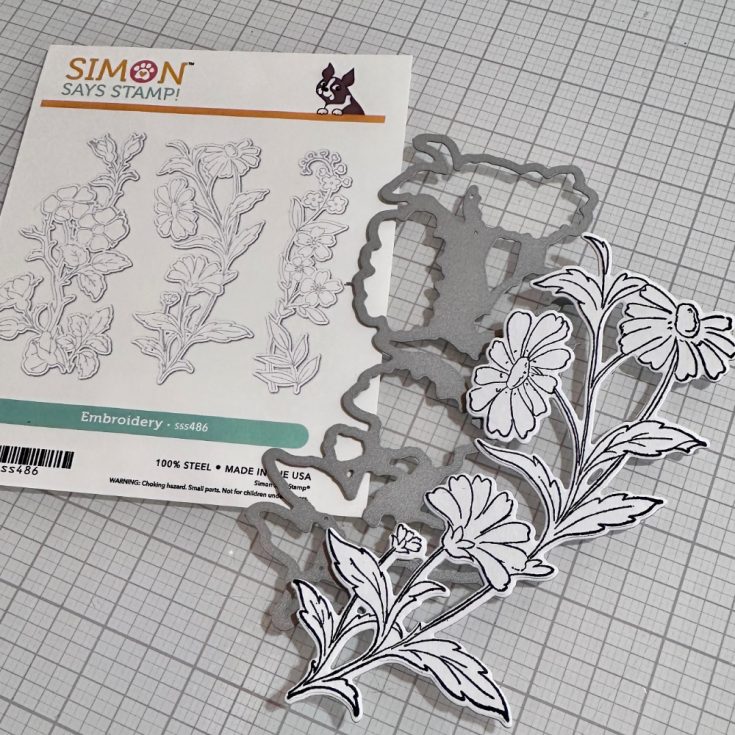
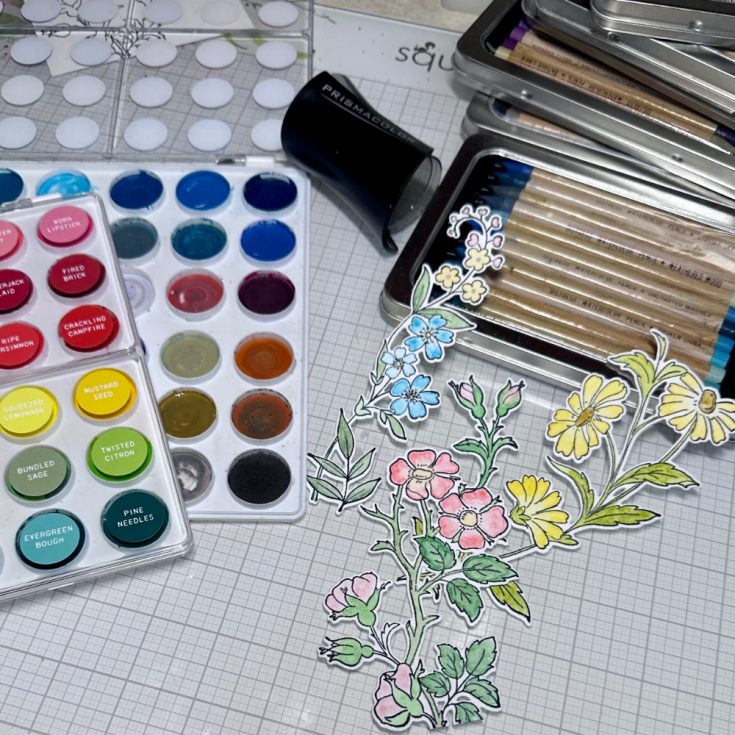
Stamp the flowers from the Stampers Anonymous Embroidery Set CMS486 with Versa Vine Nocturne Ink.
Die cut the stamped image with the matching dies from Simon Says Stamp set #SSS486.
Color the flower with Distress Watercolor Pencils. Did you know you can make a palette using the pencil shavings from these pencils and then you can use a water brush to color.
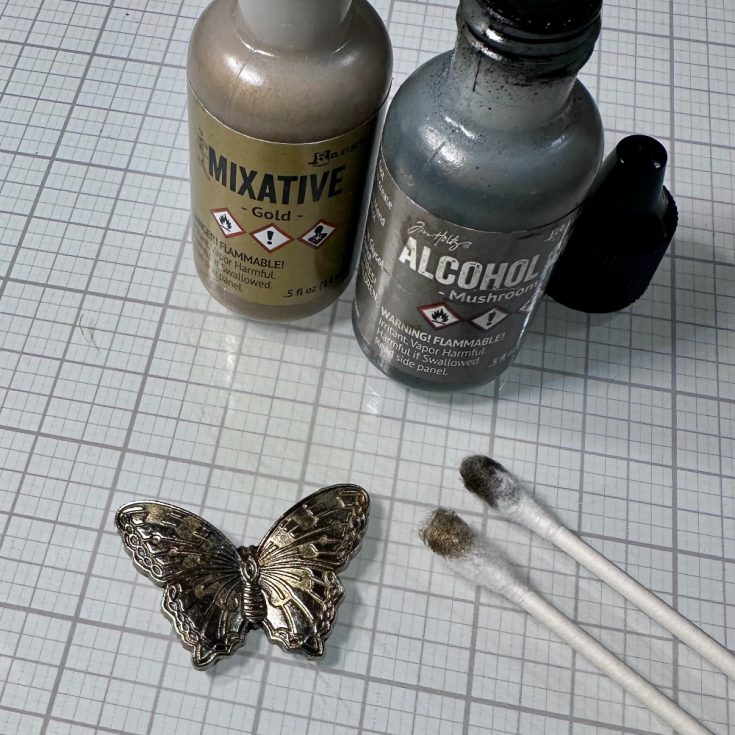
Color the Butterfly Adornments with some Gold Mixative and a little Mushroom Alcohol Ink using a cotton swab. Before the ink dries I buff it with a soft cloth to reveal some of the original metal.
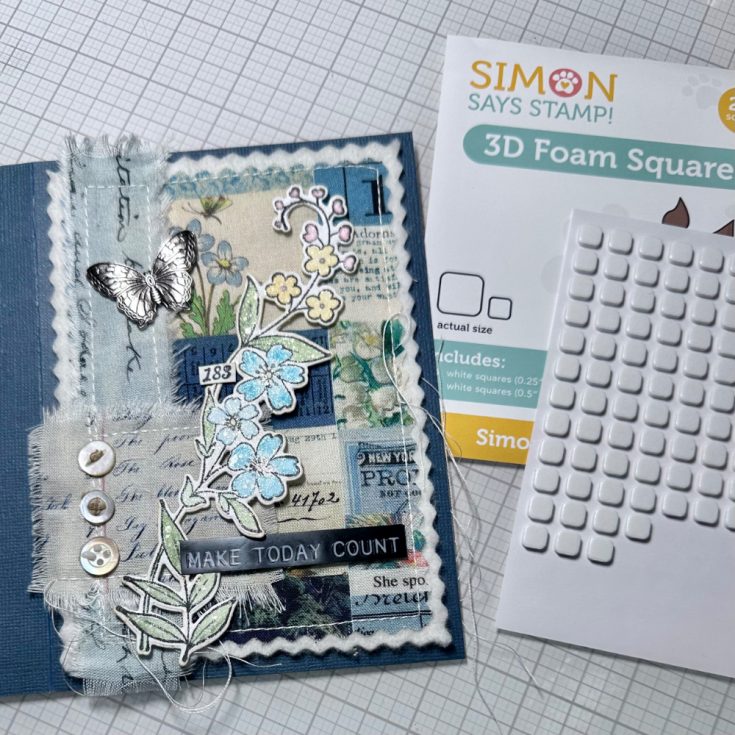
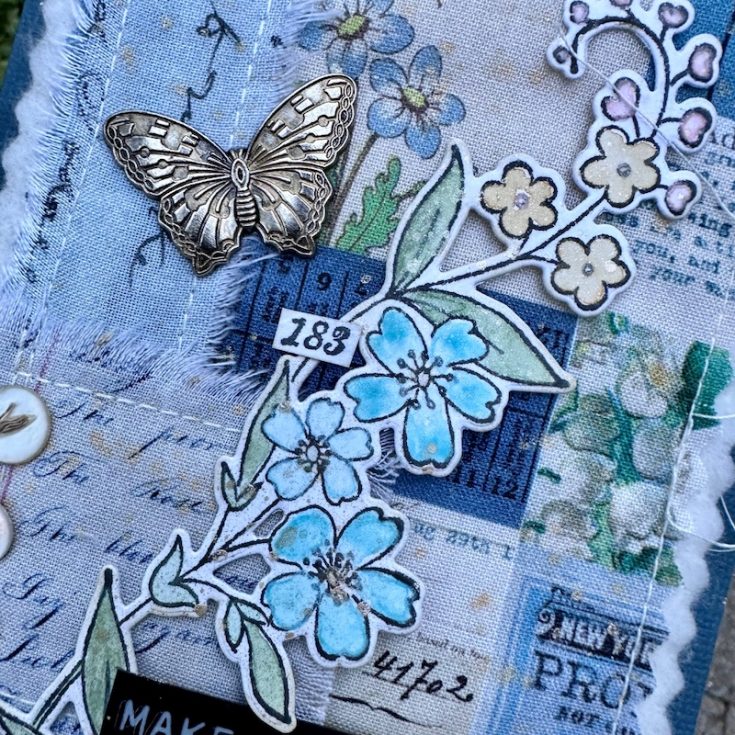
Adhere the flowers with Foam Squares and the Butterfly with Collage Medium. The Label Stickers are a fun way to add a message and don’t forget to pop it up with foam squares.
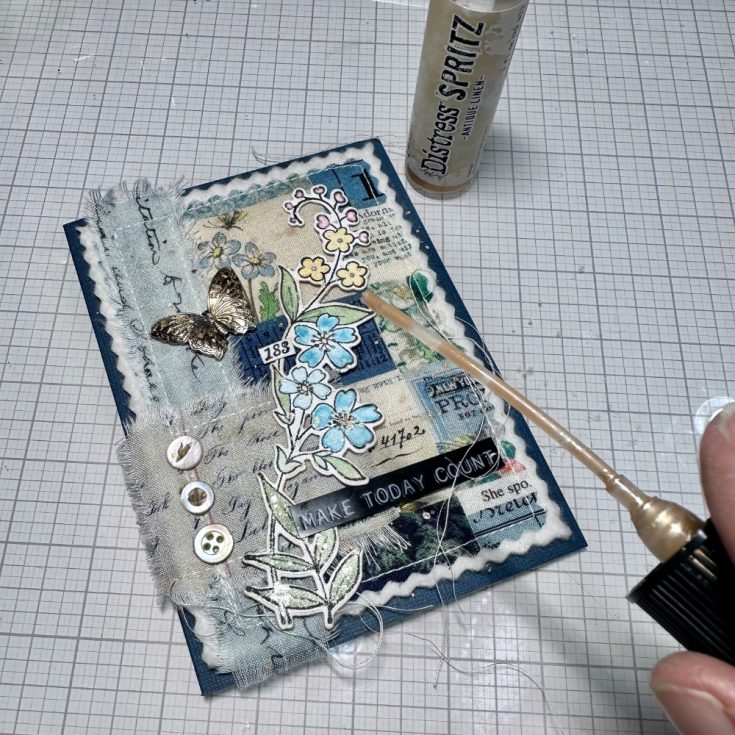
Splatter a little Distress Spritz over there card for a little sparkle.
I had so much fun creating these cards I hope you will try using a little fabric for your next cards. Thanks for stopping by and happy creating! –Richele

SUPPLIES:
|


A big thank you to YOU, our reader — and to Richele for being our guest!


