Love Is In The Air
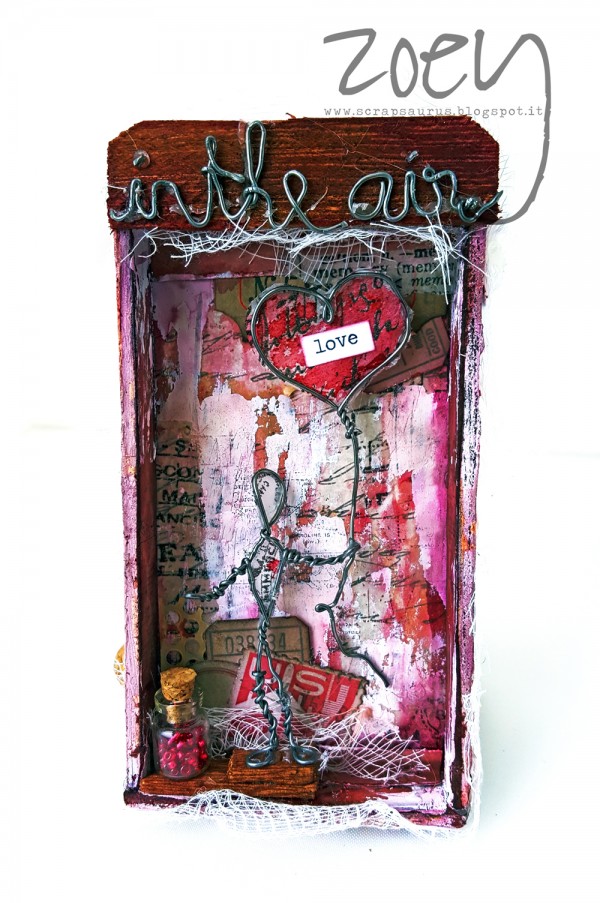
Love Is In The Air this week on the Monday Challenge. With Valentine’s Day a couple of weeks away it is time to think about our loved ones and create something with them in mind. Maybe you would like to make a card, a tag to attach to a gift, or a gift itself. Also, as Red is the color of love, we would like you use some in your project too.
Once you have made your creation just go ahead and upload it into the linky on the Simon Says Stamp Monday Challenge blog! We can’t wait to see what you make!
As always, we’re offering a chance to win a $50 Gift Voucher to Simon Says Stamp! All YOU need to do is join in with the challenge!

Below are three projects created by the design team, that showcase this weeks theme! You can visit the challenge blog to get all the details and see the amazing cards and projects that the design team has created this week. If you click on each designers name, you’ll be taken directly to their blog where you’ll get more details about their project! Be sure to give these talented ladies some comments!
Created by Zoey Scarpelli our Designer In The January Spotlight:
Zoey used:
 |
 |
 |
 |
 |
 |
 |
 |
 |
 |
 |
|
 |
 |
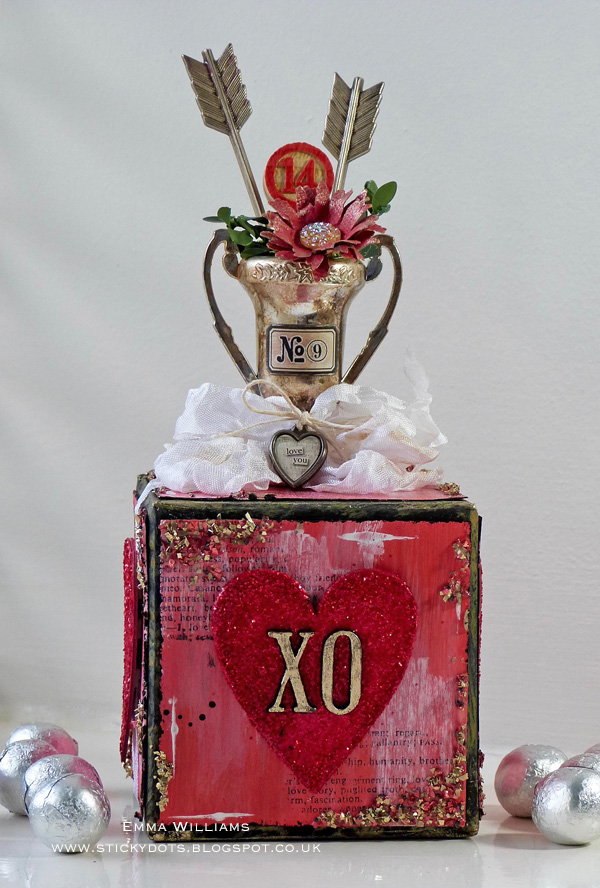
Created by Emma Williams:
Emma used:
 |
 |
 |
 |
 |
 |
|
 |
 |
 |
 |
 |
 |
 |
Created by Meihsia Liu:

Meihsia used:
 |
 |
 |
 |
 |
 |
 |
 |
 |
 |
 |
 |
 |
 |

Do you use Instagram? If so please add #sssmchallenge to your challenge entry uploads so we can see them on there too!
Blog Candy Alert!! Follow our blog via email and comment on this post for a chance to win a special blog candy!

WPlus9 flowers to warm you up!
Hi everyone… Happy Sunday! It’s Shari here with some Springtime inspiration for you… I’m ready for it, are you?
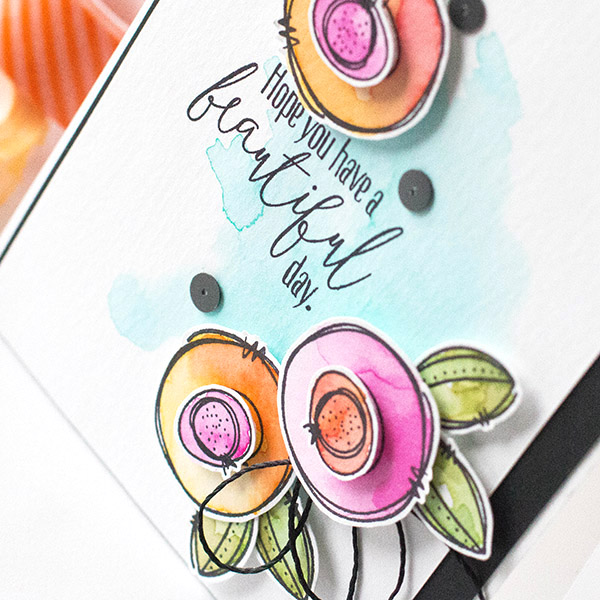
I’ve used the WPlus9 Doodle Buds stamp set to create a little ensemble around a greeting. These whimsical flowers can be stamped and stacked in an arrangement or used with the provided stems and leaves to create a bouquet.
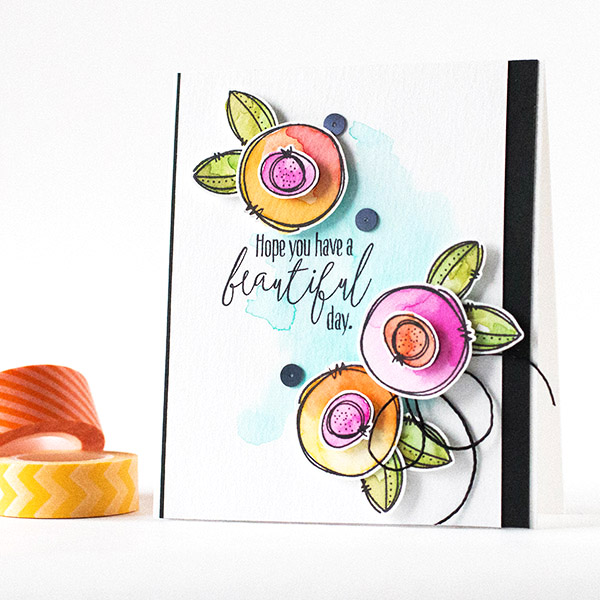
To start this card out, I used Peacock Feathers Distress ink to watercolor a background wash, just enough to to create an anchor for the message along with the flowers. Then I used some bright colors of Distress inks to watercolor my flowers, then die cut and fussy cut to add to my card. Of course I used some foam tape for added dimension!
I have a video of the process below, you can also view it on our YouTube channel.
Blog Candy Alert!! Follow our blog via email and comment on this post for a chance to win a special blog candy!
Thanks for stopping by, I hope you’re not buried in snow!
 |
 |
 |
 |
 |
 |
 |
 |
 |
 |
 |
 |
 |
 |
 |
 |
 |
 |
|
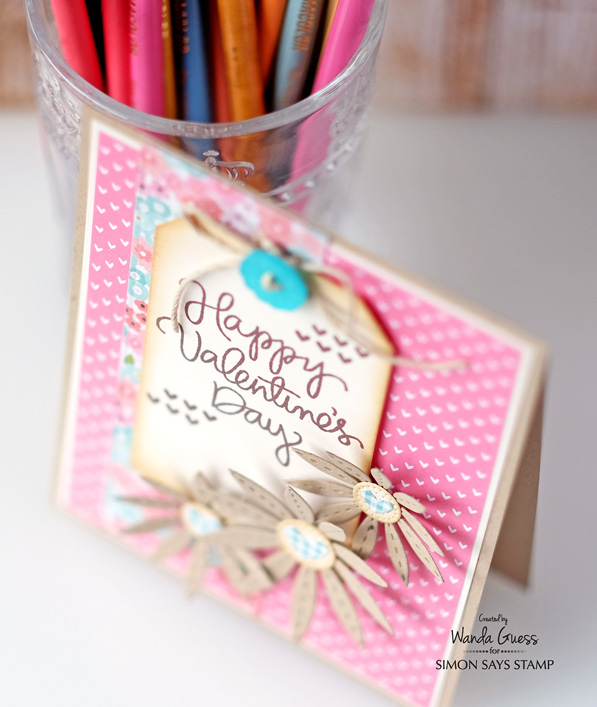
Weekender with Wanda – Daisy Valentine!

Hey friends! Happy Saturday! Welcome back to this edition of Weekender with Wanda on the Simon Says Stamp blog! SO happy to have you here with me for a bit of your weekend. Hope your week was outstanding. I live in Northern California and it was a weird week here. It was pouring rain for a few days, and then at the end of the week, our tulips started popping out of the ground and our camellias began blooming! Spring is coming early this year it looks like. The next couple of weeks are all about getting cards and treats ready for Valentine’s Day. Today I’m sharing a Valentine card in some non-traditional colors, using a few of my favorite exclusive products from Simon Says Stamp!
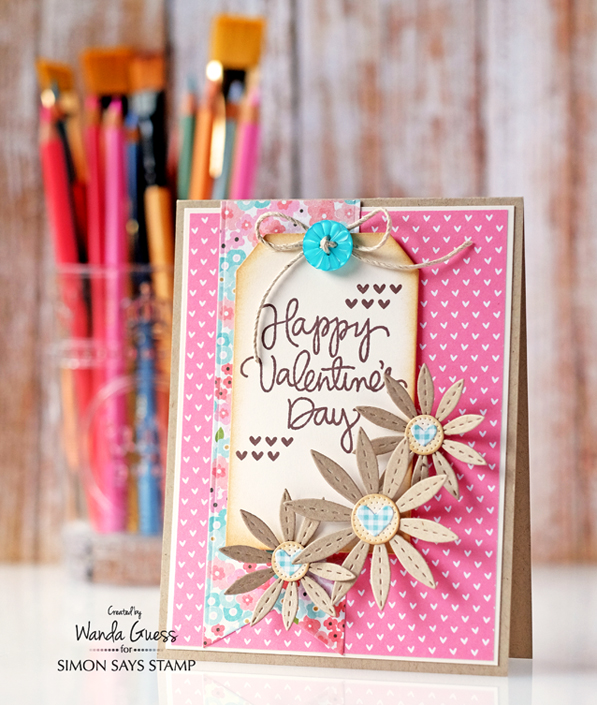
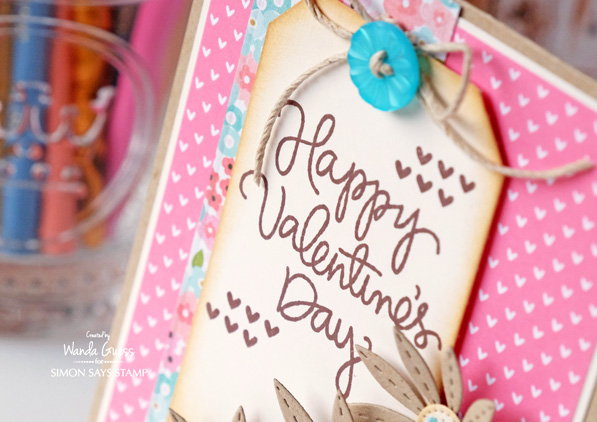
I used the pretty Stitched Daisies Dies to make some flowers out of kraft cardstock. My card base is also made from kraft, so it ties the project together. The pretty patterned papers are from Lawn Fawn and Pebbles. This sentiment is from one of my go-to stamp sets called Just a Love Note. This scripty font is so pretty.

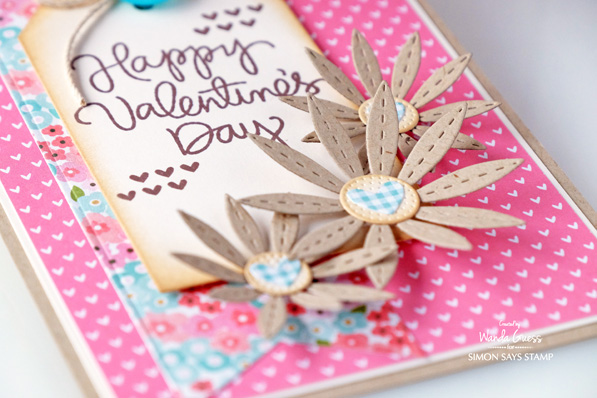
For my flower centers I used cream cardstock and then gently inked the edges with Antique Linen Distress Ink. Then I used the Mini Hearts Dies to add some gingham hearts. You can never go wrong with gingham! For a softer look, I used brown ink to stamp my sentiment and also used cream cardstock instead of bright white.

My flowers were attached with foam squares and then I gently curved them up with my fingers.

To finish off, I tied a twine bow and added a button to the top of my Tag die.
I always appreciate you coming by to spend part of your weekend with me! So nice to see you again!
SUPPLIES:
|
|
 |
 |
 |
 |
 |
 |
 |
 |
 |
 |
 |
 |
 |
 |
 |
 |
 |


