Memory Box Dies: Watercolor Embossed Background
Happy Monday everyone!! It’s Shari here with some fun Memory Box dies and a cool background technique.
First, let me admit that I’m loving this color scheme for spring cards… They are my go to colors for flowers and backgrounds. I just can’t help myself! They are complementary which make them pop when put together.
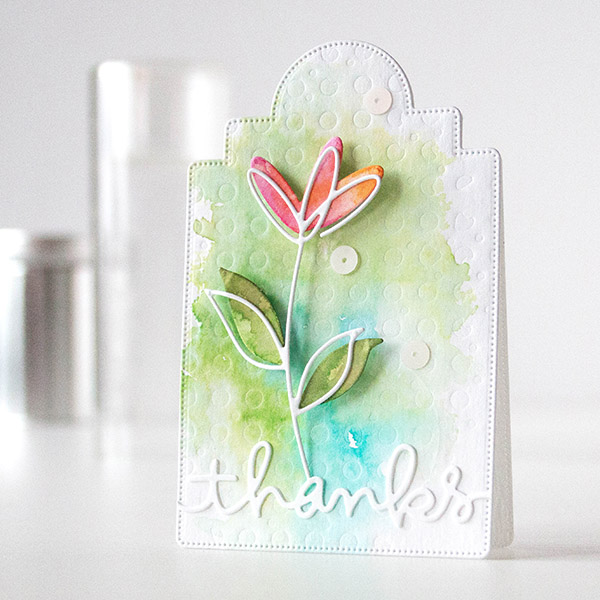
I started out by embossing the Jourdana Collage die from Memory Box onto a panel of watercolor card stock. Then I added a wash of color using Mowed Lawn, Peeled Paint, Peacock Feathers and Broken China Distress inks. These steps gave me a colored textured background for the flower. Once the background was dry, I die cut the panel using the Pinpoint Main Street tag die where I cut two and put them together at the top to create a mini tag shaped card.
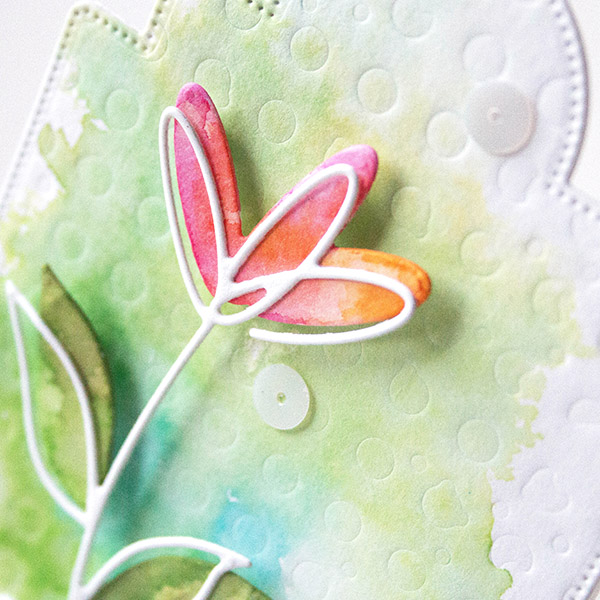
About that flower… it’s unique in that it has inner and out parts that you can put together. I watercolored the blossom with Picked Raspberry, Ripe Persimmon and Spiced Marmalade Distress inks. The leaves were painted with Mowed Lawn and Peeled Paint Distress inks.
I have created a video of the process which you can view below or on our YouTube channel.

Blog Candy Alert!! Follow our blog via email and comment on this post for a chance to win a grab bags and blog candy!
Thanks for stopping by, hope you have a fantastic week!
 |
 |
 |
 |
 |
 |
 |
 |
 |
 |
 |
 |
 |
 |
 |
 |
 |
 |
 |
 |
Two Color Background Inking Techniques for Stamping
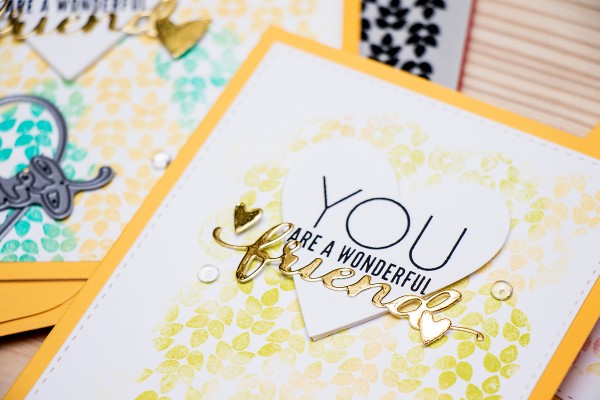
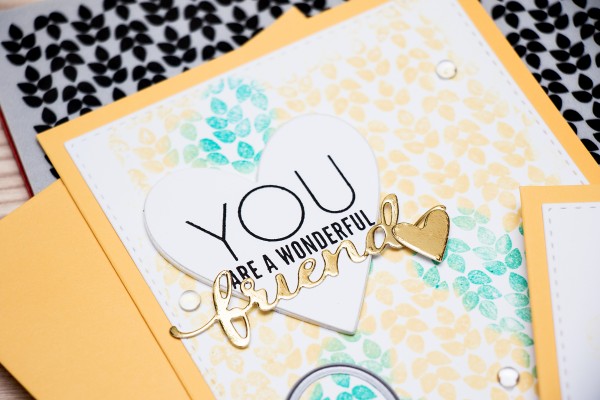
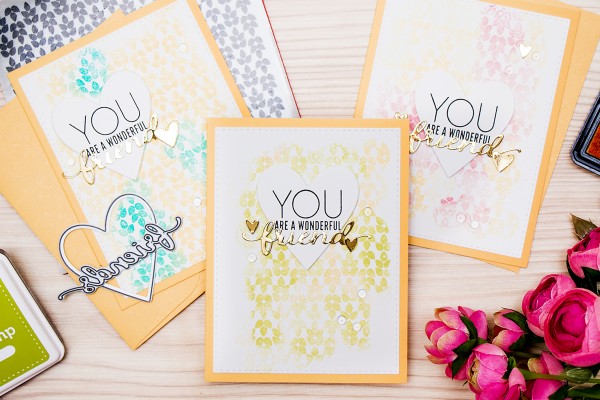
Hi readers! Happy Sunday! I hope you’re having a great weekend! I’m pleased to welcome back the fabulous Yana Smakula as a guest to our blog today! She’s sharing with us a really fun two color background inking stamping technique using some Simon Says Stamp exclusive products, and a few different ways to accomplish the look! Be sure to watch the video for a full tutorial and enjoy!
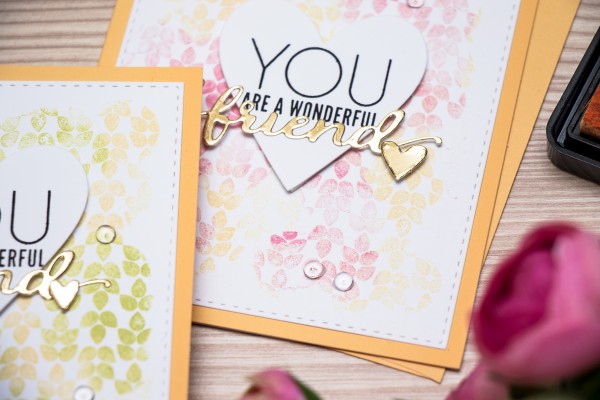
Love the background stamp? It’s our Leaf Background cling stamp!
Watch the video:
SUPPLIES:
 |
 |
 |
 |
 |
 |
 |
 |
 |
 |
 |
 |
 |
 |
 |
 |
 |
|

Blog Candy Alert!! Follow our blog via email and comment on this post for a chance to win a special blog candy!
Weekender with Wanda – What’s Brewing?!

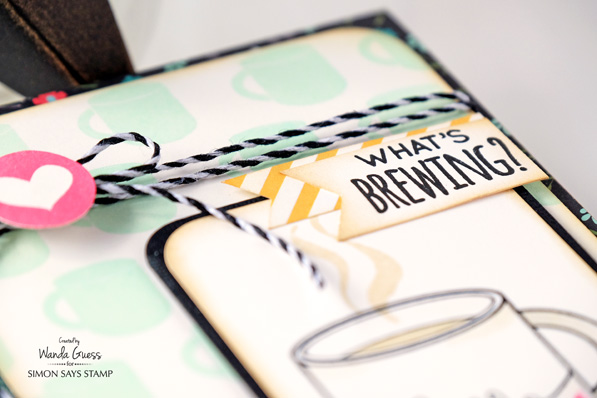
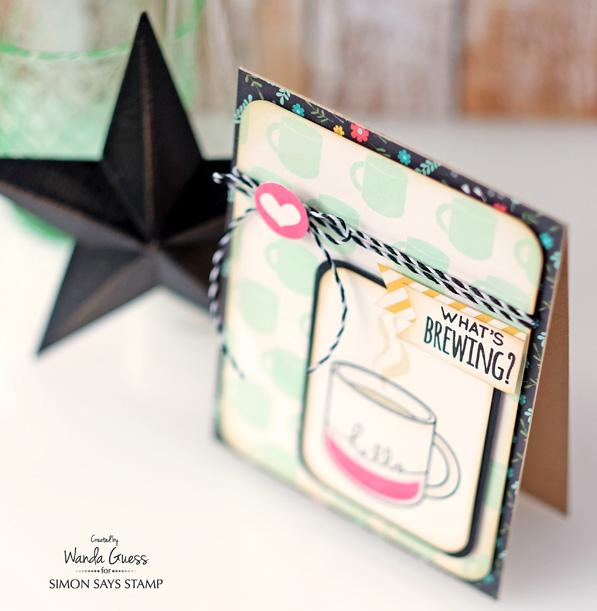
Hey crafty pals! Happy Saturday! Welcome back to this edition of Weekender with Wanda on the Simon Says Stamp blog! SO happy to have you here again with me for a bit of your weekend. Great to see you! What have you been brewing up in your home studio lately? Are you getting organized? January and February for me always seem to be a time for nesting and cleaning. I like to recover from the holidays, and get ready for the new year… When I’m home and it’s cold outside, I also like to drink lots of coffee! LOL. Today’s card was inspired by my love of coffee, and also inpsired by a fun retro color palette. I used our Simon Says Stamp Exclusive stamp set called “What’s Brewing” to create a card that would be perfect for a friend. This set reminds me of a cool, retro kitchen theme and that’s why I chose the aqua and pink color scheme.
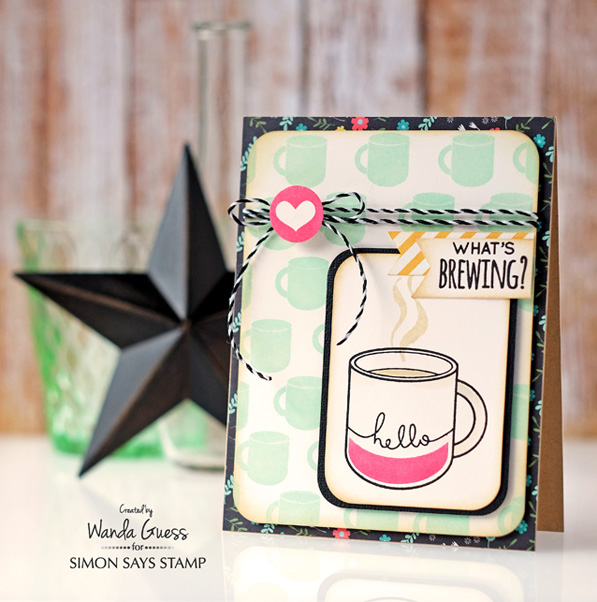
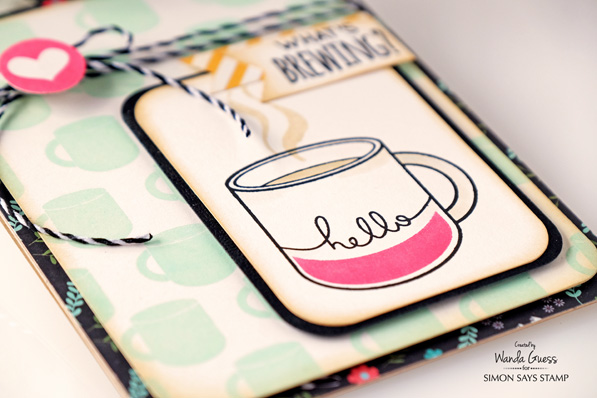
The main image in the stamp set is this big coffee mug! It has lots of smaller items that you can use to customize it. LOVE that! I made a pretty pink stripe on the bottom and then used the hello stamp too. I gently added some Antique Linen Distress Ink to the handle and the coffee part. I also stamped my steam image in the Antique Linen Ink for a soft feeling. I like these pretty colors with the deep black accents.
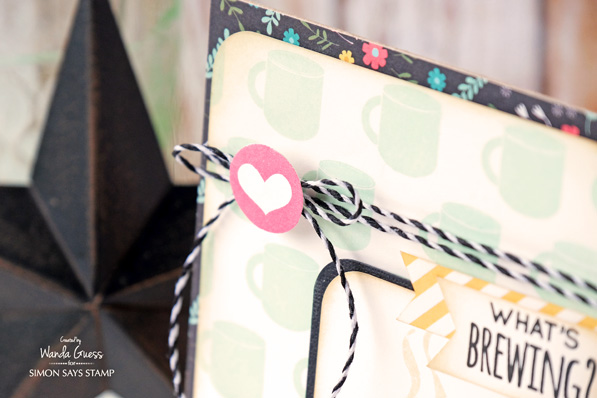
I used the same paper pad for all the patterned papers. It’s a favorite of mine – I AM by Simple Stories. I think I bought three packs of it!! I stamped my sentiment on a banner and cut an extra banner to use underneath for another pop of color. The heart/circle stamp is part of the set too. I cut it out and mounted it on my twine to kind of look like a button.
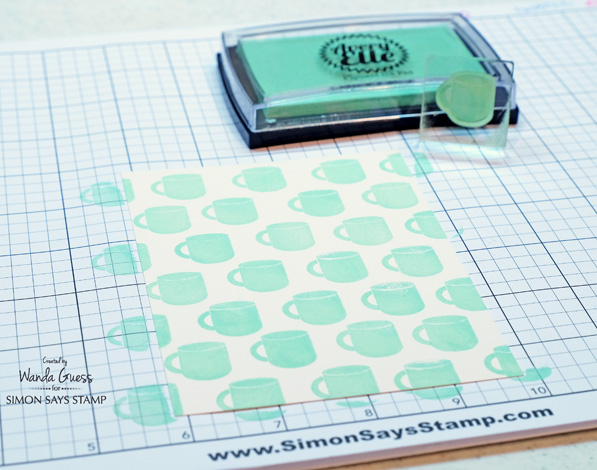
Here’s a trick I use a lot: Make your own background paper! I love taking the smaller stamps in a stamp set and creating my own repeating pattern. Here I stamped the small mug several times on my top layer. My paper is cream color. Don’t worry about getting it exactly perfect – just have fun! I stood up to stamp this so I could look down on my images. This is the perfect retro mint green ink….
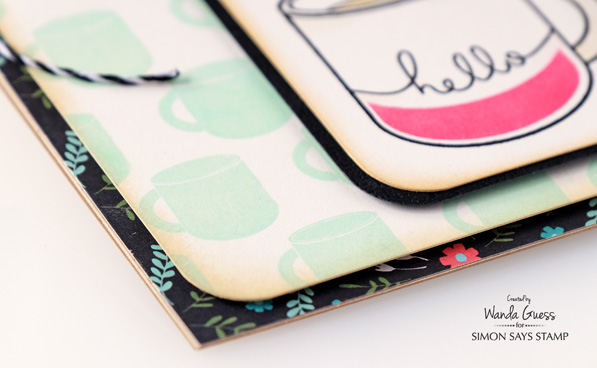
I used a corner rounder to smooth out all the edges on my layers. Another fun tip: Cut a piece of patterned paper to use as your card base. Here I used a pretty floral on black paper. I cut it to A2 size and adhered it to the front of an A2 card base. Adds a little bit of something to the final card!
So that’s what’s brewing over here! Thank you, as always, for coming by to check out Weekender with Wanda! I love sharing with you. Have a great weekend! Happy Crafting!
SUPPLIES:
 |
 |
 |
 |
 |
 |
 |
 |
 |
 |
 |
 |
 |
 |
 |
 |
 |


