Studio Monday with Nina-Marie: Starry Night Sky with Zig Markers
Hey everyone, it’s Nina-Marie here with you again for another Studio Monday video!
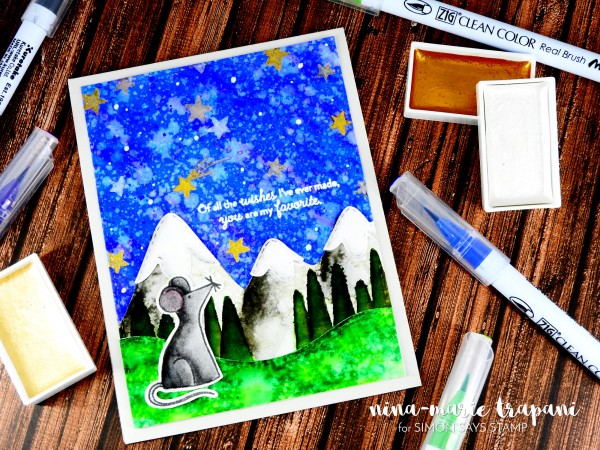
Many of you have some – or all! – of the Zig Clean Color Real Brush markers in your supply stash, and today I am going to share a starry night card idea, which features not only the Kuretake Zig markers, but their new Starry Colors watercolor palette too!
I wanted to pair these two watercolor sets together and create a gorgeous night scene for the little mouse that I grabbed from Avery Elle’s Storybook stamp set. There are quite a few other critters included in the Storybook stamp set, which gives you many options to swap the mouse with.
I love bold, bright colors and I love how by simply layering up the markers, you can achieve that saturation of color on your cards. And, if bold and bright aren’t your colors, you can use the Zigs to create lighter color tones as well!

In today’s video, I’m going to walk you through how I created this starry night sky and the rest of the scene around it! I’ll be sharing some tips and tricks along the way too, so be sure to check out the video below or on our YouTube channel. And don’t forget to subscribe if you do not already; we post new videos every single week!
WATCH THE VIDEO:
SUPPLIES:
 |
 |
 |
 |
 |
 |
 |
 |
 |
 |
 |
 |
 |
 |
 |
 |
 |
 |
 |
 |
 |
 |
 |
 |

Blog Candy Alert!! Follow our blog via email and comment on this post for a chance to win a special blog candy!
PaperArtsy Infusion Colored Stains with Shari Carroll
Welcome to the blog today and Happy Sunday! It’s Shari here with a card I’ve created using a medium that is so cool and unique!!!
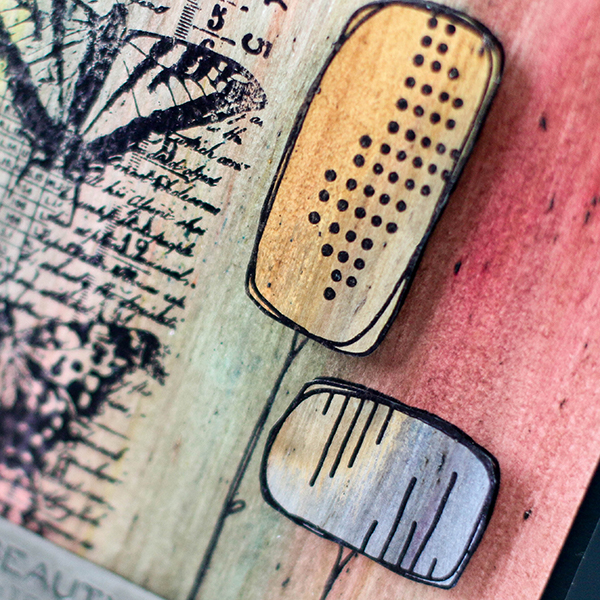
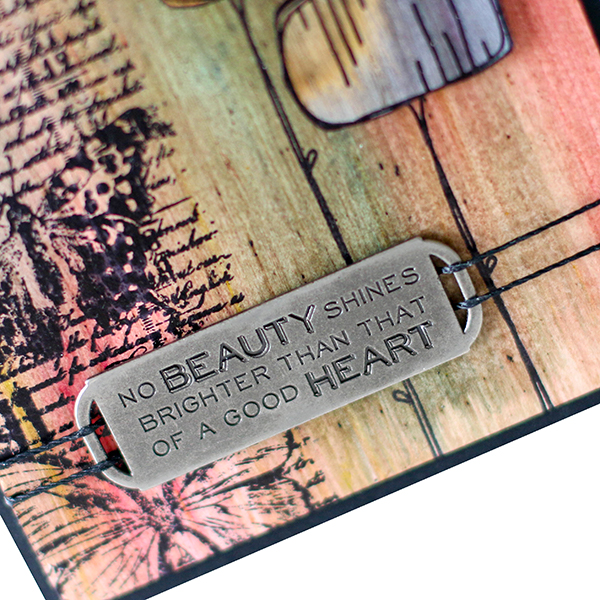
I’ve used Infusion Color Stains from PaperArtsy for all my color. Talk about fun! Let’s take a look at the background. It came out looking like old barn wood. Infusions are a dry powder which also have walnut stain pigment mixed in so everything comes out looking distressed and old, yet colorful.
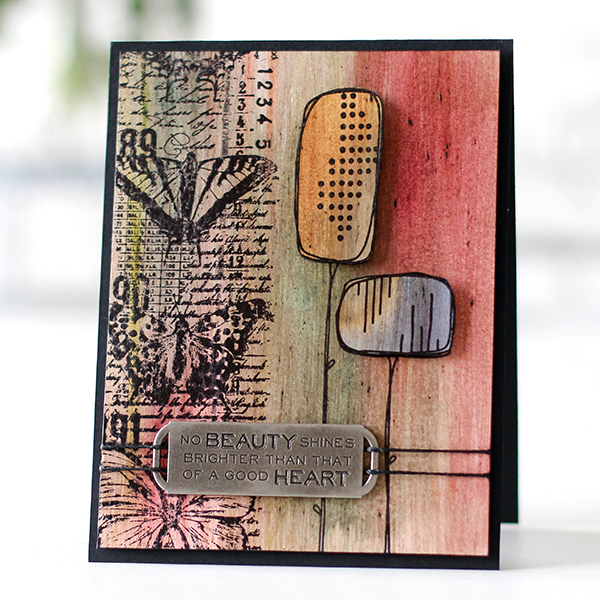
The technique I’ve used is to apply Galzing Medium from Ranger onto watercolor paper, sprinkled on an Infusion color, then spread it out with a paintbrush. I overlapped my color while everything was wet and let the colors blend. I love the additional specks of color that appear within each color of stain.
I experimented with more color combinations on regular card stock, letting colors mix. Once I was happy, I stamped my flowers, cut them out then assembled my card.
I’ve shot a video or how to use the Infusions with Ranger’s Glazing Medium to create the background and card. You can view it below or on our YouTube channel.
Blog Candy Alert!! Follow our blog via email and comment on this post for a chance to win a special blog candy!

Thanks everyone for taking time out of your weekend to visit. I hope I’ve given you inspiration to try something new! Enjoy!
 |
 |
 |
 |
 |
 |
 |
 |
 |
 |
 |
 |
 |
 |
 |
 |
 |
 |
Weekender with Wanda – Celebrating National Donut Day!


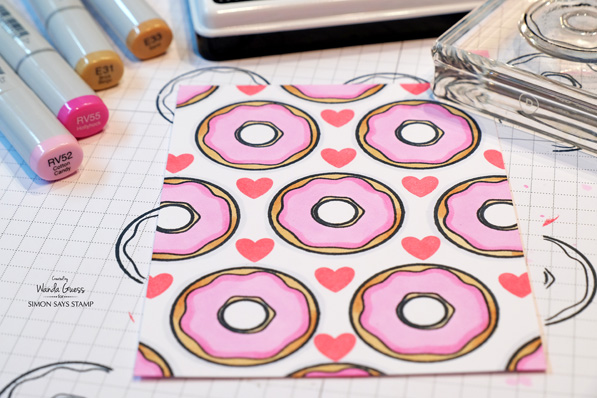
Hi there friends! Happy Saturday! It’s officially Summer and June! Are you out having a great time this weekend? Are you headed off on vacation or going to some graduation parties? So far, at my house we are having a very mellow Summer, which is just fine with me. I hope your weekend is filled with sunshine and smiles! Yesterday was National Donut Day! Who even knew there was such a thing? My friend Stephanie let me know of this very important holiday and so I decided to honor it with a card! I used the awesome Simon Says Stamp Exclusive Stamp Set called…what else…I LOVE DONUTS! And SSS has this set on sale this weekend so you can make donut cards! I created a cool pop art graphic background and colored it with my Copic Markers in fun shades of bright pink. Do you love donuts too?

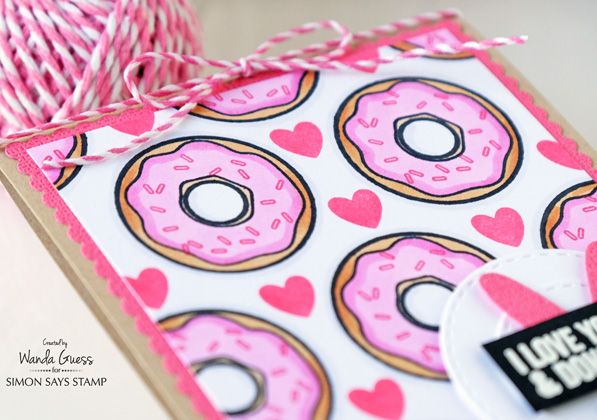
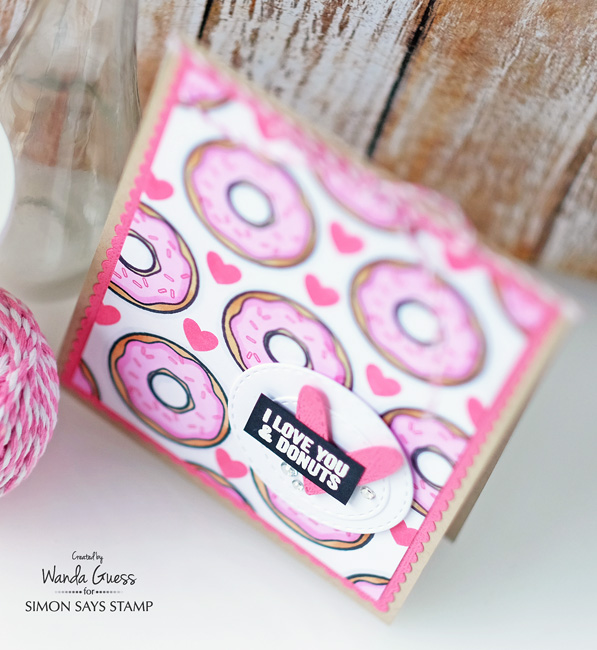
Since the background is really the star of this card, I kept the sentiment and accents on the small side. I created a cluster of circles, hearts, gems, and words for this part of the card. I die cut two of the Simon Says Stamp Stitched circles and layered those first. Then I used the Line shape Dies and cut out a heart. Simon Says Stamp’s new Clear Ink is PERFECT for heat embossing. Here is used white embossing powder on crisp black paper.

The card base is made from kraft cardstock. I used the fabulous Femme Frames dies from Mama Elephant to die cut a perfect scalloped border around my white layer.

To make my background layer I first cut out the correct size of neenah white cardstock. I used my grid paper to help me when I’m making graphic backgrounds. I uses repositionable adhesive to tack the paper down onto my grid. This helps me line up everything. I used SSS Intense Black Ink, because it’s the best for Copic Coloring. I stamped the first donut in the center and then worked my way out in rows. Since we *love* donuts I felt I needed to add some hearts too! The heart is from the Circle Sayings Stamp Set.
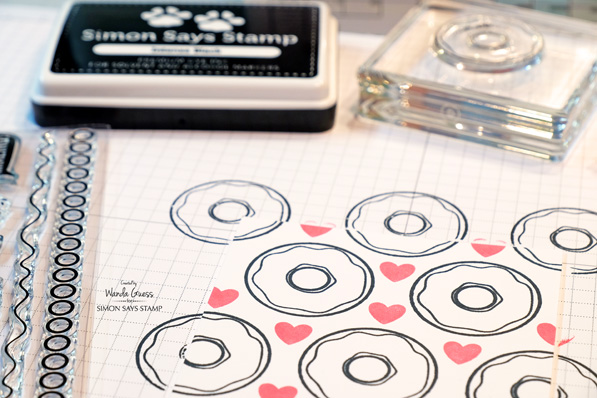
Now the fun part! I colored all those cool donuts with two shades of brown and two shades of pink Copic Markers. If you look closely you can see a very faint outline of C2 Grey marker around the donuts. This adds a small shadow to make the colors pop.

My accents and words were attached to the card using foam squares.

And a pretty pink bakers twine bow to finish off the top!
So…happy Donut Day! Cheers to that! Thank you for stopping by today for a donut break with me. Happy Crafting! Until we meet again soon!
SUPPLIES FOR TODAY:
 |
 |
 |
 |
 |
 |
 |
 |
 |
 |
 |
 |
 |
 |
 |
 |
 |
 |
 |
 |
 |
 |
 |
 |
 |


